I2C API Prototypes
In this article, let’s discuss the creation of API prototypes.
The best thing for creating API prototypes is to go to the SPI driver.h and copy some of the APIs. Copy all the APIs in the API section of SPI driver.h (Figure 1) and paste them into the I2C driver.h file, and replace SPI keyword with I2C, as shown in Figure 2.


Its own data send and receive APIs can be written for the I2C peripheral, therefore remove all the APIs in the data send and receive section (Figure 3).

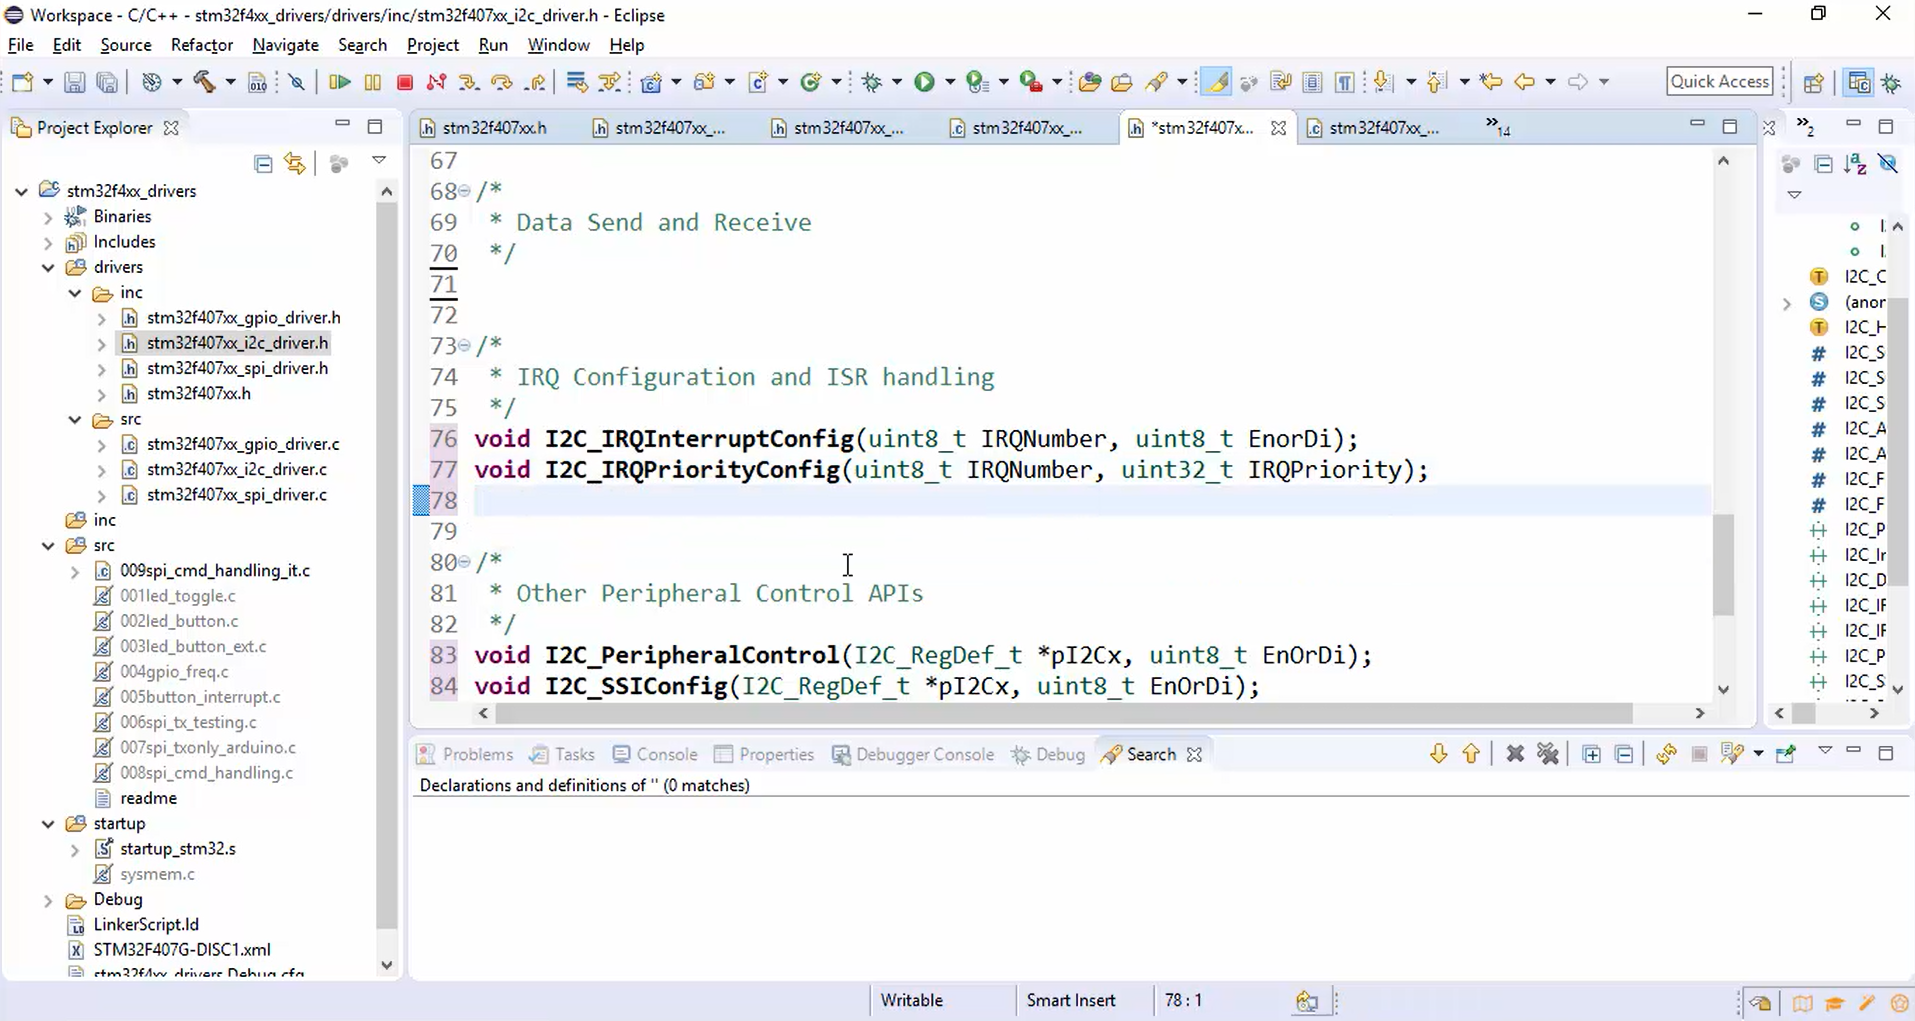
In the IRQ configuration and ISR handling section, I2C interrupt config and priority config is required, but remove IRQ handling because, in the case of I2C, it’s slightly different from SPI (Figure 4).

After that, in the other peripheral control APIs section, remove all the APIs excluding the peripheral control and get flag status APIs (Figure 5) because I2C also has a couple of flags.

Keep the application callback API shown in Figure 6, which will be used while implementing the interrupt-based APIs.

These are some of the APIs that have to be implemented.
Exercises:
- Implement I2C peripheral clock control, which is very easy, and the concept is the same as the SPI. This is to enable or disable the peripheral clock.
- Implement the I2C_DeInit.
- No code change is required for I2C interrupt config and priority config; they are the same as SPI or GPIO. So, no need to change the old code. Use it as it is.
- Implement I2C peripheral control. The peripheral control is to enable or disable the peripheral. As SPI, the I2C also has a peripheral control bit. There is a PE bit in the control register (Figure 7). PE stands for peripheral enable, and this bit can be used to enable or disable the peripheral.

In the following article, let’s see I2C Init Implementation Steps .
FastBit Embedded Brain Academy Courses
Click here: https://fastbitlab.com/course1


