Character driver cleanup function implementation
In this article, let’s implement the character driver clean-up function. As you know, the clean-up function gets executed whenever you unload the driver by using command such as rmmod.
This was the creation part.
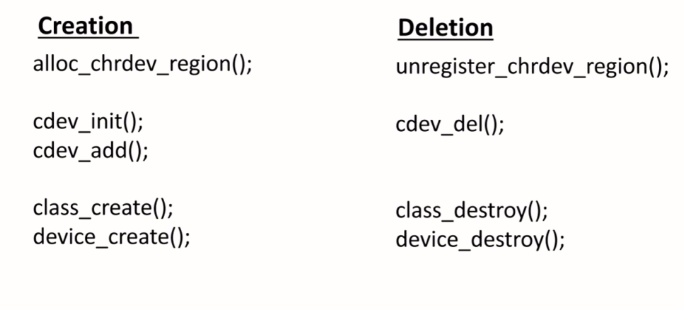
In the deletion part, you should do undo of the init function. So, the undo operation should be done in chronological reverse order, remember. That means, what’s the last thing we did in our init function. device_create. That’s why you have to do device_destroy first in the drivers clean-up function.
After that, you have to do class_destroy, and after you have to do cdev_delete, and after that, you have to do unregister_chrdev_region. So, exactly in reverse order of what you had done in init function.
Let’s explore device_destroy as shown in Figure 2. It doesn’t return anything, void.
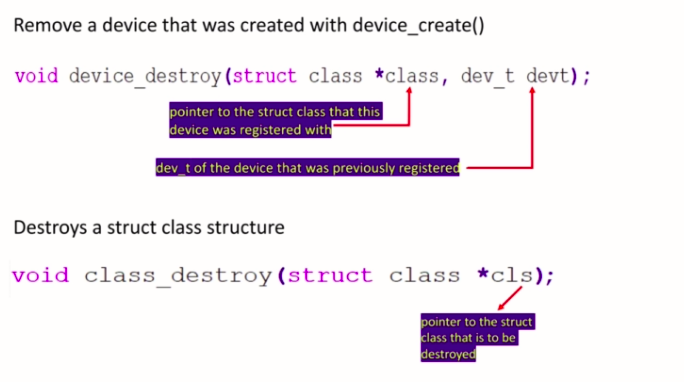
Device_destroy the first argument is a pointer to the struct class that this device was registered with. You have that pointer, so you can mention that here. And the second argument is device number of the device that was previously registered. You have to mention the device_number.
After that, you have to call class_destroy. You just have to mention here pointer to the struct class that is to be destroyed.
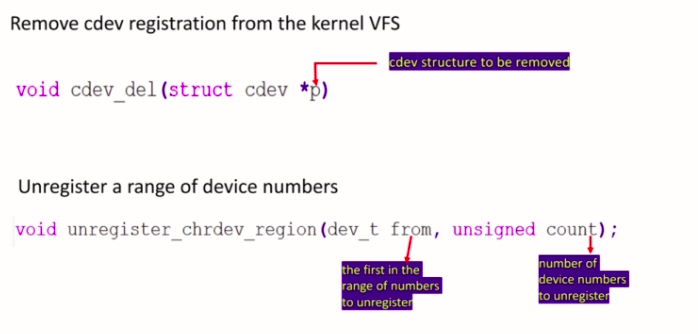
After that comes cdev_del, as shown in Figure 3, you just have to mention the pointer to cdev structure what you have created in your project. And after that, you have to do unregister range of device numbers. You have to call unregister chrdev_region.
First, you have to mention the device_number here(dev_t from) and the number of device numbers to unregister. This (unsigned count) is a minor number count.
In our case, this (dev_t from) would be the device_number what we created using alloc_chrdev_region, and count will be 1 because there is only one minor number. That’s why count will be one.
Now let’s do this in our code. First, let’s start from here device_destroy. First, device_destroy() as shown in Figure 4. You have to mention class pointer, that is class_pcd, and the device_number.
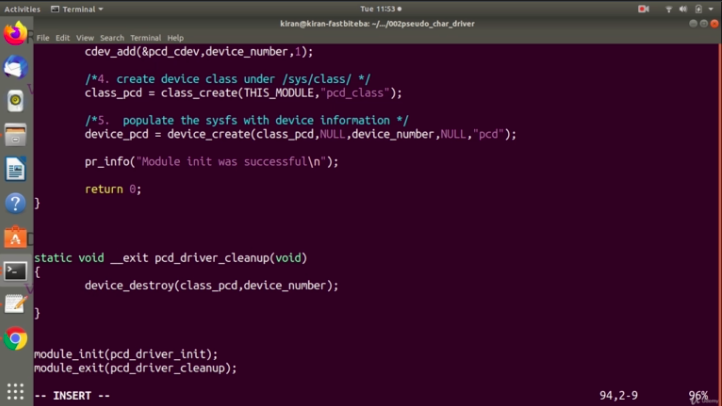
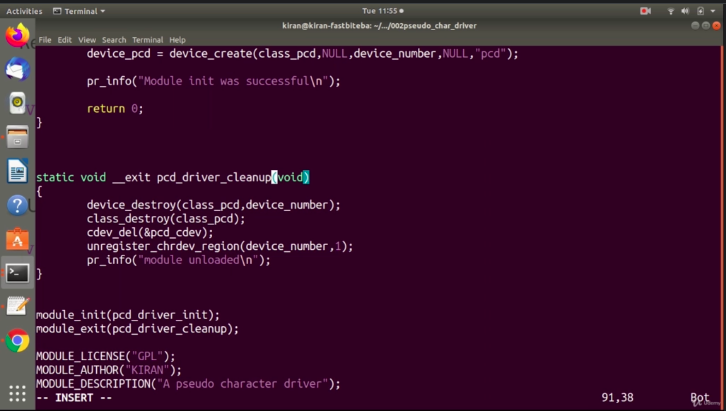
And after that, class_destroy, class_pcd. After that, cdev delete, cdev_del();
What’s a cdev structure we created?
This pcd_cdev. Let’s use that. We have to send the pointer. And after that, the last one is unregister_chrdev_region. Unregister_chrdev region.
First, device_number and count is 1. And we can send one message here after that. pr_info”module unloaded”. Let’s test this. So, better you instead of a naming this as main.c, you can give some other name. Like pcd.c or something like that a meaningful name.
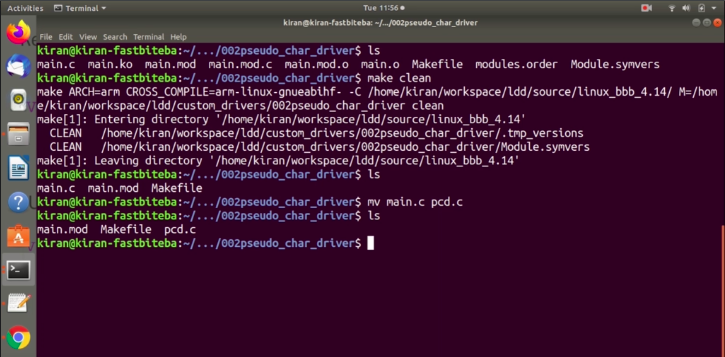
Let me first make clean. Then what I would do is I would change this main.c to pcd.c as shown in Figure 6.
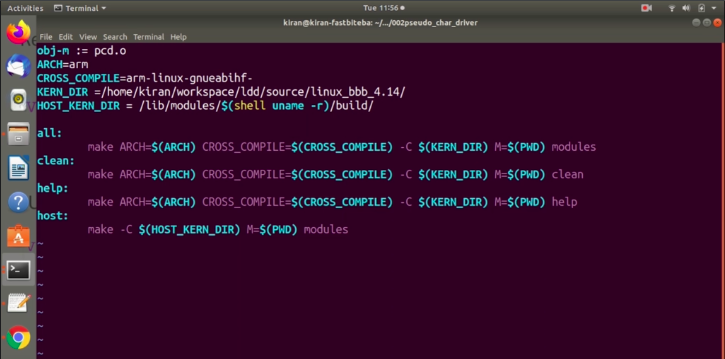
And I will change that in makefile as well pcd.o as shown in Figure 7.
Let’s do make host once again. We have got pcd.ko. After that, let’s insert the module sudo insmod pcd.ko. Let’s do dmesg(shown in Figure 8).
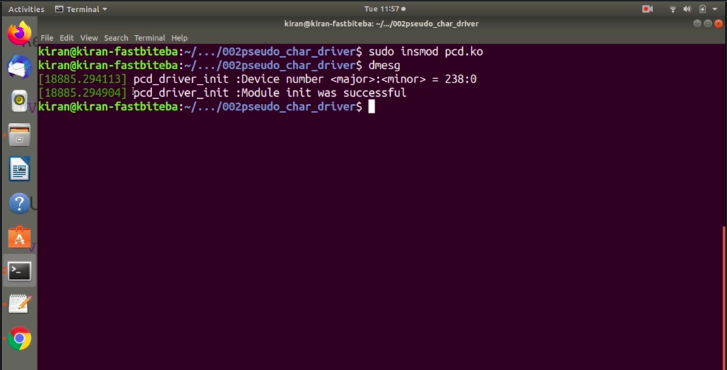
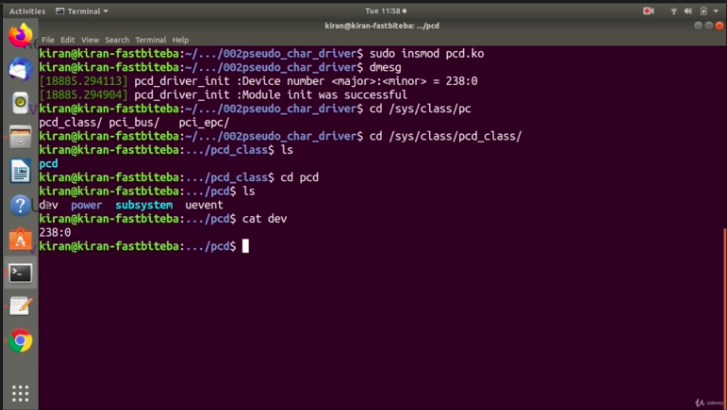
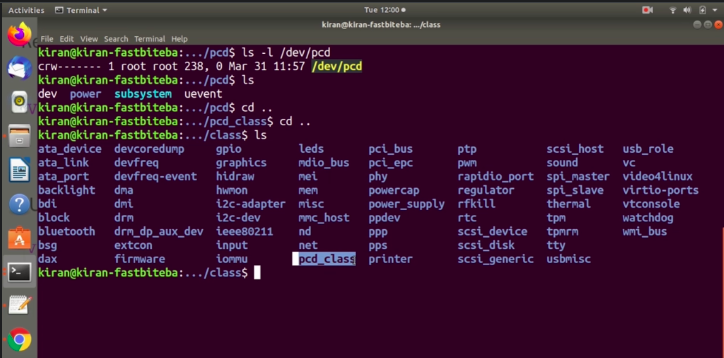
Pcd_driver_init and 238:0 a device number we got. 238:0 This(0) is a minor number, this(1) is a major number. And module init was successful. Let’s check /sys/class/pcd_class. So, here it is, pcd_class is created. Get into the pcd_class.
Here you can see that this is a another directory which got created with the name of our device file pcd. Let’s get into that, and here is a dev file.
Let’s cat that dev file. You can see that that dev file shows the device_number, as shown in Figure 9.
The udev actually reads this, and let’s check uevent as shown in Figure 10.
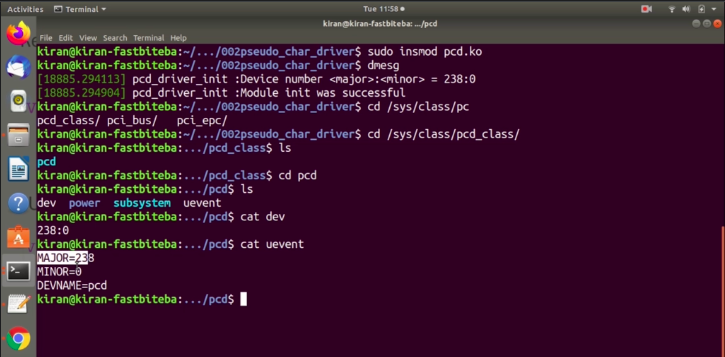
The uevent has our major number details, minor number details, and the device file name pcd. When uevent is received, the udev actually creates the device file under dev directory according to these details.
Let’s check the dev directory ls -l /dev/pcd as shown in Figure 11.
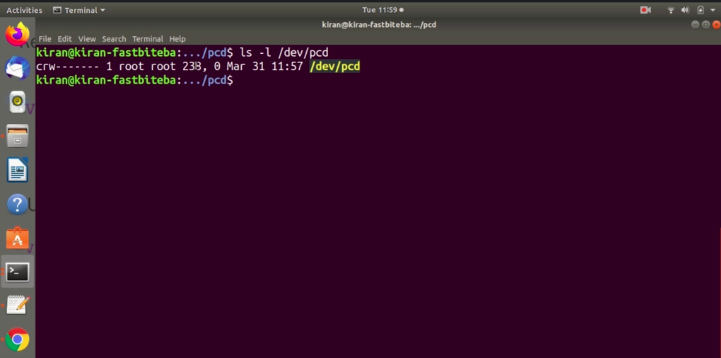
We created our device file, and you can see the major and minor number. The device_create kernel function actually populated this directory with all these information, and class_create kernel function actually created this directory pcd_class under /sys/class as shown in Figure 12.
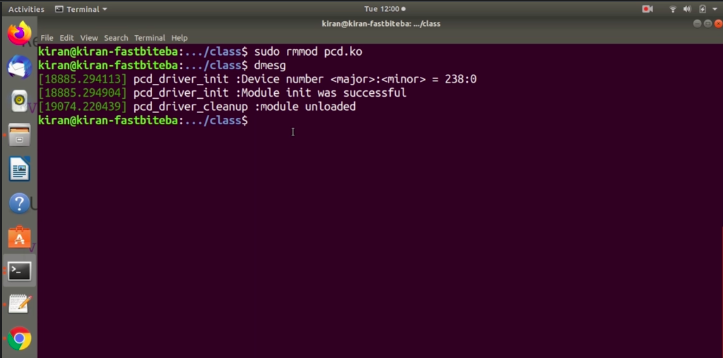
Let’s remove the module, sudo rmmod pcd.ko, as shown in Figure 13. You can see that module is unloaded.
FastBit Embedded Brain Academy Courses
Click here: https://fastbitlab.com/course1

