Exercise: Modifying I2C transactions
In this article, let’s discuss the procedure to make the slave send more than 32 bytes of data to the Arduino master. For this, you have to modify the earlier application.
Steps:
1. Create a new application and give the name 014i2c_slave_tx_string2.c, as shown in Figure 1.
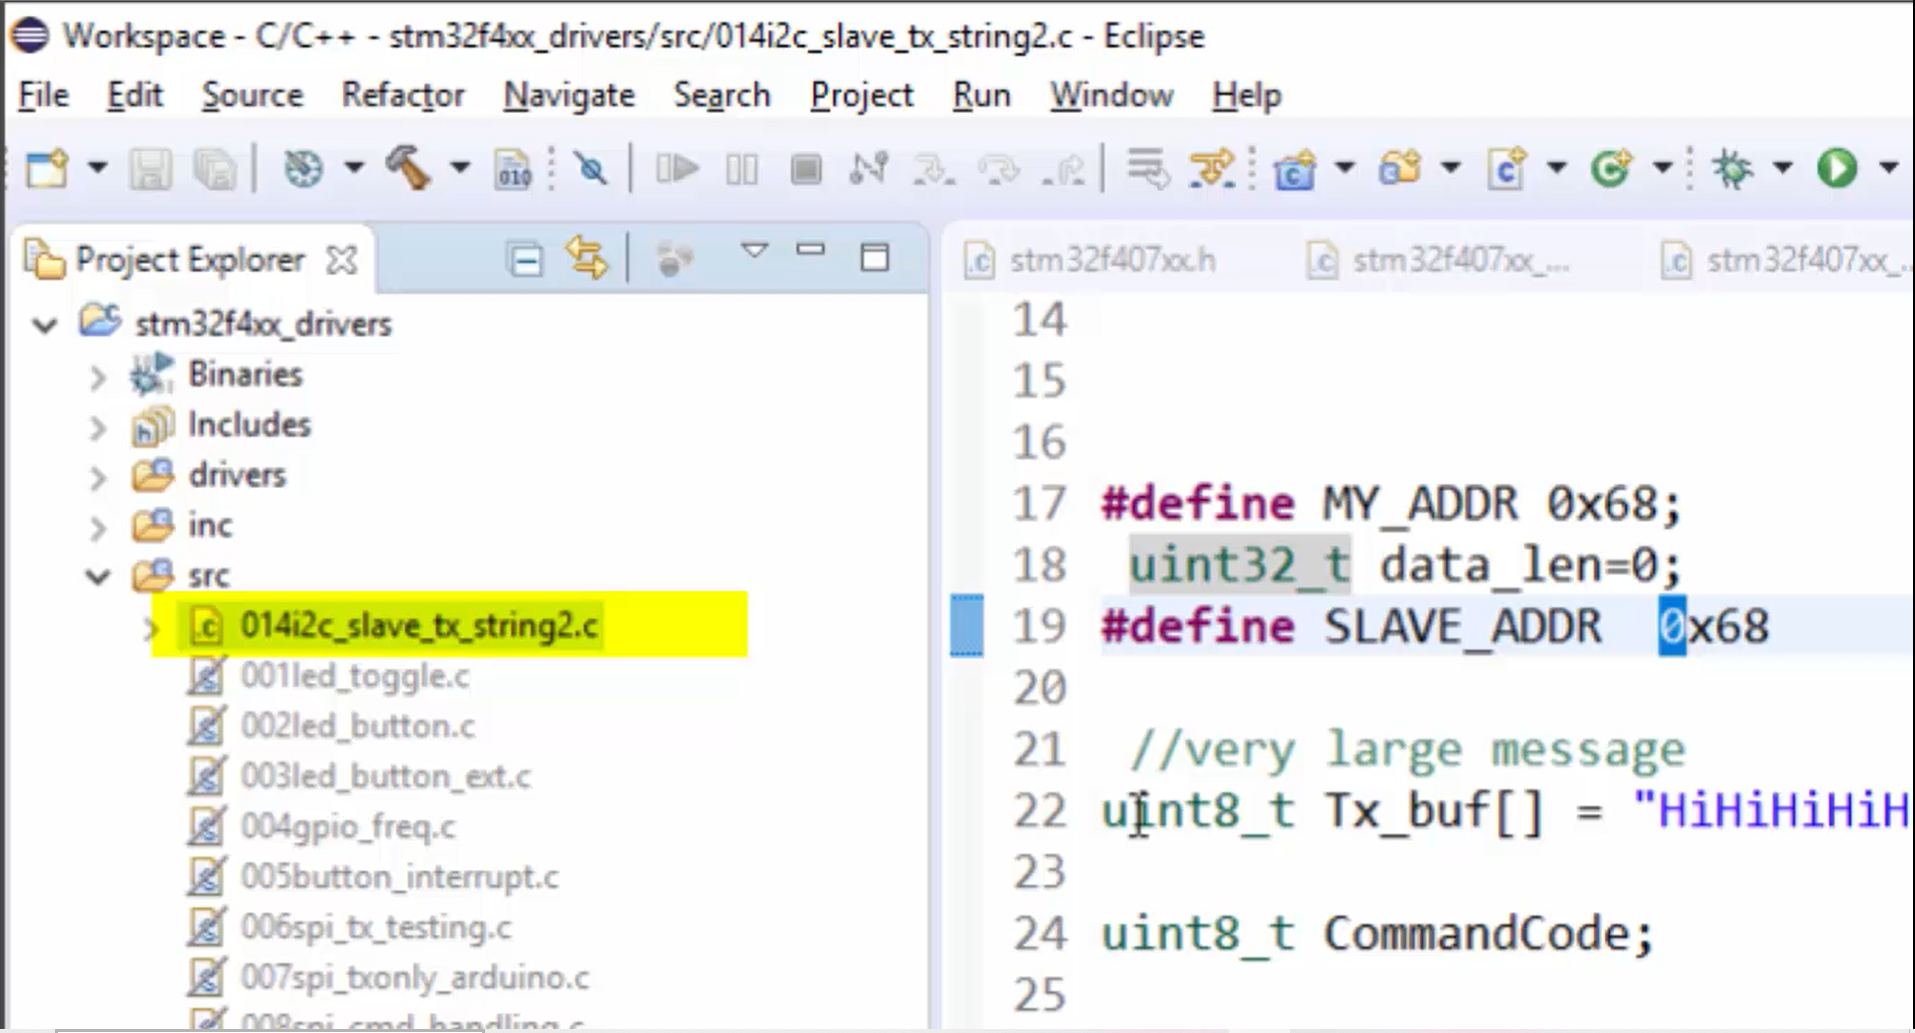
2. You can see that the Tx_buf shown in Figure 2 has a large number of data, approximately it is around 400 bytes. Now let’s see how the master can fetch this data from the slave using I2C transactions.
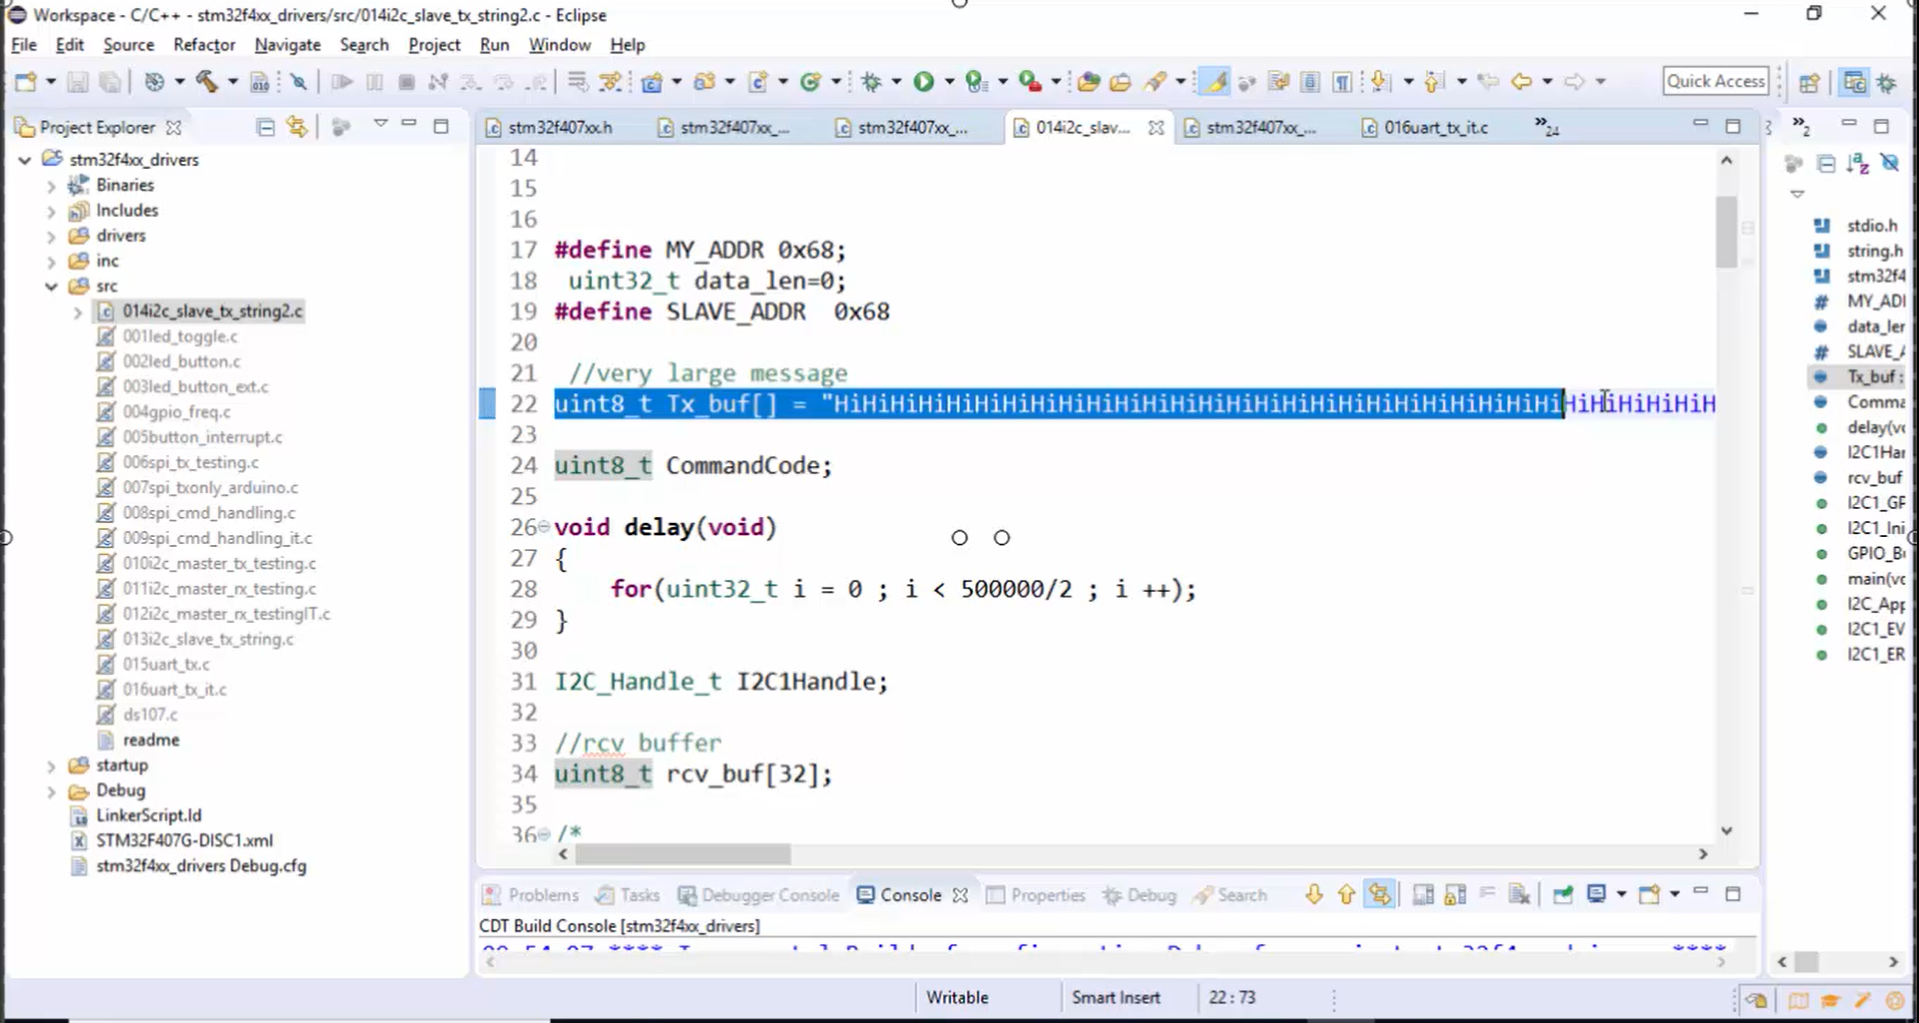
3. For this application, you have to make certain modifications to the earlier application. Now let’s discuss them one by one.
4. First, the master executes the I2C transactions to read the 4 bytes of length information. Now the length information will be 4 bytes instead of 1 byte, which you used in the previous exercise.
a. Master sends the command 0X51 (Figure 3) to the slave to read the length information.

b. After sending the command, the master executes data read I2C transaction and slave replies 4 bytes of length information. For example, if the length is 0X480, then the slave returns the length information to the Arduino code, as shown in Figure 4.
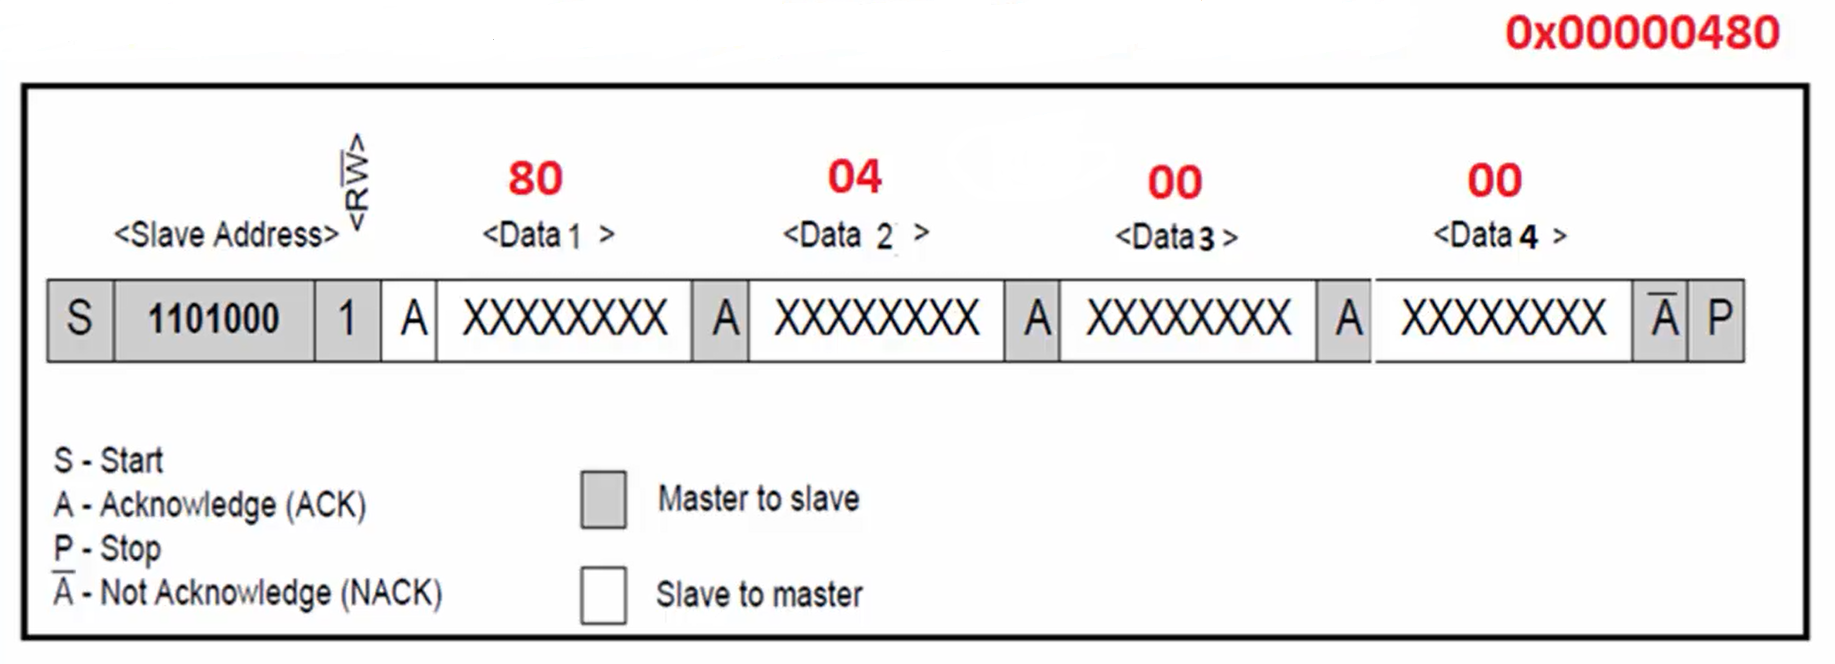
5. After that, the I2C transactions to read length bytes of data from the slave are performed.
- First, the master sends the 0X52 command to read the data (nothing but data write transaction shown in Figure 3).
- If the length is lesser than or equal to 32 bytes, then only one read transaction will be performed by the master (Figure 5). Otherwise, more read transactions will be performed by the master (Figure 6).


For example, let’s say the length is 65. Since, in one read transaction, it is possible for the master to read only 32 bytes, you need 3 I2C read transactions to read the data of length 65 bytes.
All the steps discussed above are already implemented in the 014-application shown in Figure 1.
6. On the Arduino side, you have to use the application 003ICMasterRxStringLen shown in Figure 7.
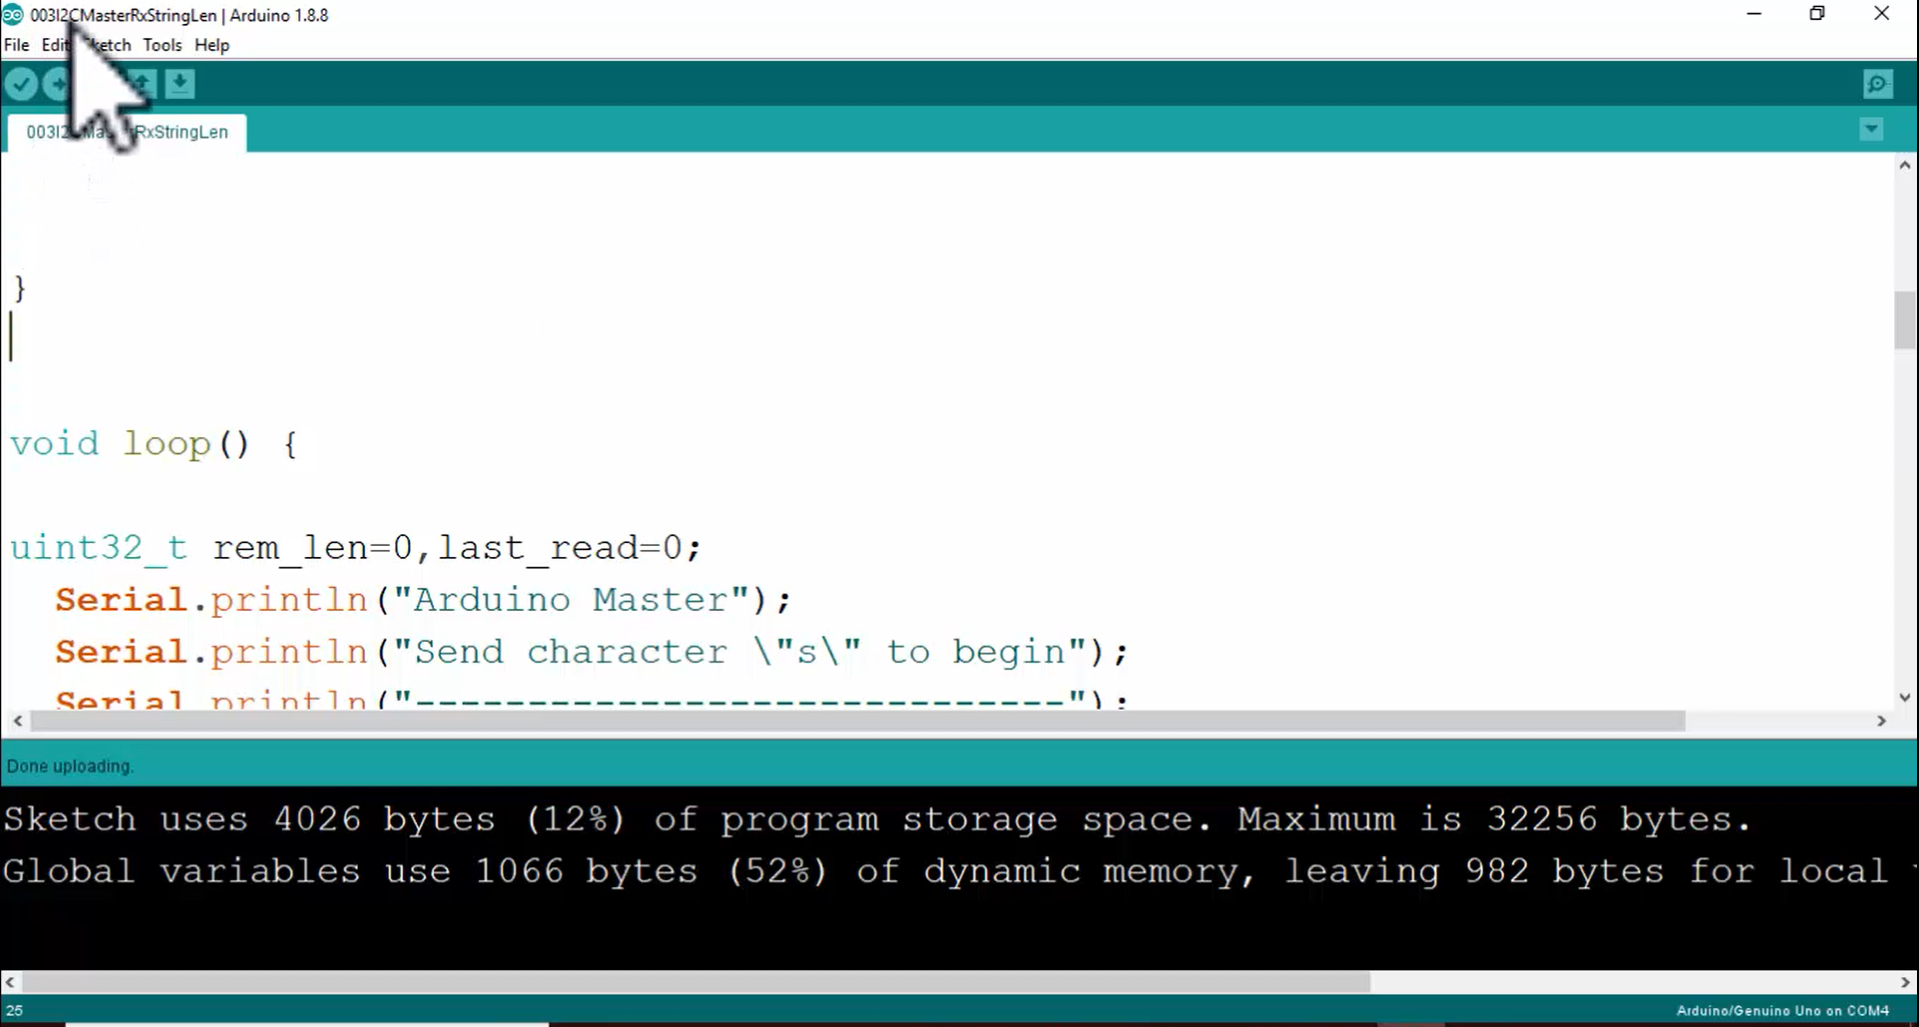
7. Now let’s test this application. First, download the code into the master, which is our Arduino board, by clicking on the upload button (Figure 8).
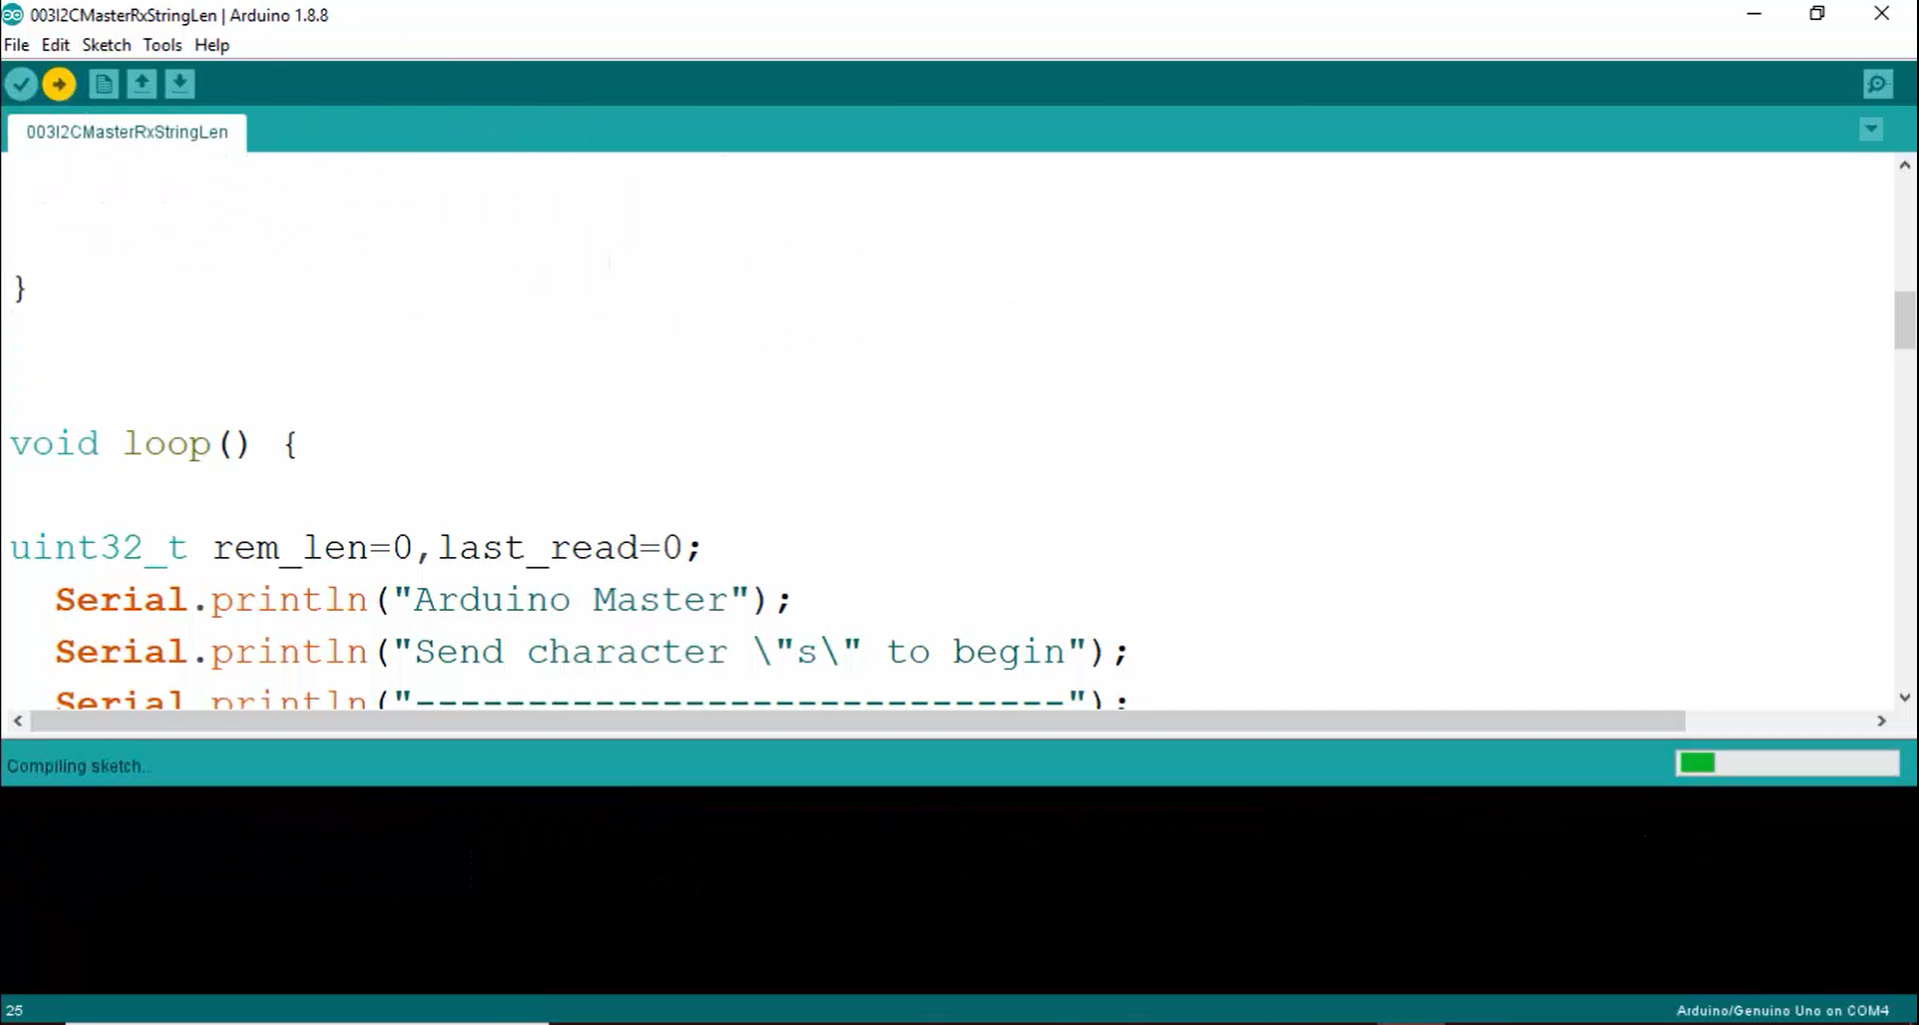
8. Go back to the application (STM code).
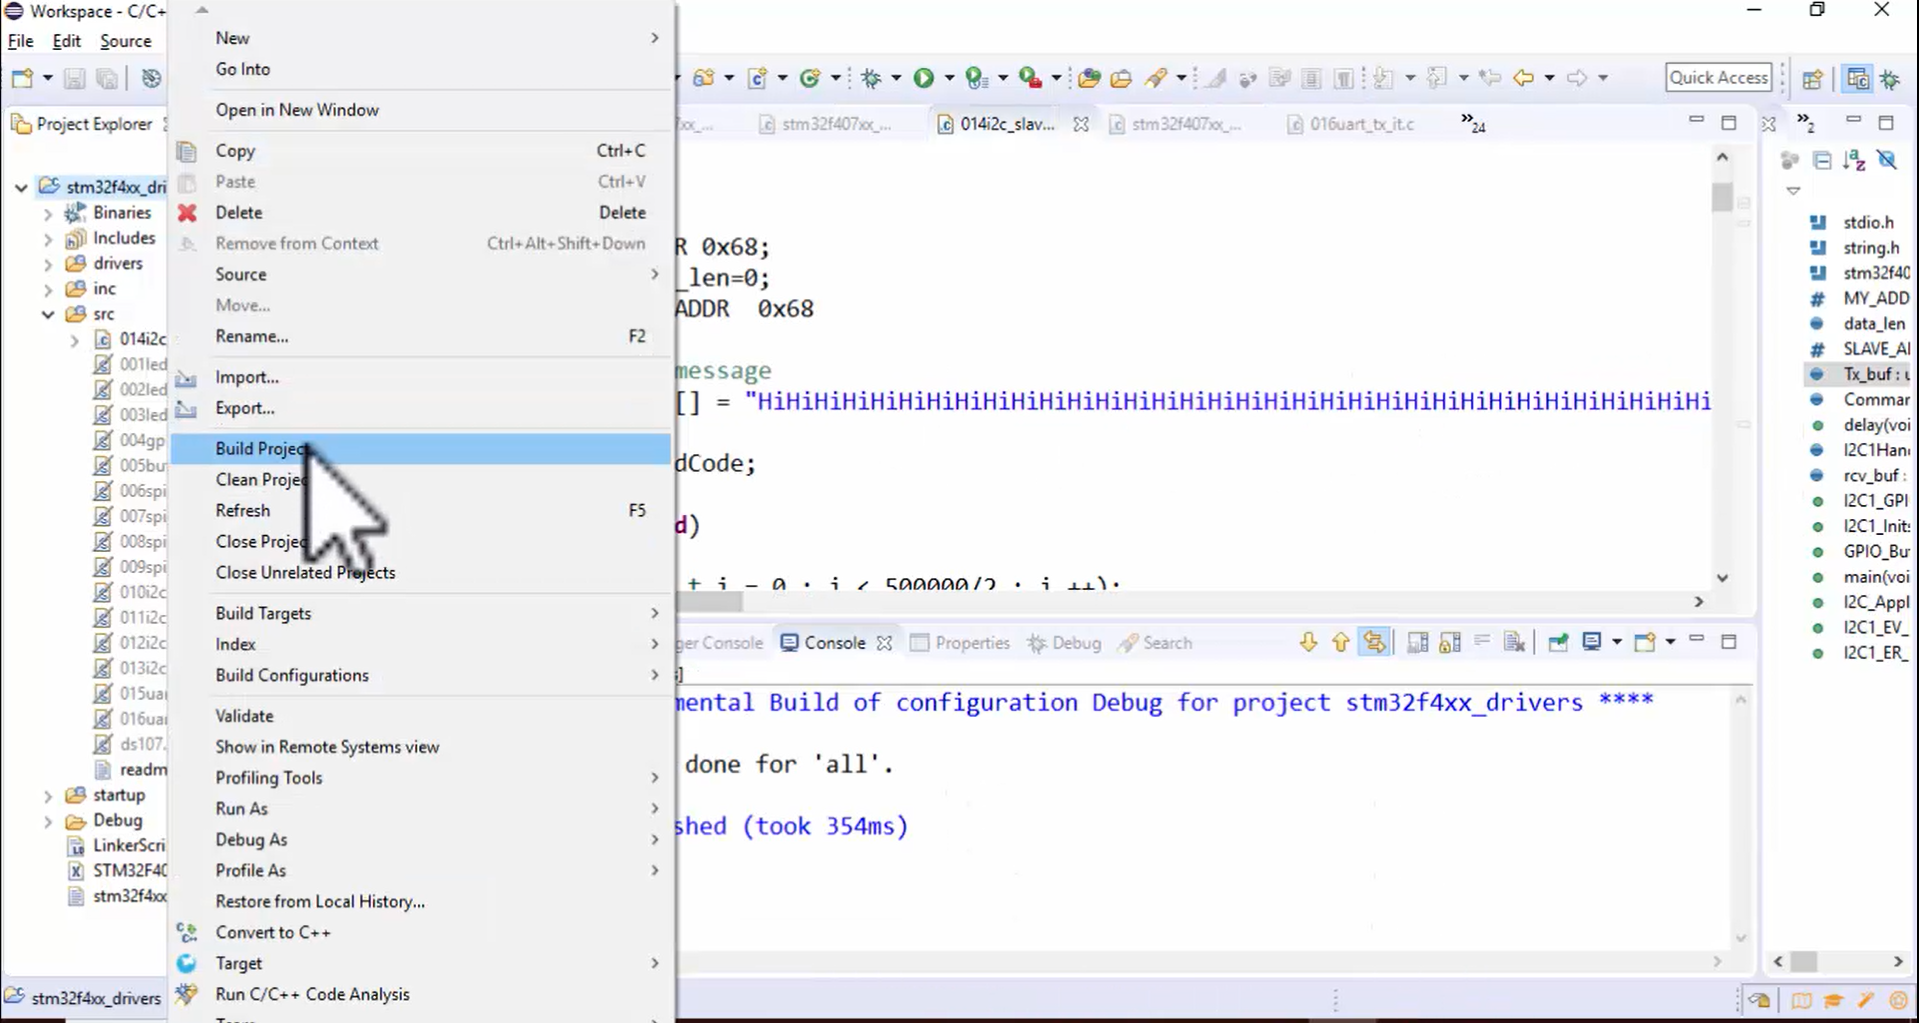
9. Compile the code (Figure 9).
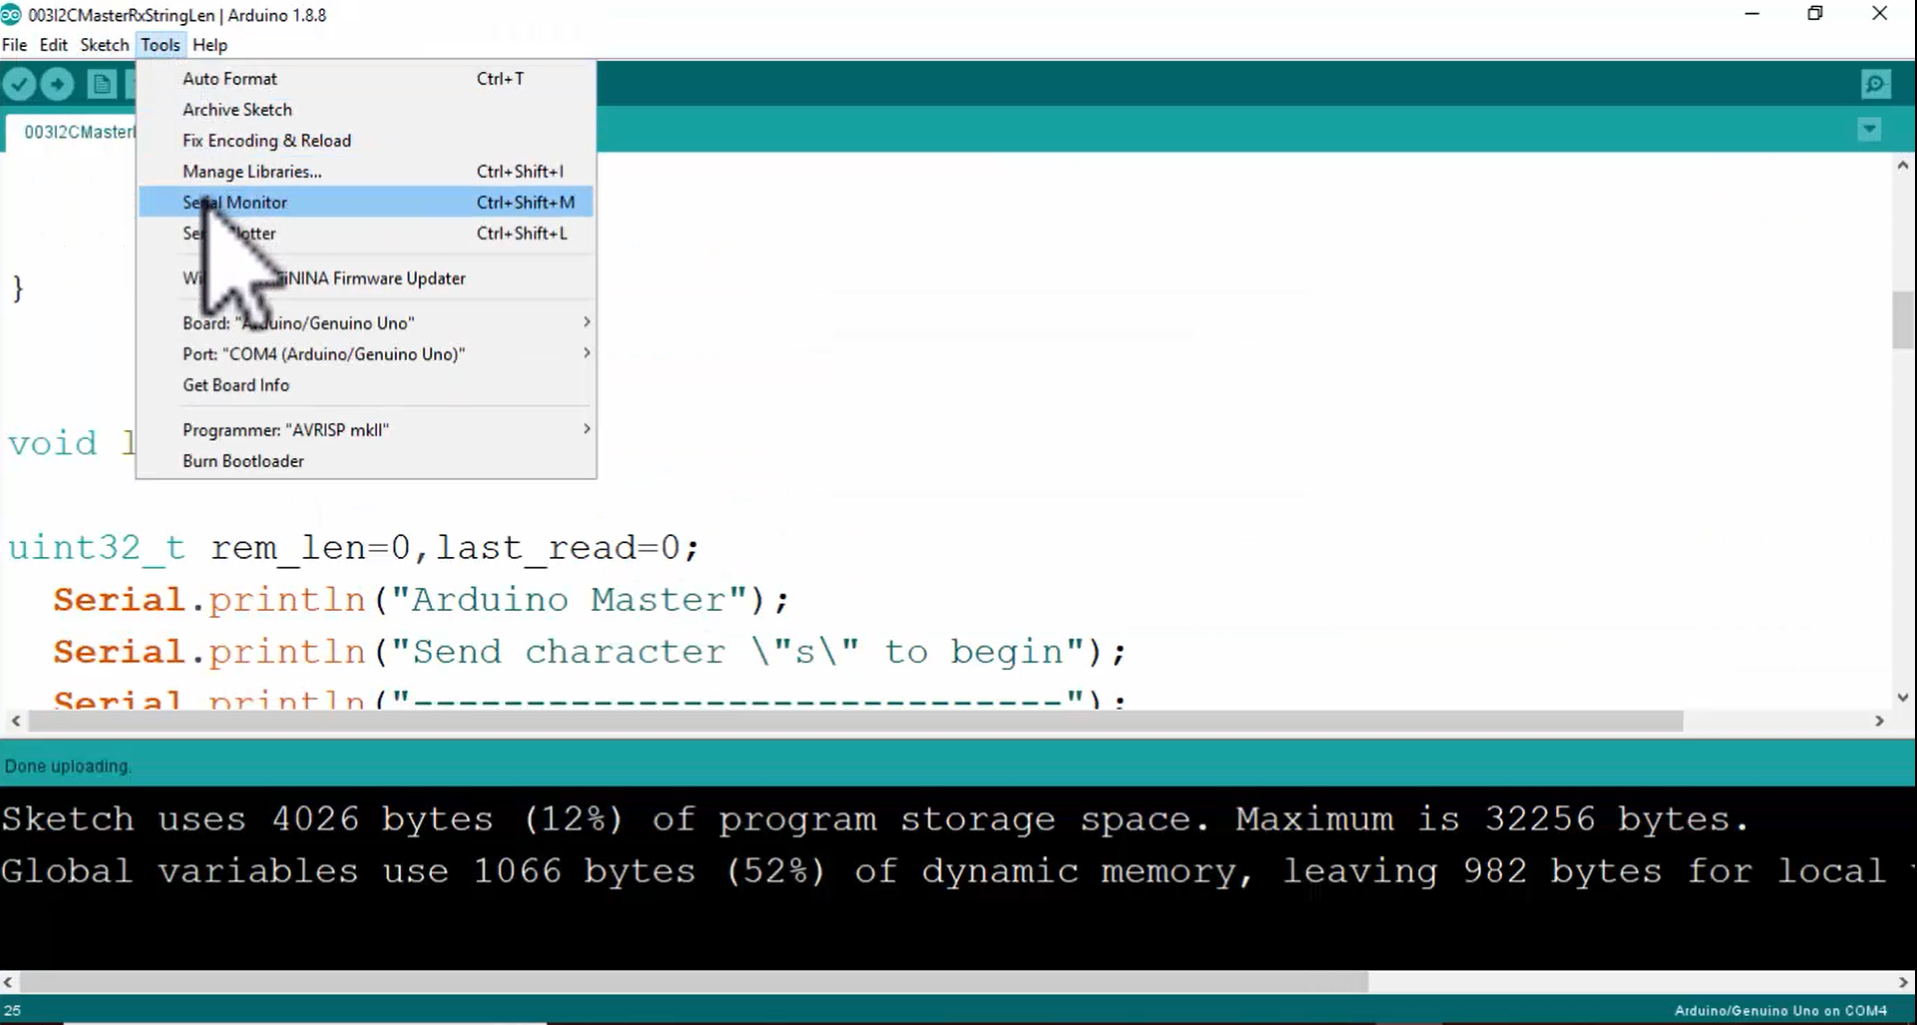
10. Open the serial monitor (Figure 10).
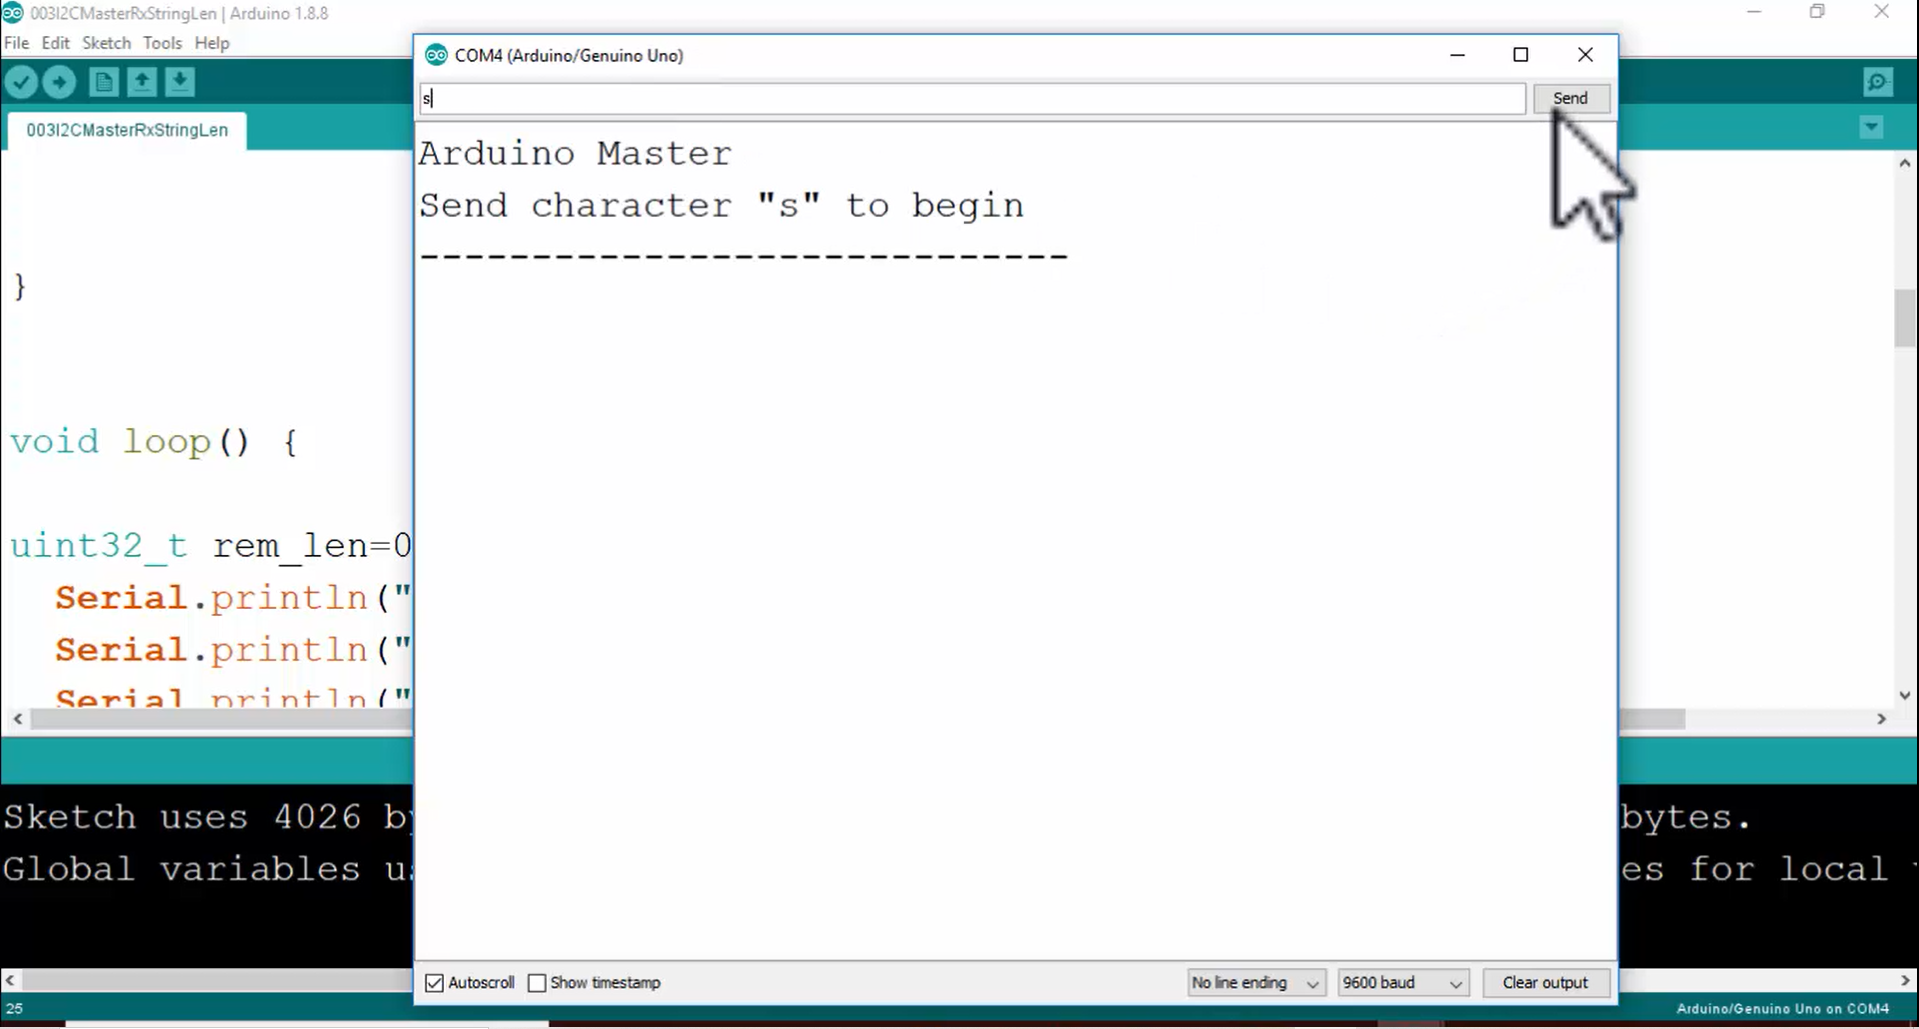
11. Send character ‘s’ to begin the transaction (Figure 11).
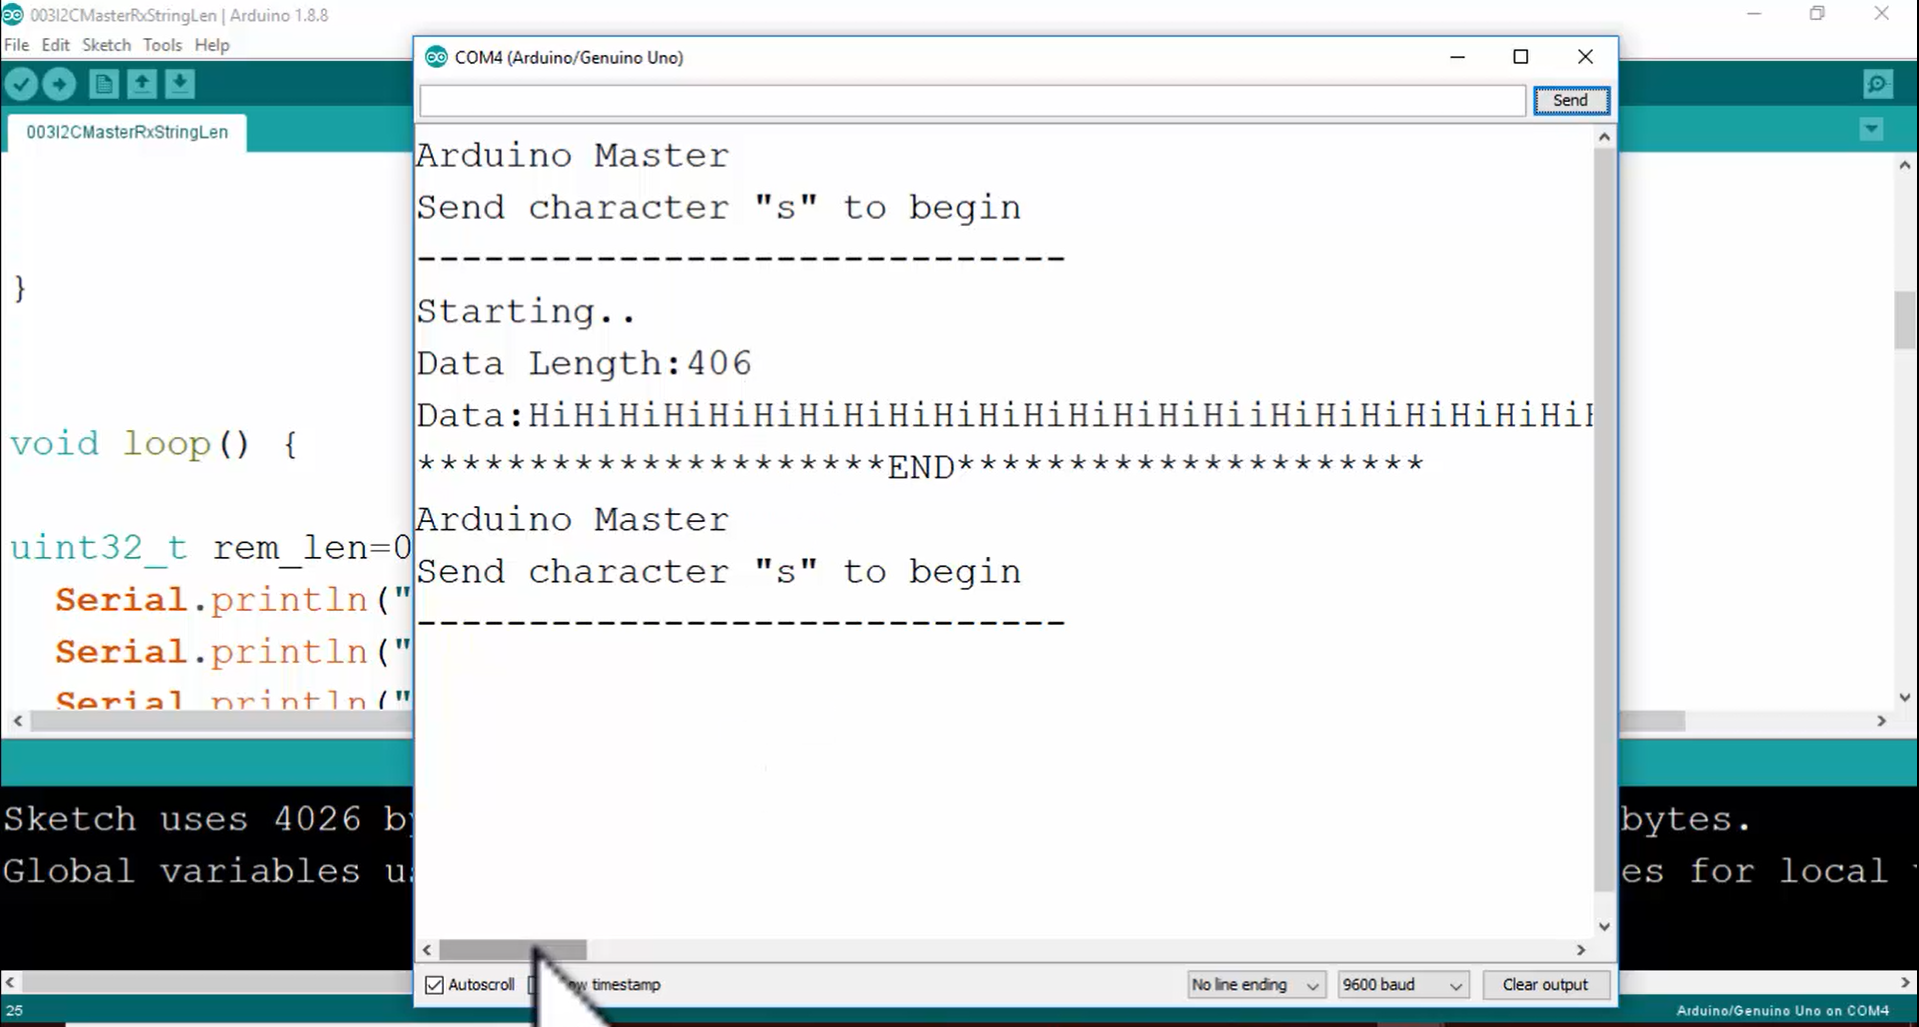
12. Look at Figure 12. The master has fetched 406 bytes of data from the slave.
Go through the code which is there in the application 014. This is the modified version of application 013. Both the applications are almost the same. But some modifications are done since the length of the data is changed.

