Creating a project for the HOST
In this article, let me show you how to create a project using STM32CubeIDE.
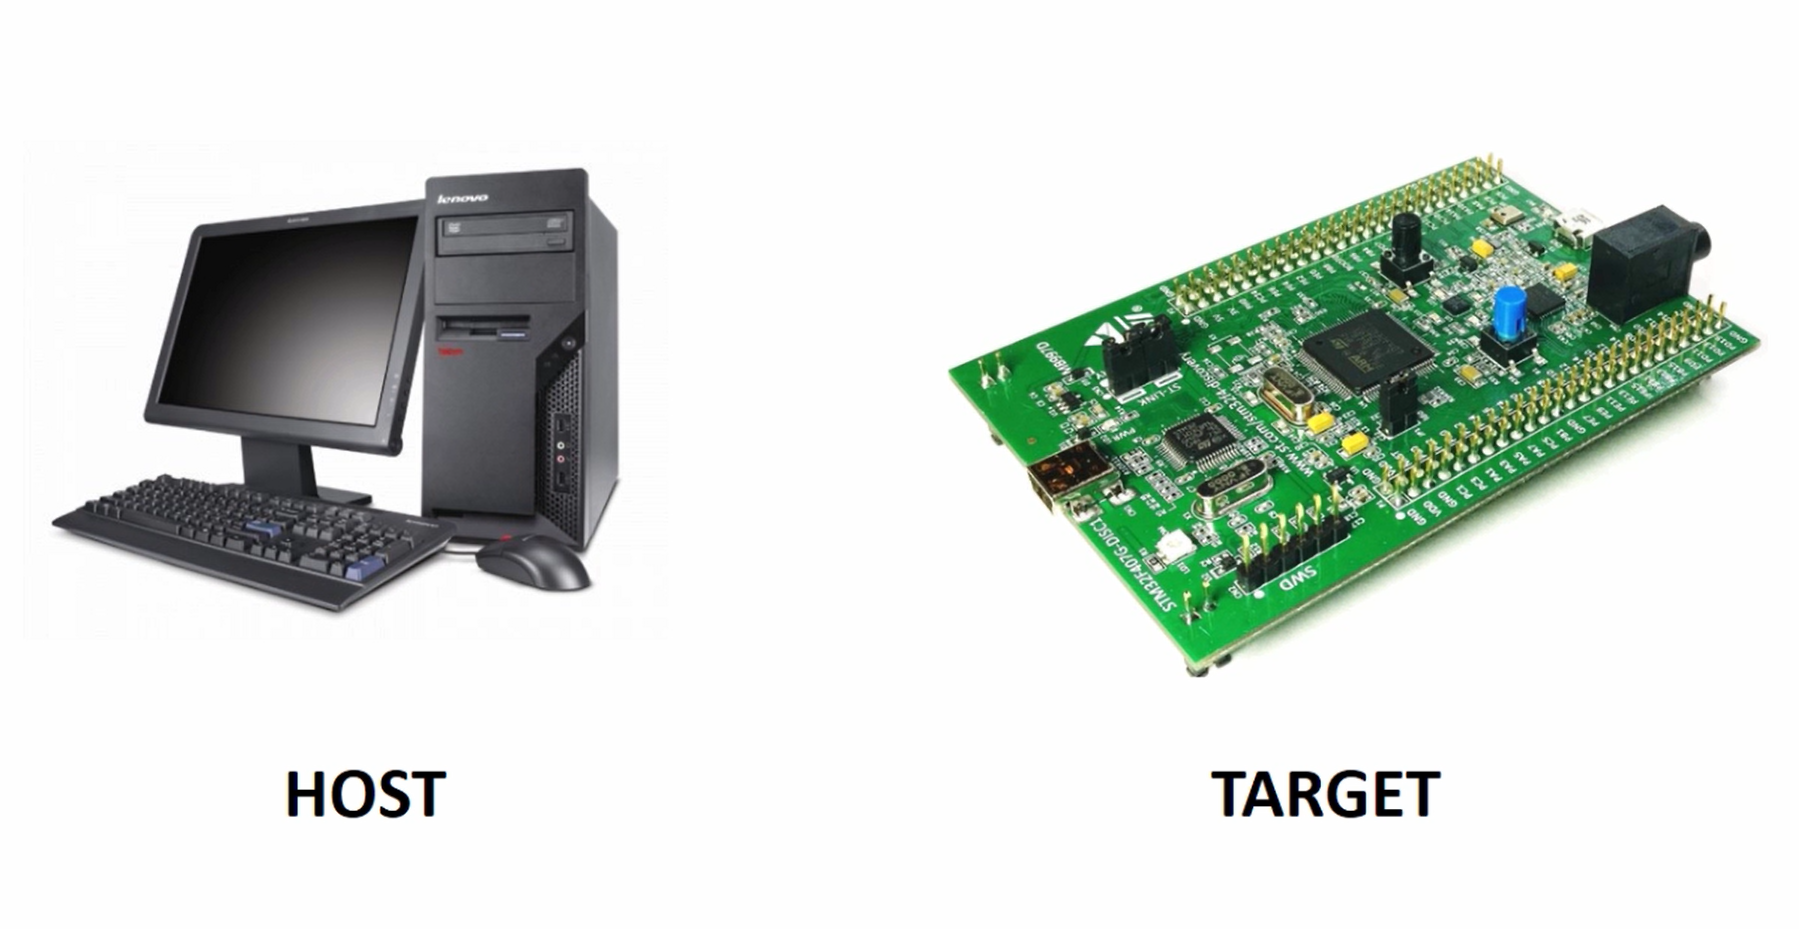
Sometimes, you will be creating a project for our host. That means the project is going to run on our host machine. In my case, the host machine is X86 64 bit machine.
And sometimes, we are going to create a project for our target, and the target in our case is the STM32 microcontroller based Discovery board.
Let’s first learn how to create a project for the host.
Creating a Project for the HOST:
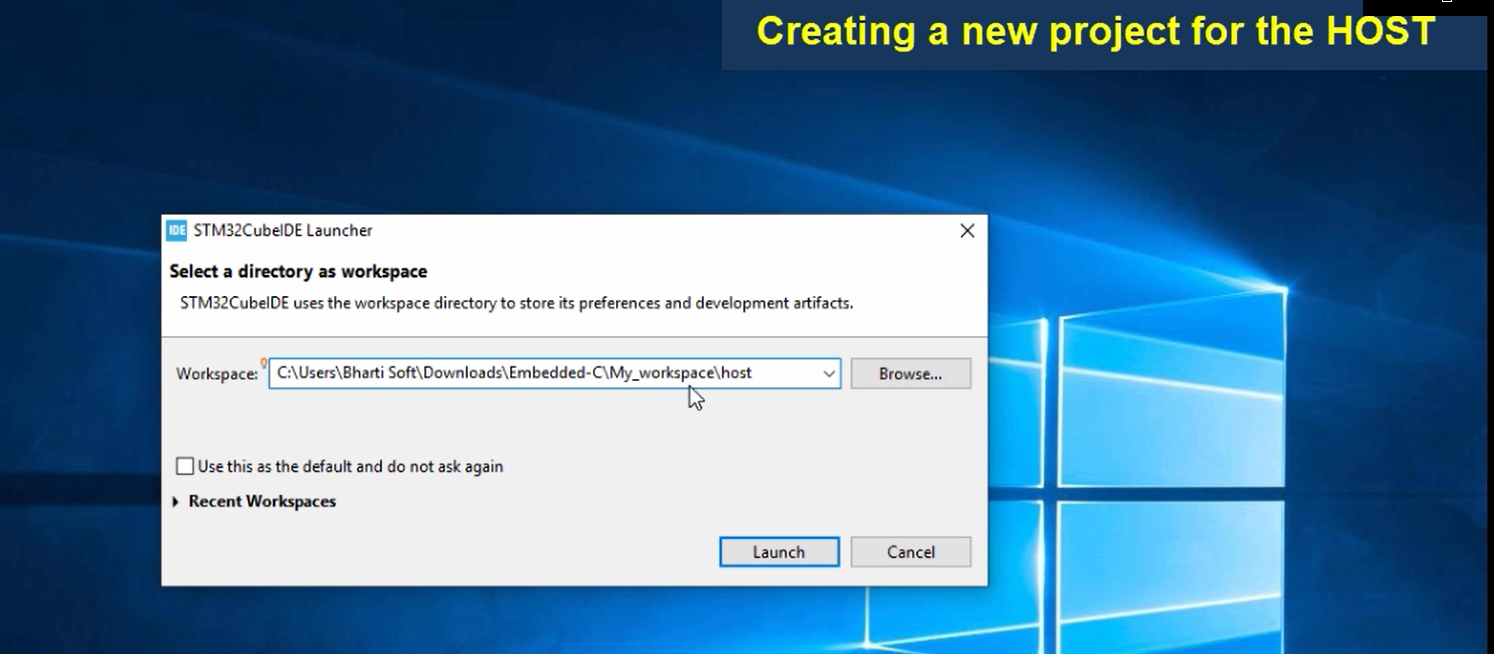
First, launch the STM32CubeIDE. The same IDE you will use, and here we will open the workspace we created for our host. Paste the My_workspace/host directory path and click on Launch.
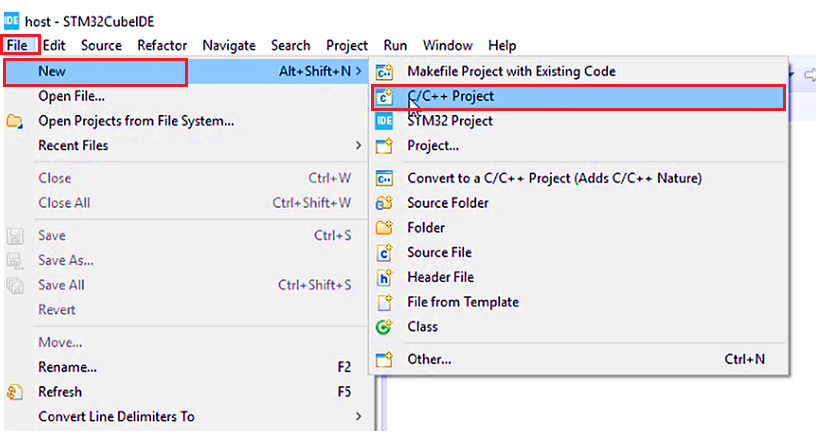
Go to File, go to New, and click on the C/C++ Project.
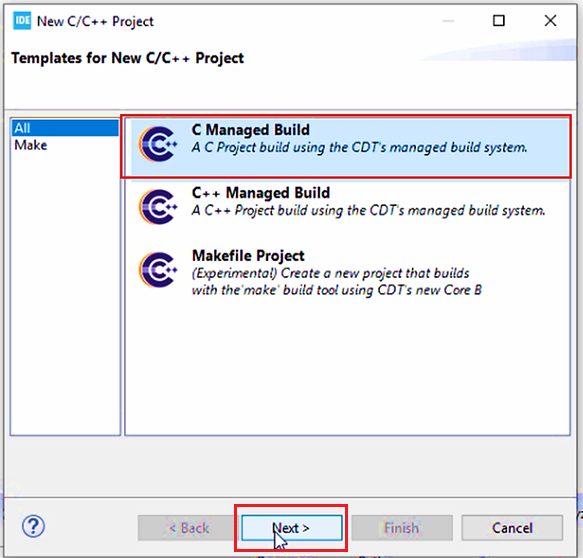
And click on C Managed Build here, and then click Next.
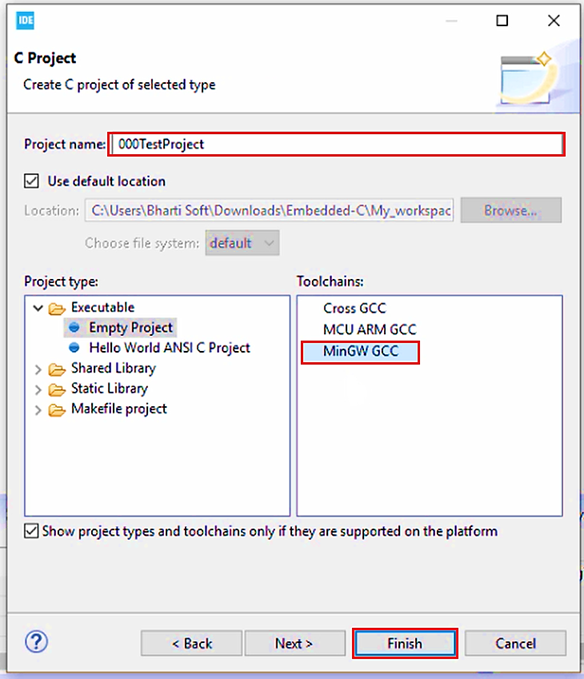
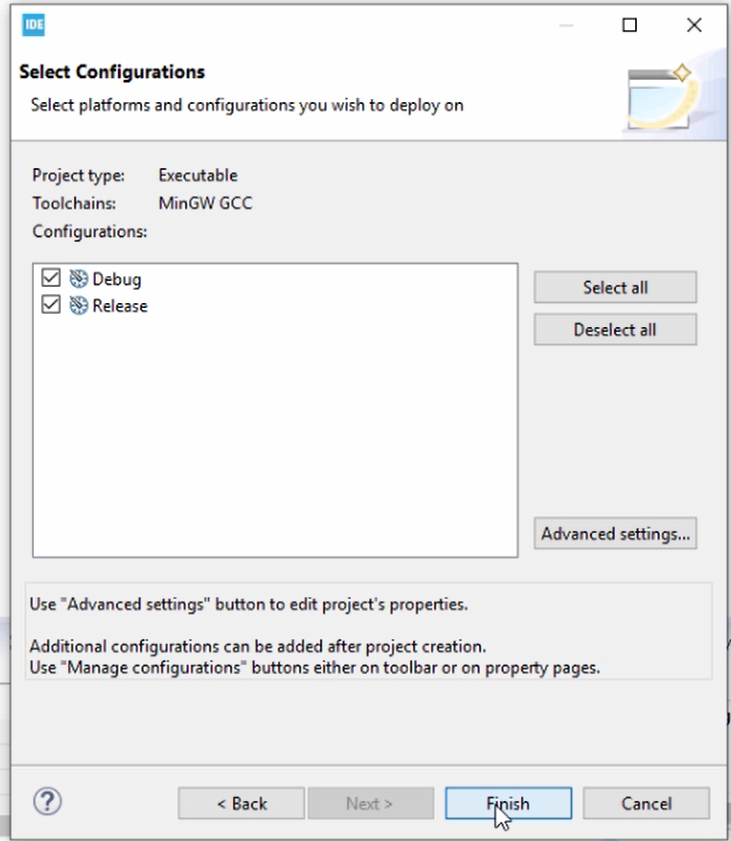
Then you can give the project name. Let me name it as 000TestProject. Select MinGW GCC, and Click Next.
If you create the project under a windows machine, you select MinGW GCC. Do not select MCU ARM or Cross GCC. Why? Because we are writing the application for our host.
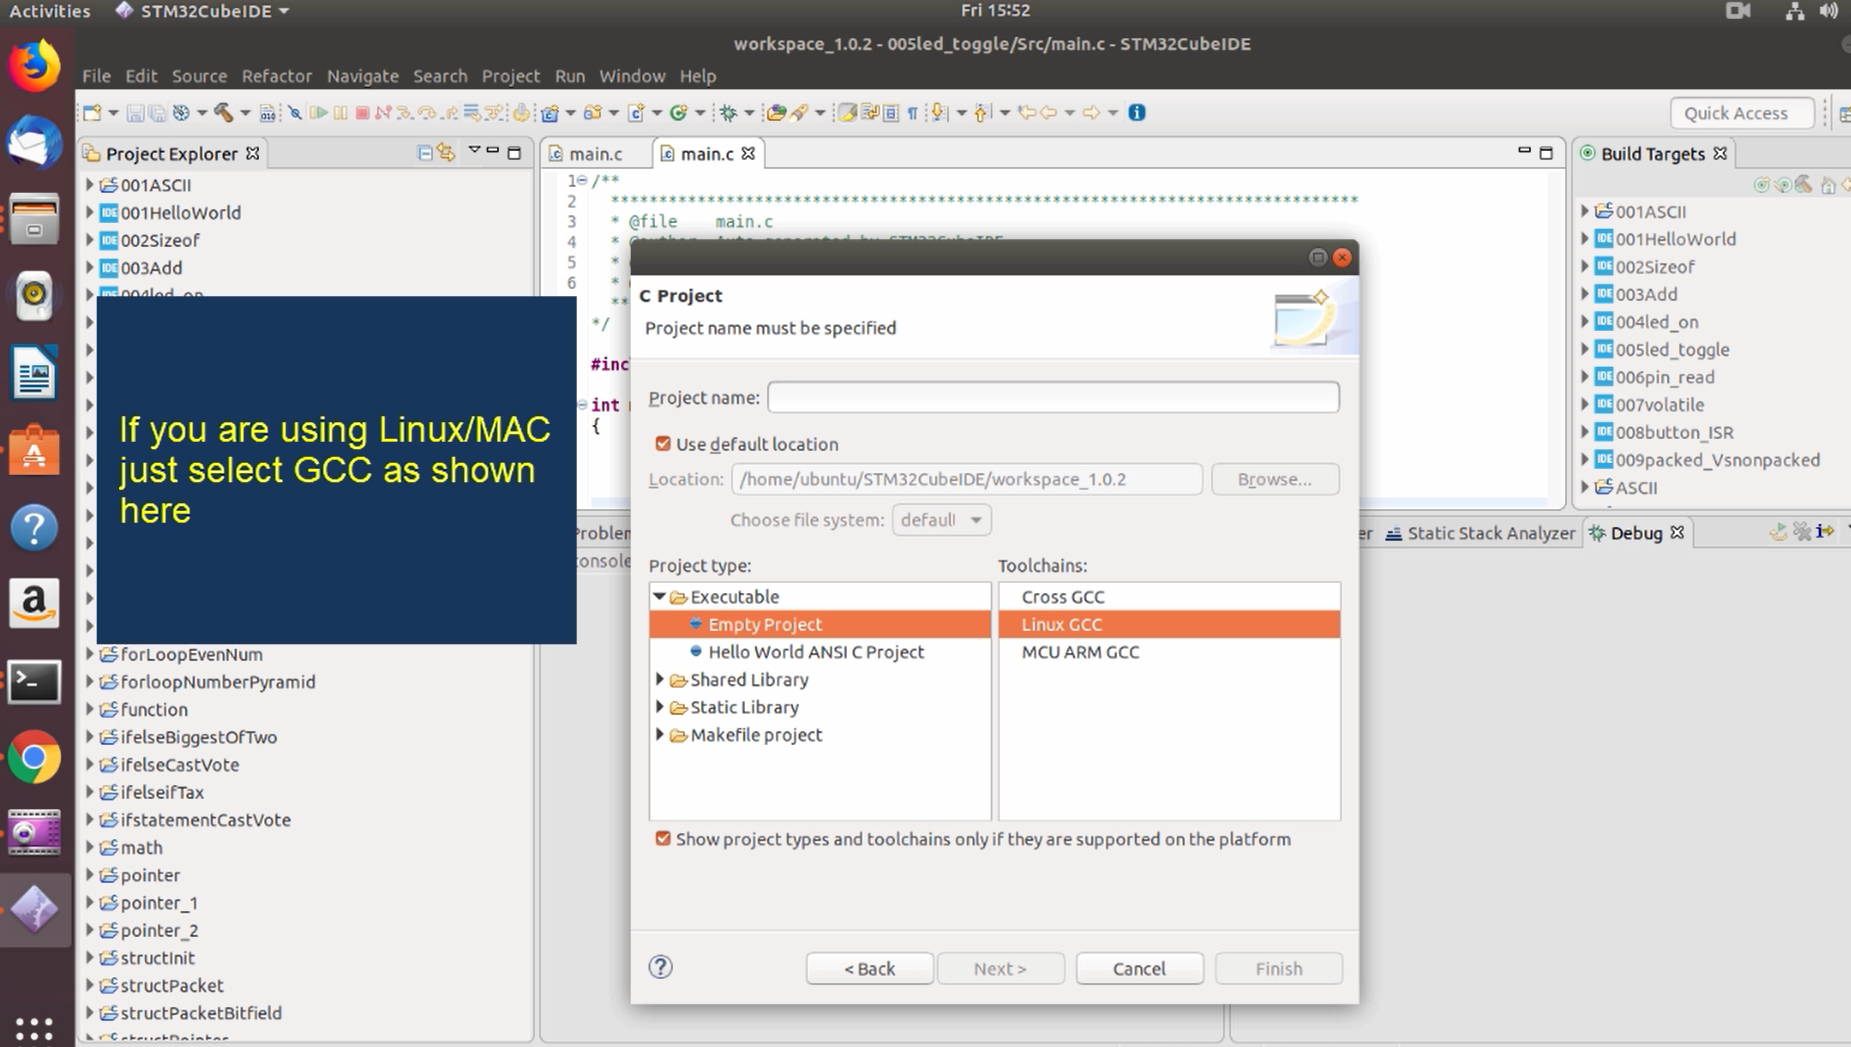
If you are using Linux/MAC just select GCC, as shown in Figure 6.
And after that, you can click Finish.
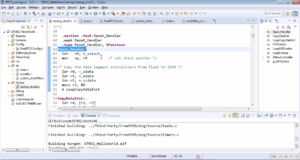
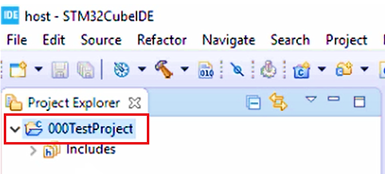
We can see that 000TestProject is created (Figure 8).
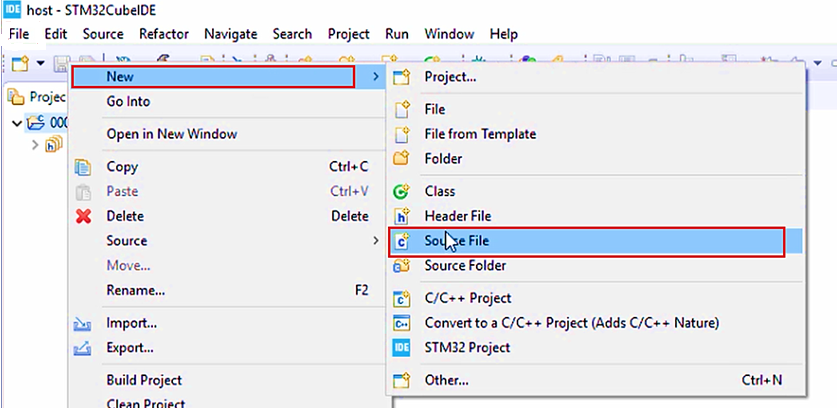
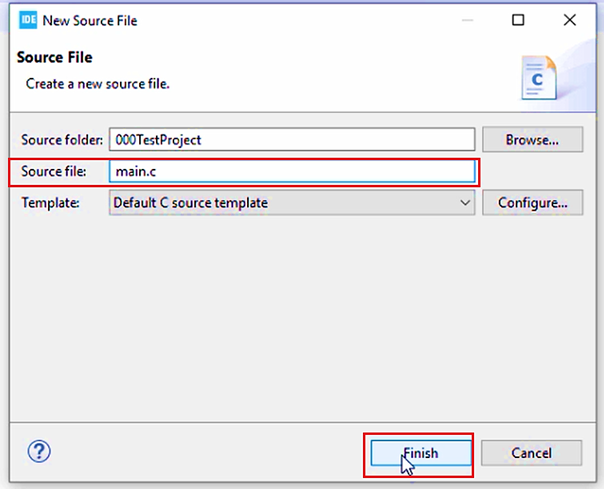
Let’s add a source file. For that, right-click on the project → New→ Source File.
Now add a source file. Let me call it main.c. So, this is a source file where I will write my ‘C’ program.
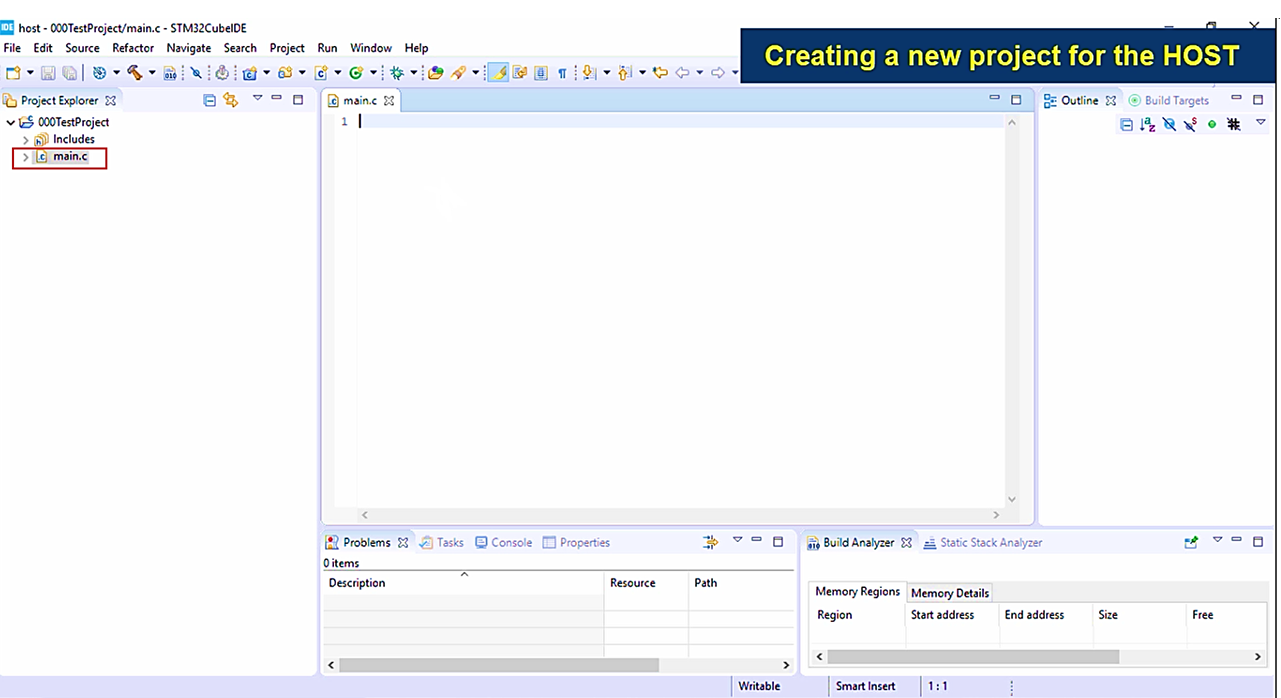
We created a main.c file, as shown in Figure 11. And here we are going to write the code.
Let me quickly add some code. Now I just added a small code snippet into the source file main.c, shown in Figure 12. You need not understand this code anyway. I just added some code to show you how to build and test the code.

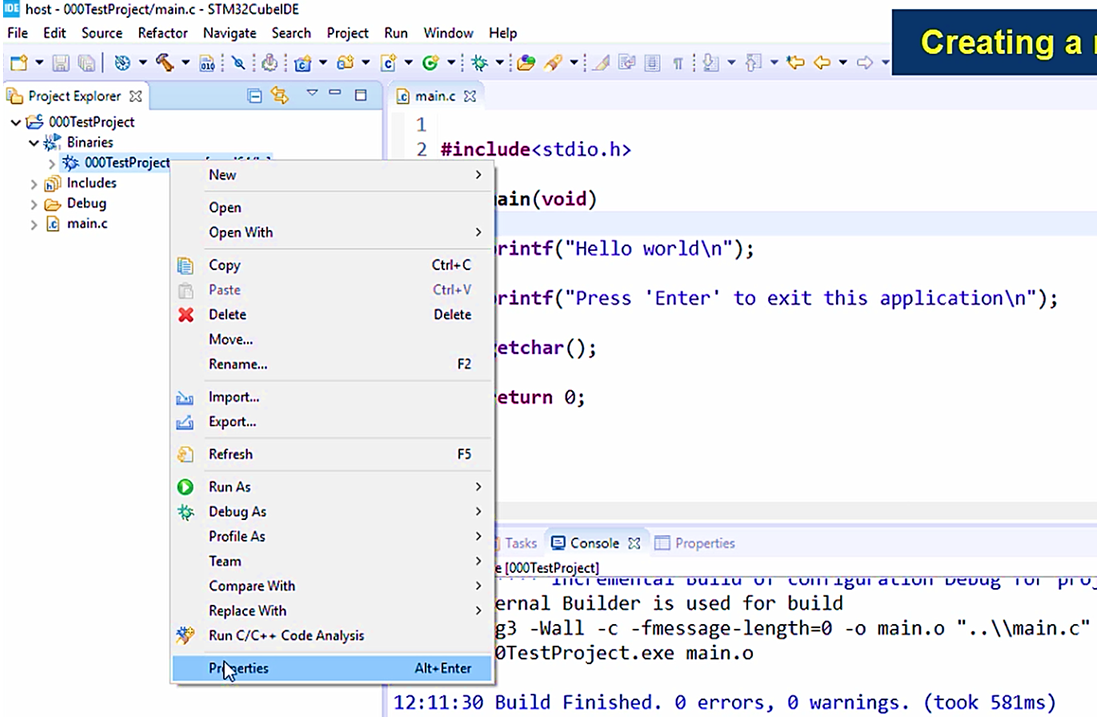
Once you write your code into the source file, what you have to do is, you have to build the project. For that, right-click on the project and then select build project.
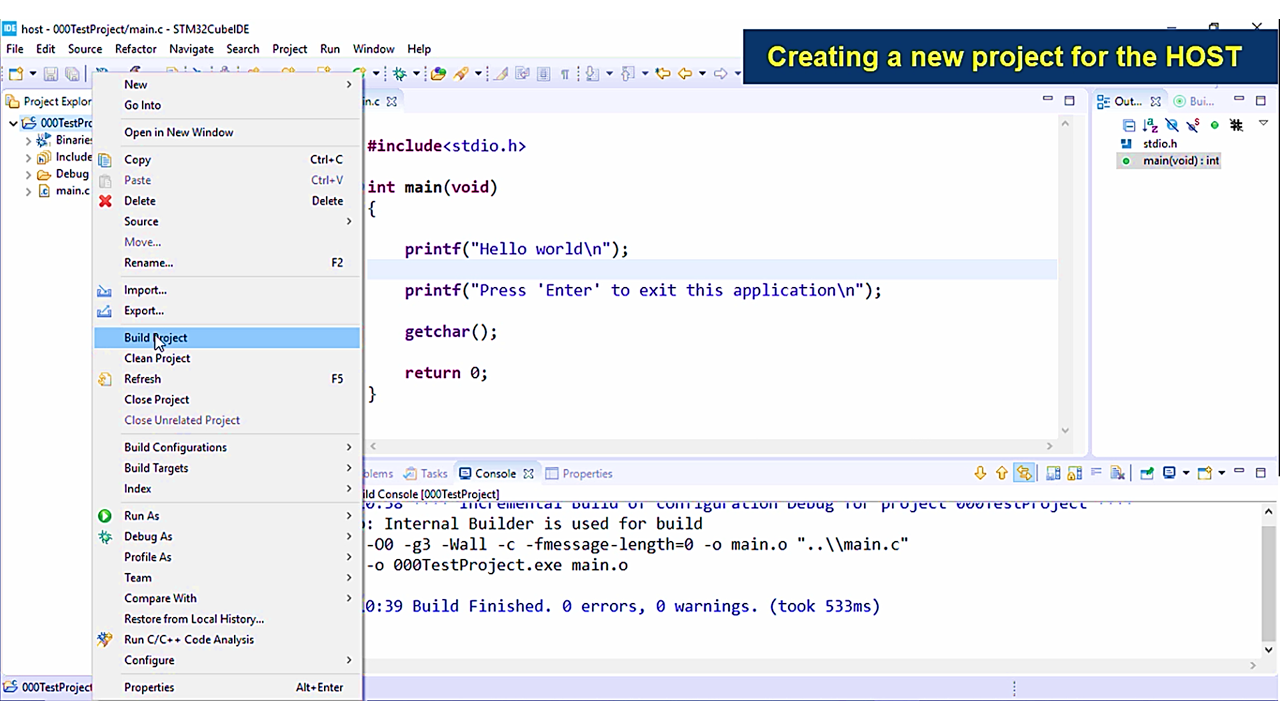
And then, check the console window; it will show you all the build logs.
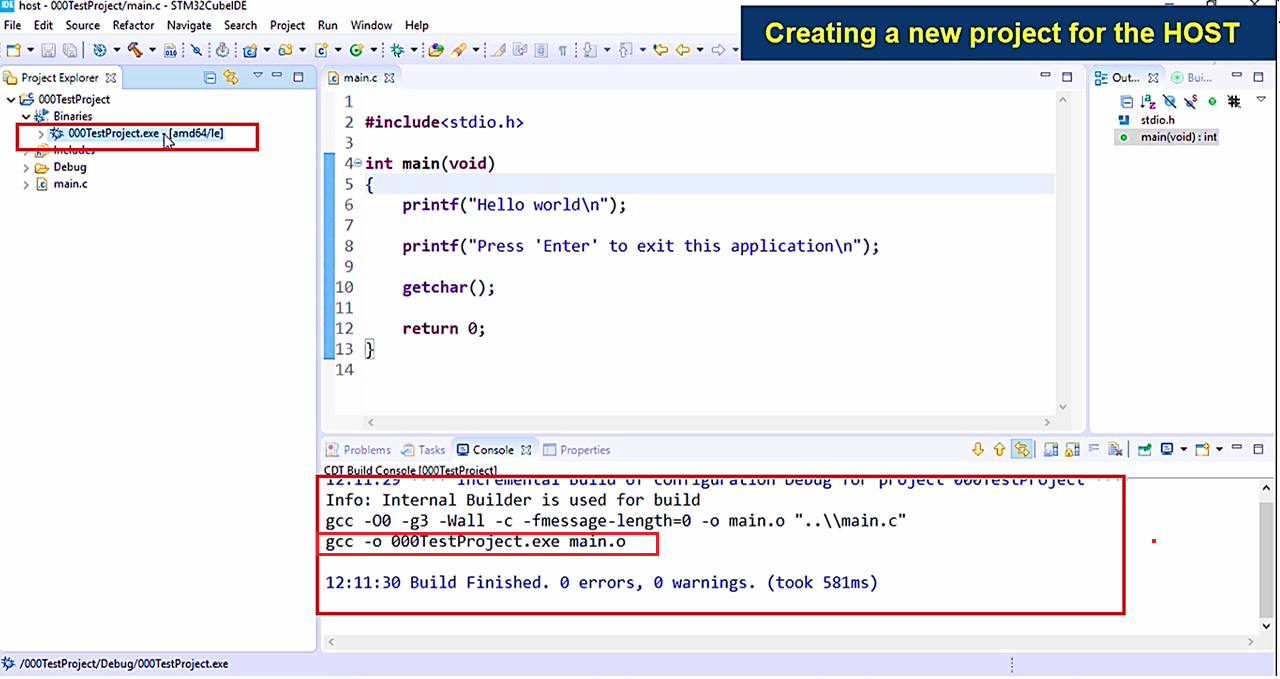
For example, let me do it once again. Let me build the project, and here we can see in the console that the project is build successfully and the 000TestProject.exe file is created. ‘exe’ means that it is executable. You can also see this 000TestProject.exe file under Binaries. You can execute this file.
For that, you have to go to this 000TestProject.exe file path. Right-click on this exe file, and select properties, as shown in Figure 15.
And then click on the Show In System Explorer icon here.
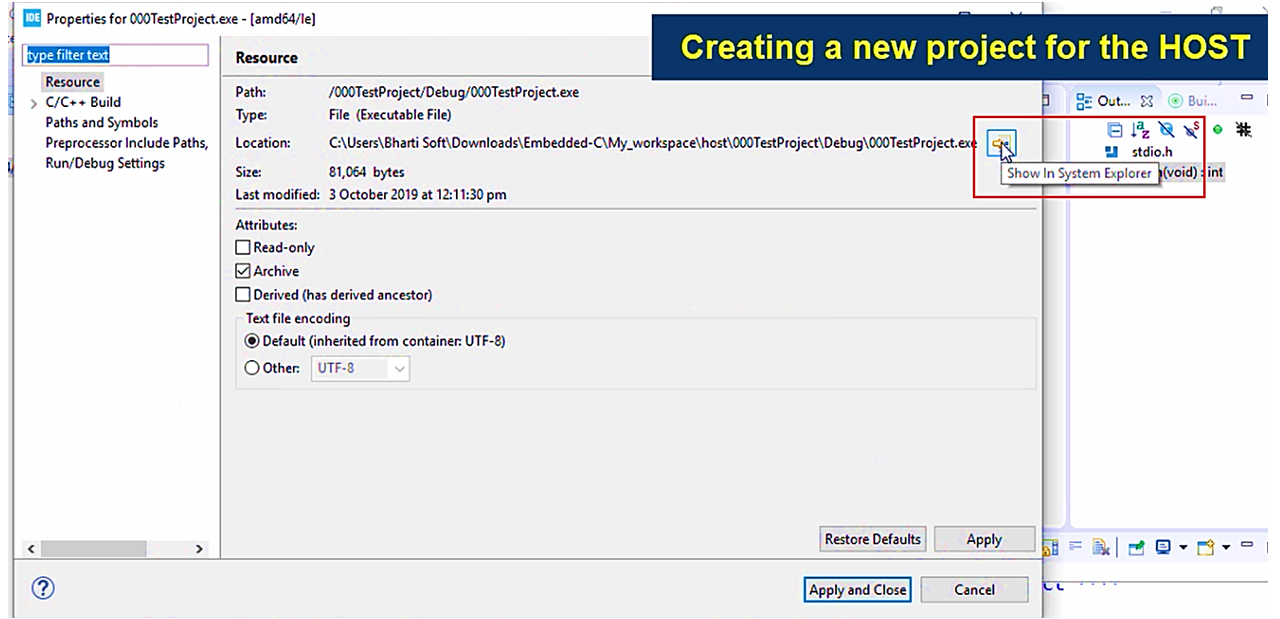
So, which will open the folder where that exe file is present. The exe is present here( See Figure 17).
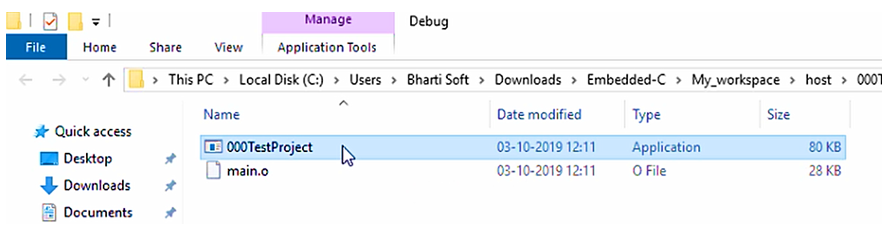
Launch that as a windows command prompt application.
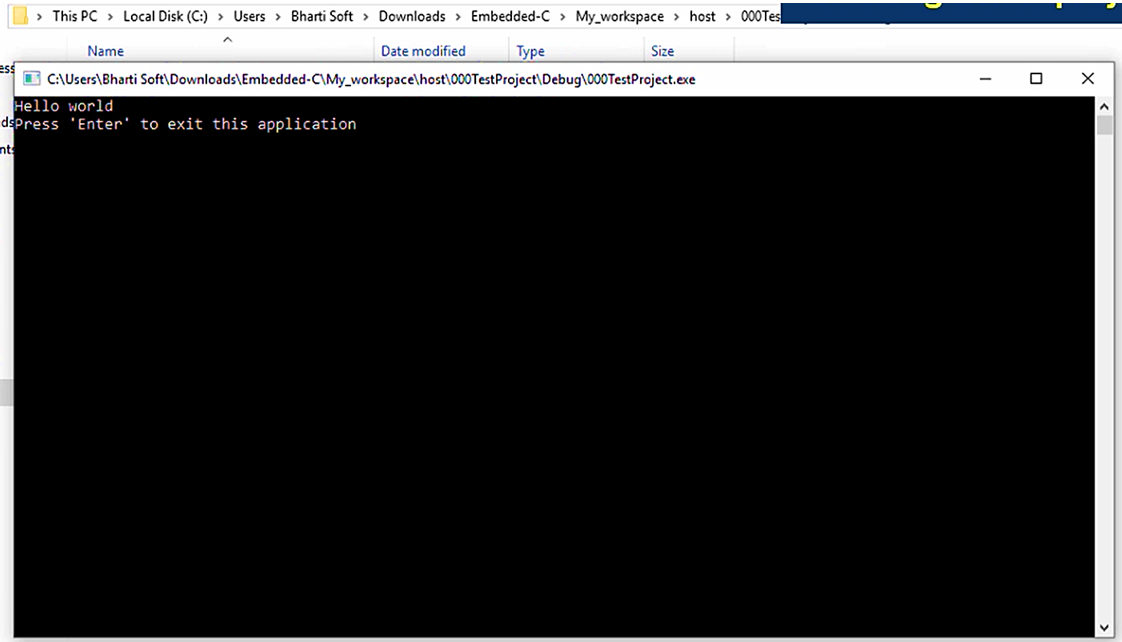
That’s how you build and test the code by using the STM32CubeIDE for the host. In the following article, let’s learn how to create a project for the target board.
FastBit Embedded Brain Academy Courses
Click here: https://fastbitlab.com/course1