Roaring tiger demo on STM32F746-DISC board
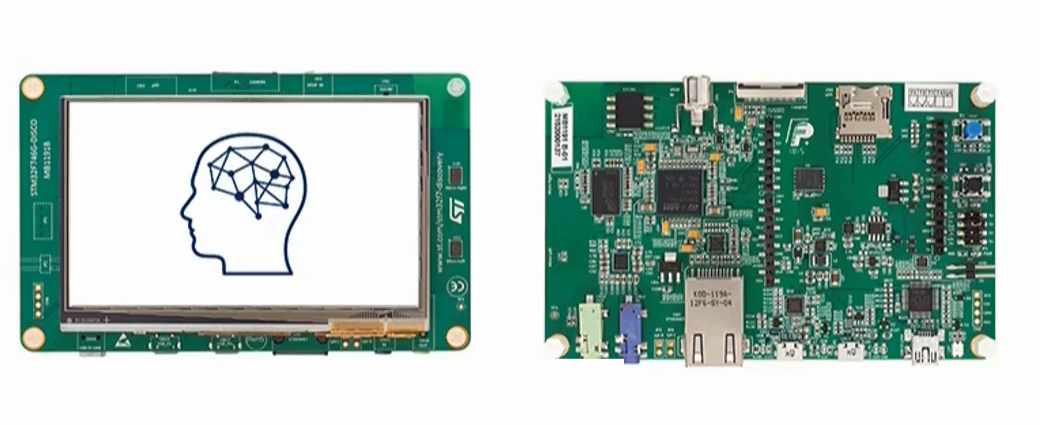
In this article, let’s see the Roaring tiger demo for the 32F746GDISCOVERY board.
Creating a roaring tiger demo on the STM32F746-DISC board involves using the board’s display and touch functionalities to animate a roaring tiger image.
Below are the general steps to achieve this:
Step 1: Set up STM32CubeIDE and LVGL
Ensure you have STM32CubeIDE installed and set up for your STM32F746-DISC board.
Additionally, you should have the LVGL library integrated into your project. If you haven’t done this yet, follow the STM32CubeIDE documentation and LVGL integration guides.
Step 2: Prepare the Roaring Tiger Image
Create an image of a roaring tiger that you wish to animate. Make sure the image format is compatible with LVGL. Common formats include BMP, PNG, or RGB565.
Step 3: Create the LVGL Project
In STM32CubeIDE, create a new LVGL-based project for the STM32F746-DISC board.
Step 4: Include the Tiger Image in the Project
Add the roaring tiger image to your project’s resources. For LVGL, you typically need to convert the image to a C array using the lv_img utility provided by LVGL.
Step 5: Create the LVGL GUI
Set up the graphical user interface (GUI) with a single image object to display the roaring tiger animation.

It’s very simple. First, just Build the Roaring Demo project.
After that, you can just right-click and select the ‘Run As’ option to download the project into the hardware.
OUTPUT
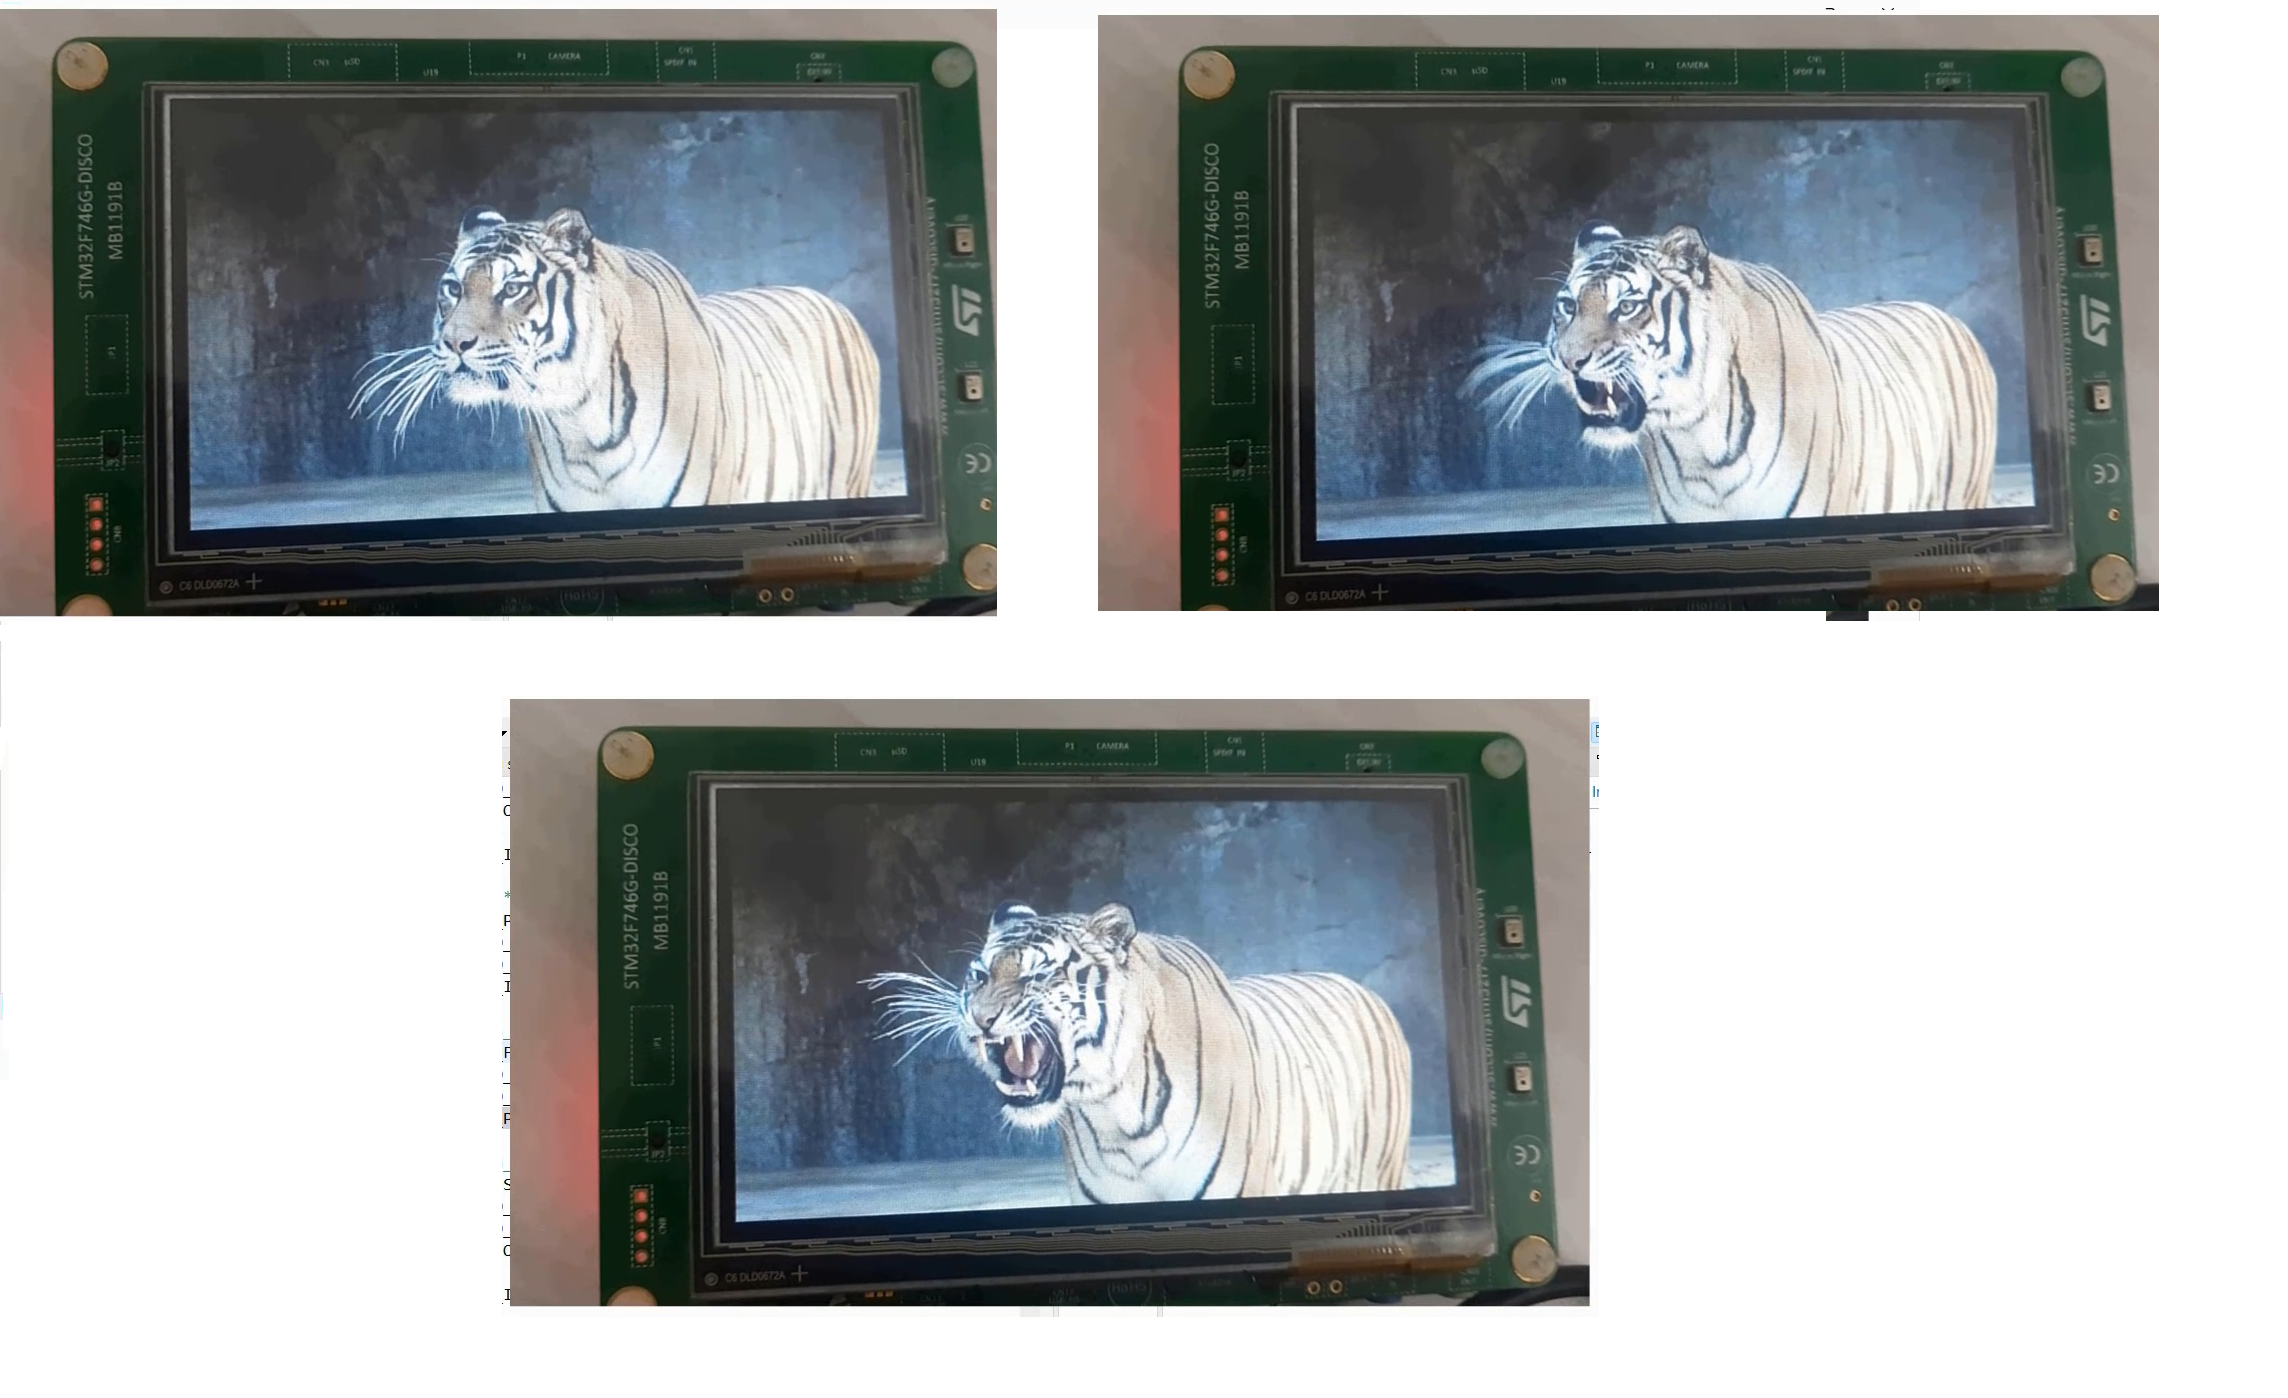
As shown in Figure 2, the Roaring Tiger demo project is displayed on the STM32F746GDISCOVERY board. Here, three frames are sent to the display one by one.

In the following article, let’s see the Roaring tiger demo on the STM32F407-DISC board with an external LCD.
Get the Full Course on STM32-LTDC, LCD-TFT, LVGL (MCU3) Here
FastBit Embedded Brain Academy Courses
Click here: https://fastbitlab.com/course1


