Installing OpenSTM32 System Workbench
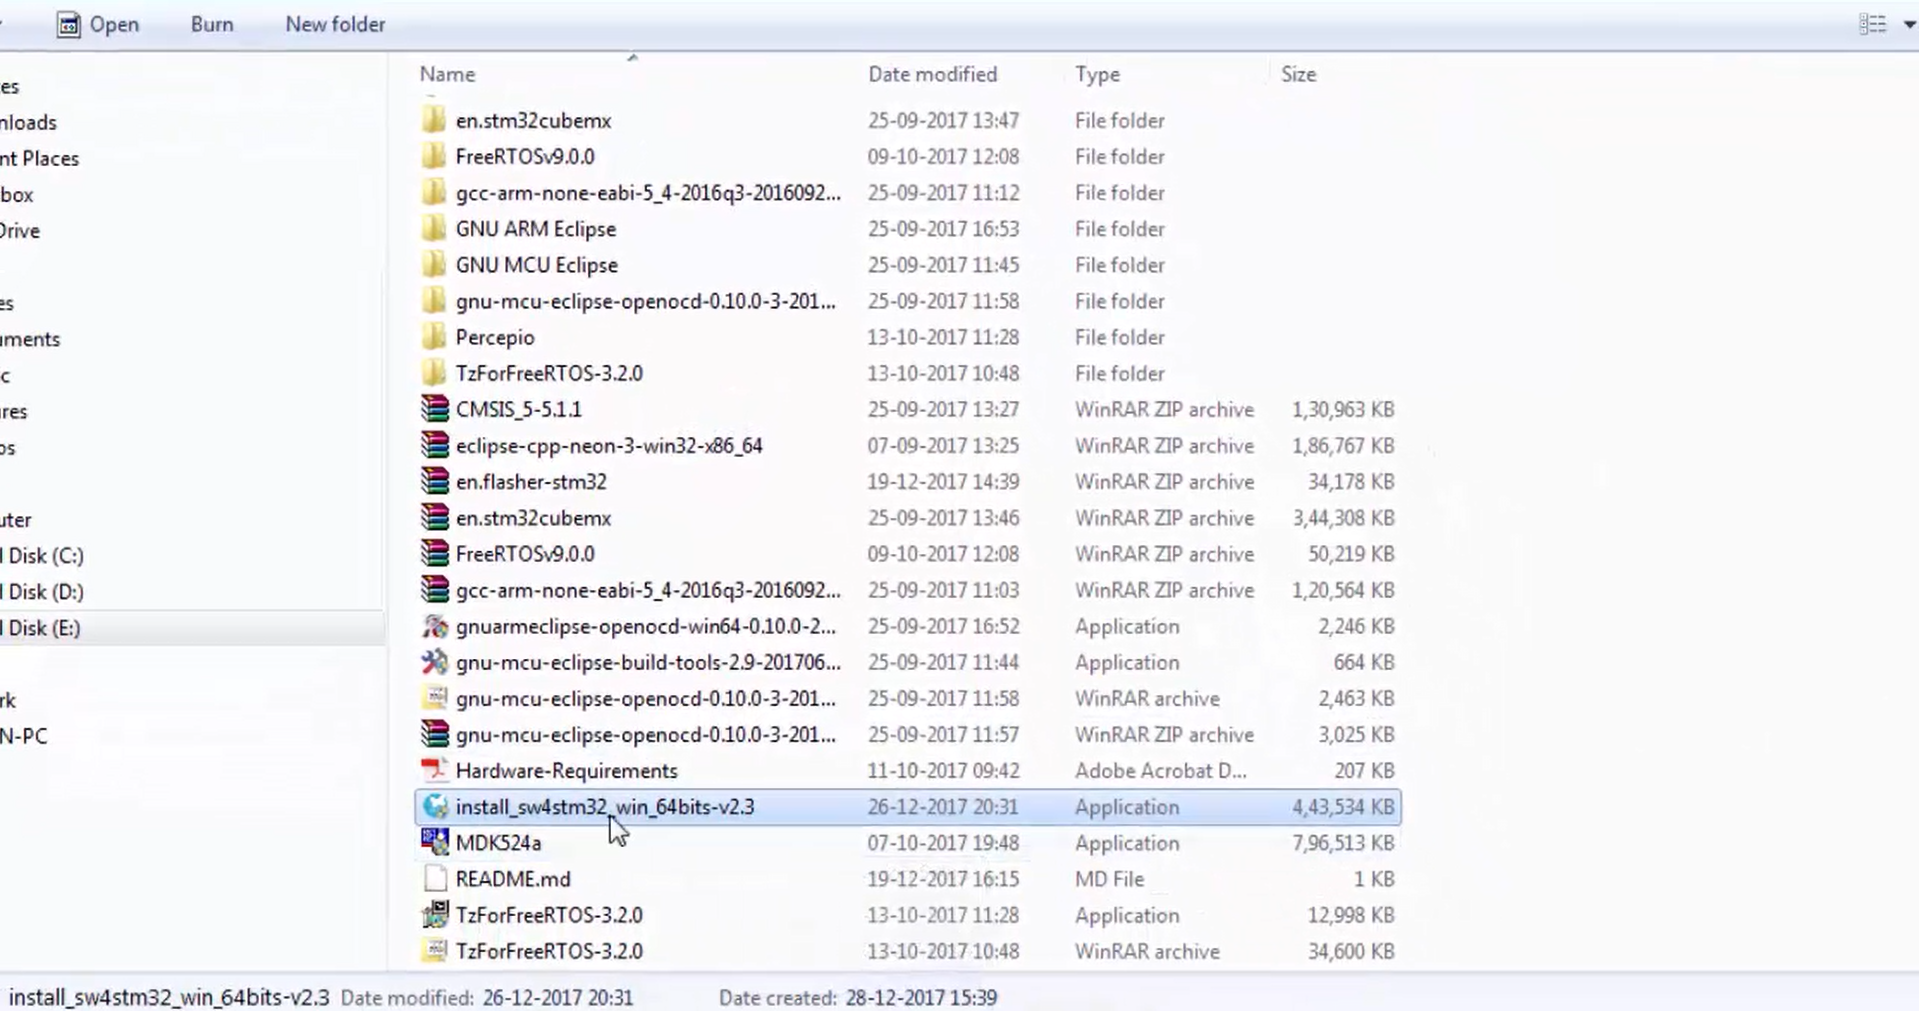
Now the OpenSTM32 system workbench is downloaded into the Software and Toolchain folder (Figure 1).
Now let’s install that software.
Steps:
1. Click on the STM32 installer shown in Figure 1.
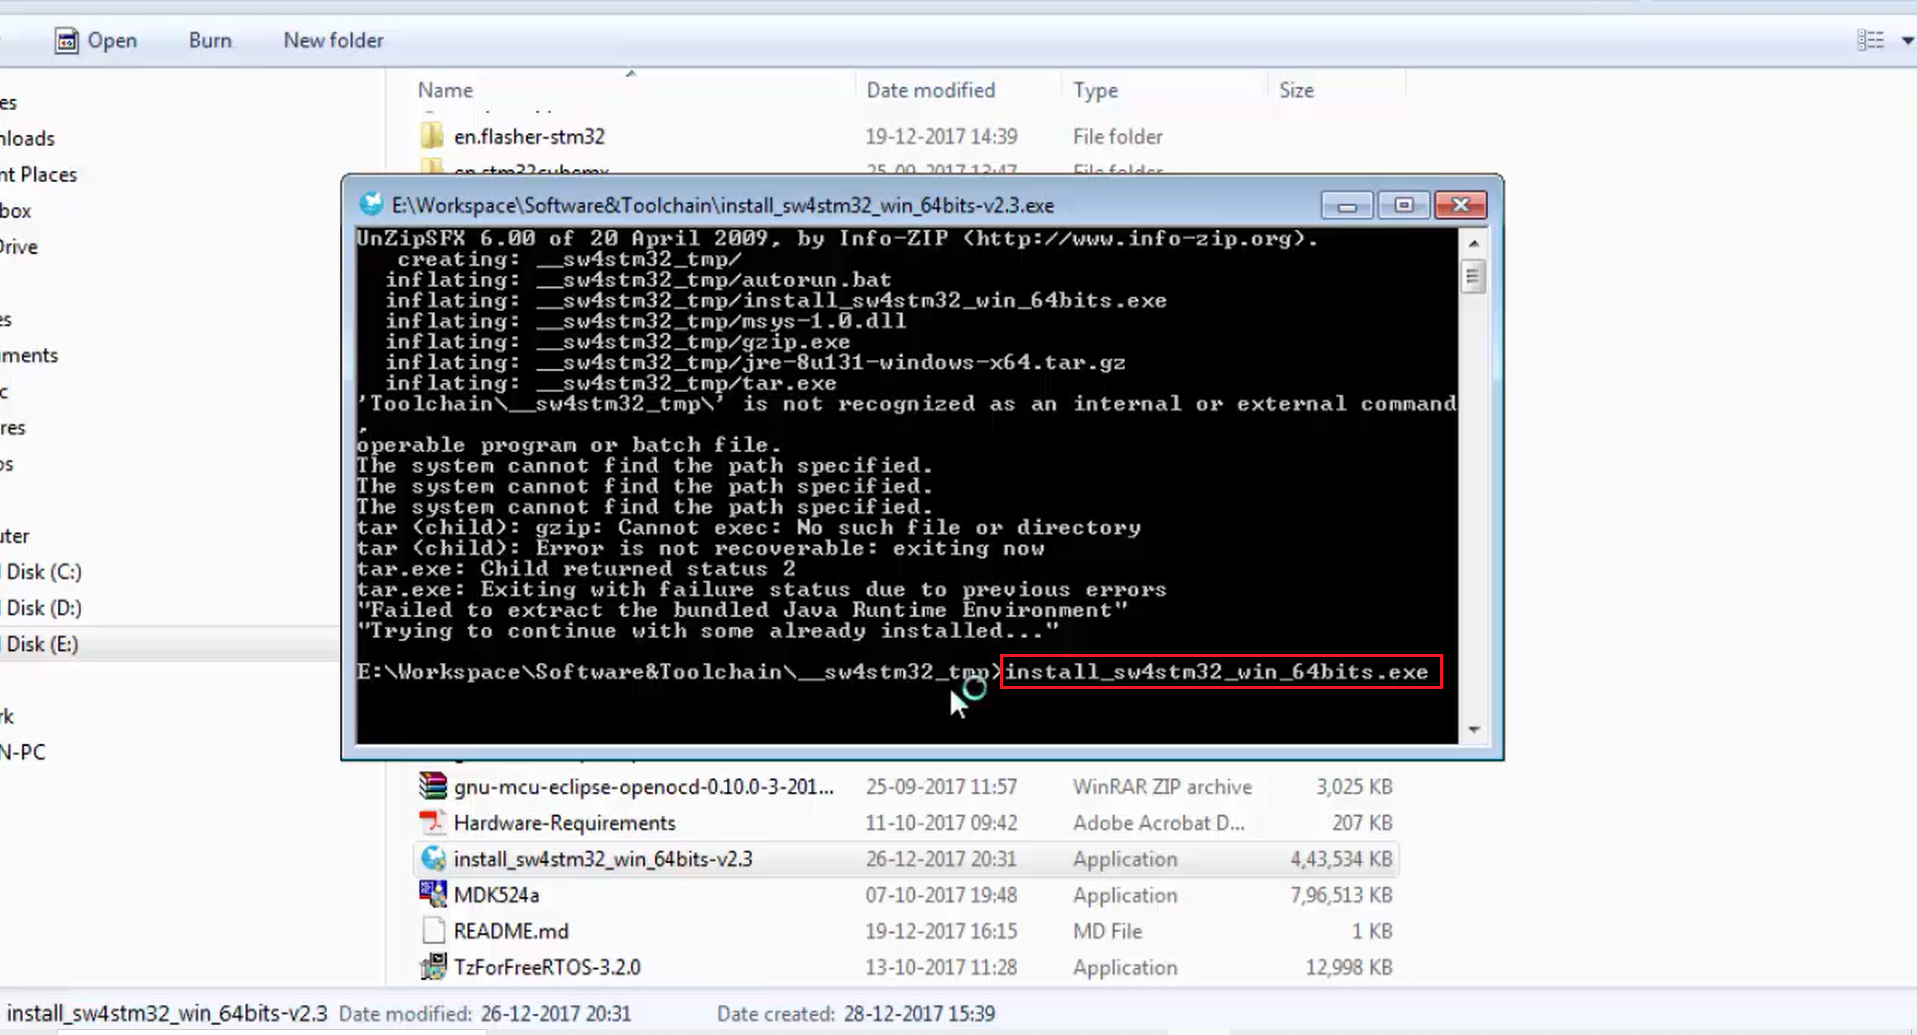
2. Now it is trying to install (Figure 2). In Figure 3, you can see that it is throwing some errors. But it is trying to execute that exe. Please be patient.
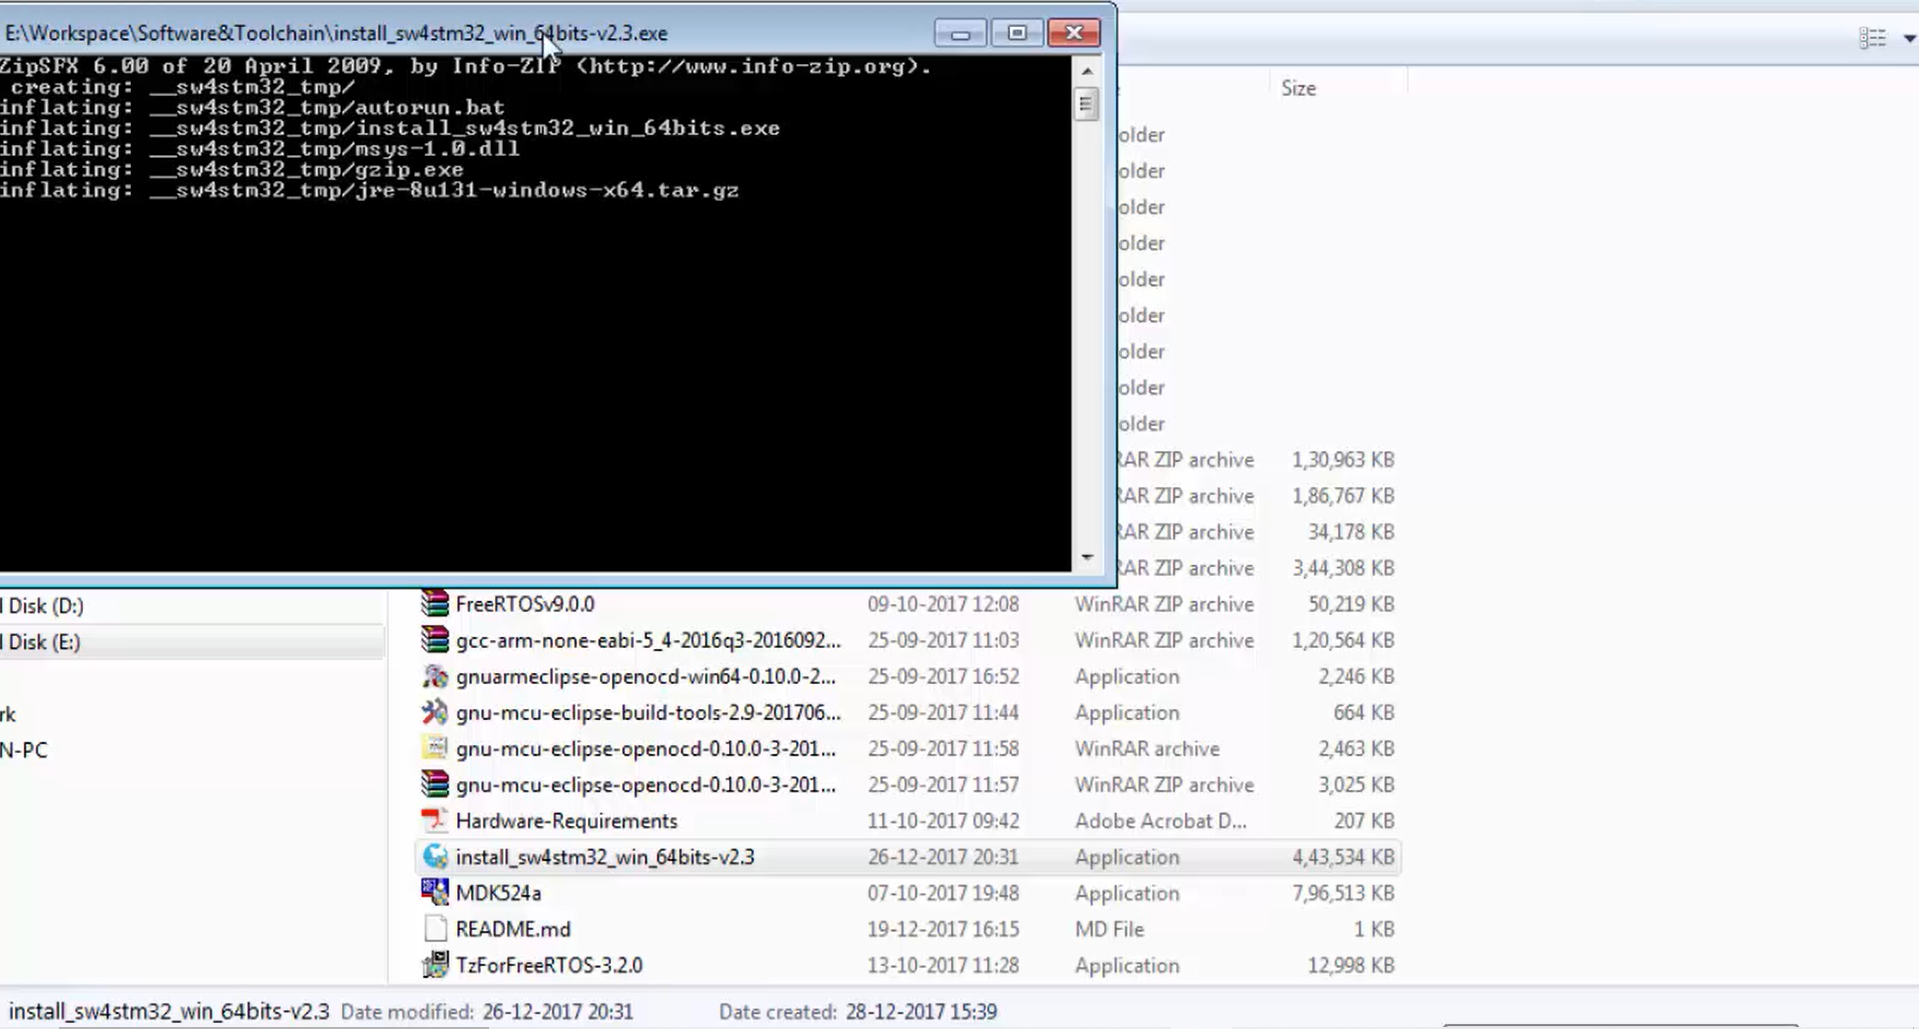
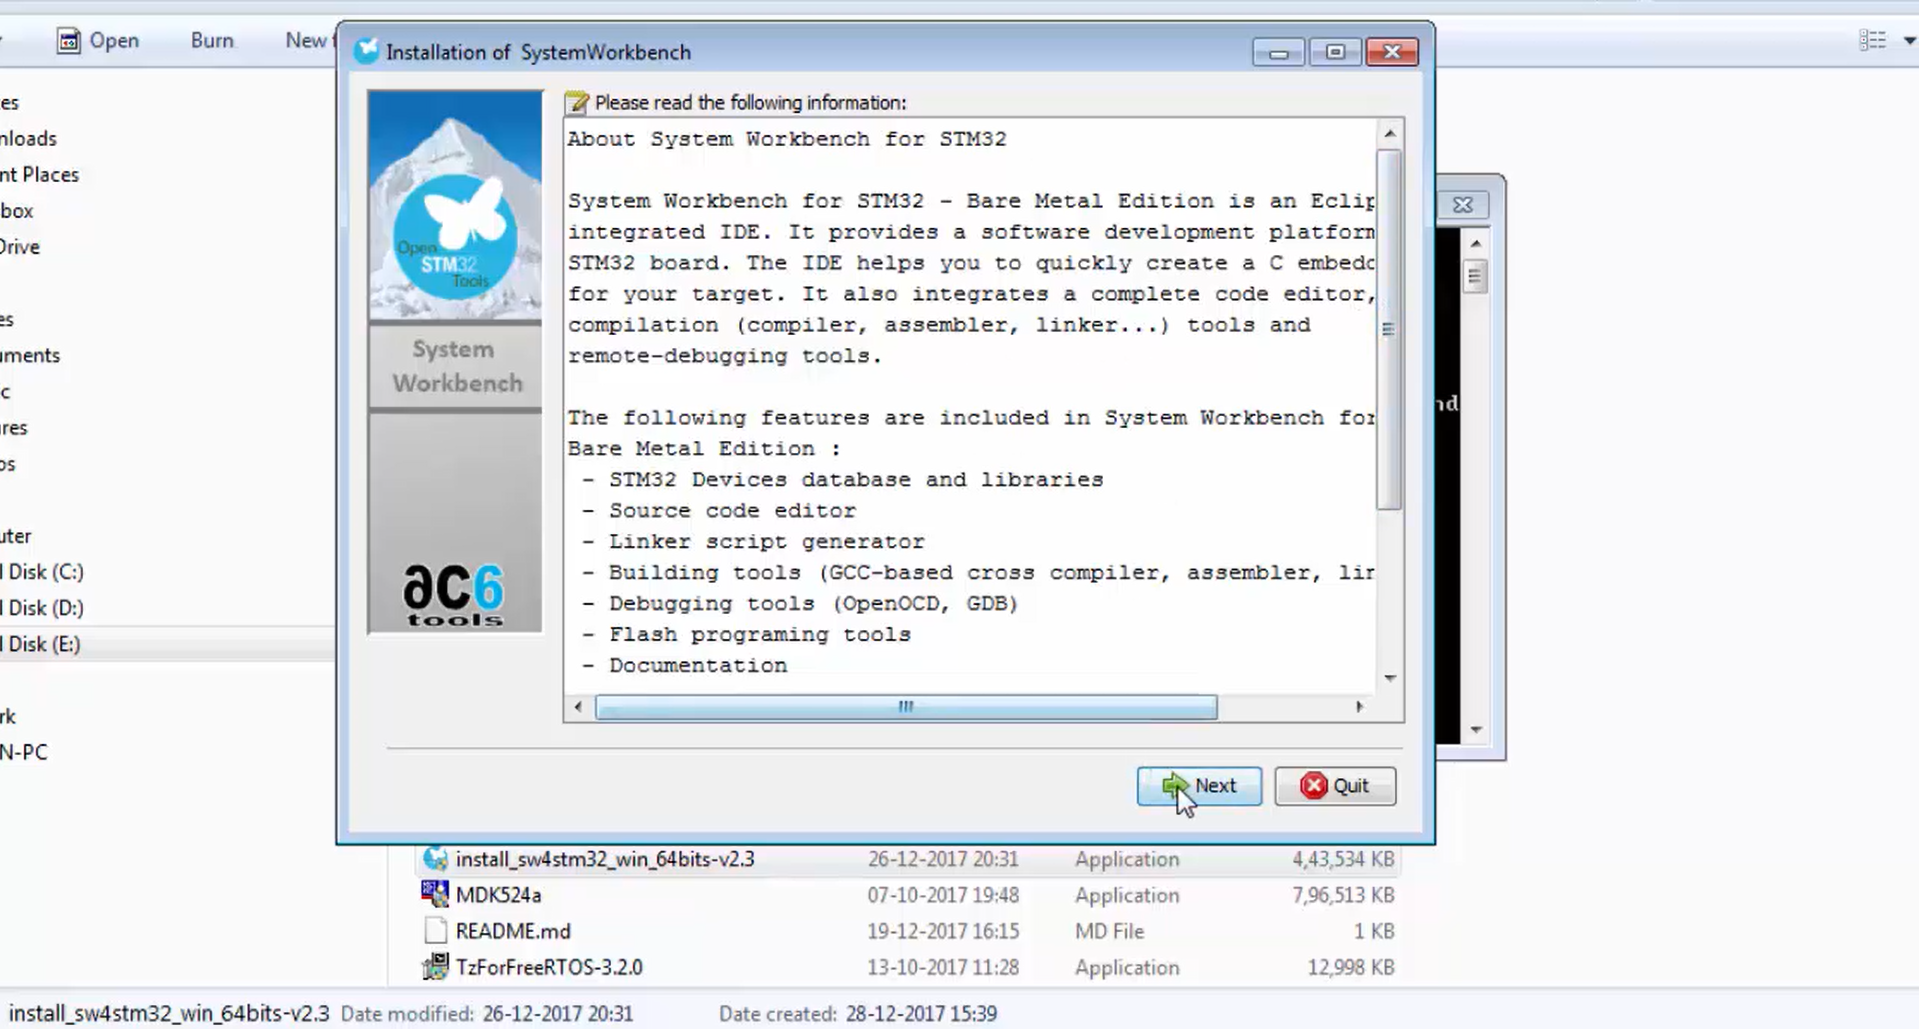
3. After that, you will get the window, as shown in Figure 4, and just click next.
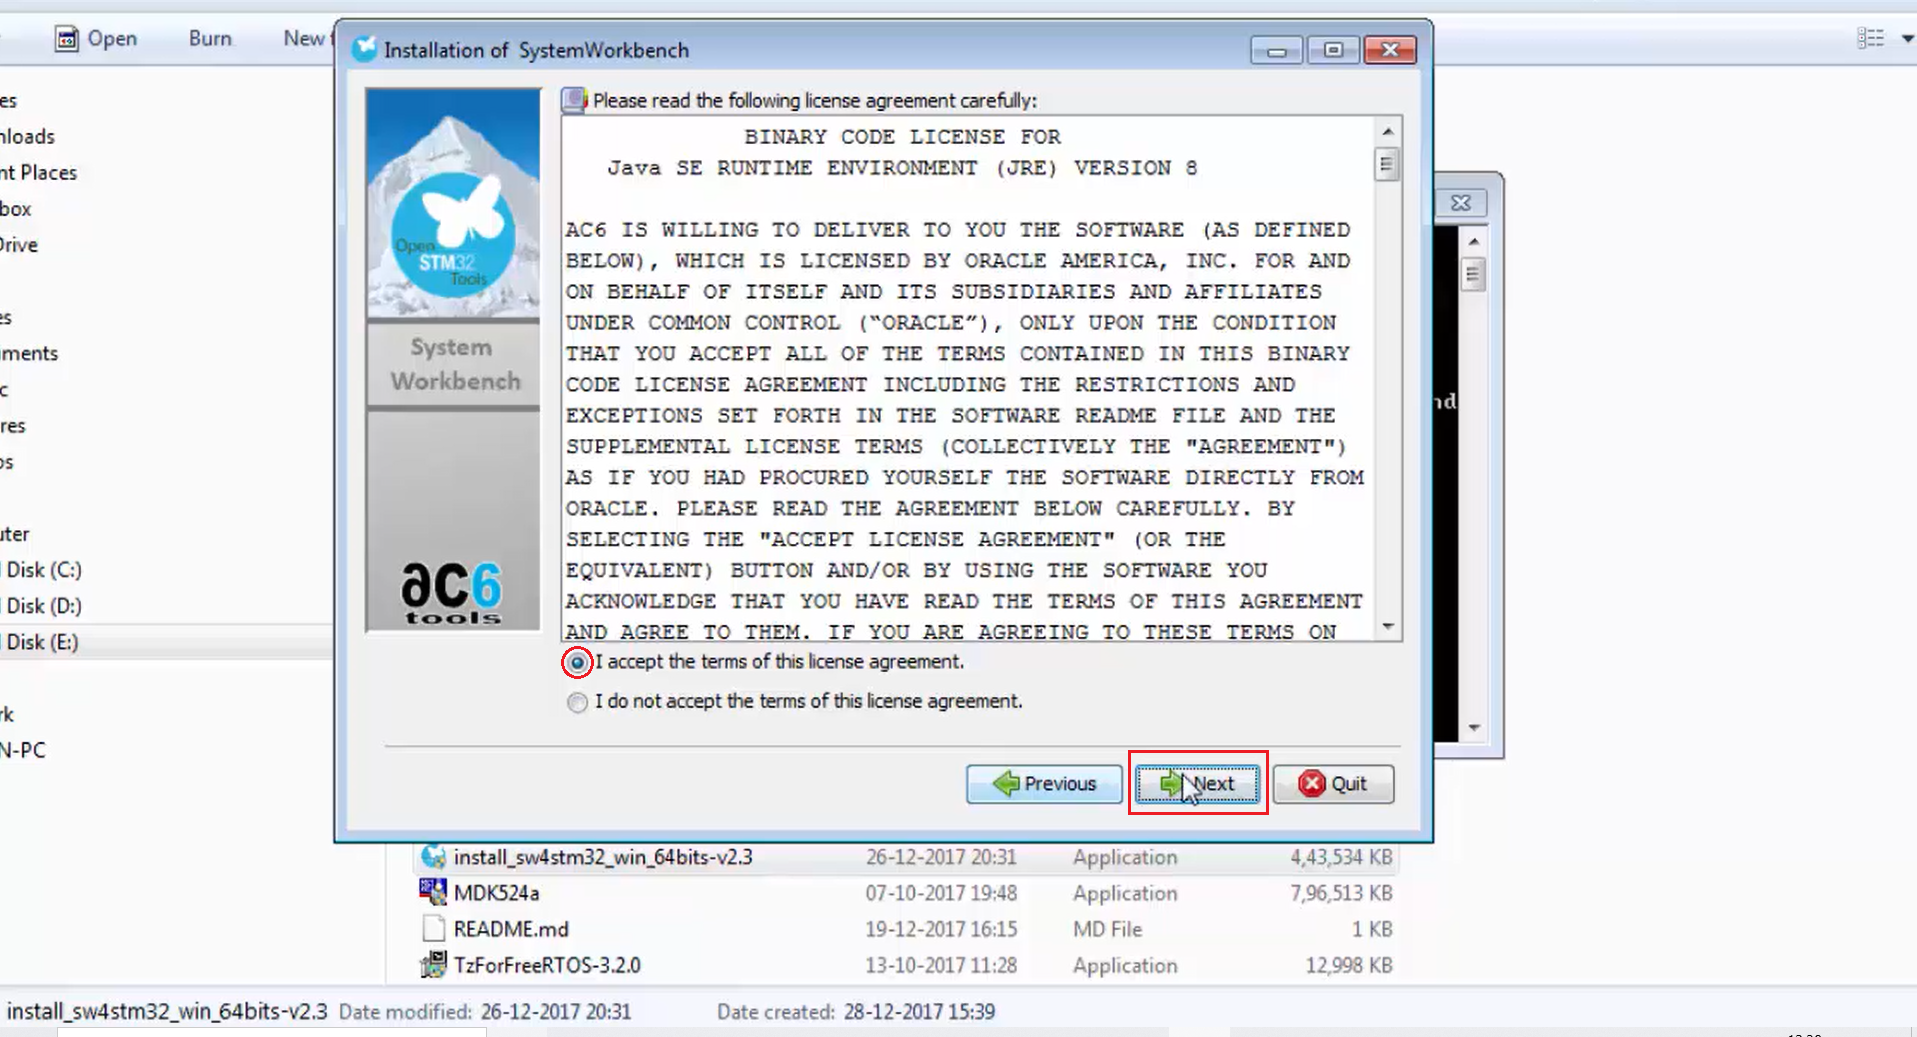
4. Accept the terms of the license agreement and click next (Figure 5).
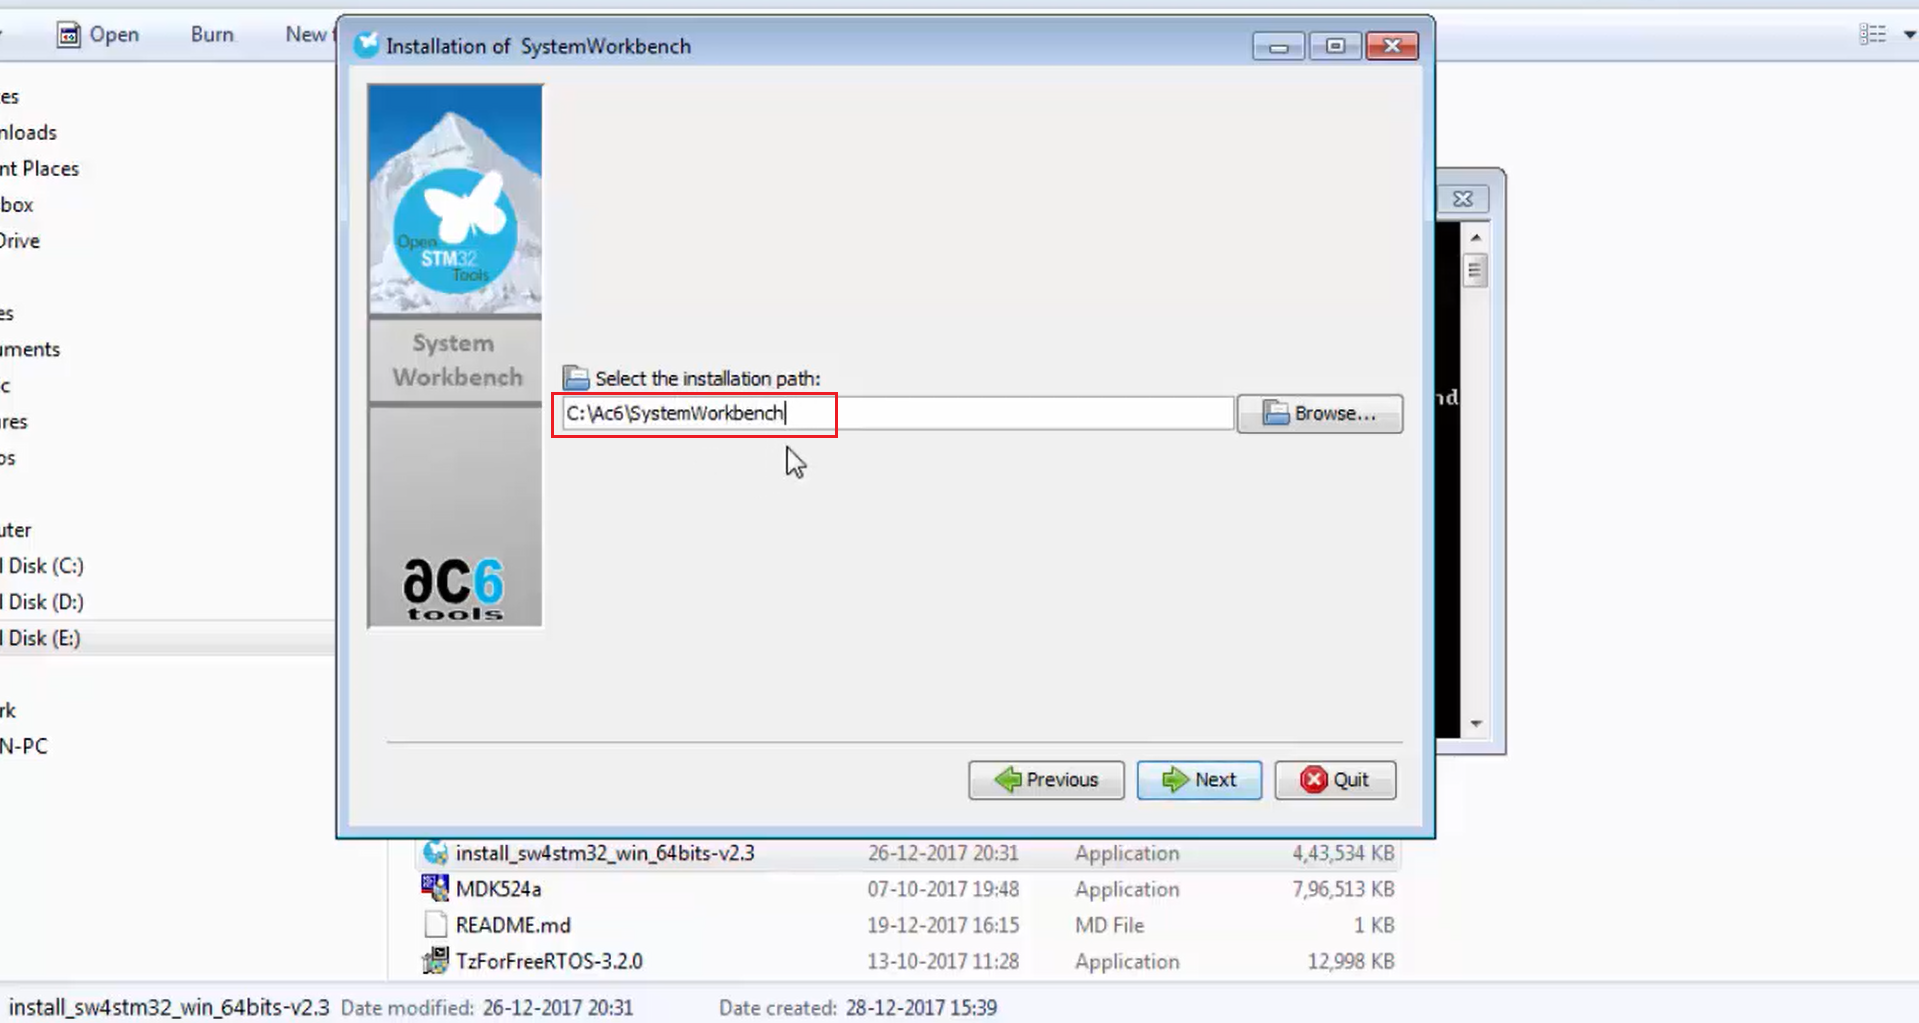
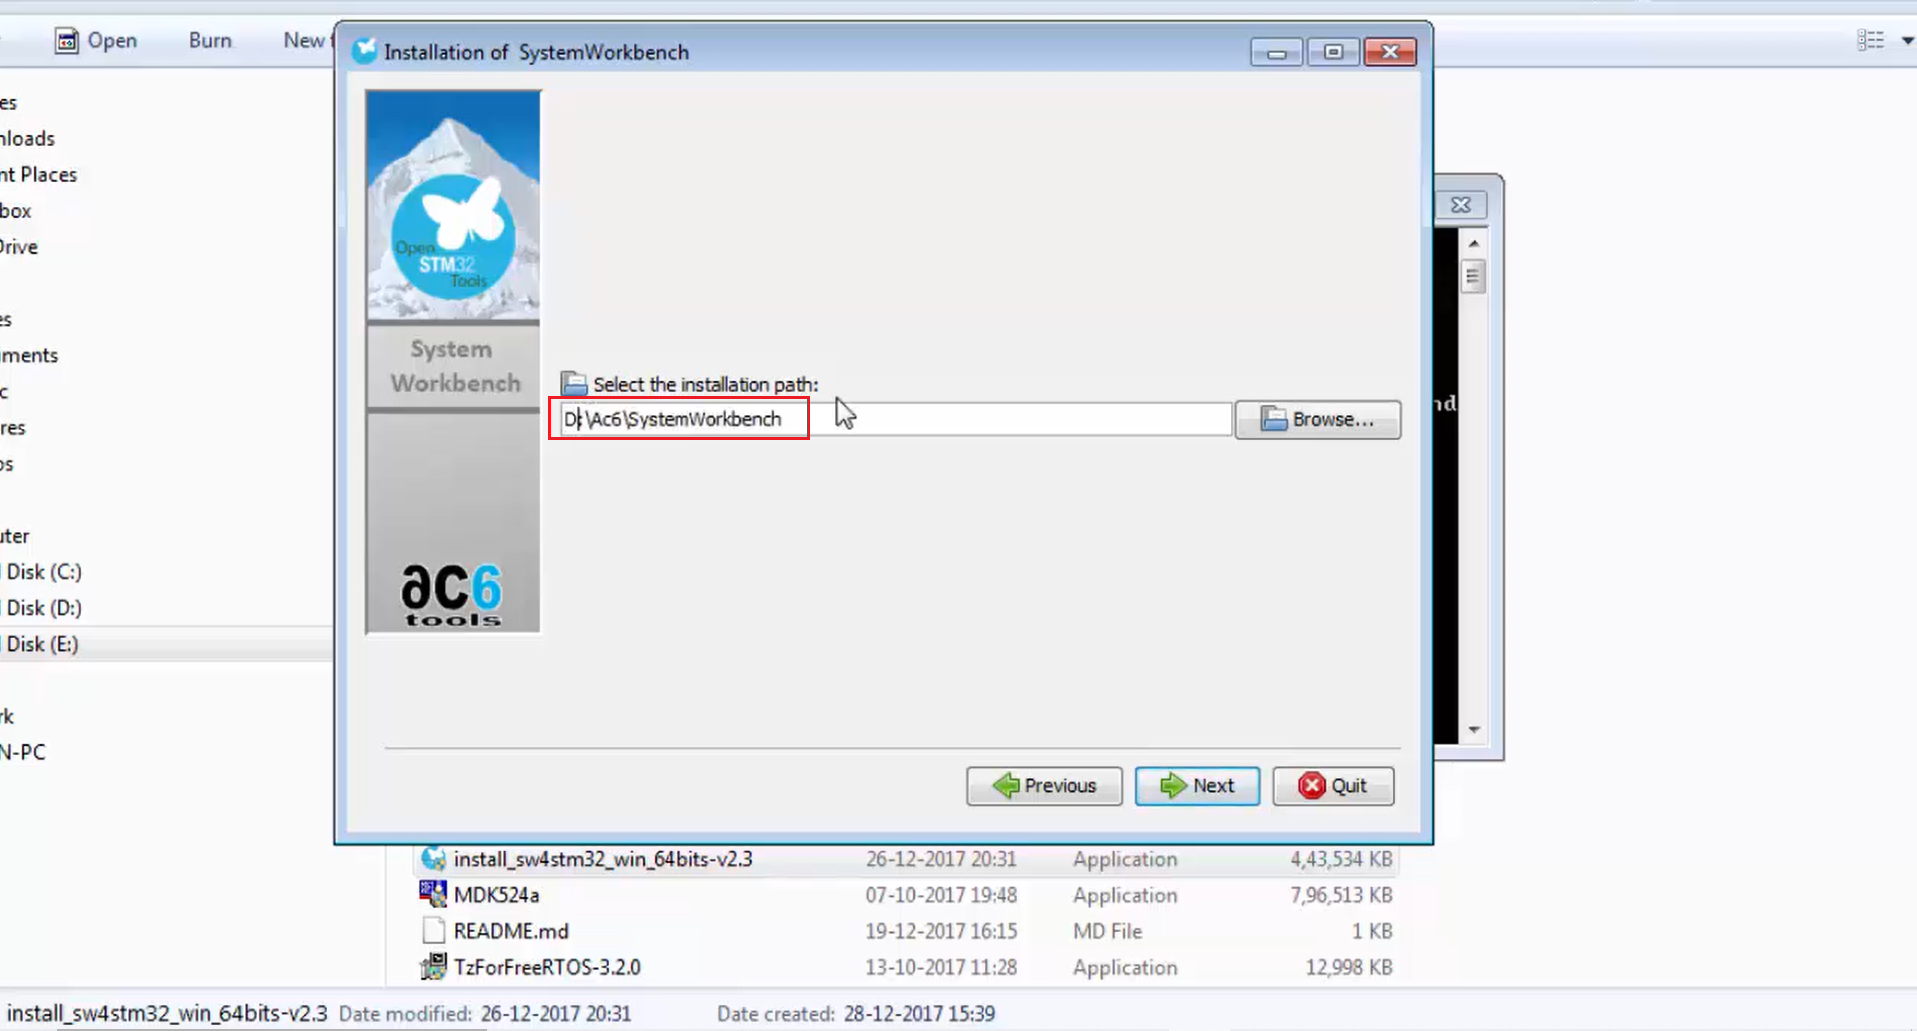
5. Then it will ask you to select the installation path (Figure 6), the place where exactly you want to store these installation files. You have to select your drive here. By default, it will consider a C drive. If you don’t have enough memory in your C drive, then you can change it. Now let’s change the drive to D drive, as shown in Figure 7.
Then click next. It will create the folder AC6\SystemWorkbench.
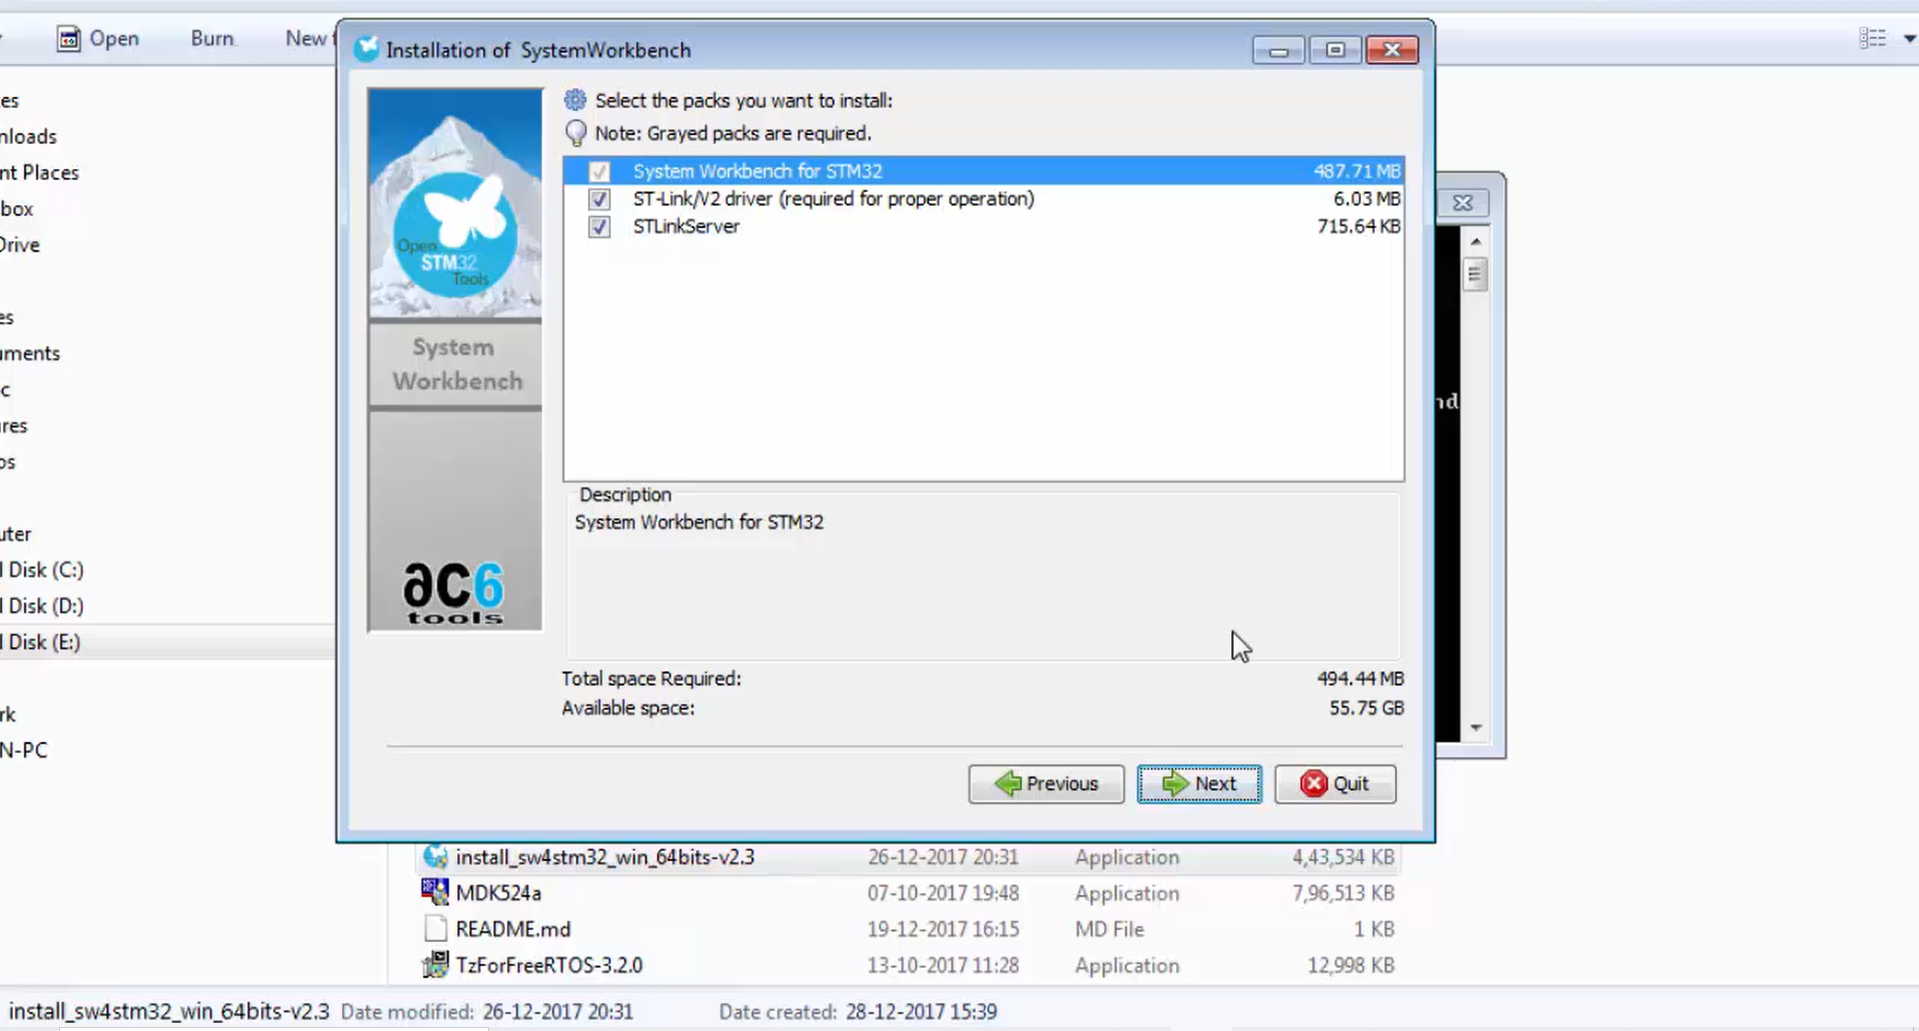
6. It will install the STM32 system workbench, a driver for in-circuit debugger and programmer, i.e., ST-Link version 2 and driver for that, and the ST-Link server. All three packs marked in Figure 8 are going to be installed. Now let’s click next.
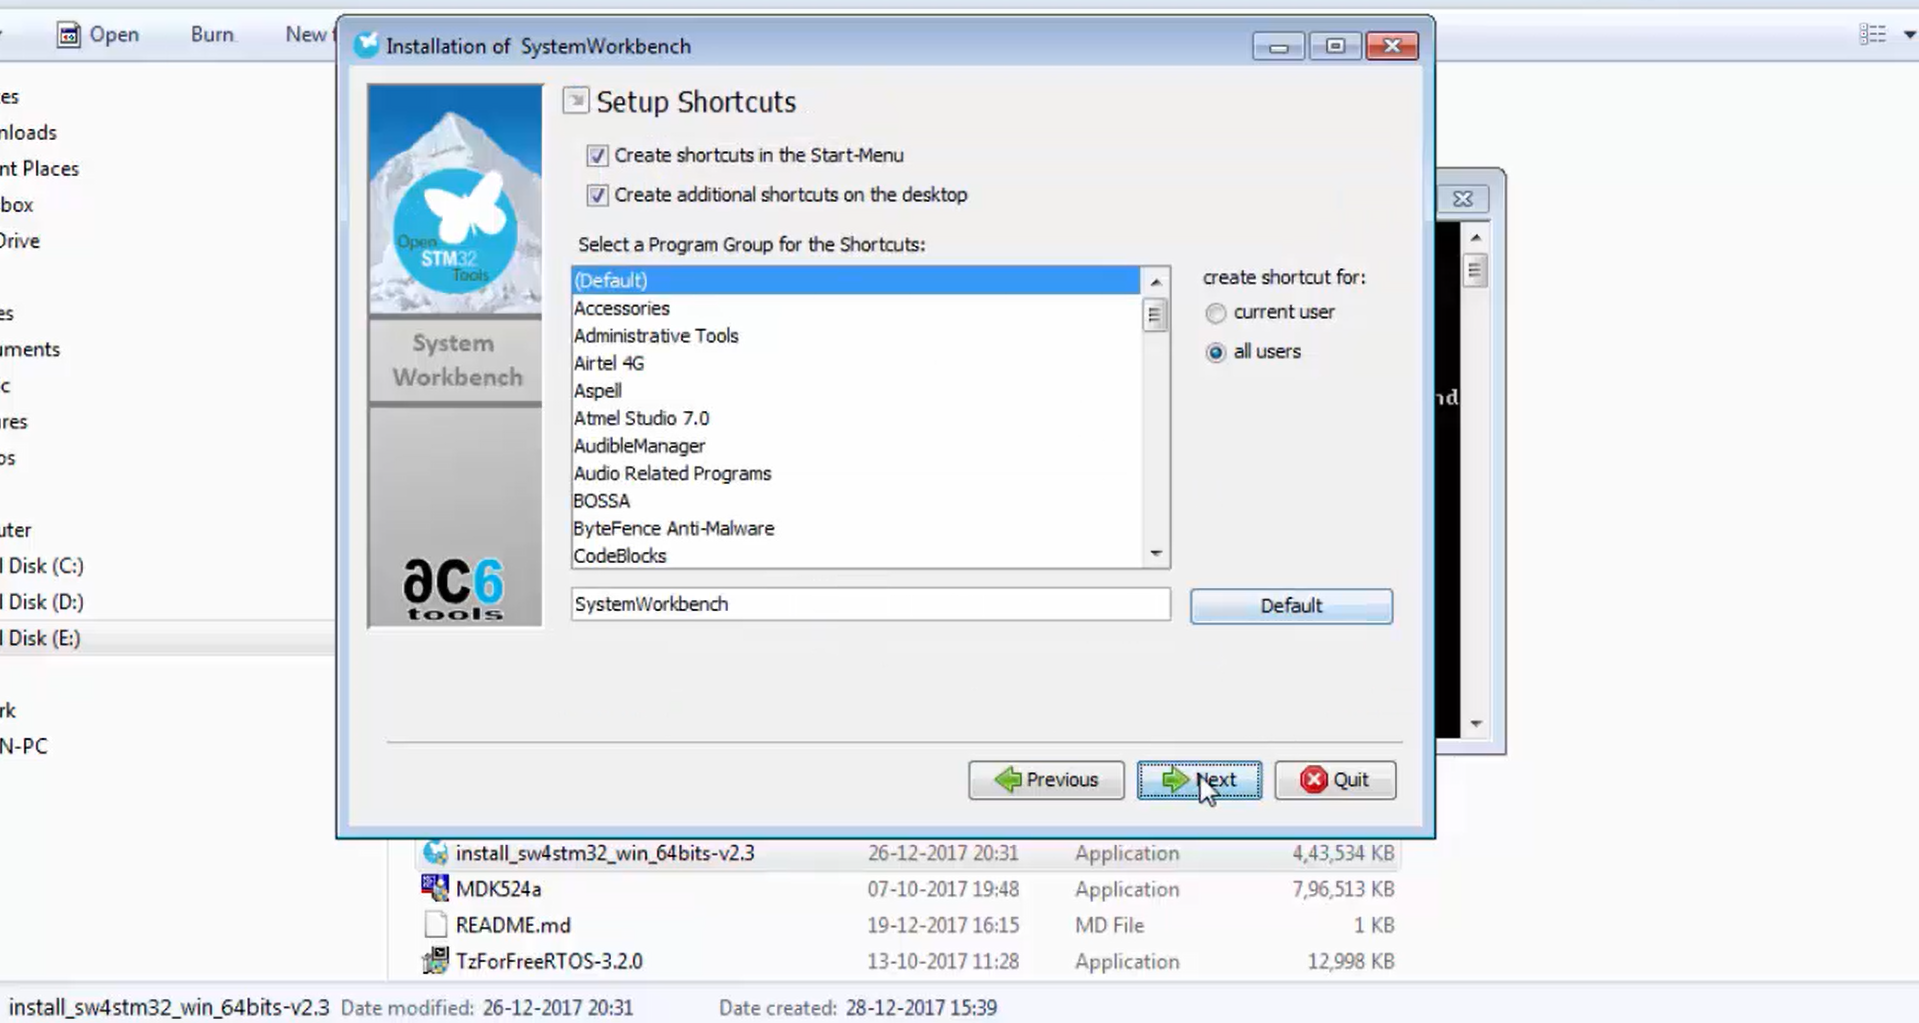
7. After that, you will get a setup shortcuts window (Figure 9). Just click on next.
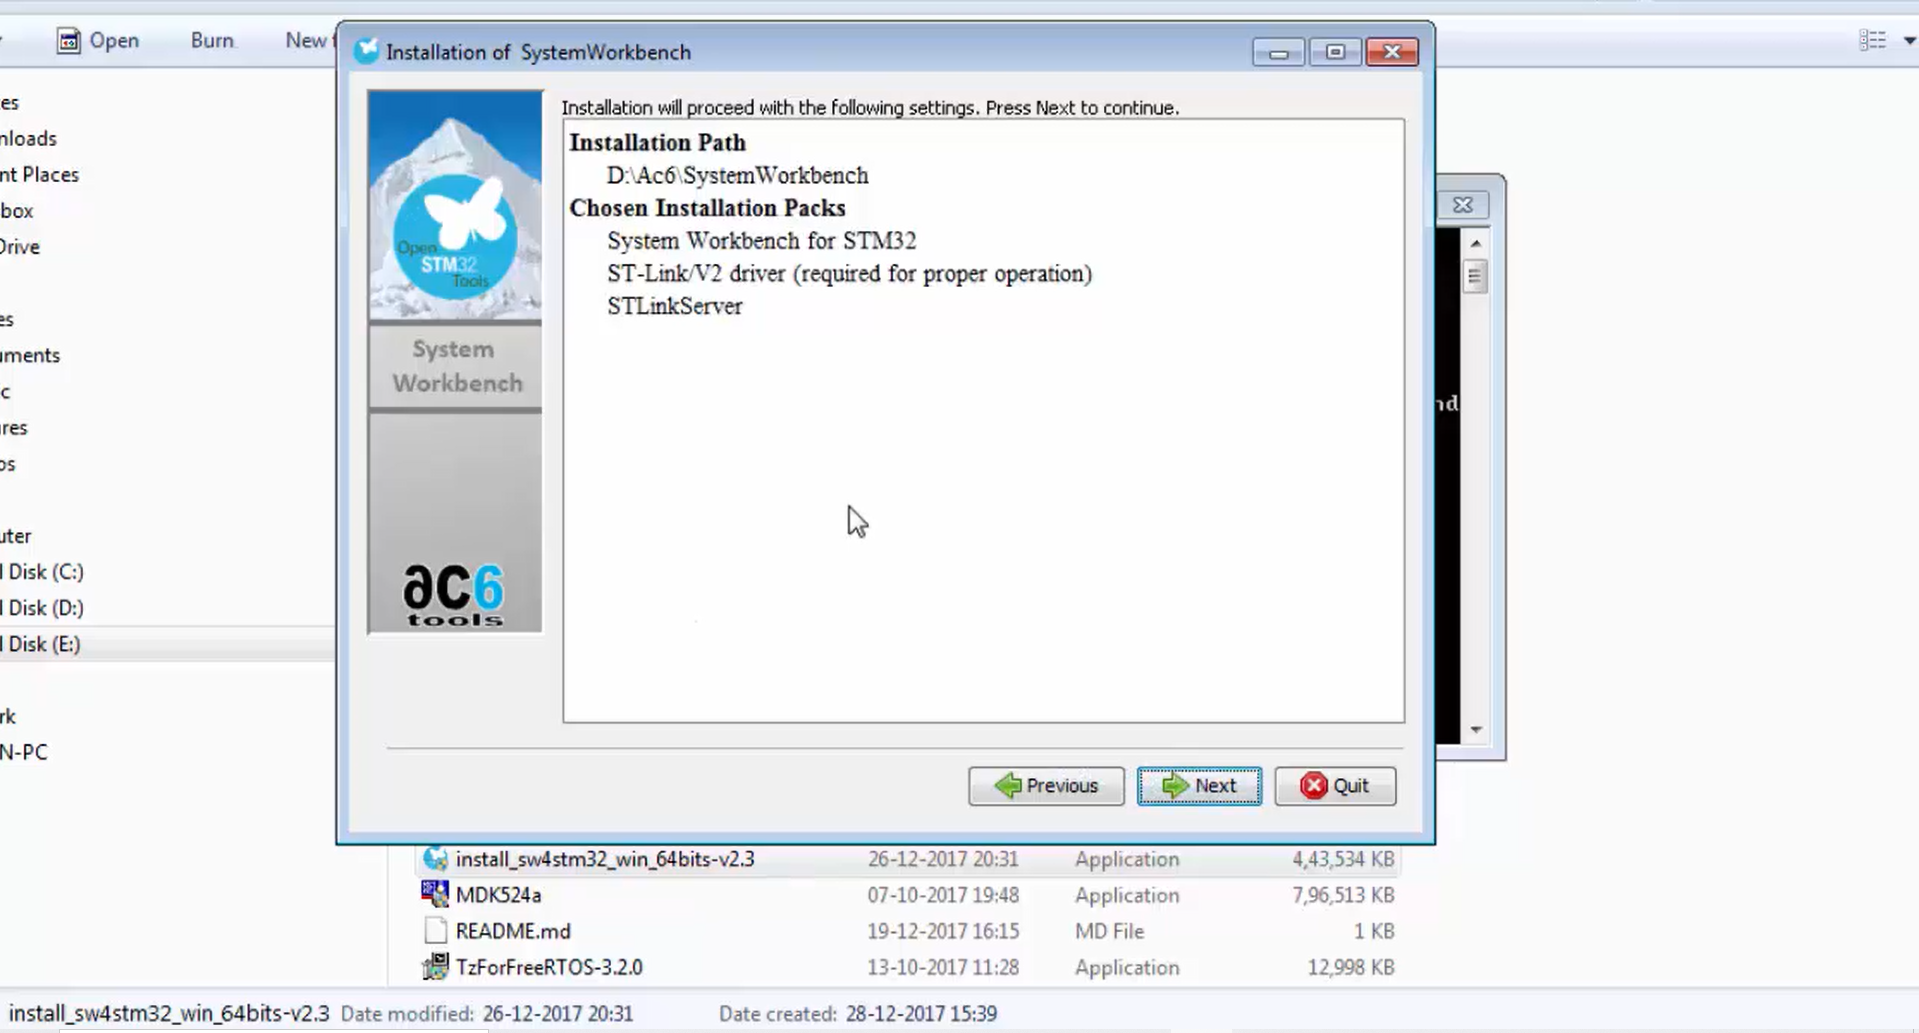
8. After that, you will see another popup window showing the installation settings. The popup shown in Figure 10 contains information about the installation path and chosen installation packs. Let’s click next.
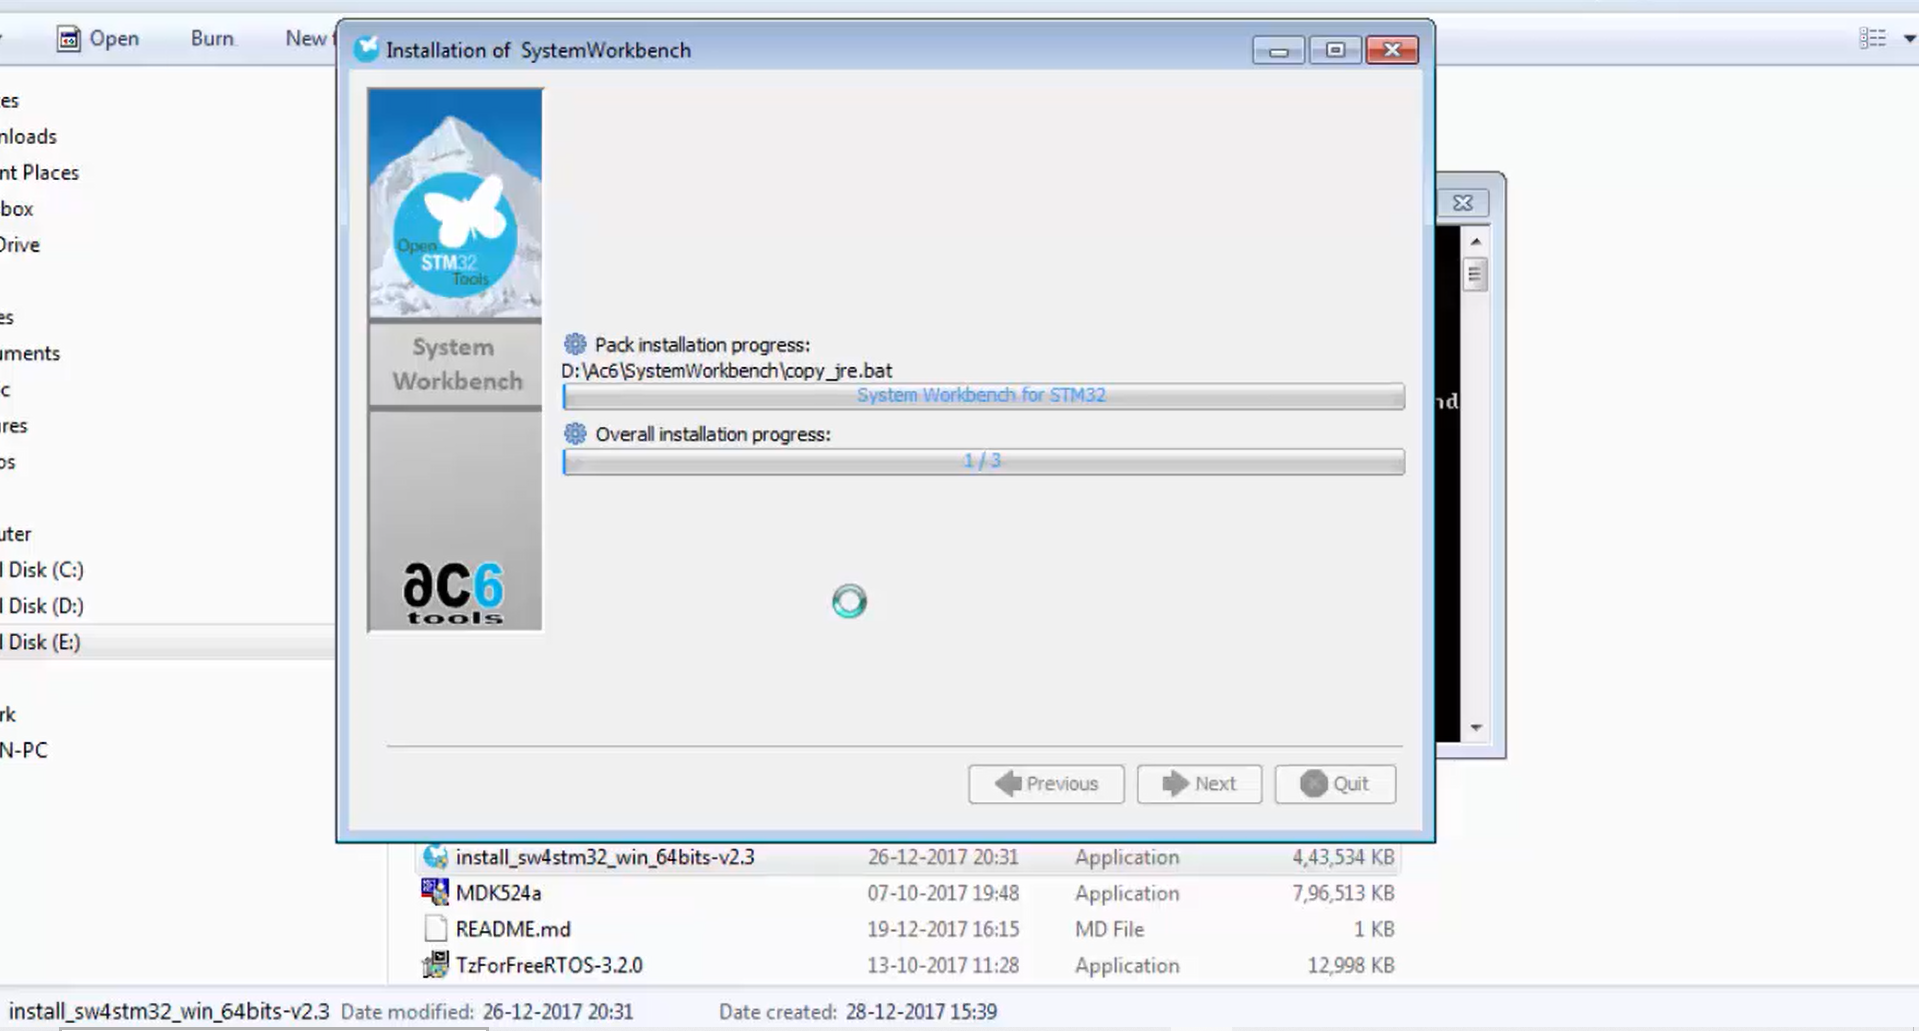
9. Now the software is being installed (Figure 11). MAC and Ubuntu guys, for you also, this window will pop up when you run your binaries, and then you have to install this software.
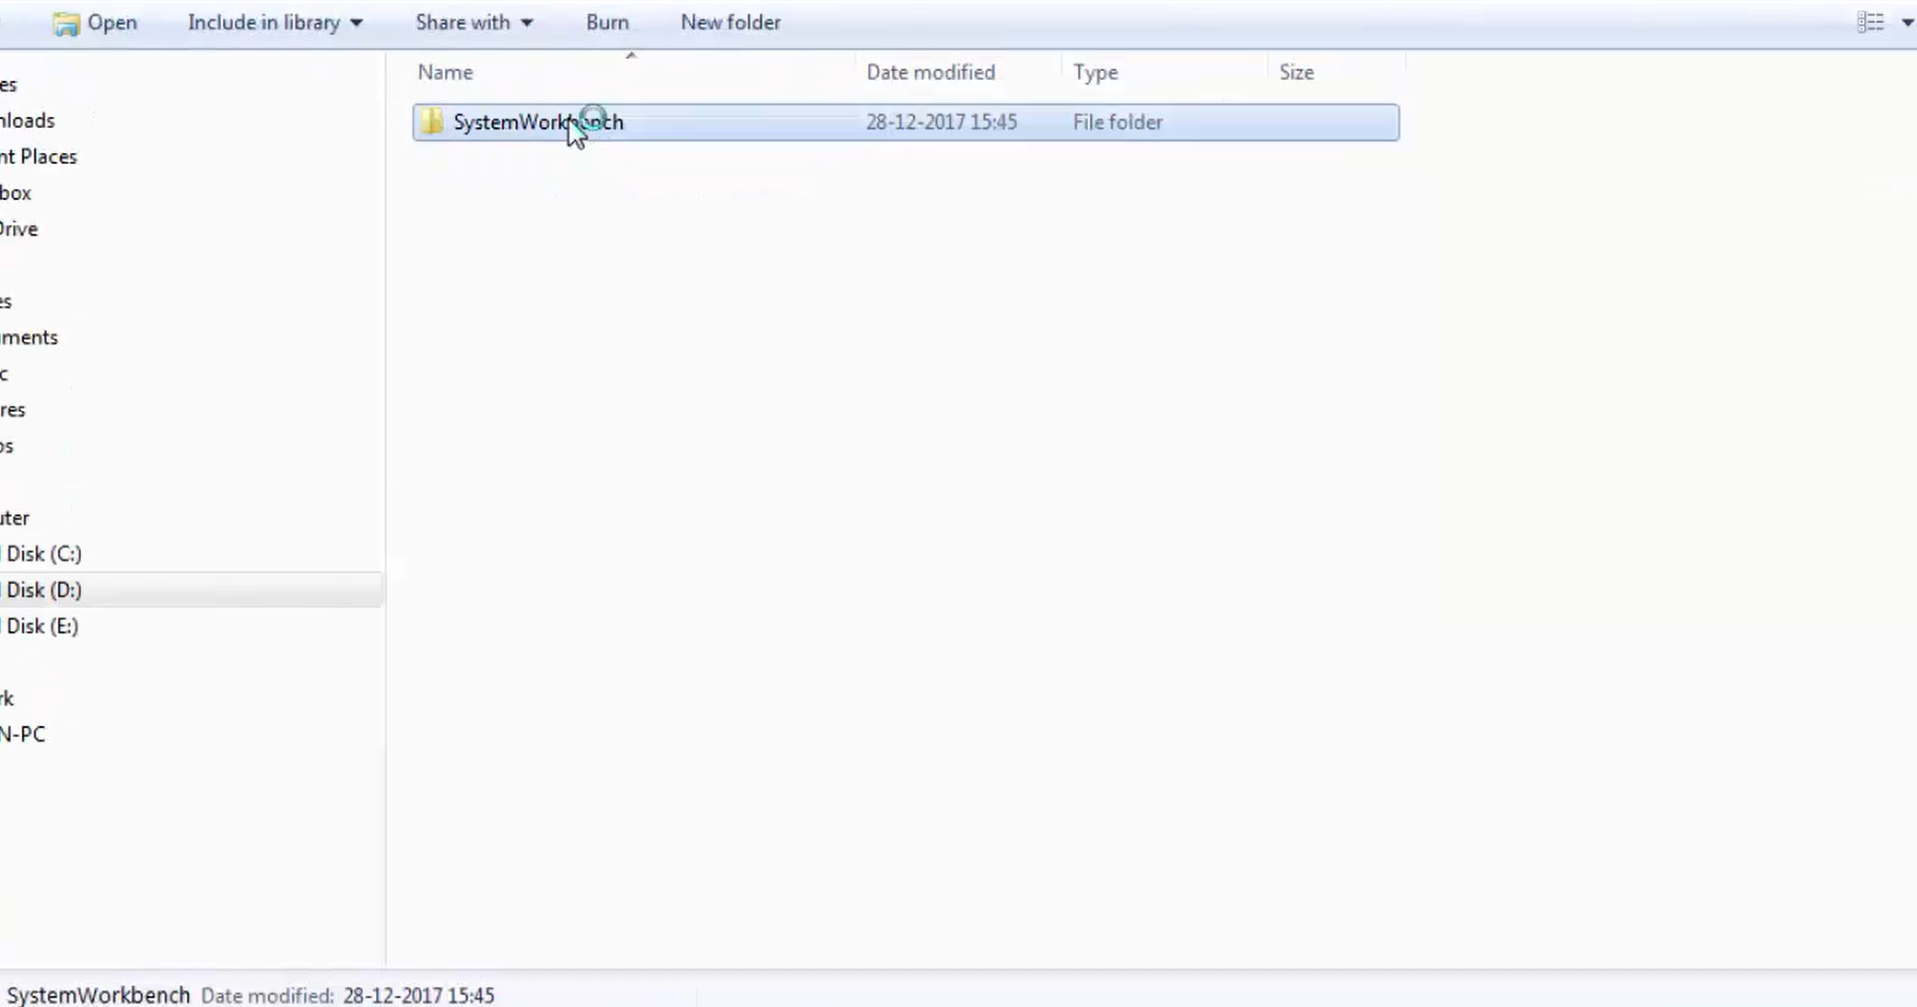
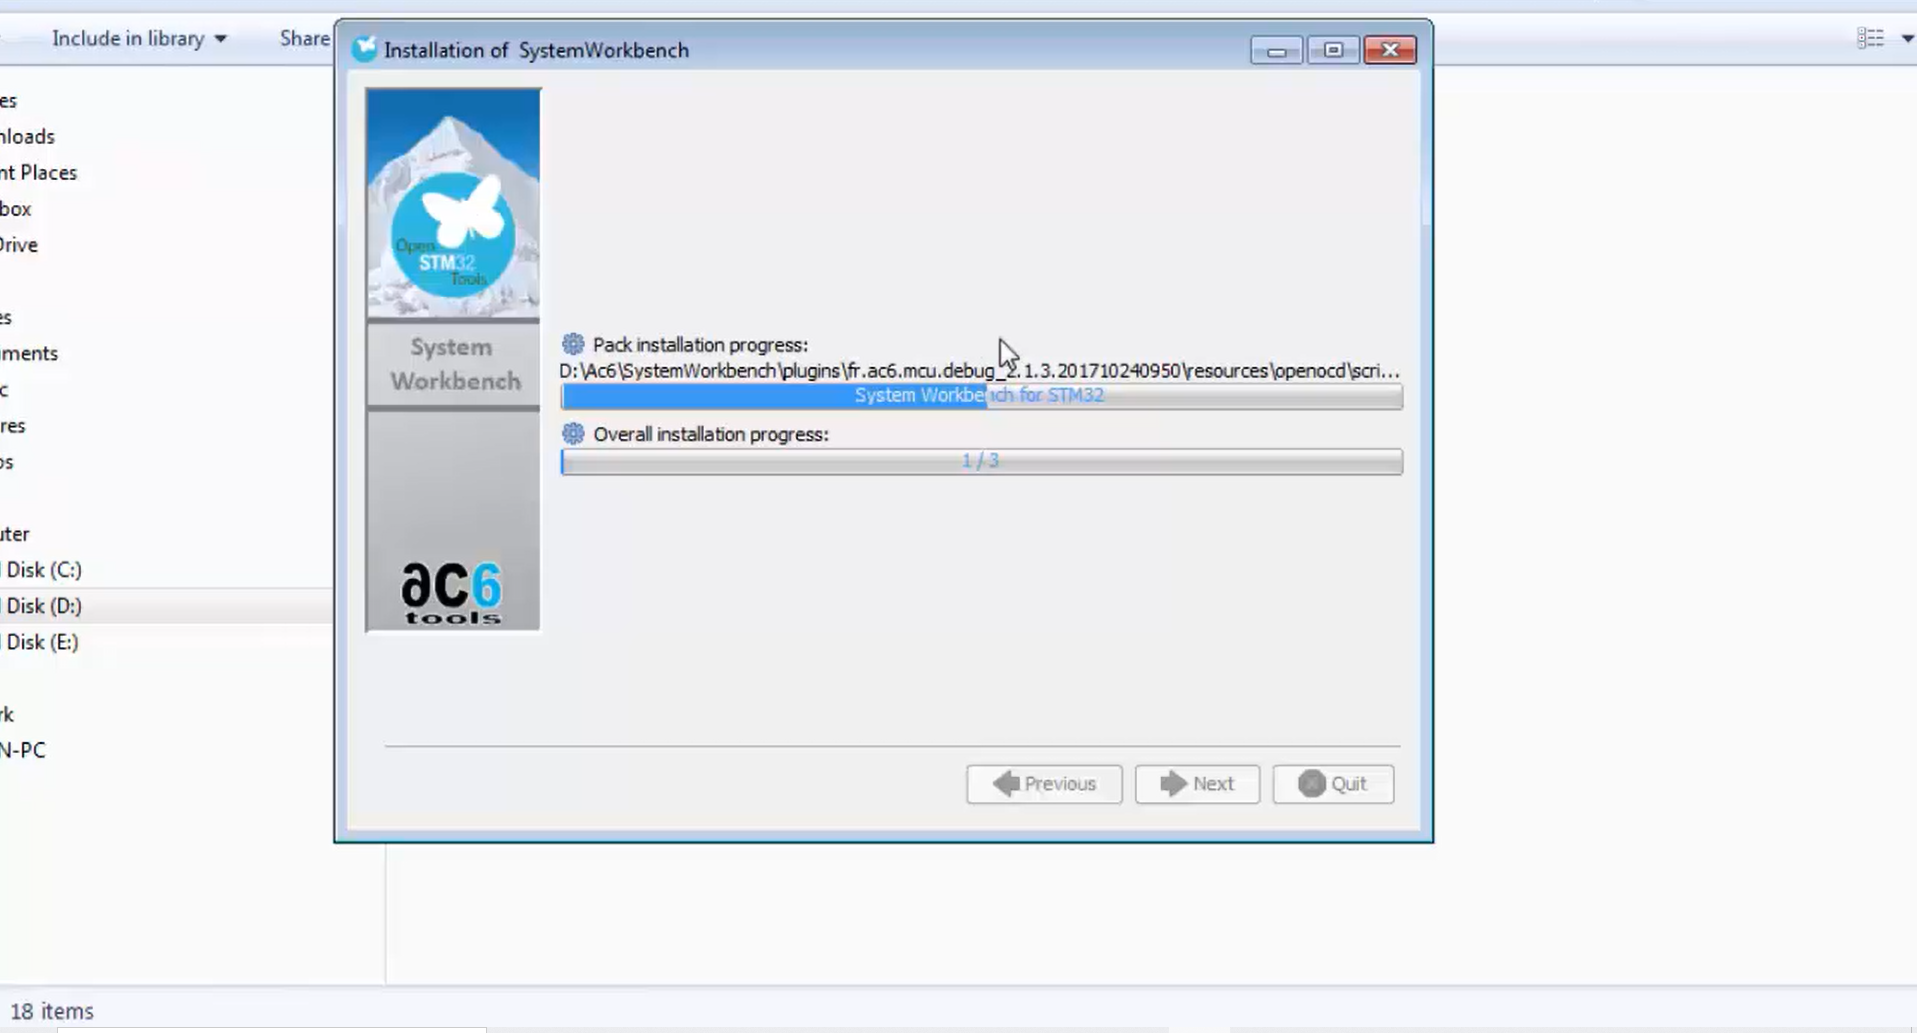
10. You should see the system workbench folder in D drive now. Observe Figure 12. System workbench folder has been created, and all the files are being copied into that folder (Figure 13). Let’s wait until it finishes the installation.
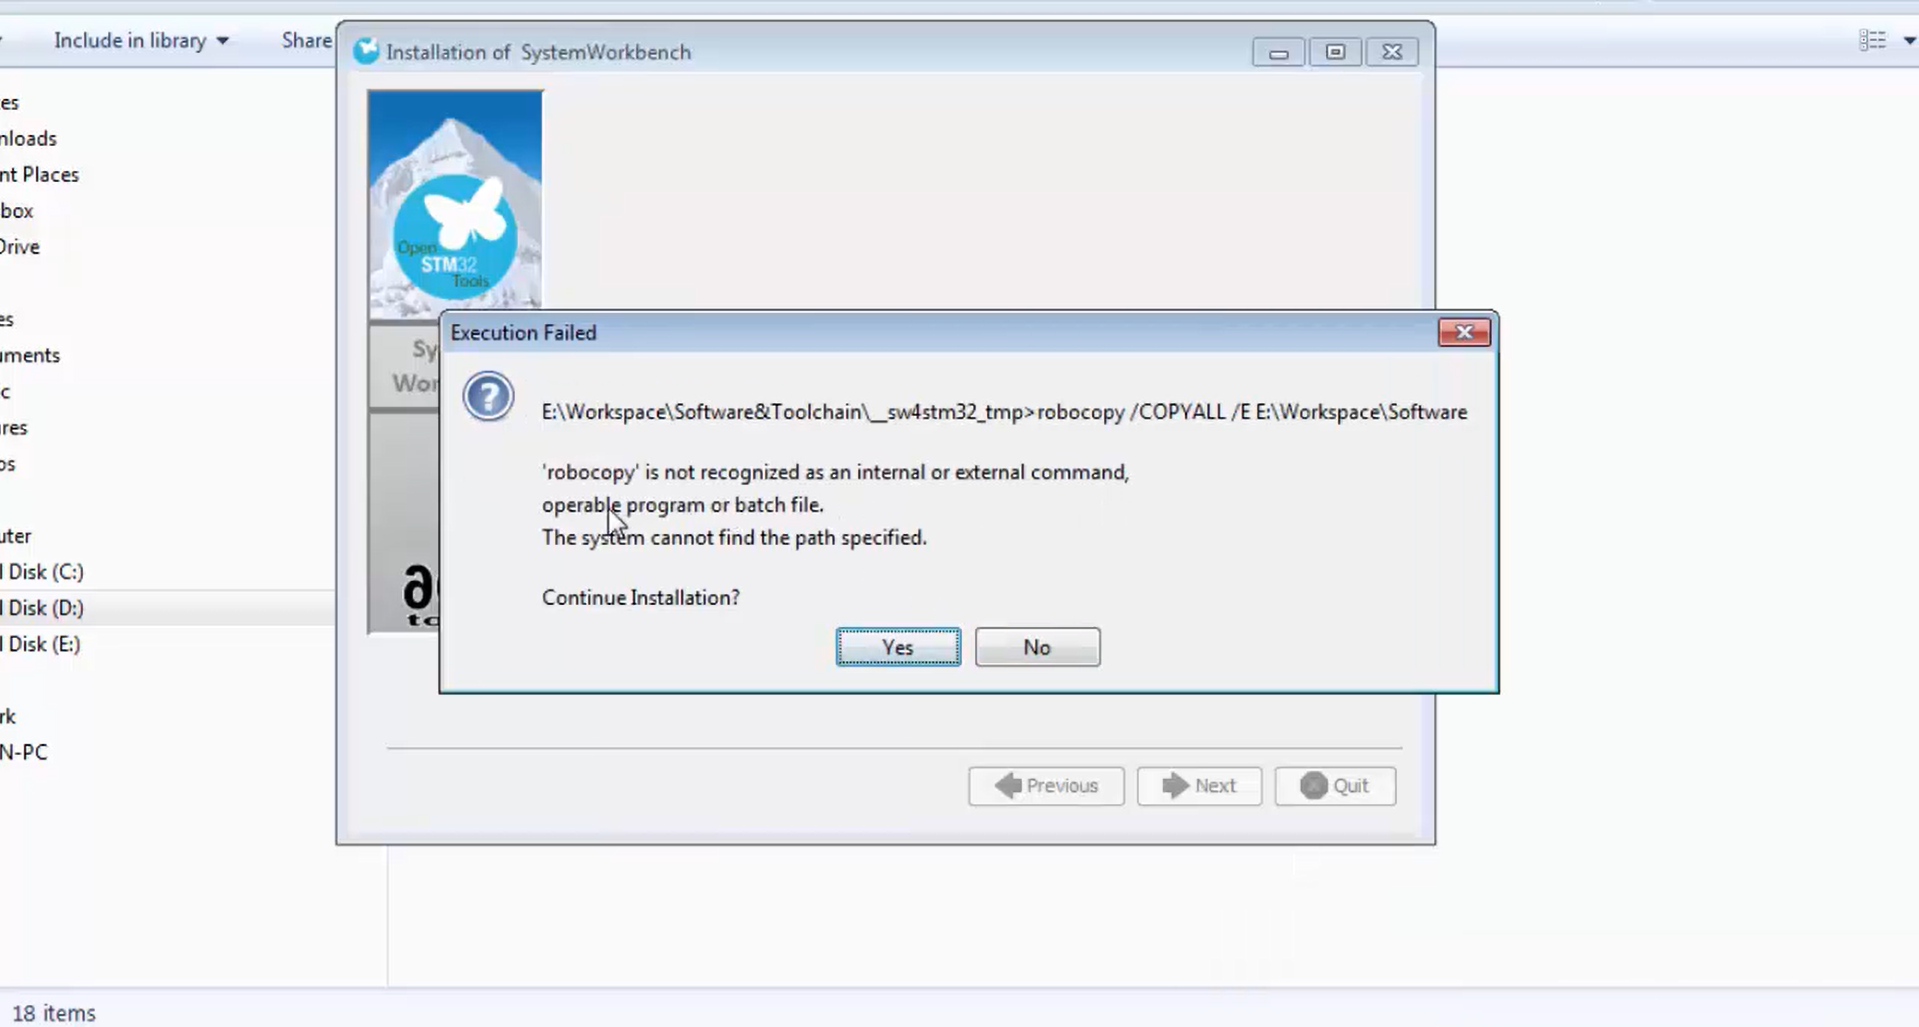
11. It is throwing some errors, as shown in Figure 14. Now you can click yes to continue the installation.
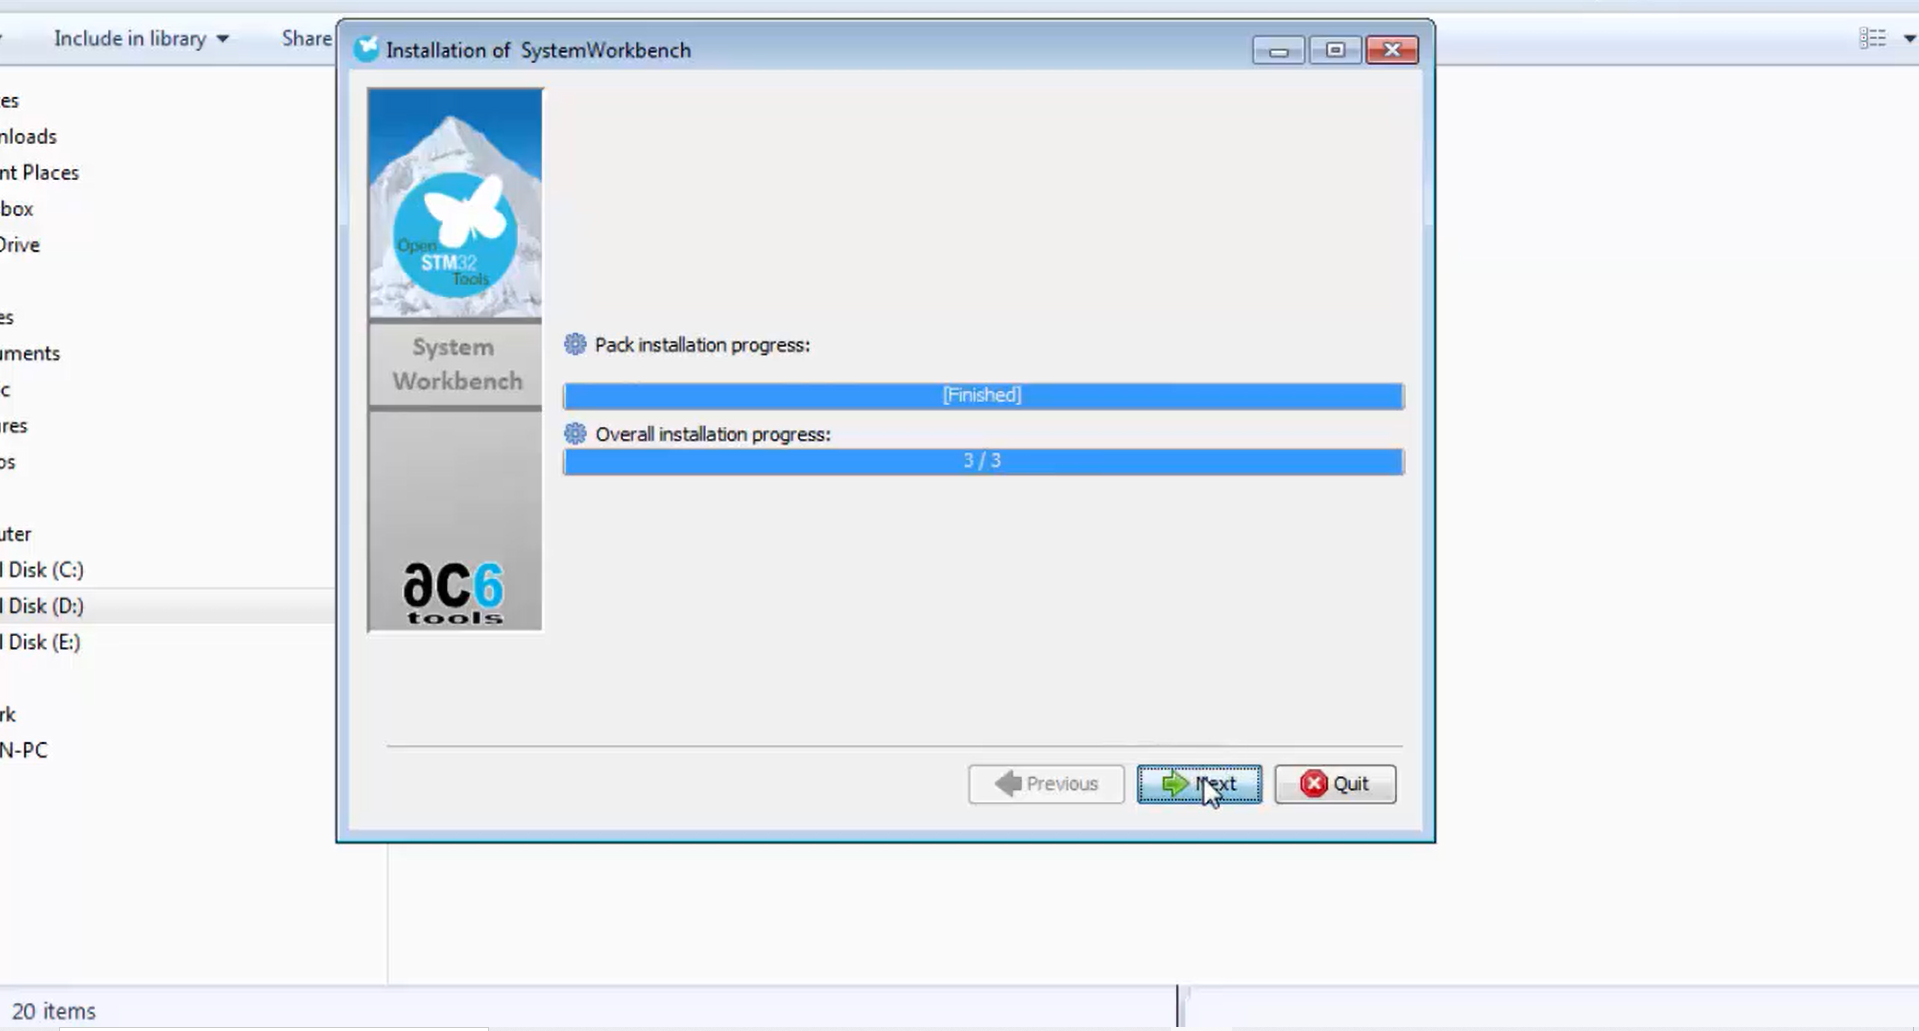
12. The installation is complete (Figure 15) and now let’s click next.
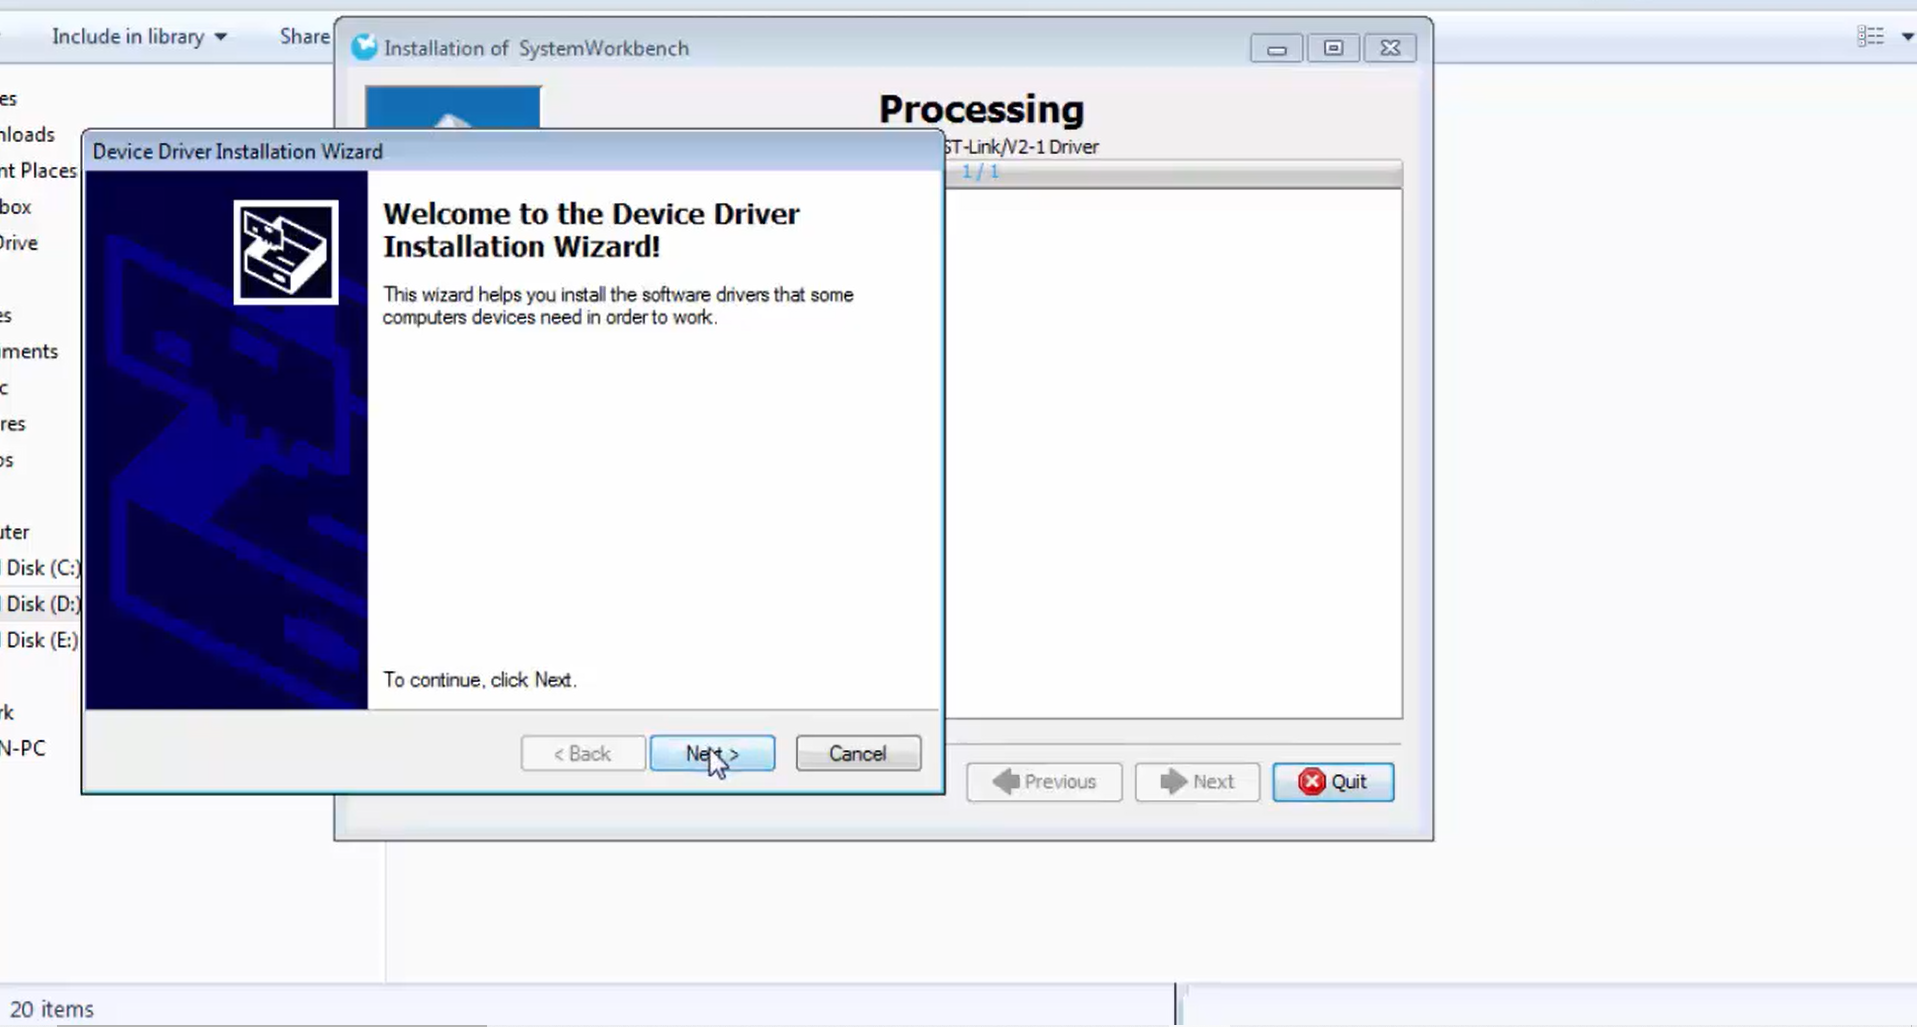
13. After clicking next, it will ask your permission to install the device driver (Figure 16). Let’s click next here.
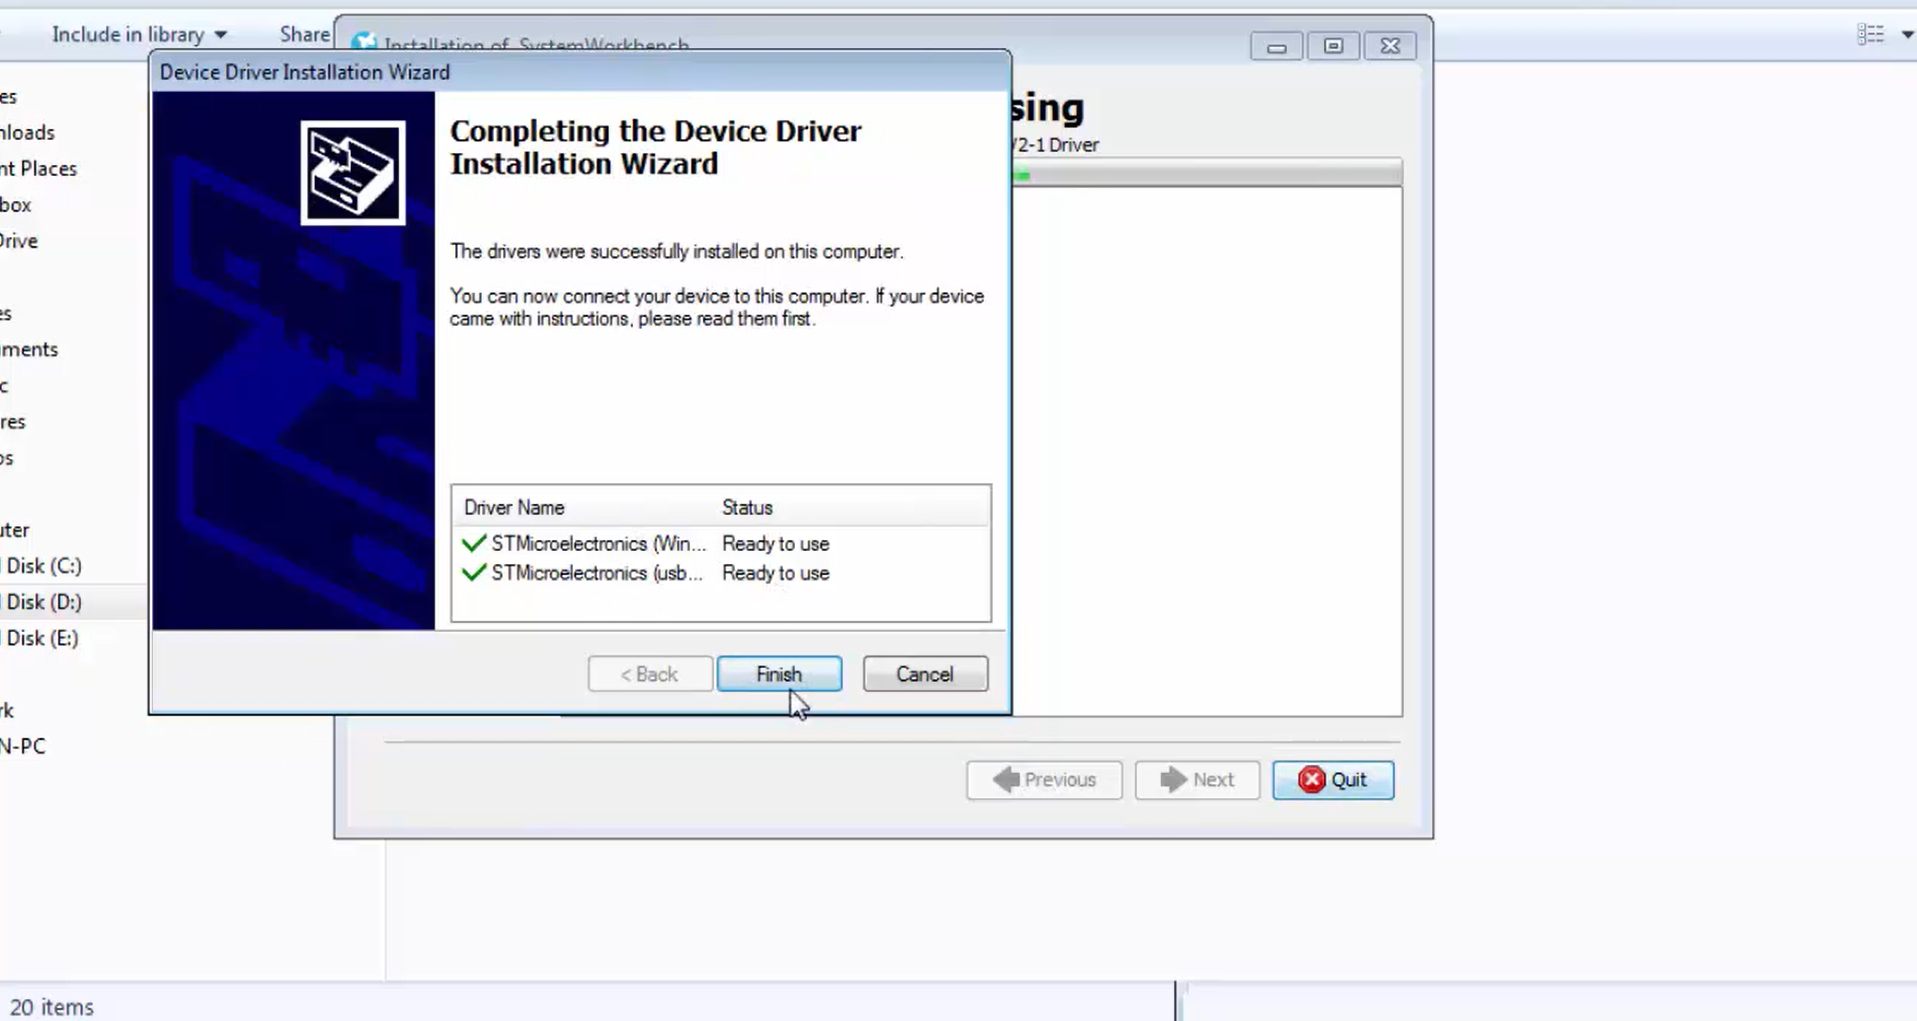
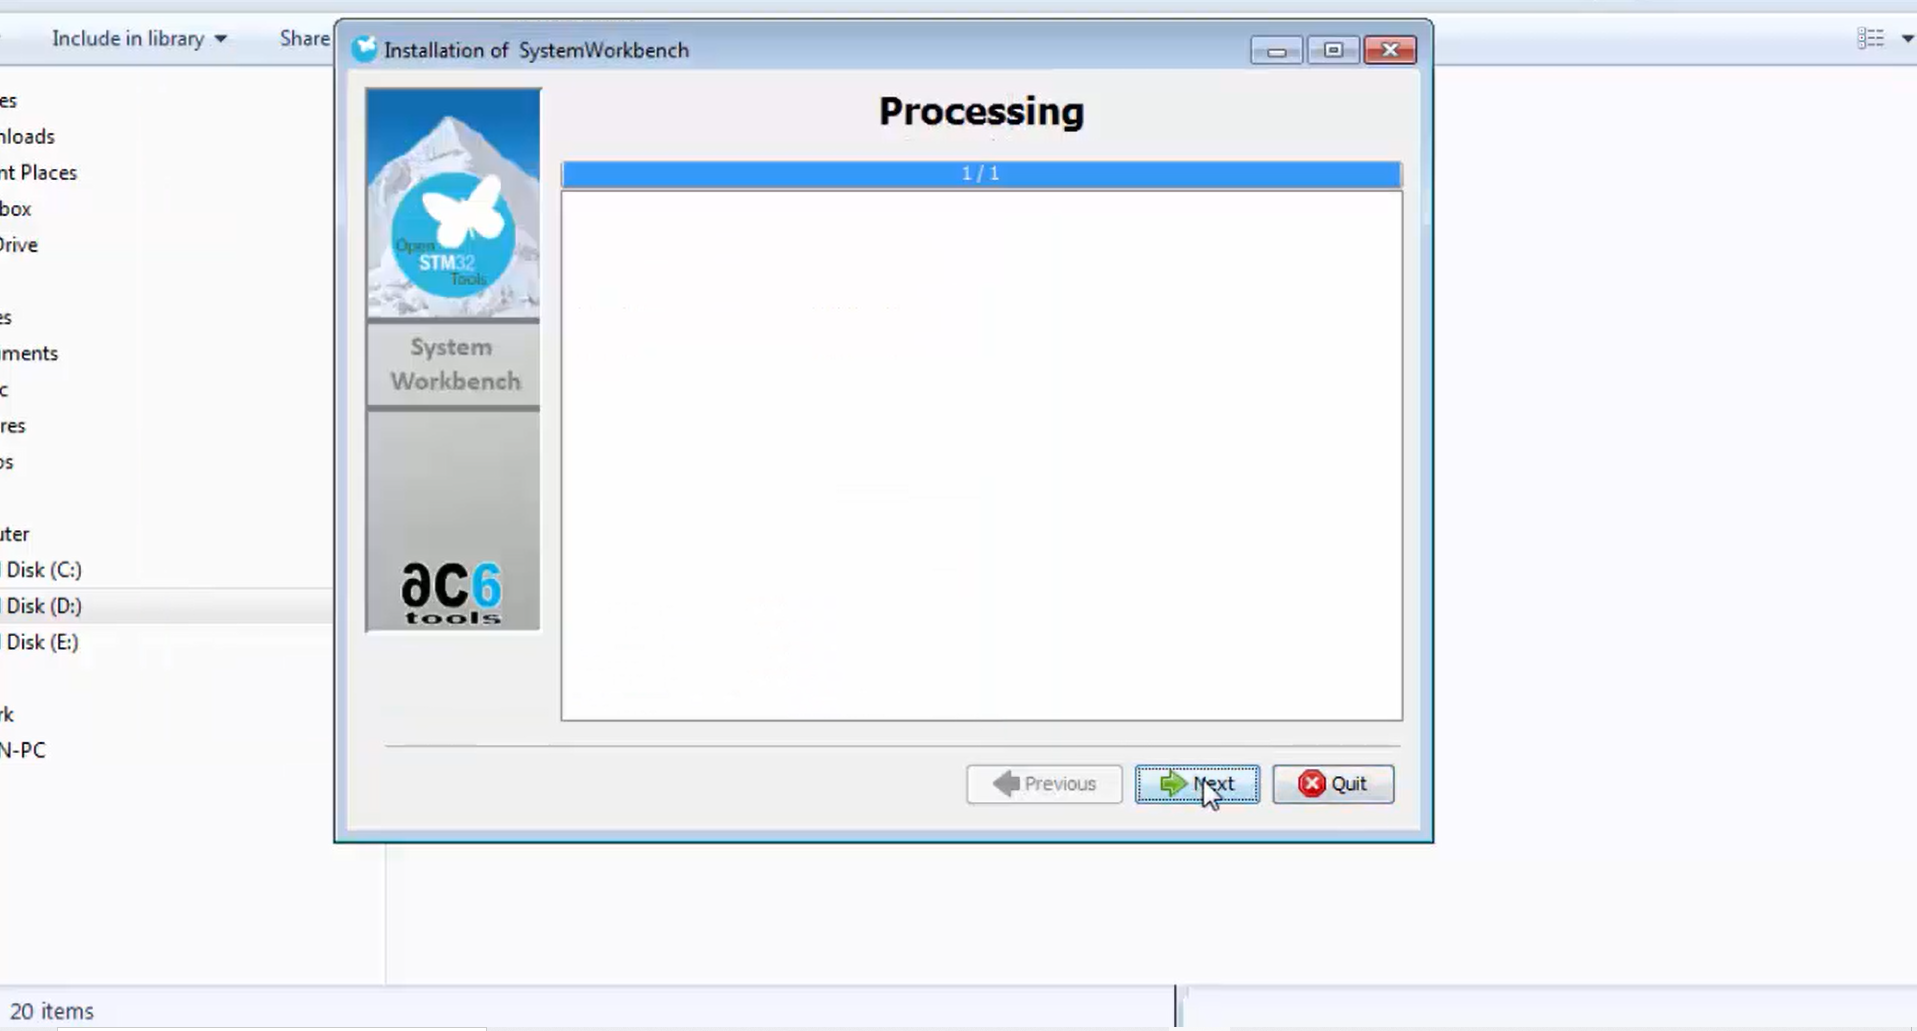
14. Now the ST-Link drivers are successfully installed on your computer (Figure 17). Now let’s click finish. After that, you will get a processing window (Figure 18), click next.
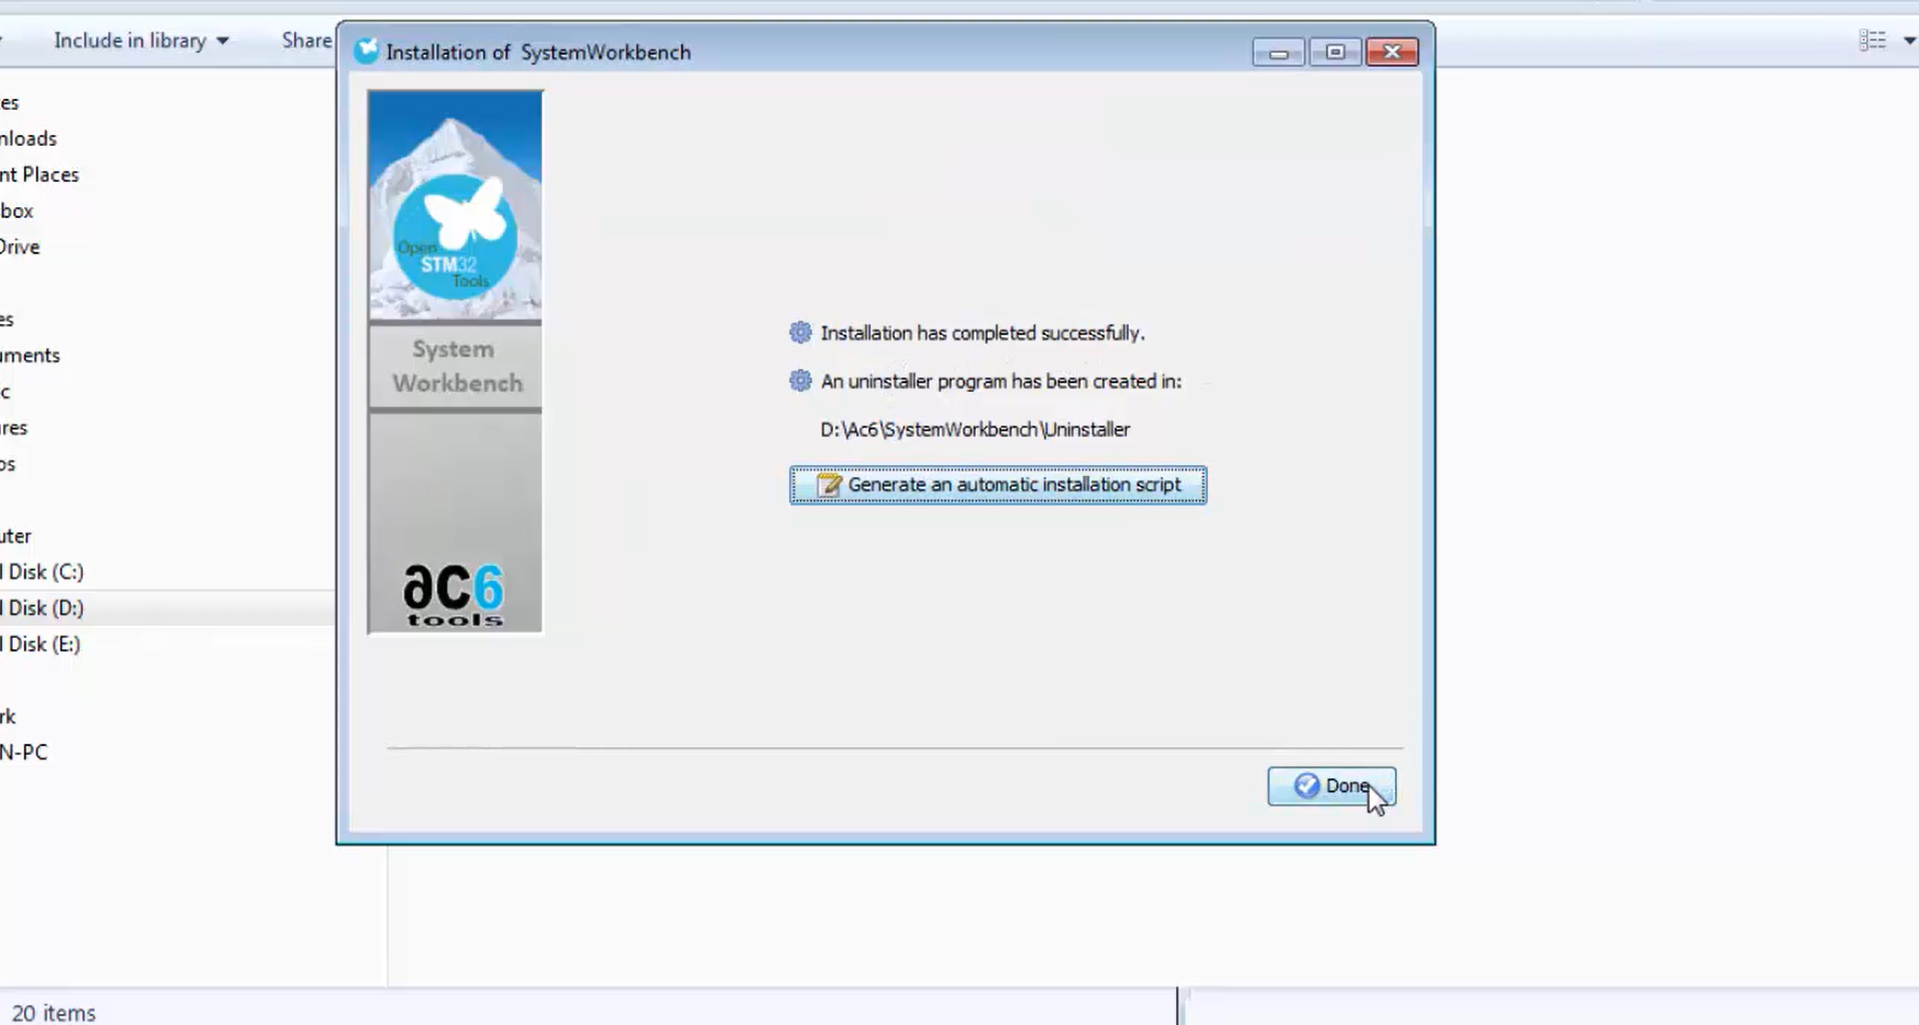
15. STM32 system workbench installation has been completed successfully (Figure 19), and you can click done.
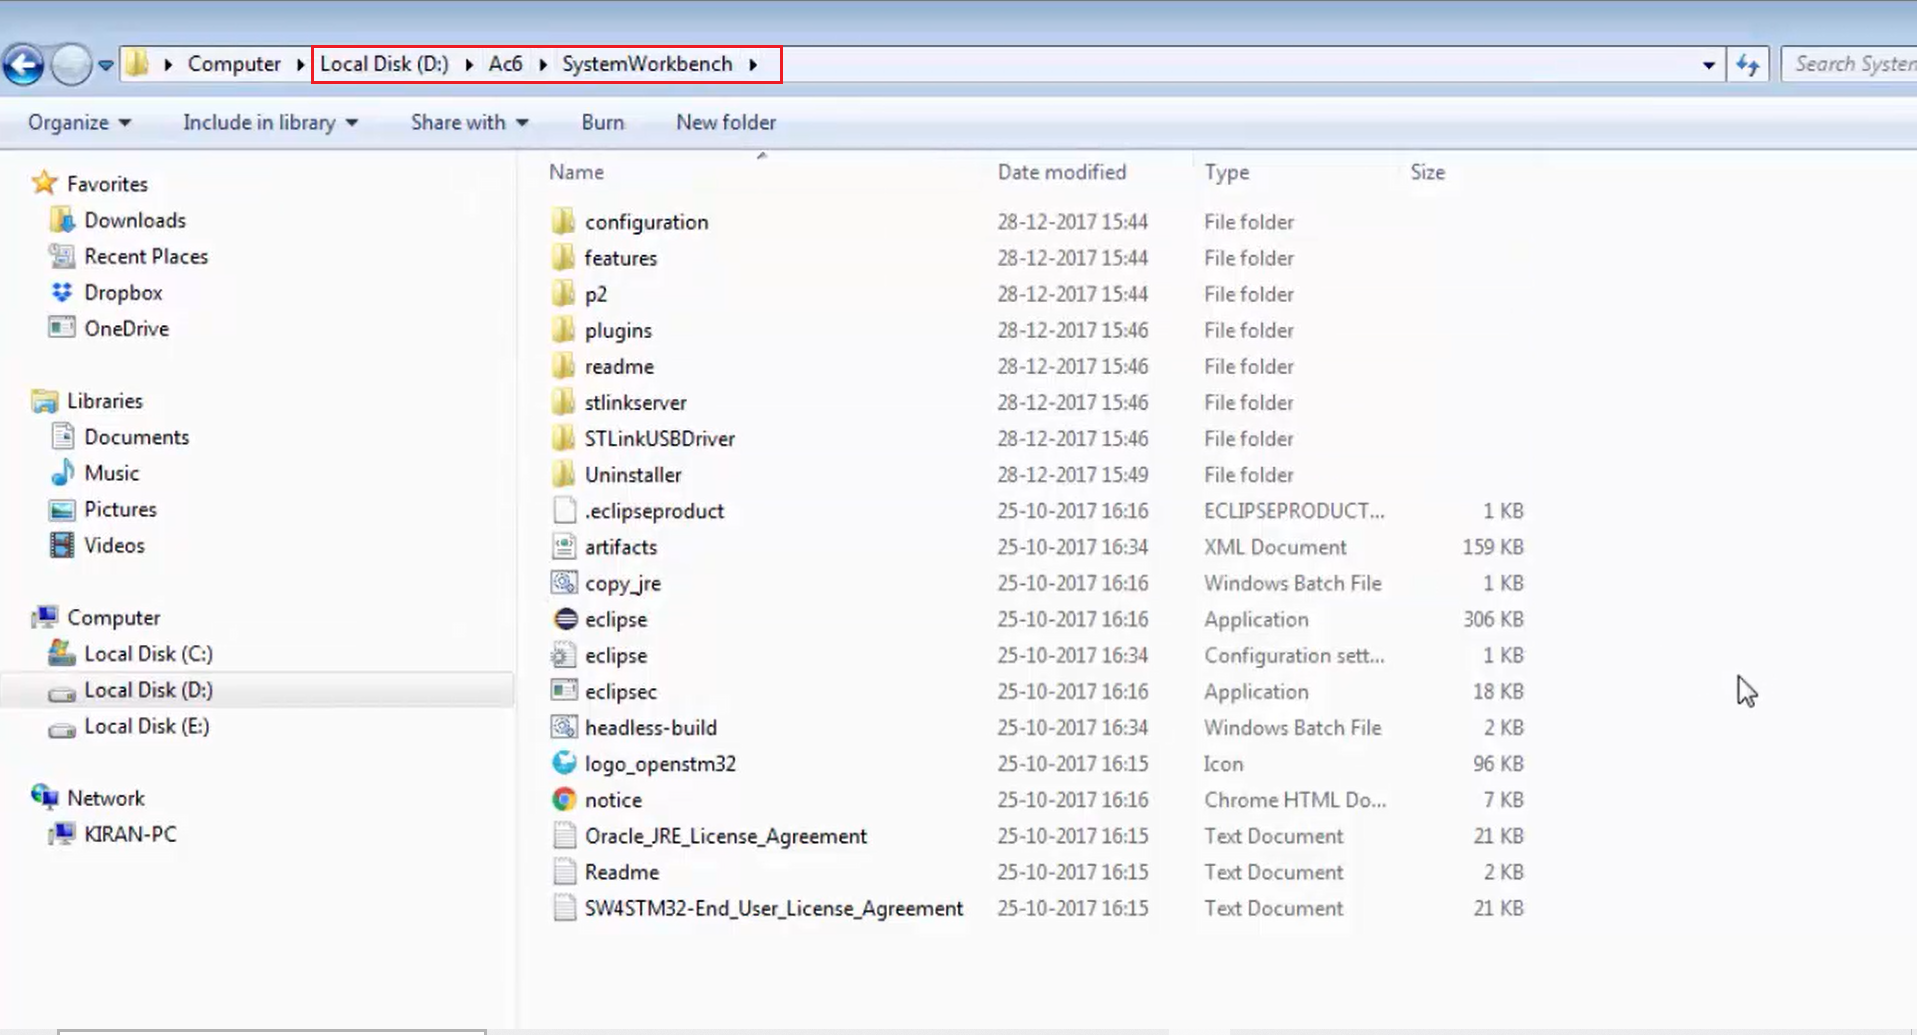
16. The system workbench for the STM32 microcontroller is successfully installed in the D drive, as shown in Figure 20.
Steps to launch the application:
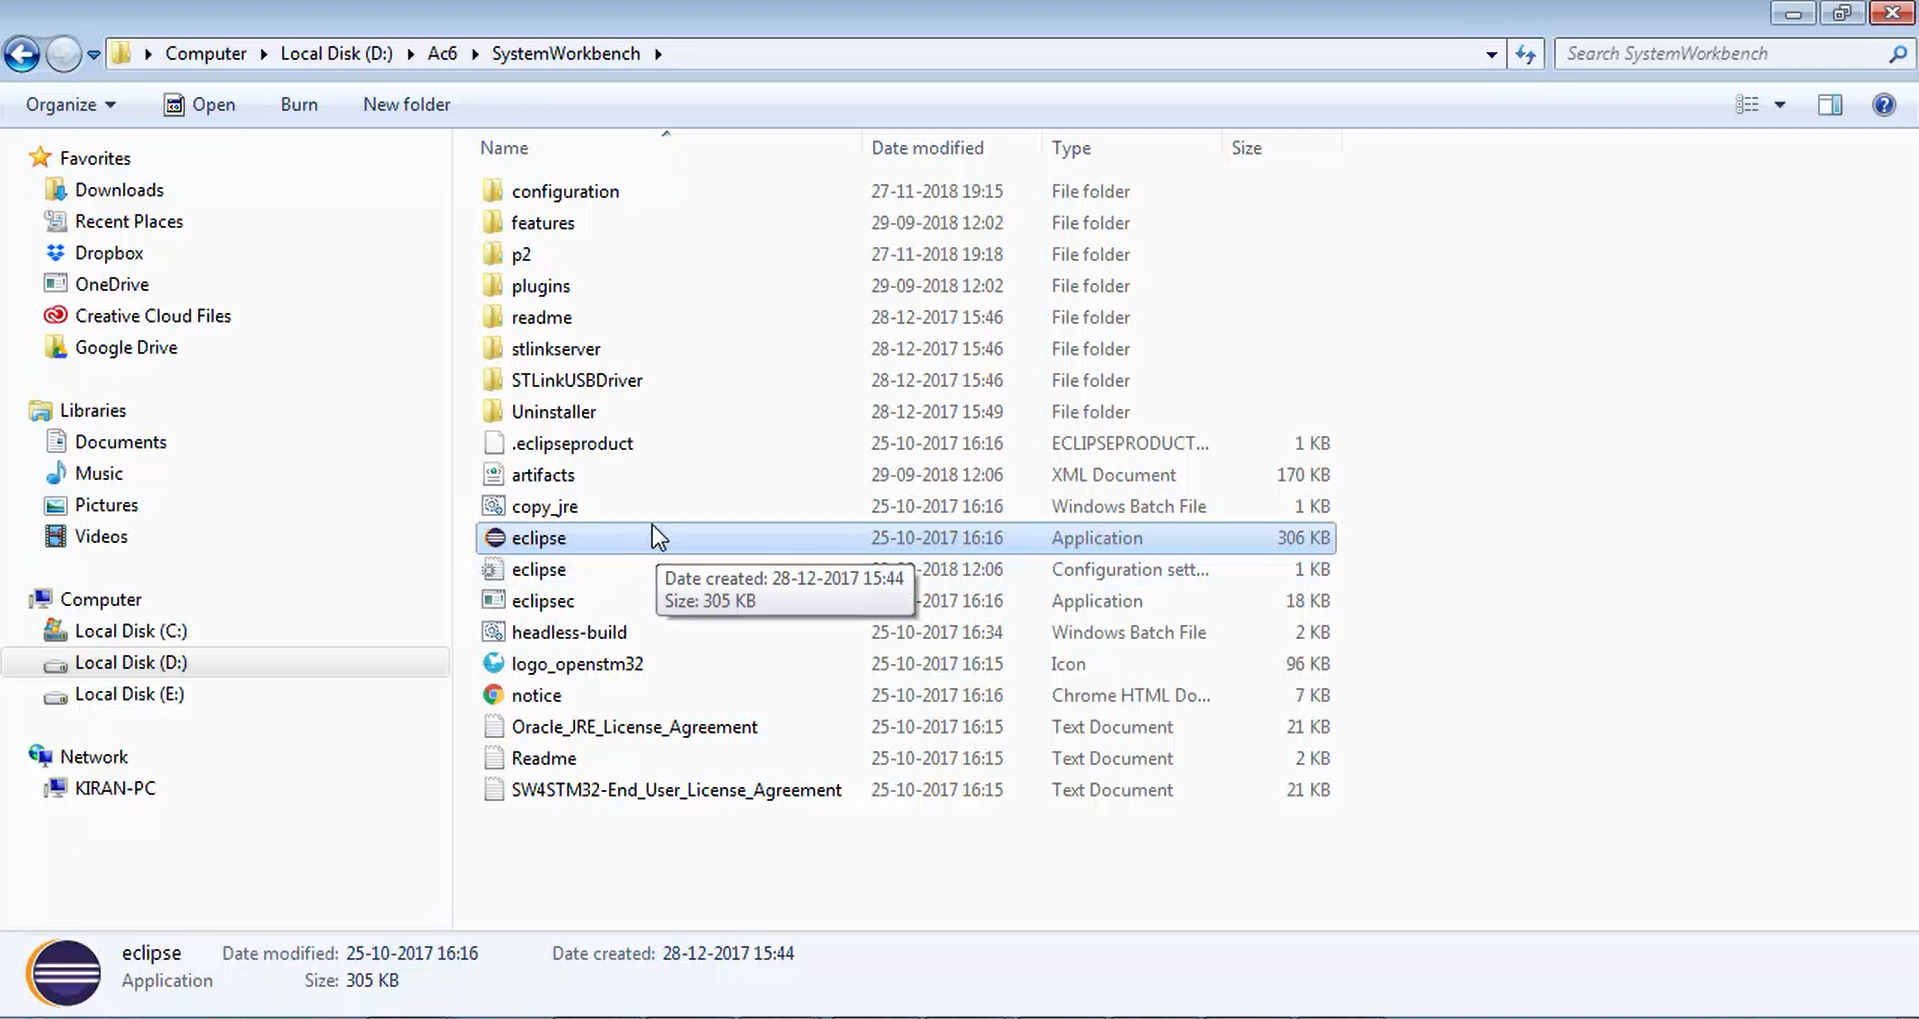
1. The application is installed under the Ac6 folder.
2. You can see the installed application under the Ac6 folder, as shown in Figure 21. Just double-click over that to launch the openSTM32 system workbench. This is one method.
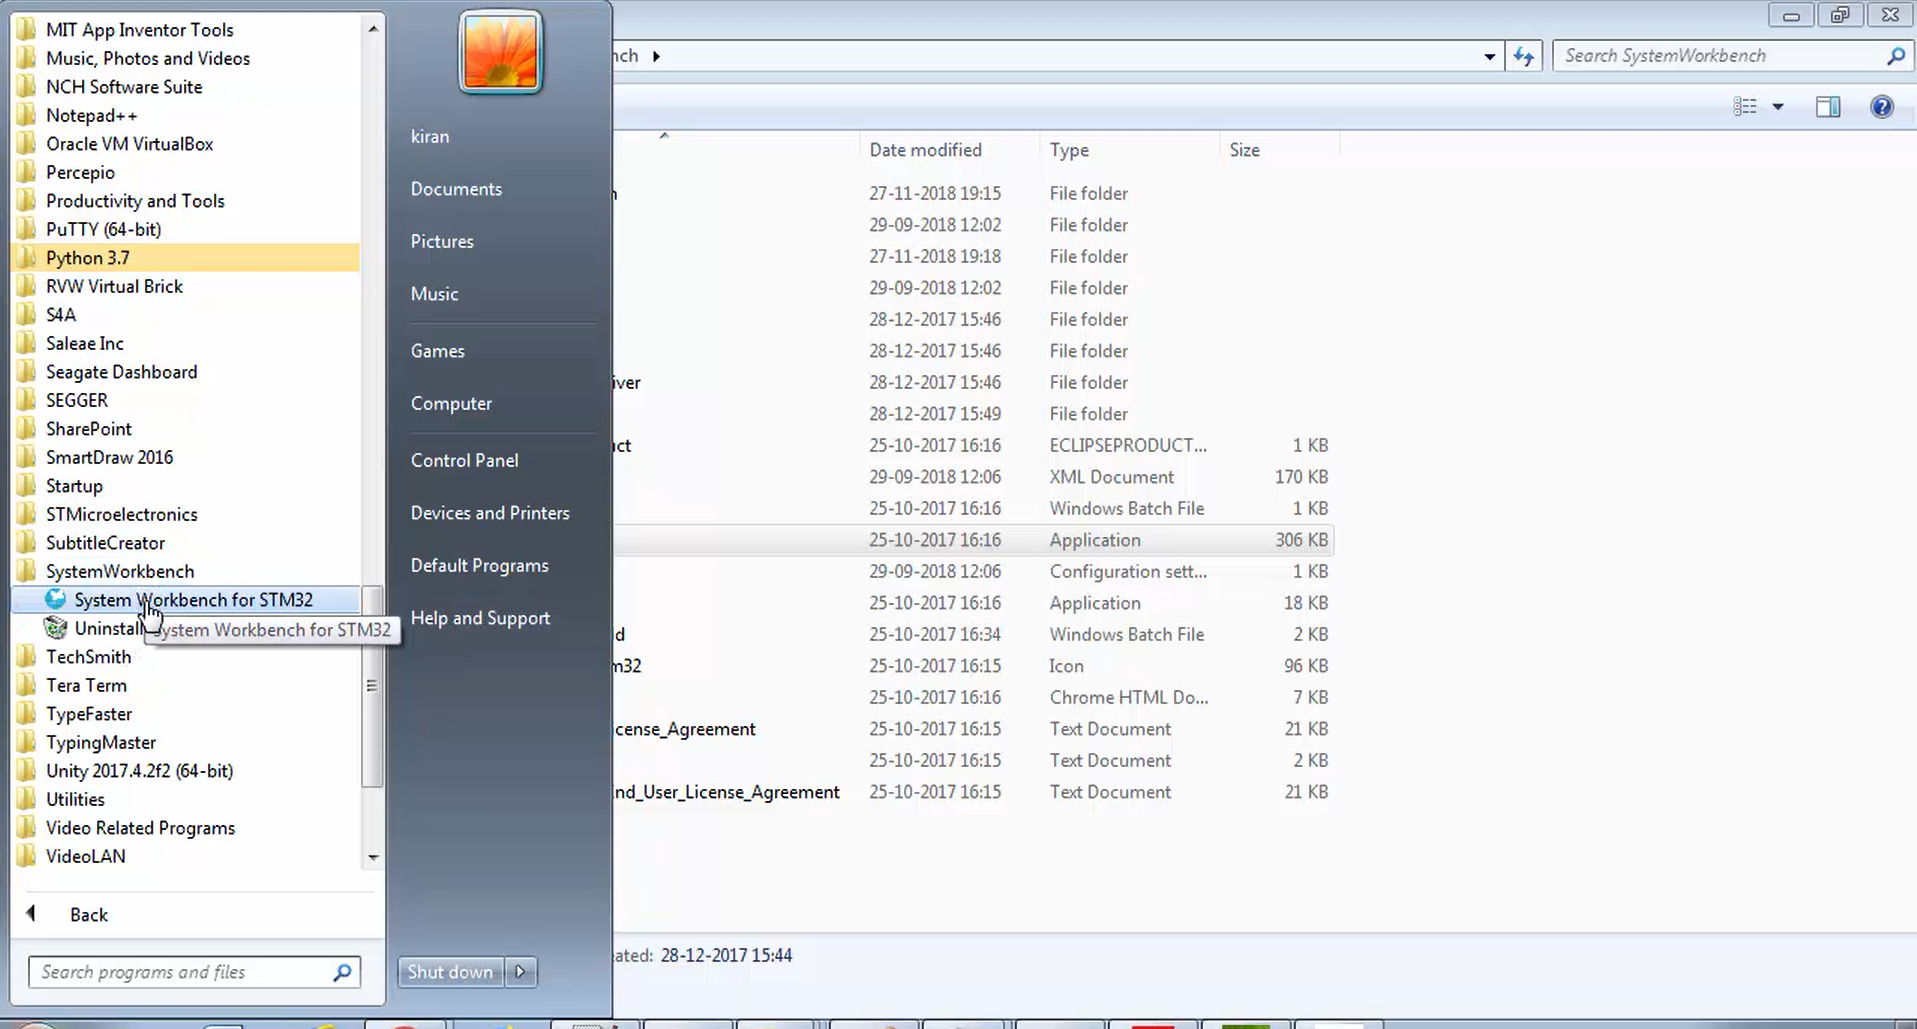
3. Otherwise, if you are on Windows, you can go to all files, find the system workbench (Figure 22), and then launch it.
In the following article, let’s see how to Download FreeRTOS.

