Pcd driver with multiple devices code implementation part-4
Let’s continue our discussion on this pcd_driver_init. We almost completed this init function, but we have to fix this a clean up things.
First of all, let’s start from the beginning.
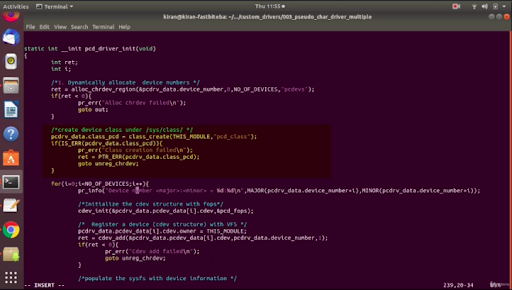
So, if here, the alloc_chrdev_region fails, then goto out.
And the next one is, if class_create fails, then you have to clean up what you did here. That’s why I would give the label here unreg_chrdev, as shown in Figure 1.
So, let’s implement that unreg_chrdev. Here it is. unregister_chrdev_region of number of devices as shown in Figure 2.
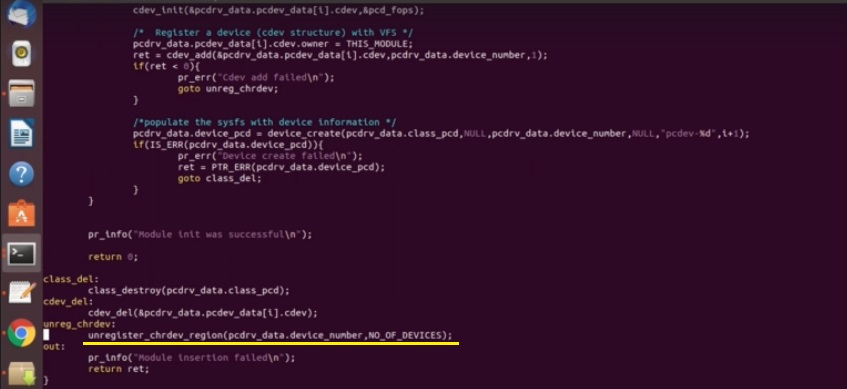
And after that, here is cdev_add, as shown in Figure 3.
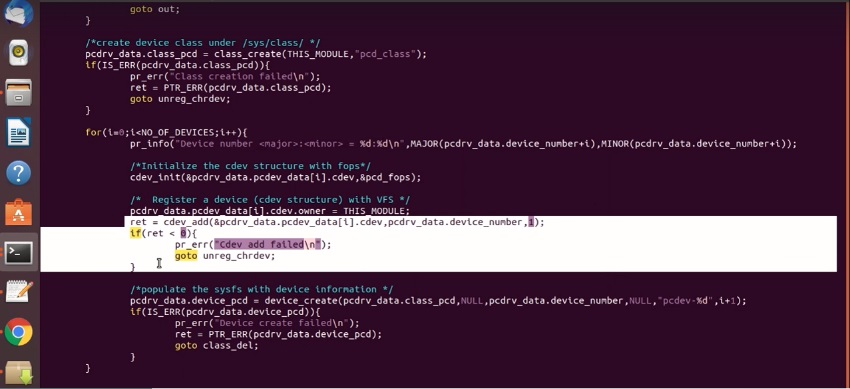
cdev_add actually executes multiple times. Because, let’s say if this is a loop of 4, then there will be four passes. The cdev_add can fail at any pass of the loop. The same is true for device_create. This also can fail at any pass of the loop.
So, we’ll do something like this. It doesn’t matter at which pass these APIs fail; you just cleanup for all number of devices.
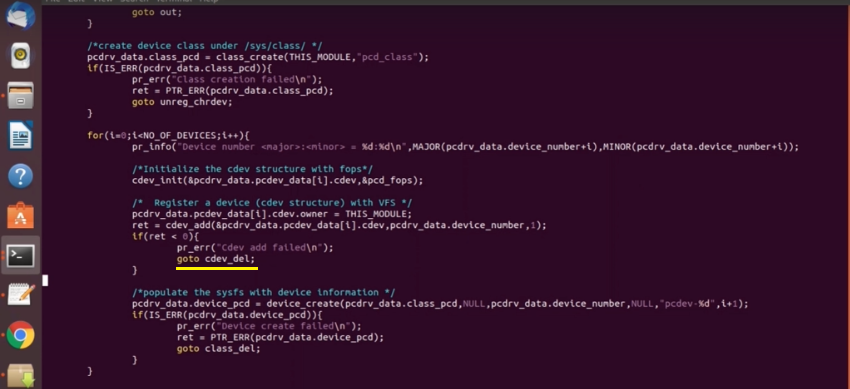
That’s why, what I write here is, let me create a label cdev_del, as shown in Figure 4.
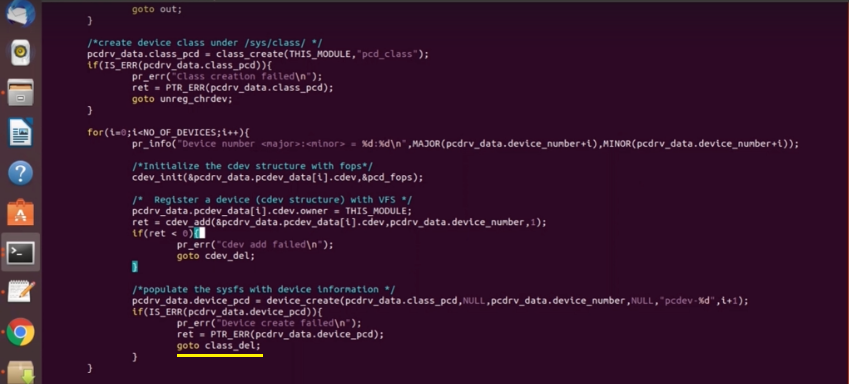
And here let me write the label class_del. If any of these API fails, then will cleanup for all devices. That’s why what I do here is, let me write cdev_del here.
And let me first write cdev_del and class_del as shown in Figure 6.
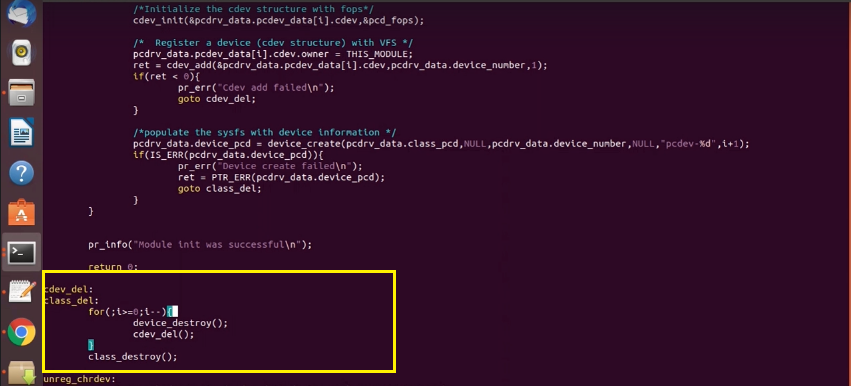
If cdev_add fails, then you have to execute cleanup for both cdev_add and device_create. For that, I would like to use a loop, and I would start cleaning up from the current value of i, that’s a loop variable. That’s why I would just give a semicolon here. i>=0, i–. I go in reverse. First, I would do device_destroy. And after that, I would do cdev_del. And after that, that is class_destroy. This will be our cleanup.
It doesn’t matter at what pass or at what stage you fail, you have to clean up everything.
Let’s complete this device_destroy. Let me just search for device_destroy as in Figure 7.
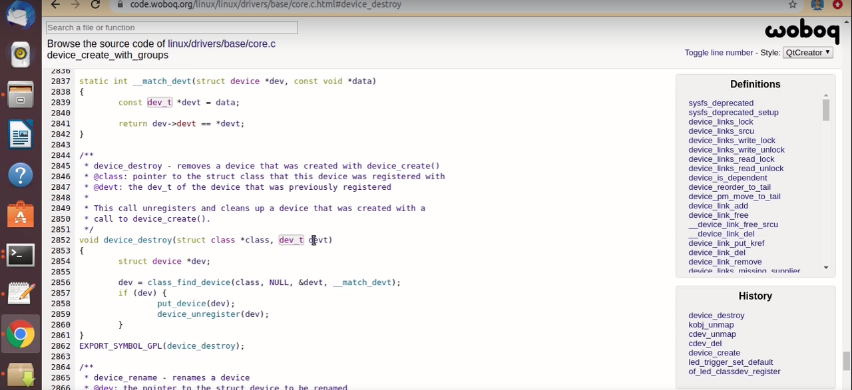
You just have to give the class and this dev_t information. dev_t here is the device that was previously registered.
If the device was not previously registered, suppose if you pass an invalid value here(dev_t devt). That means if you are trying to do a device destroy without being previously registered or created using device_create. Then, there will be no effect in this API below.
For example, if this(devt) value is invalid, then class_find_device function here would return this (dev) as NULL. That’s why, if this dev is null, then this code block has no effect.
if(dev){
put_device(dev)
device_unregister(dev);
}
That’s why you can call a device_destroy on an invalid device number. You can do that.
Here, we have to use a class pointer pcdrv_data. This will be class_pcd, the device_number. The device_number is pcdrv_data.device_number+i, as shown in Figure 8.
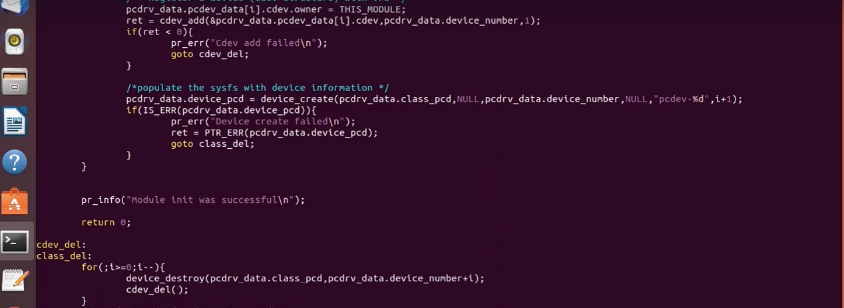
And after that, cdev_del(shown in Figure 9). Here you have to give the cdev address. Remove a cdev from the system.
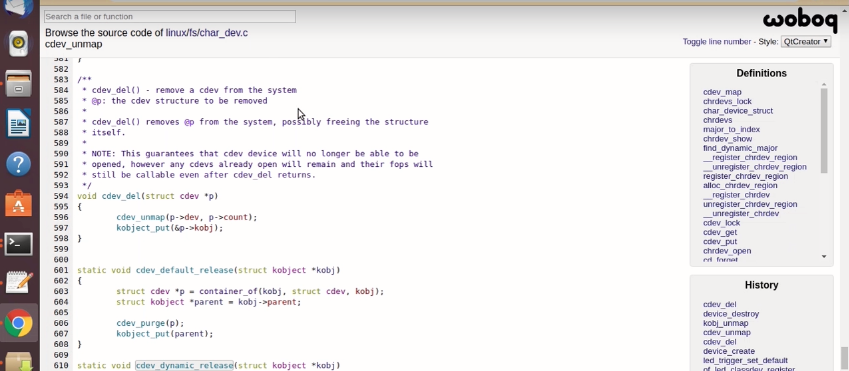
If the cdev is not present on the system, then there will be no effect in calling this API.
So, you just have to pass the address pcdrv_data.pcdev_data[i].cdev.
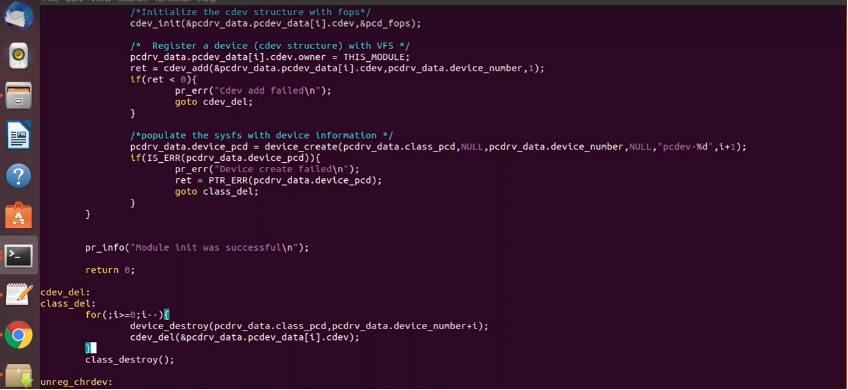
And after that, class_destroy.
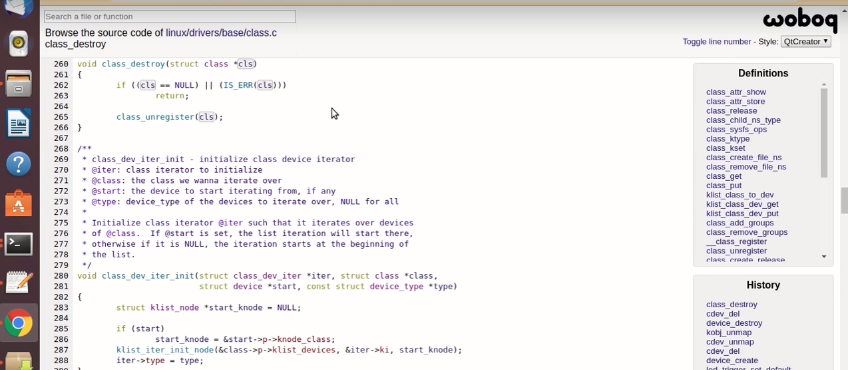
Just have to pass the pointer.
So class_destroy (pcdrv_data.class_pcd) as shown in Figure 12.
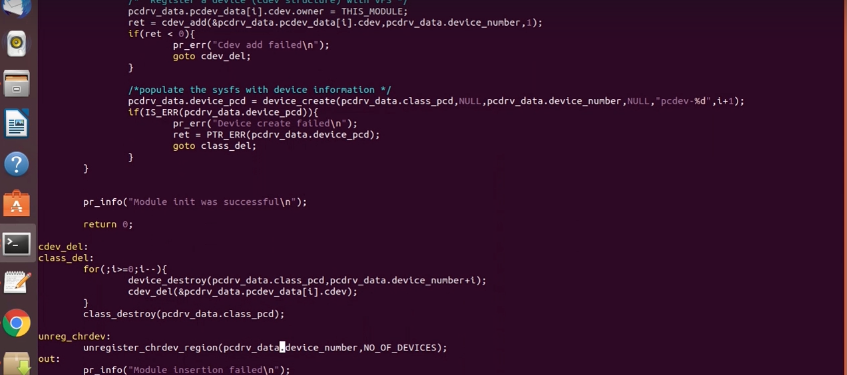
That completes our cleanup procedure, now, let’s save and quit. And let’s check this code.
Let’s code for our cleanup.
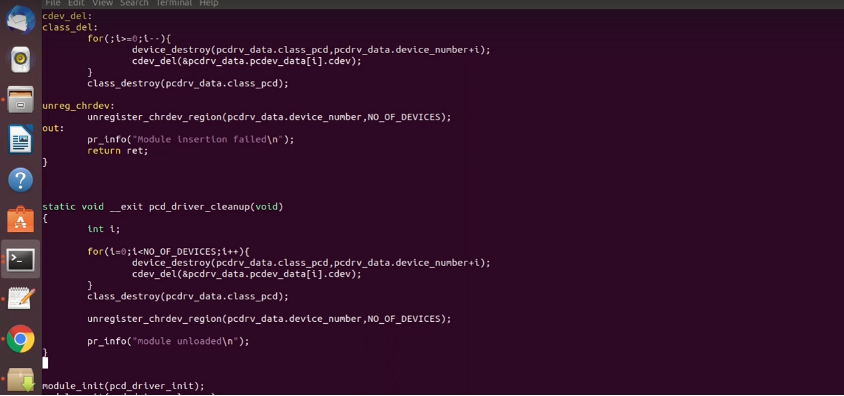
Save and Compile it.
We completed the init and cleanup functions of our exercise and try to complete up to here. And in the following article, let’s start implementing the driver methods. I’ll see you in the next article.
FastBit Embedded Brain Academy Courses
Click here: https://fastbitlab.com/course1

