Creating FreeRTOS based project for STM32 MCUs Part-1
In this article, let’s understand how we can use the 3rd party software codes. The 3rd party means a software code, which is given by FreeRTOS.org that is a FreeRTOS Kernel source code.
Now let’s see how to integrate that 3rd party software code into our eclipse project, and then you will learn how to run that onto the target, which is based on the STM32 microcontroller.
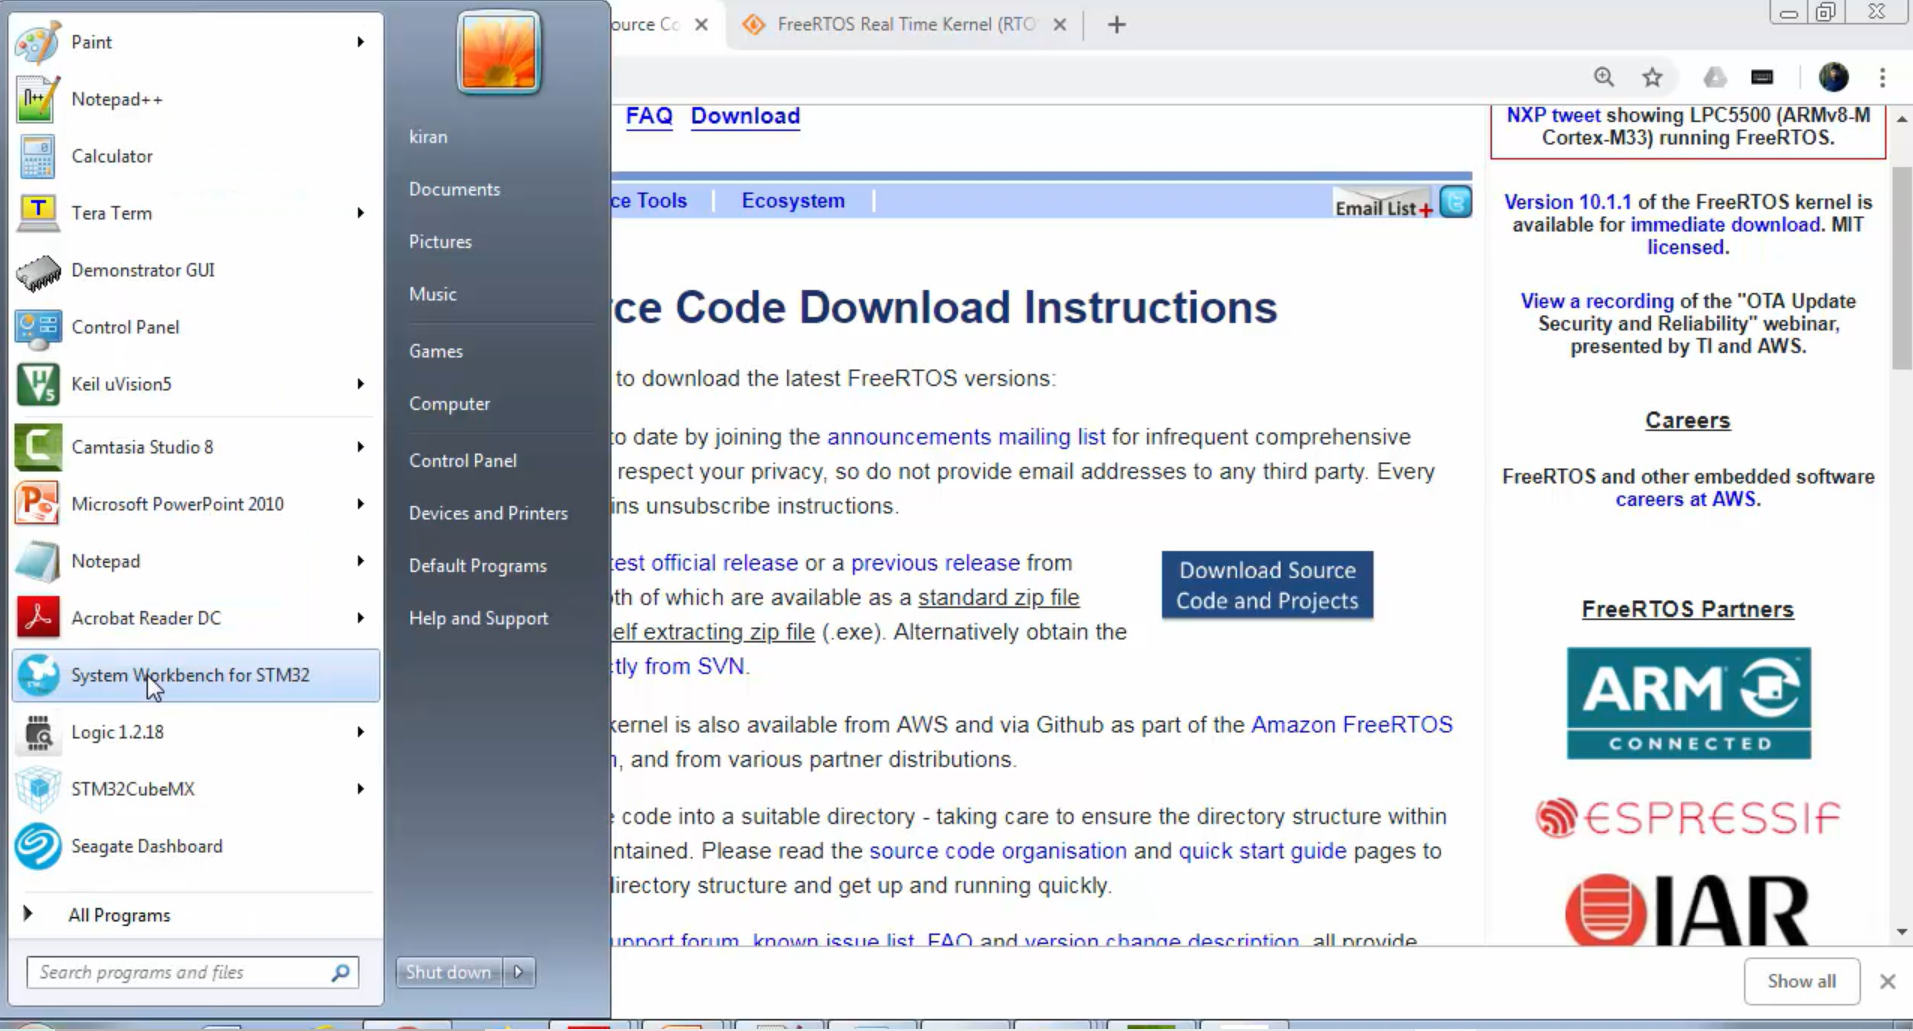
For that, first, you have to open the STM32 system workbench (Figure 1), which you already installed in your machine.
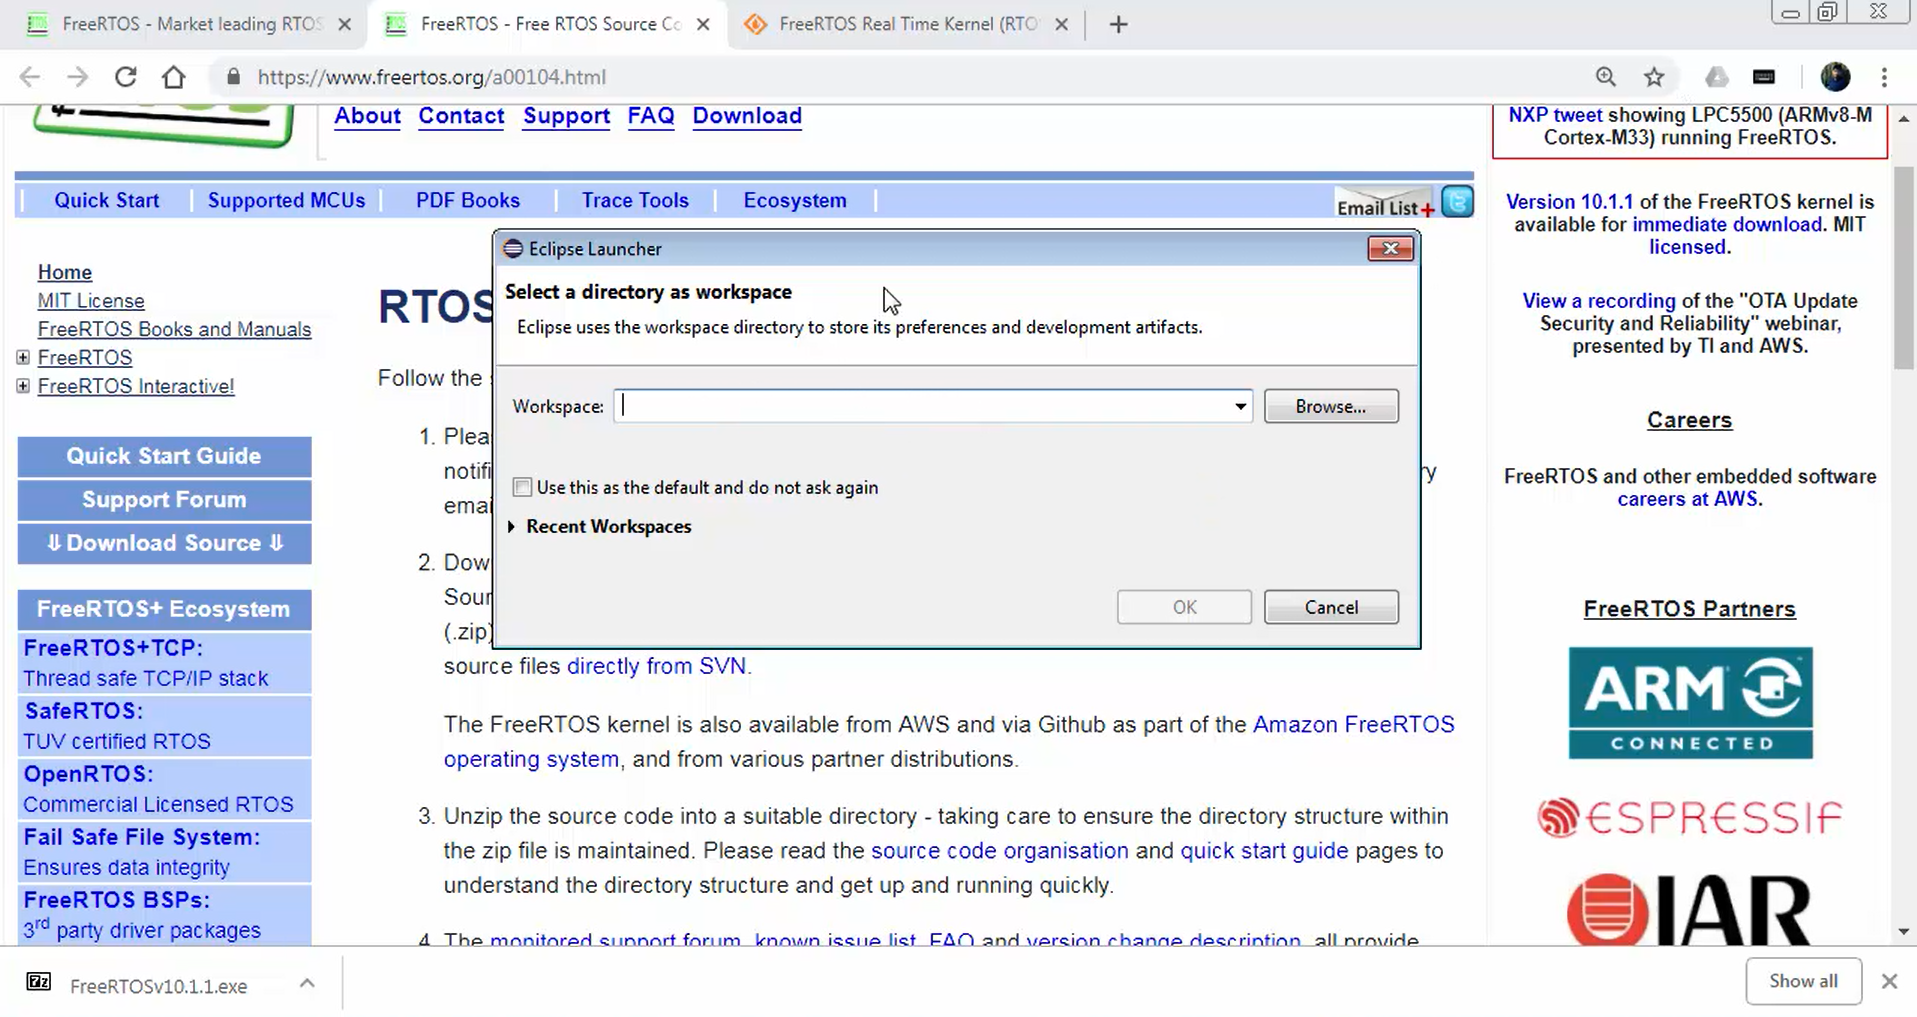
Now first, let’s create the workspace. Whenever you want to work with eclipse, it will always ask you to open the workspace (Figure 2).

Right now, we don’t have any workspace. So, just delete everything in the workspace field of a pop-up, as shown in Figure 3.
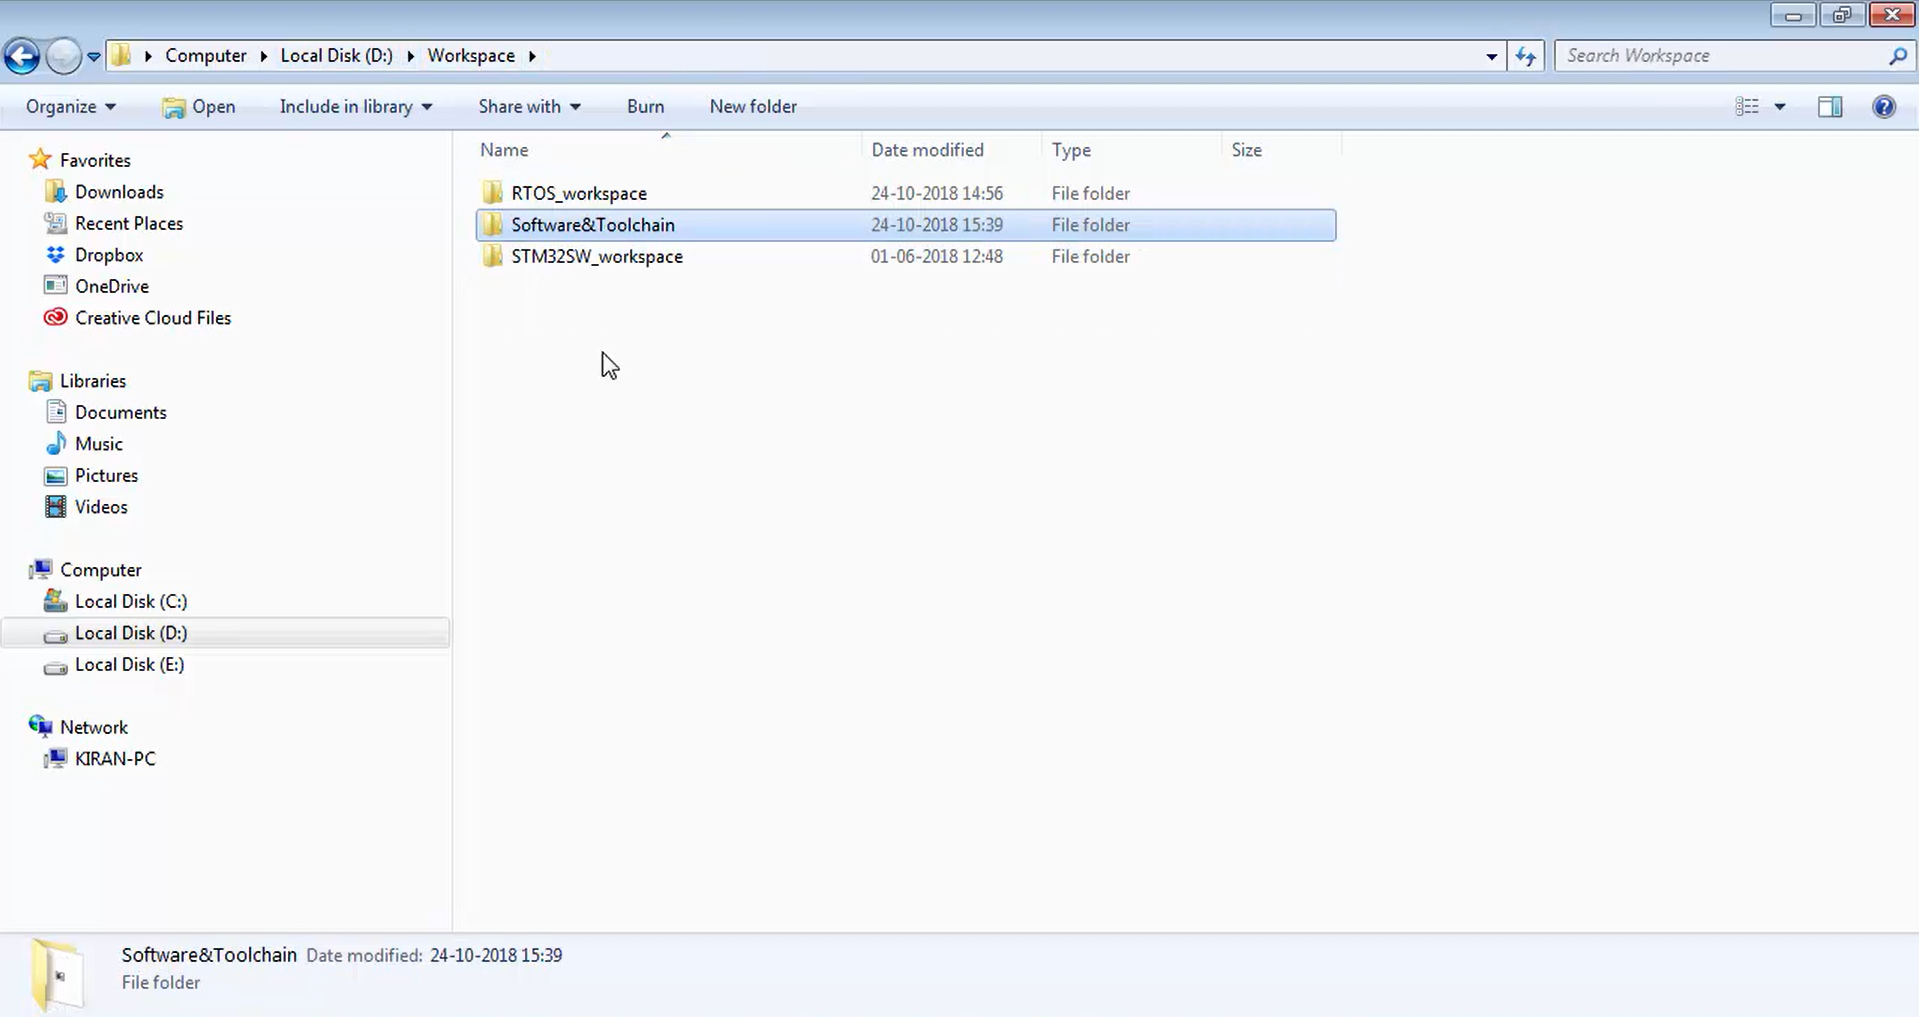
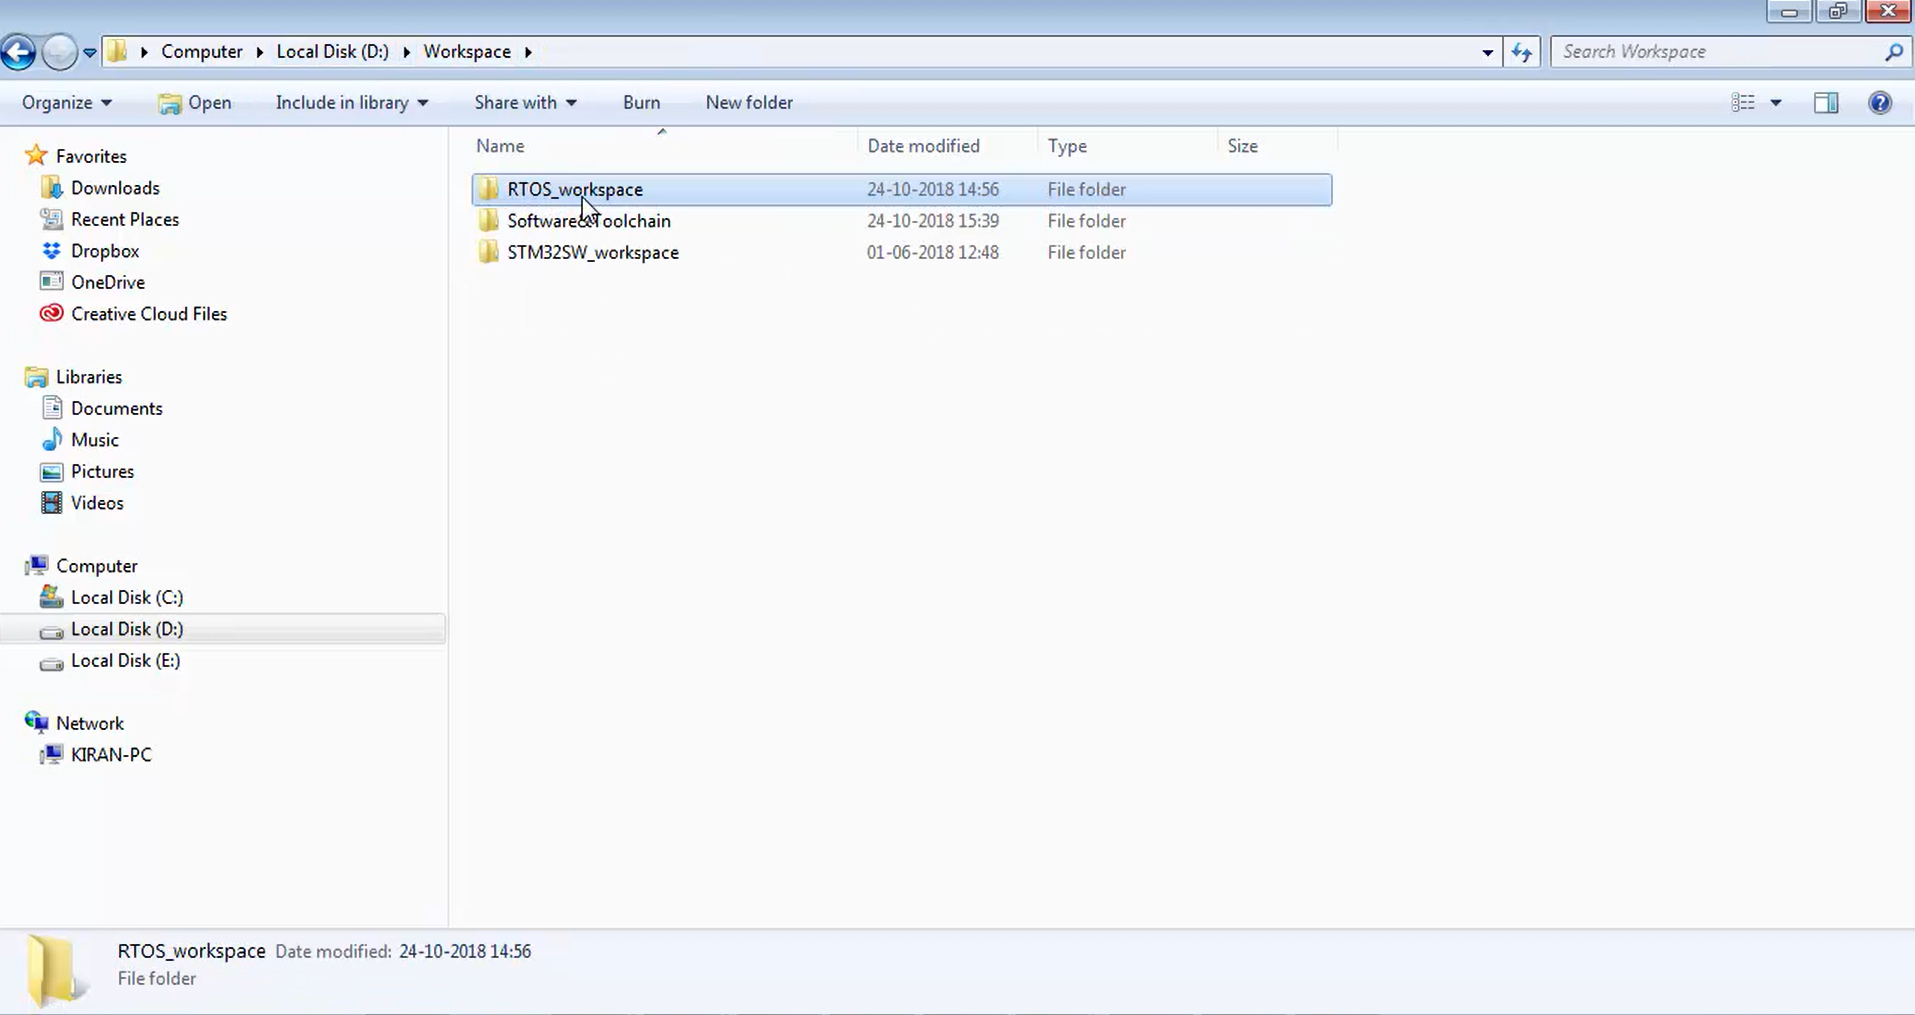
Let’s go back to the folder shown in Figure 4. Here let’s create one folder named RTOS_workspace, as shown in Figure 5.
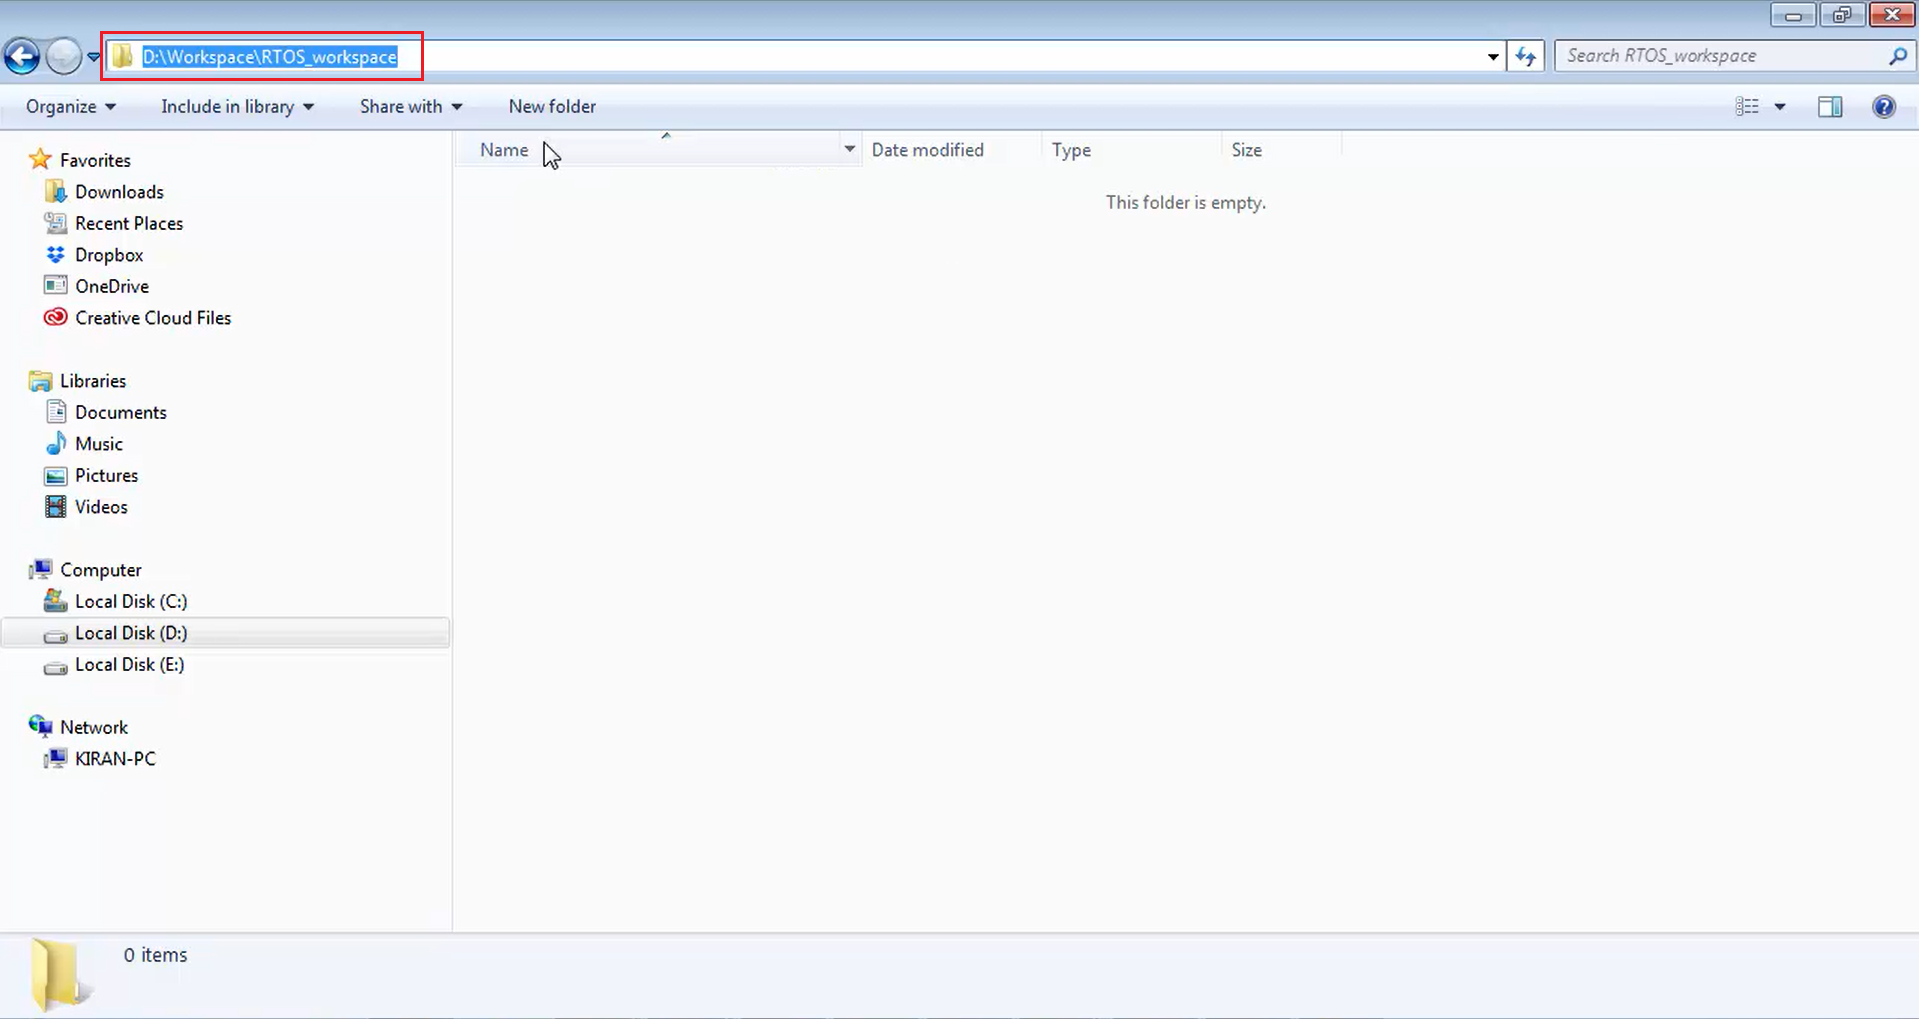
Copy the path shown in Figure 6 and paste it to the workspace field of the pop-up shown in Figure 7 and click ok.

You successfully created the RTOS workspace, and now you can keep different RTOS projects in that folder.
The eclipse has treated the RTOS_workspace folder as a workspace. So, it has created a .metadata folder inside the RTOS_workspace folder, as shown in Figure 8.

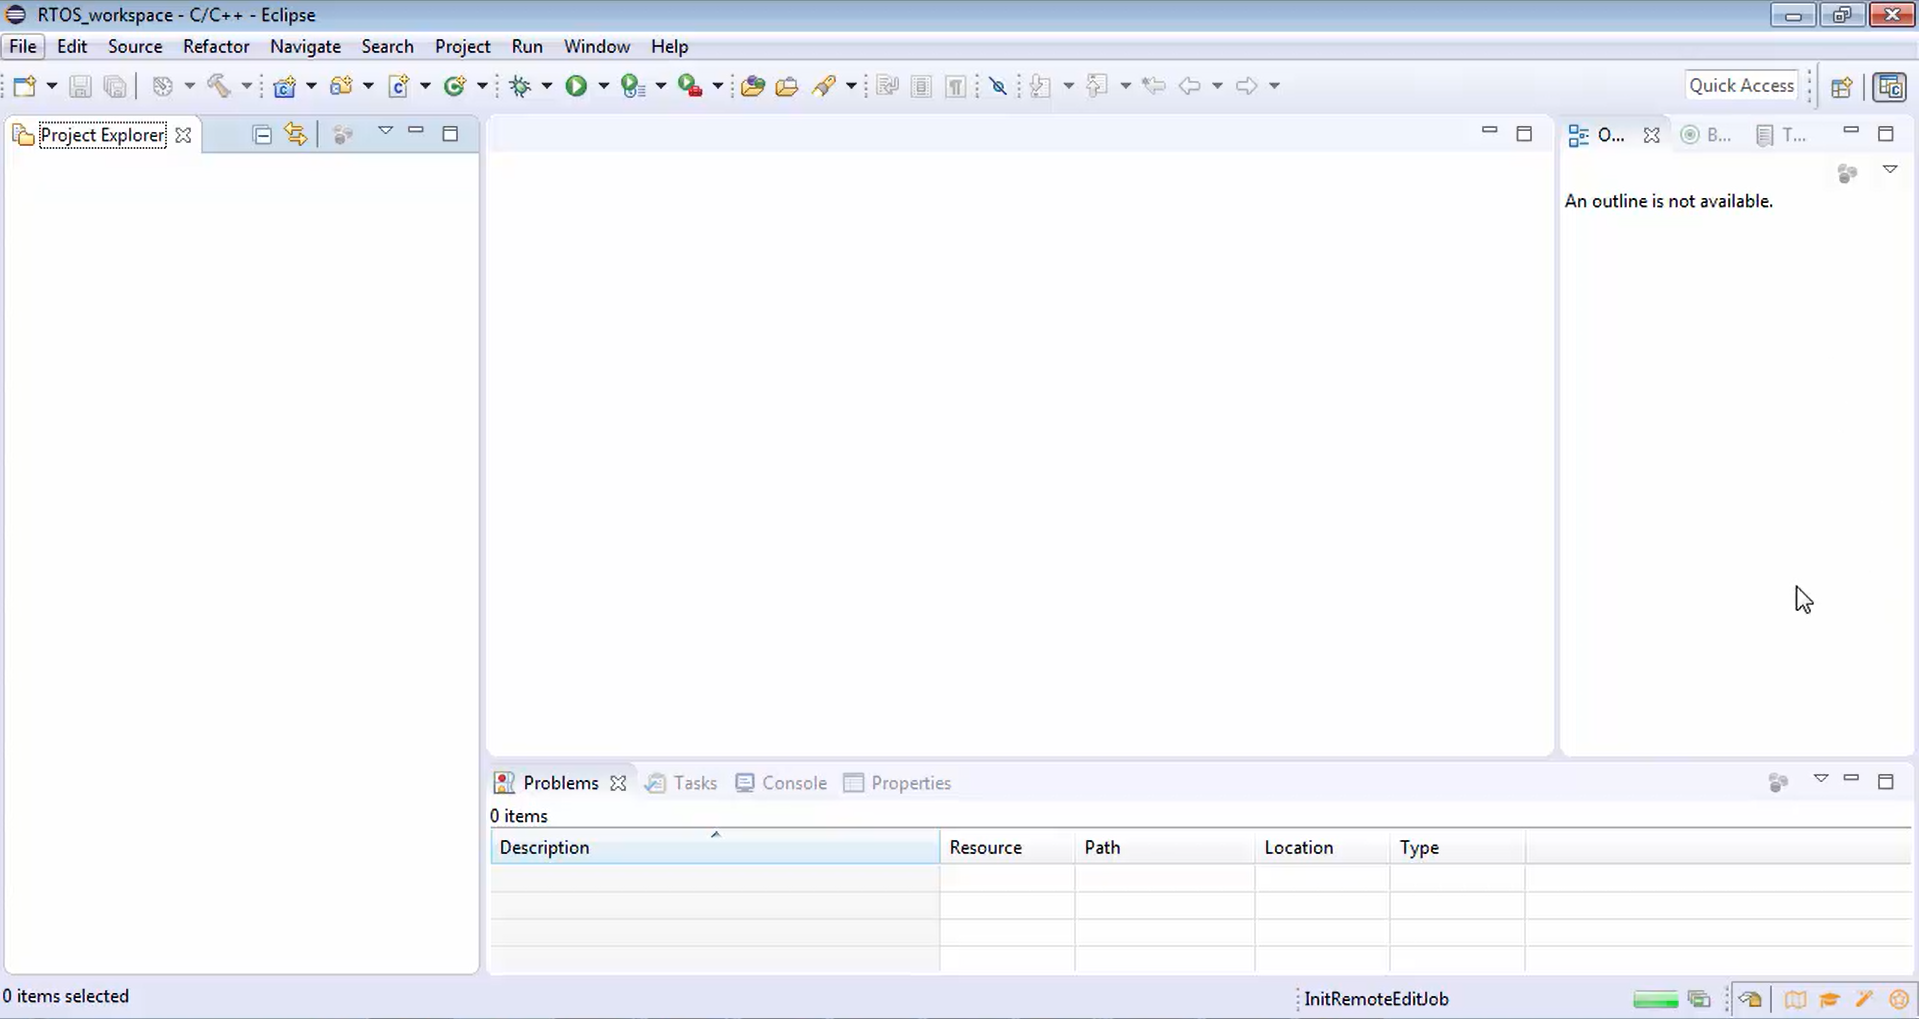
Now the eclipse has created the workspace RTOS_workspace (Figure 9). Let’s click over the workbench option marked in Figure 9 to get into the workspace.

In Figure 10, you can see your workspace and workspace name is RTOS_workspace, which is nothing but a folder that you have created previously. Here you can create various projects, and you can populate this folder with various projects into your workspace.
FastBit Embedded Brain Academy Courses
https://fastbitlab.com/course1