Creating FreeRTOS based project for STM32 MCUs Part-5
As a result of building, we got FreeRTOSConfig.h not found error (Figure 1). The FreeRTOSConfig.h is specific to a particular project. In this case, the project is the HelloWorld project. What we do now is specific to this FreeRTOS project.
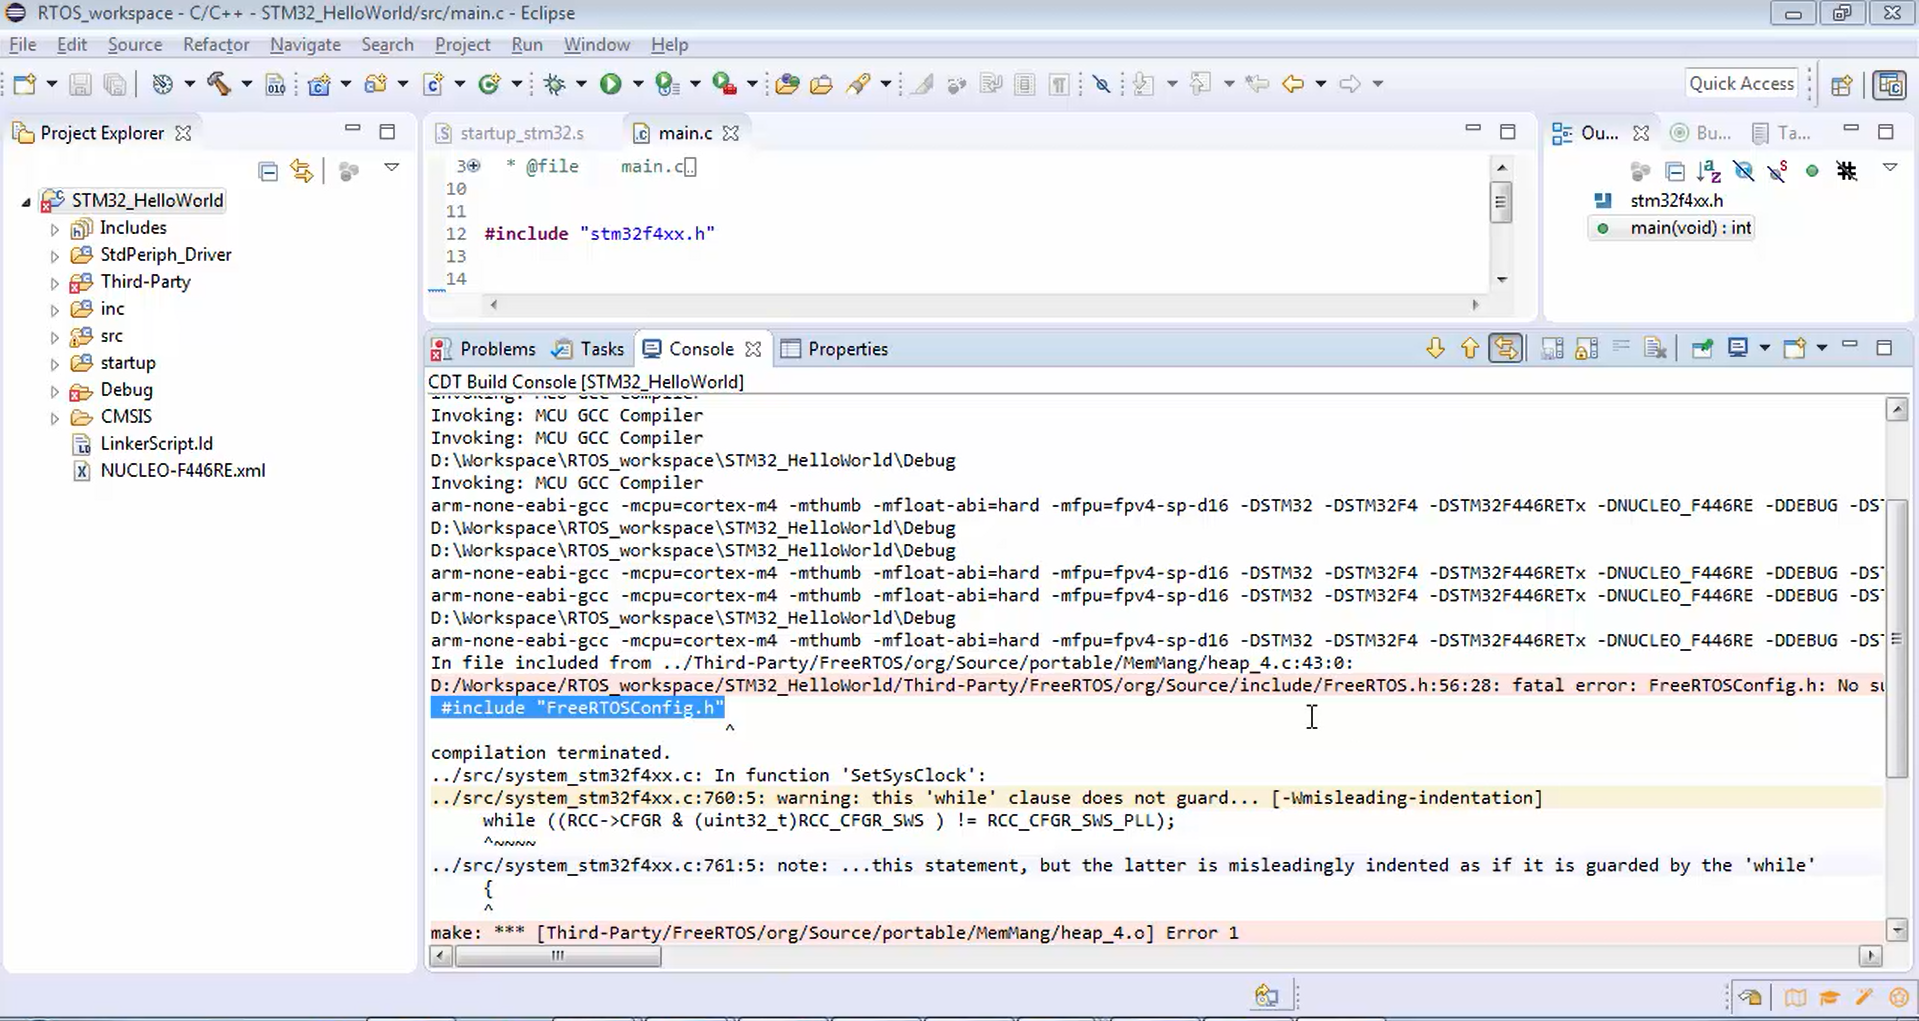
As the name itself indicates, the FreeRTOSConfig file is used to configure the FreeRTOS source code that you have used in your project. We will discuss the FreeRTOSConfig.h and its internal details in the later part thoroughly. So, no need to worry about the internals of FreeRTOSConfig.h now.
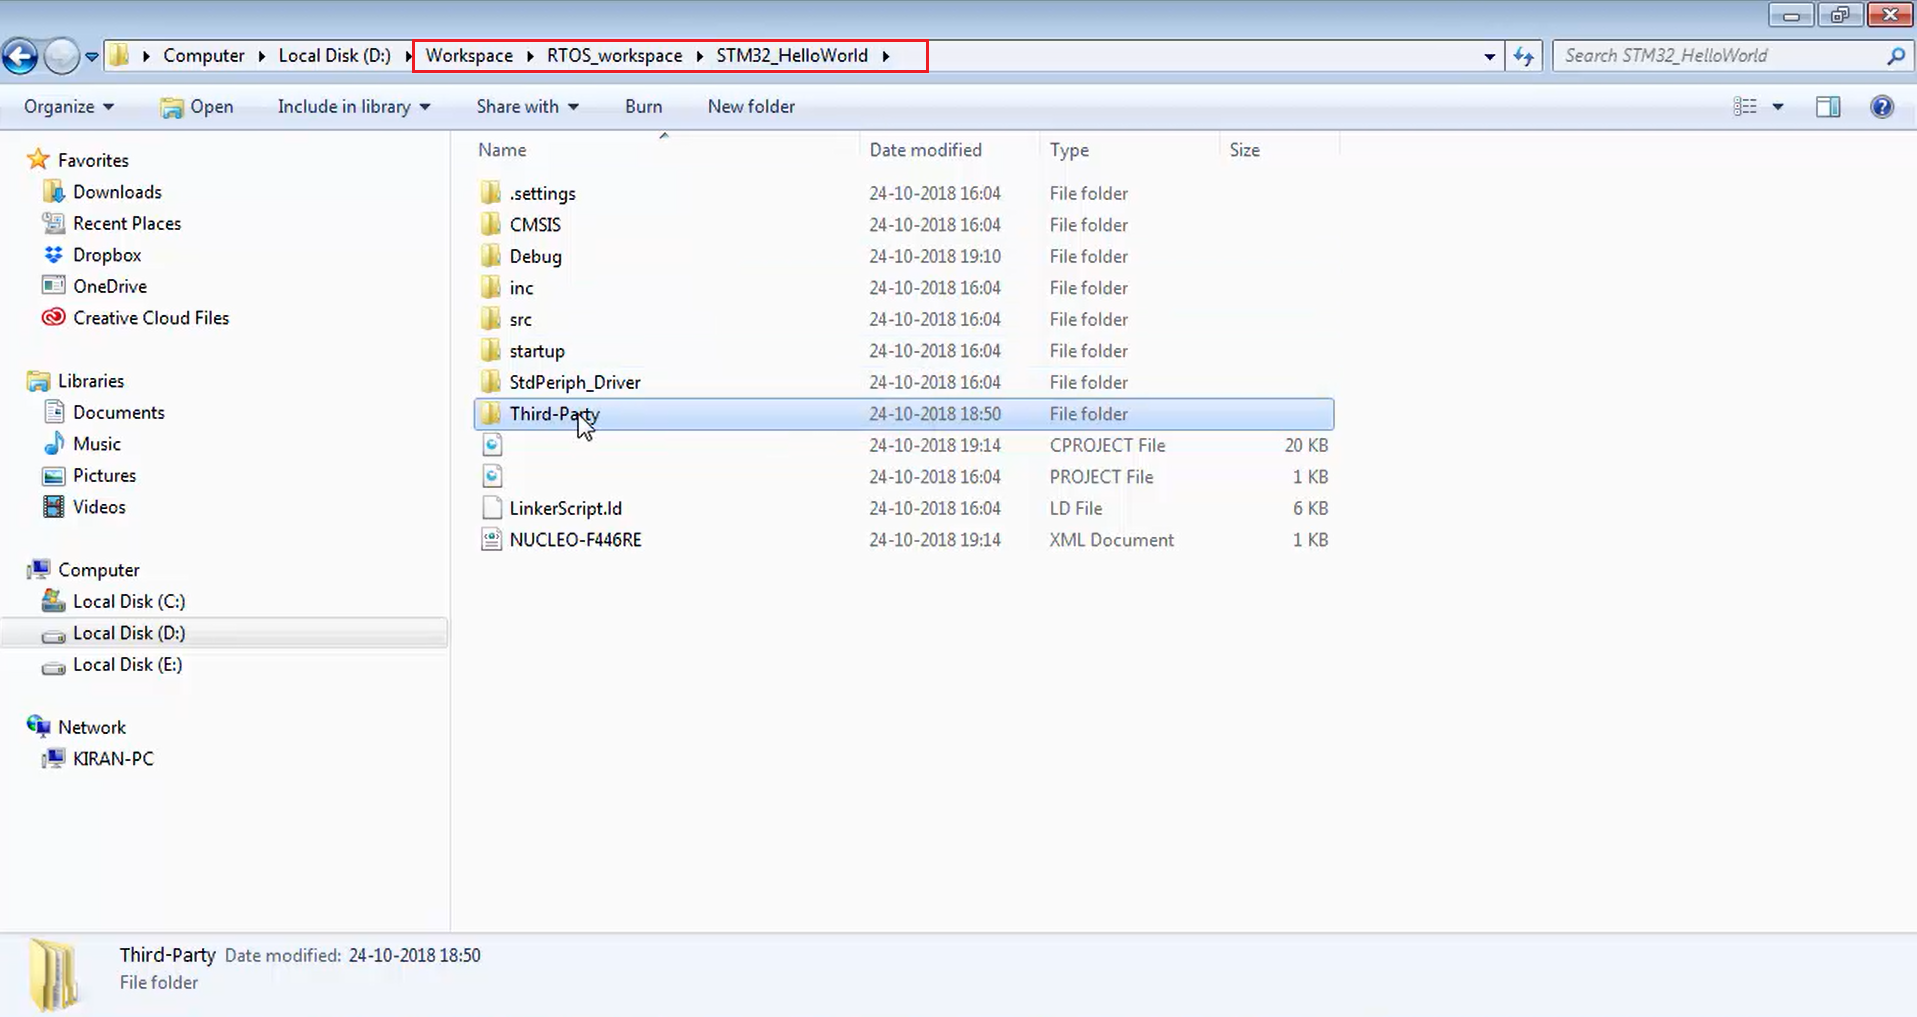
Now let’s just use the FreeRTOSConfig.h. Otherwise, the compiler will not allow you to compile this project. For that, first, go to your HelloWorld project in the workspace (Figure 2).
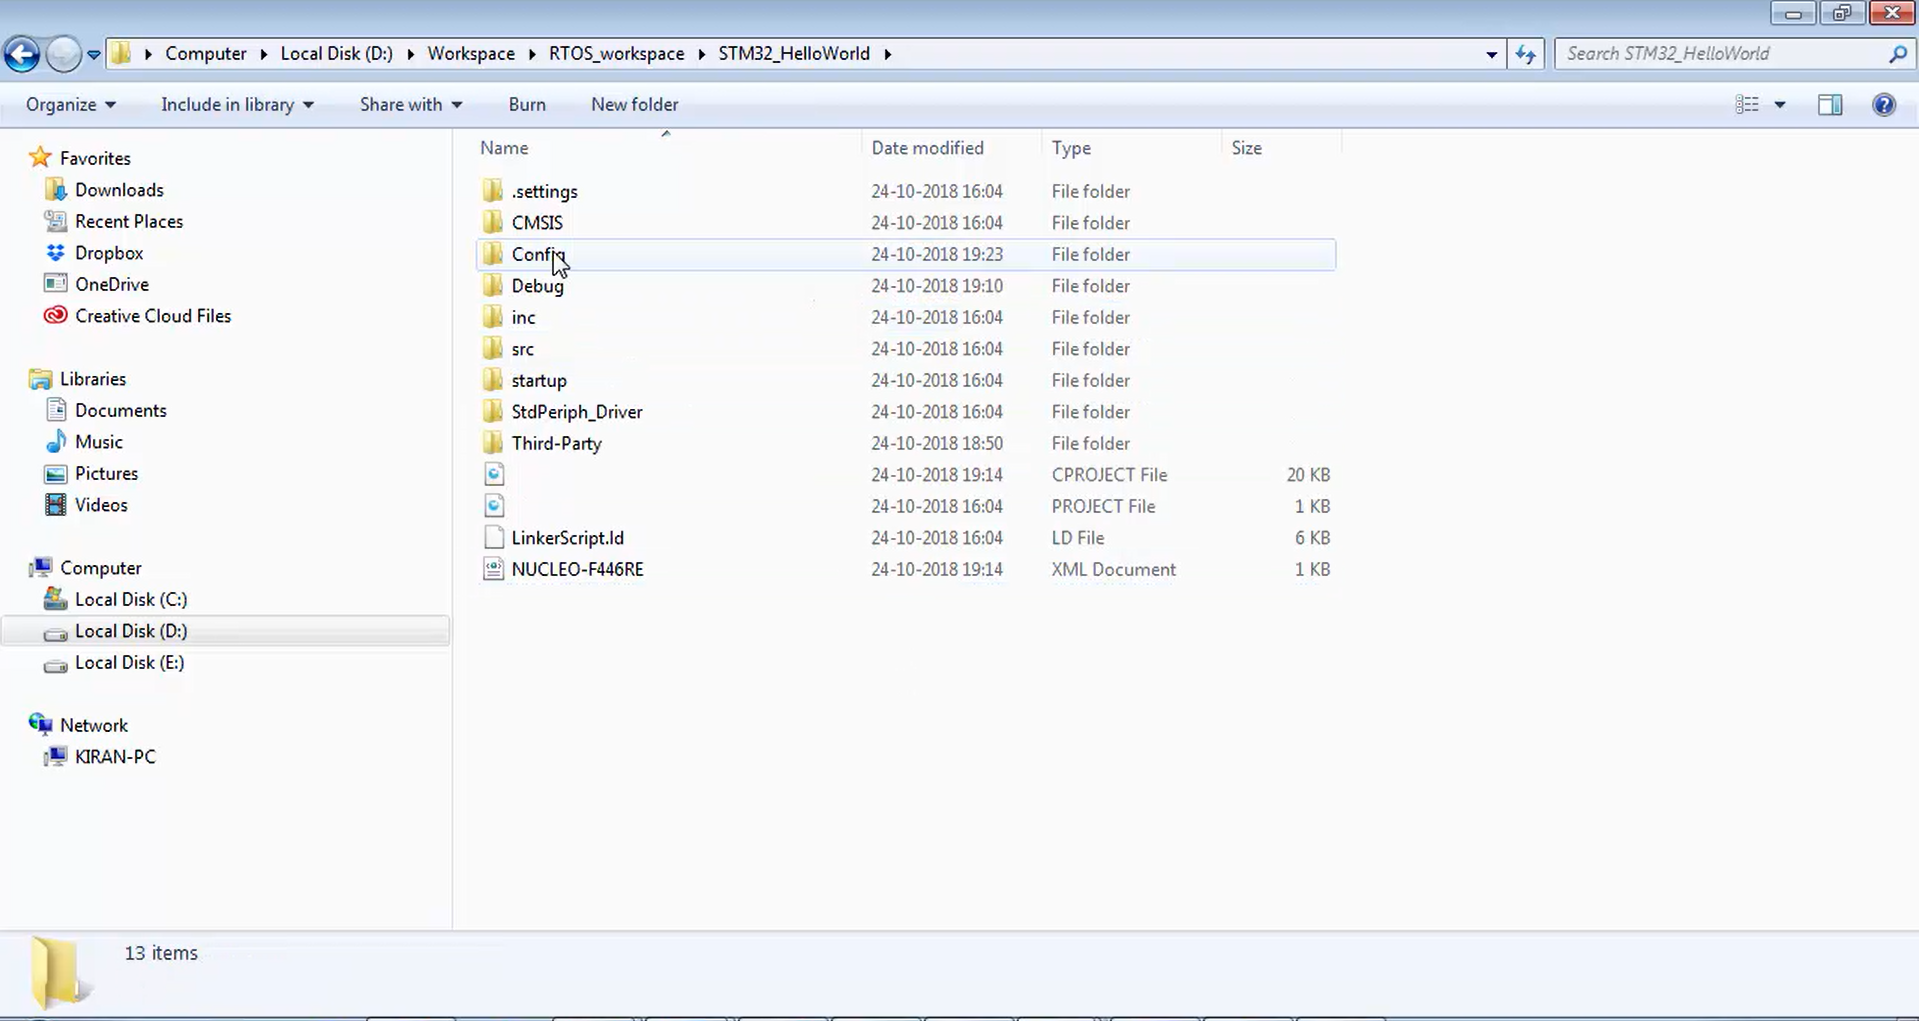
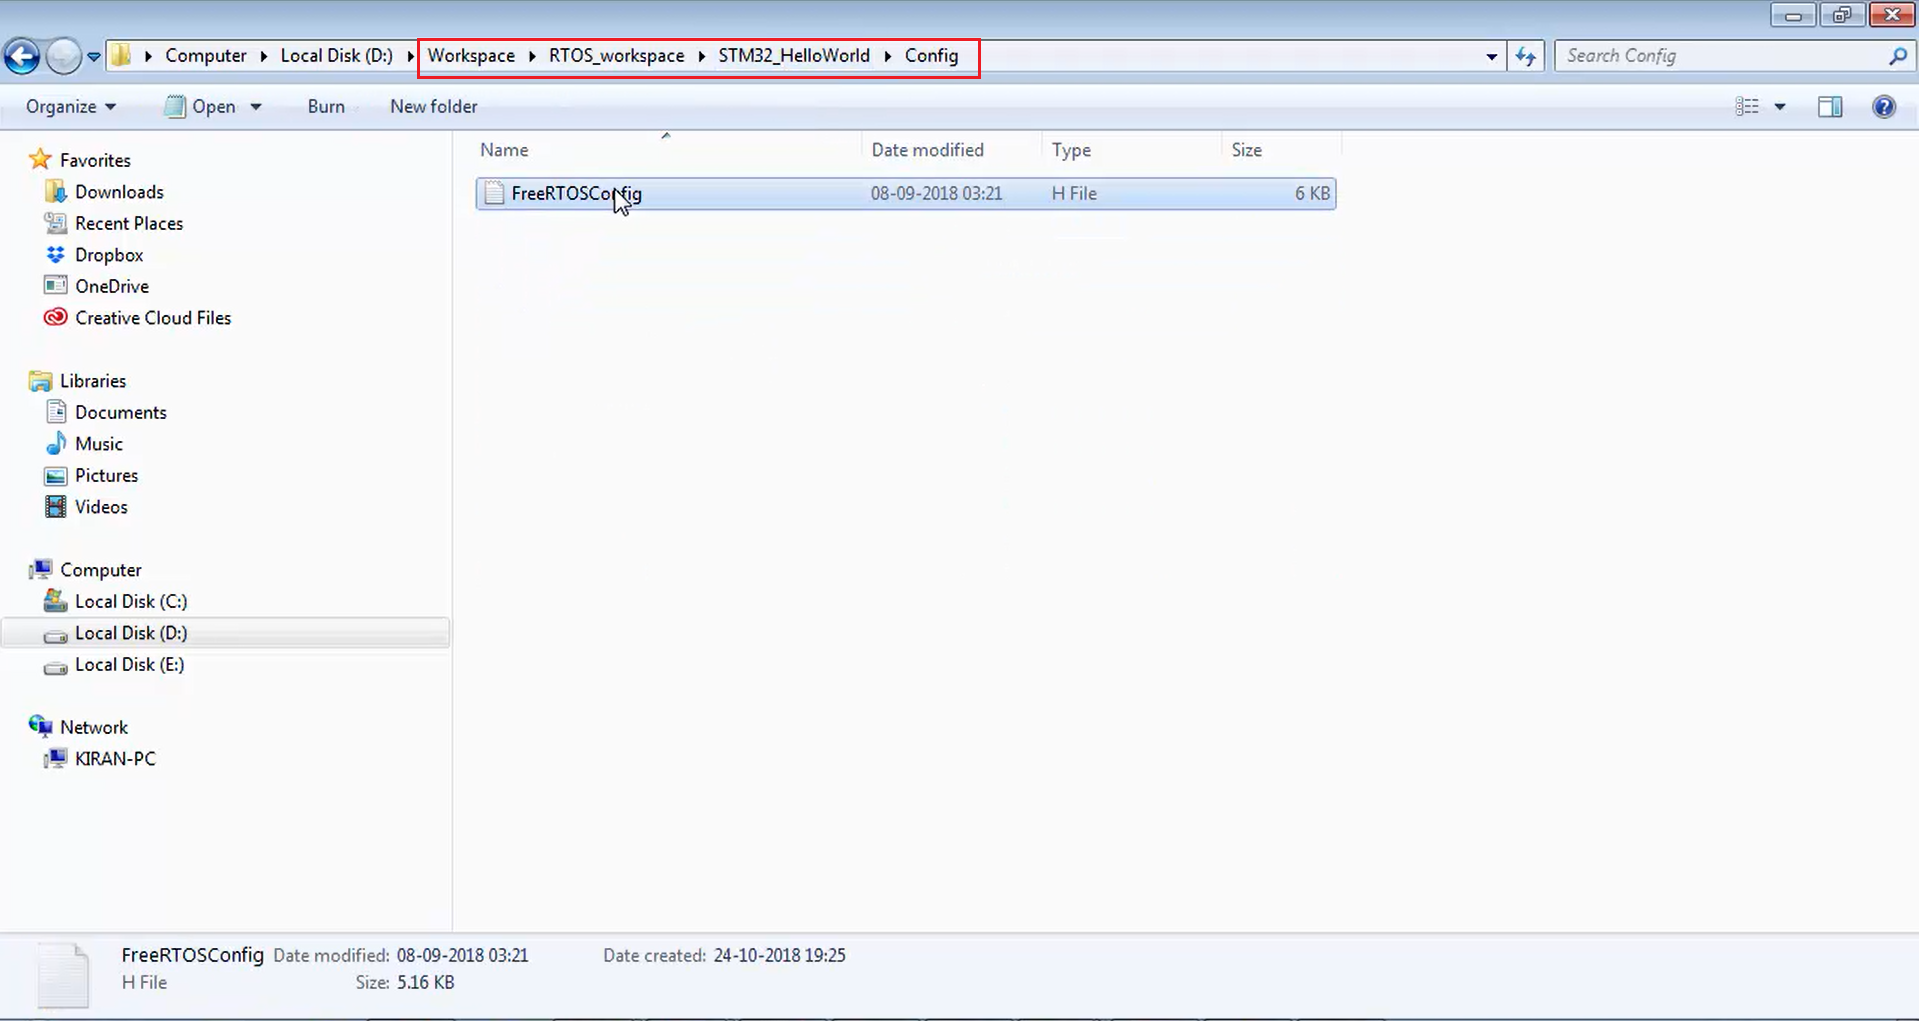
Inside the STM32_HelloWorld folder, create a new folder called Config (Figure 3), and keep the FreeRTOSConfig.h file inside that newly created folder. For the time being, let’s obtain the FreeRTOSConfig.h from some demo projects.
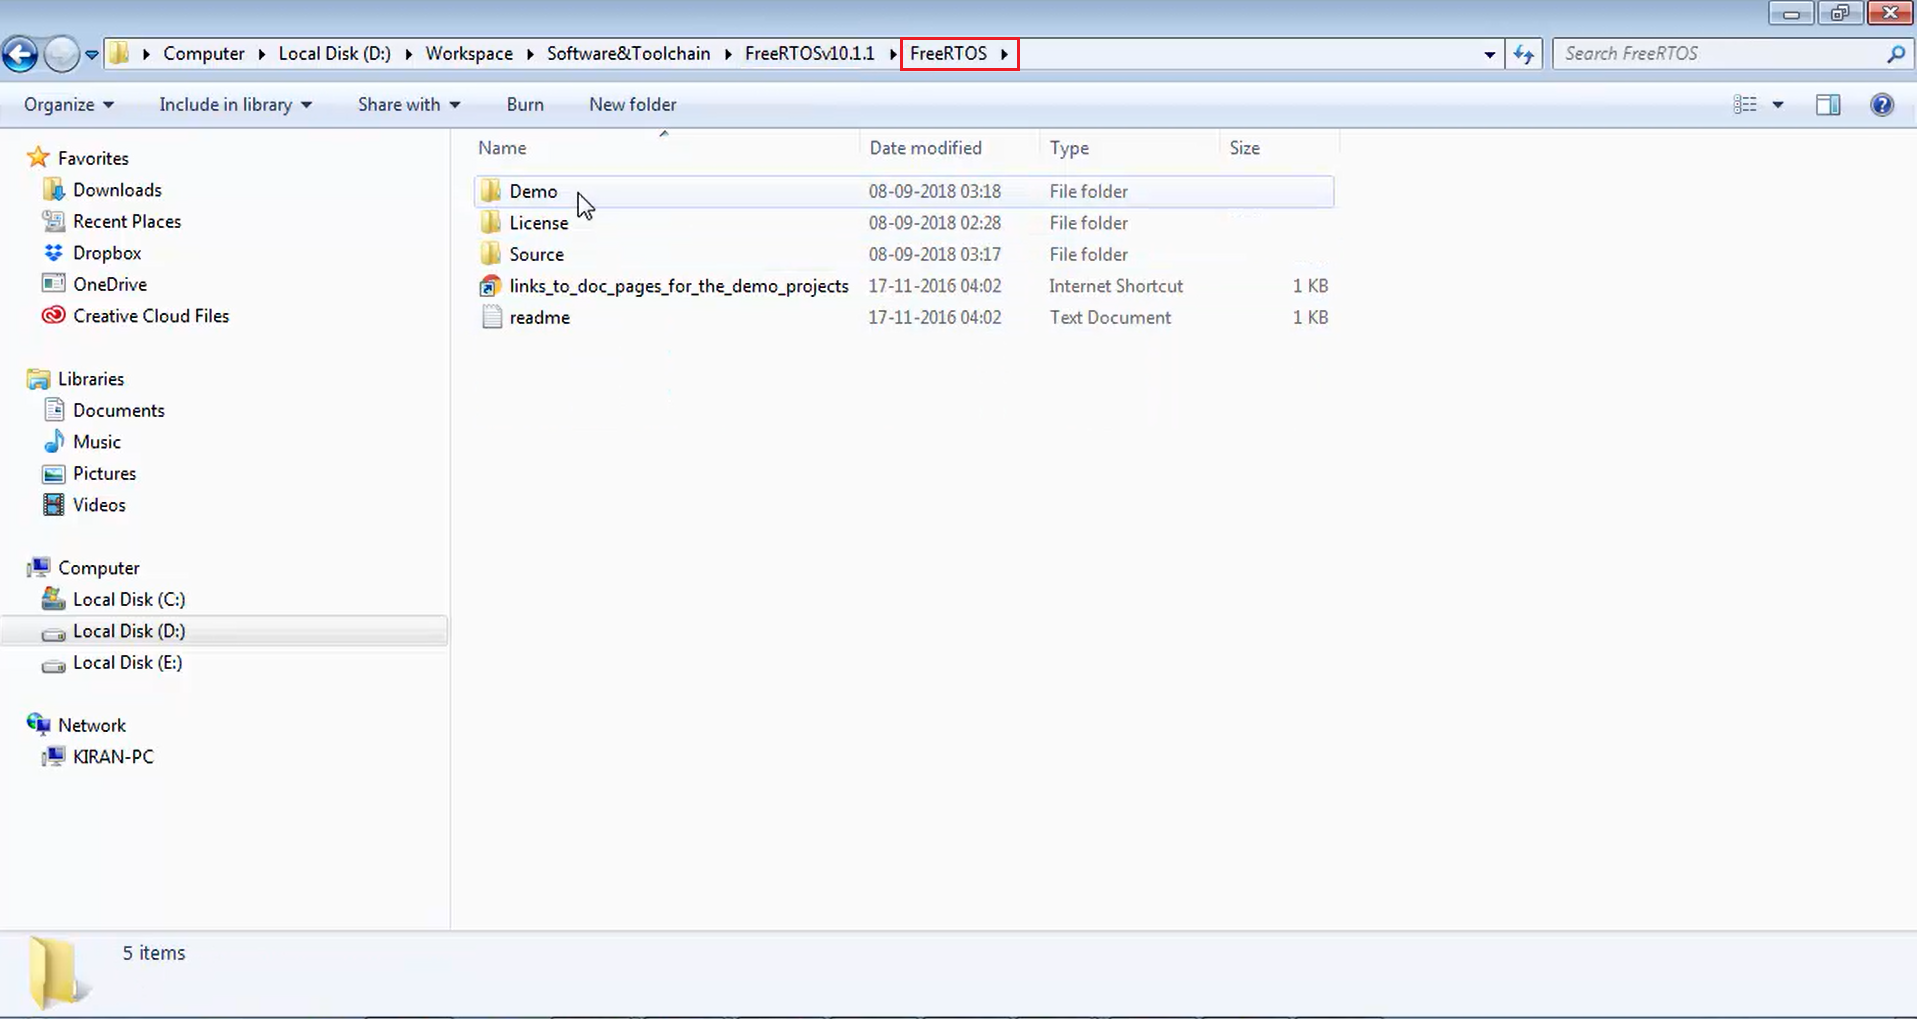
For that, let’s head over to the original FreeRTOS extracted folder, which is the Software and Toolchain folder. Now let’s go to the FreeRTOS (Figure 4), let’s go to the demo (Figure 5), and check which folder suits your microcontroller.
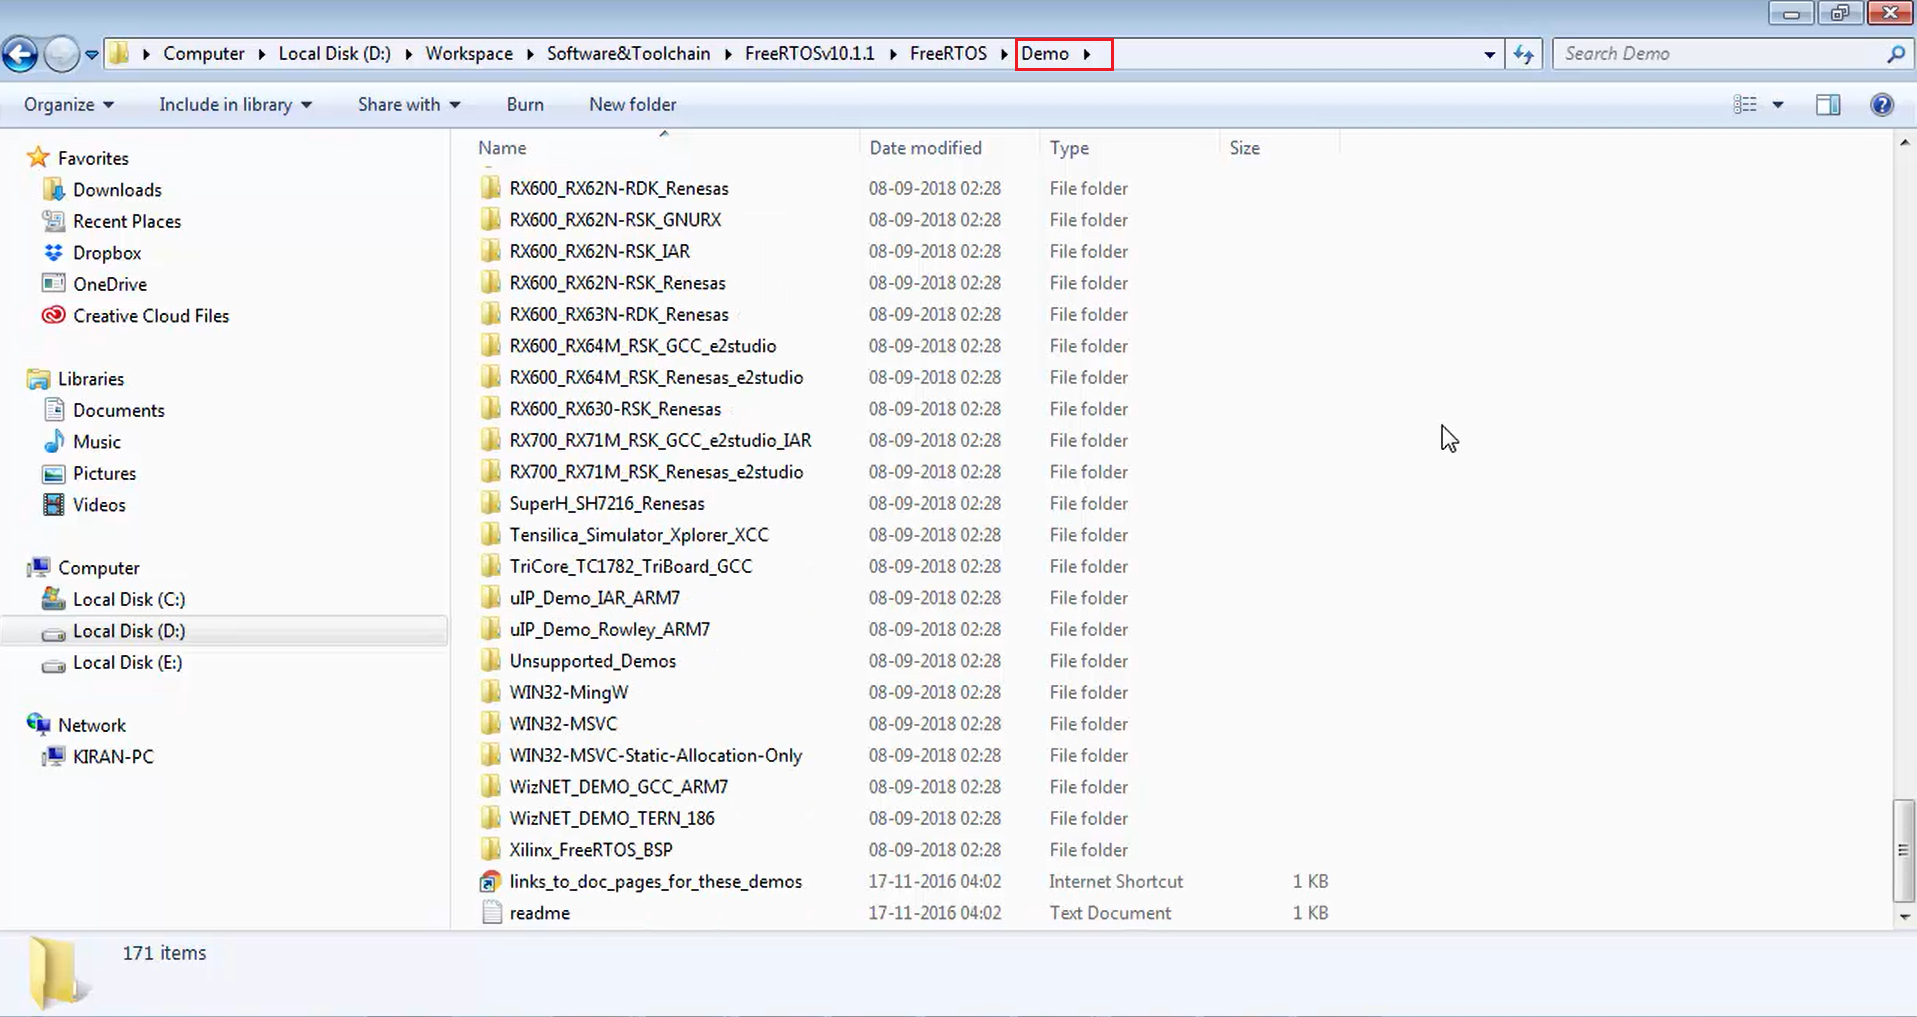
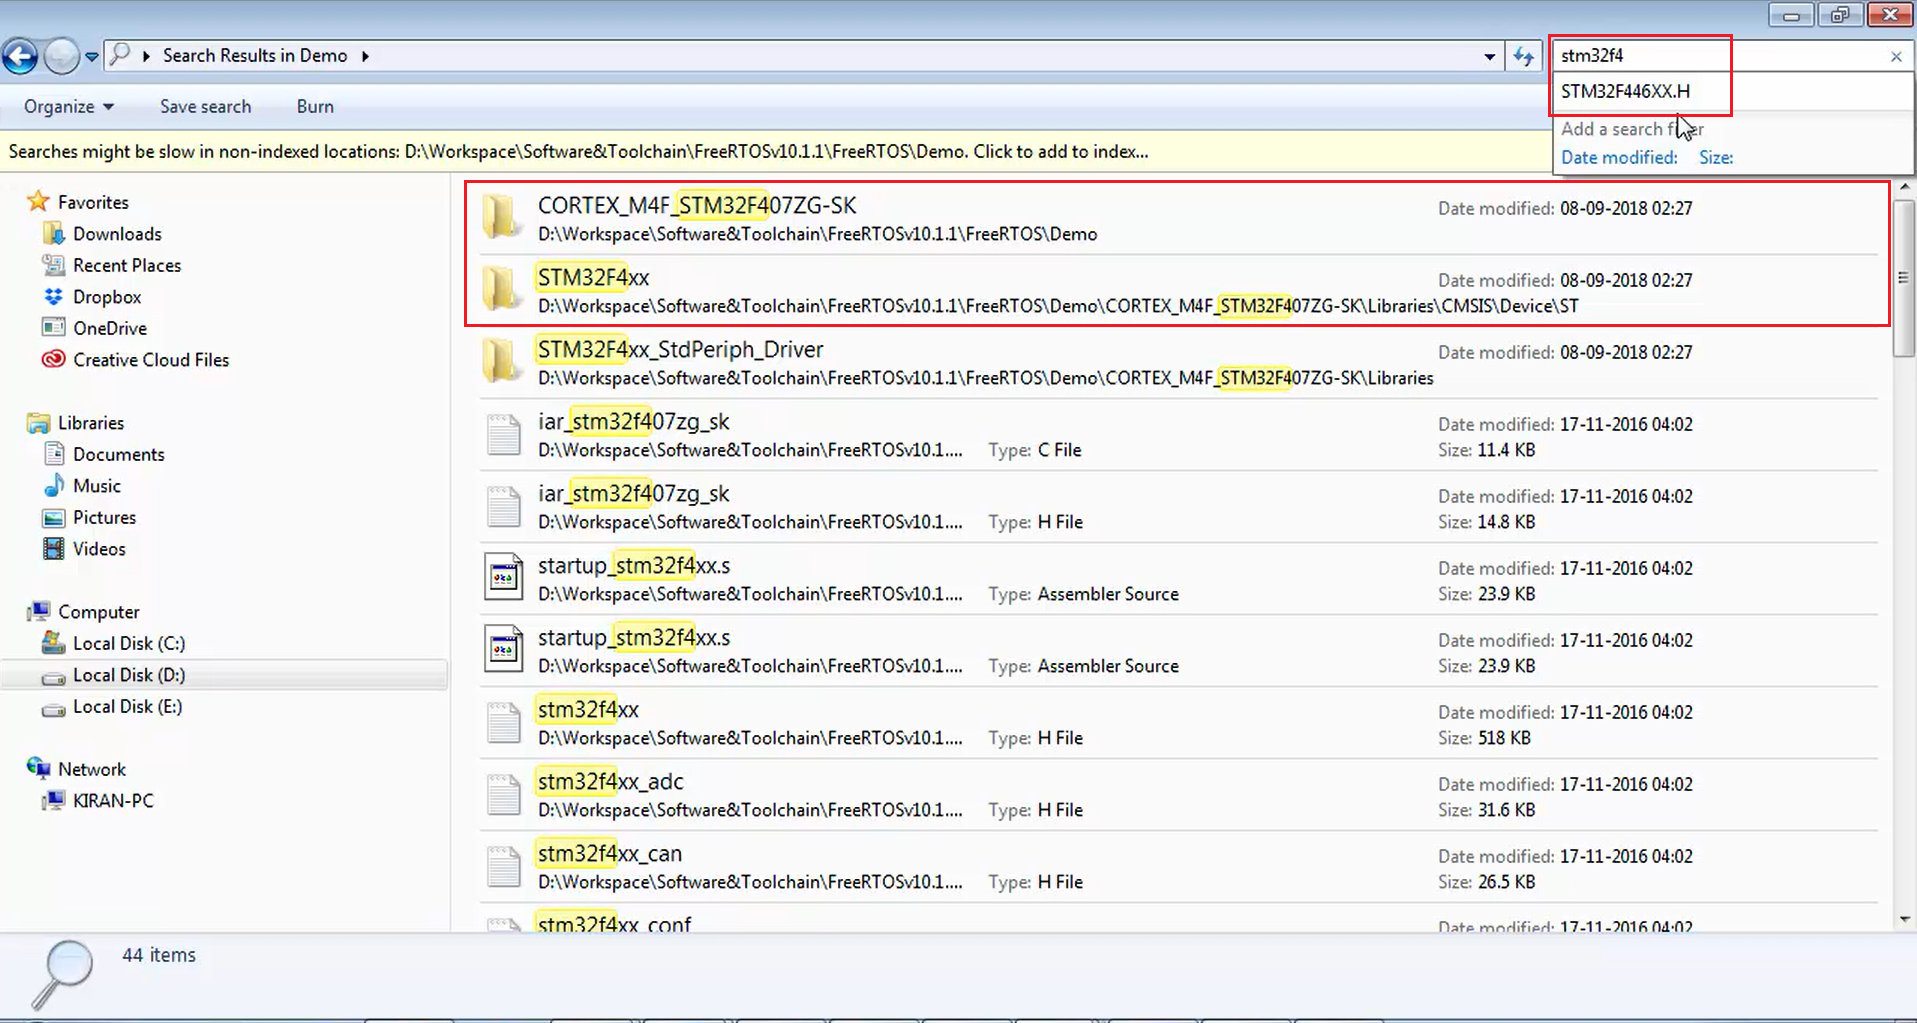
Inside the demo folder, let’s search for stm32f4 (Figure 6) because we are using the STM32F446RE microcontroller. There is one folder called STM32F407 or STM32F4xx. Let’s go to the STM32F407zg-SK folder.
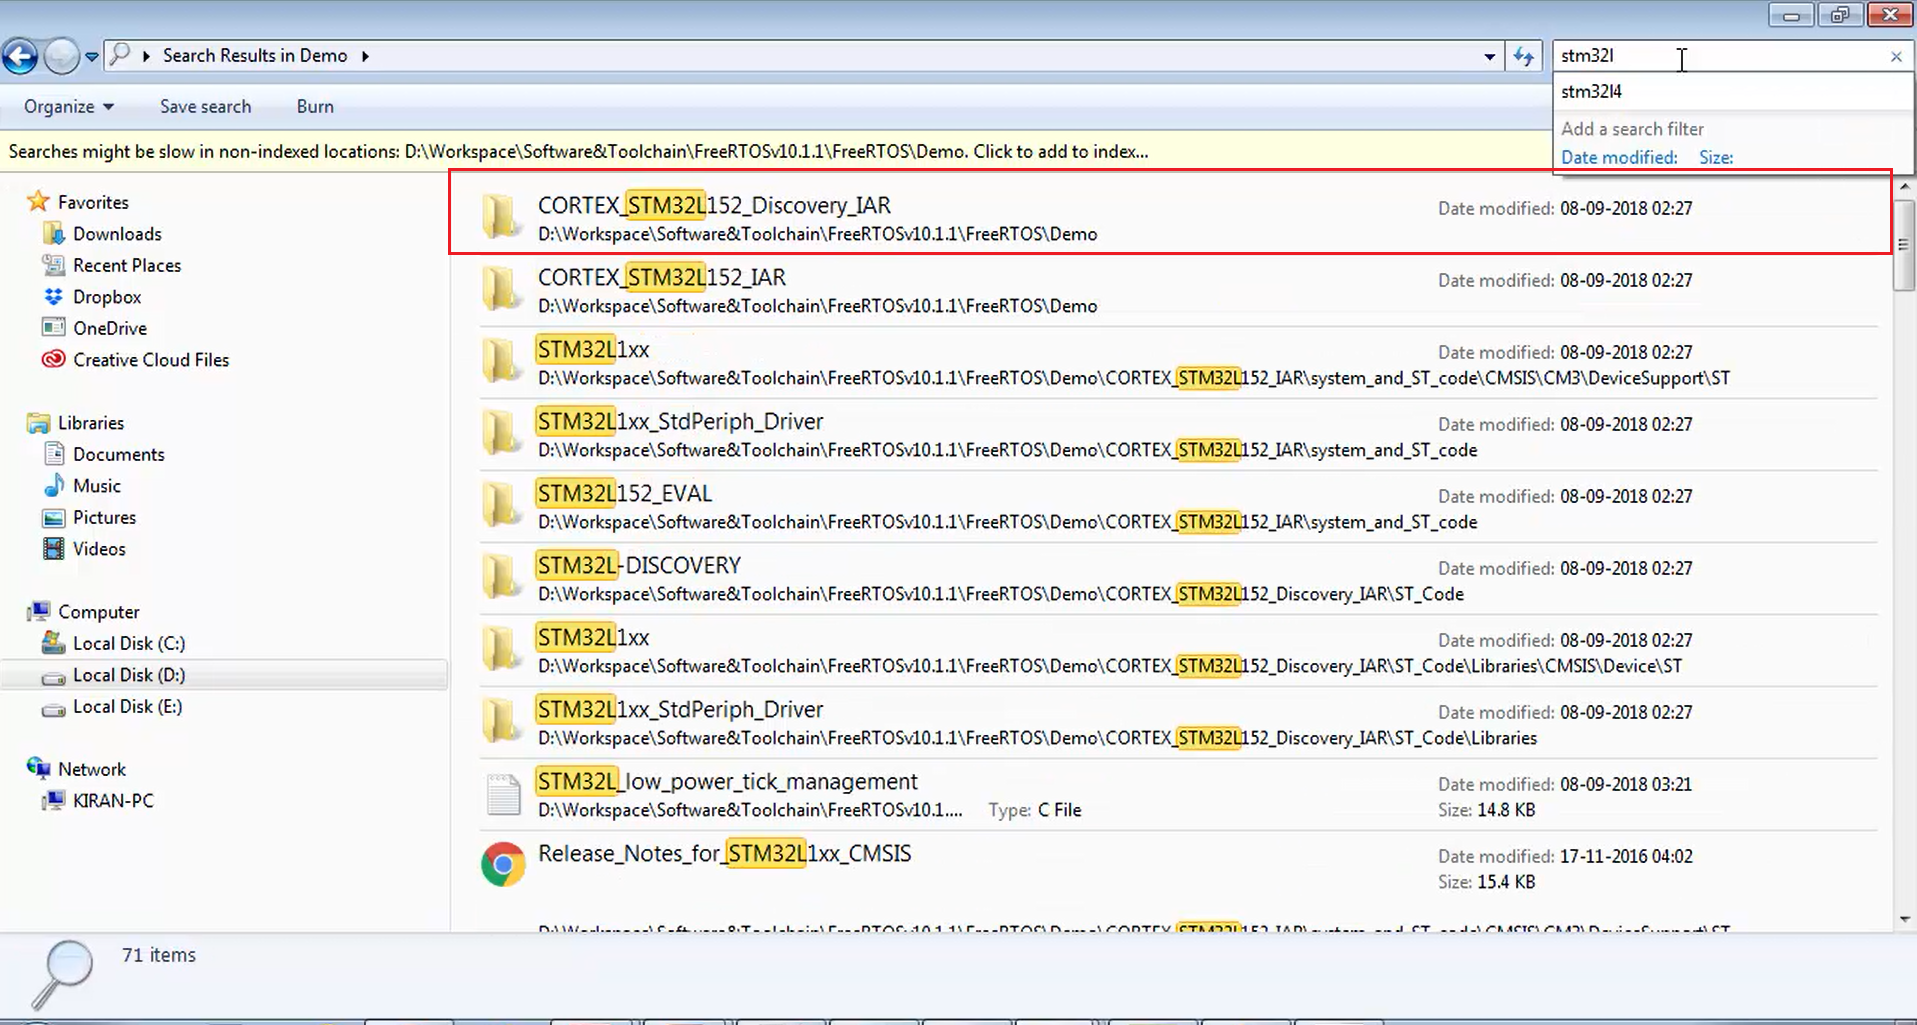
If you are using STM32L, you may go to the folder shown in Figure 7, or if you are using STM32F0, you may go to the folder shown in Figure 8.

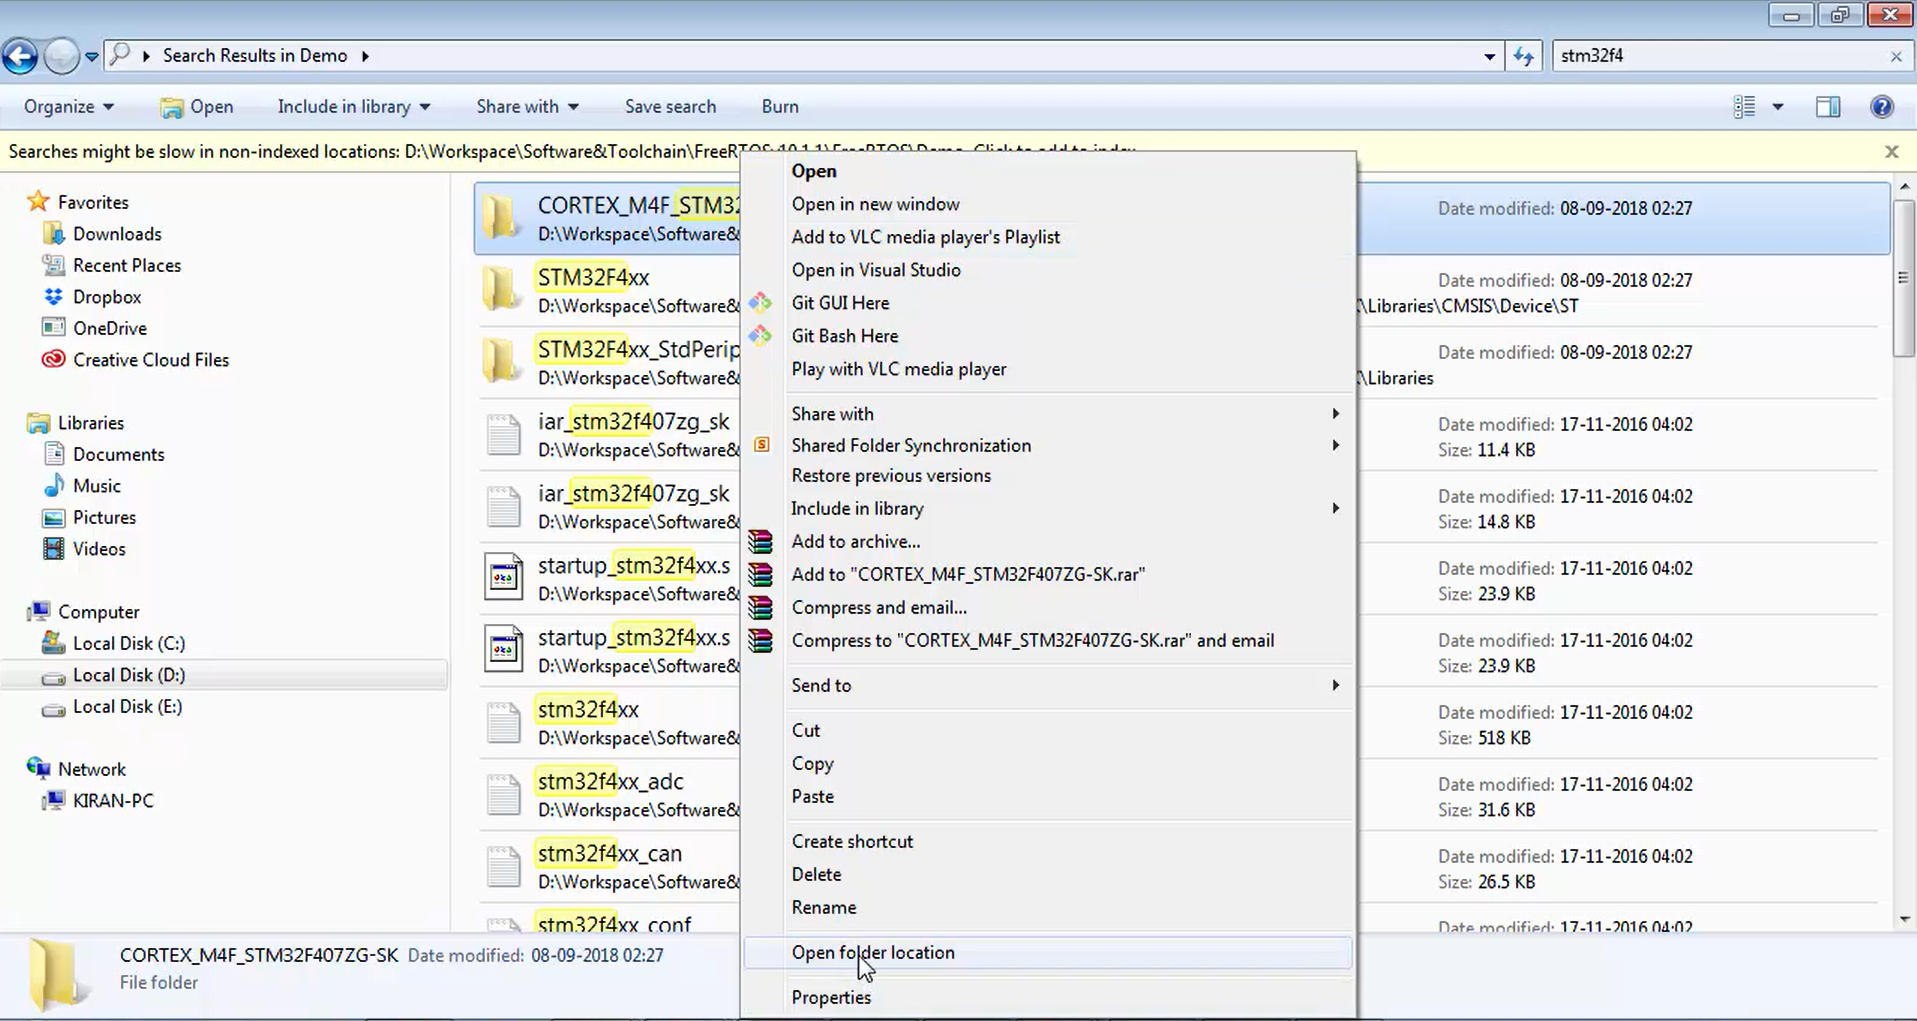
Since we are using STM32F4, you can go for the STM32F407zg-SK folder. Just right-click on it and open the folder location (Figure 9).
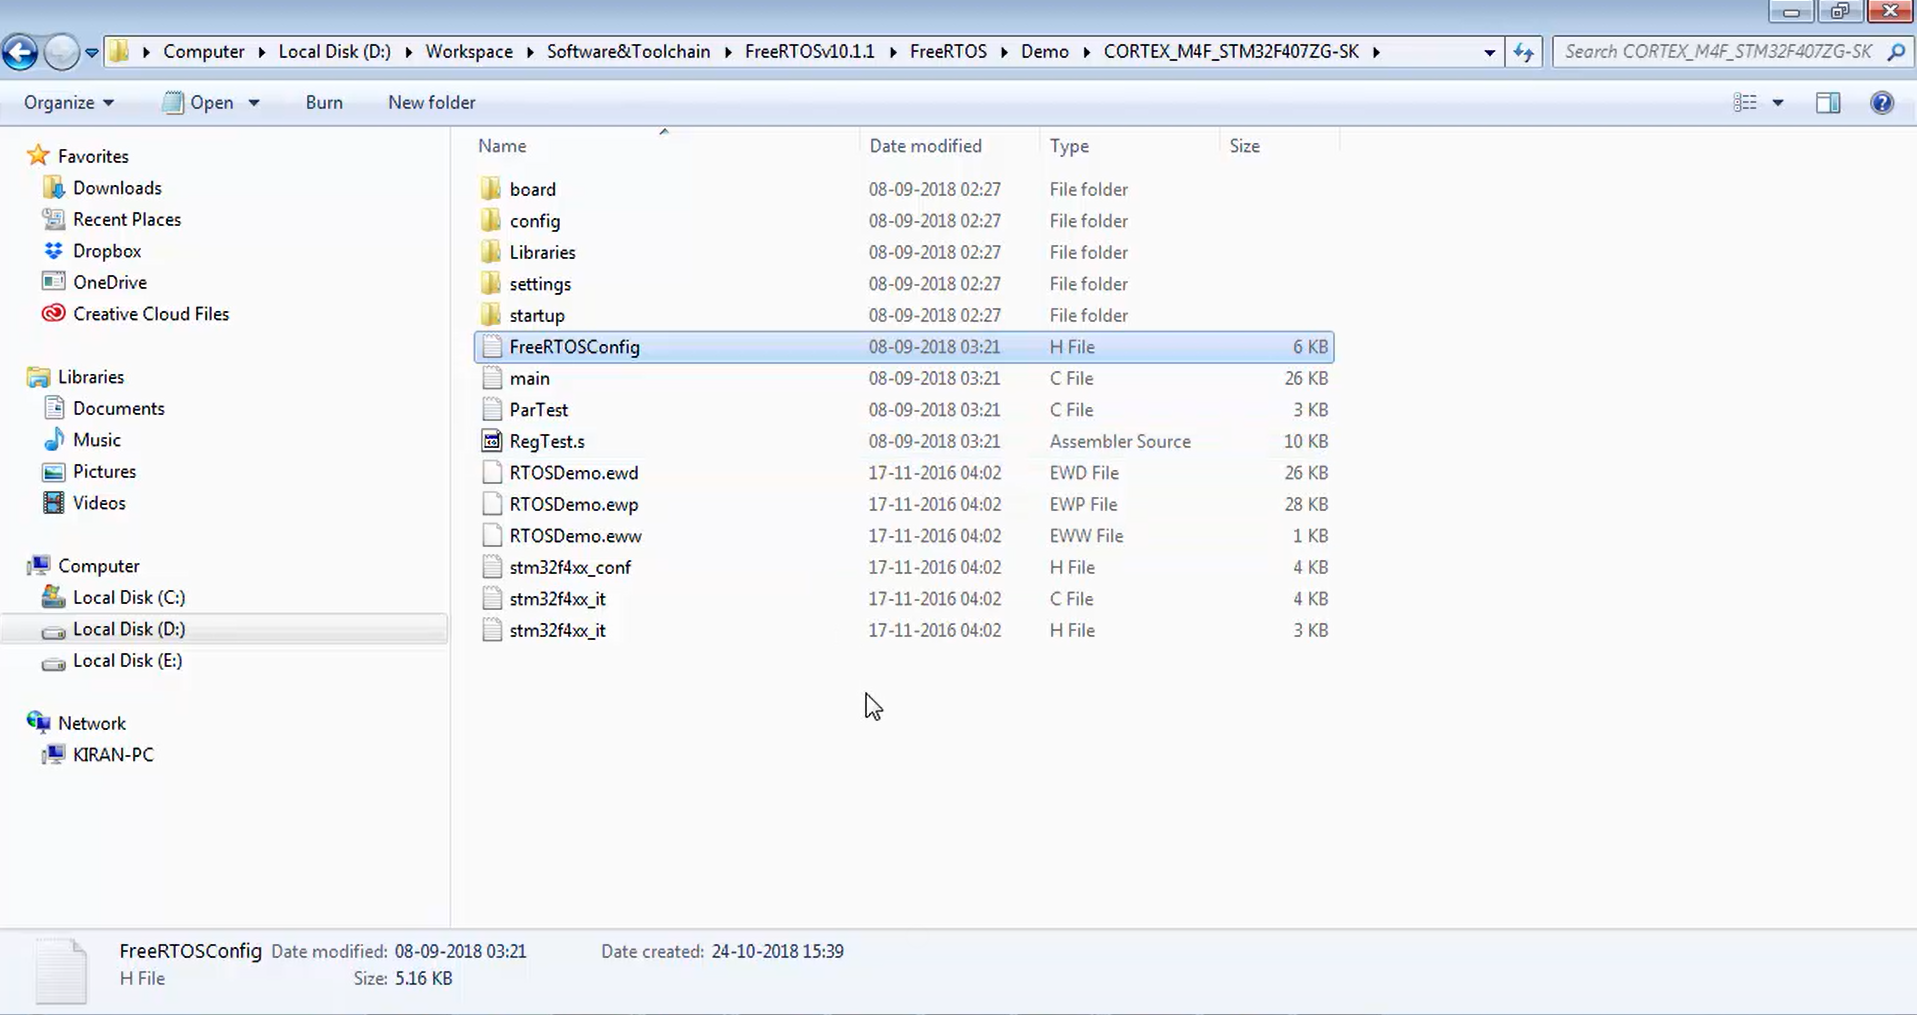
When you open the folder location, you will find a FreeRTOSConfig.h (Figure 10). Just copy that file, go to your project workspace, i.e., STM32_HelloWorld and paste it under the Config folder, as shown in Figure 11.
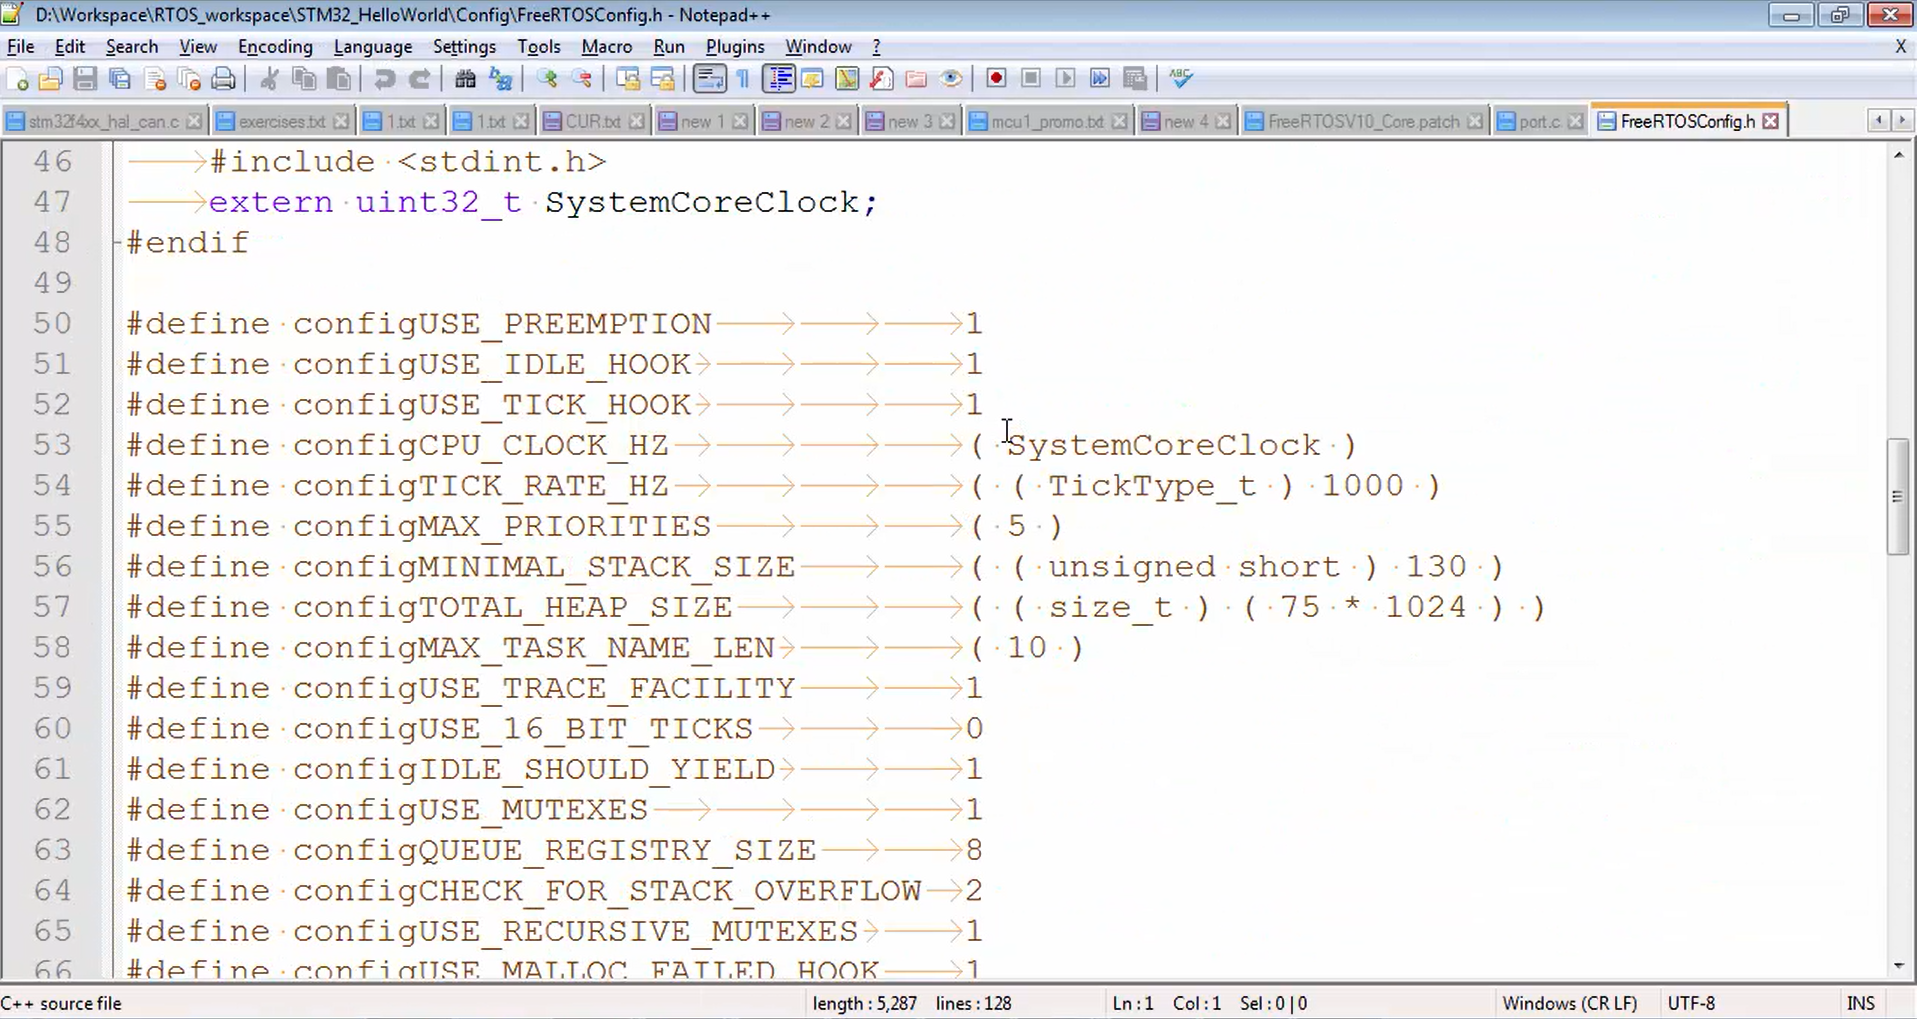
Let’s open the file FreeRTOSConfig.h and see what exactly it is. In Figure 12, you can see that it is a collection of various macros and remember that these macros are actually given by the FreeRTOS. org. These are not random macros.
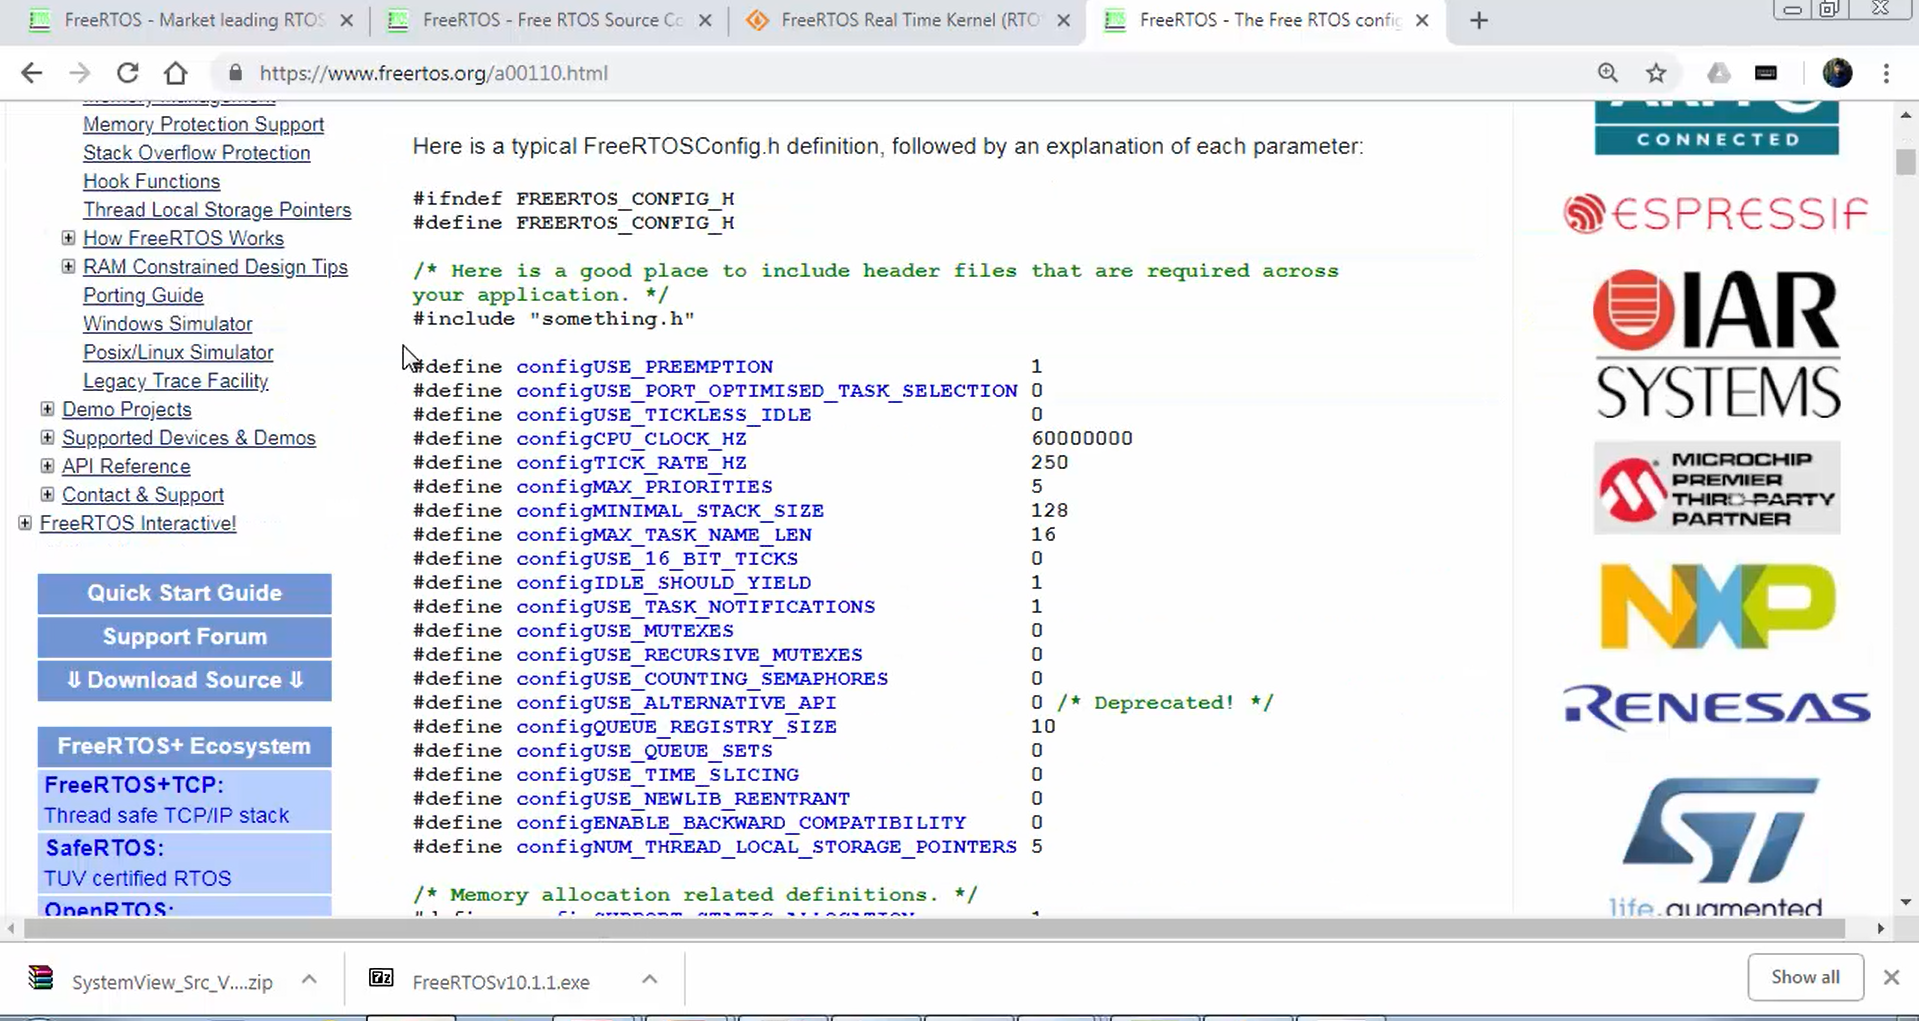
If you want to know more about that, just search FreeRTOSConfig.h in your browser, and it will take you to the explanation of that file, where you can see all the macros that are suggested by FreeRTOS.org (Figure 13). But the values are configured according to your project.
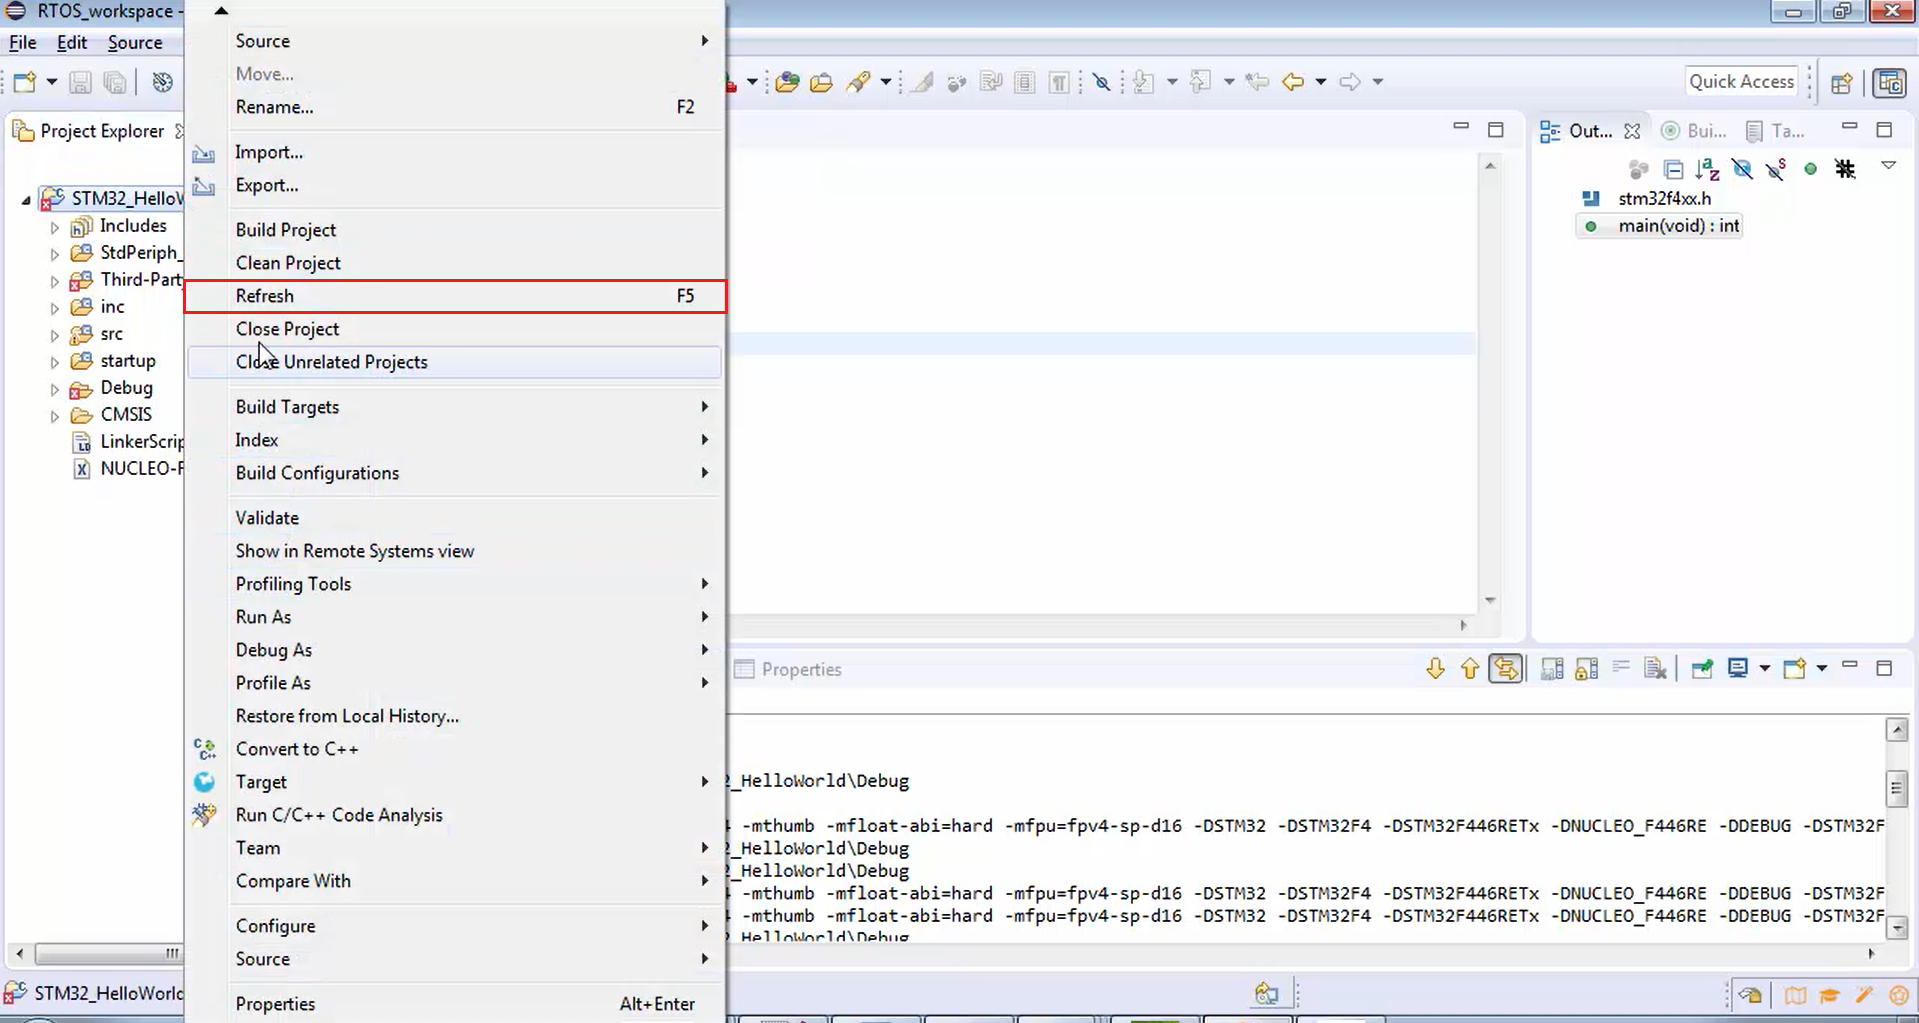
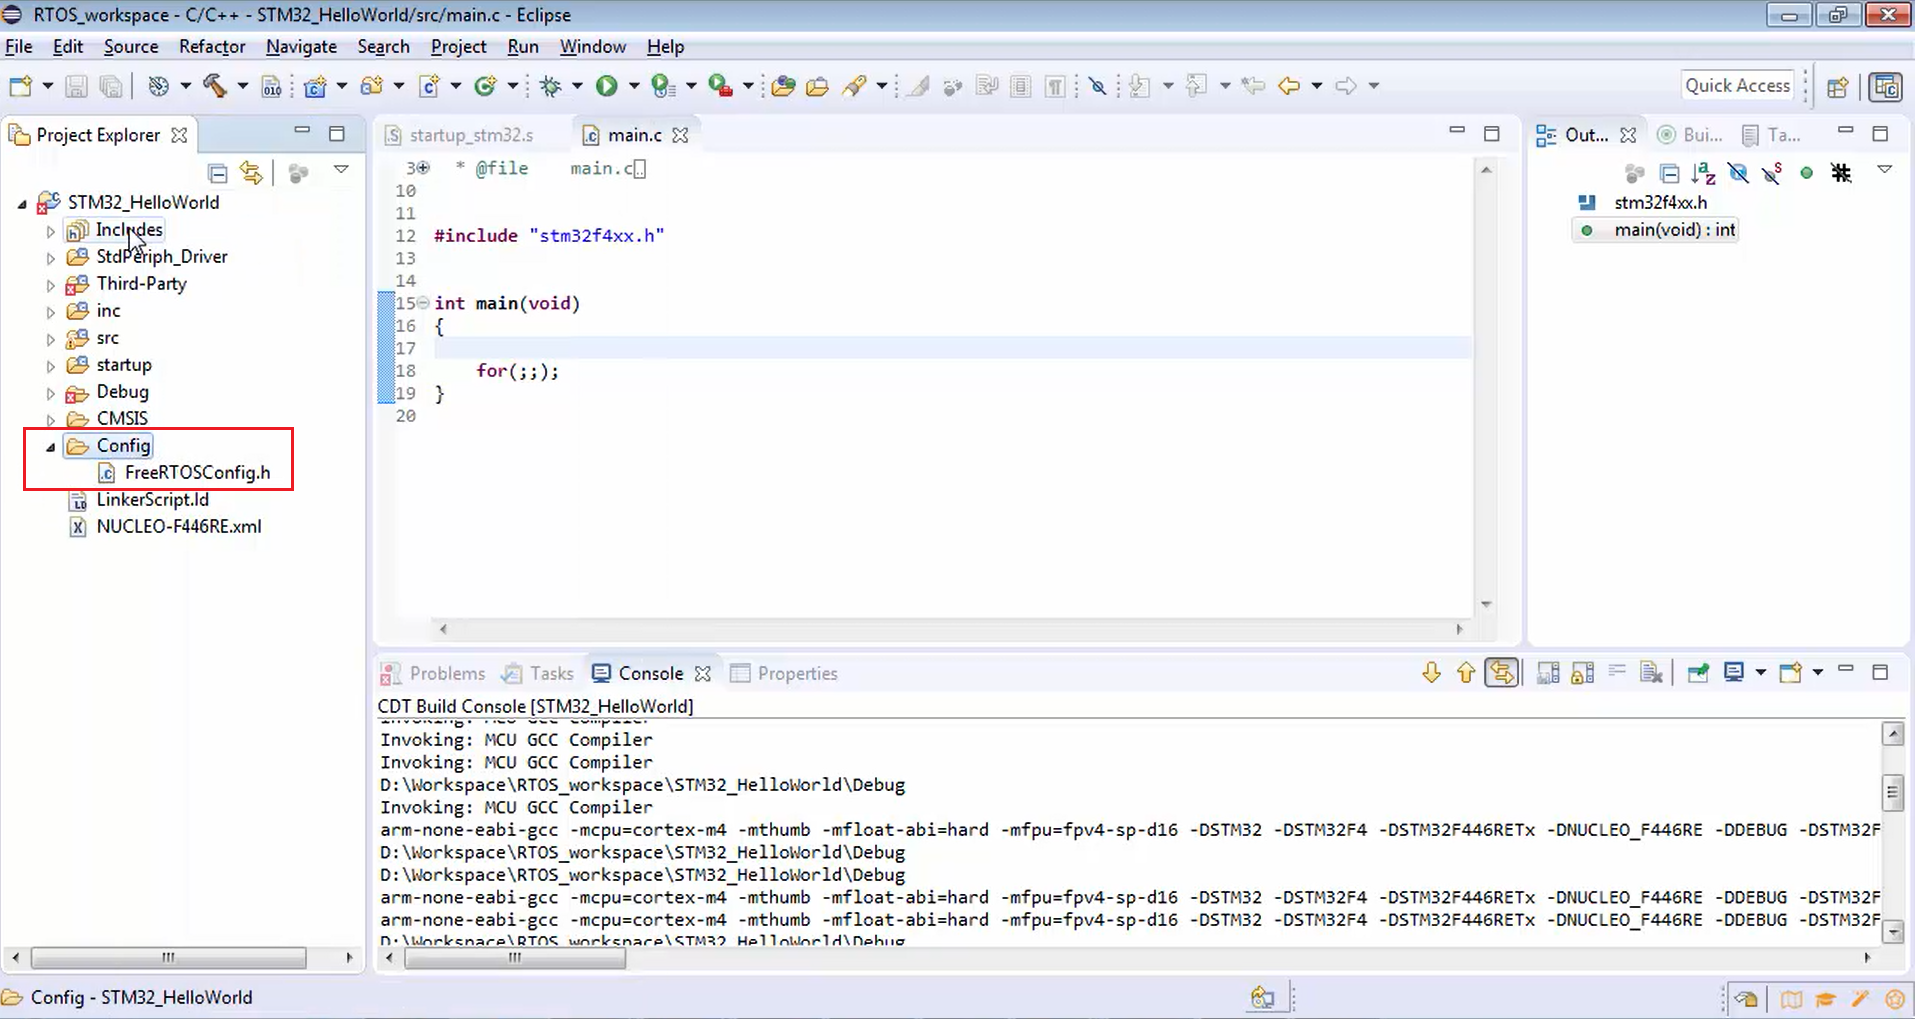
Now let’s go back to our project and let’s hit refresh, as shown in Figure 14. In Figure 15, you can see that the Config has appeared, and inside that, you have FreeRTOSConfig.h.
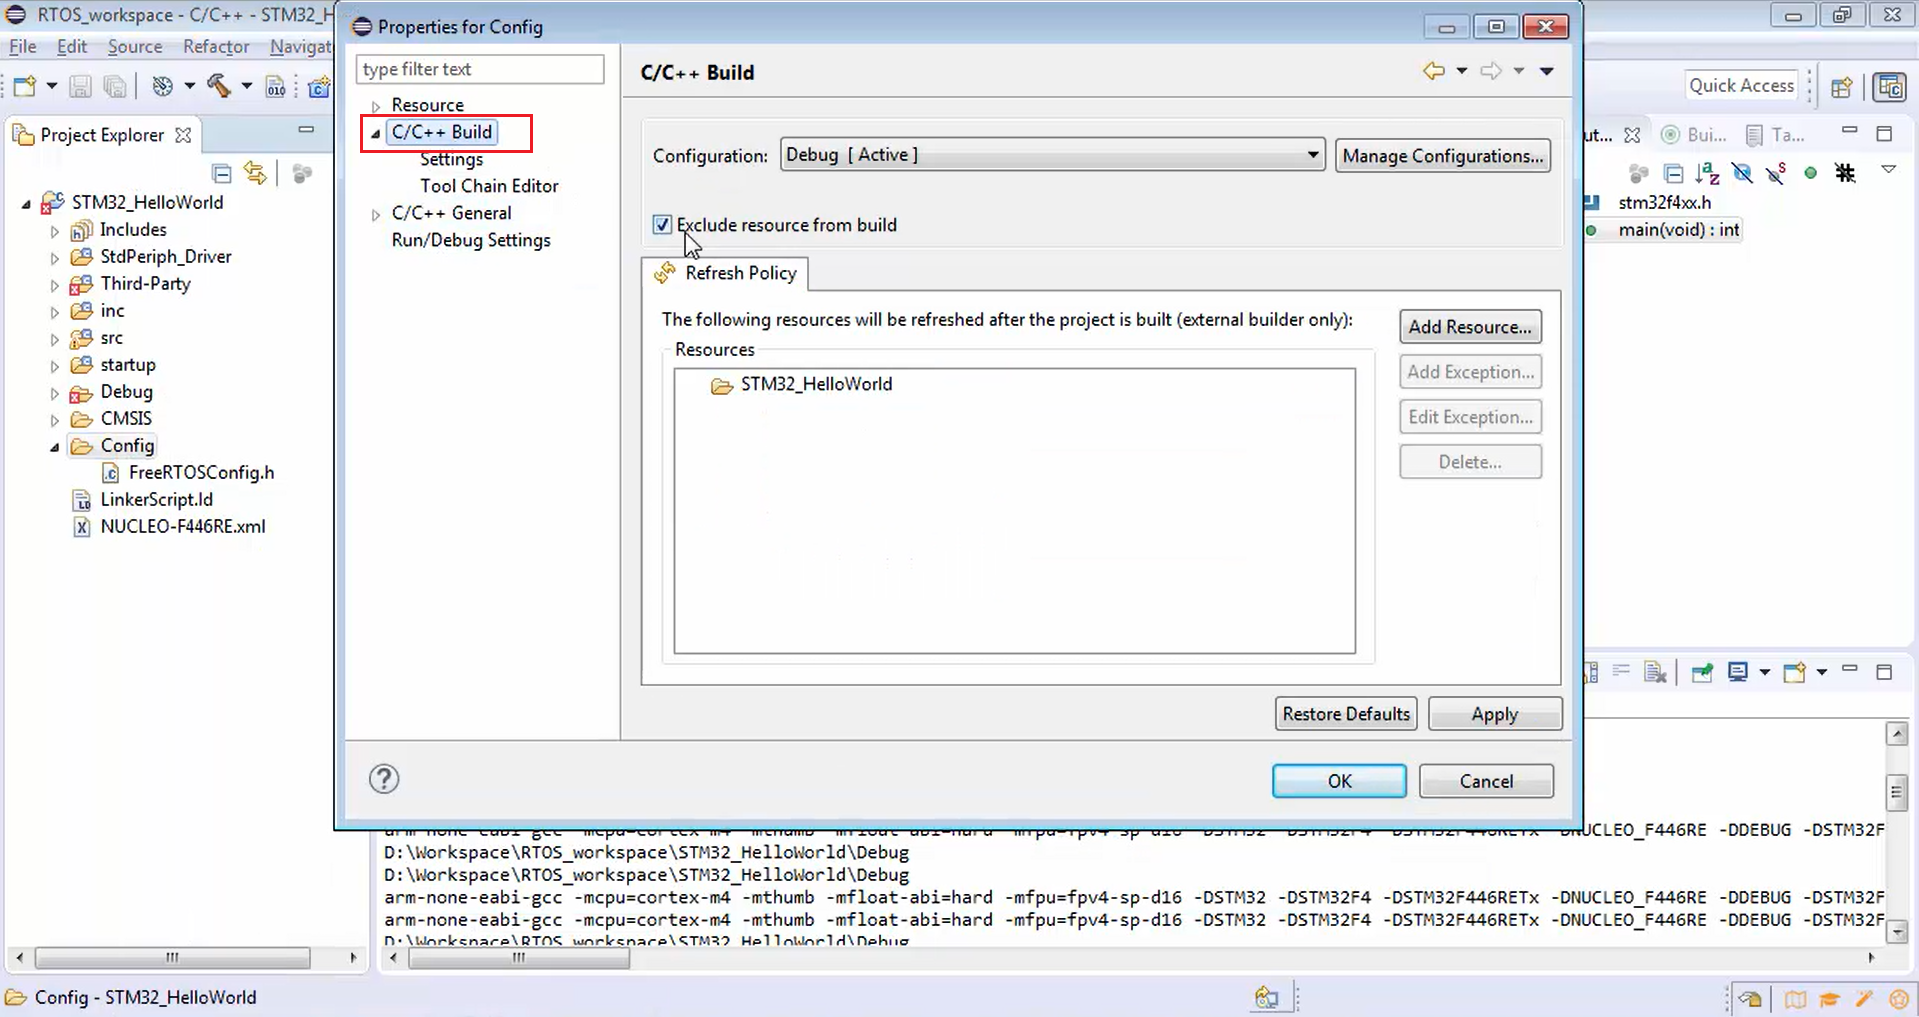
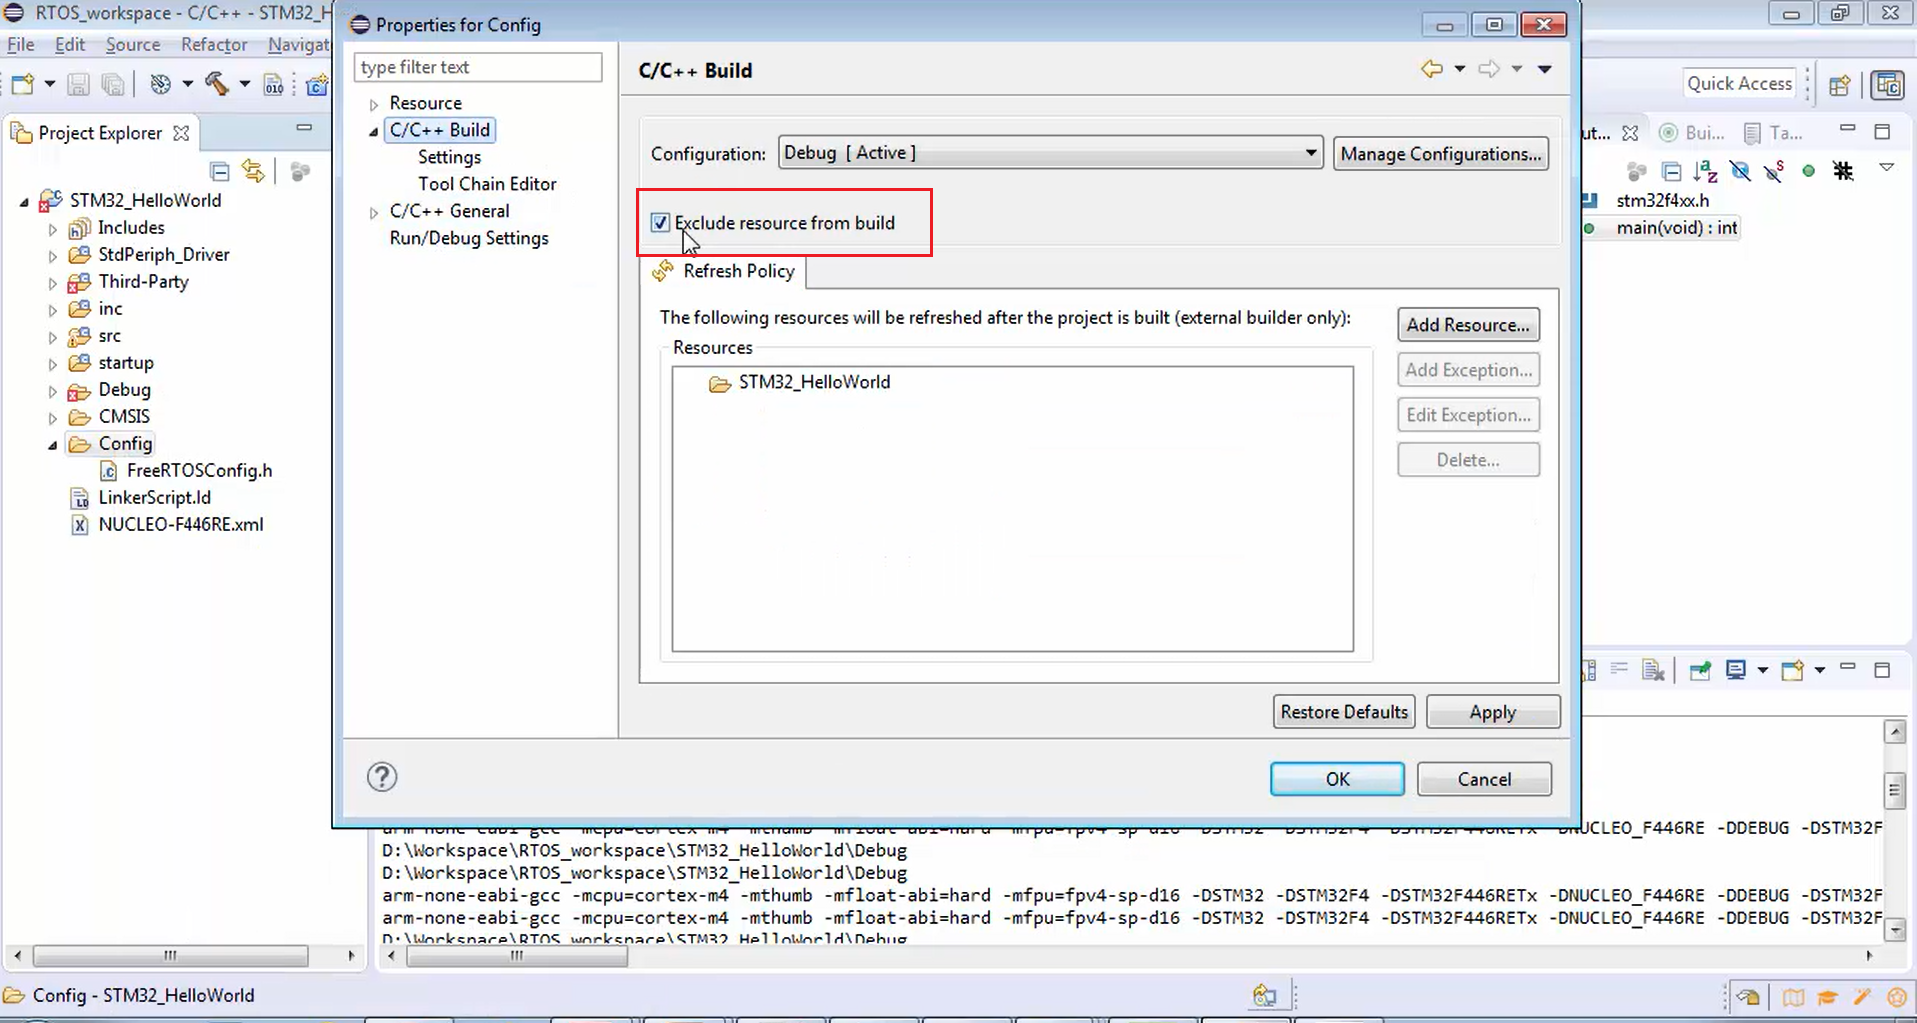
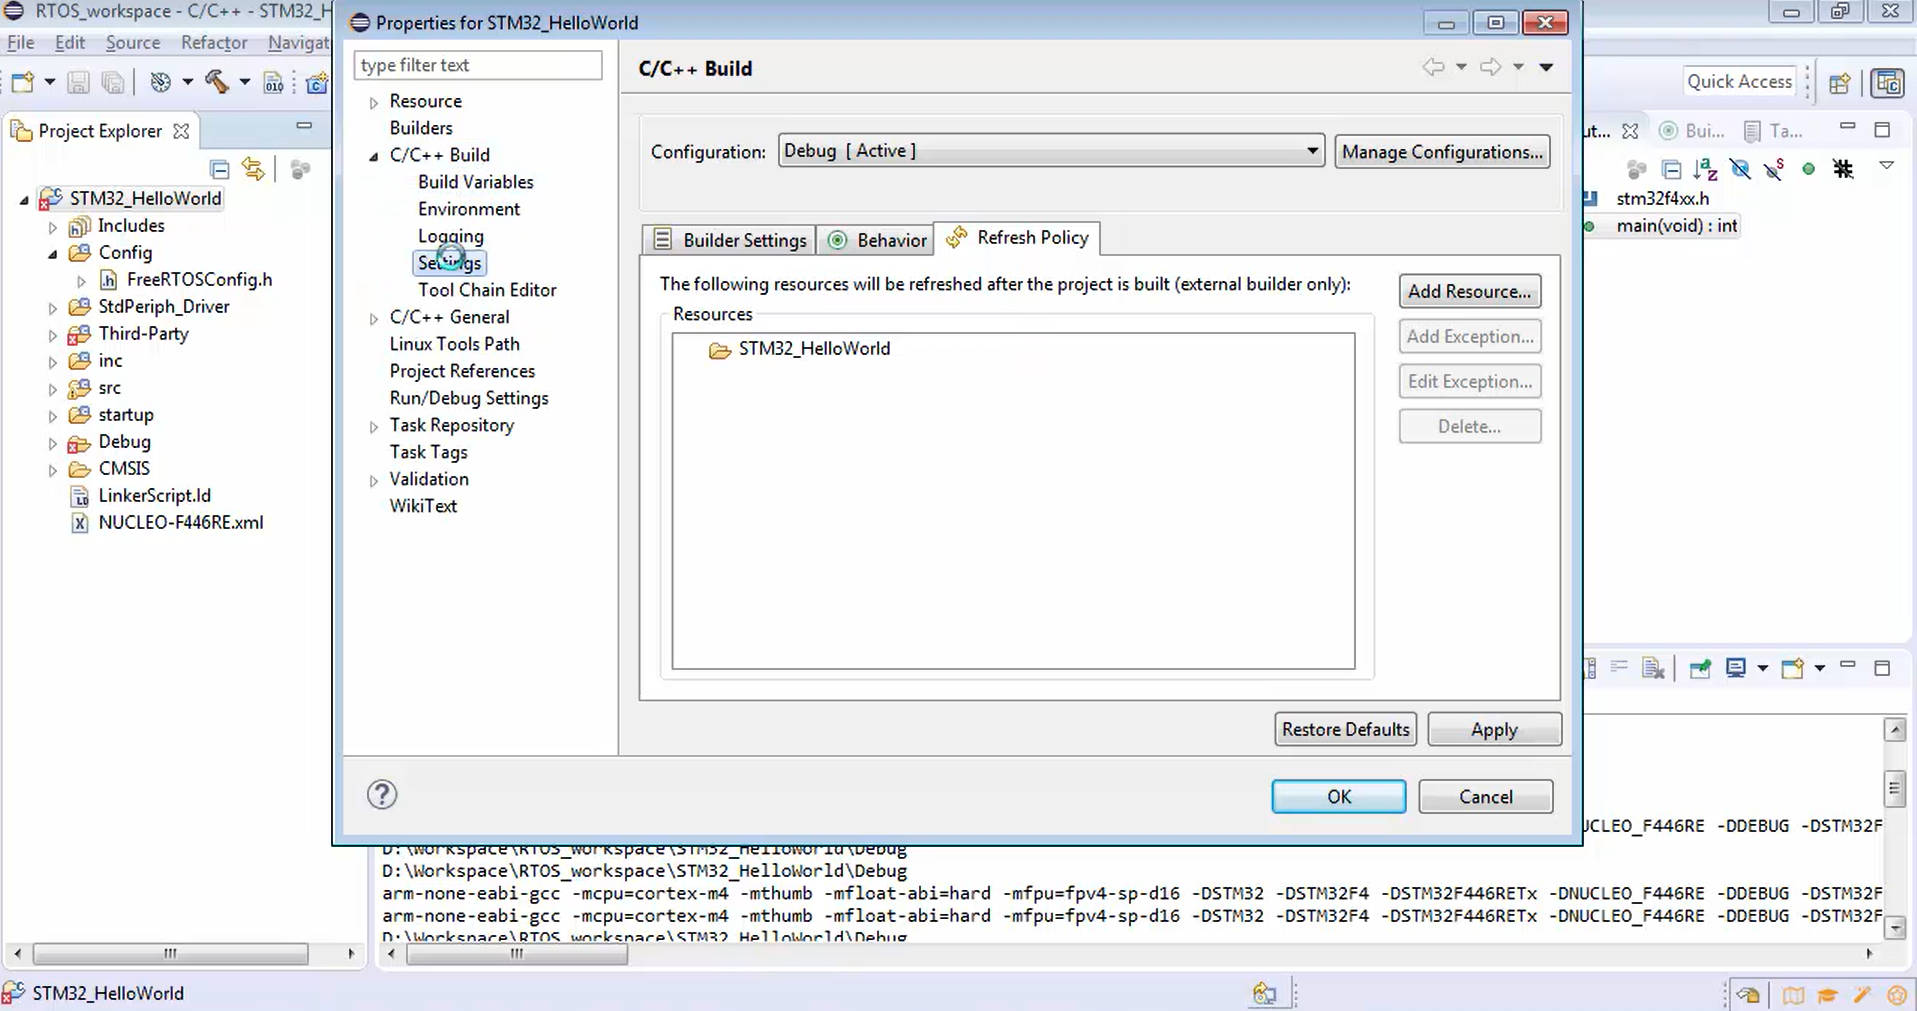
Remember that whenever a new folder appears in your hierarchy, you have to go to the properties (Figure 16), go to the C/C++ build (Figure 17), then you have to uncheck the checkbox marked in Figure 18 and apply those changes.
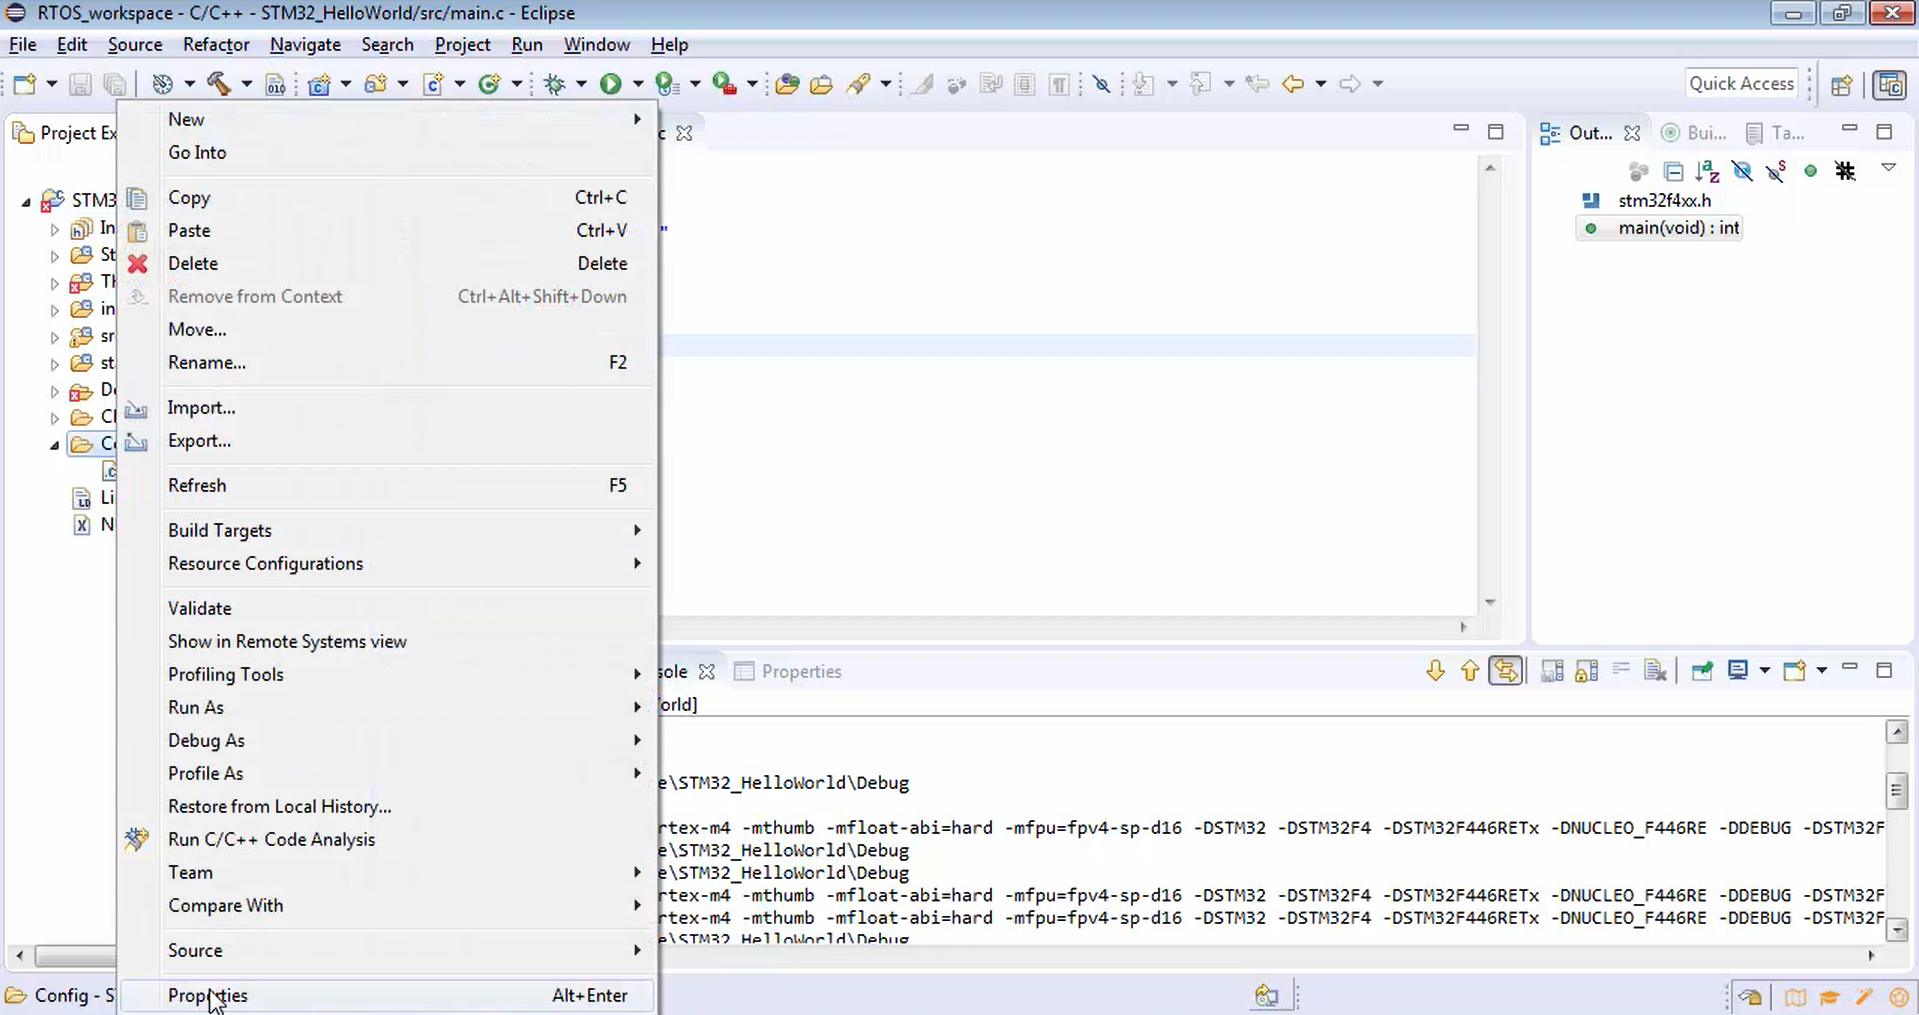
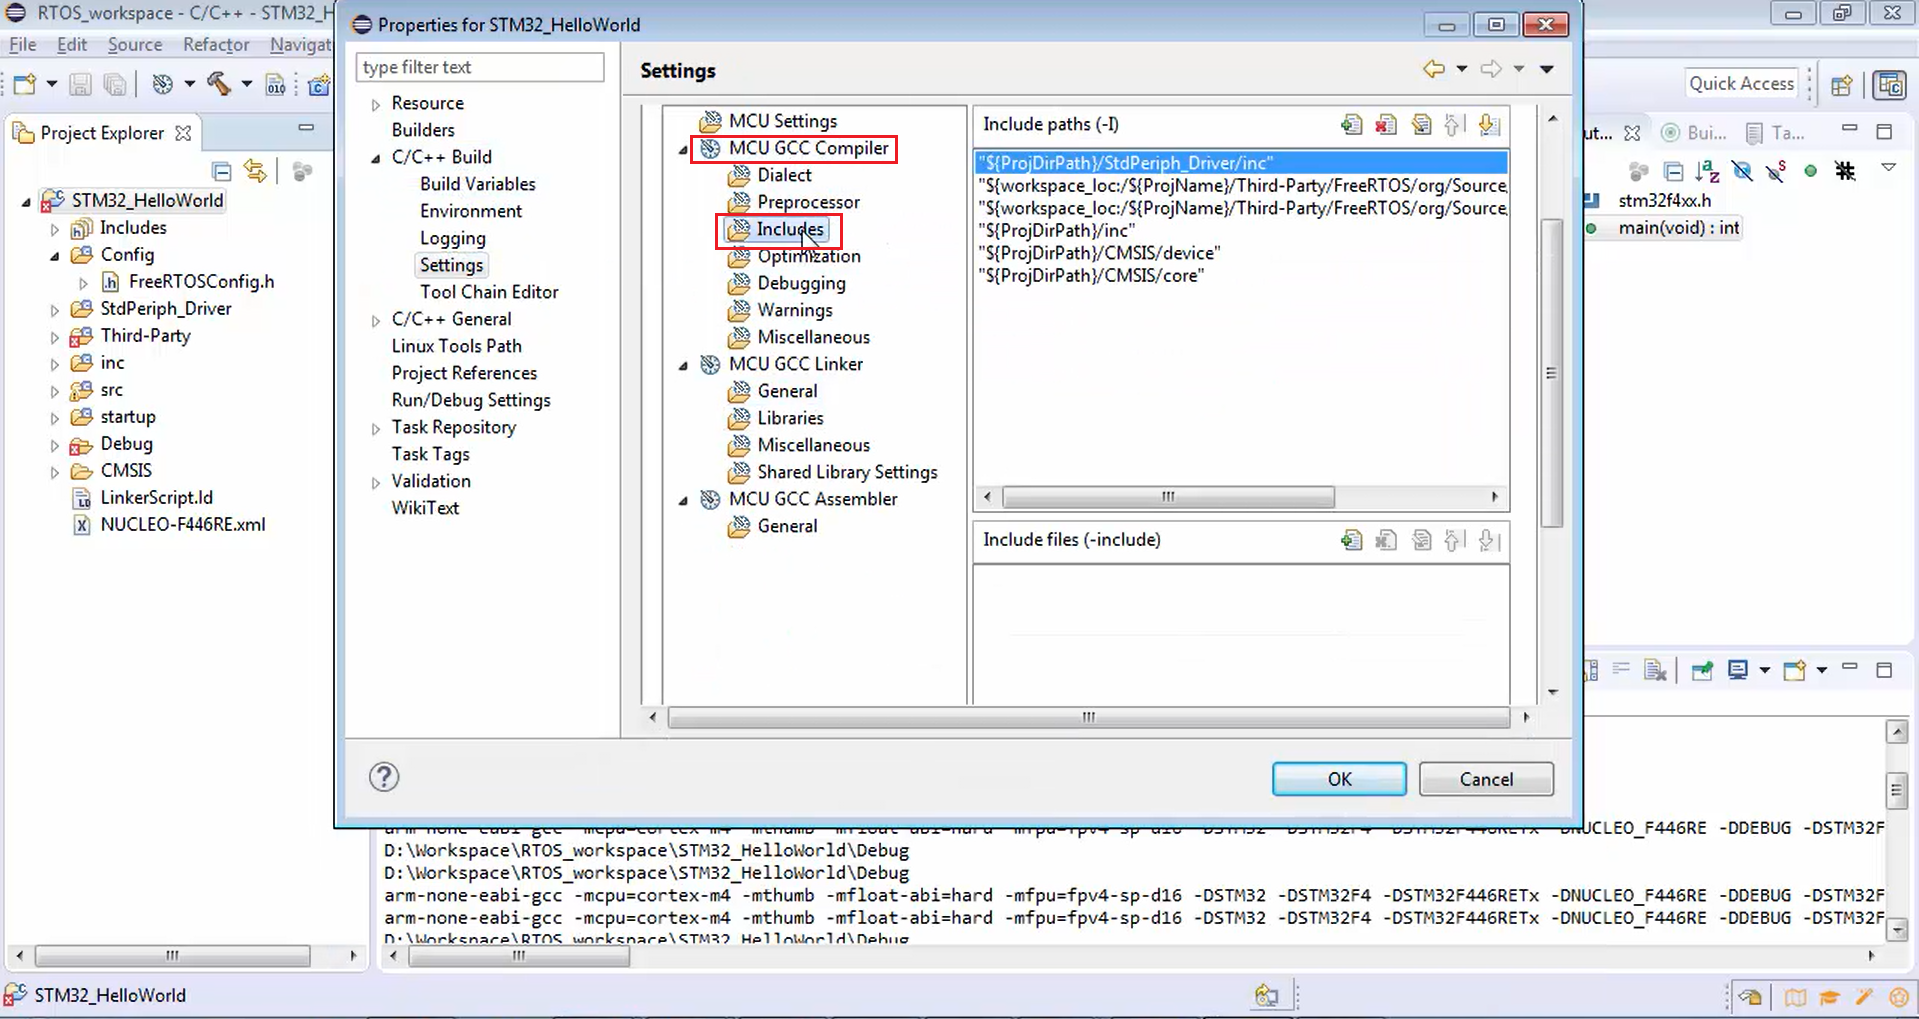
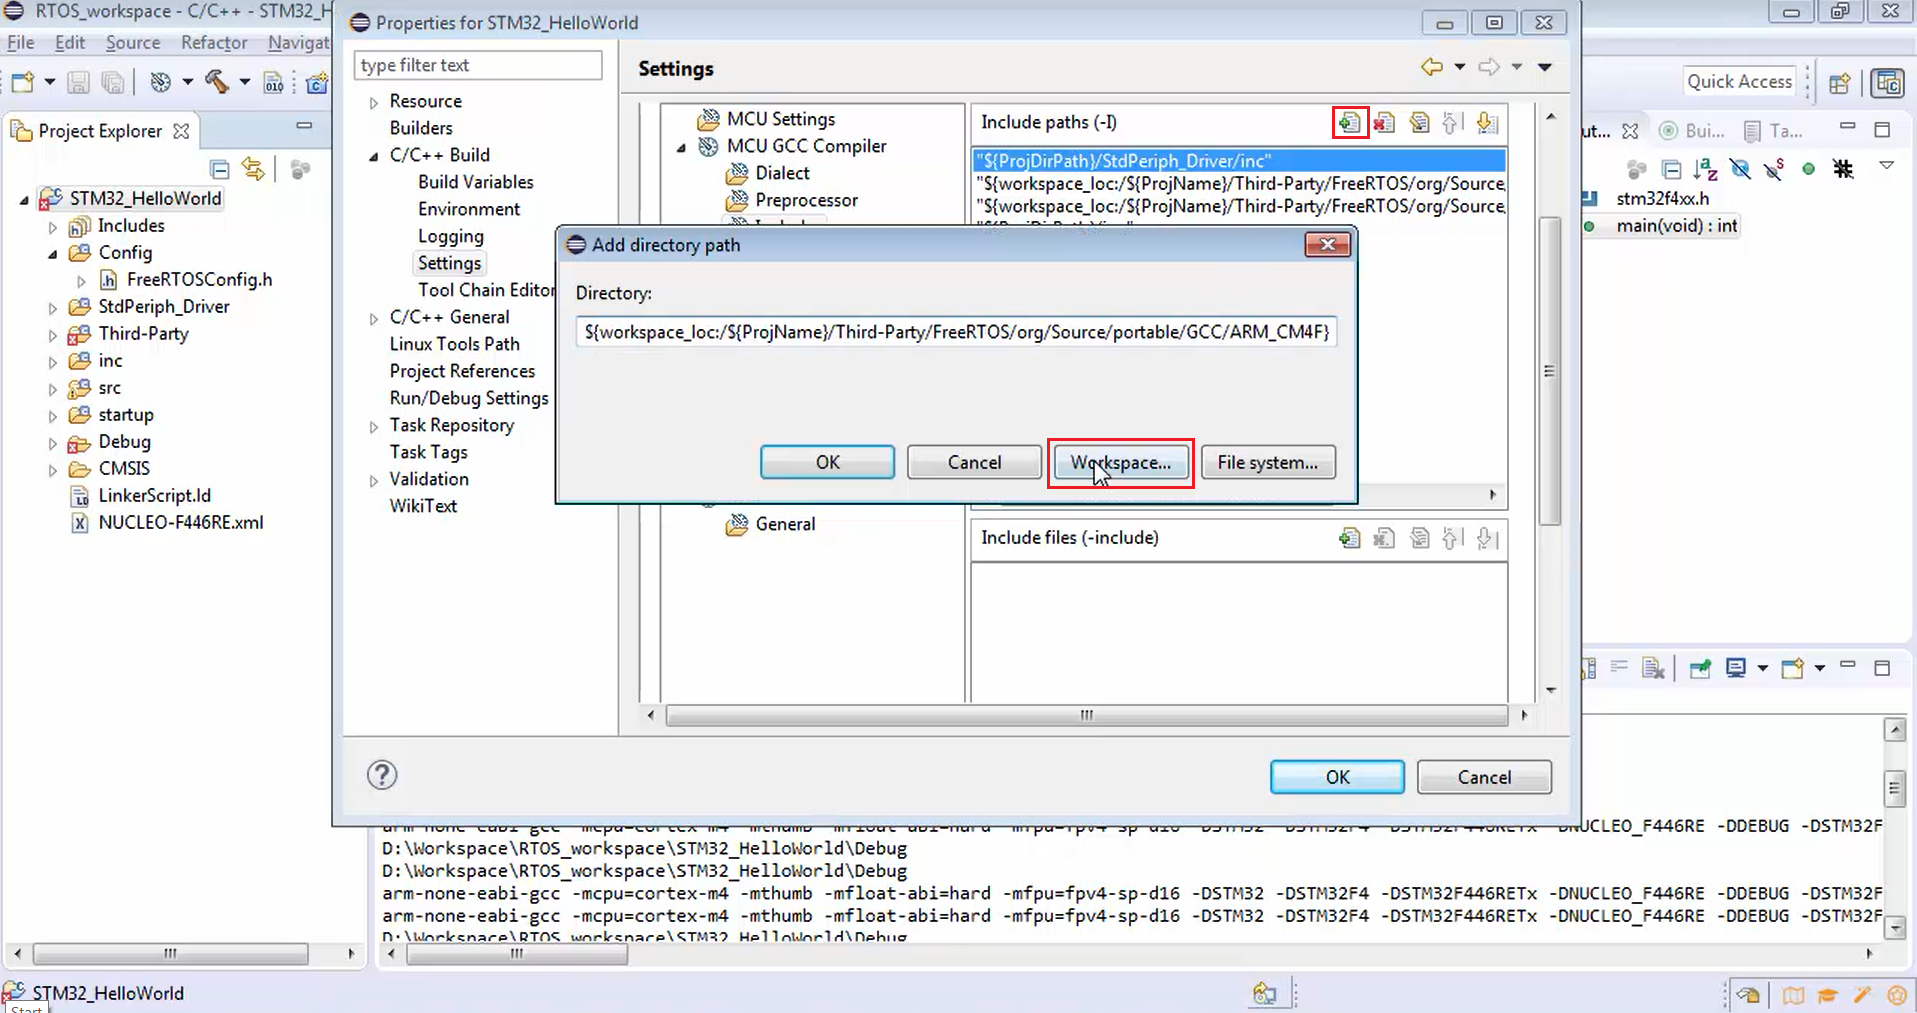
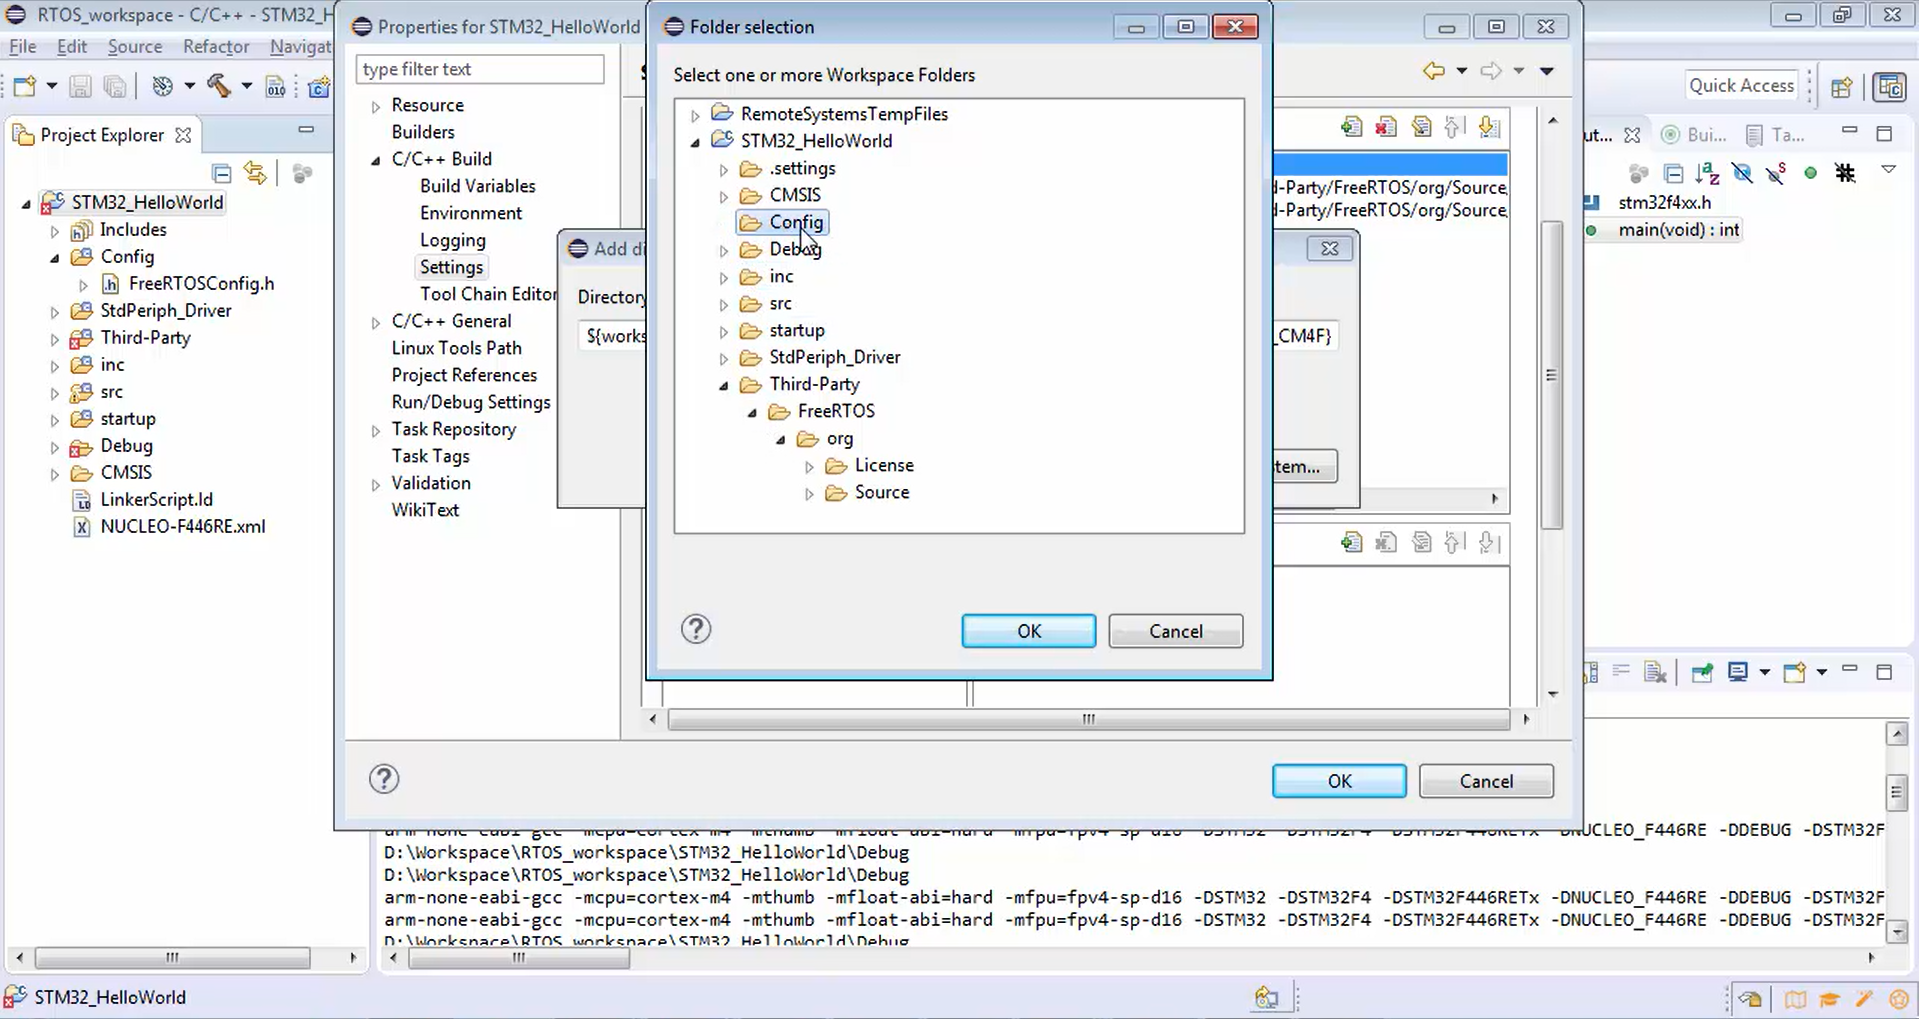
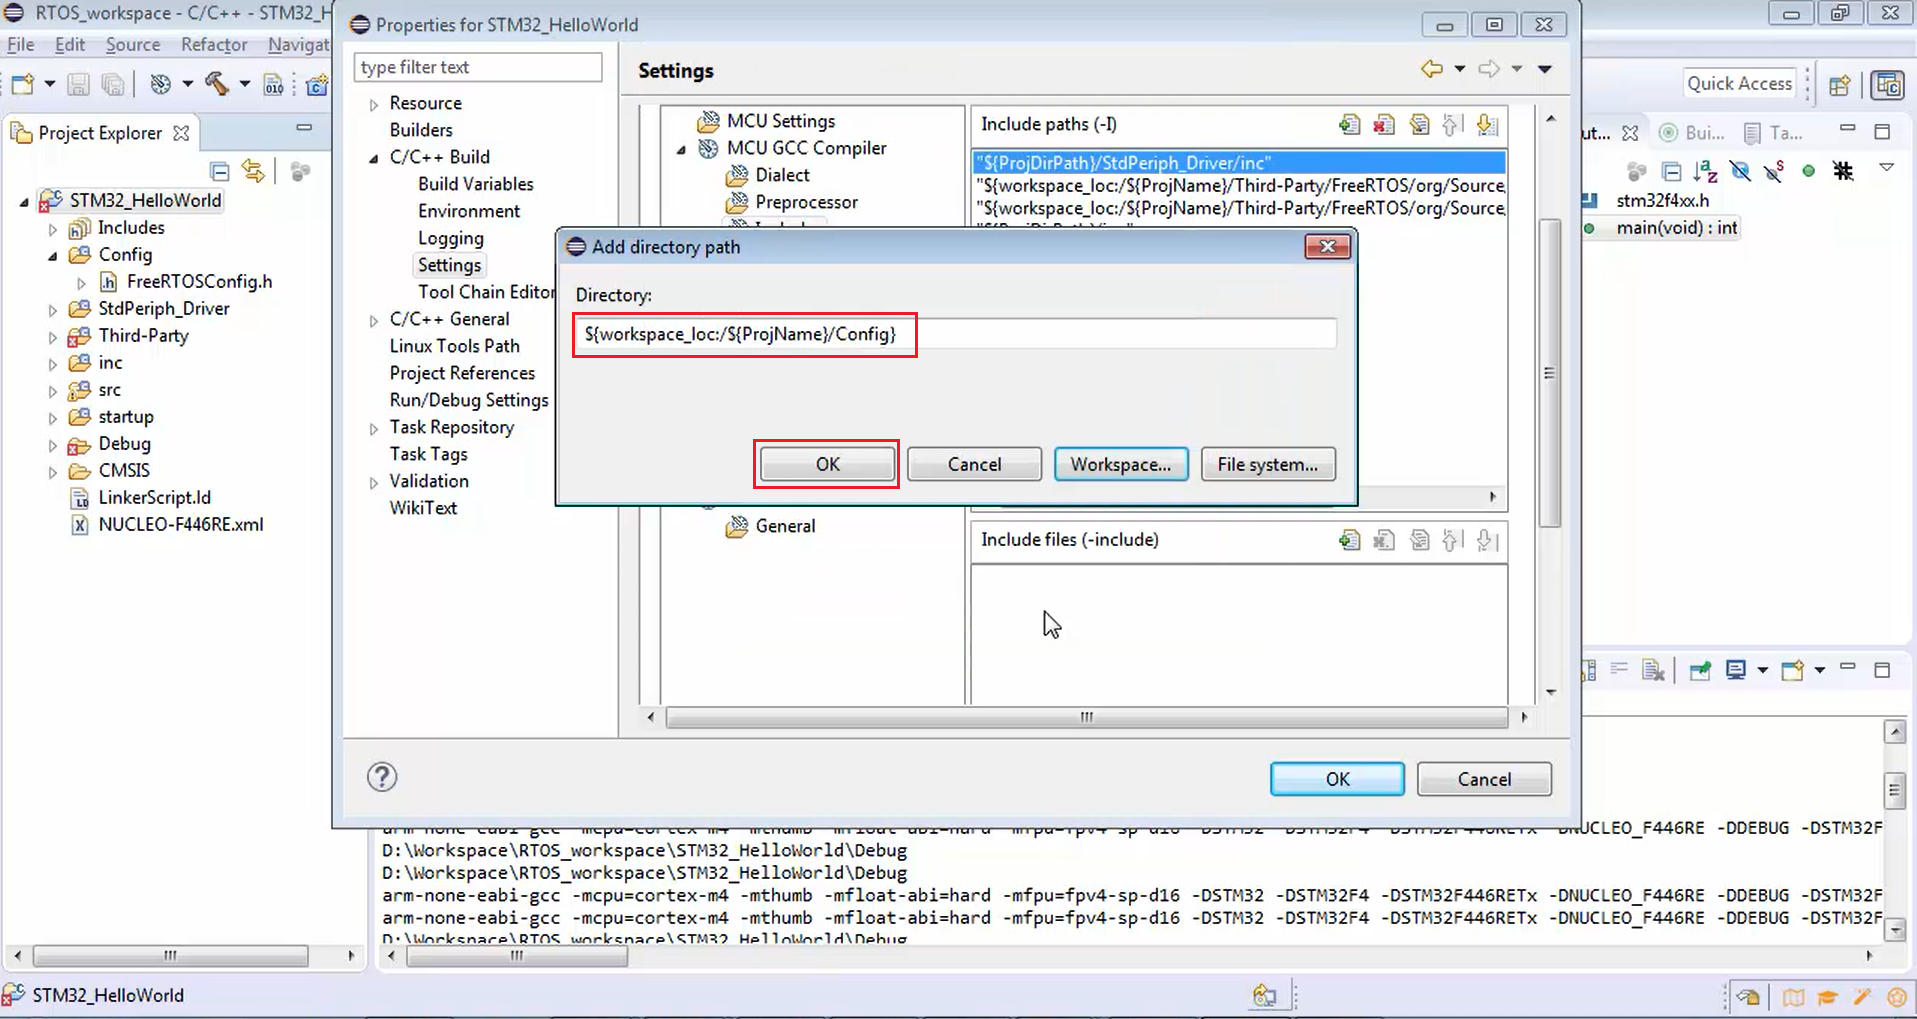
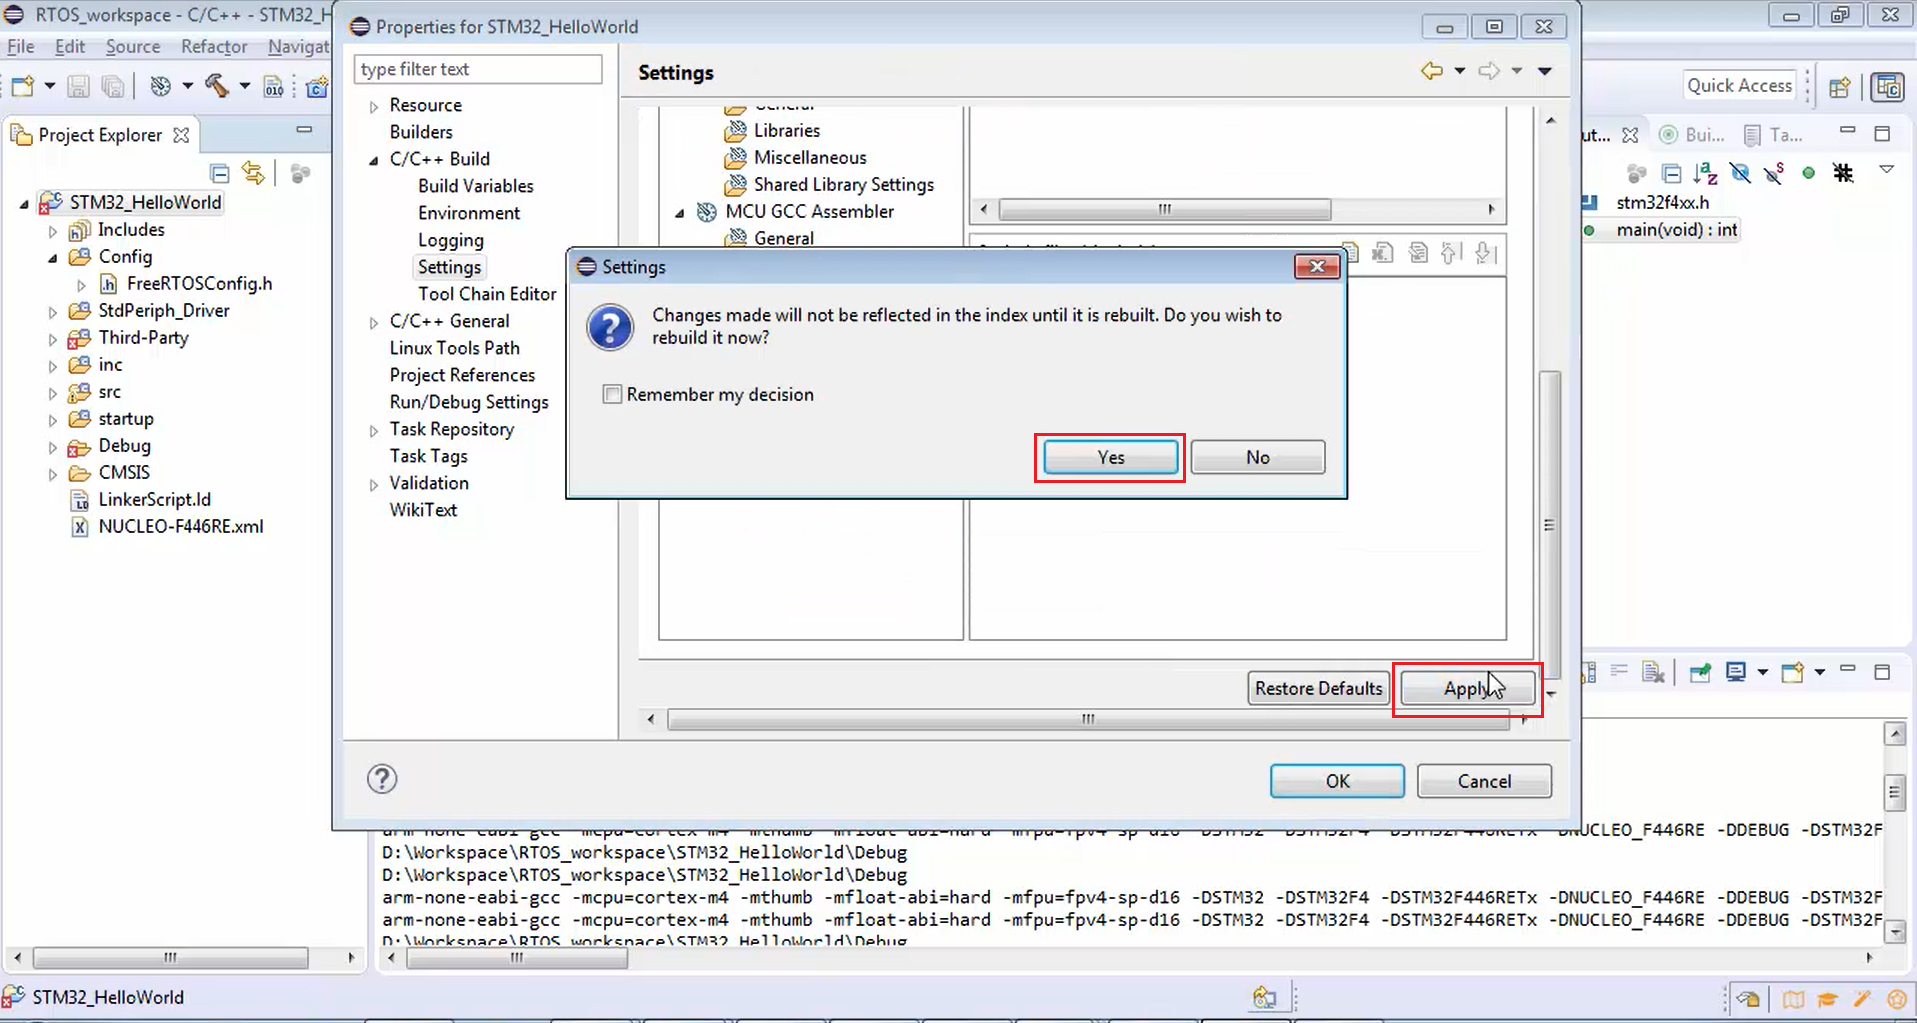
The FreeRTOSConfig.h, which is a header file, and the eclipse doesn’t know where exactly it is present. So, you have to configure the include path now. Let’s do that. For that, right-click over the project, go to the properties (Figure 16), expand C/C++ build (Figure 17), go to settings (Figure 19), go to the includes of MCU GCC compiler (Figure 20), then click on add, workspace (Figure 21) and this time you have to select config (Figure 22). After that, click on ok. Now the path is selected as shown in Figure 23. Apply these changes and then click on yes (Figure 24).
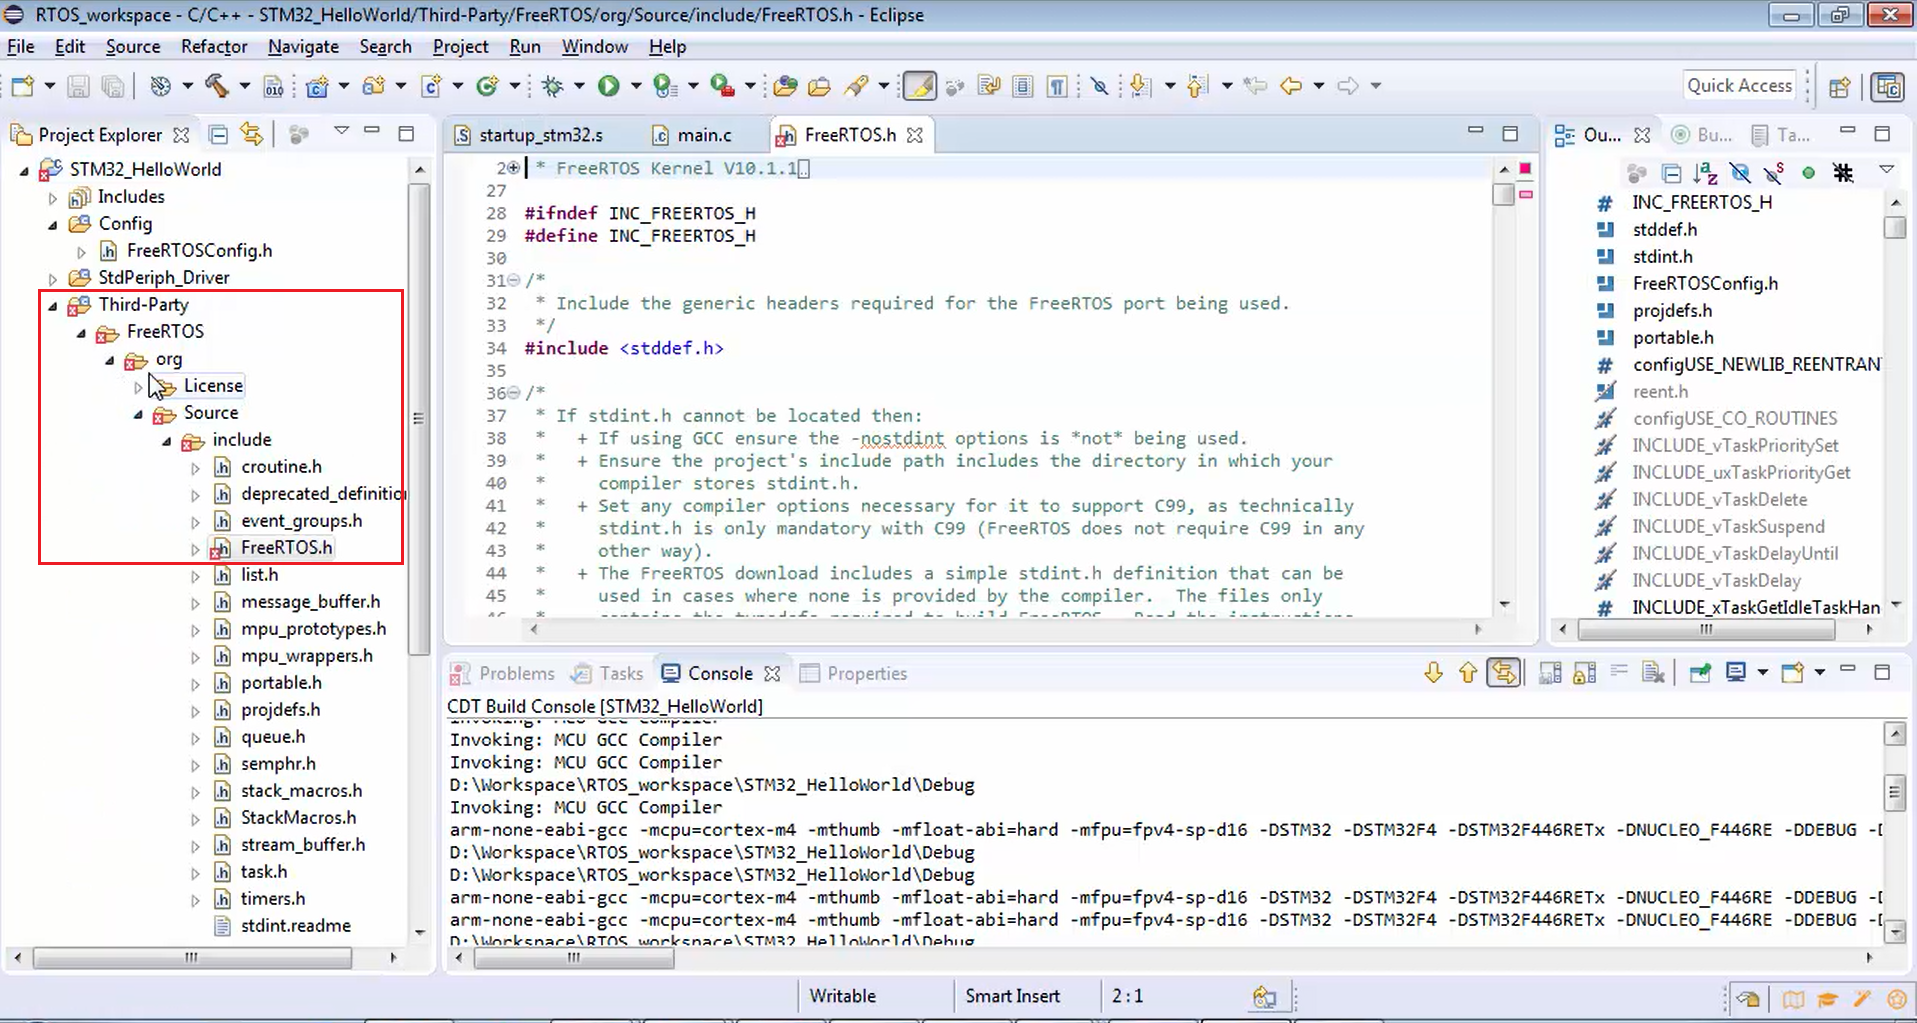
The eclipse project in Figure 25 has some red marks. Now let’s find out the reason behind that red mark. It will get resolved now, no problem.
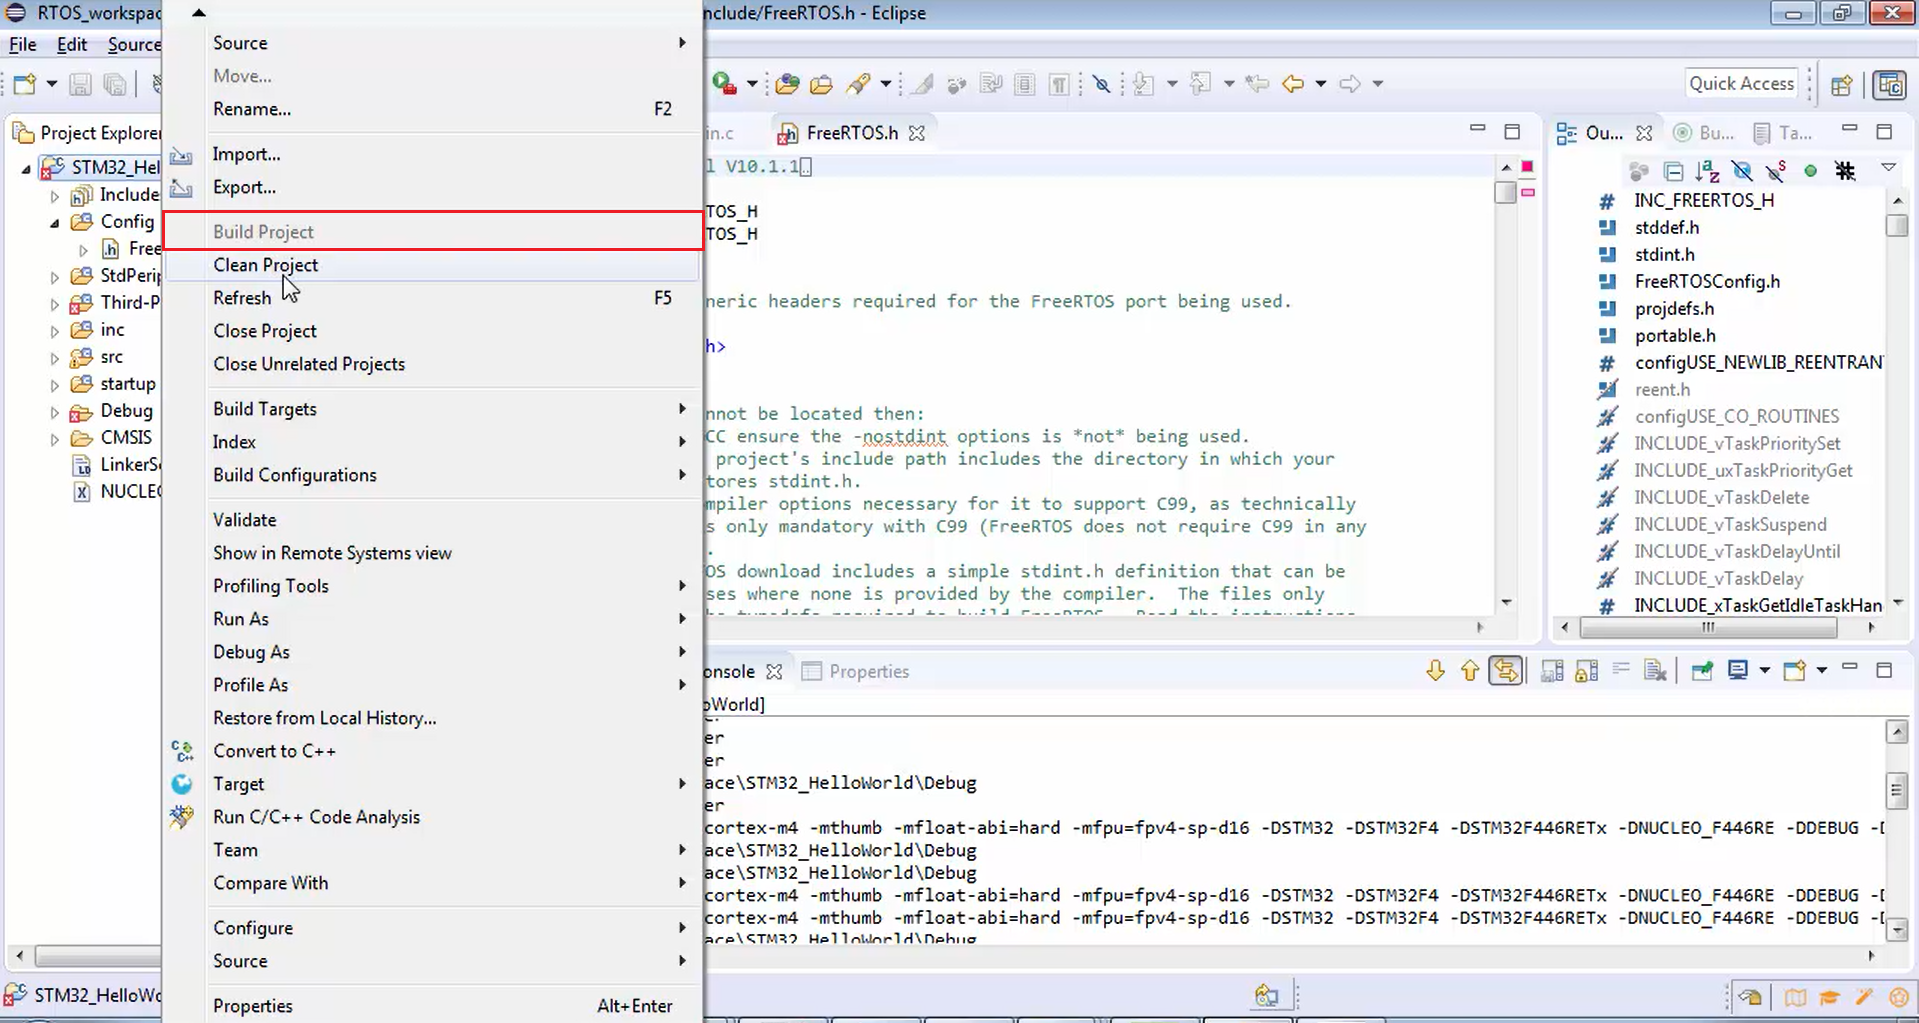
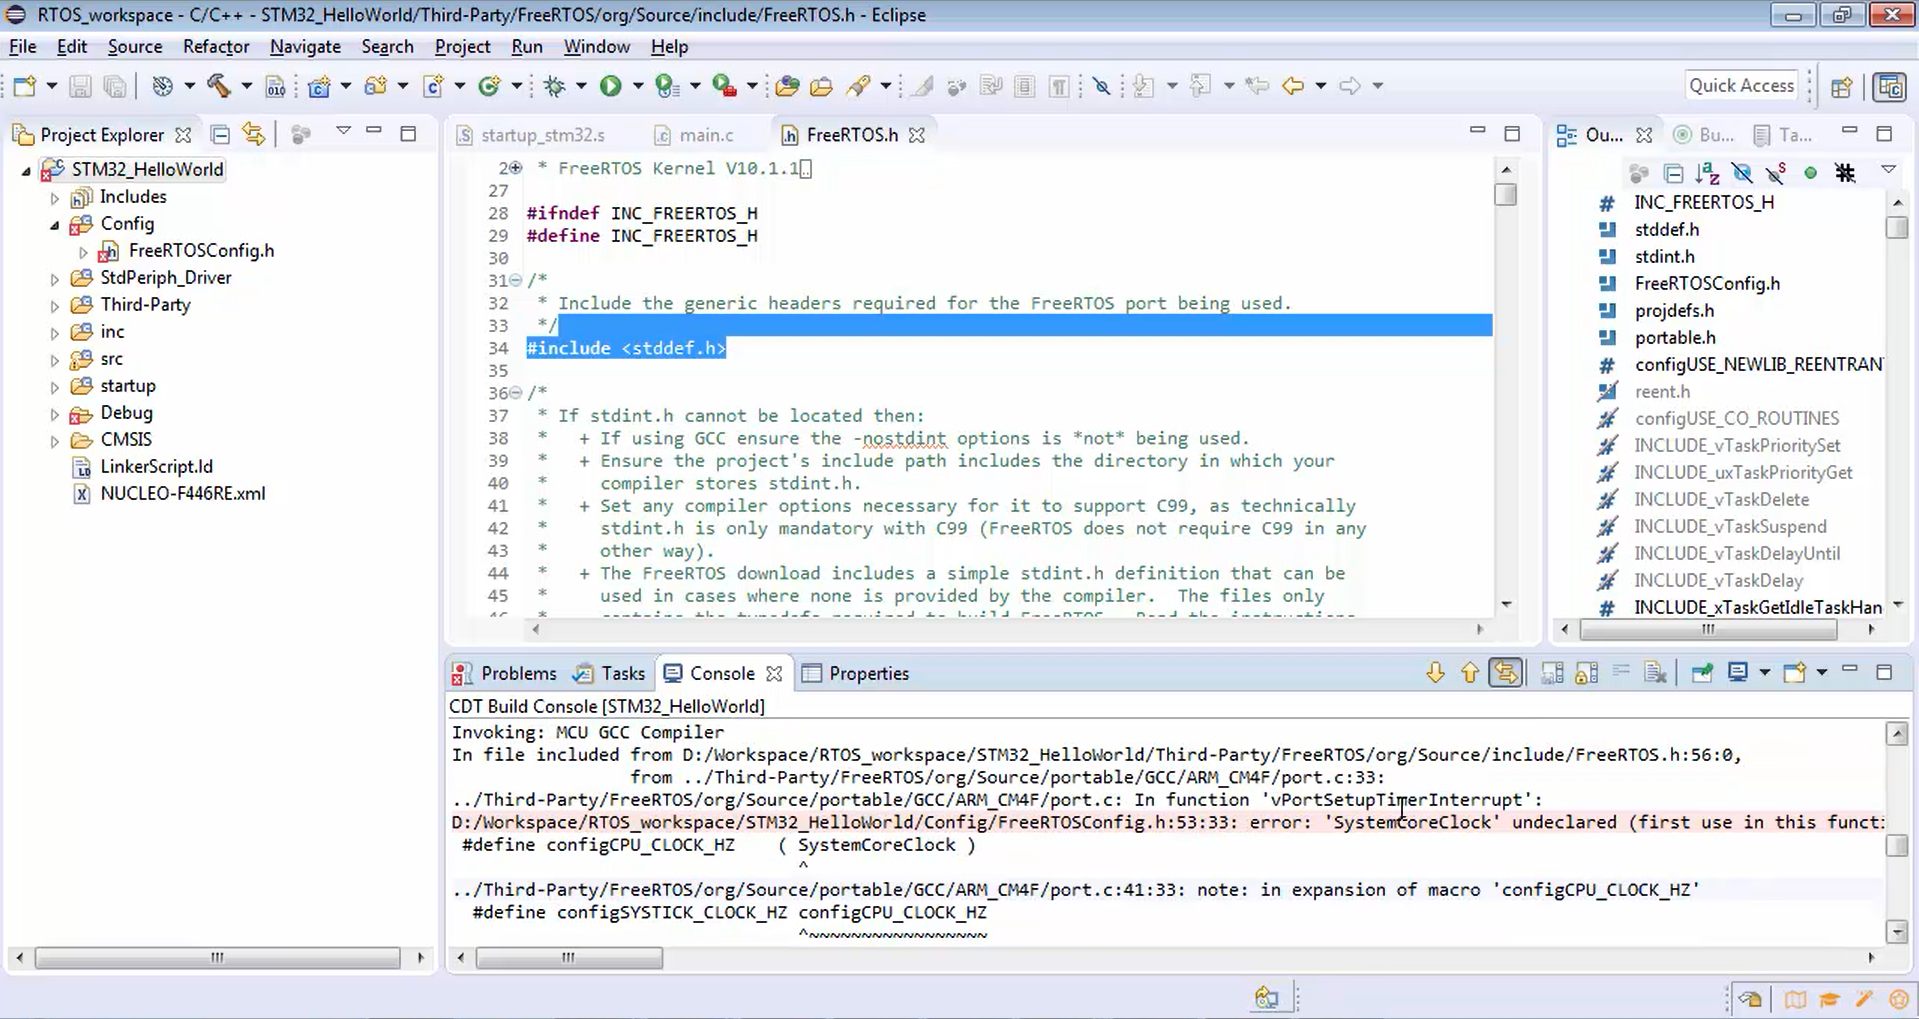
Now let’s build the project (Figure 26). It encountered some problems (Figure 27) while trying to build the project. The problem is caused by some undeclared variables. That is actually a microcontroller-specific error, which we will resolve later. But you can see that there are no errors related to the no file found or no such file or directory. Those kinds of errors are resolved.
FastBit Embedded Brain Academy Courses
Click here: https://fastbitlab.com/course1