Creating FreeRTOS based project for STM32 MCUs Part-4
Now let’s integrate the 3rd party code into the project in the IDE.
Steps:
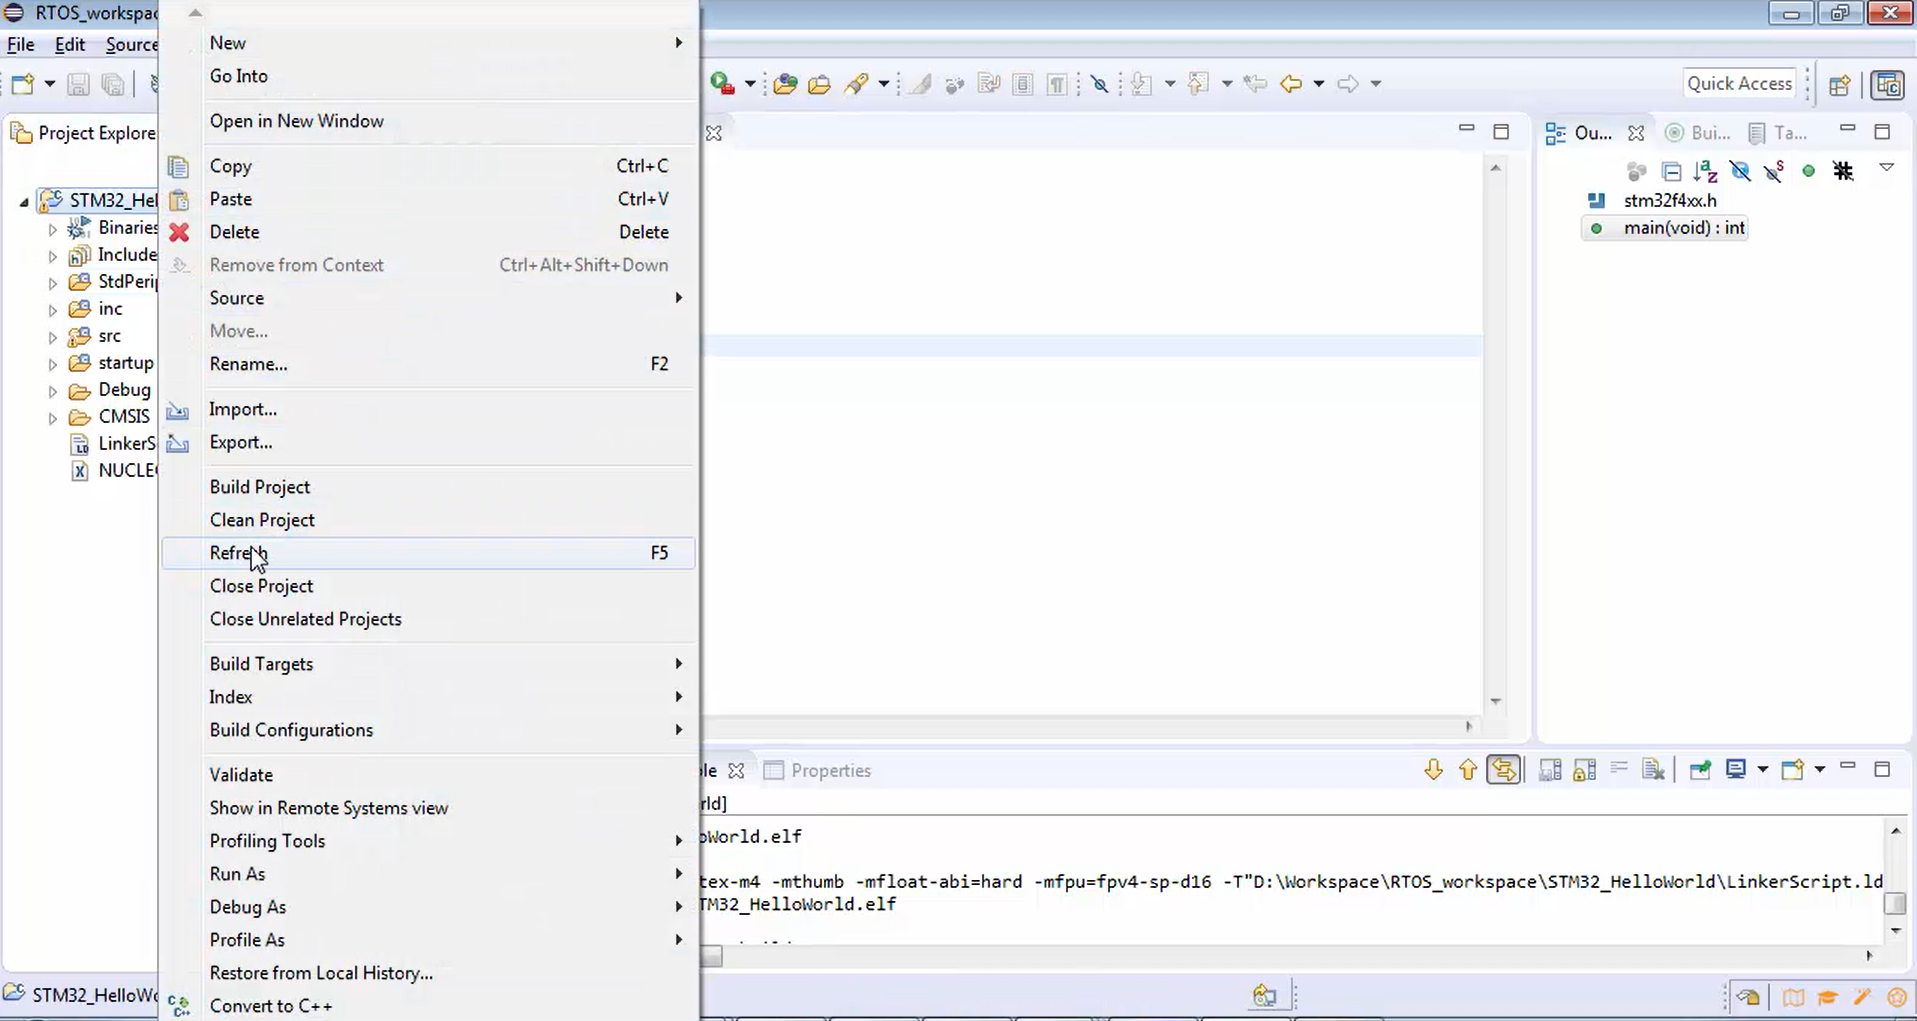
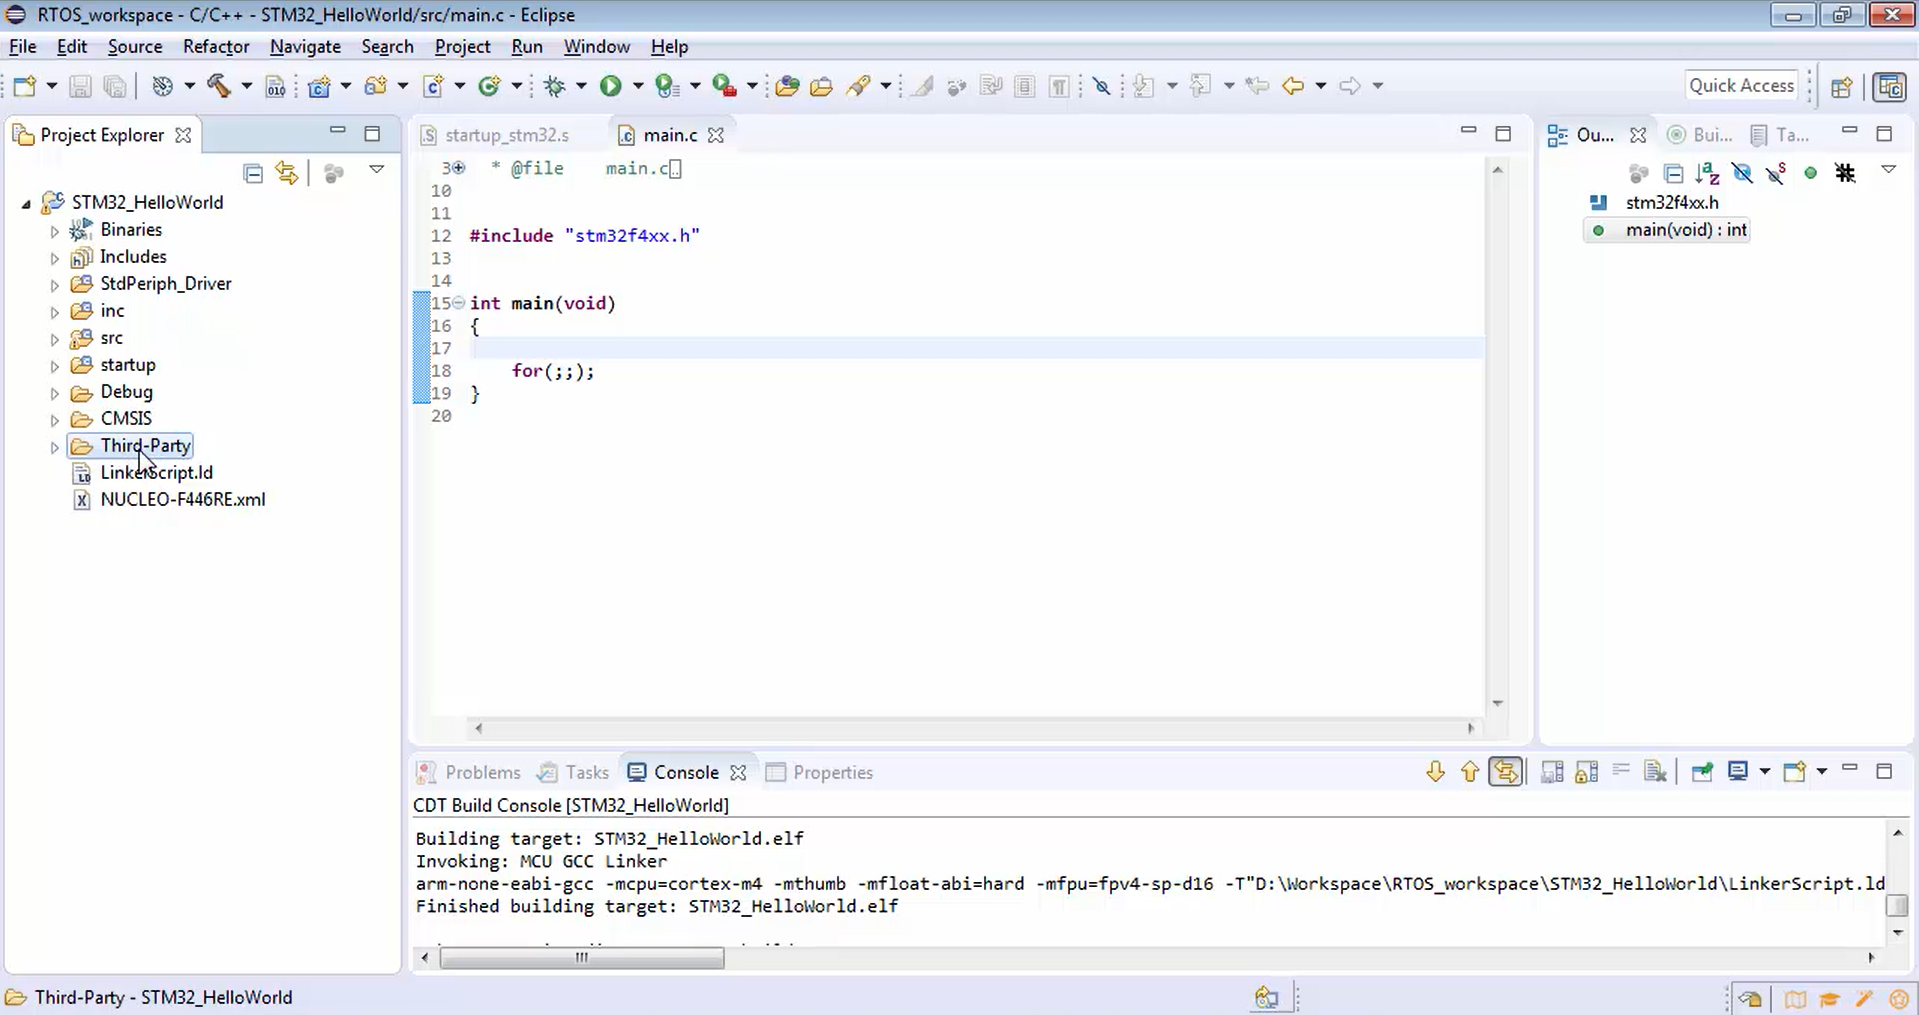
1. Right-click over your project and click refresh (Figure 1).
Now in Figure 2, you can see that the Third-Party folder that you created in your workspace is appearing in the project also.
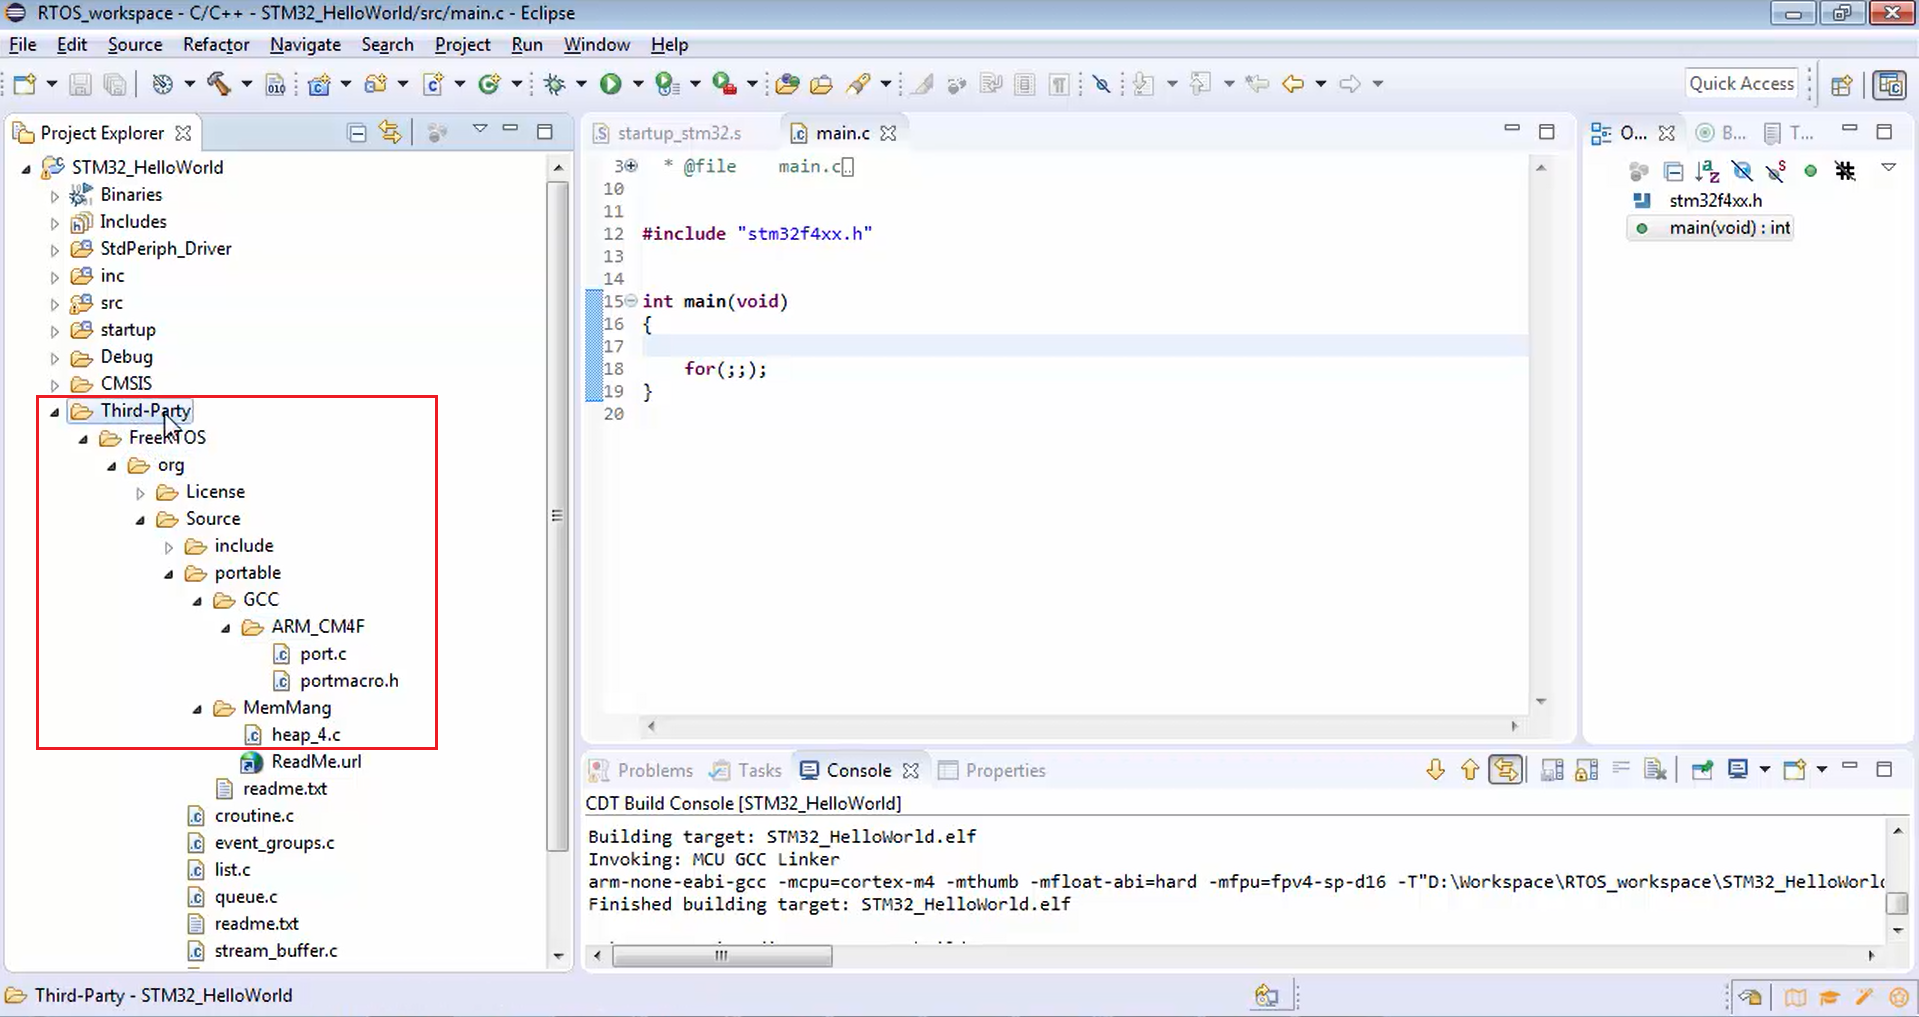
2. Browse that Third-Party folder (Figure 3). You can see the FreeRTOS that you created, org, source and license. In source, you have include and portable. In portable, you have GCC, which contains ARM_CM4F, port.c, macro.h, and you also have Mem management containing heap_4.c.
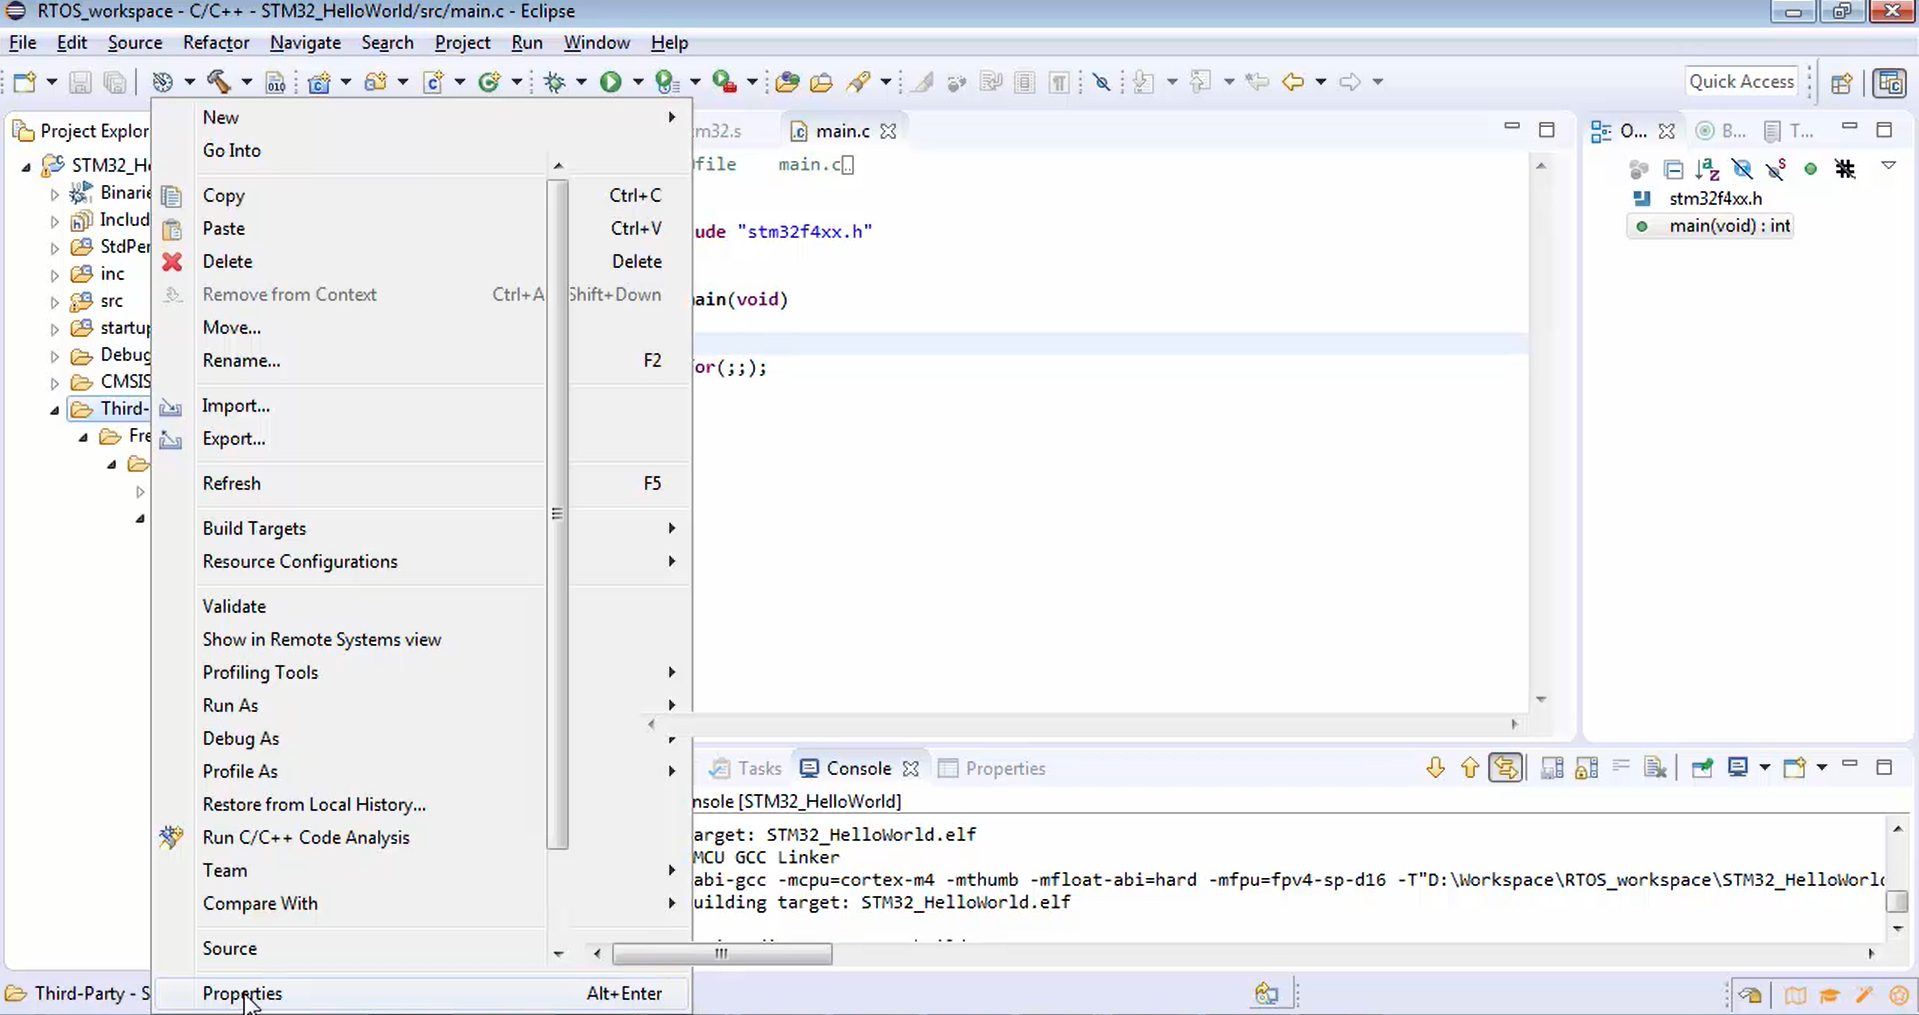
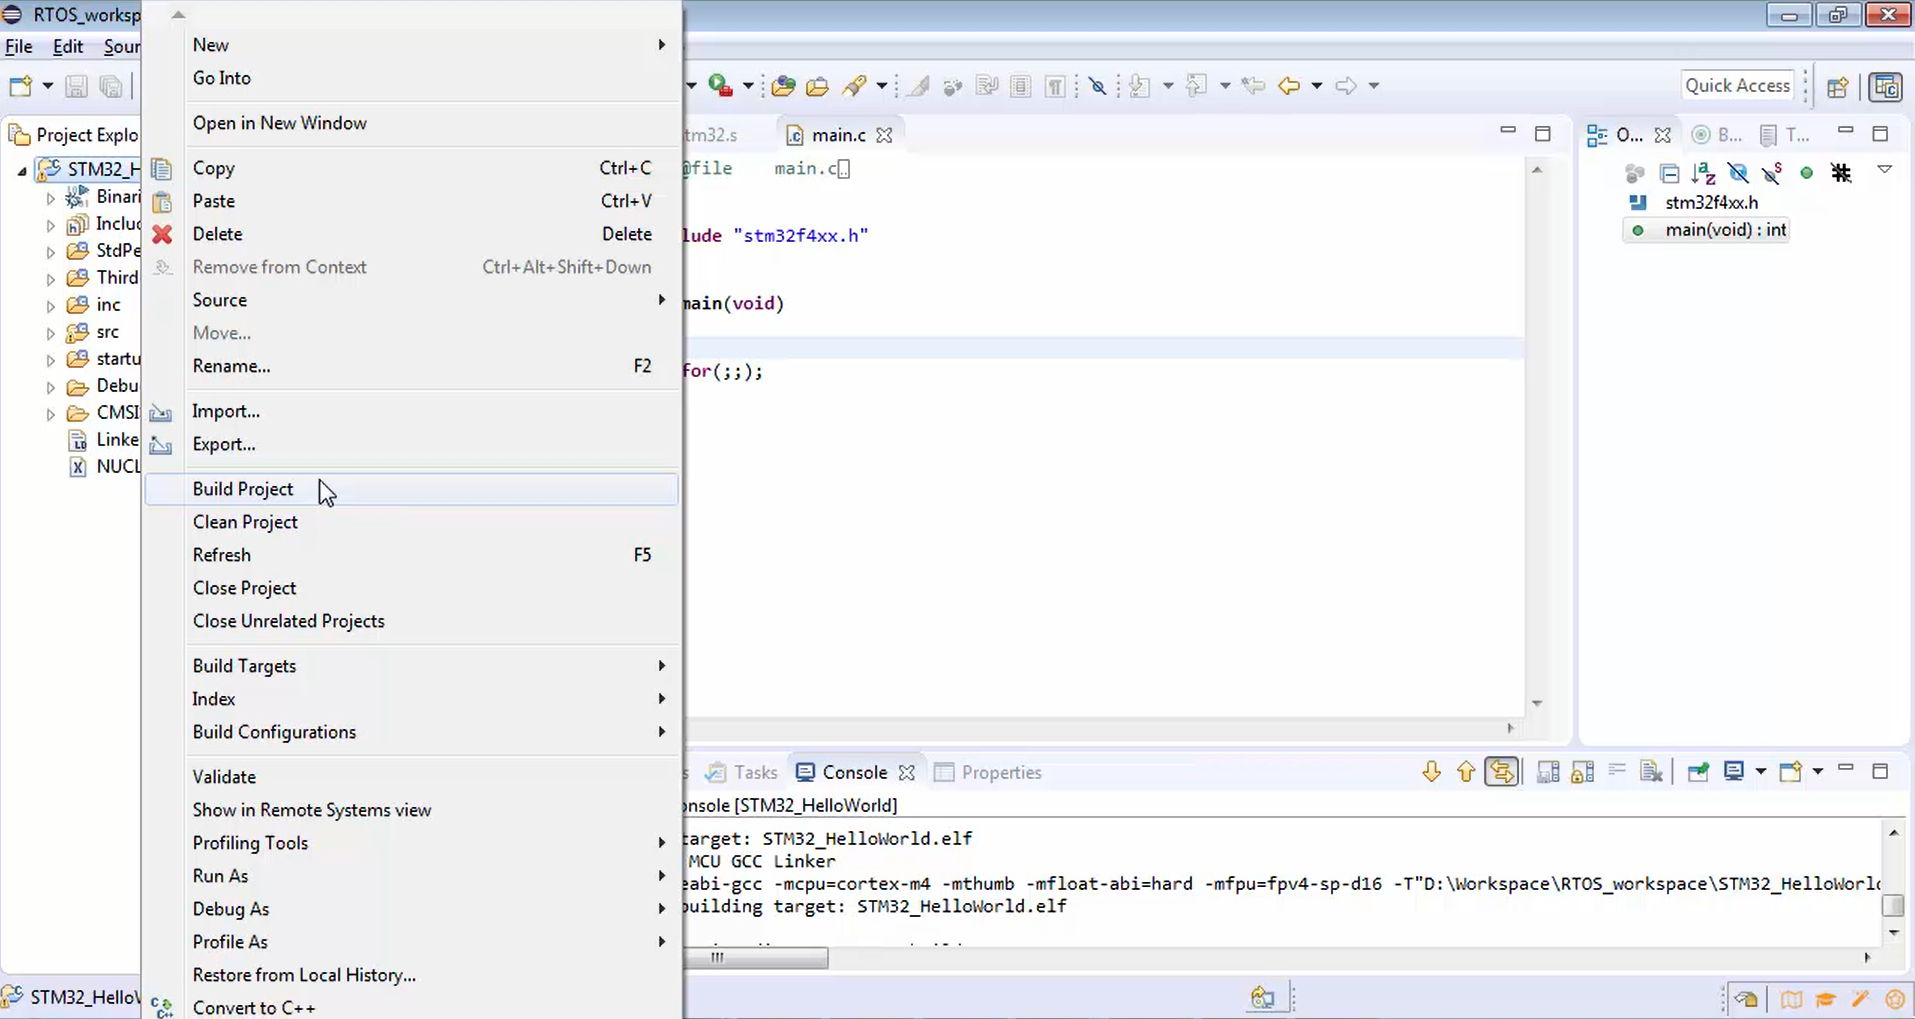
3. Select the Third-Party and go to the properties, as shown in Figure 4.
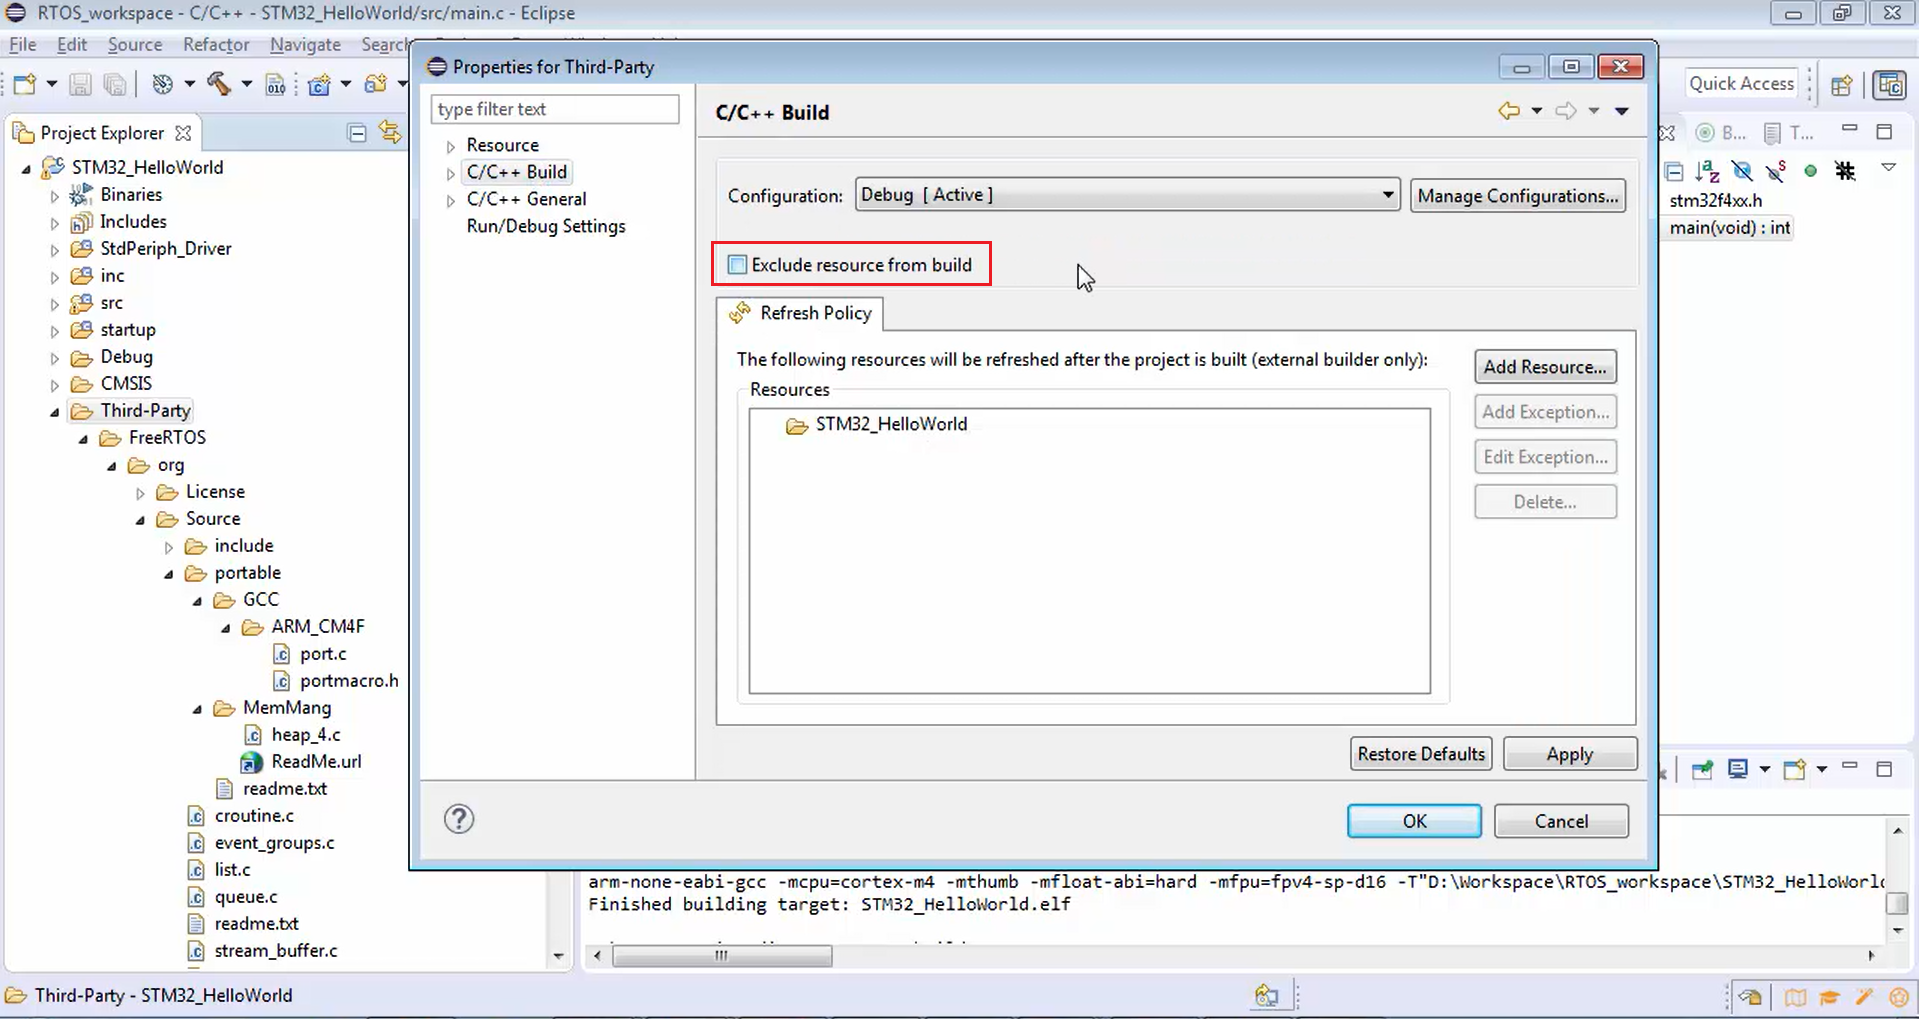
This is a very important step you should follow. Go to C and C++ build, uncheck exclude resource from build option shown in Figure 5. After that, apply the changes and click ok.
4. Now you have successfully included the FreeRTOS codes into your project. But only this much is not sufficient because if you try to build your project (Figure 6), there will be lots of errors (Figure 7).
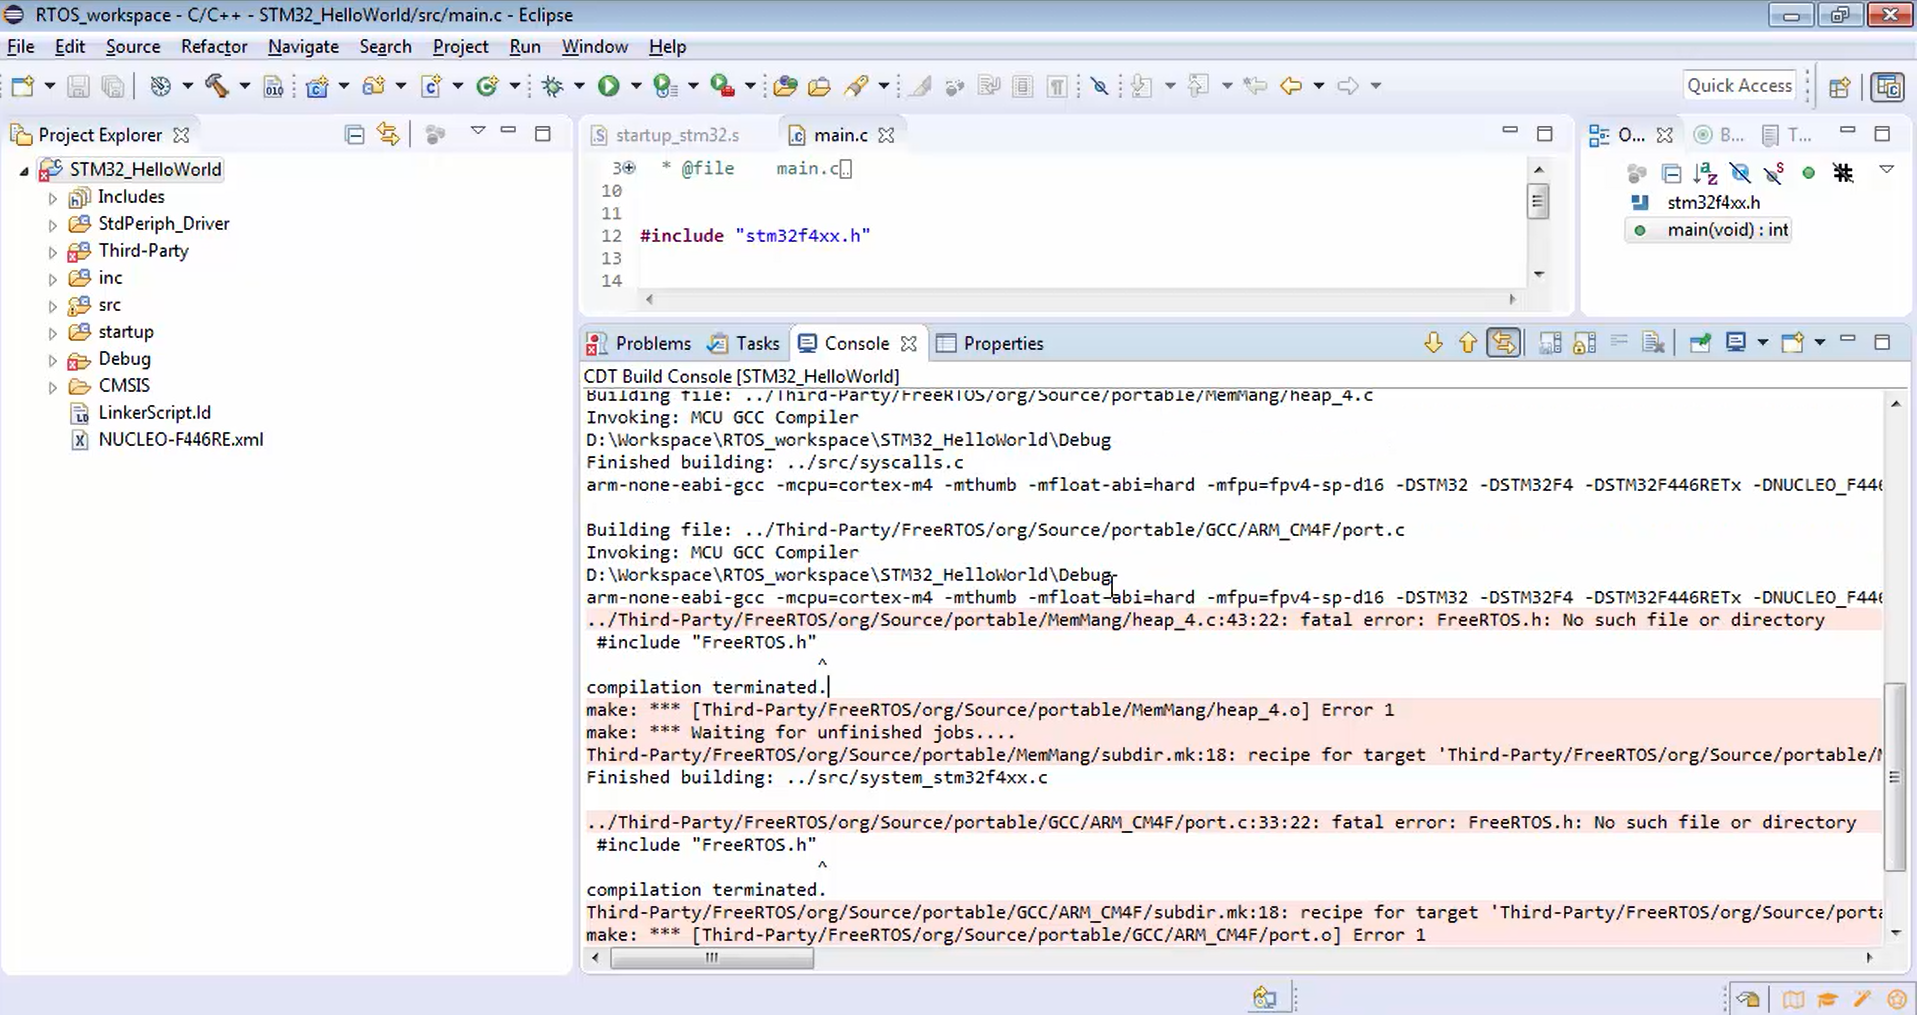
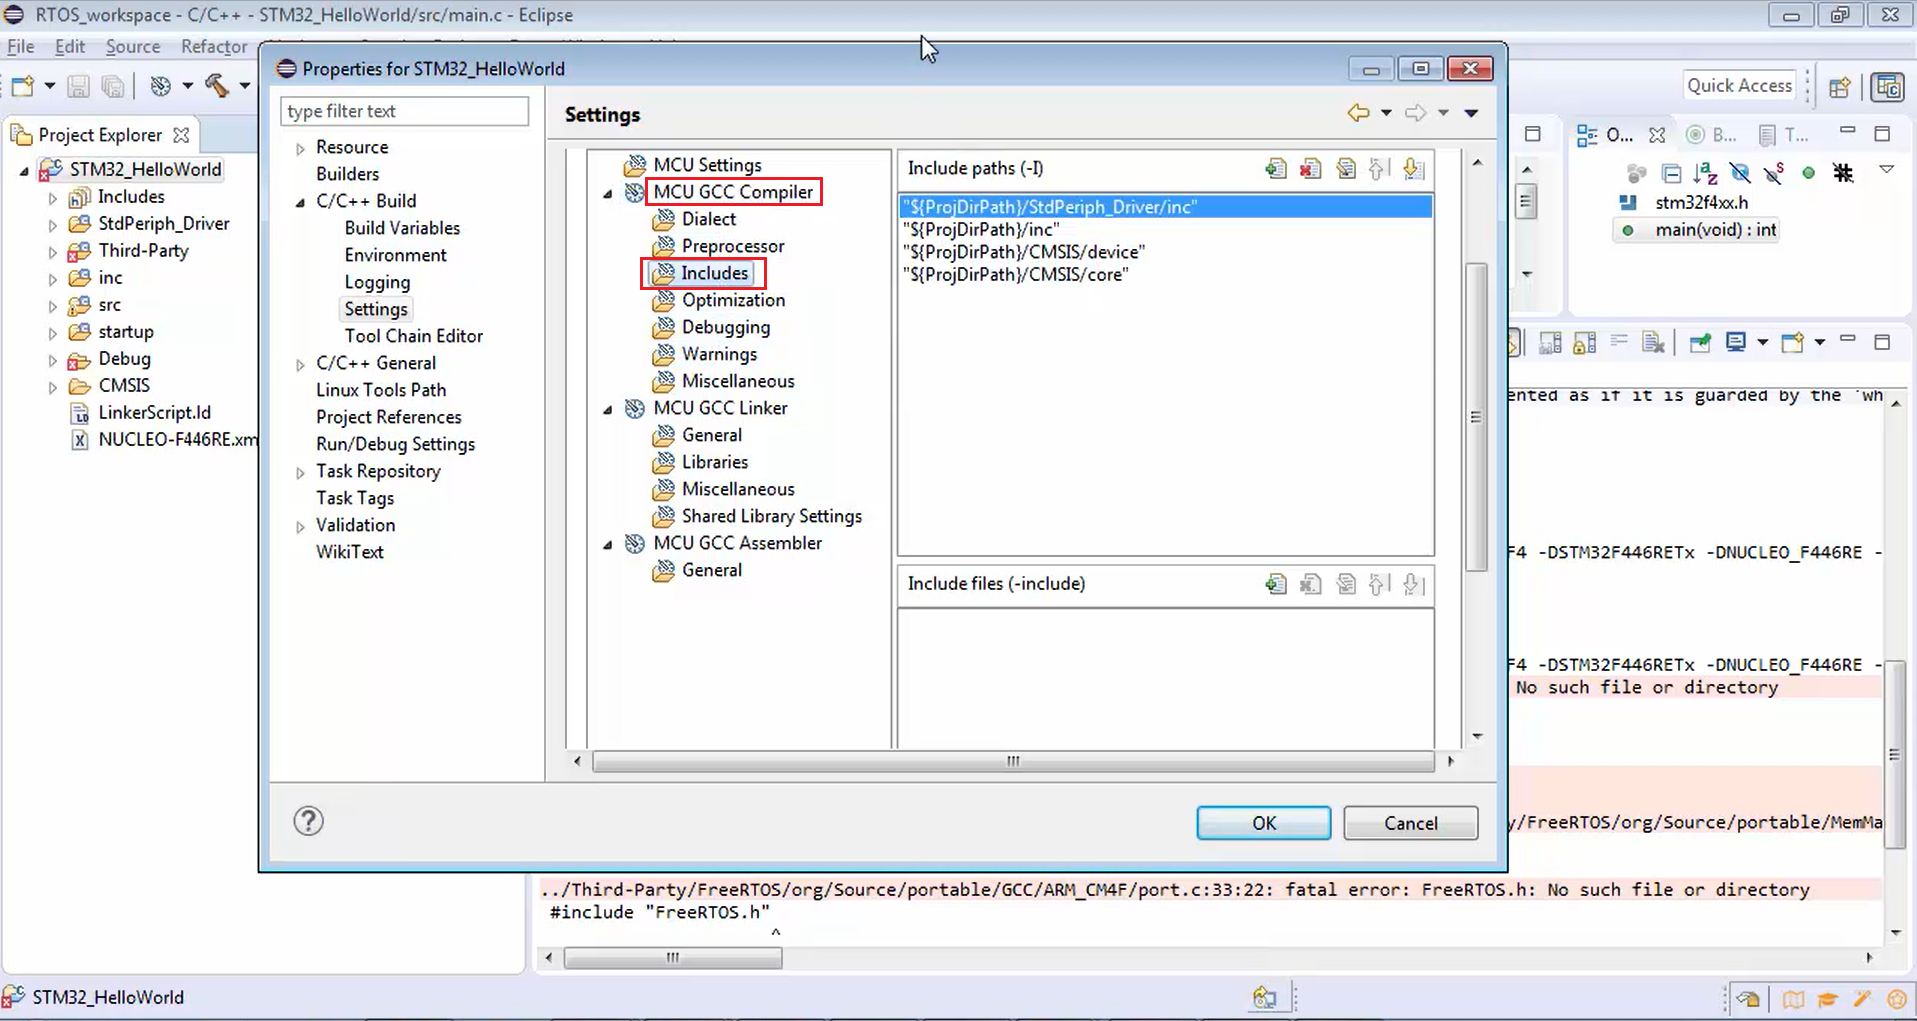
5. Now let’s analyze the errors one by one. It actually tried to compile the FreeRTOS related codes like port.c. But it met with an error like FreeRTOS.h is not found, i.e., no such file or directory error. Then it tried to compile various others. Basically, the eclipse is not able to find out the FreeRTOS related header files. Now you have to tell FreeRTOS where exactly our FreeRTOS related header files are present. The FreeRTOS related header files are present in the source include. So, you have to tell this path to the eclipse. To do this, right-click over the project and then click on properties. After that, expand the C/C++ build, go to settings. Figure 8 shows your project settings. That means the settings related to the compiler, linker, other things like assembler, etc.

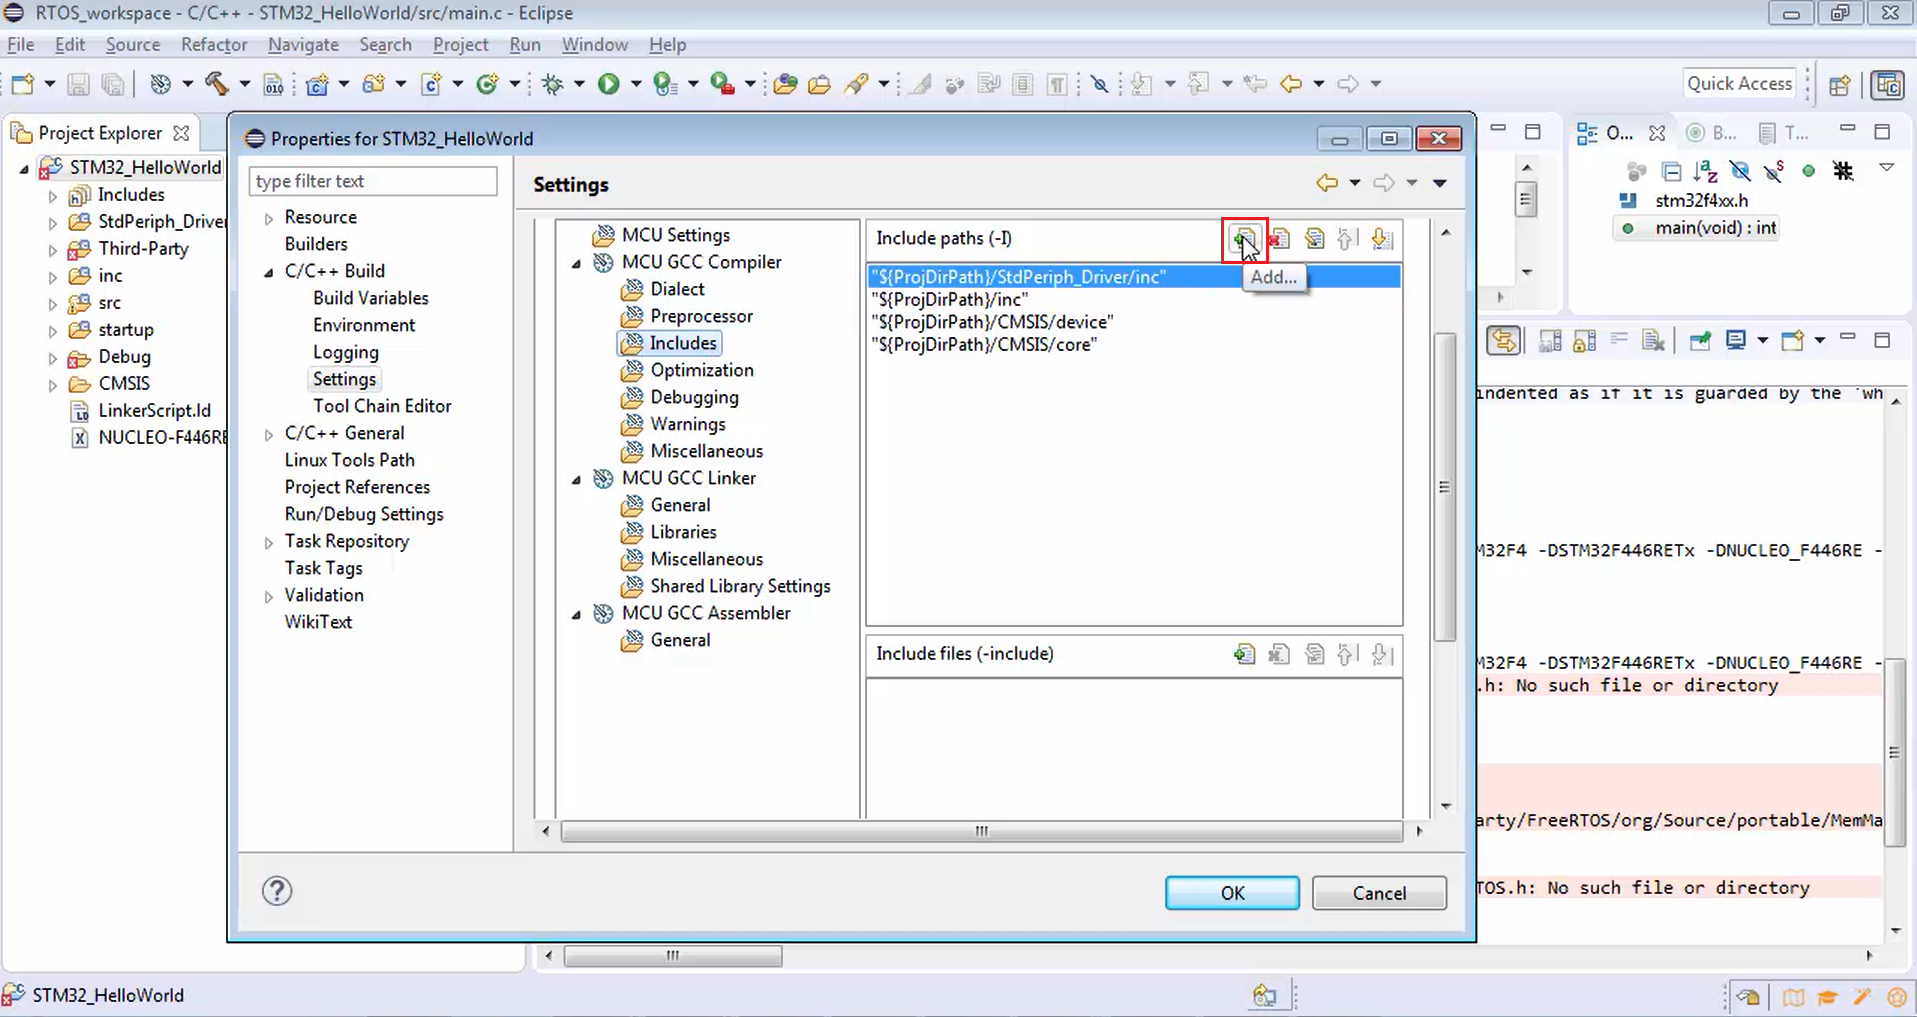
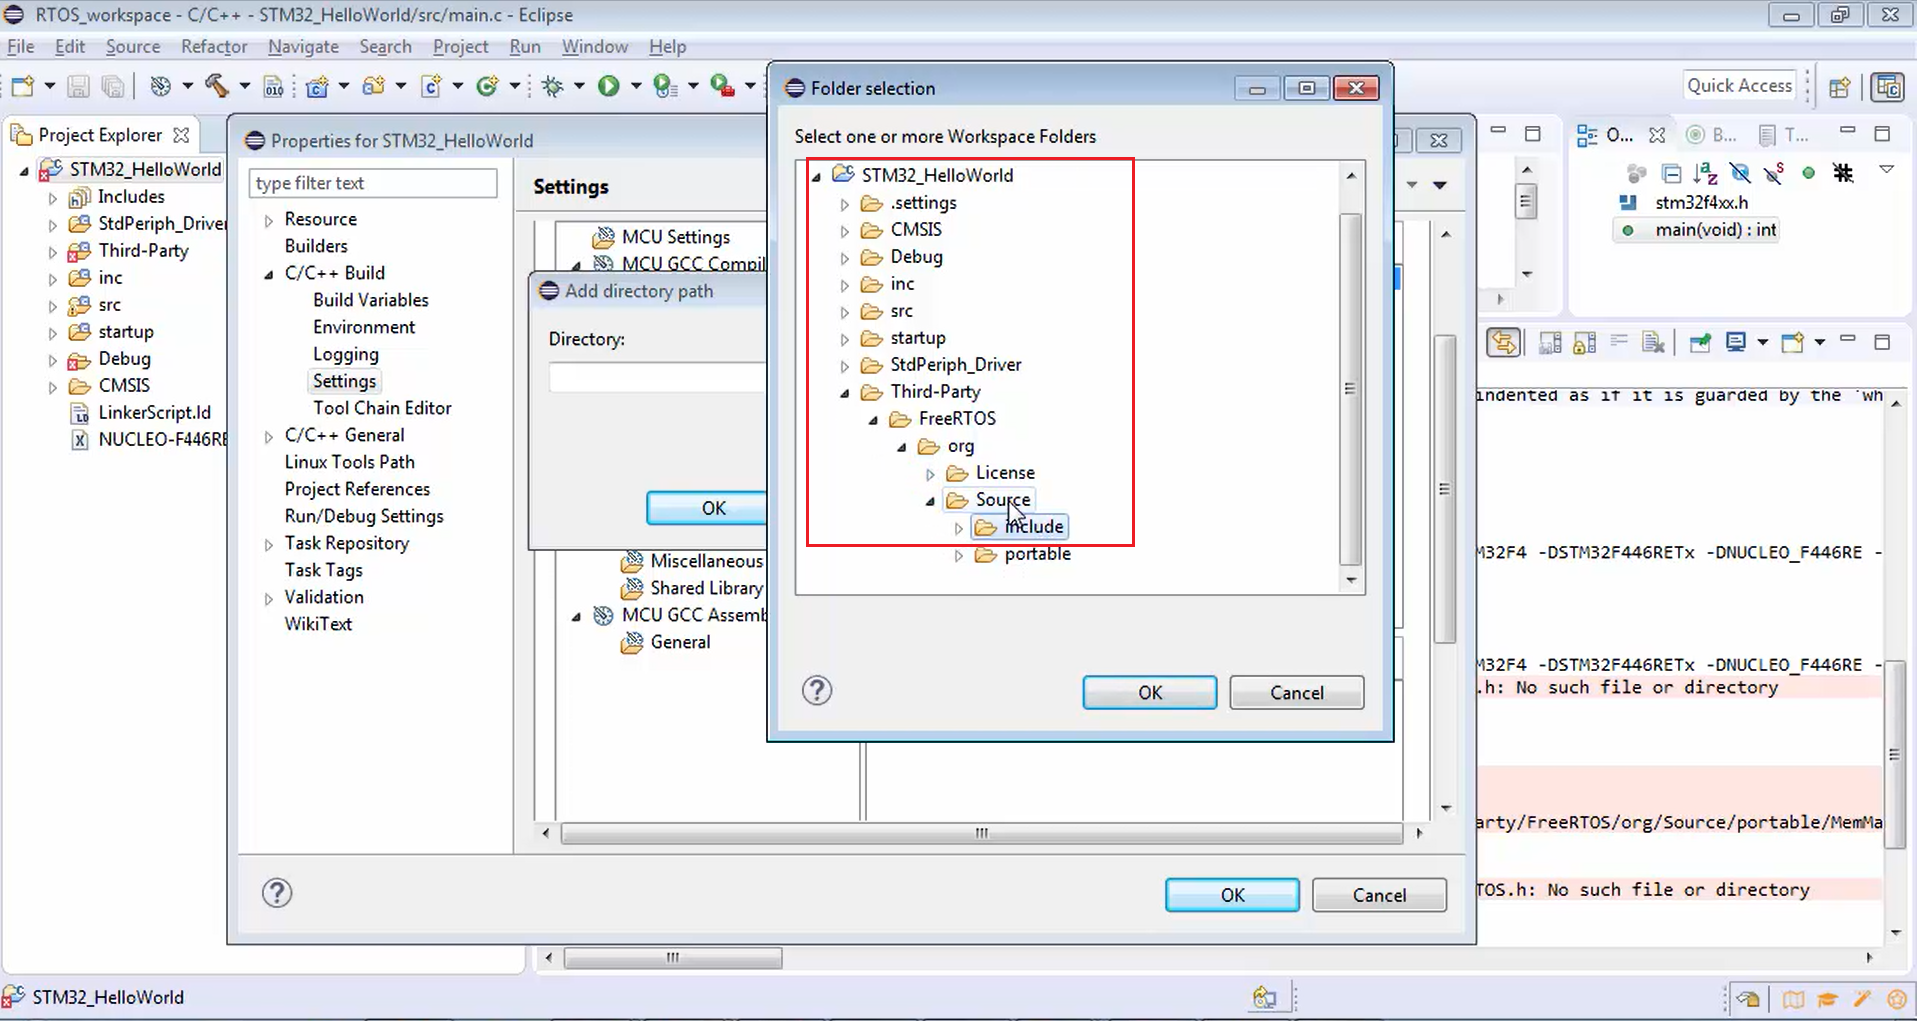
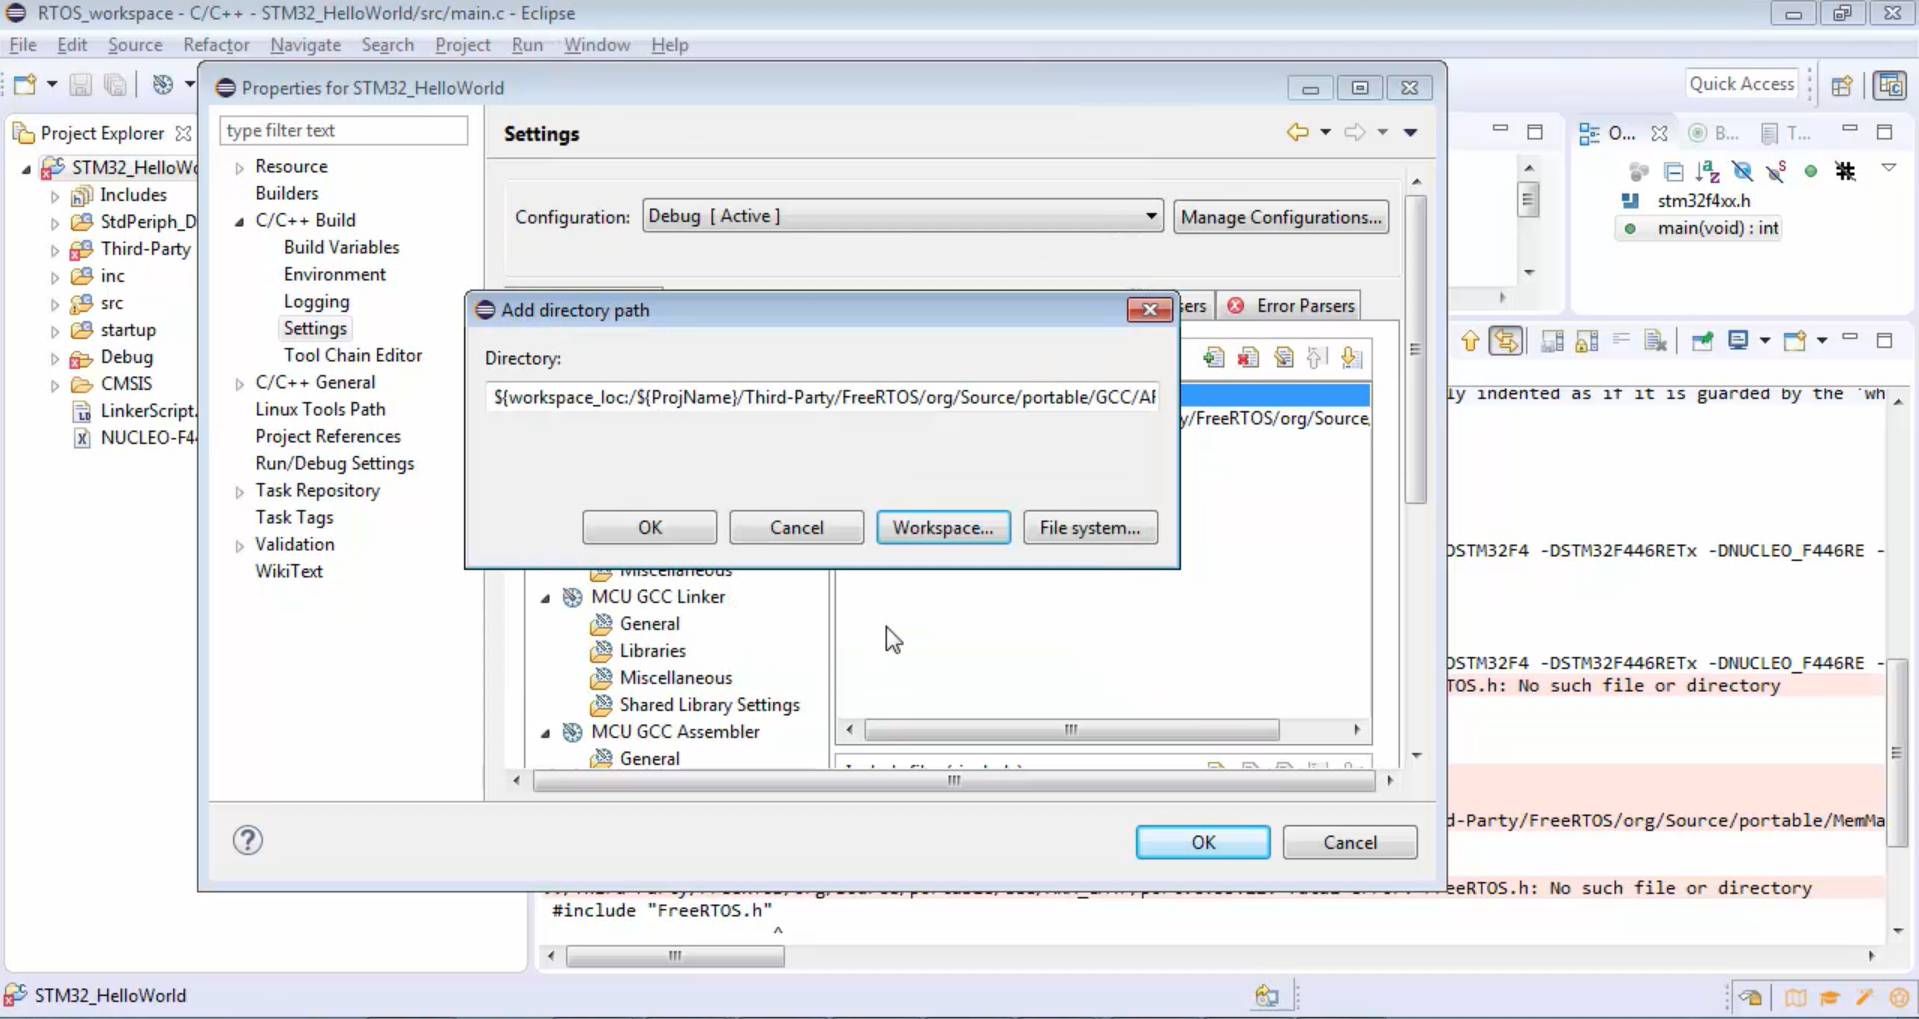
We are interested in the MCU GCC compiler. So, just click over that and then go to includes (Figure 9). Then click over the plus option marked in Figure 10 in order to include a path. After that, you will get a pop-up shown in Figure 11. Click on the workspace to select the path from the workspace. Now expand your project, go to Third-party, go to org, go to the source, and then include (Figure 12). This path you have to mention since it contains FreeRTOS header files. Click ok.
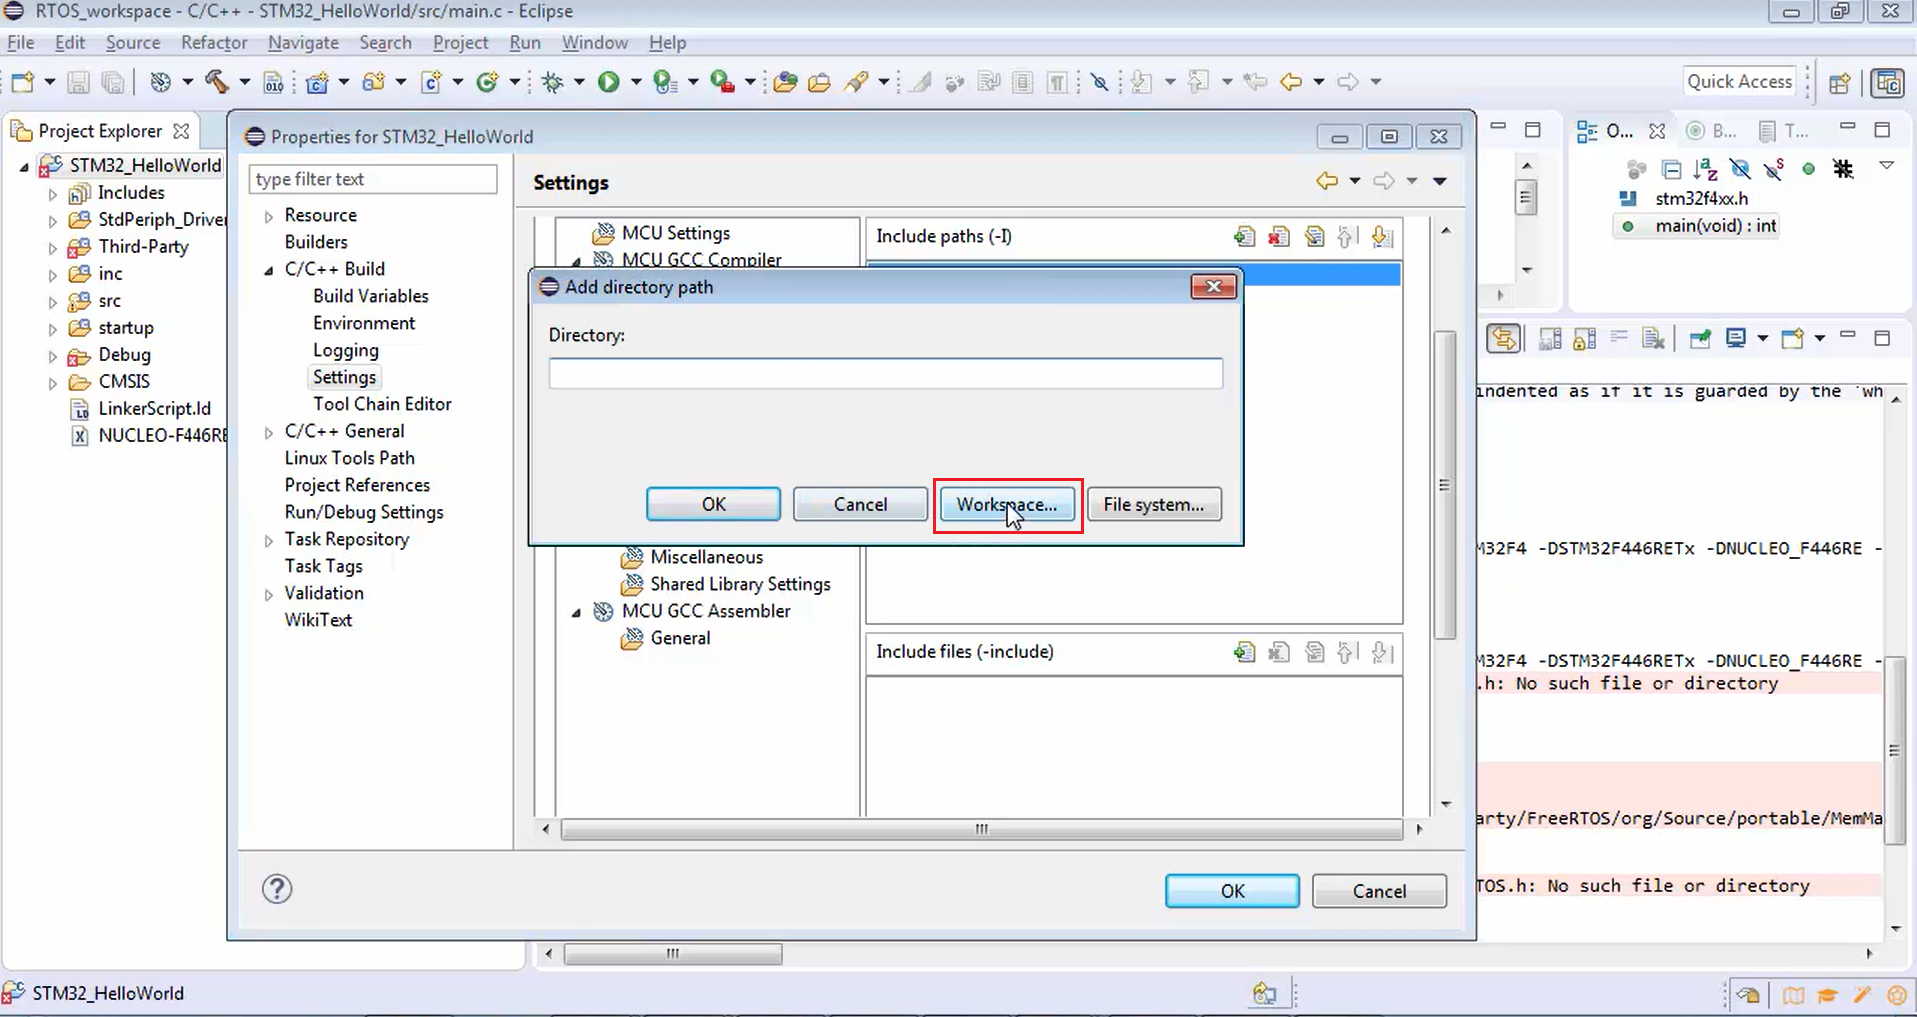
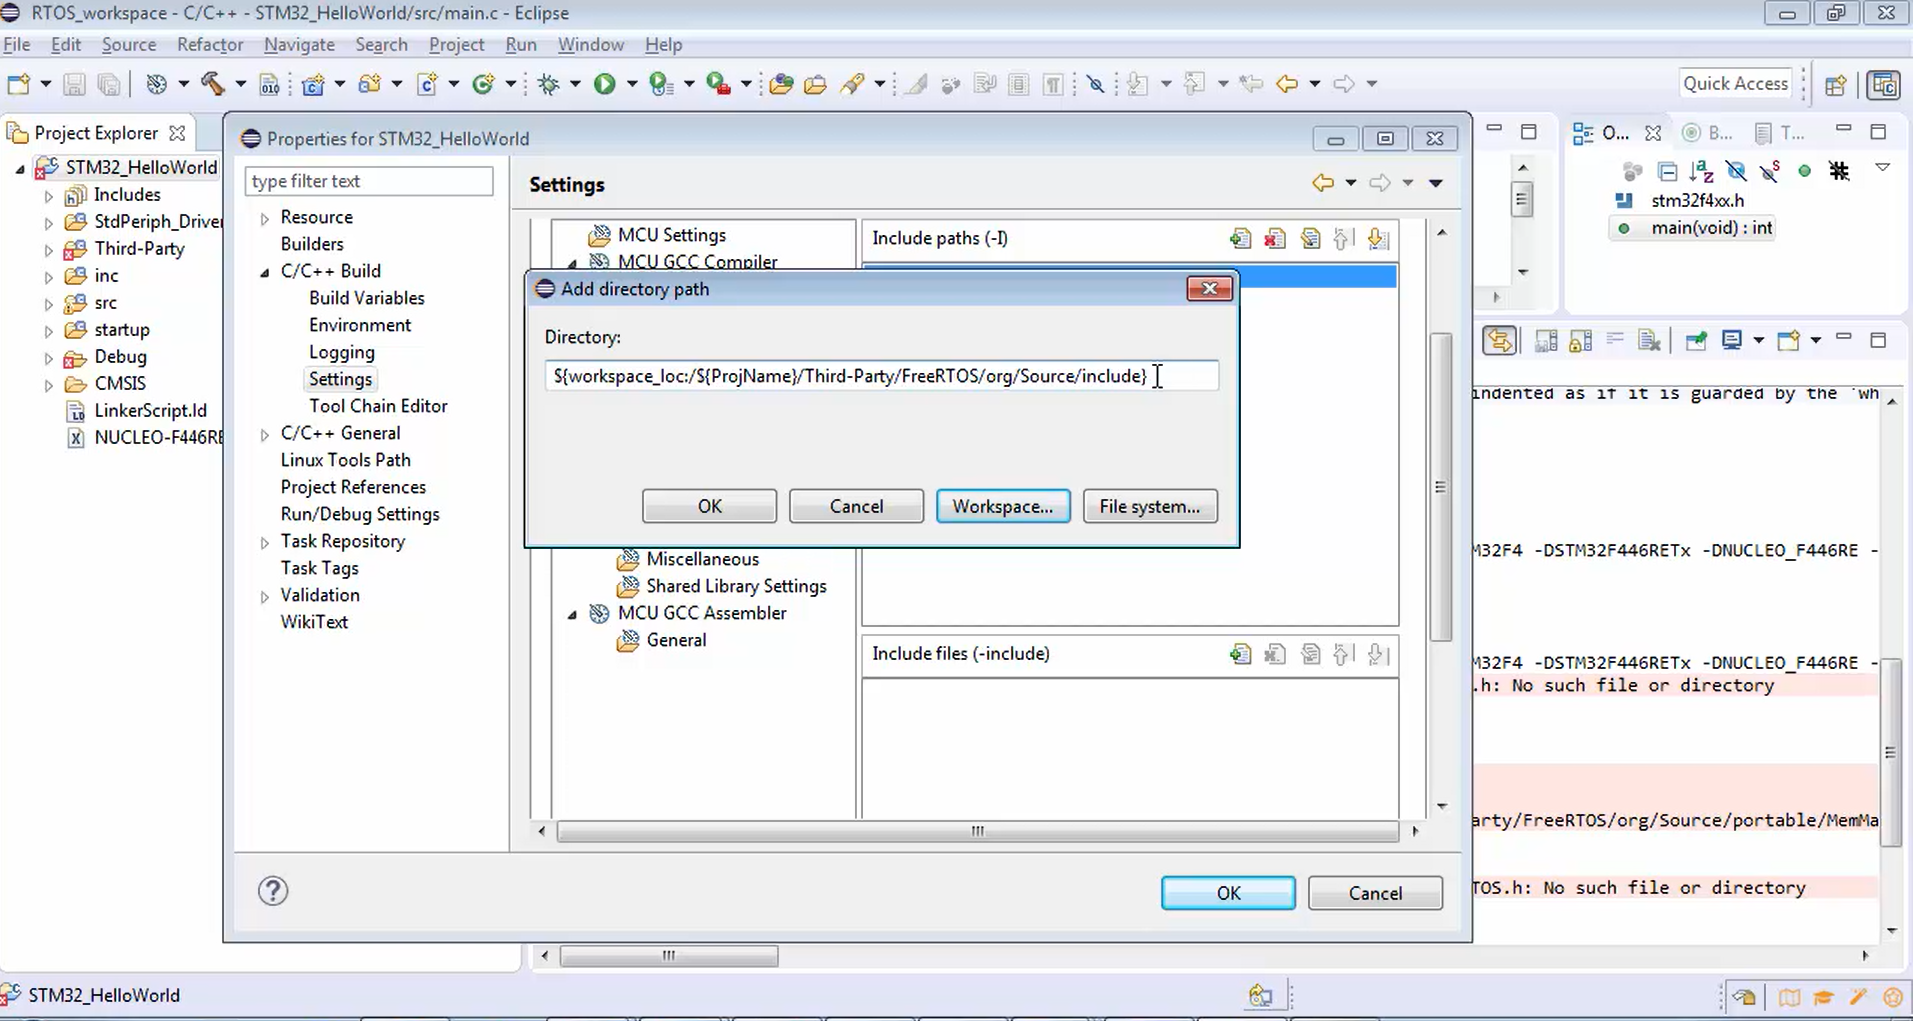
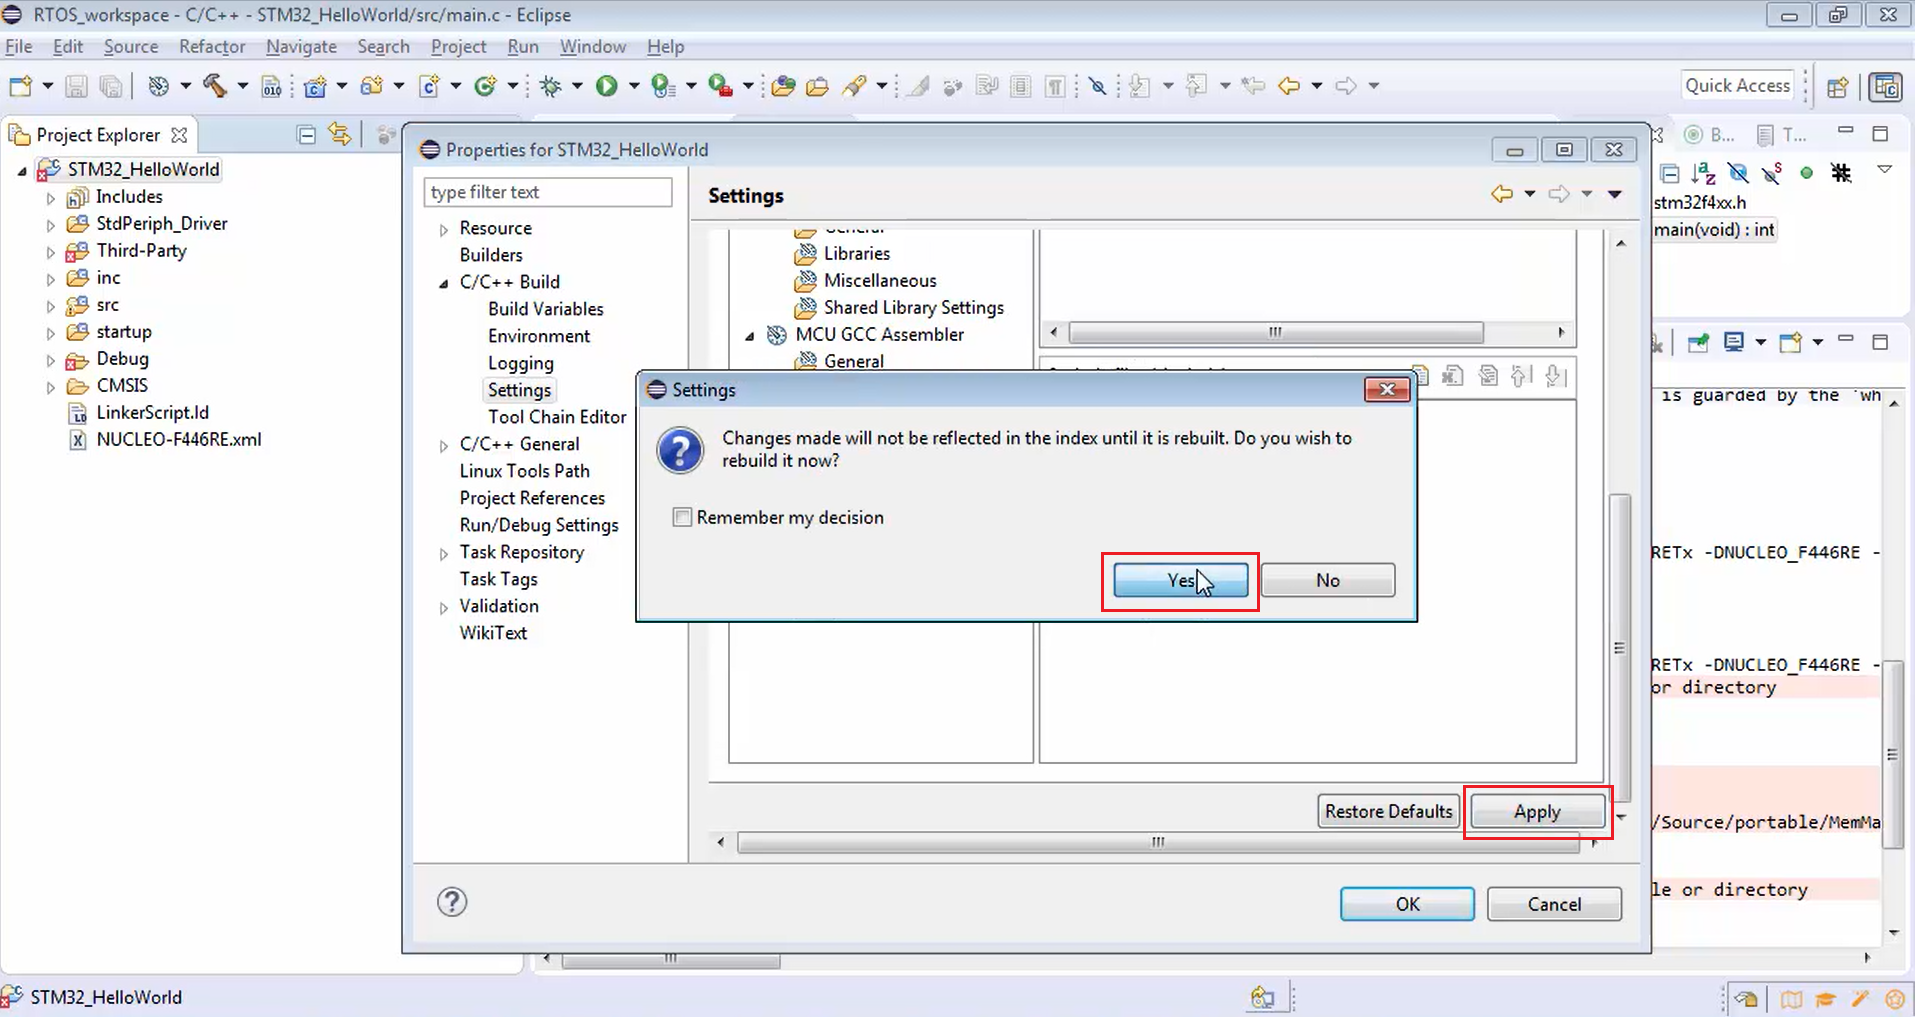
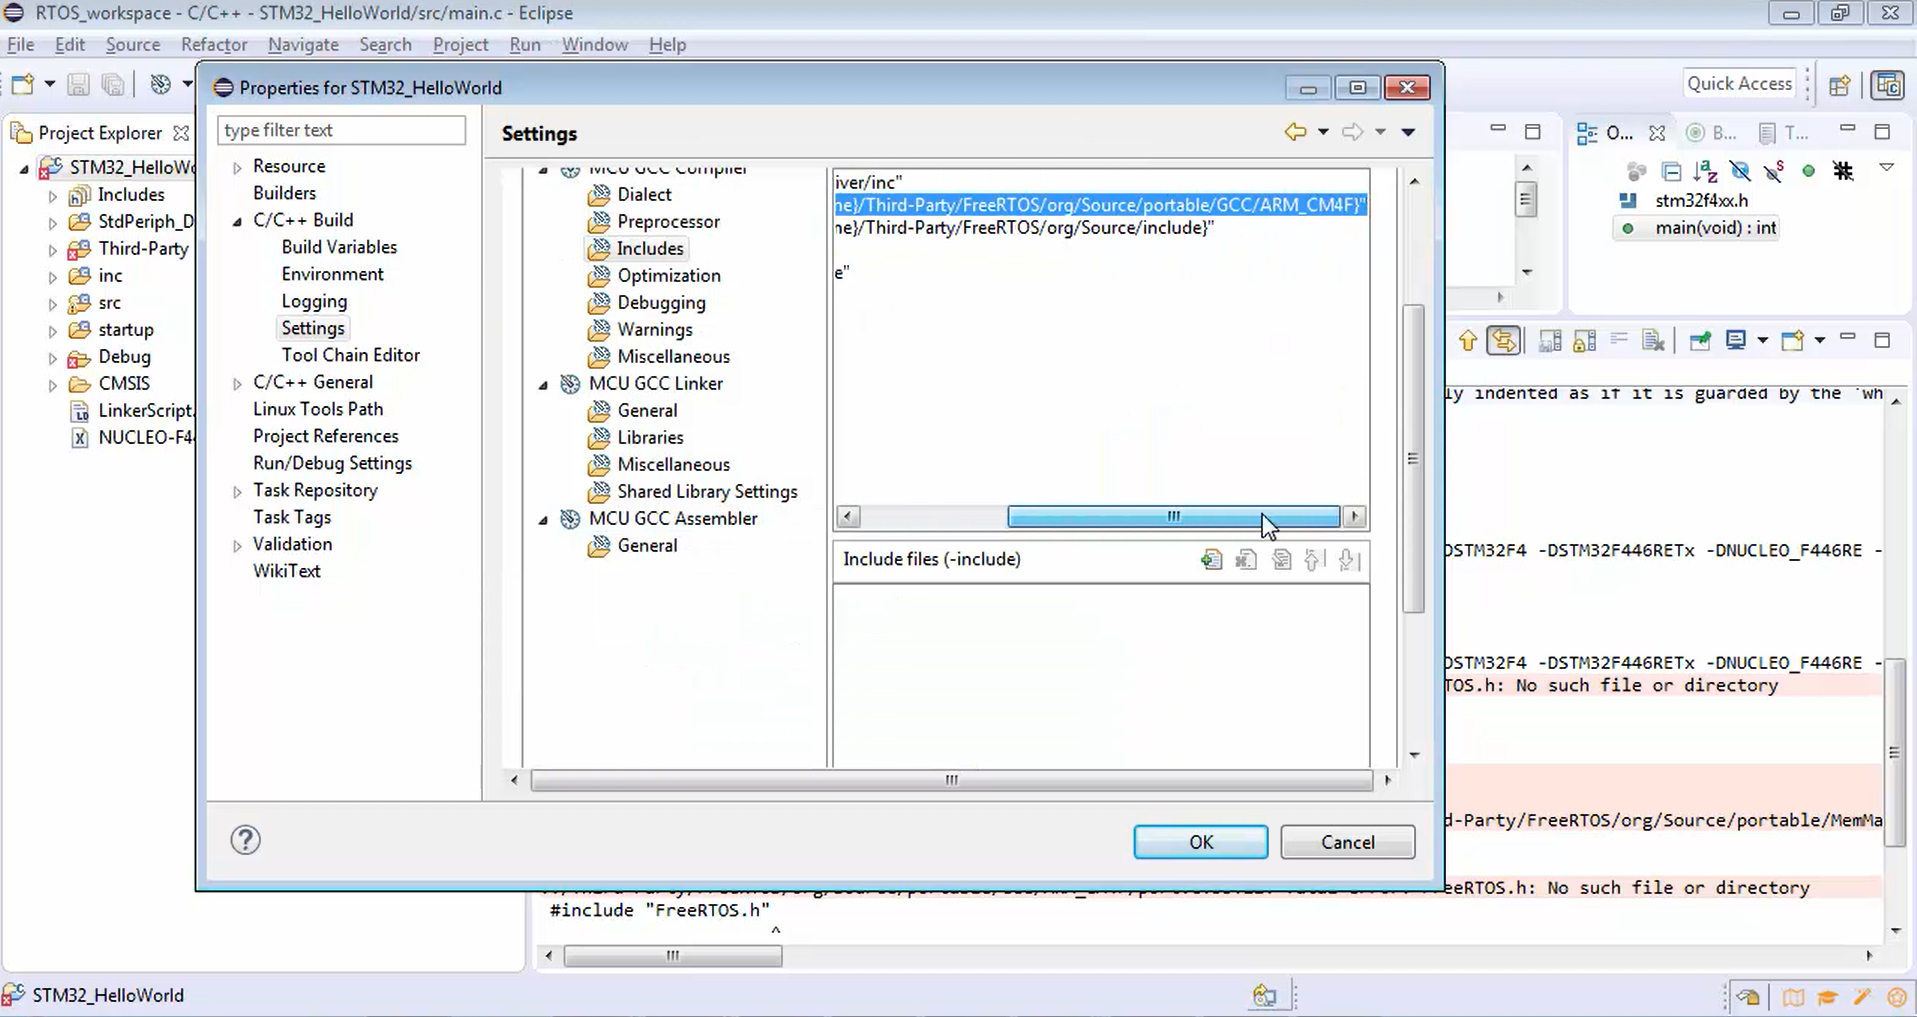
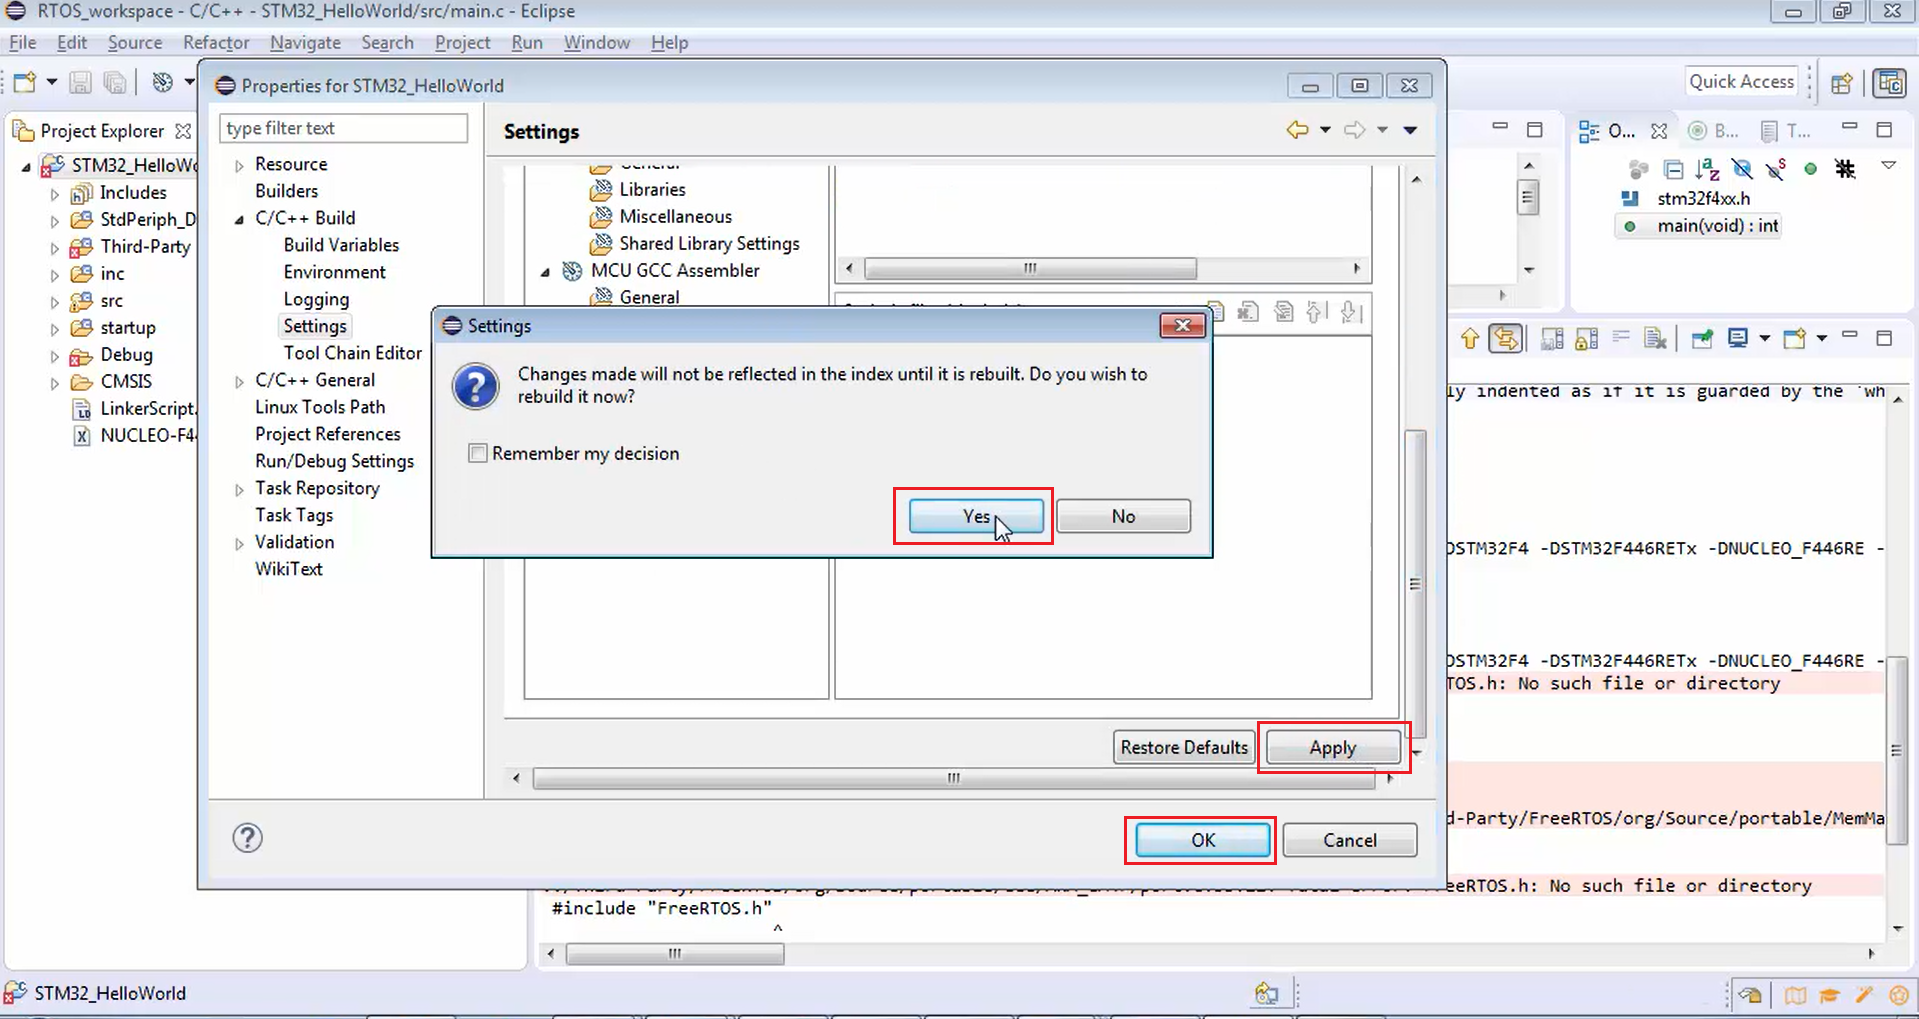
The selected path is added, as shown in Figure 13. Click ok. After that, click apply and then yes (Figure 14).
6. After that, again click add (Figure 10), workspace (Figure 11). Remember that some header files are available in include and also there is one header file in portable. So, let’s explore that. Expand portable, expand GCC, and then ARM_CM4F. There are actually two files in ARM_CM4F. One is a port.c, and another is portmacro.h. That’s why you have to include the path shown in Figure 15 as well.
7. Now you successfully included two paths (Figure 16). After that, click apply and then click yes and ok (Figure 17).
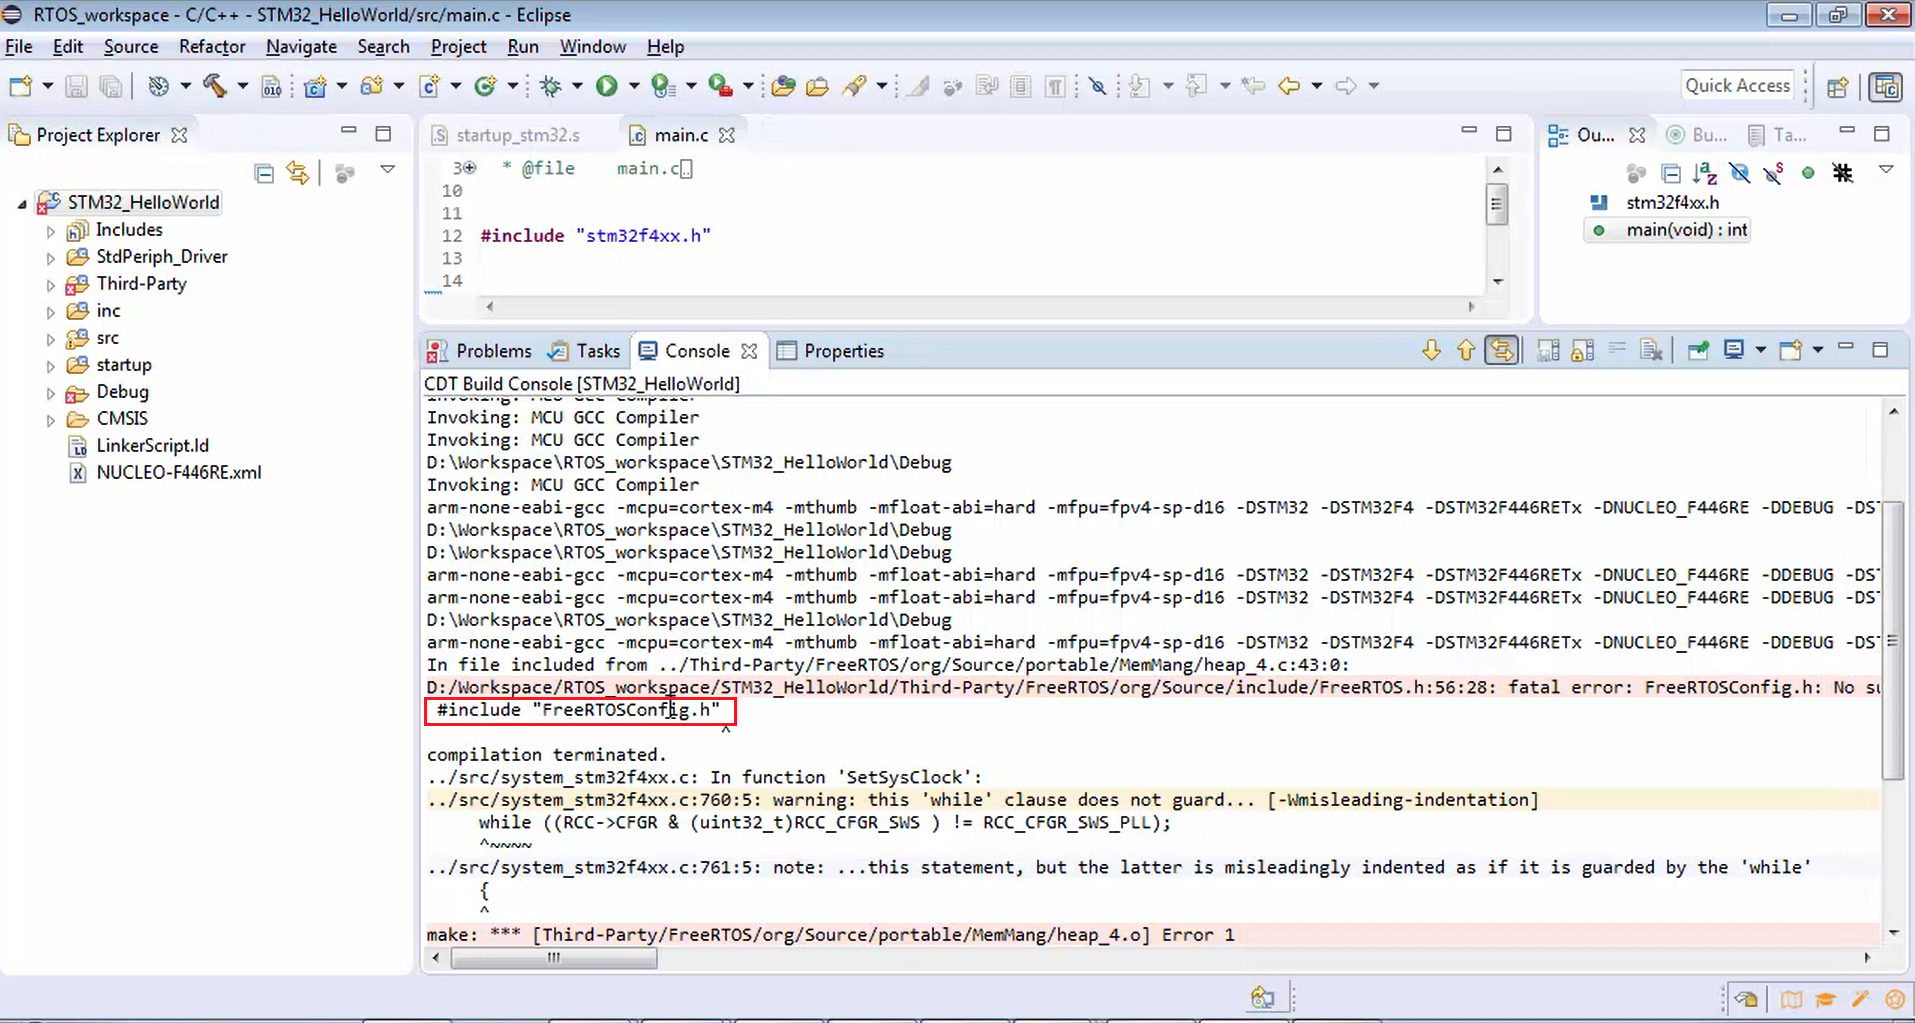
8. Try to build the project again. There is one more error (Figure 18). Now it’s time for us to include FreeRTOSConfig.h.
FastBit Embedded Brain Academy Courses
Click here: https://fastbitlab.com/course1