Exercise to test the interrupt based APIs
Now let’s do one exercise to test the interrupt based APIs.
Exercise:
Write a program for the STM32 board which transmits different messages to the Arduino board over UART communication. For every message the STM32 board sends, the Arduino code will change the case of alphabets (lower case to upper case and vice versa) and sends a message back to the STM32 board. The STM32 board should capture the reply from the Arduino board and display it using semi hosting.
Solution:
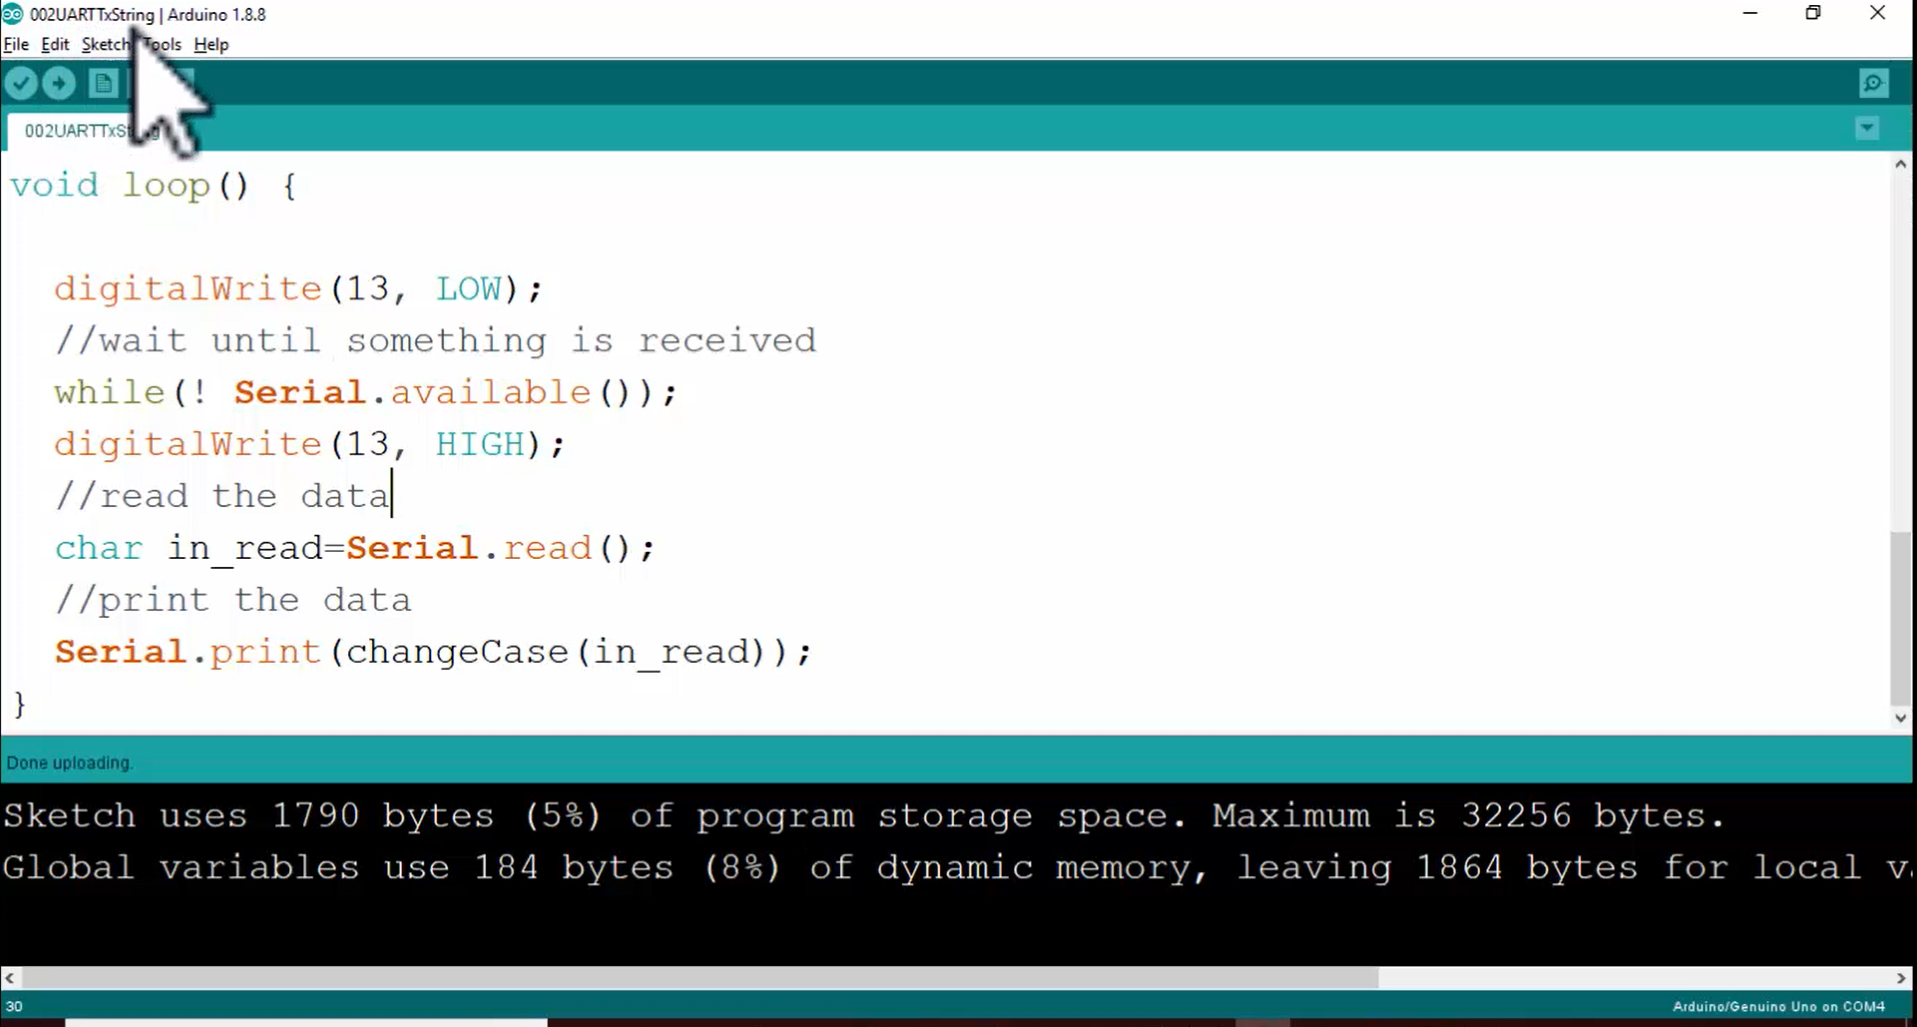
1. For this exercise, you can use the sketch 002UARTTxString shown in Figure 1 on to the Arduino board.
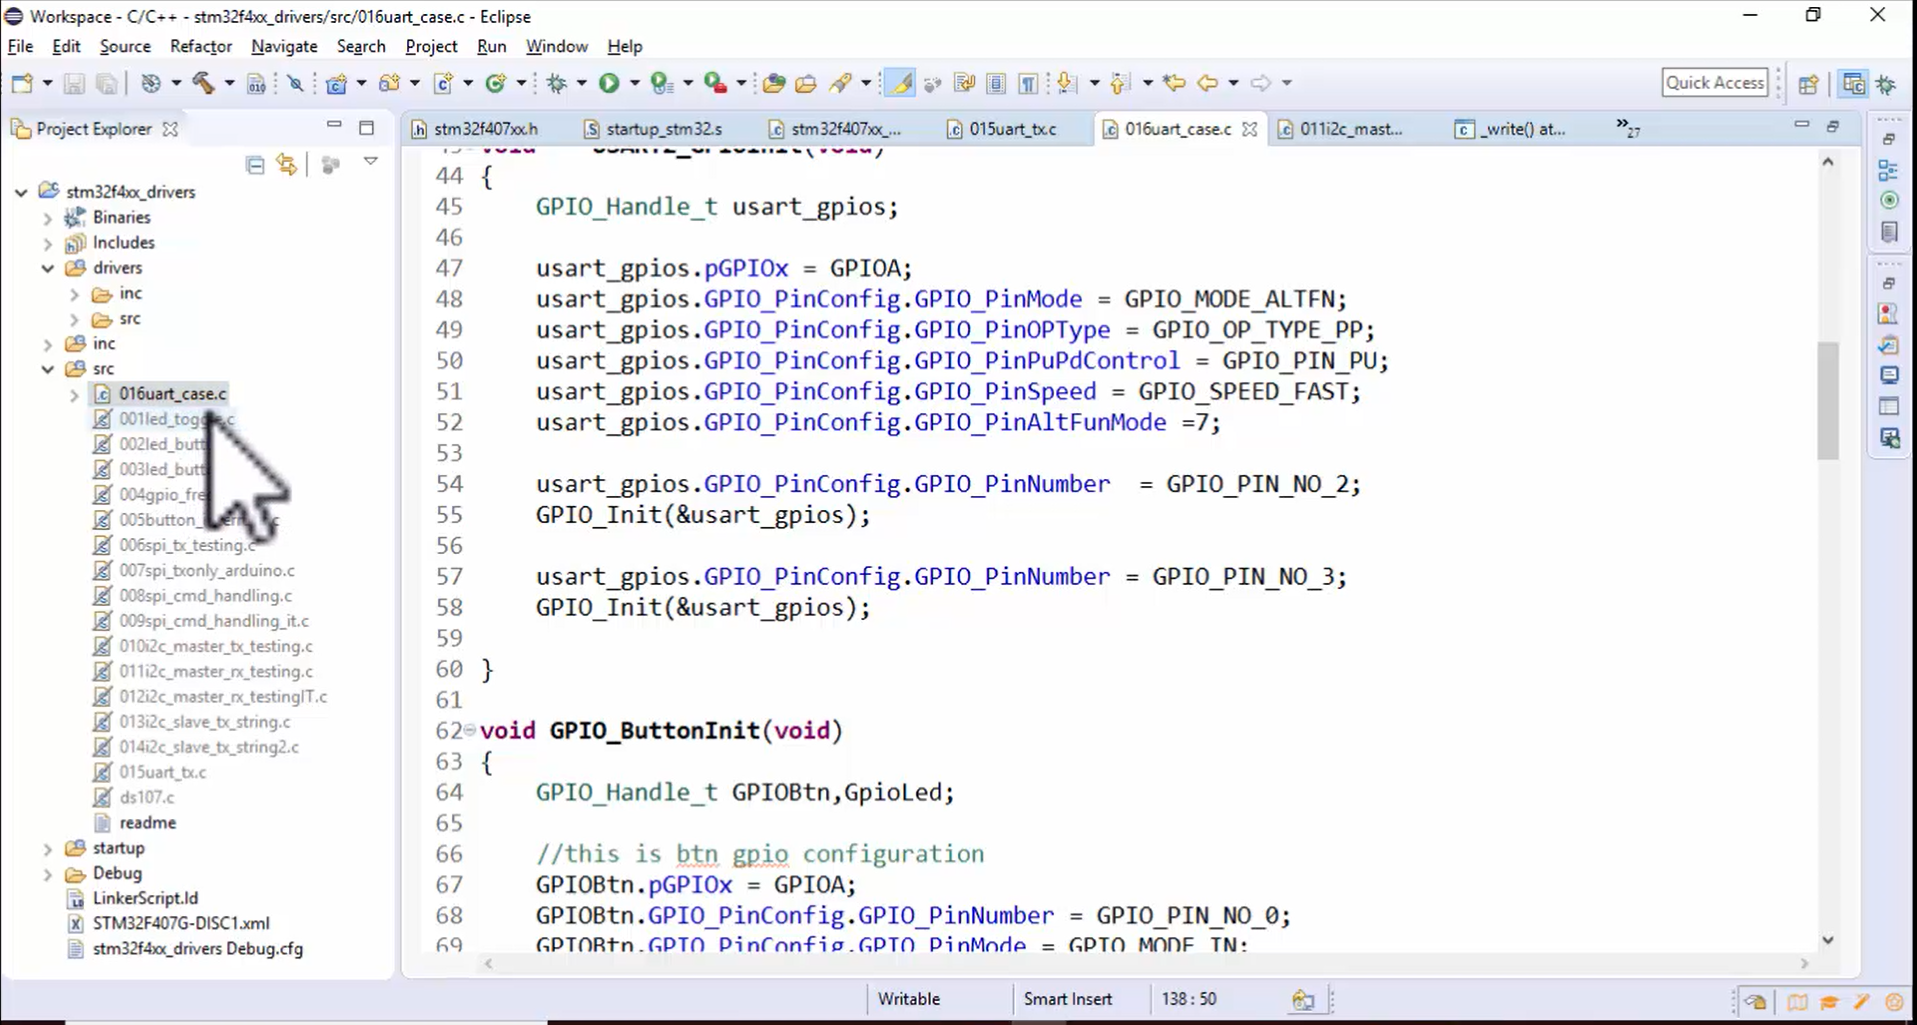
2. Then you should refer to the application named 016uart_case.c shown in Figure 2, which has already been implemented, and the comments for all the lines of this code is also written. Just go through this application if you face issues to write this application.
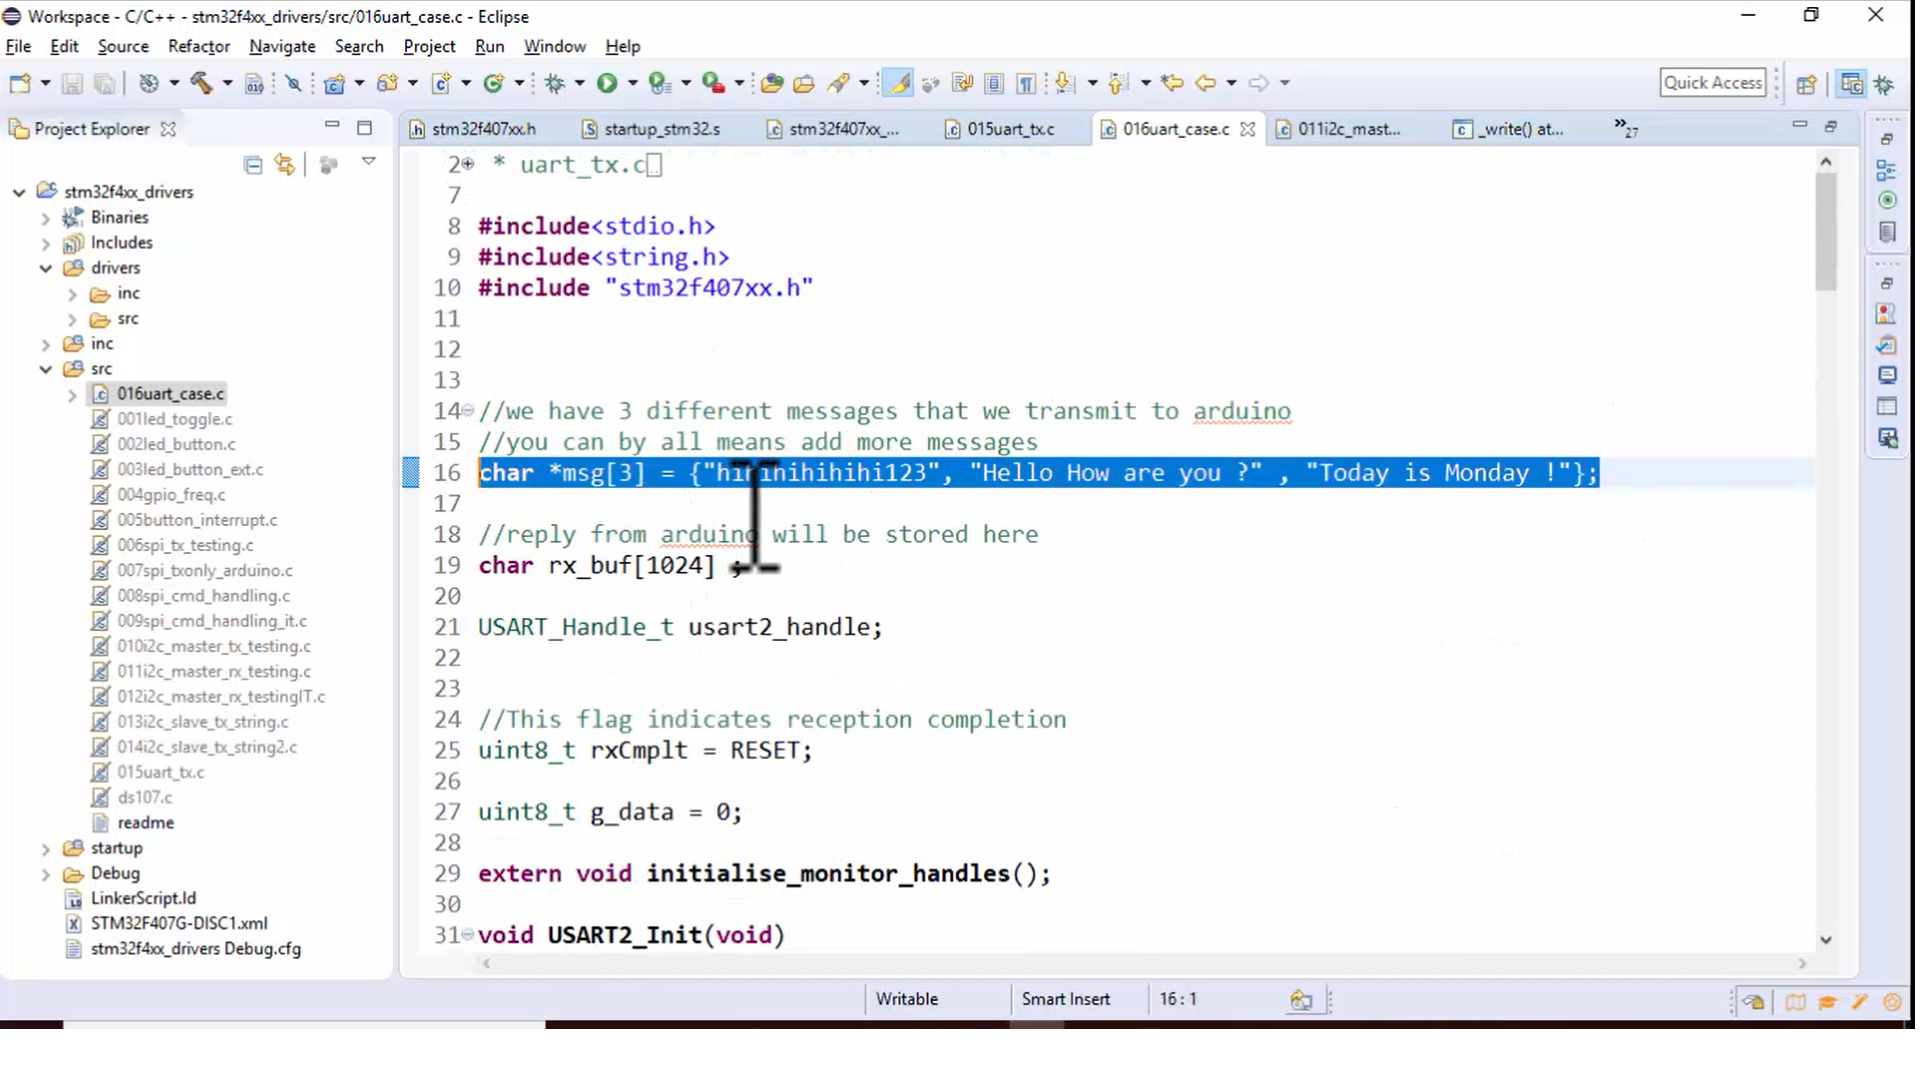
3. At the top of the program, there are a couple of messages in a string array (Figure 3).
Look at Figure 3, you can see that there are three messages, and these messages will be sent to the Arduino board whenever a button is pressed.
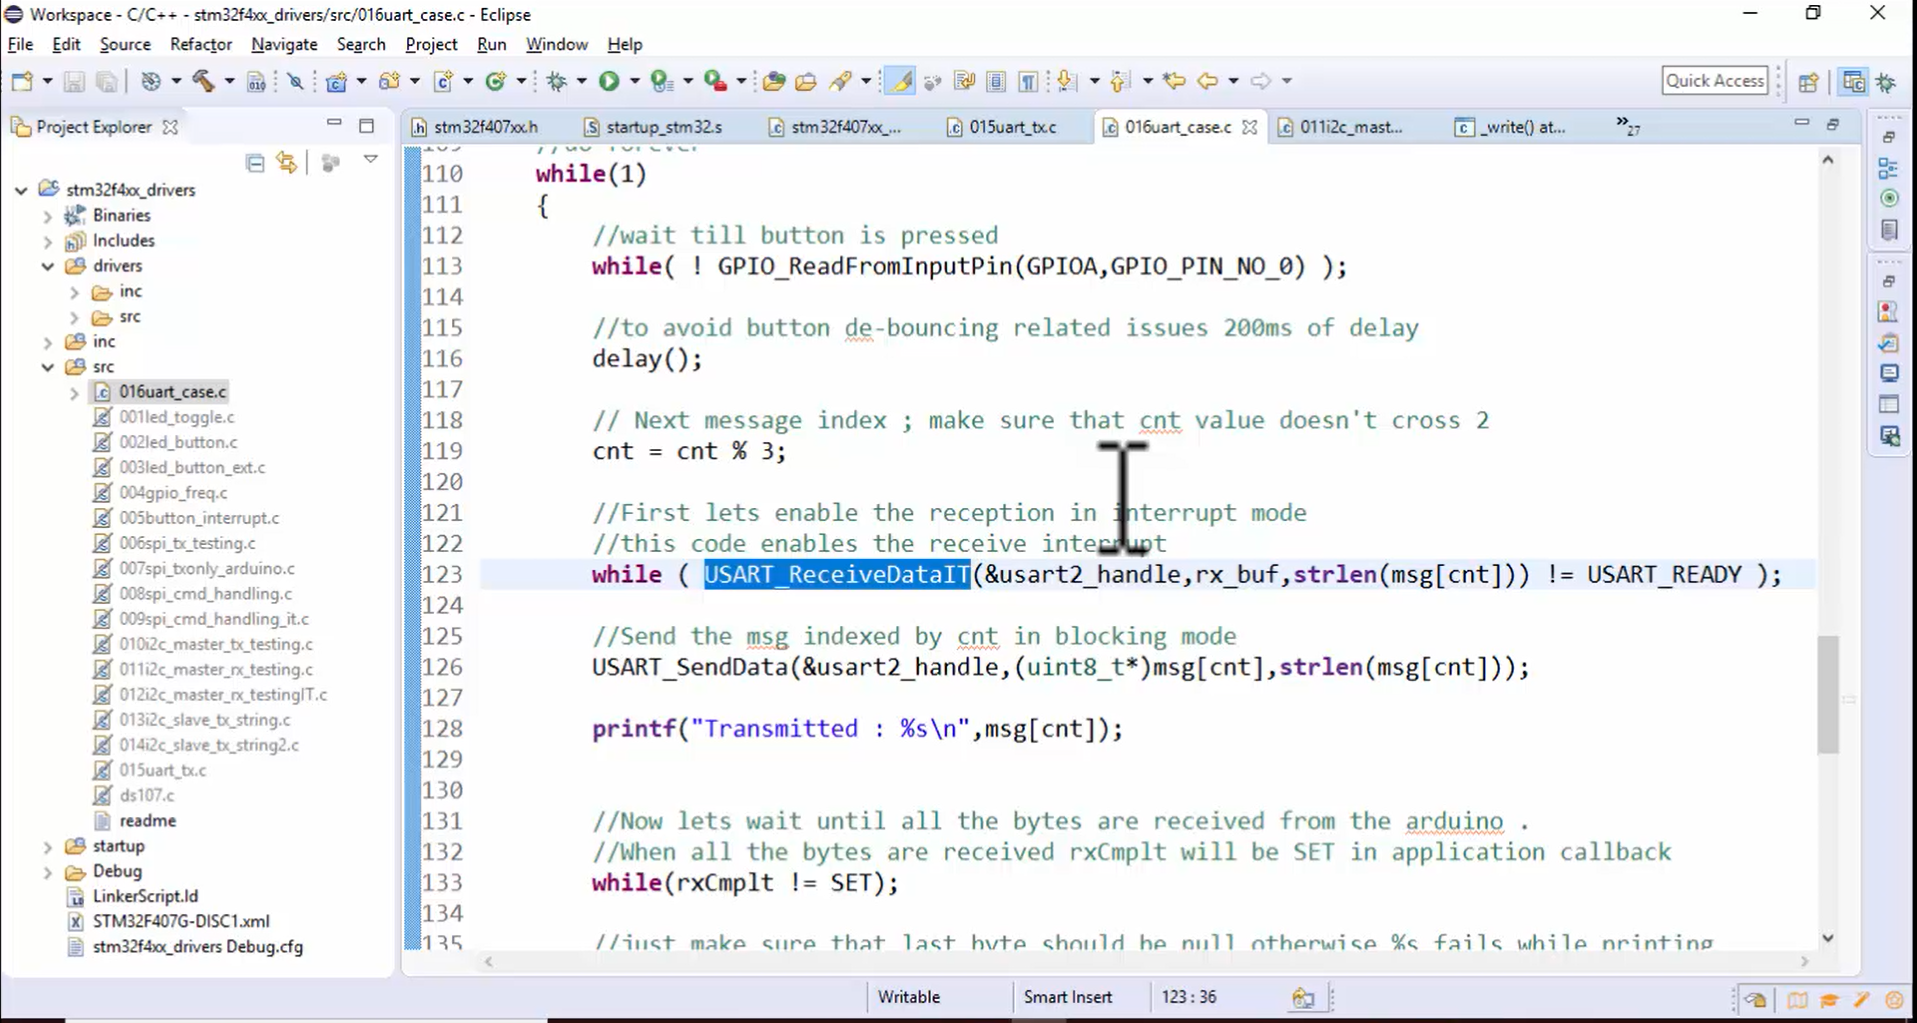
4. The USART_ReceiveDataIT() (Figure 4) is used to receive the reply from the Arduino code. Go through this API, read the comments and understand the code and try to reproduce this.
5. Now let’s test this code. Let’s see the small demo to understand the working of this application. Before that, make sure that all the connections are done properly.
6. Download the sketch shown in Figure 1 to your Arduino board.
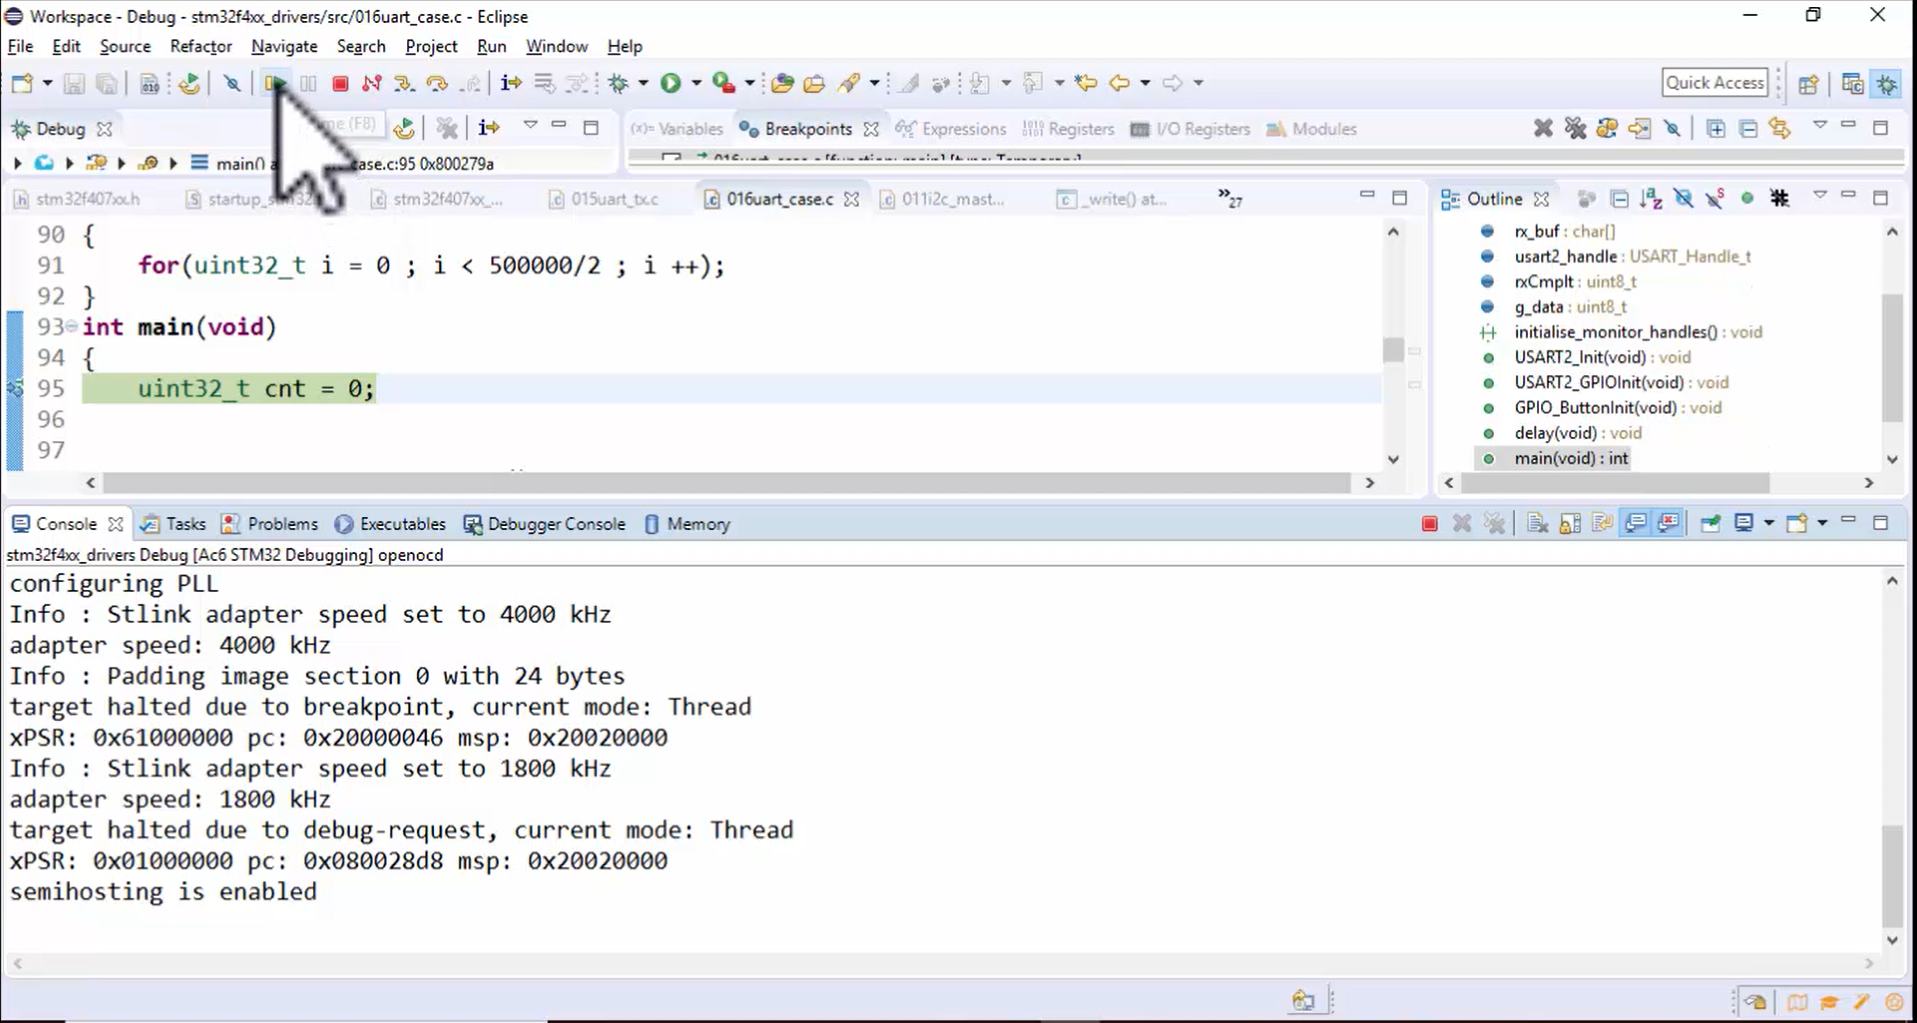
7. After that, you have to go into the debug mode (Figure 5) since you are using a semi hosting technique.
8. Run the application (Figure 6).
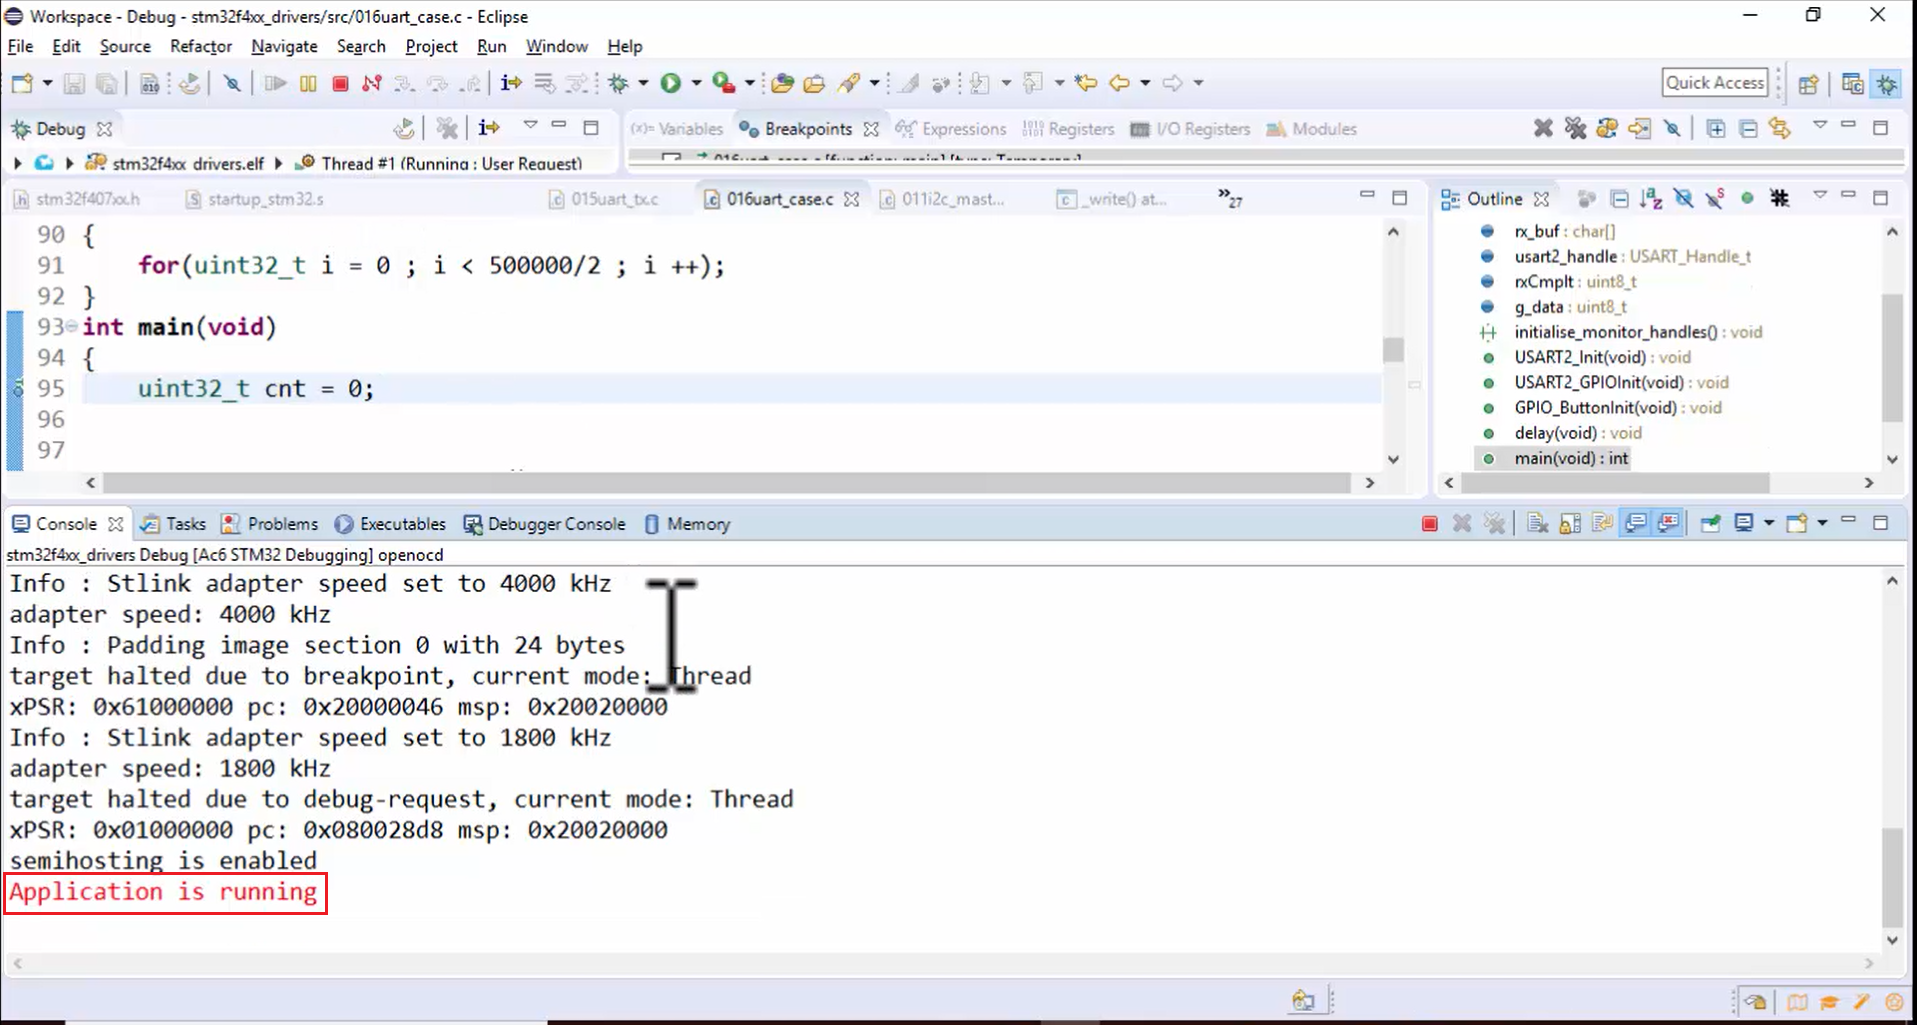
Now you can see that the application is running (Figure 7).
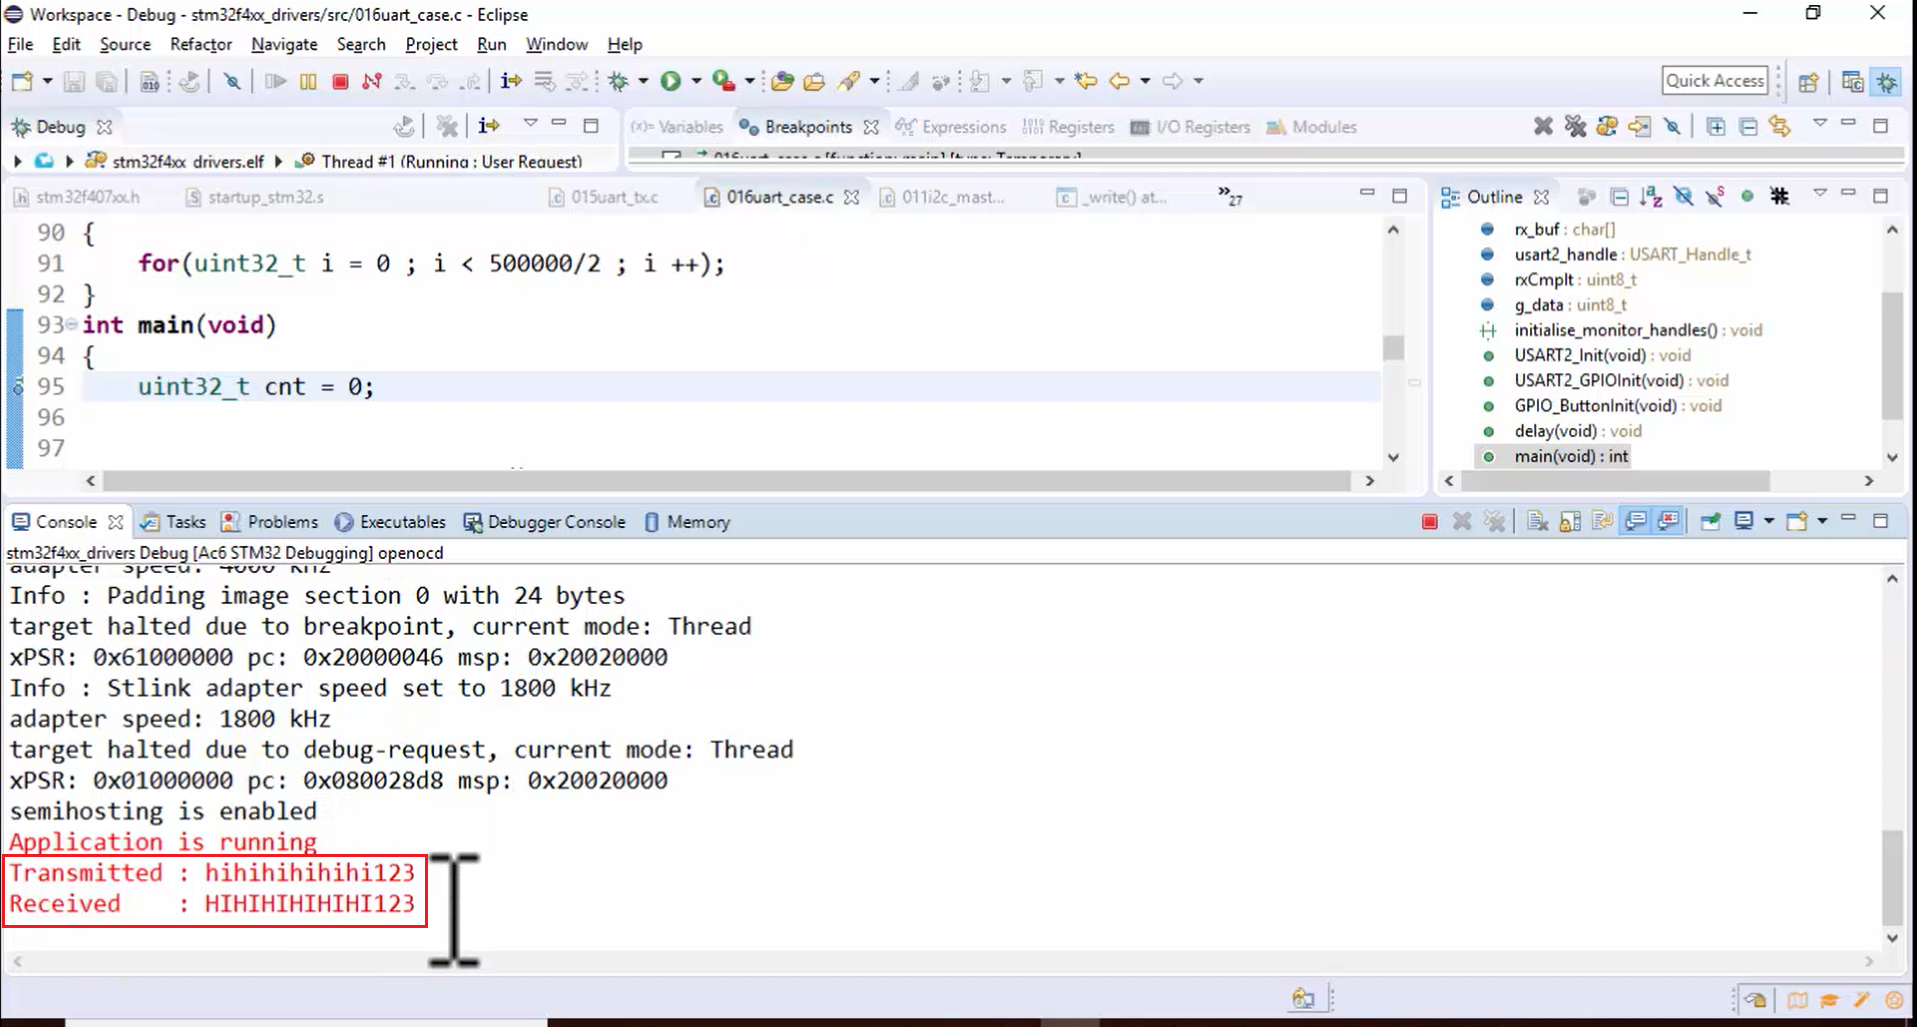
9. Press the user button once.
In Figure 8, you can see that the board has transmitted the very first message of the string array and the Arduino sketch converted each and every alphabet into a different case, and then it returned the message to the board. The board software captures that reply and prints it.
10. If you press the button once again, the next message in the array will be sent (Figure 9).

If you want to test more messages, then you can increase the array size and add more messages. You can use either interrupt-based APIs or blocking APIs. In this application, the interrupt-based API is used for receive, and for transmission, the blocking-based API is used.
FastBit Embedded Brain Academy Courses,
Click here: https://fastbitlab.com/course1