Exercise-007 Implementing CLOCK_SETTING state part-4
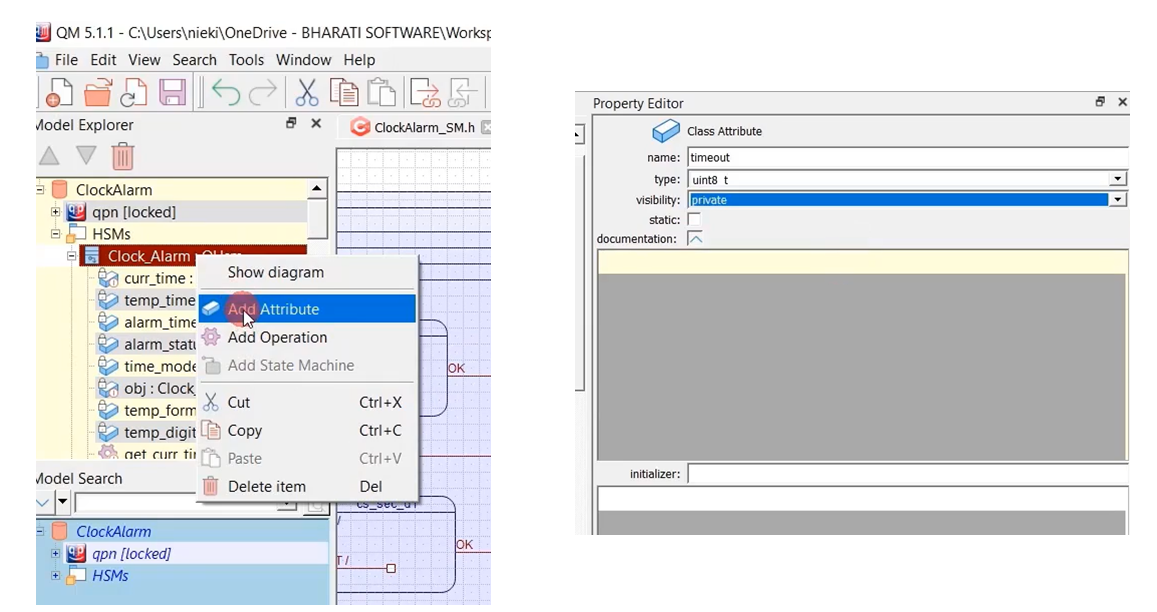
Now, let’s add that timeout attribute. Click on Clock_Alarm, Add attribute. Name it as timeout, type is uint8_t, and visibility is private.
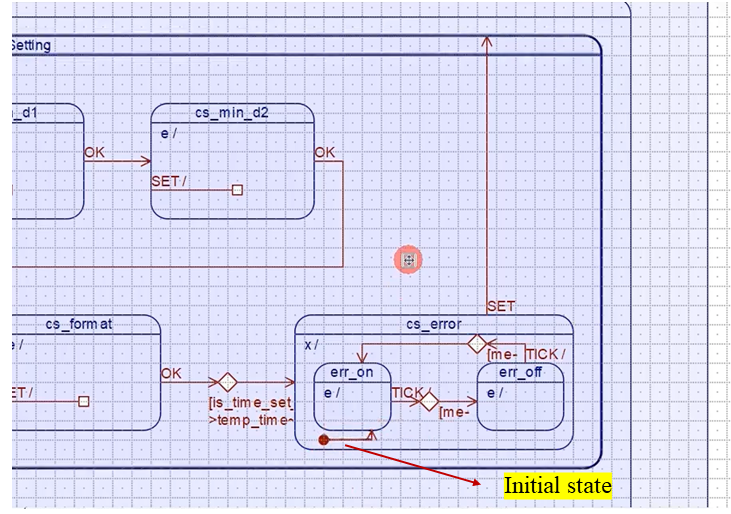
In the cs_error super state, we should also mention the Initial state. Let’s draw that. That is our initial state, as shown in Figure 2.
Let’s generate the code and test this on the hardware.
Let’s enter some values here. I’ll make time as 26:10:51 PM. Now, let me press OK here. And you see, it’s an error because the hour field is 26. That’s an error (Figure 3). And the “Error” message is blinking every 500 milliseconds.
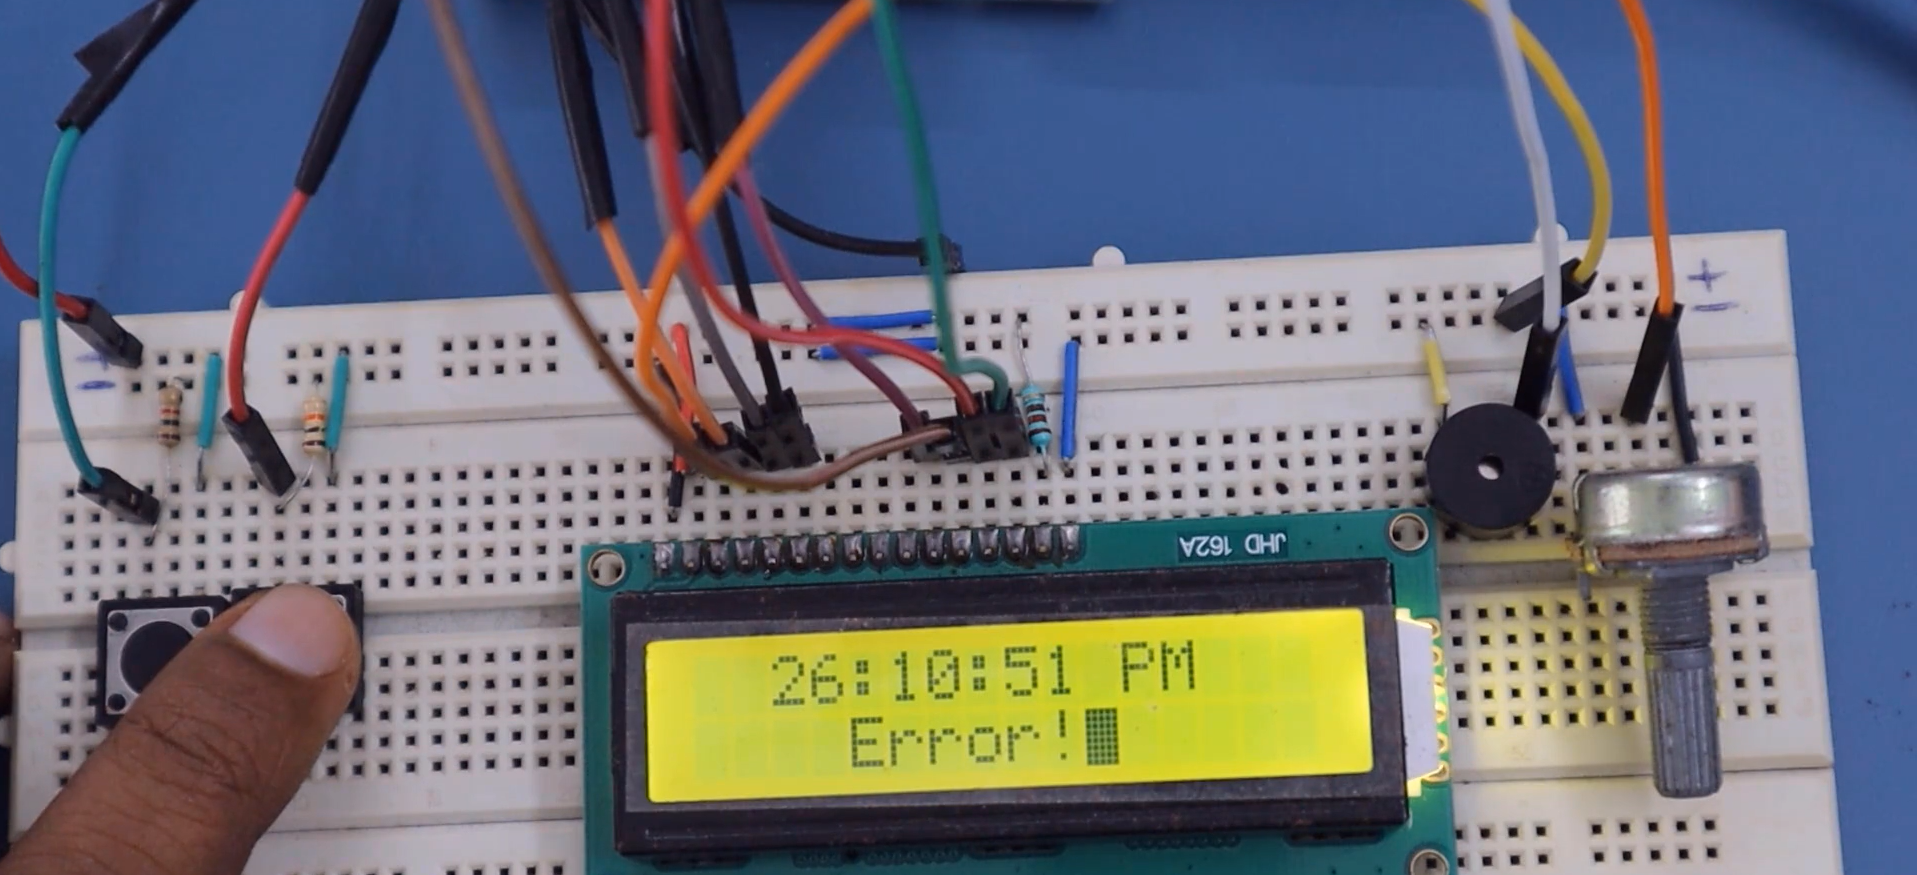
And in the Error state, ‘OK’ should not be handled.
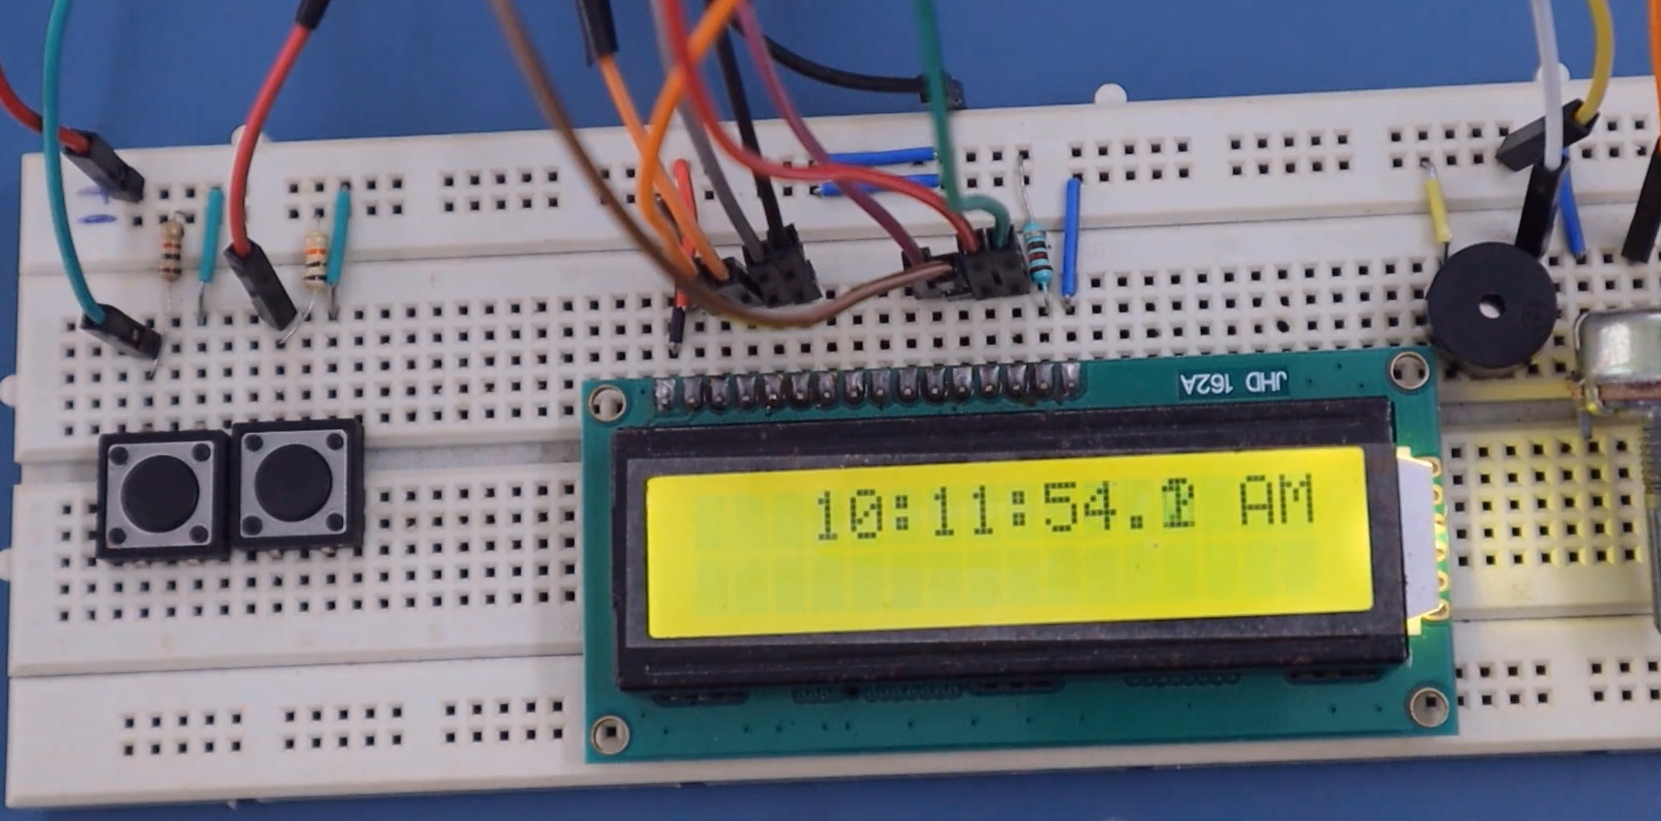
Let’s try once again. Let me make it as 20:12:02 AM. So, that’s an error. That’s not a correct setting. So, this is an error.
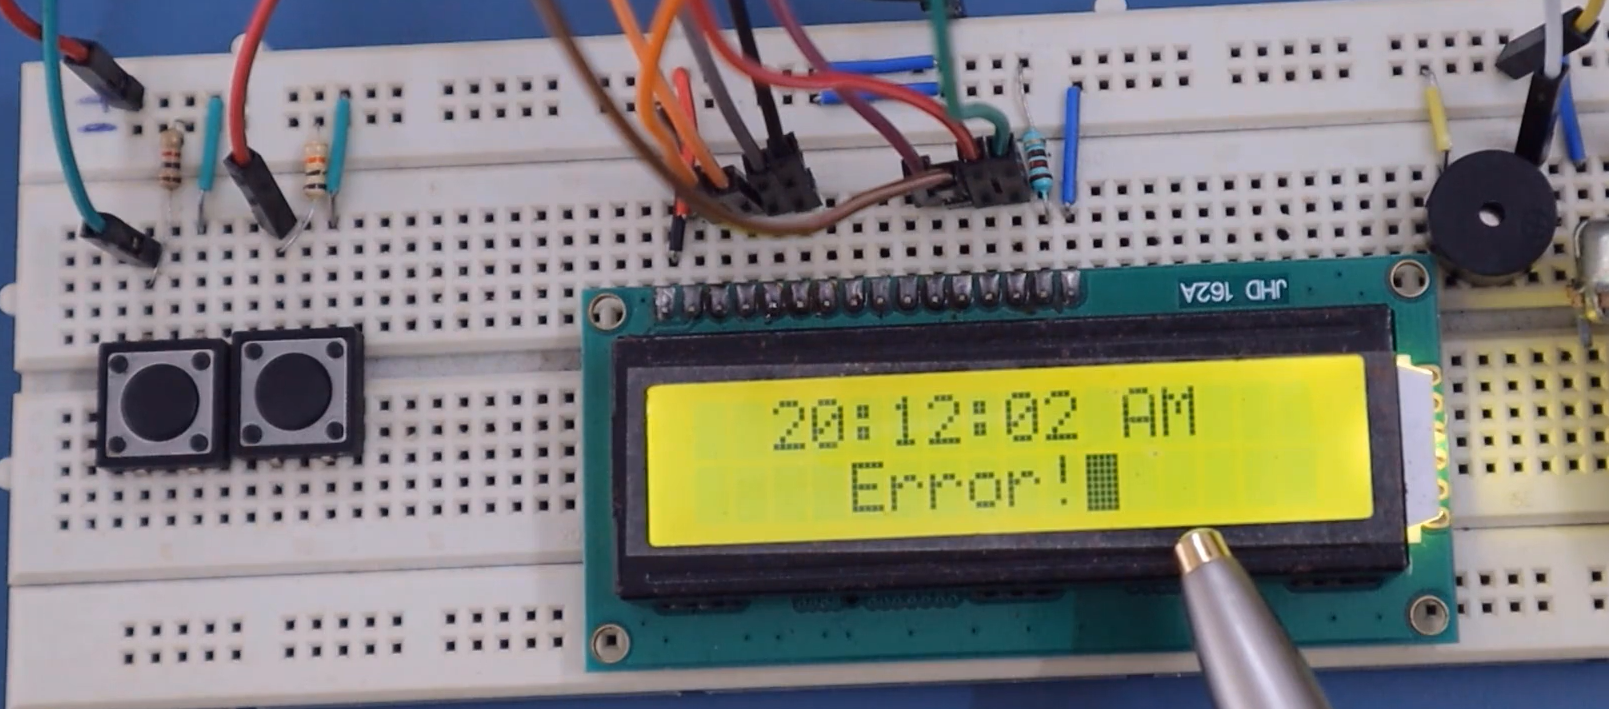
Now it is in the Error state, let’s press SET here. Let’s see what happens. It should start from the beginning.
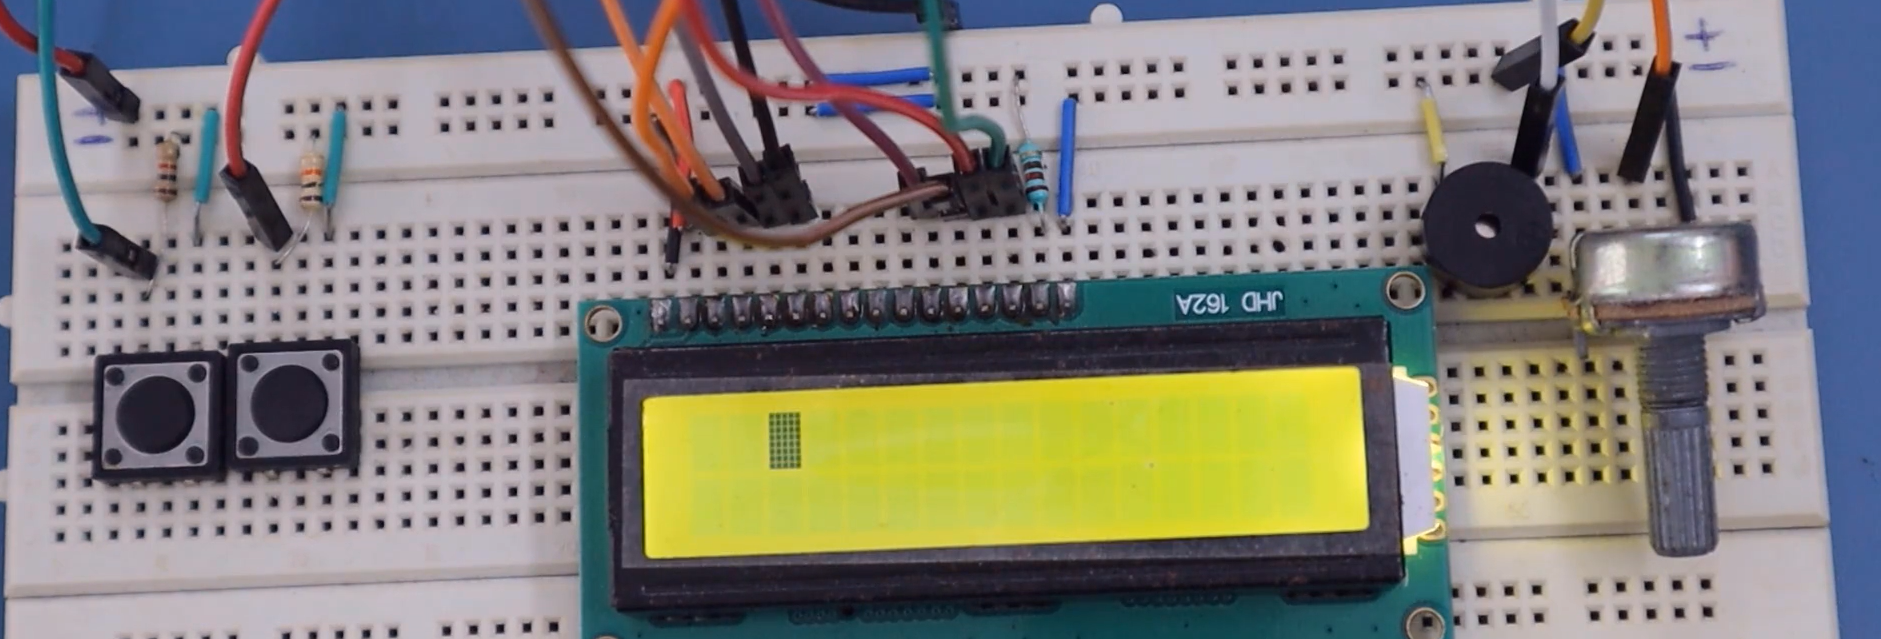
Let me press SET. There is a problem. We can see that it should start from the beginning, but it’s not happening. There is some problem. We will debug this issue.
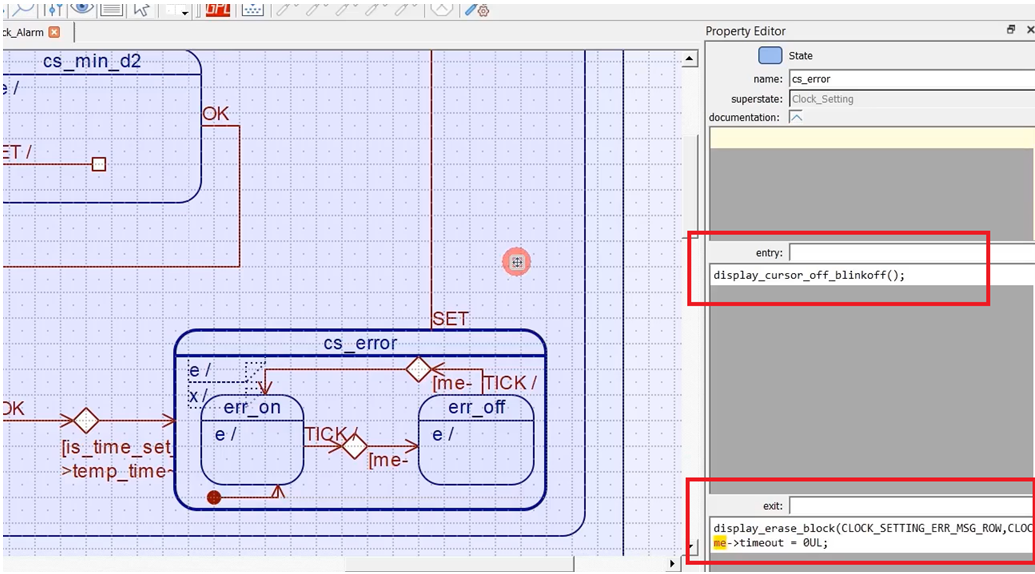
First of all, when we enter the cs_error state, we’ll do one thing in the entry action. Let me get that function display_cursor_off_blinkoff. Let’s turn the blink off.
The exit action for this state is not display_clear. You should not clear the display; you should only clear that error segment. I mean, you should only clear that message “Error.” So, I will use display_erase_block, which I used in the err_off state. I will copy this code, and I will use that code as the exit action of the cs_error state instead of display_clear, as shown in Figure 7.
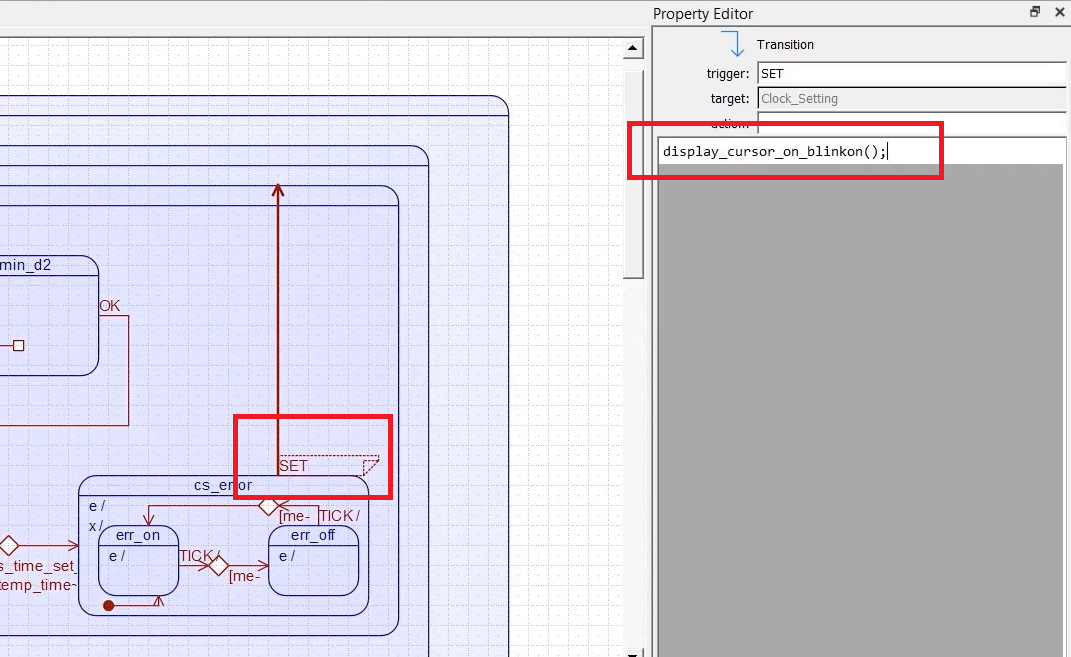
Whenever you press SET, it starts from cs_hour_d1 state. It doesn’t execute the entry action. The entry action of this is cursor_on_blinkon; this will not be executed. So, it starts from here (cs_hour_d1). That’s why we should turn the cursor_on_blinkon. Let’s do that here in the SET.
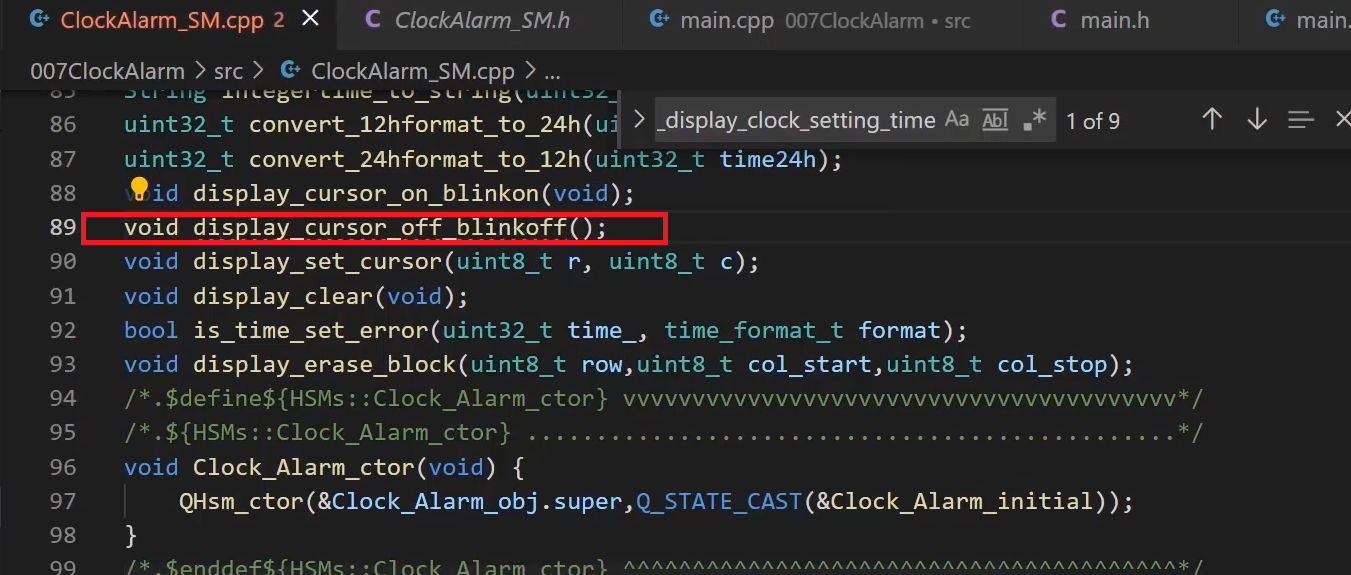
Now, let’s test this. Let’s generate the code. Let’s compile this project. There is some problem. I have not given the prototype of that; let’s add that prototype dispaly_cursor_off_blinkoff.
Let’s compile. It’s fine. Now, let’s download. Let’s test this.
First, let’s get into the Clock setting mode; I’ll make time as 25:10:14 AM. Now, it is in the format selection. In the format selection, I will press OK, and you see now it says “Error!”.
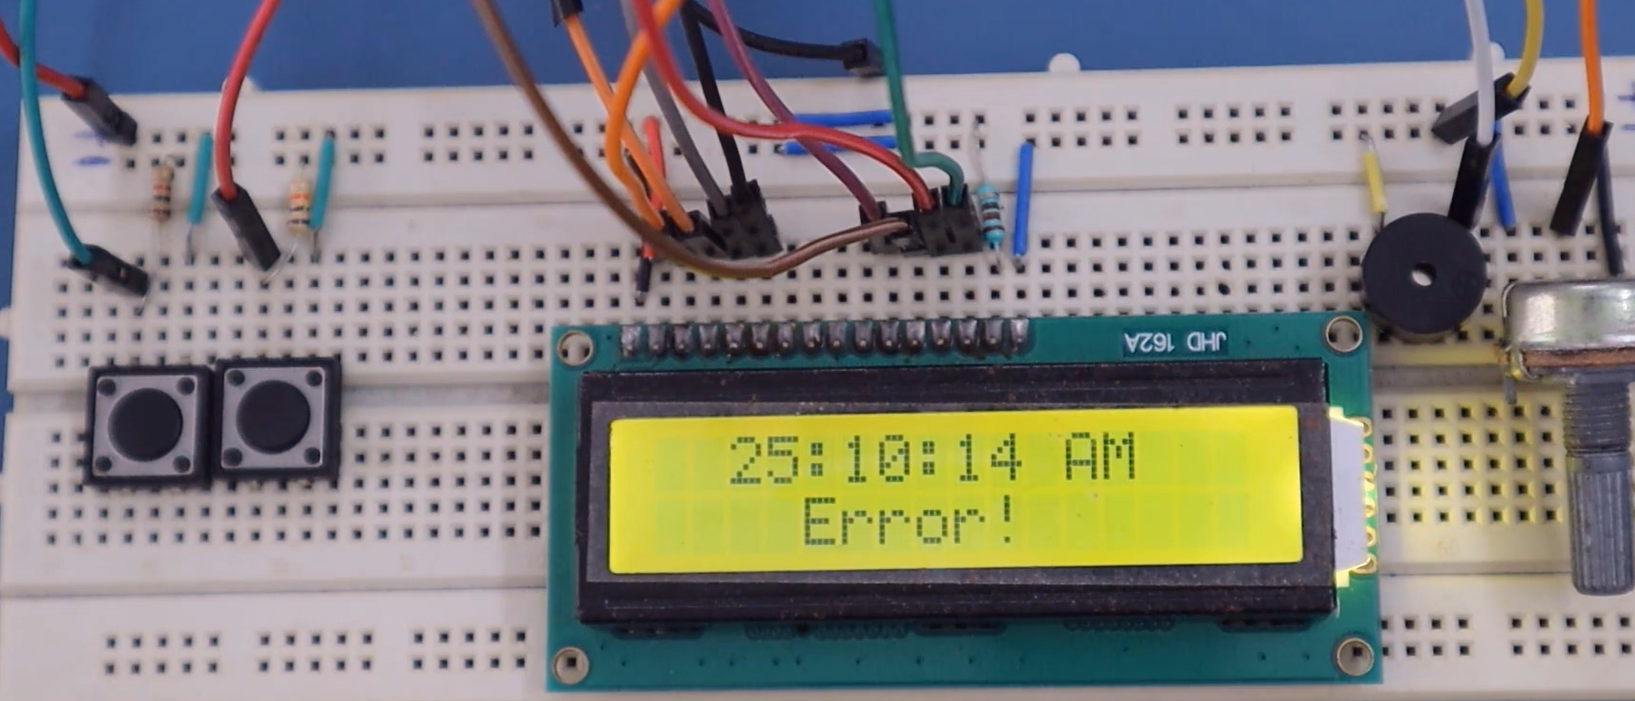
And now, let me press SET; it takes me back to the setting.
Now I’ll change time to 20:10:14 AM, which is again an error. Let me press OK. That is also an Error.
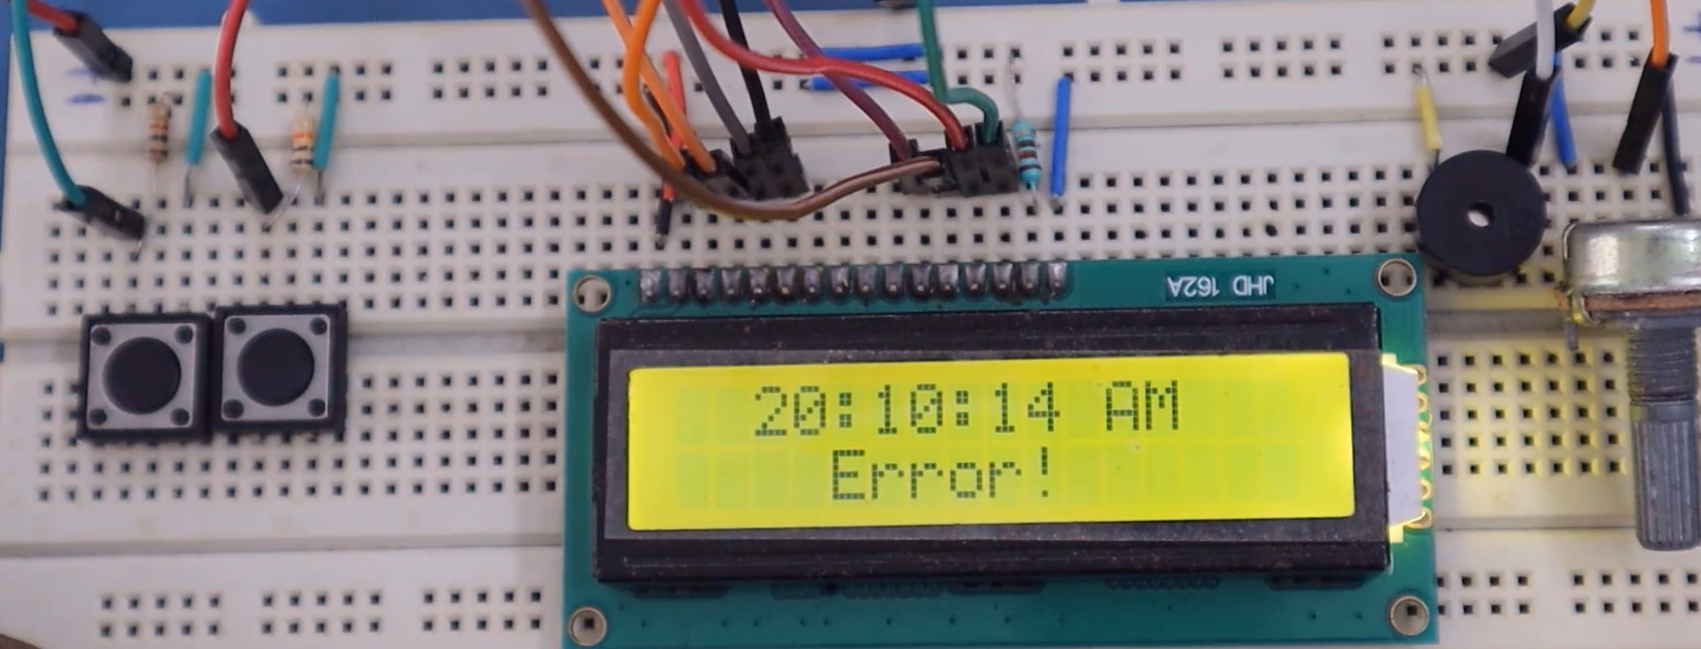
Now let me change this to 24H, press the OK button. That is correct. (as shown in Figure 12)

Let’s go again to the clock setting; let me make time as 10 PM. That is the correct setting.
Let me make time as 10:11:23; the format is 24H, which is also the correct setting.
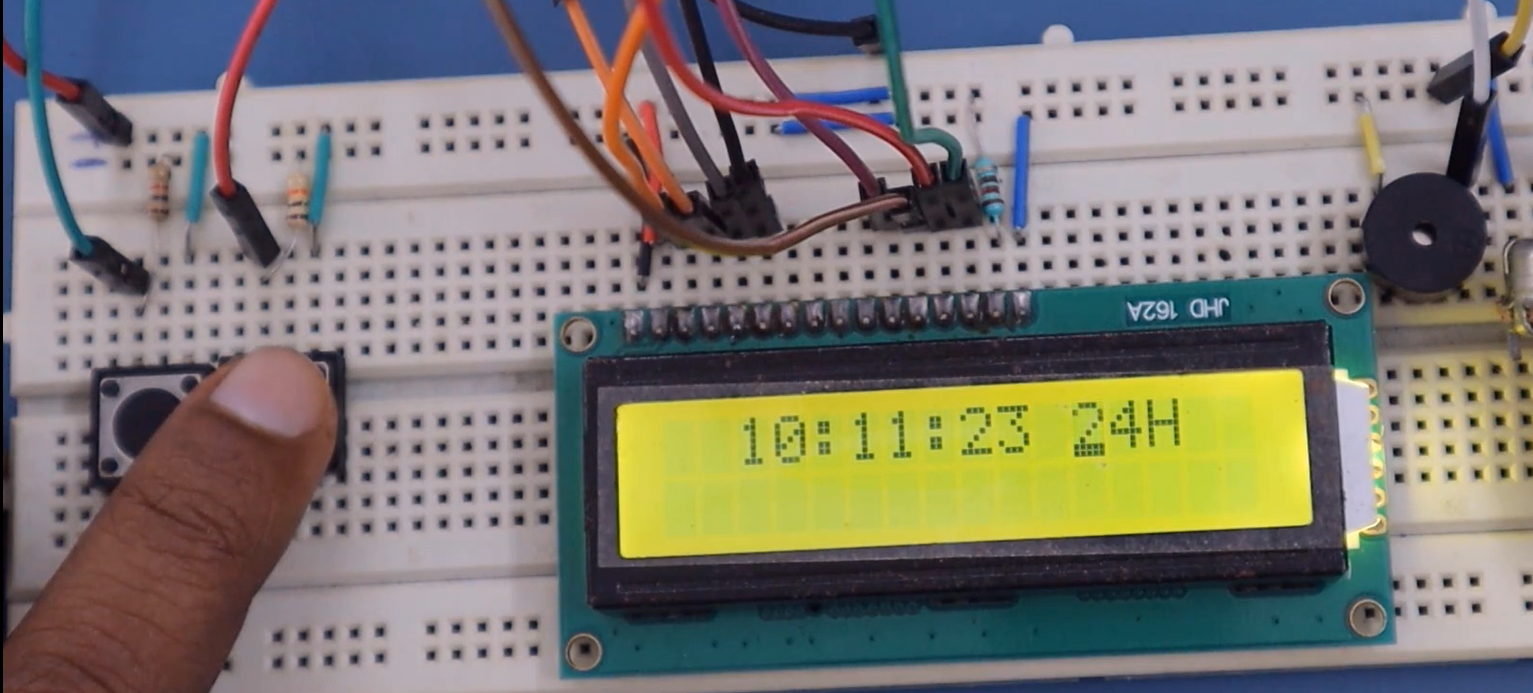
You can Abort it any time. Let me make time as 00:00:00, press the OK button. That’s an error.

I consider it an “Error” because AM and PM information should not be mentioned when it is in 24-hour format. So, the user has to set this to 24 hour. This is the correct setting.
And also, please note that whenever we are in an error state, ‘OK’ should be handled, but it should be ignored. That’s why we will draw ‘OK’ as the internal transition for the error state.
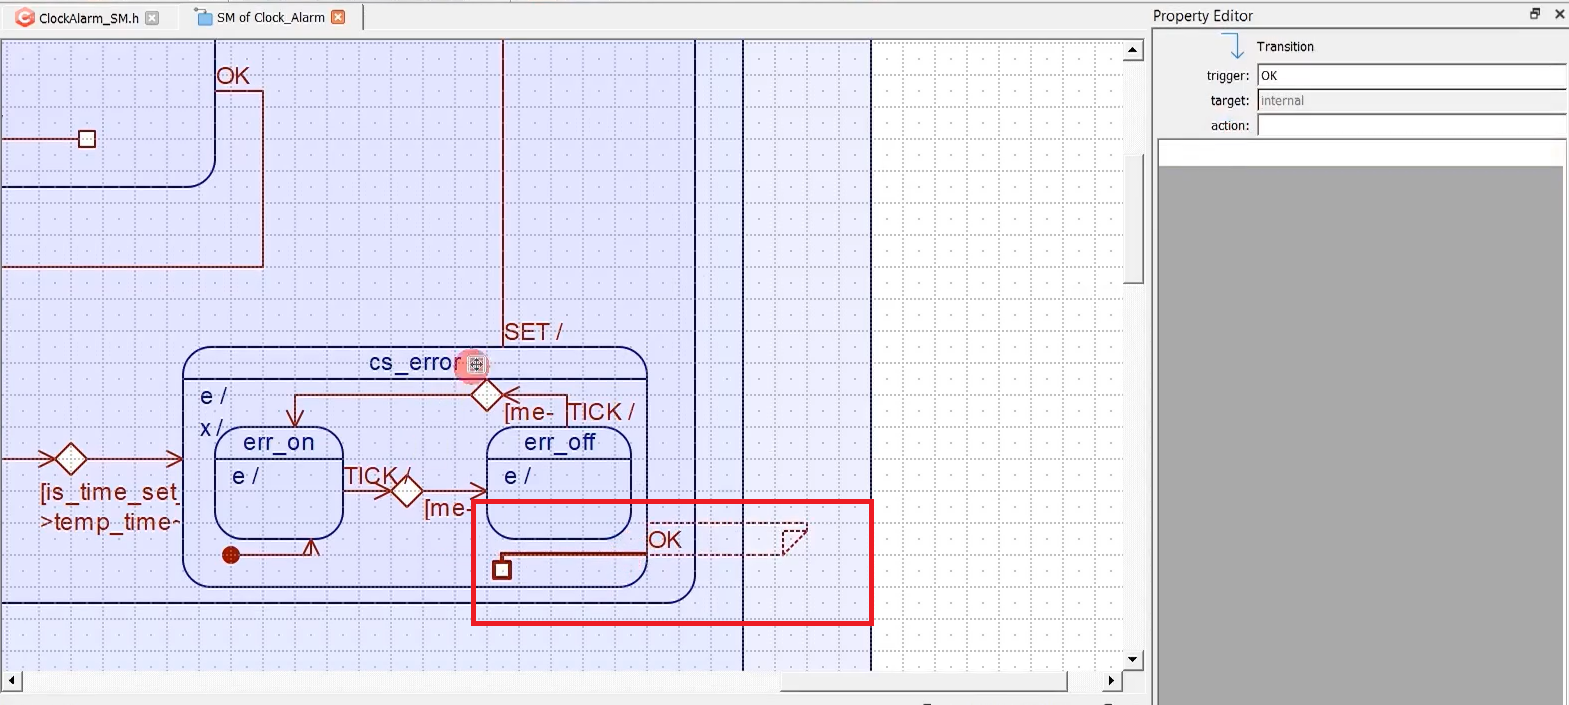
I’ll draw like this. This is OK, as shown in Figure 15. It is handled, but there’s no action mentioned. That means it’s like ‘OK’ is ignored in this state. So, if you don’t mention ‘OK’ here, then what happens? If ‘OK’ is received here, it propagates to the next state.
In the following article, let’s update the settings to the current time.
FastBit Embedded Brain Academy Courses,
Click here: https://fastbitlab.com/course1

