Host and target setup
1. Host and Target Setup
Before diving into driver and kernel module development, it’s crucial to prepare both your host and target platforms.
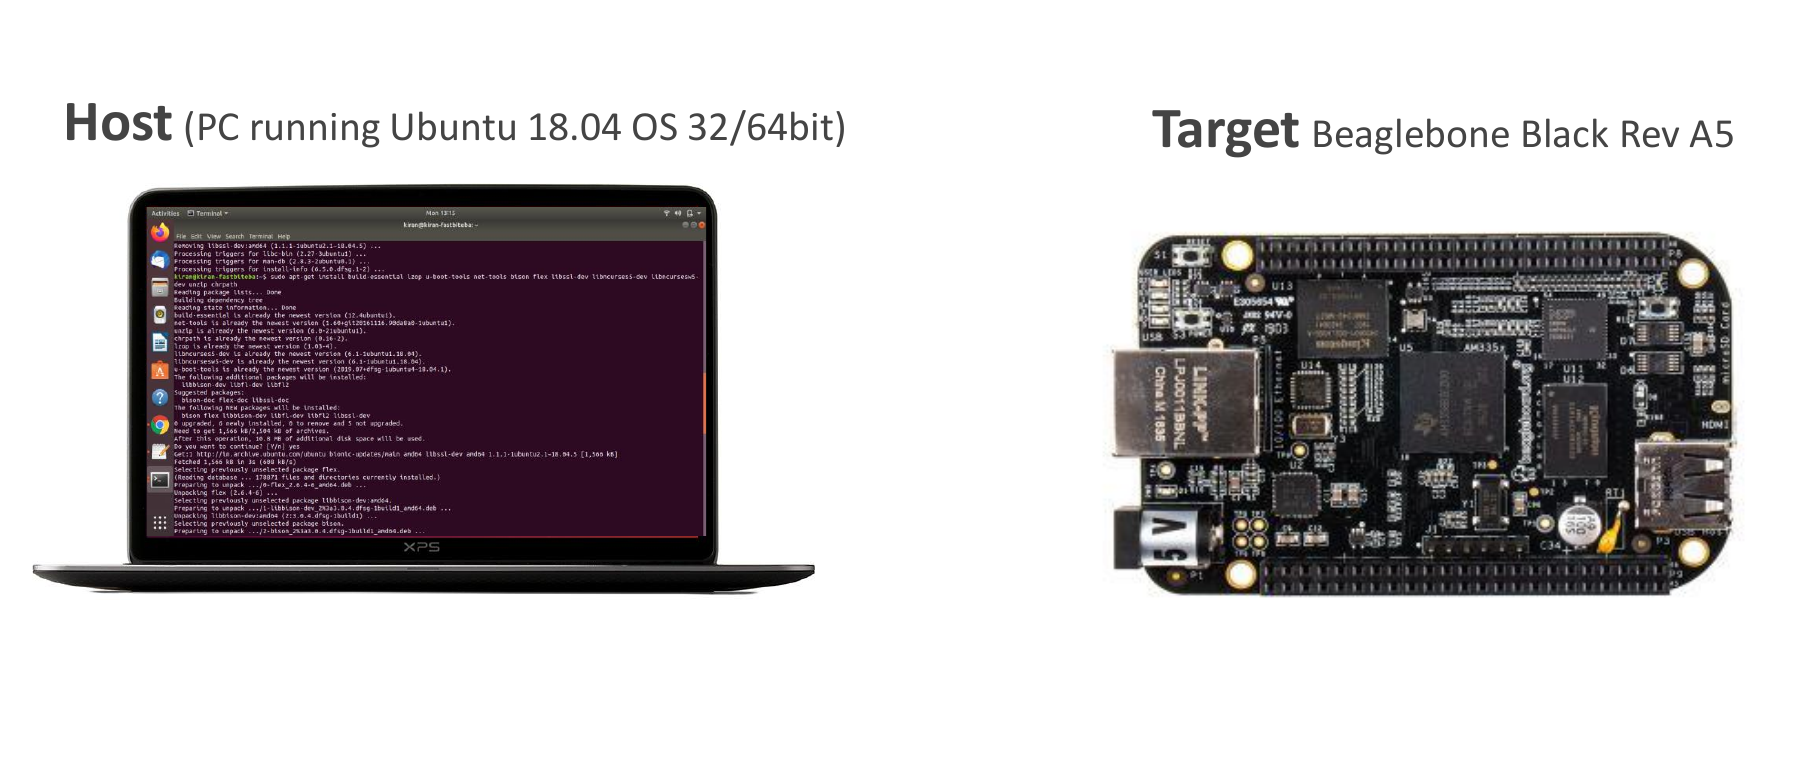
Host Platform:
- Ideally, use a computer running the latest version of Ubuntu, preferably Ubuntu 64-bit. However, 32-bit Ubuntu is also acceptable.
- In this guide, we’ll use Ubuntu 18.04 64-bit as our reference.
All the exercises, all the code compilations, everything we are going to do on the Ubuntu machine. If you are using Windows or Mac, then you can use a virtual machine to install the Ubuntu operating system.
Target Platform:
- Our target platform is the BeagleBone Black revision A5 board, as shown in Figure 1.
- If you’re using other BeagleBone variants like BeagleBone AI or BeagleBone Wireless, they should work, but note that code exercises may require adjustments for these boards.
2. Setting Up the Host
Now, let’s prepare your host machine by installing essential packages (Figure 2). Otherwise, we may face compilation issues and other weird issues while running commands.

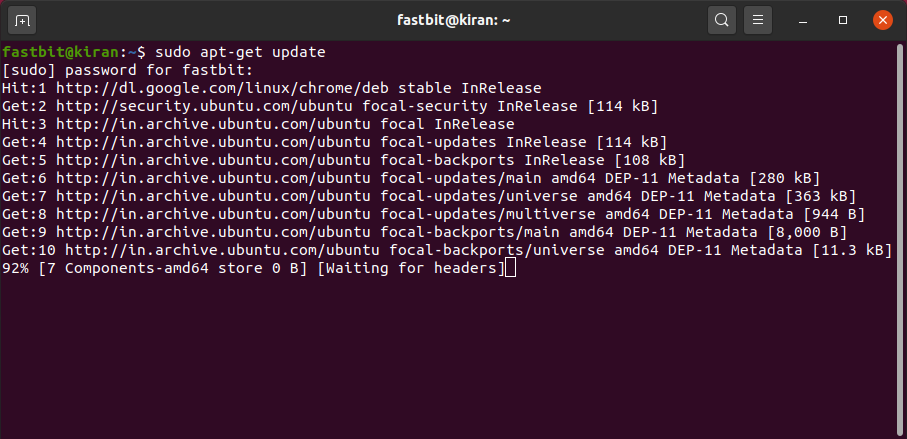
Open your Ubuntu command prompt and run the command sudo apt-get update (Figure 3.)
And after that, copy the below command and paste it, and hit enter.
sudo apt-get install build-essential lzop u-boot-tools net-tools bison flex libssl-dev libncurses5-dev libncursesw5-dev unzip chrpath xz-utils minicom wget git-core
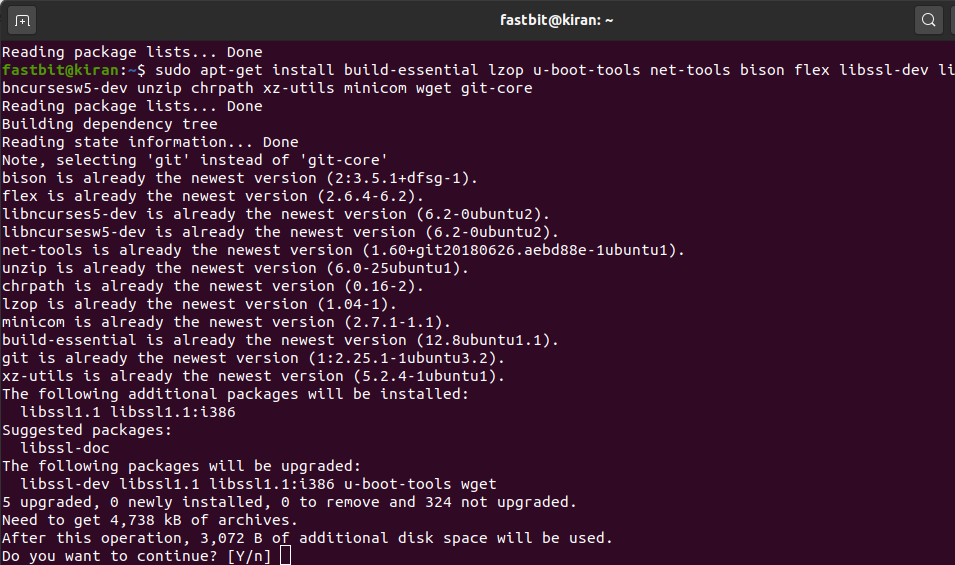
If it is asking your permission to continue(Figure 4.), just type Yes.
Some of the packages are already installed on my host. That’s why it didn’t take much time, but in your case, it would take one or two minutes.
3. Workspace Setup
After that, now let’s do some workspace setup.
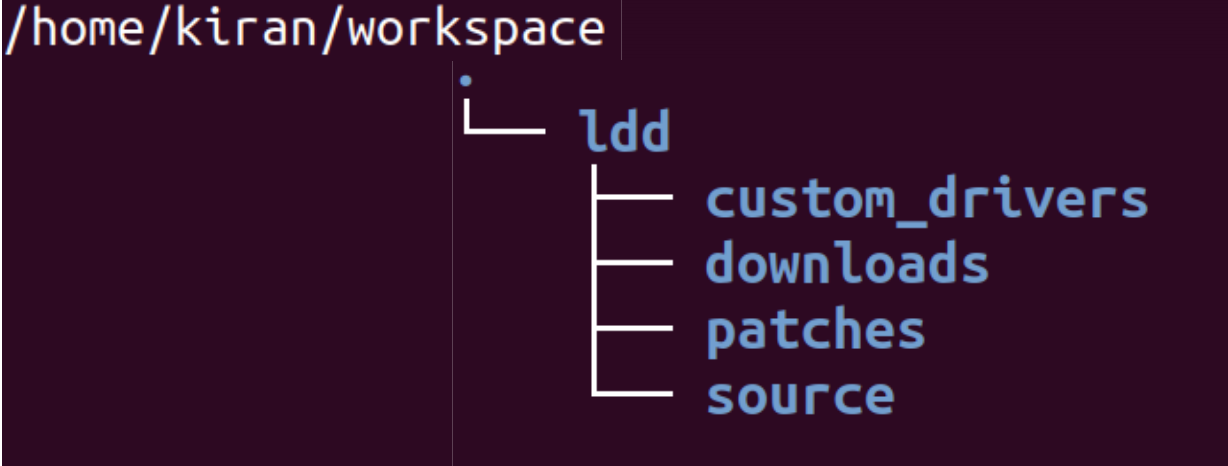
You have to follow the folder setup to work with this course as shown in Figure 5.
Let’s create some empty folders in order to work with various packages, and downloads, and other kernel modules that we are going to write in this course.
- Navigate to your home directory and create a folder named “workspace.”.
- Inside the “workspace” folder, create the following subfolders: “ldd” (Linux Device Driver), “custom drivers,” “downloads,” “patches,” and “source.”
- Use these folders to manage various packages, downloads, and kernel modules you’ll work with during this course.
What are the source we are going to download, like Linux source, or u-boot source, something like that.We are going to keep that in the source folder.
If you get any patches, then we are going to keep that in the patches folder, and if we download anything from any third-party software like root file system and other things. We are going to keep that in downloads like toolchain and all we can keep in downloads.
And what are the custom drivers you are going to write in this course, you are going to keep that in the custom drivers folder. I mean, this is not a strict requirement for this course, but I would suggest you to follow this folder settings.
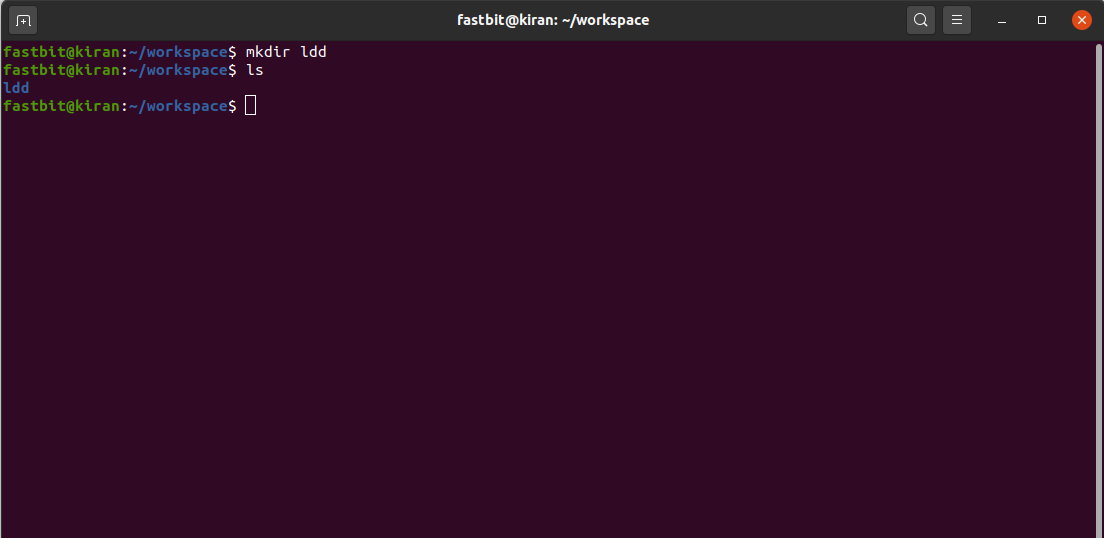
Let me go back to the command prompt. And here, I have created a workspace under my home directory (Figure 6).
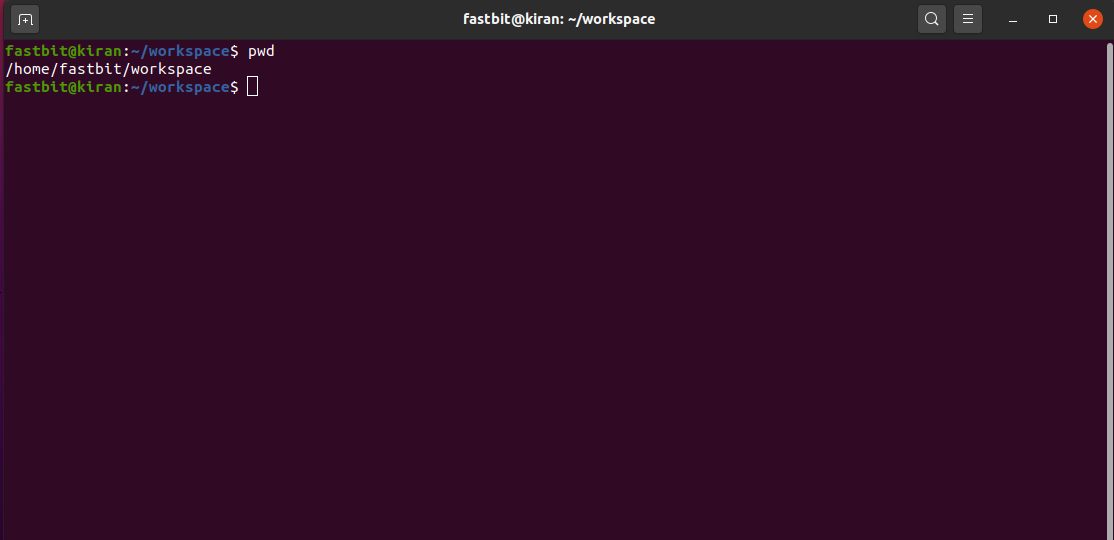
And we have to create one more folder ldd (Figure 7.)
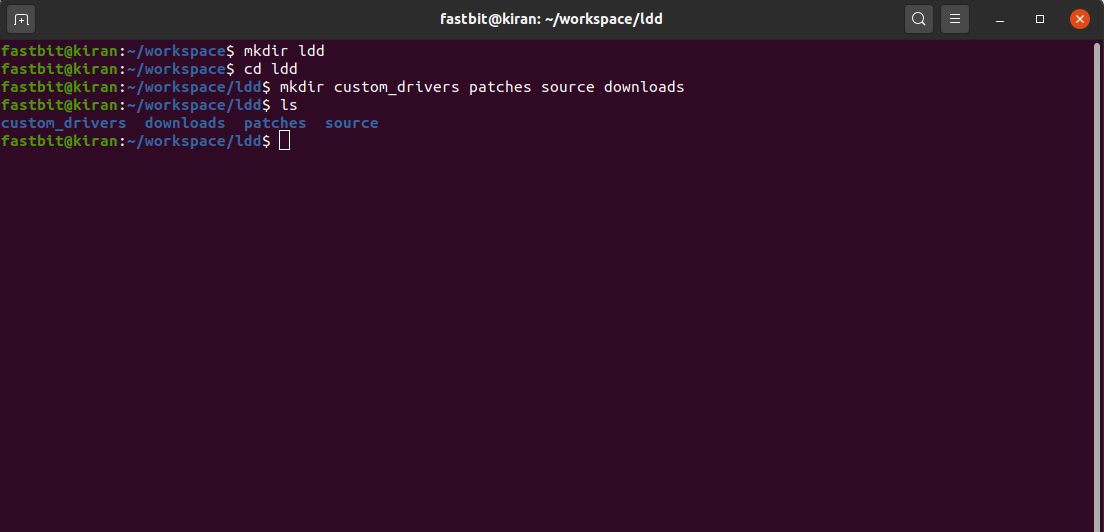
After that let’s go inside ldd, here you have to create some more folders as shown in Figure 8.
Let’s move forward. We have to download the boot images and the Root file system.
4. Downloading Boot Images and Root File System
Why is it required?
You’ll need boot images and a root file system to boot your BeagleBone Black via the SD card.
In the MicroSD card, to boot the board, we need to boot images as well as the root file system. First, we are going to boot using the pre-built images.
And after that, we are going to update the kernel by cross-compiling the kernel source, which we are going to a clone from the BeagleBone Repository.
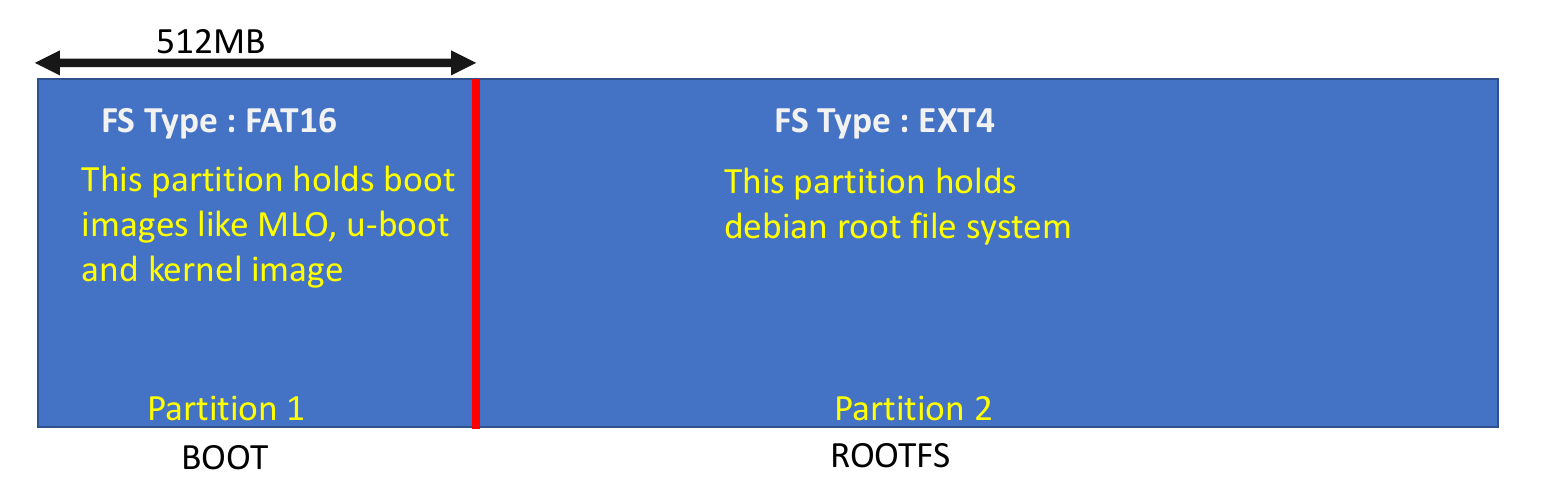
That’s why we are going to partition our MicroSD card into two, partition 1 holds boot images like MLO, u-boot, and the kernel image, and its file system type will be FAT16. After that, partition 2 holds the Debian root file system. We have to download the root file system as well. The file system type of partition 2 could be EXT3 or EXT4 as shown in Figure 9.
Download Pre-built images are available Here.
- After that, Save the downloaded file in the “downloads” folder within your workspace.
- Extract the downloaded file (e.g., right-click and select “Extract here”). You’ll find a folder named “SD boot” containing pre-built images.
Download the Root File System
- Now Visit BeagleBoard.org and download the latest Debian image suitable for your BeagleBone variant.(Figure 10).
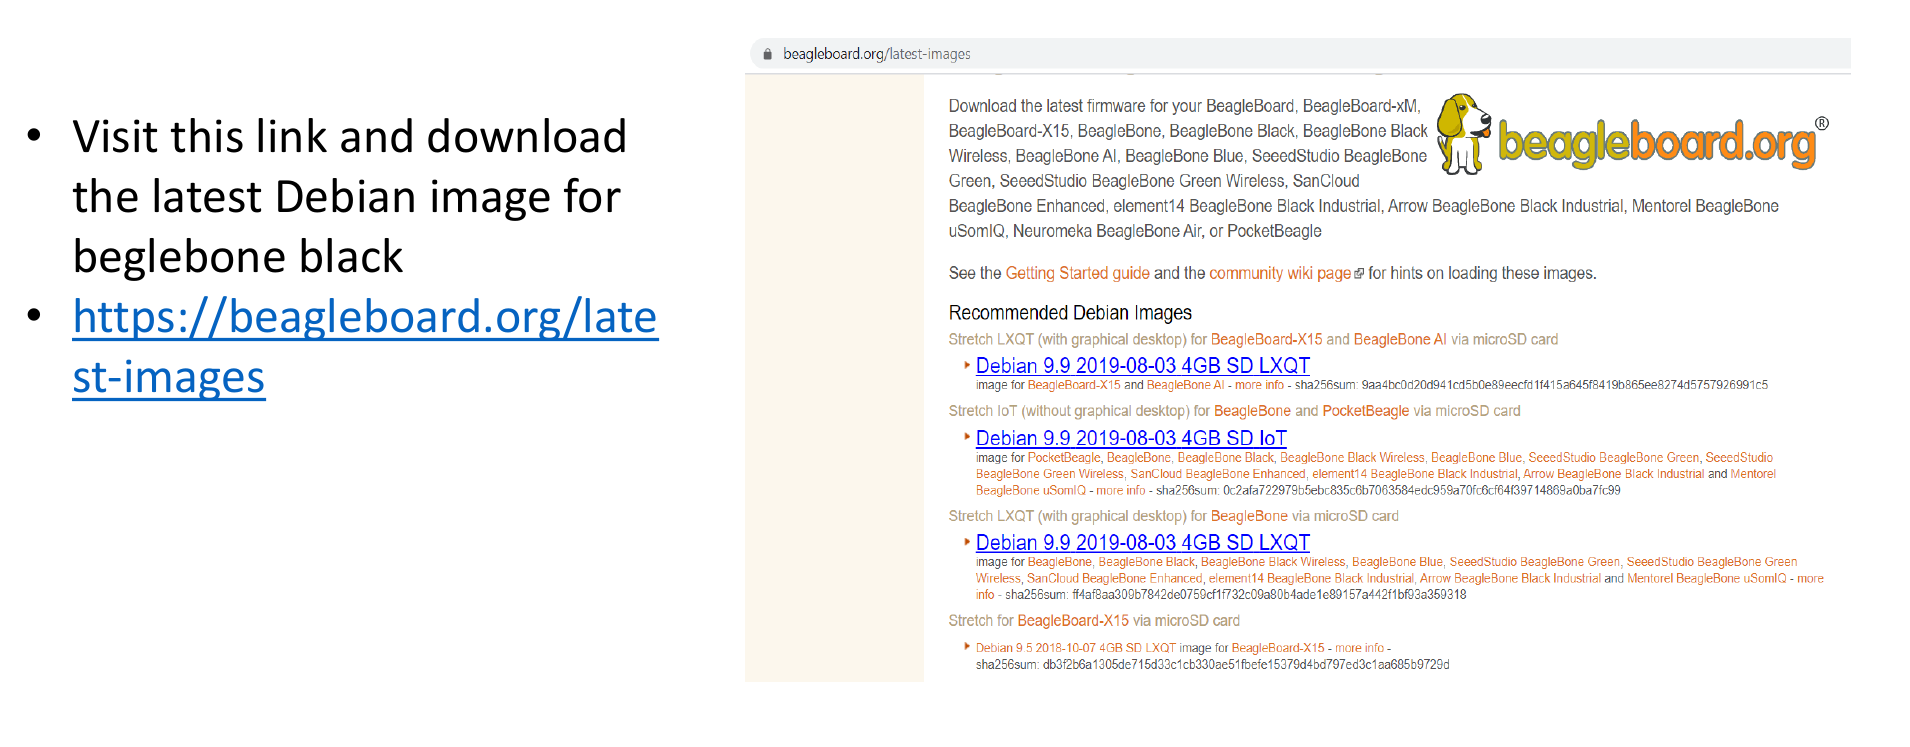
You should download the one which is suitable for your board, if you are using beagle bone, then you should be downloading Debian 9.9 2019-08-03 SD IoT.
This is an image for a pocket beagle, beagle bone, beaglebone black, and wireless, and for so many other boards. Just download this and place it into your download folder.
FastBit Embedded Brain Academy Courses,
click here: https://fastbitlab.com/course1