Installing FreeRTOS
Choose the FreeRTOS Version:
- Start by downloading the FreeRTOSv10.1.1 version, the latest available at the time of writing this article. If a newer version is available when you read this, you can opt for the latest source code.
- In case you prefer to use an older version, you can access previous releases by clicking on the “Previous Release” option (see Figure 1). This will display a list of all the previous releases (Figure 2), allowing you to select and download the desired source code.


Installation of Version 10.1.1:
- Now let’s stick to version 10.1.1. Navigate to the folder where you downloaded the application and install the application(Figure 3).

- Double-click the application file to run it (Figure 4).
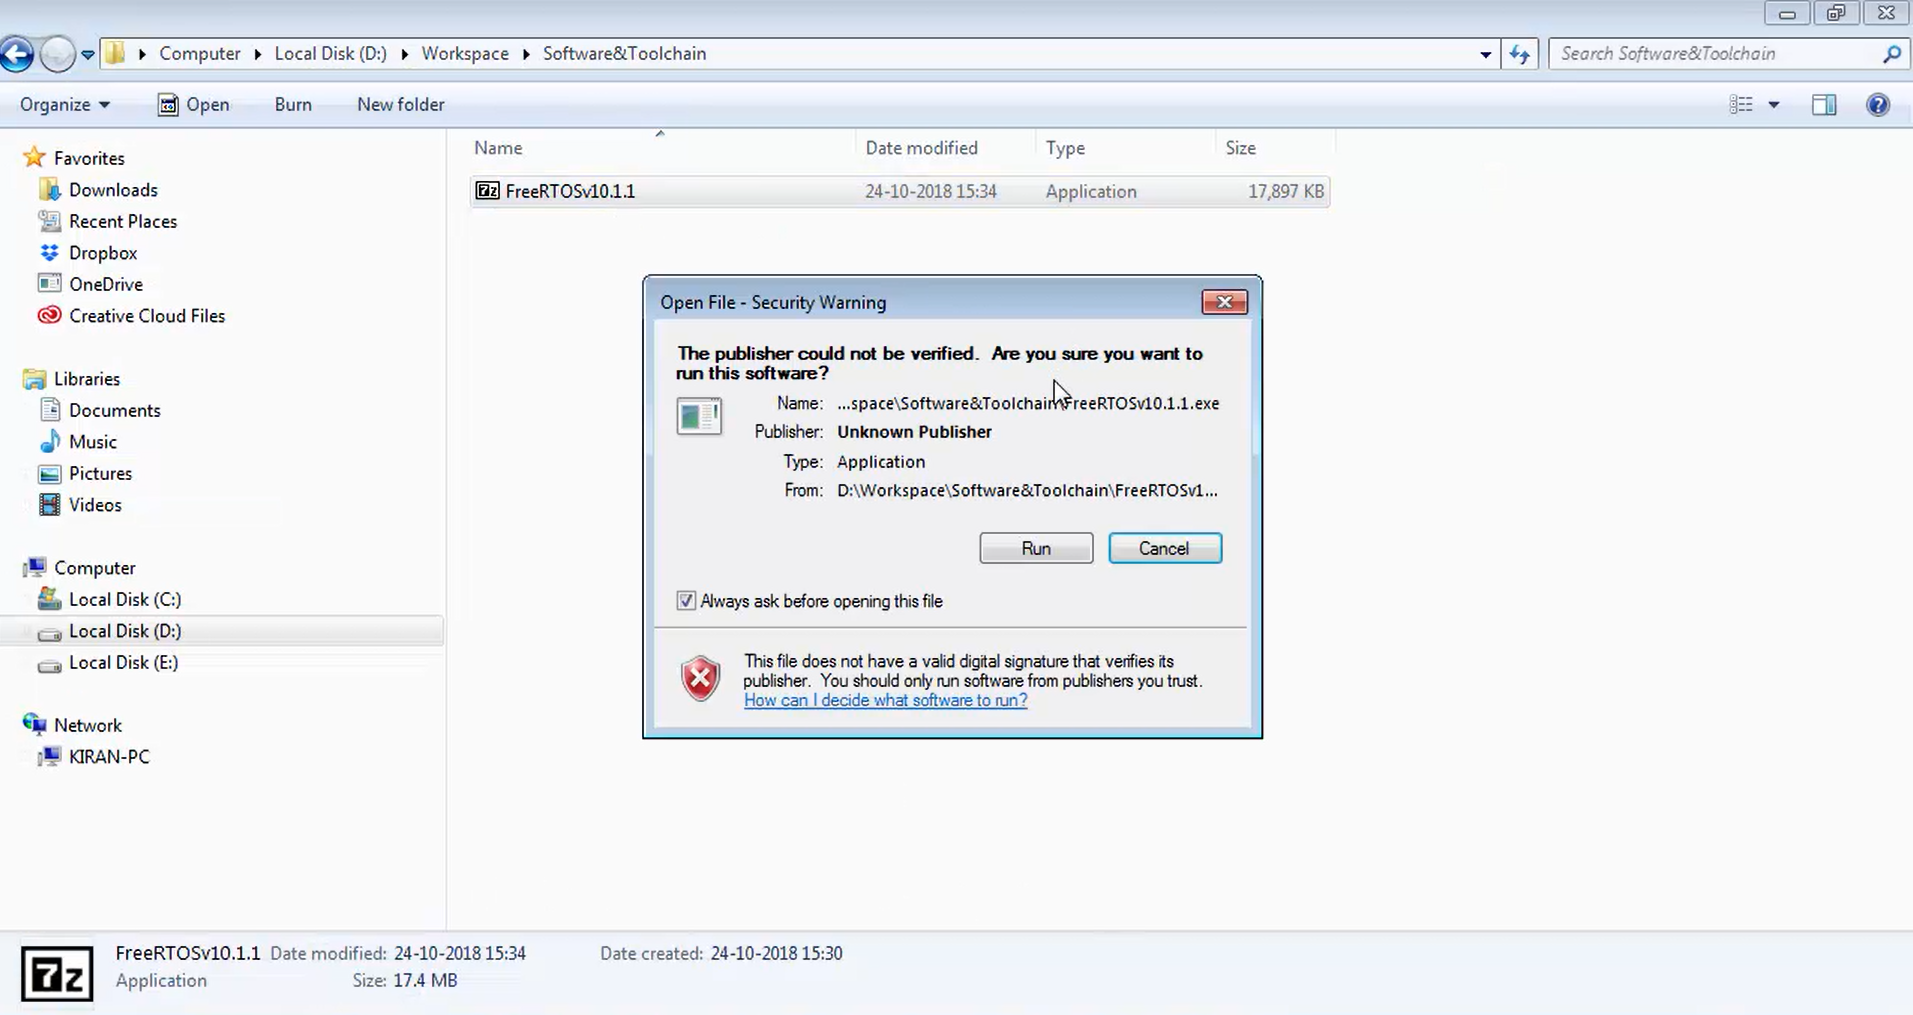
- The application will prompt you to specify the installation path for the FreeRTOS source code. By default, it suggests “Workspace\Software & Toolchain” (Figure 5). If this path suits your requirements, you can leave it unchanged. However, if you prefer a different location, you can specify it at this point.
- Click the “Extract” button to begin the extraction process.


Completion of Extraction:
- Once the extraction is complete, you’ll find a folder named “FreeRTOSv10.1.1” (Figure 7).
- Open this “FreeRTOSv10.1.1” folder.

Exploring the FreeRTOS Folder:
- Inside the “FreeRTOSv10.1.1” folder, you’ll discover two main subfolders. The first one, “FreeRTOS-Plus” (Figure 8), is not of interest for this tutorial.
- The important folder for us is FreeRTOS.

Demo Projects:
- Within the “FreeRTOS” folder, you’ll find three significant subfolders (Figure 9). Demo folder, License folder, and source folder.
- The “Demo” folder (Figure 9) contains demo files and projects provided by FreeRTOS.org for various microcontrollers, including those from ST, NXP, TI, and more.

- If you explore the “Demo” folder, you’ll find numerous projects (Figure 10) added by FreeRTOS.org.
- Basically, they contain the projects that can run on ARM 7, ARM 9, cortex family of processors, LPC for Atmel’s smart microcontrollers or SAM microcontrollers, etc. Even you can get the projects for STM32F7, F4, or F3-based microcontrollers as well. If you are interested, you can take a look into these projects.

In upcoming articles, we’ll delve into creating our own projects using STM32 microcontrollers in an RTOS environment. If you’re interested in exploring these demo projects, the “Demo” folder is your resource.
License:
Check the license file to understand the licensing terms imposed by FreeRTOS.org, which govern the use of their software and source code.
Accessing the Source Code:
- The “Source” folder (Figure 9) contains essential source code files for the FreeRTOS project, including the FreeRTOS kernel and various other services (Figure 11).
- In the task.c, you will find the task management services of the FreeRTOS. Timers.c addresses the software timer implementation, queue.c for queue implementation.
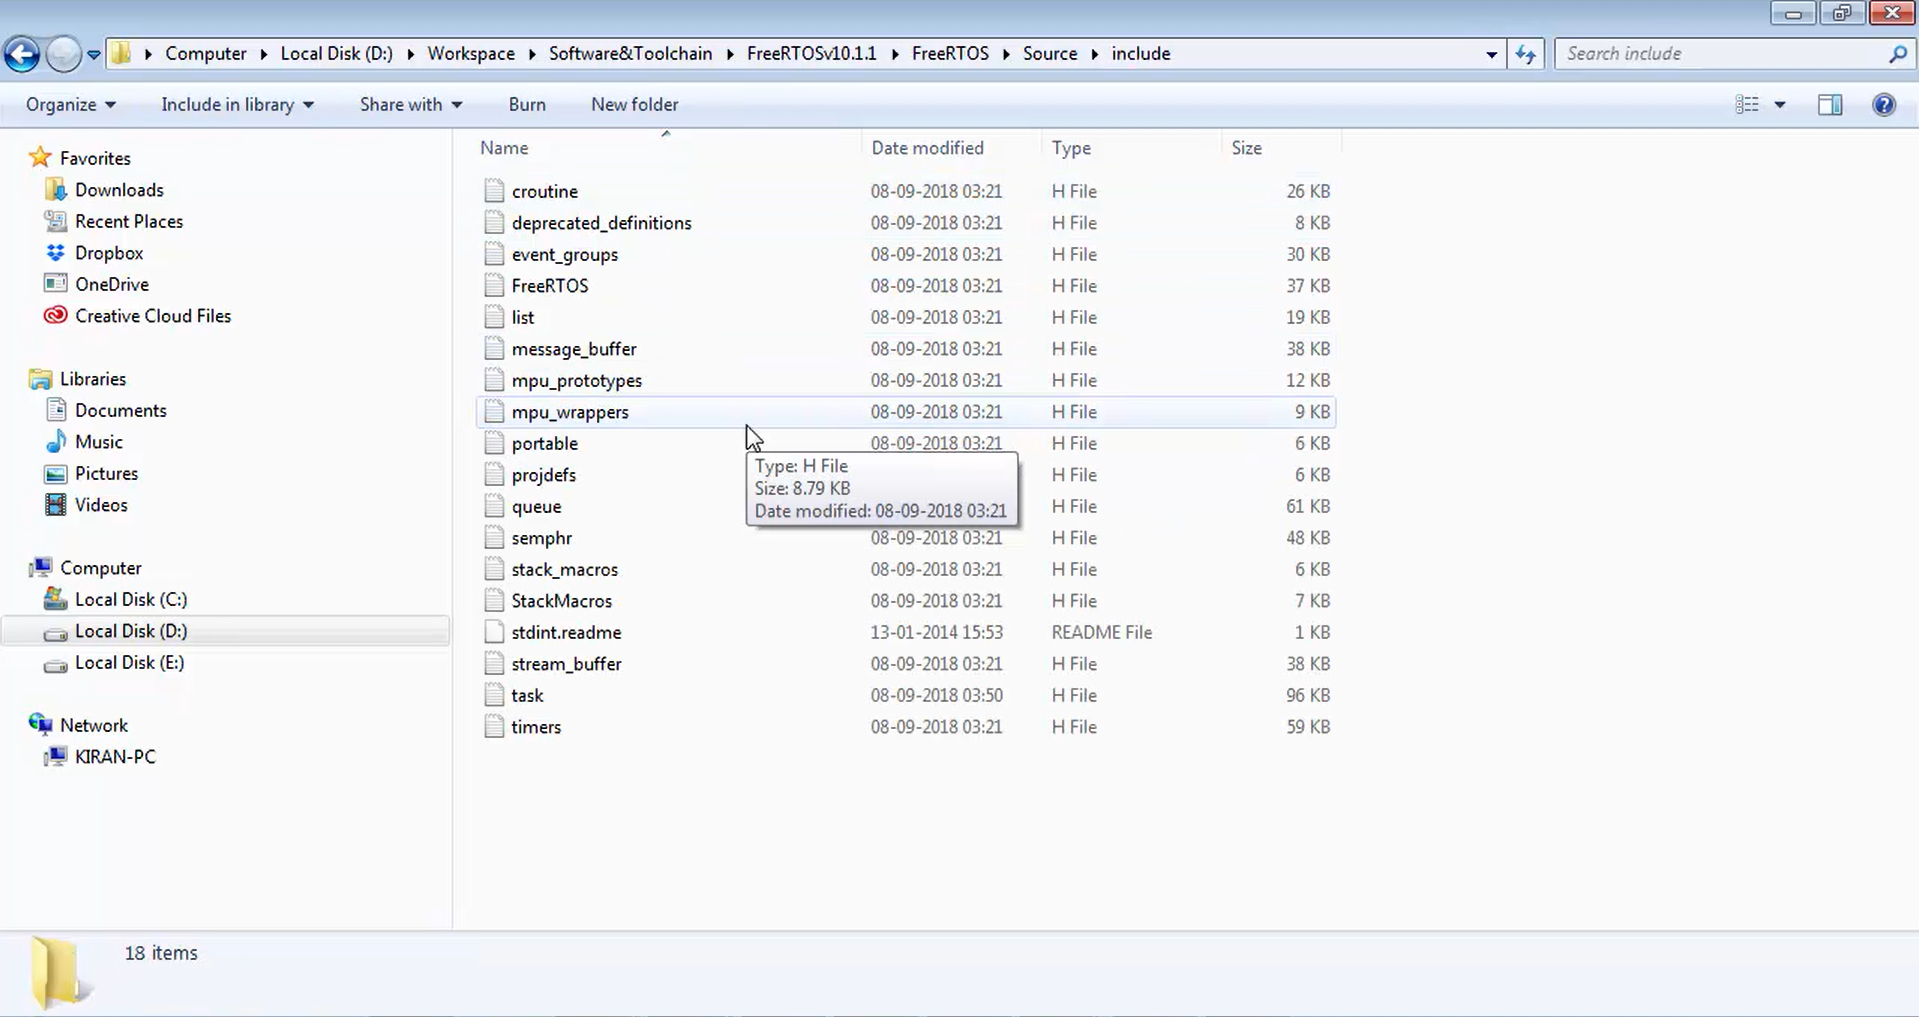
- Like that, all the .c files that you see in Figure 11 are source codes or source files of the FreeRTOS project, and the respective header files (Figure 12) you can find in the include folder.

In addition, the “portable” folder (Figure 11) houses various port files (Figure 13) that are essential for running FreeRTOS on microcontrollers based on different processor architectures.

This step-by-step guide should help you successfully install and navigate FreeRTOS on your chosen platform, laying the foundation for your future RTOS projects.
In the following article, let’s learn create FreeRTOS based project for STM32 MCUs.
FastBit Embedded Brain Academy Courses
click here: https://fastbitlab.com/course1