Pcd driver with multiple devices code implementation part-2
Linux Device Driver Programming Lecture
Please note that whenever you’re coding for some project or some exercise. So, always in between, you should check your code by compiling it. Otherwise, if you finish that project and if you try to compile at the end, then you’ll be getting too many errors and warnings, and it would take a lot of time to fix that.
That’s why you code for some functionality and then try to compile it to see whether the compiler is happy with your code or not. That is a good strategy to save a lot of time. I would like to compile this code. But I cannot compile this right away because I have removed some variables. That’s why I’m going to disable some codes.
For that, what I am going to do is I’m going to every method, and I’m just disabling the code by using a ‘if’ and ‘endif’ as shown in Figure 1.
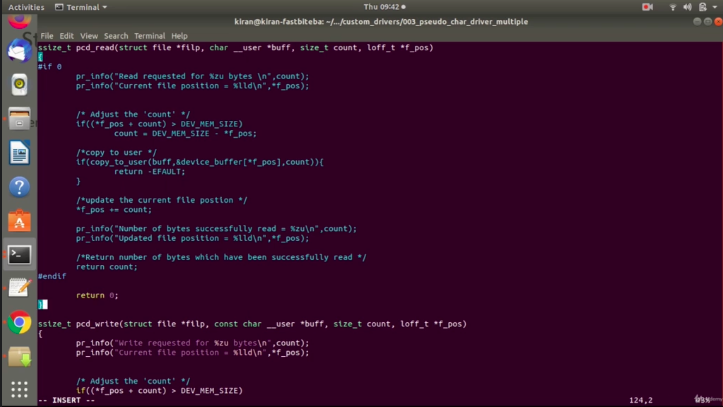
This is a read function, I would just return 0 here.
And this is a write function, now let’s disable the code. For a time being, let’s return -ENOMEM as shown in Figure 2.
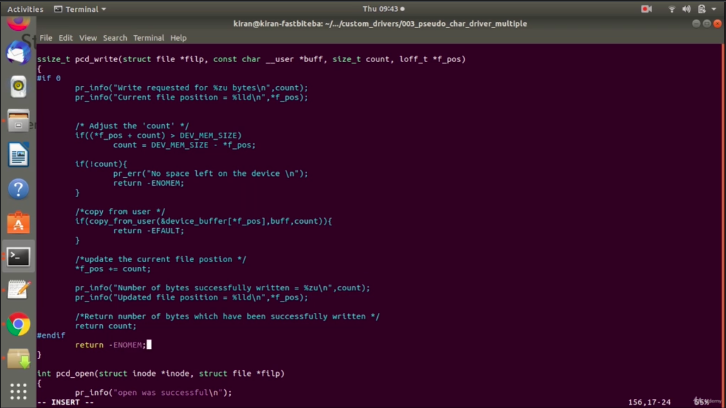
And need not to disable open. Because we don’t access any variables there. Release also you can leave it as it is.
Let’s take a look into the Init function. I’m going to disable everything here. I would just keep return 0 here, as shown in Figure 3.
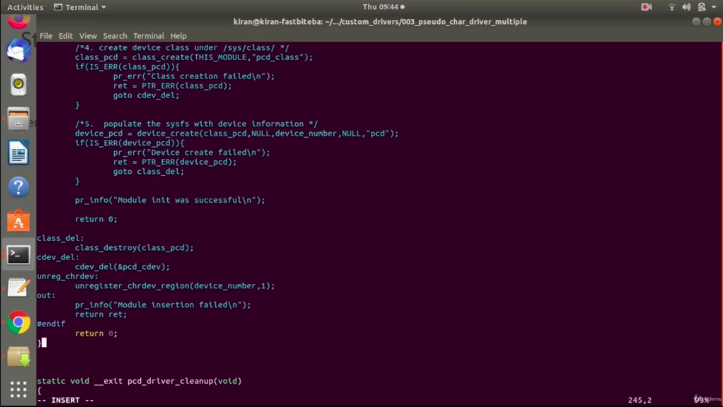
And I would like to disable in the cleanup.
And here I’m going to change this a name “A pseudo character driver which handles n devices,” as shown in Figure 4.
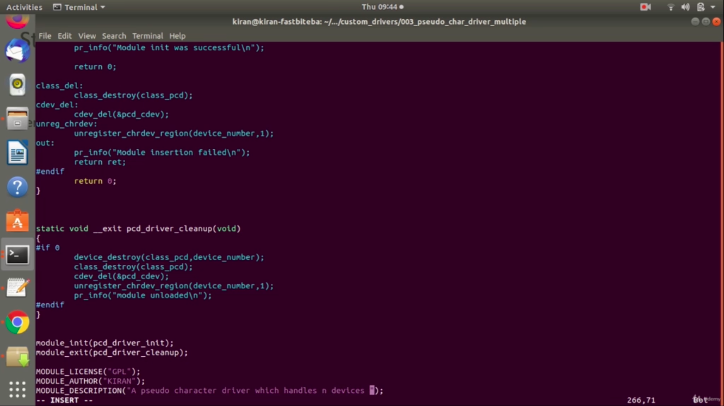
Now, let’s try to compile this. You can go to your makefile and change this to pcd_n, as shown in Figure 5.
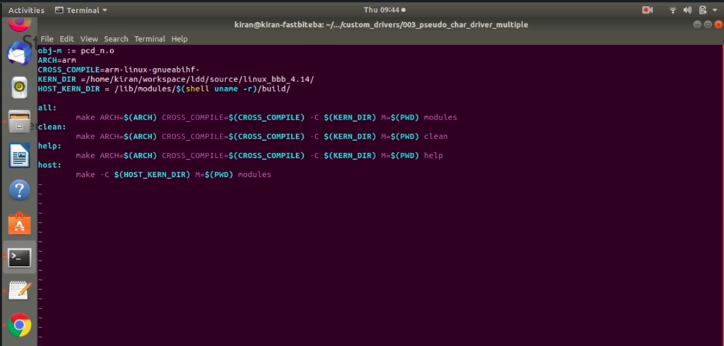
Let’s make host as shown in Figure 6.
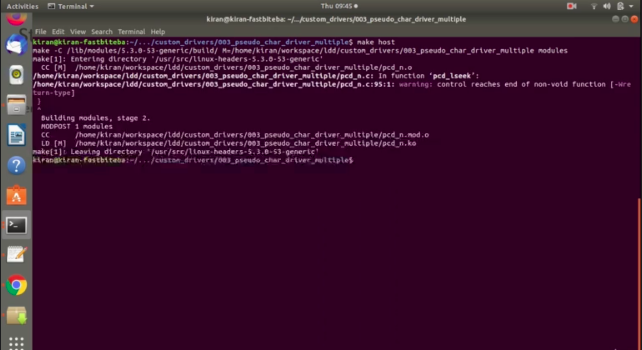
So, you can see that we don’t have any errors here, but there is one warning at 95. 95 Here you have to return something. Let’s return for a time being 0.
Let’s get back to the project. There is a variable device number, as shown in Figure 7. This variable is used to hold the device_number.
dev_t device_number;
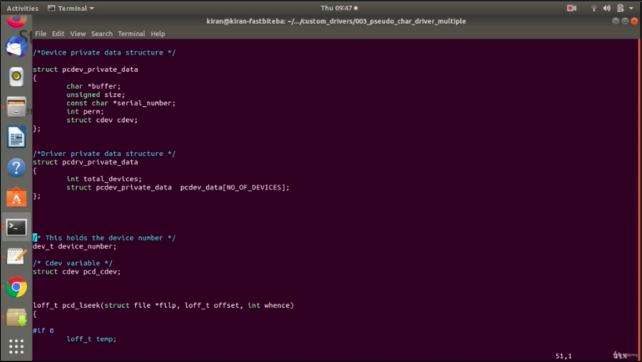
Who maintains device_number?
Driver maintains the device number. So, that’s why, instead of keeping this out, it would be good if you keep this inside the driver structure. I mean the driver’s private data structure. Device_number is required for the driver, not for the device, remember that.
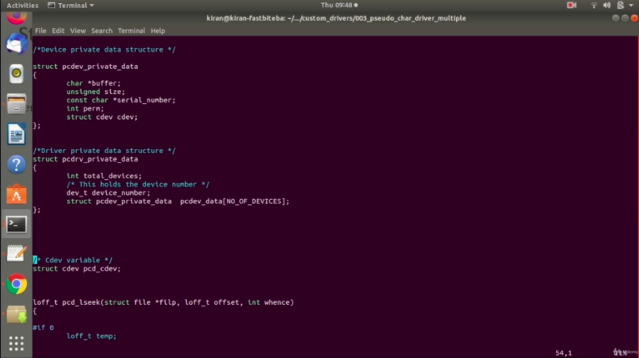
That’s why it makes sense to keep this dev_t device_number in the driver’s private data structure, as shown in Figure 8. I’m going to remove that two lines, and I’m going to keep this in the driver’s private data structure.
And after that, cdev.
Cdev we have already included in the device private data. Because cdev is per device, that’s a reason why I included that in pcdev private data, not in pcdrv private data.
So, that’s why I’m going to remove these two lines, not required.
And after that, we have got two more global variables here, as shown in Figure 9. One is to hold the class pointer, and another is to hold the device pointer. I’m going to remove those, and I’m going to push those into the driver’s private data. Let’s put those global pointers under the driver’s private data.
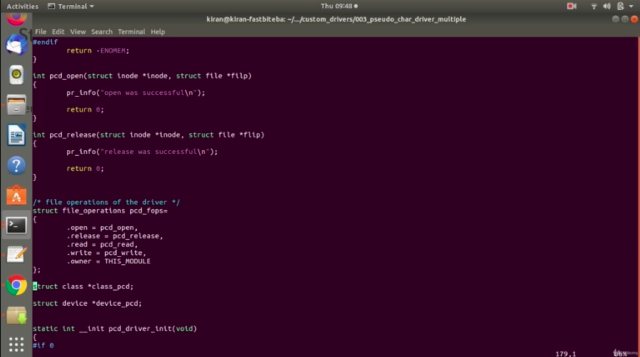
After this change, let’s compile everything is fine.
Let’s get back, and let’s create a variable of struct pcdrv_private_data. And let’s initialize the device-specific information in this field pcdev_data. So, let’s start. I’m going to create one variable of pcdrv_private_data. I would just call it as pcdrv_data. Let’s initialize the structure.
The first field is total_devices, i would just equate that to No_OF_DEVICES, comma and after that device _number, we are going to allocate it. That’s why I cannot initialize this here. A class_pcd, device_pcd, all these things we are going to allocate it using their respective a kernel APIs.
Let’s initialize all four devices. And the next one is .pcdev_data is equal to this is an array. And it has got four array elements. We can index those elements by using the index 0,1, 2, 3.
Let’s initialize the first index that is 0th index.
For that, let me open the curly bracket here, and let’s go to the next line. So, let’s access the 0th index by using square brackets is equal to, now every element has got different member elements. Because every element of this is array is of type this one. It has got various member elements, which we are going to initialize now. That’s why let’s open another curly bracket here.
And now, let’s initialize the very first member element that is buffer. So, which is equal to the 0th device_buffer is nothing but this one, device_buffer_pcdev1. Let’s equate that here. So, let’s use that address here. device_buffer_pcdev1. the next member element is size =MEM_SIZE_MAX_PCDEV1.
And the third one is serial_number is equal to, so let’s give some string value. Let me give “PCDEV1XYZ123”. The next one is perm. For the perm, you can use any number or identifier, let me just use 0x1, which indicates this is Read-only. Because the first device is read-only.
And after that, cdev. Cdev we need not to initialize because we have separate APIs for that. Actually, this ends the initialization for the first device. Let’s close this. You have to give comma, and you have to start the next element here. But before that, let’s end this initialization. I’m going to close this, and I’m going to close this main structure as well, and here you have to give a semicolon.
/*Driver private data structure */
struct pcdrv_private_data
{
      int total_devices;
      /* This holds the device number */
      dev_t device_number;
      struct class *class_pcd;
      struct device *device_pcd;
      struct pcdev_private_data pcdev_data[NO_OF_DEVICES];
};


struct pcdrv_private_data pcdrv_data =
{
           .total_devices = NO_OF_DEVICES,
           .pcdev_data = {

                         [0] = {
                                      .buffer = device_buffer_pcdev1,
                                      .size = MEM_SIZE_MAX_PCDEV1,
                                      .serial_number = "PCDEV1XYZ123",
                                      .perm = RDONLY
                          },

             }

};
Structure pcdrv_private_data pcdrv_data structure initialization
Let’s get back to the code. Let’s do the initialization for the next device. What I do is I just copy the above code ([0] th index) and paste it: the second time, third time, and the fourth time.
struct pcdrv_private_data pcdrv_data =
{
          .total_devices = NO_OF_DEVICES,
          .pcdev_data = {

                                      [0] = {
                                      .buffer = device_buffer_pcdev1,
                                      .size = MEM_SIZE_MAX_PCDEV1,
                                      .serial_number = "PCDEV1XYZ123",
                                      .perm = RDONLY
                                       },

                                      [1] = {
                                     .buffer = device_buffer_pcdev2,
                                     .size = MEM_SIZE_MAX_PCDEV2,
                                     .serial_number = "PCDEV2XYZ123",
                                     .perm = WRONLY
                                      },

                                      [2] = {
                                     .buffer = device_buffer_pcdev3,
                                     .size = MEM_SIZE_MAX_PCDEV3,
                                     .serial_number = "PCDEV3XYZ123",
                                     .perm = RDWR
                                      },

                                       [3] = {
                                      .buffer = device_buffer_pcdev4,
                                      .size = MEM_SIZE_MAX_PCDEV4,
                                      .serial_number = "PCDEV4XYZ123",
                                      .perm = RDWR
                                      }

            }
};
Structure pcdrv_private_data pcdrv_data structure initialization for devices
So, for device 1, for device 2, for device 3. And here we have to change to pcdev2, and this is pcdev2, and this is pcdev2.
In our case, the next device is actually write-only, so I would write 10 here. And after that, device_buffer_pcdev3. This is three, and this is 3, and this is read-write. I would give 11 here, read-write. And this is 4, this is 4, this is read-write as shown above. Now, let me save this, and let’s compile.
FastBit Embedded Brain Academy Courses
Click here: https://fastbitlab.com/course1

