ST-Link Driver Installation
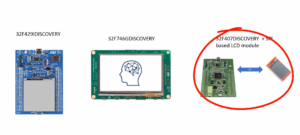
Once you have your ST board that may be either discovery, Nucleo, or any other board from ST, which is based on ST-Link in-circuit debugger and programmer, then in order to talk to the board successfully, you have to install the ST-Link drivers.
The ST-Link driver means the driver for the ST-Link in-circuit debugger and programmer interface, as depicted in Figure 1.
ST-LINK Driver for Windows (32/ 64-bit versions 7, 8, and 10):
It is available on the STs website.
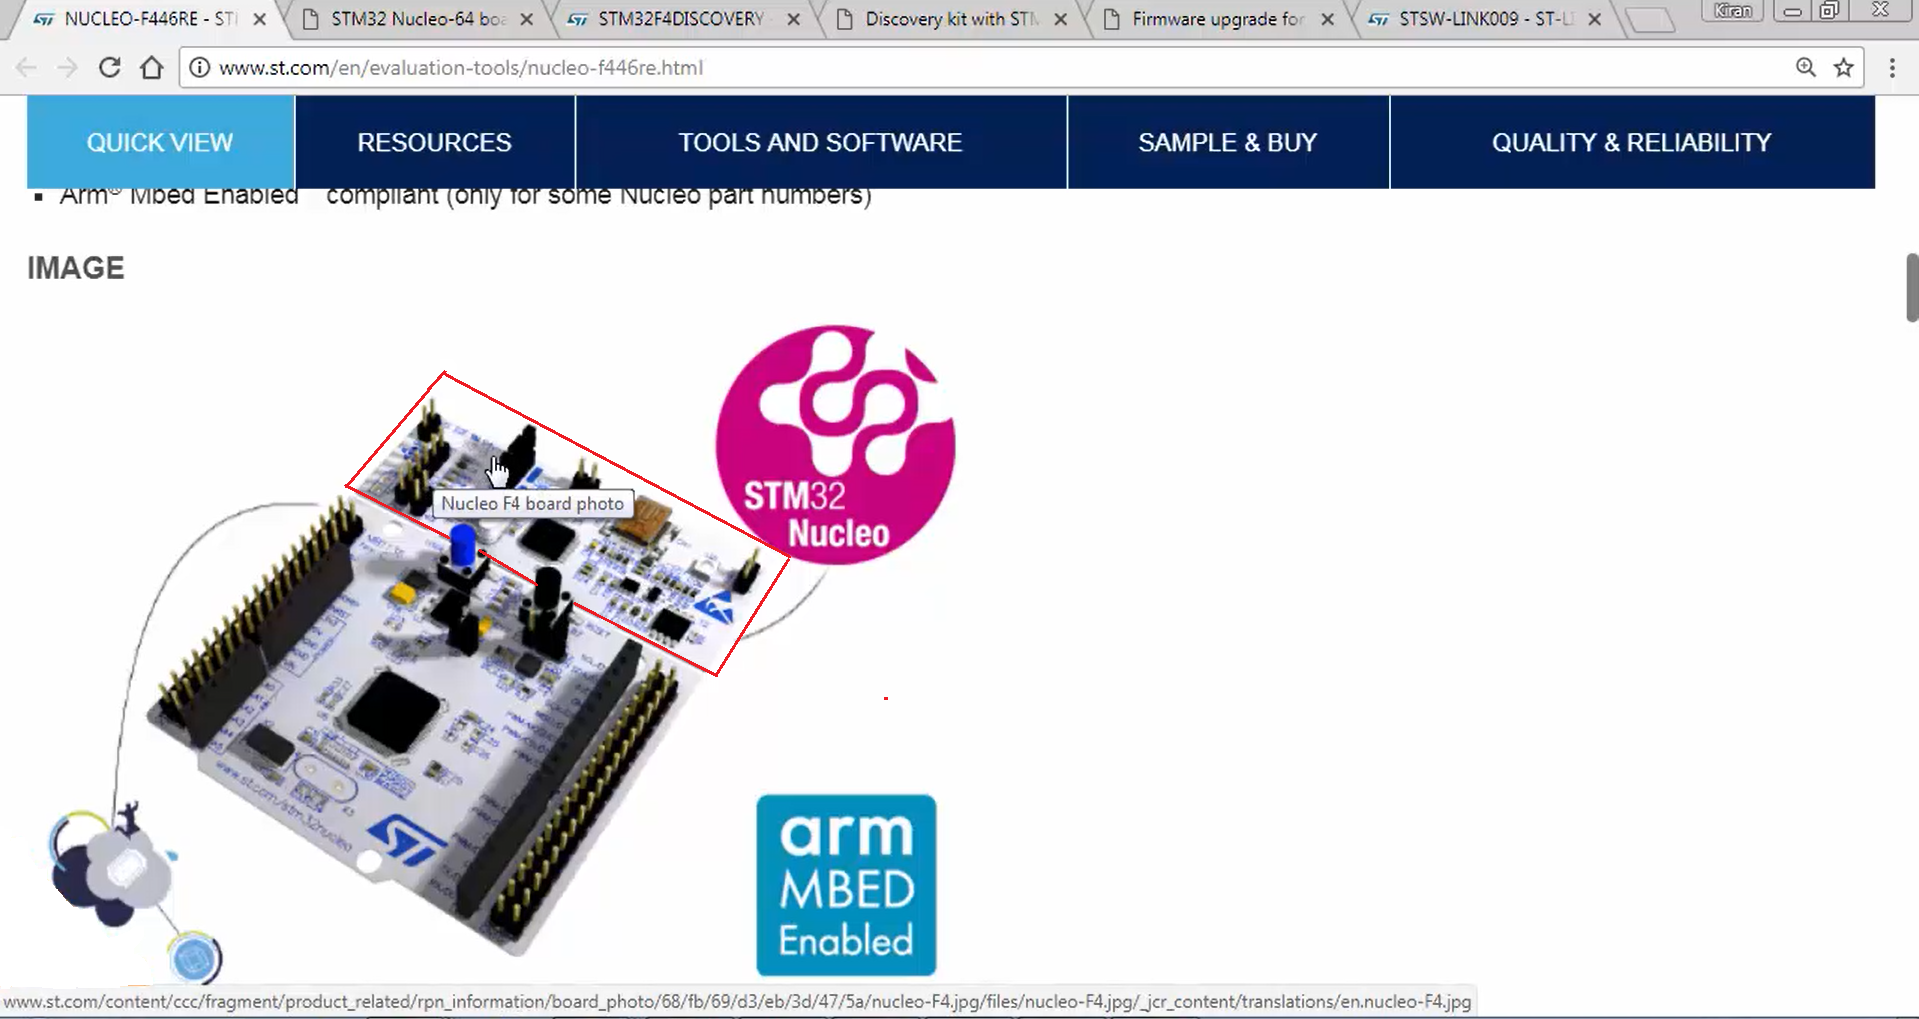
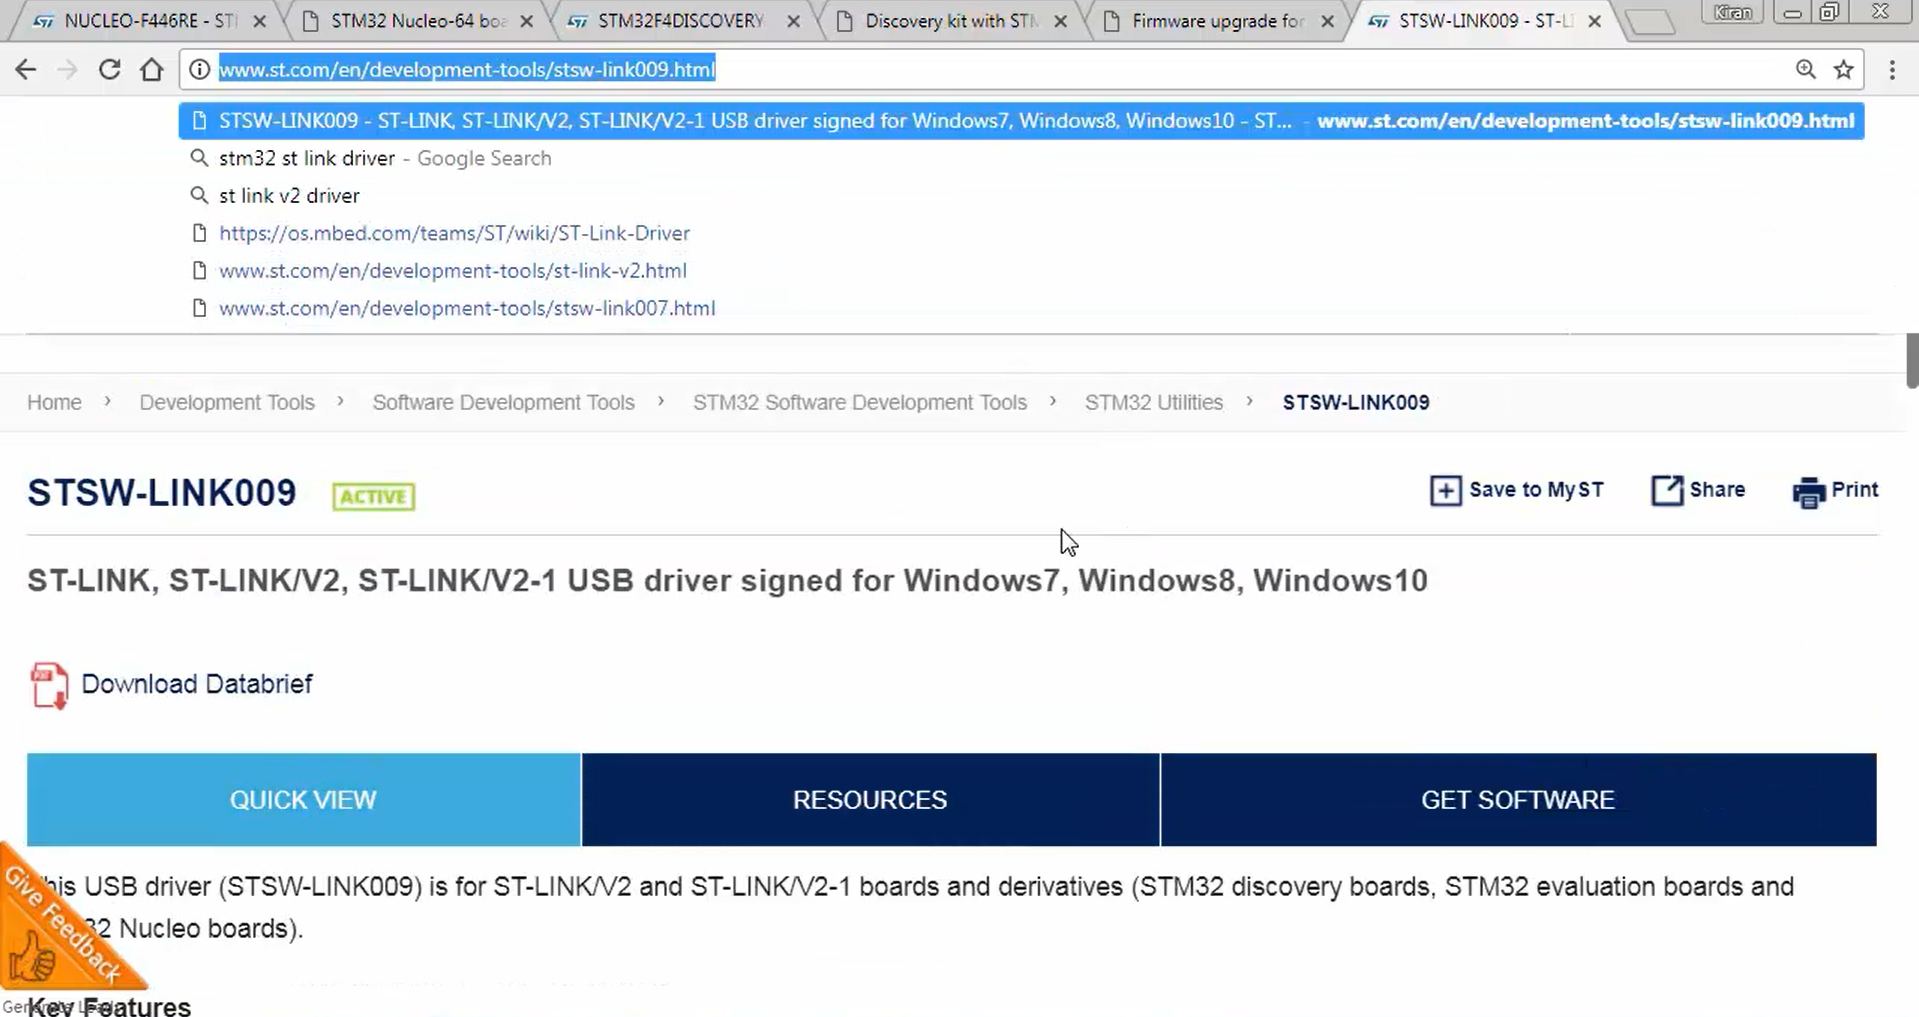
- Visit the ST website and navigate to STSW-LINK009, as indicated in Figure 2. You will get a USB driver for those boards with ST-LINK/V2 and ST-LINK/V2-1 ST-Link circuitry.
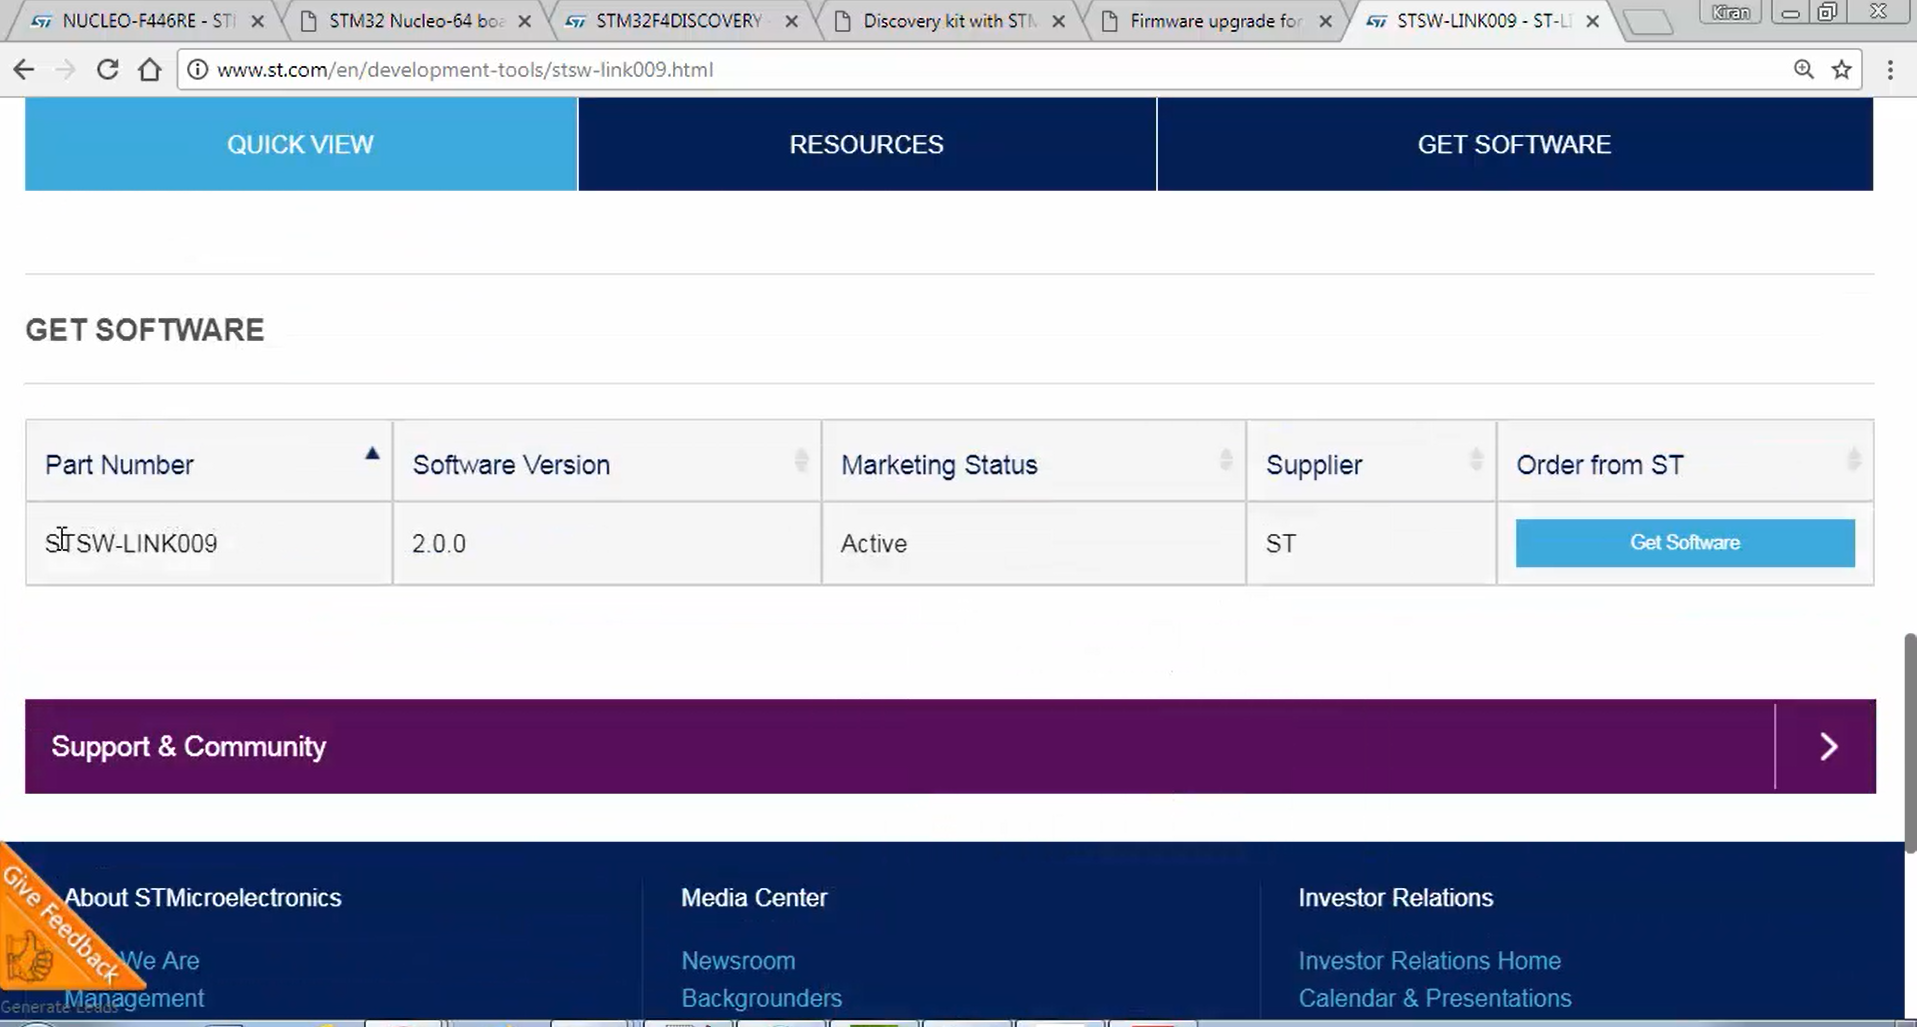
At the end of the website, you will find the driver link (Figure 3), and proceed to download it.
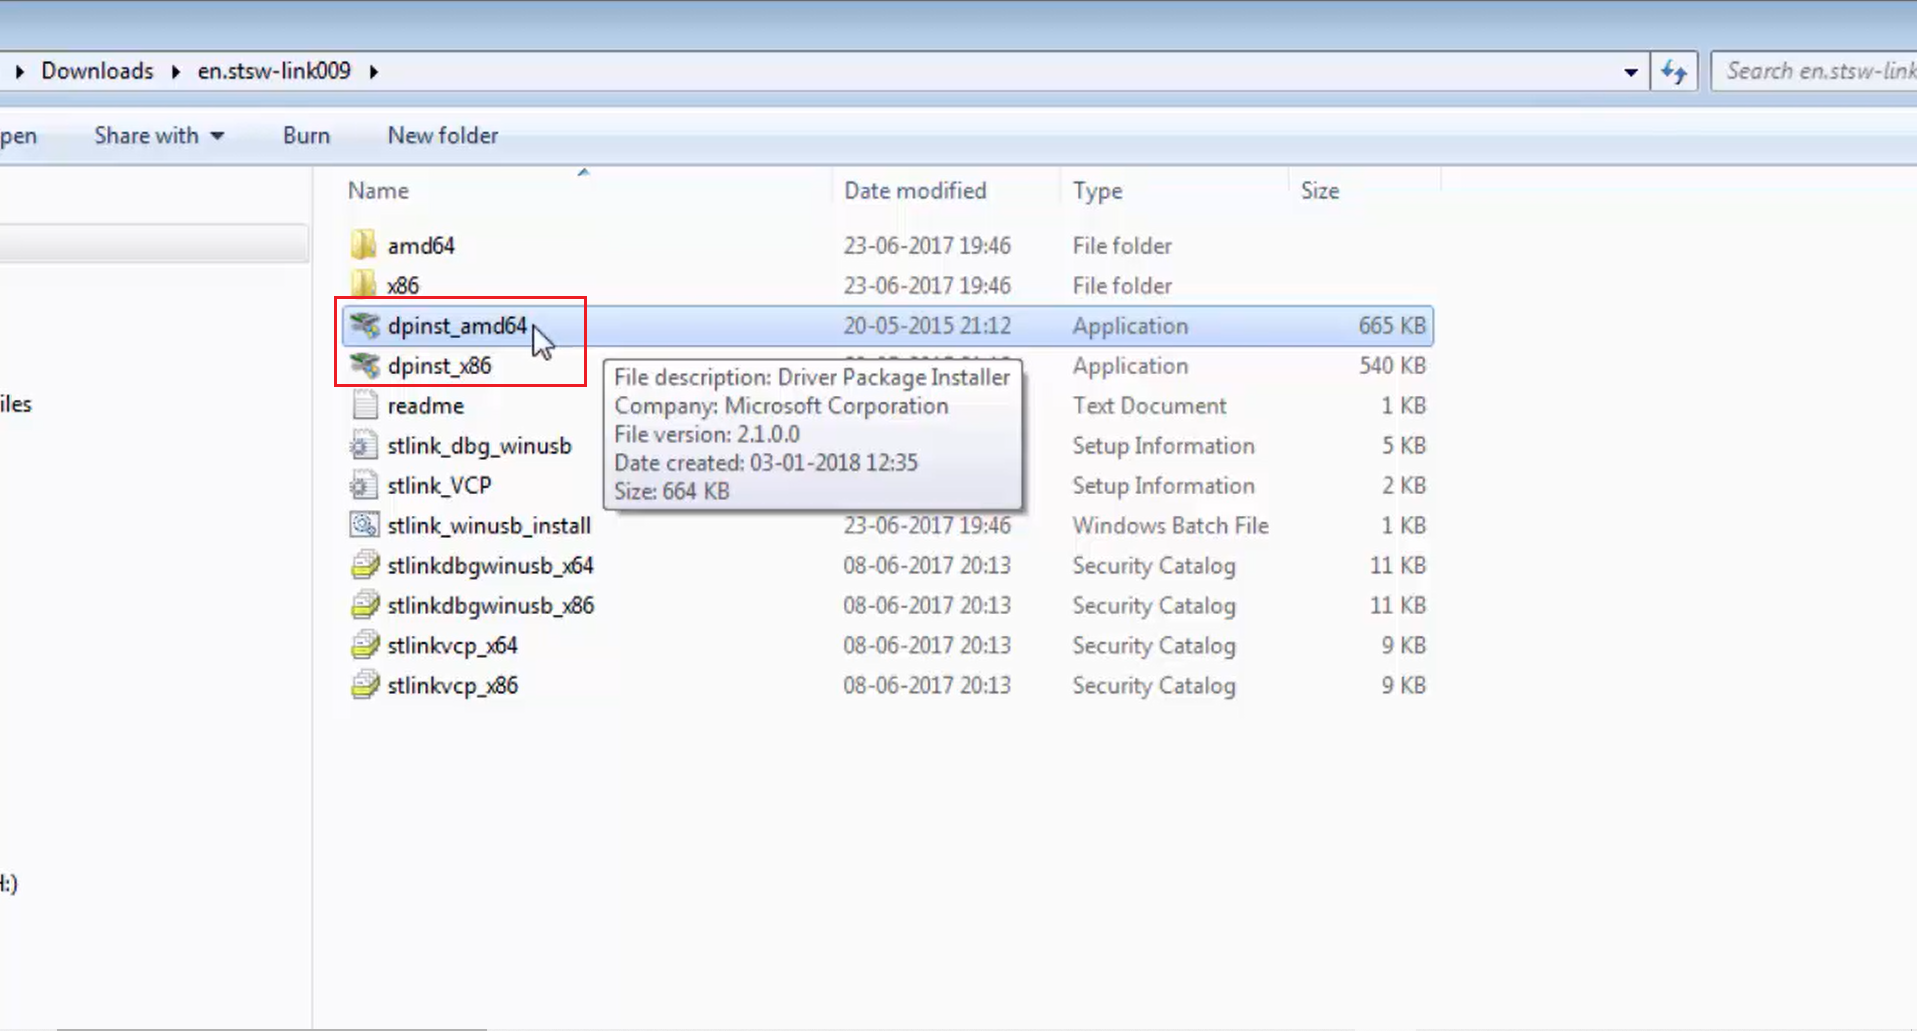
- Upon downloading, access the folder where the driver is stored. Within it, you’ll find two applications (Figure 4), one for 32-bit and the other for 64-bit systems.
- Now connect your board.
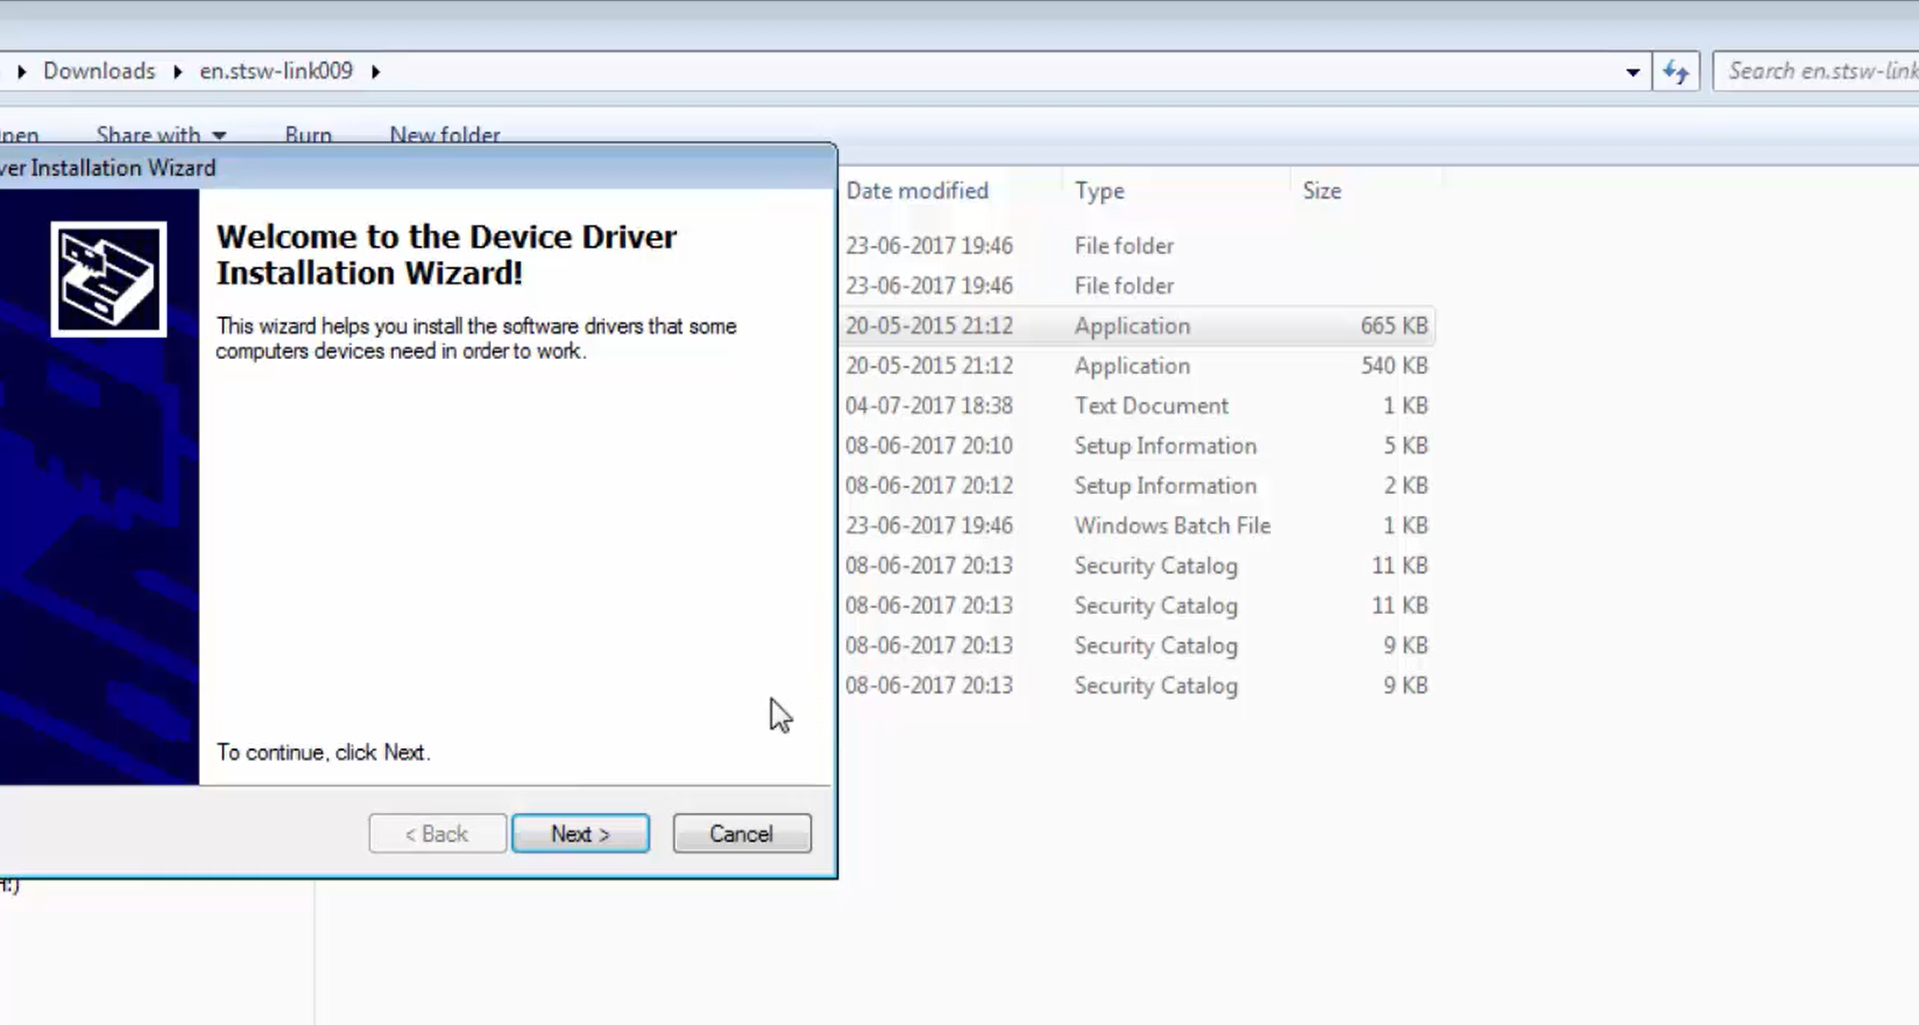
It could be either discovery or Nucleo. Launch the downloaded driver software. A popup window (Figure 5) appears. Proceed by clicking “Next.”
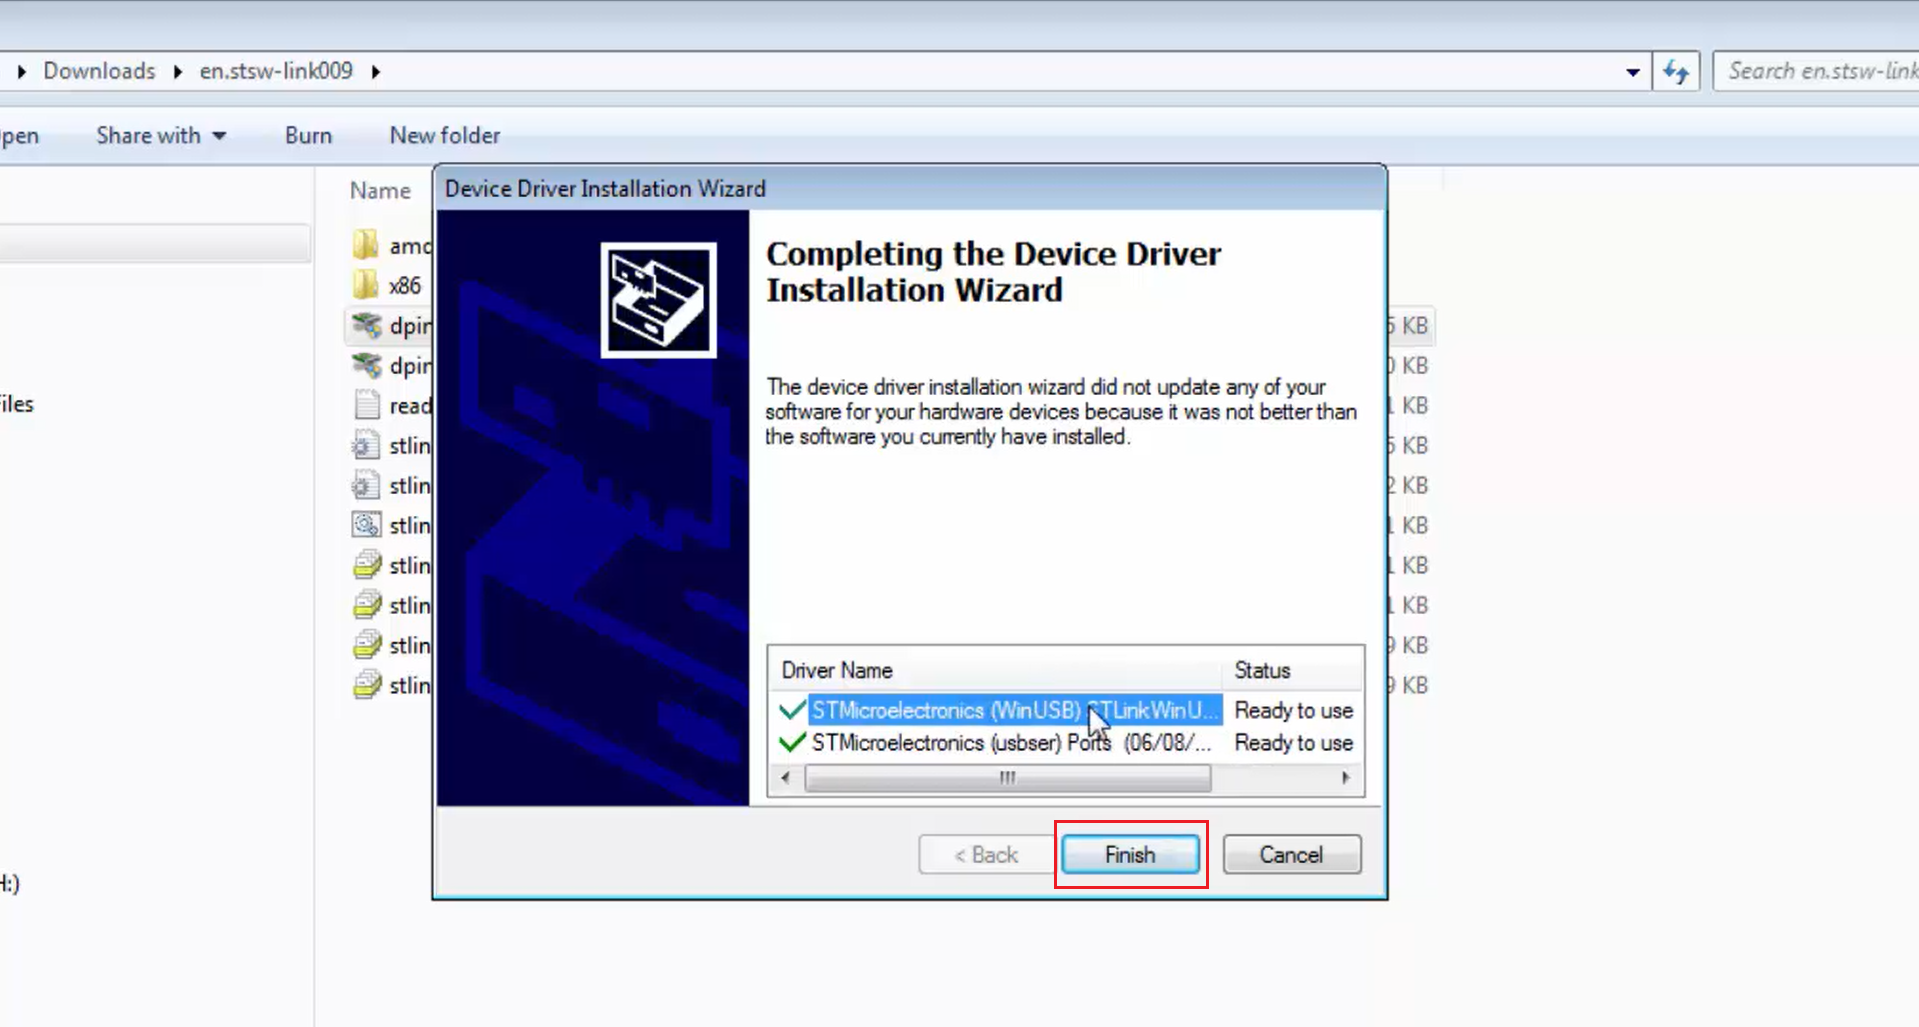
- The software will install the WinUSB driver (Figure 6), which is required in order to talk to the ST-Link, and it also installs other drivers. Upon completion of the installation, click “Finish” (Figure 7).

- See your device manager. When your Nucleo board is connected, a COM port will be visible under “Ports,” and the “STMicroelectronics STLink dongle” option will appear in “USB devices” (Figure 8)
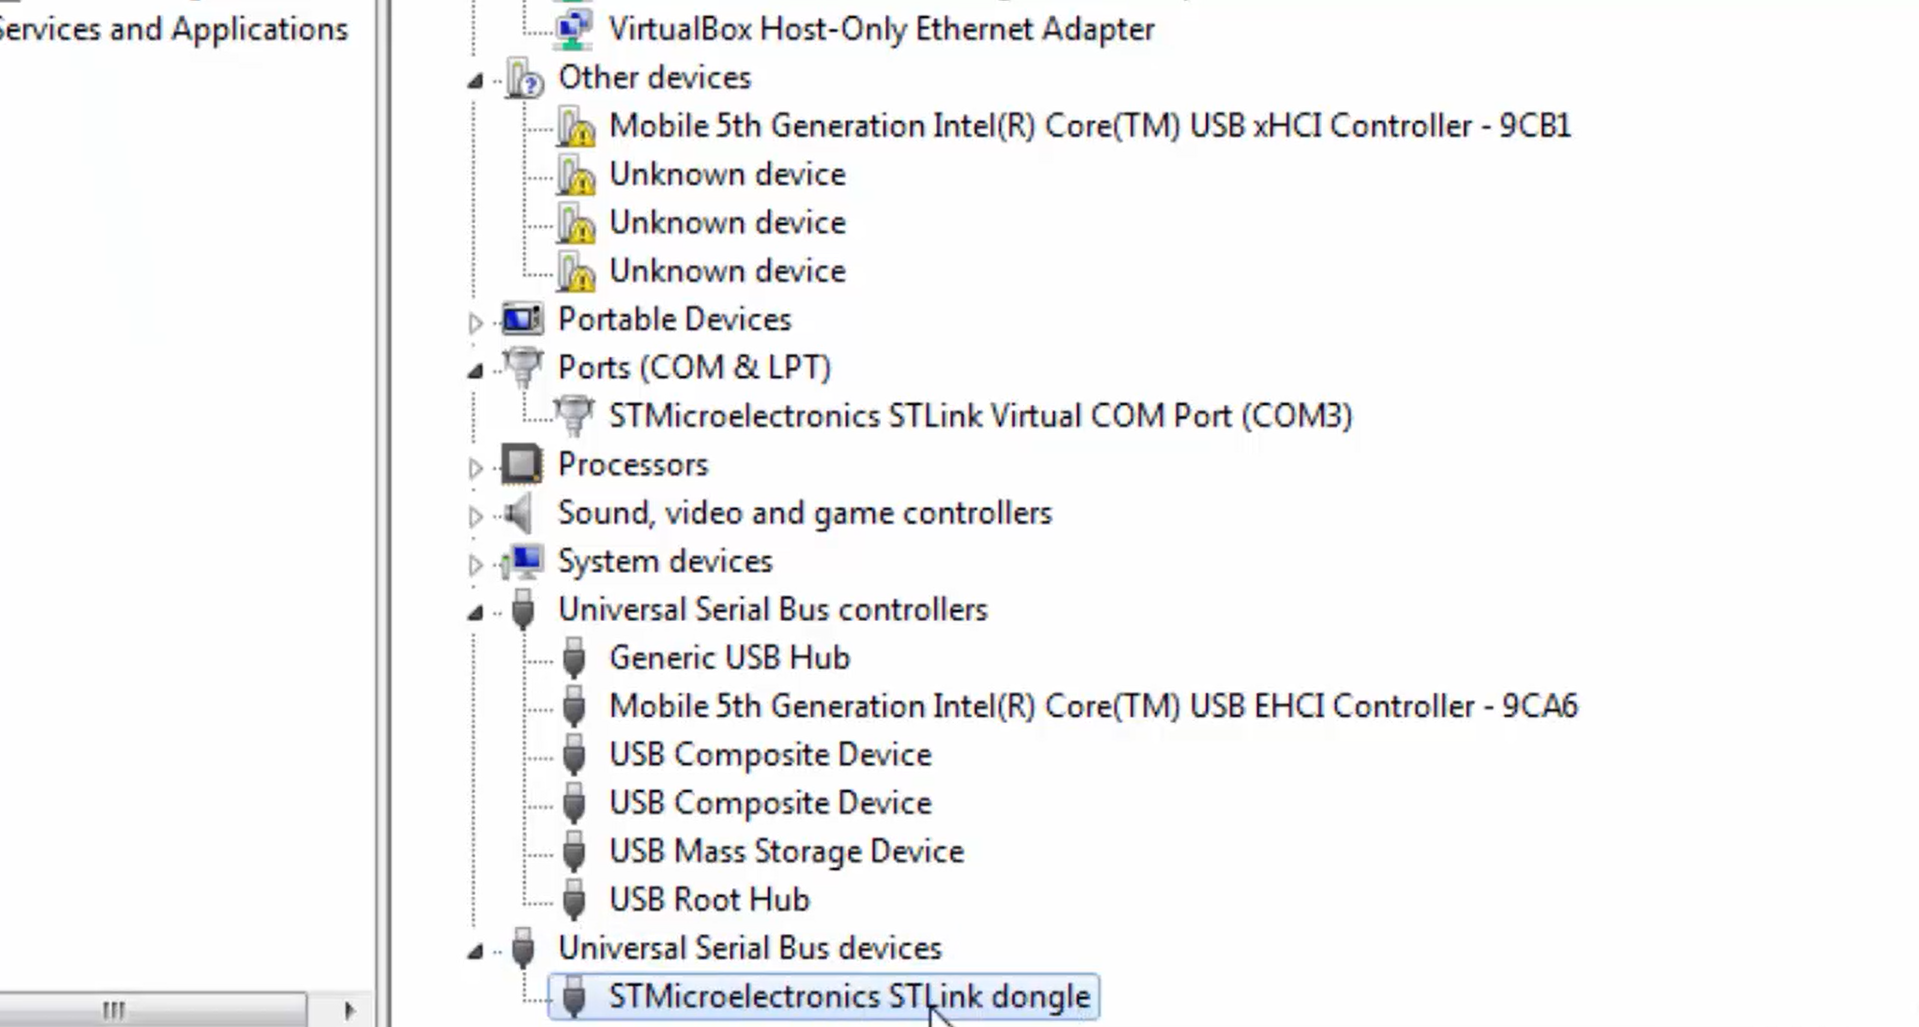
In order to communicate with the board over UART, you use the ST-Link Virtual COM Port interface, and your host application or host IDE uses STMicroelectronics STLink dongle interface, which is an interface used for debugging.
Remember, the correct installation of the ST-Link driver is of utmost importance upon obtaining your board.
ST-LINK Driver for Ubuntu:
For Ubuntu users:
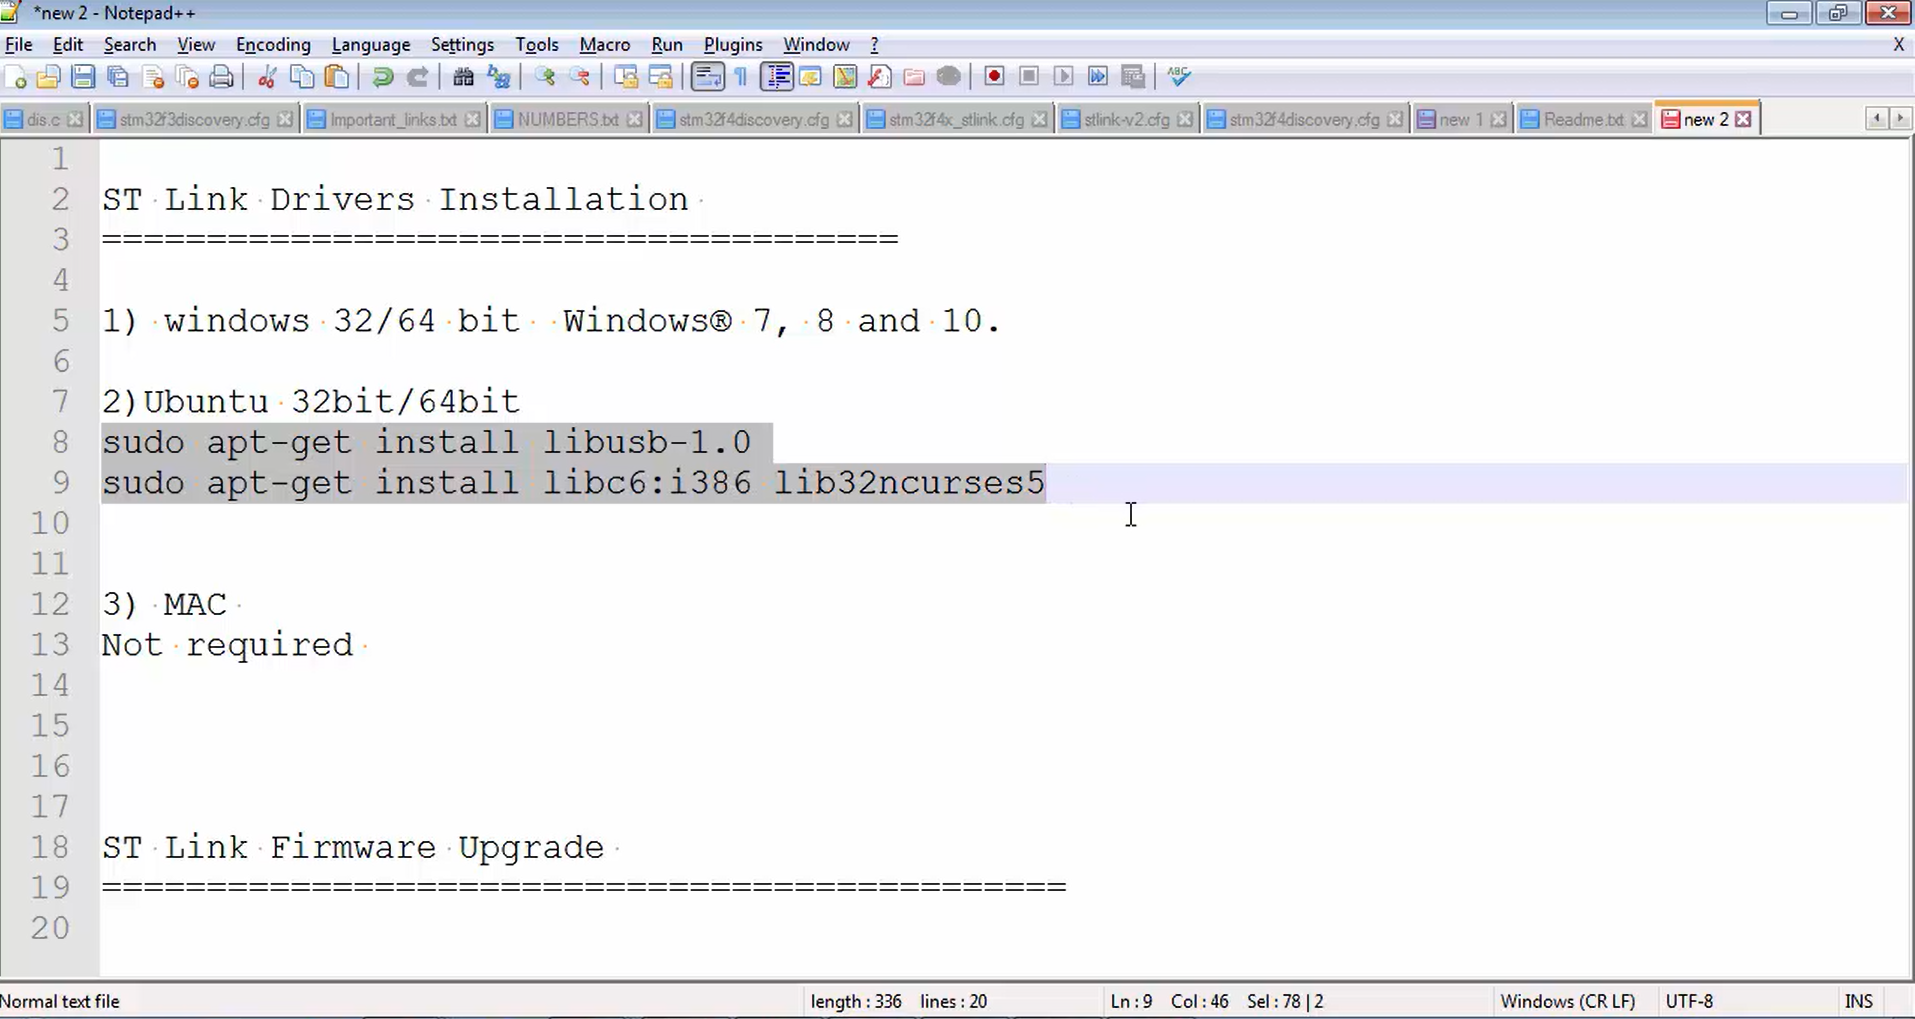
- Follow the commands displayed in Figure 9 using your command prompt to install the necessary packages. Notably, ST doesn’t offer specific drivers for Ubuntu or MAC, hence Ubuntu users should proceed with package installations as indicated.
ST-LINK Driver for MAC:
Fortunately, no driver installation is required for MAC systems.
In the following article, let’s learn ST Link Firmware Upgrade.
FastBit Embedded Brain Academy Courses
click here:https://fastbitlab.com/course1

