Exercise : Testing repeated start
In this article, let’s understand the concept of repeated start. Why repeated start is used and how to change our APIs to make use of repeated start all these things we are going to learn now.
The waveform obtained from the master receive data exercise is, as shown in Figure 1.

If you analyze the waveform in Figure 1, the first I2C transaction is master write, which starts from the first green circle and ends at the first red circle, as shown in Figure 2.
The stop condition is generated at the end to stop (or end) the first I2C transaction. The stop condition in Figure 2 is not required. Instead of raising the stop condition at the end of the first I2C transaction, you can go ahead and generate one more start condition in order to begin the next I2C transaction.

Look at Figure 3. The green circle pointed with the cursor is the beginning of the second I2C transaction, and the red circle is the end of the first I2C transaction.

Observe Figure 3, the bus is released for 5 microseconds, and both the SCL and SDA lines are also released, allowing another master to claim the bus. Therefore, the stop condition is generated at the end of the first I2C transaction because you may not be able to complete all other transactions on time since the SCL and SDA lines are released.
Generating a stop means giving a chance for another master to claim the bus.
If you think your data transaction is critical and you have to complete all the I2C transactions on time, then go ahead and generate one more start condition instead of generating a stop at the end of the first transaction. When you generate one more start condition, that will be called a repeated start.
Repeated start means generating start condition without generating stop condition for the previous I2C transaction.
Now let’s make the required changes to the code to include repeated start:
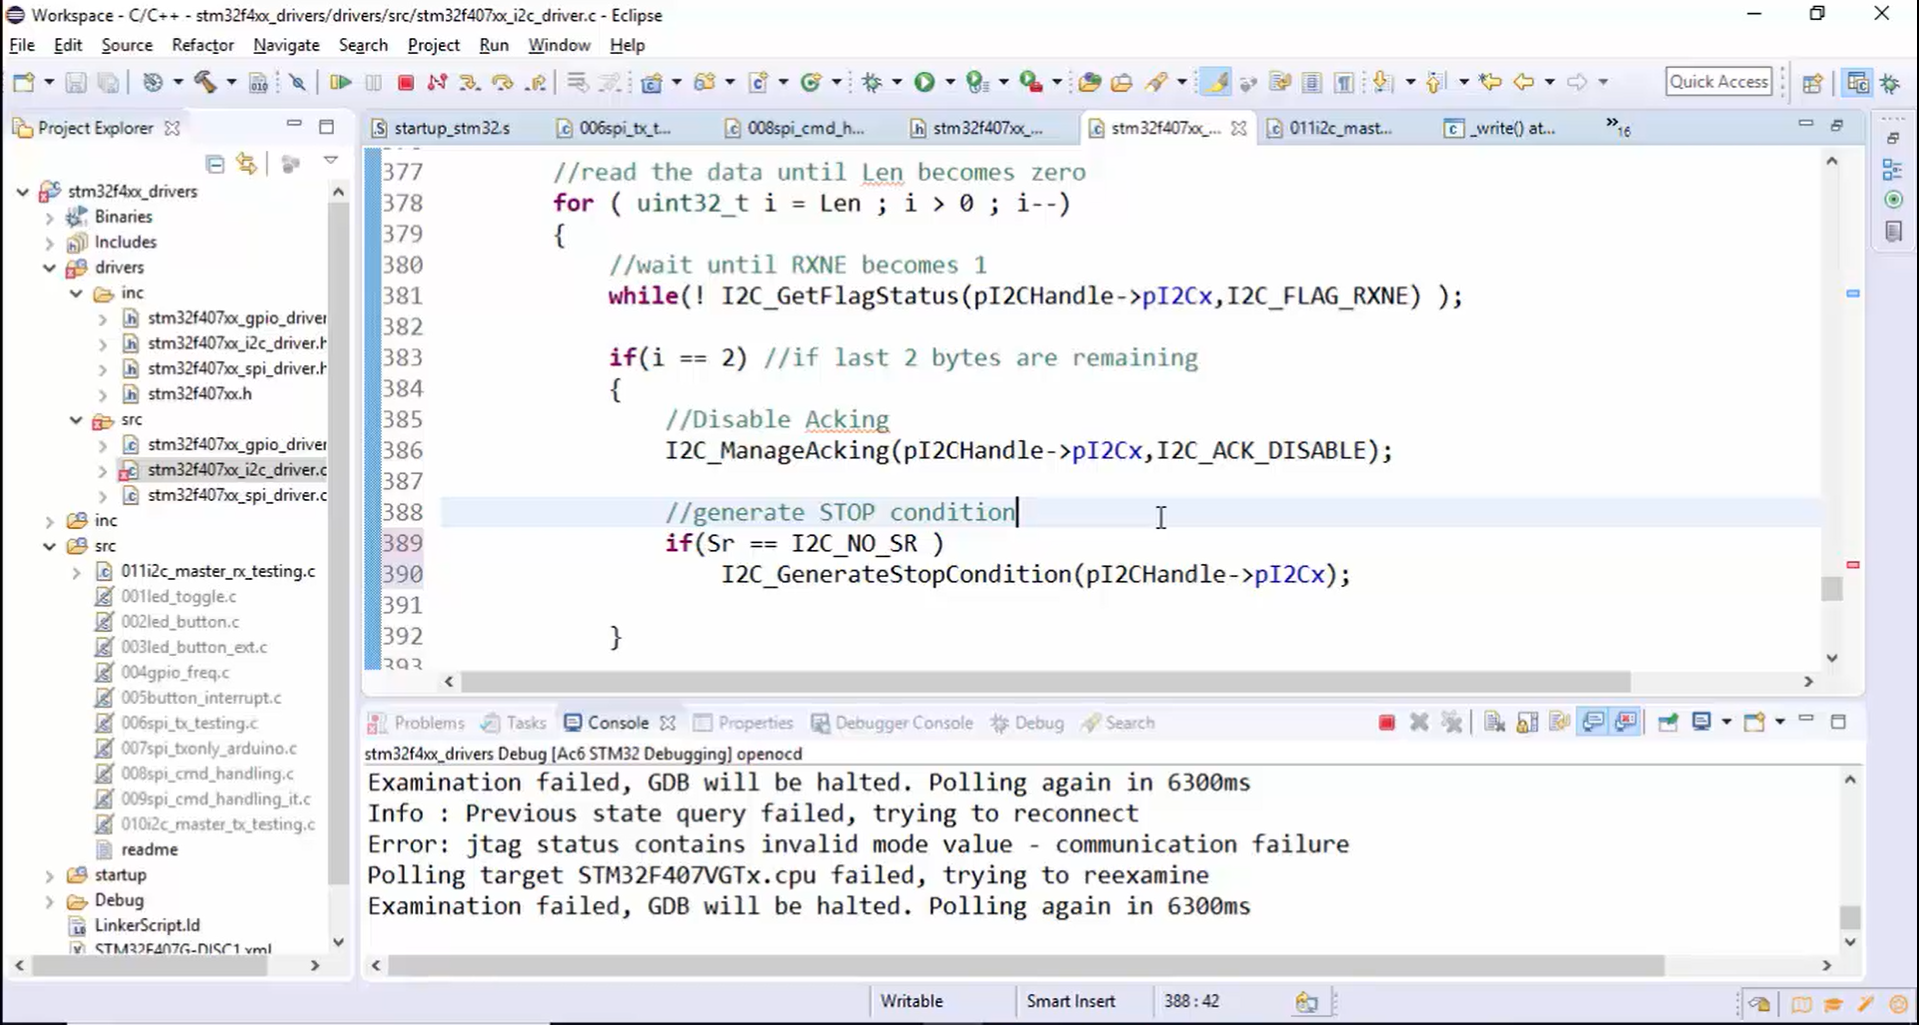
- To include the repeated start, you have to avoid generating unnecessary stop conditions. To achieve the repeated start, avoid the generation of stop condition at the end of the master send data API (Figure 4). This can be done using an if statement, as shown in Figure 5. Here Sr is an argument taken from the user.


- Create one more argument for master send data API, as shown in Figure 6.

- Add the argument Sr in the prototype of master send data API (Figure 7).

- In the if statement, instead of comparing Sr with zero (Figure 5), compare Sr with I2C_NO_SR macro, as shown in Figure 8.

- Define I2C_NO_SR and I2C_SR macros at the beginning of the I2C header file.

Now in the driver.c, if it is I2C_NO_SR, then stop will be generated; otherwise, the stop will not be generated.
- Similarly, change the master receive data API, as shown in Figure 10, Figure 11, Figure 12, and Figure 13.


The name I2C_NO_SR and I2C_SR are a little confusing; instead, use I2C_DISABLE_SR and I2C_ENABLE_SR (Figure 15), respectively.

Similarly, replace every I2C_NO_SR and I2C_SR with I2C_DISABLE_SR and I2C_ENABLE_SR.
- Go to the application and give the last argument for MasterSendData and MasterReceiveData APIs, as shown in Figure 15.

Look at Figure 15. The I2C_DISABLE_SR is used only in the second MasterReceiveData API because that is the place where the I2C transaction must end.
- Test the application by capturing the data using a logic analyzer.
In Figure 16, you can see a couple of repeated starts, not a repeated stop. There is only one stop at the end of the message transfer.

The master starts transactions from the first green circle, and it won’t generate any stop condition in between until it finishes all transactions.
In Figure 17, you can observe that when the clock is high, there is a transition of the SDA line, which is called a start condition.

In this case, the master will hold the bus for 2ms (Figure 18). Until the master finishes all the I2C transactions, no other master can trouble this master. Therefore, the repeated start is the best choice while using the I2C bus in multi-master communication.

In the following article, let’s see I2C IRQ and interrupt discussion.
FastBit Embedded Brain Academy Courses,
Click here: https://fastbitlab.com/course1


