Exercise: Testing I2C interrupt APIs part 2
Now let’s check whether the ACK failure in the code (Figure 1) is called or not.
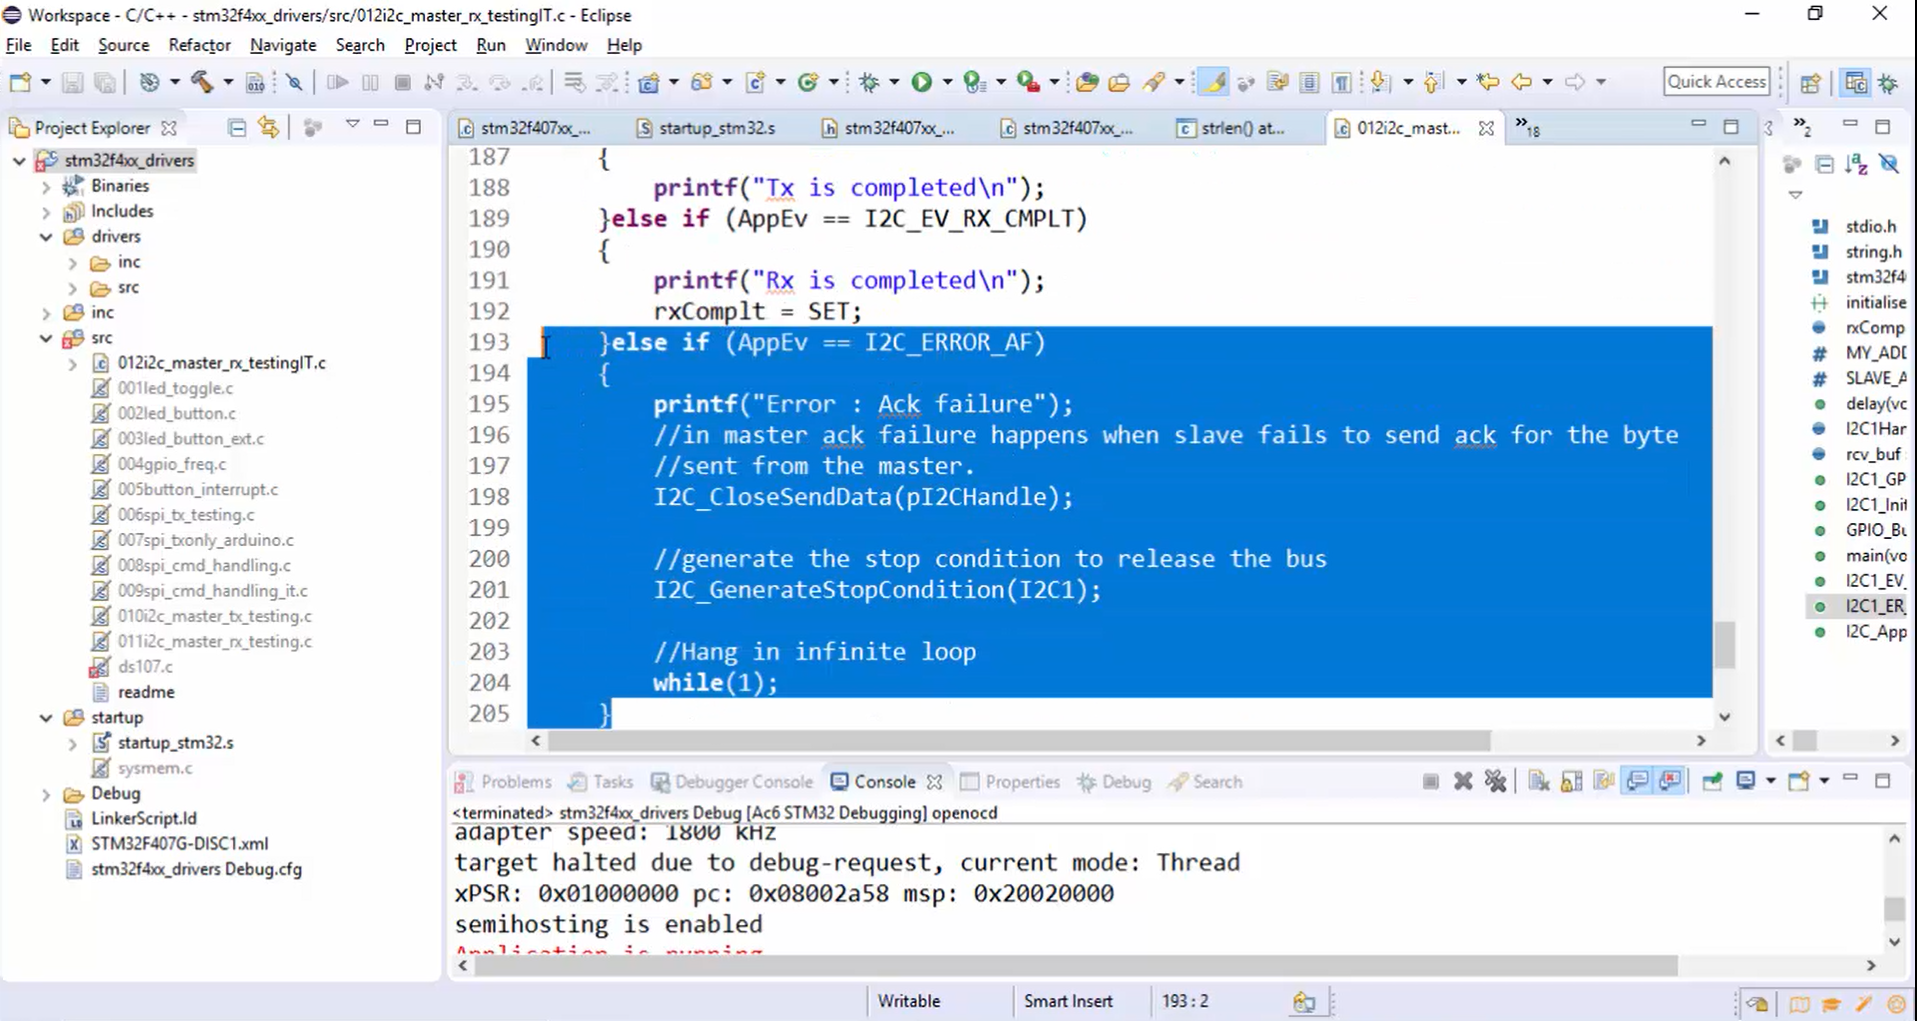
Steps to check whether the ACK failure is called are not:
1. In the master code, change the slave address, as shown in Figure 2.
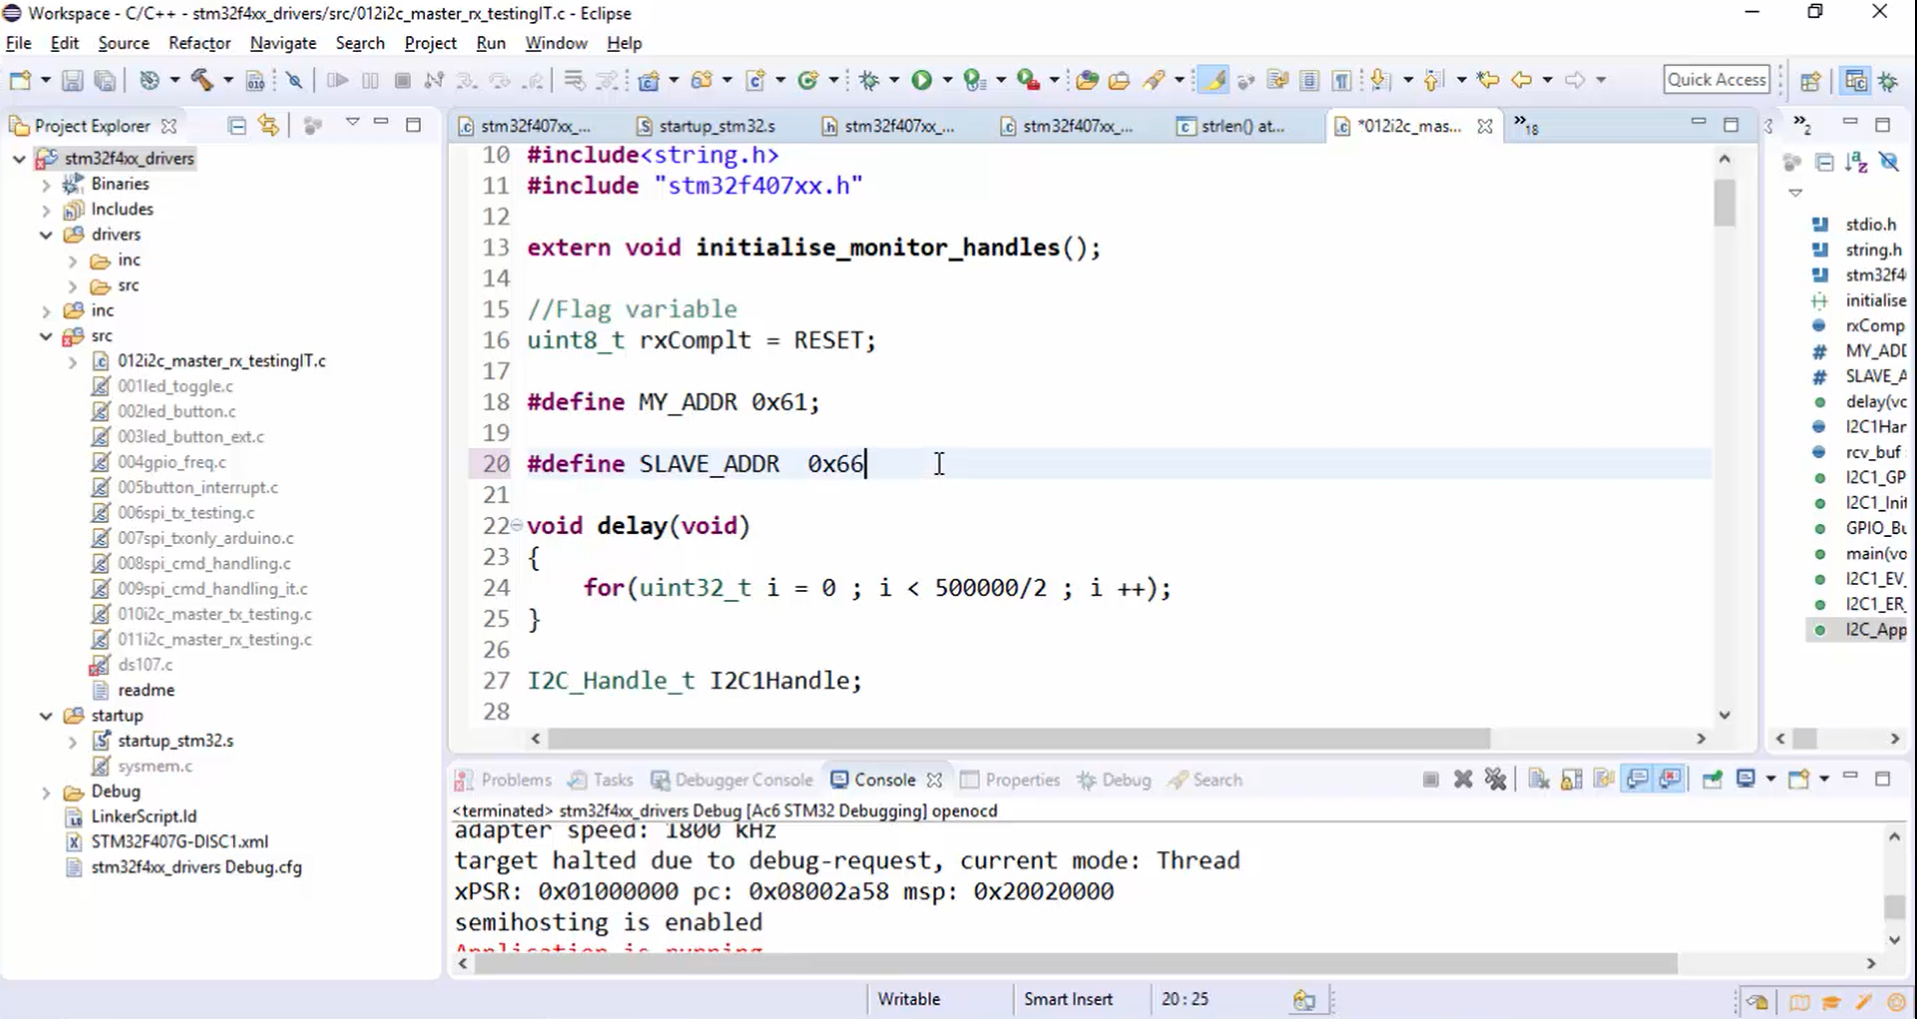
When you change the slave address to 0x66, it will result in an ACK failure because there is no device with address 0x66 is present in the connection.
2. Make sure that in the printf statement shown in Figure 2, the string is terminated by the \n; otherwise, semi hosting will face problems. When you use semi hosting, if the string is not terminated with \n, then the printf statement will not work.

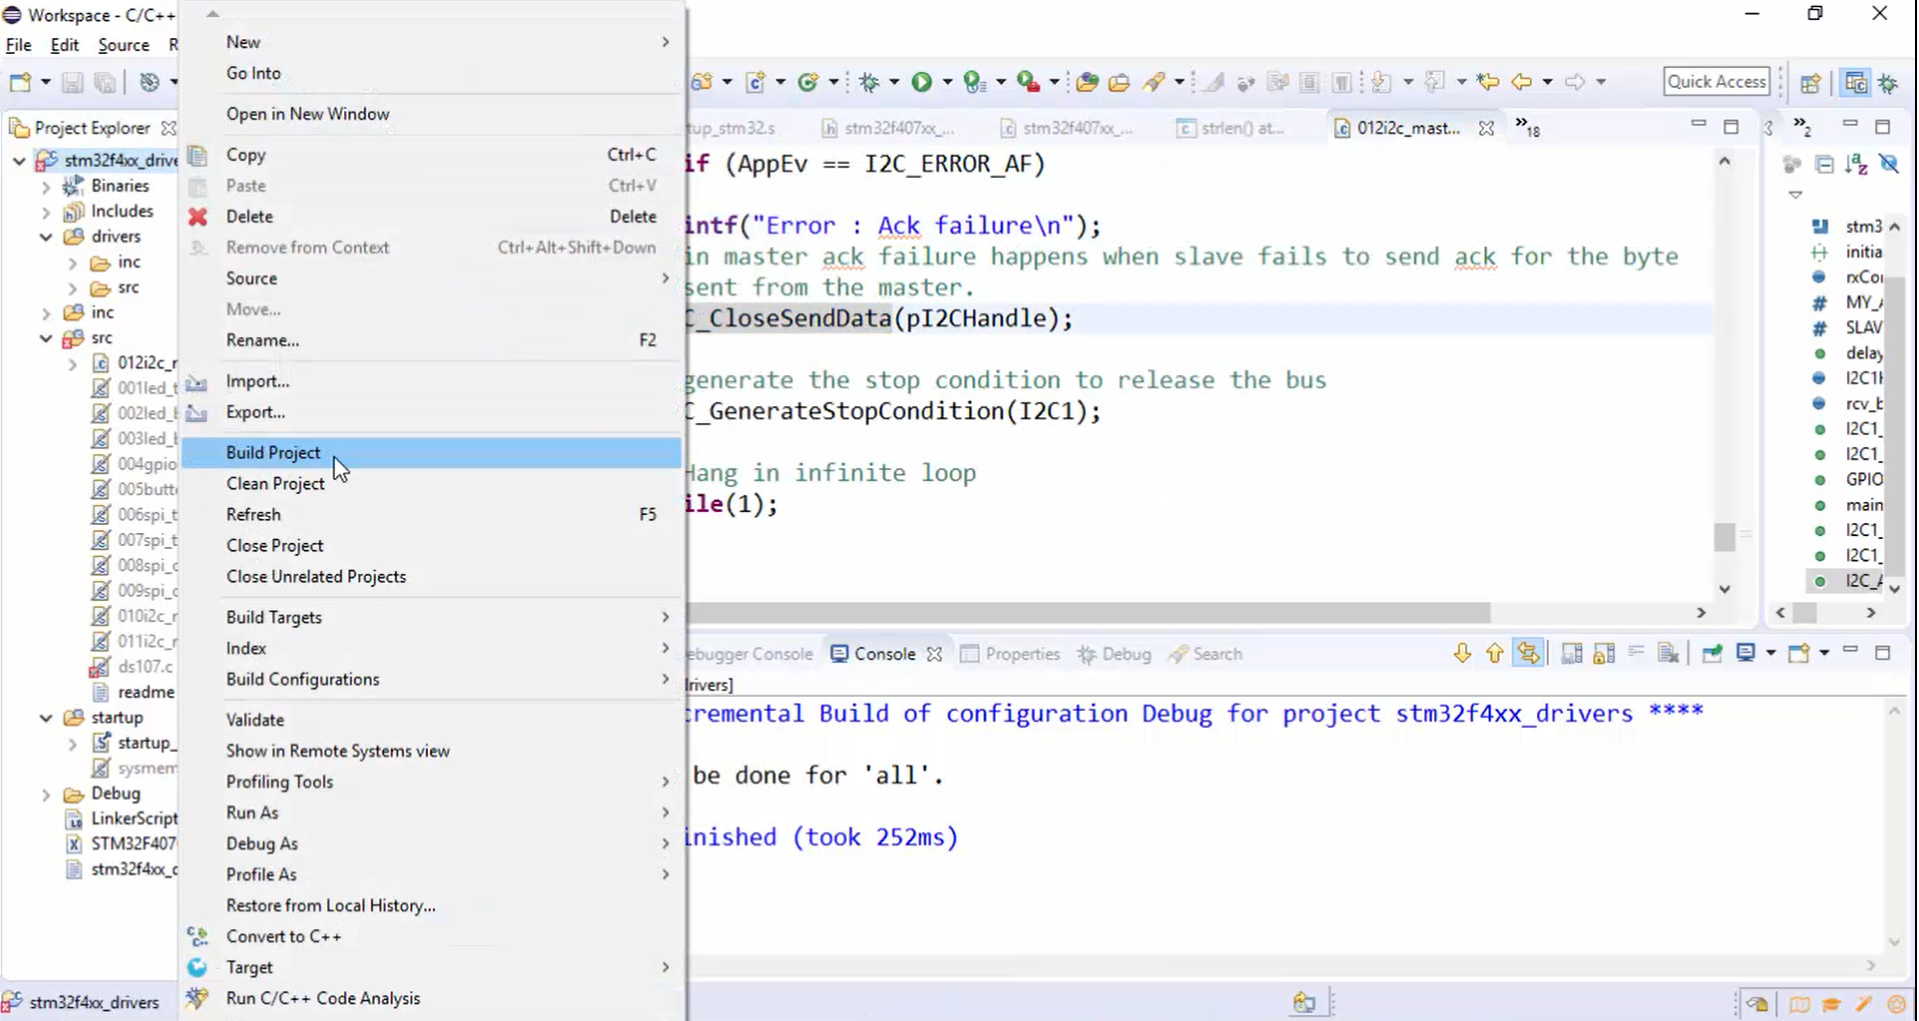
3. Compile the code (Figure 4) and see how it behaves.
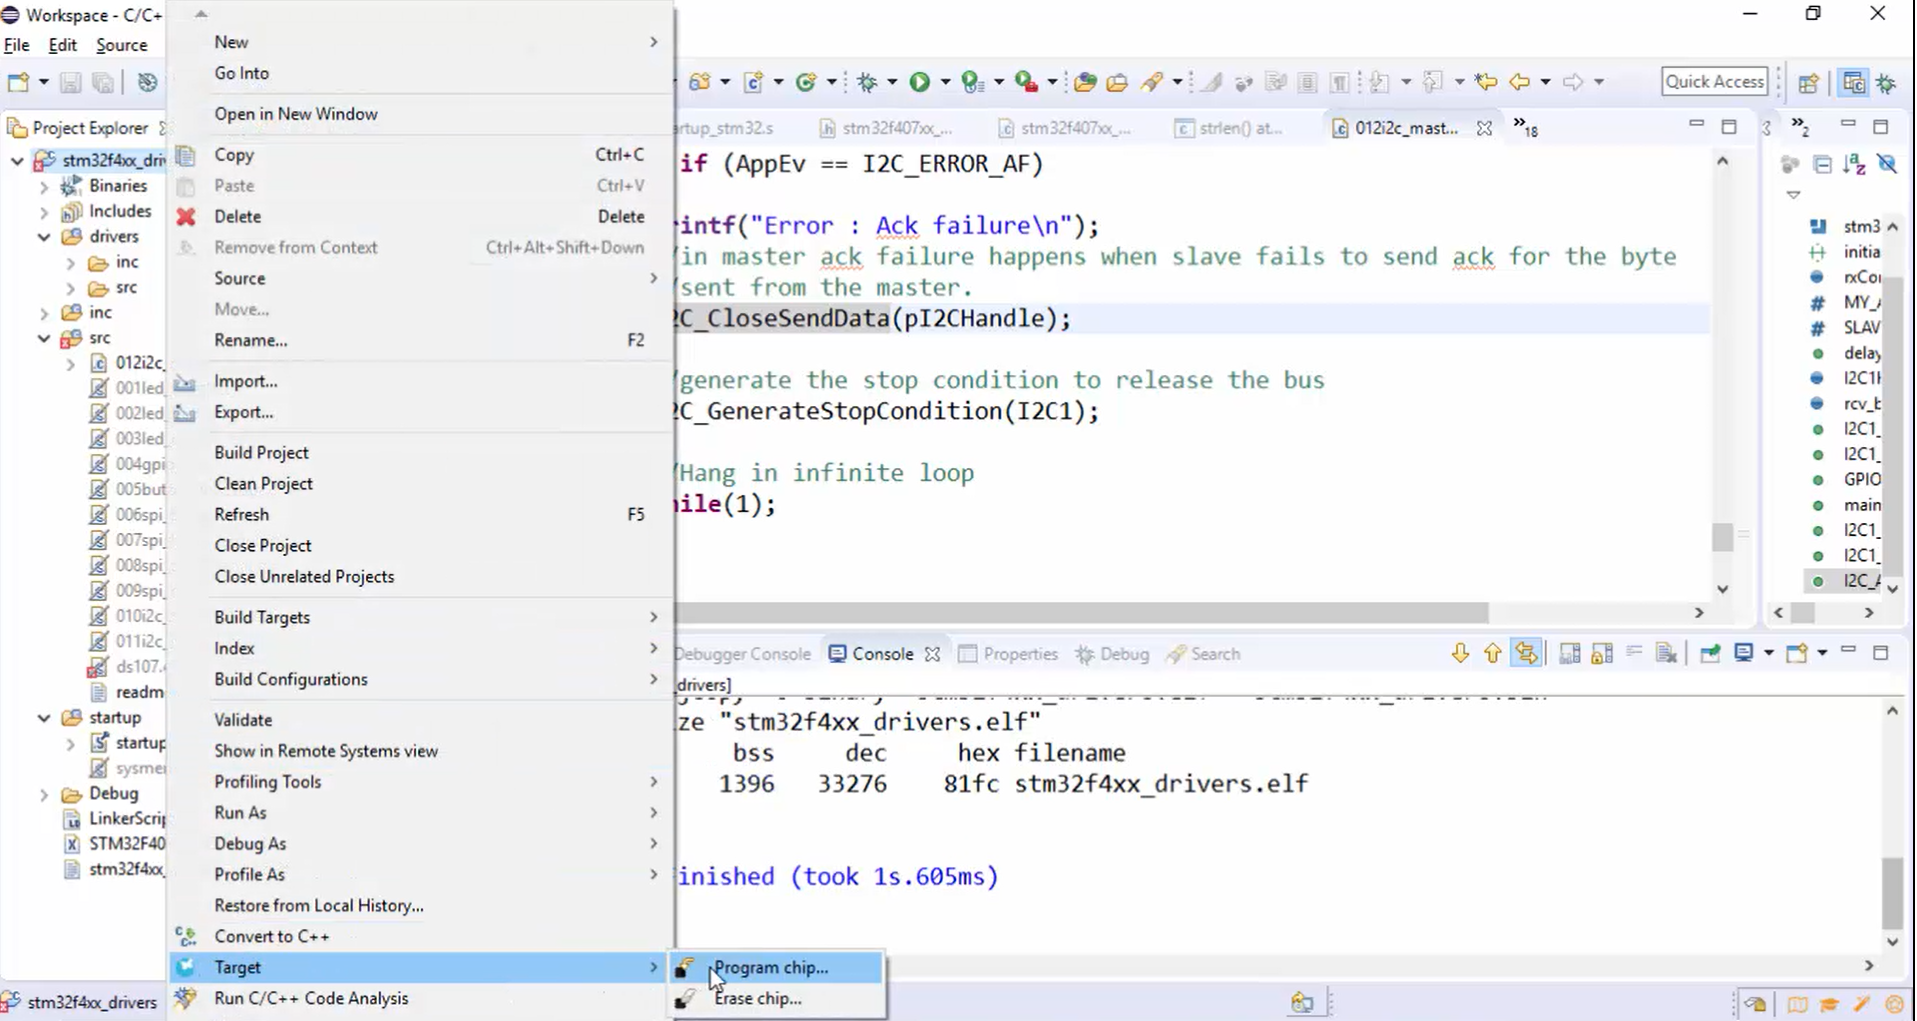
4. Program the chip (Figure 5).
5. Go to the debugging mode (Figure 6).
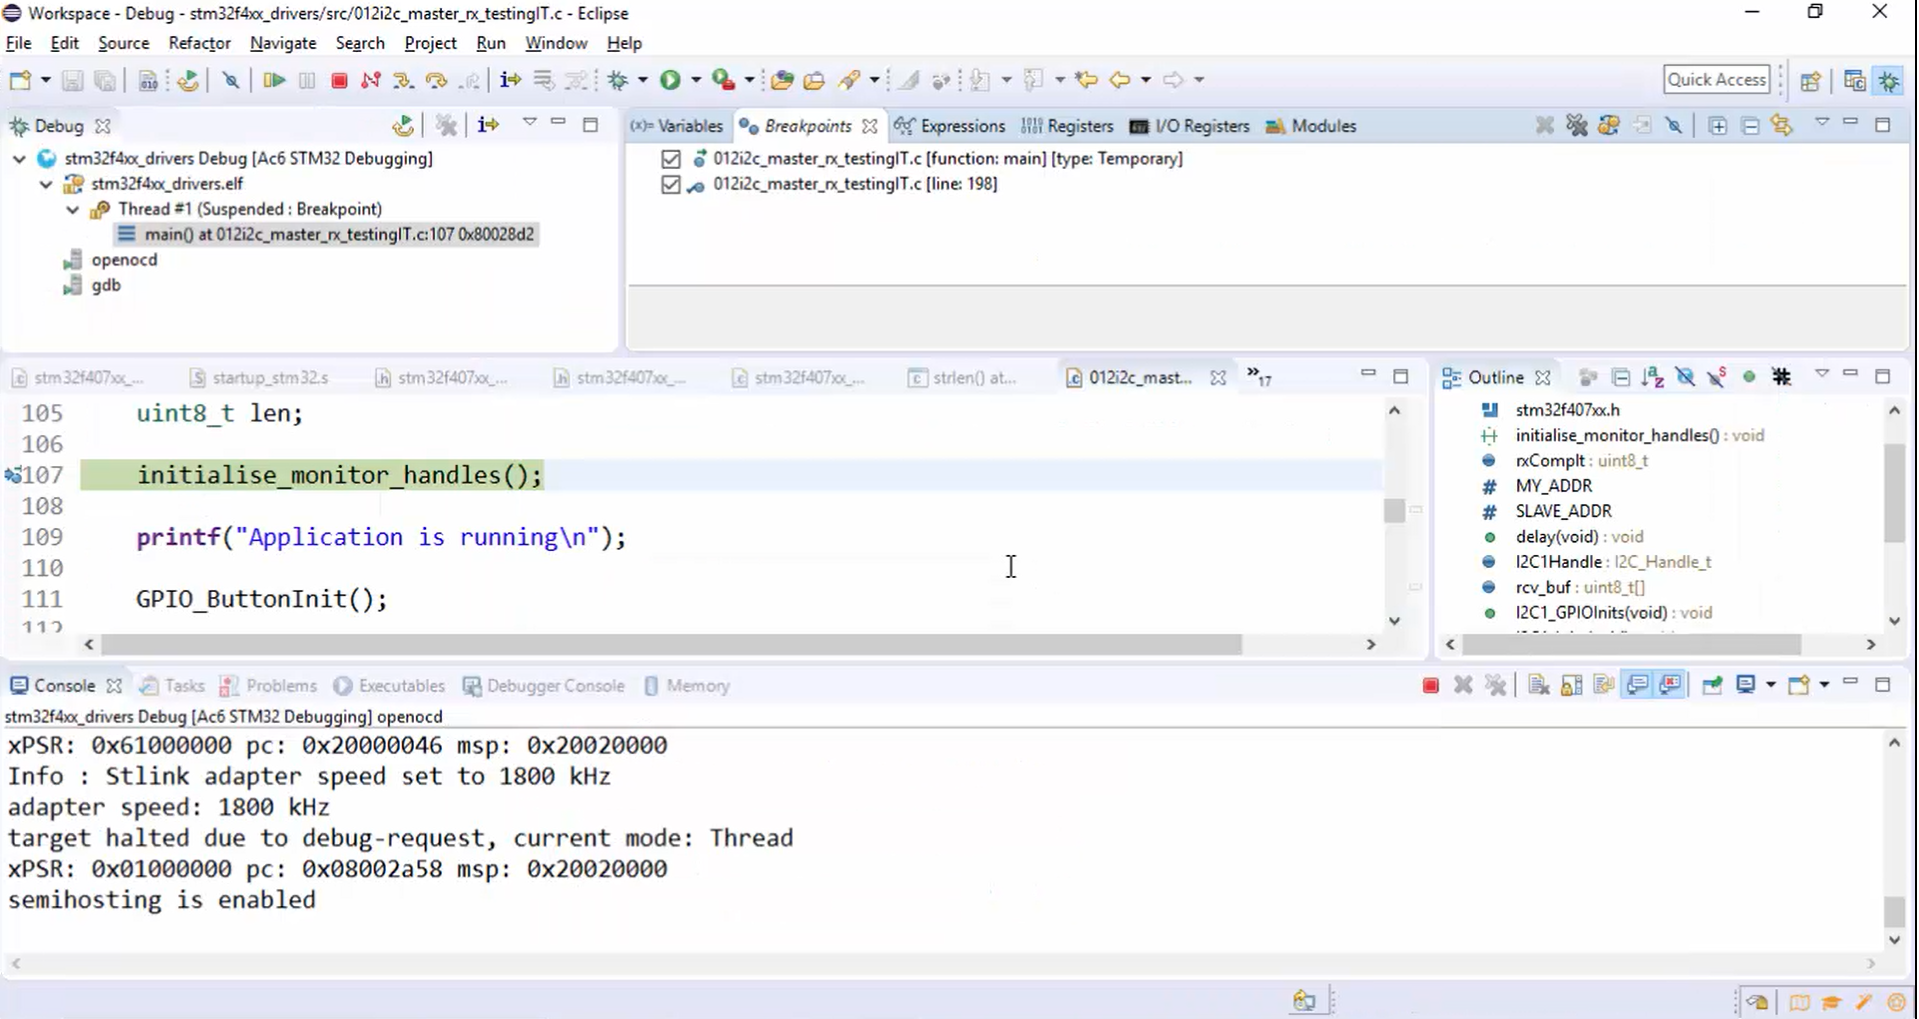
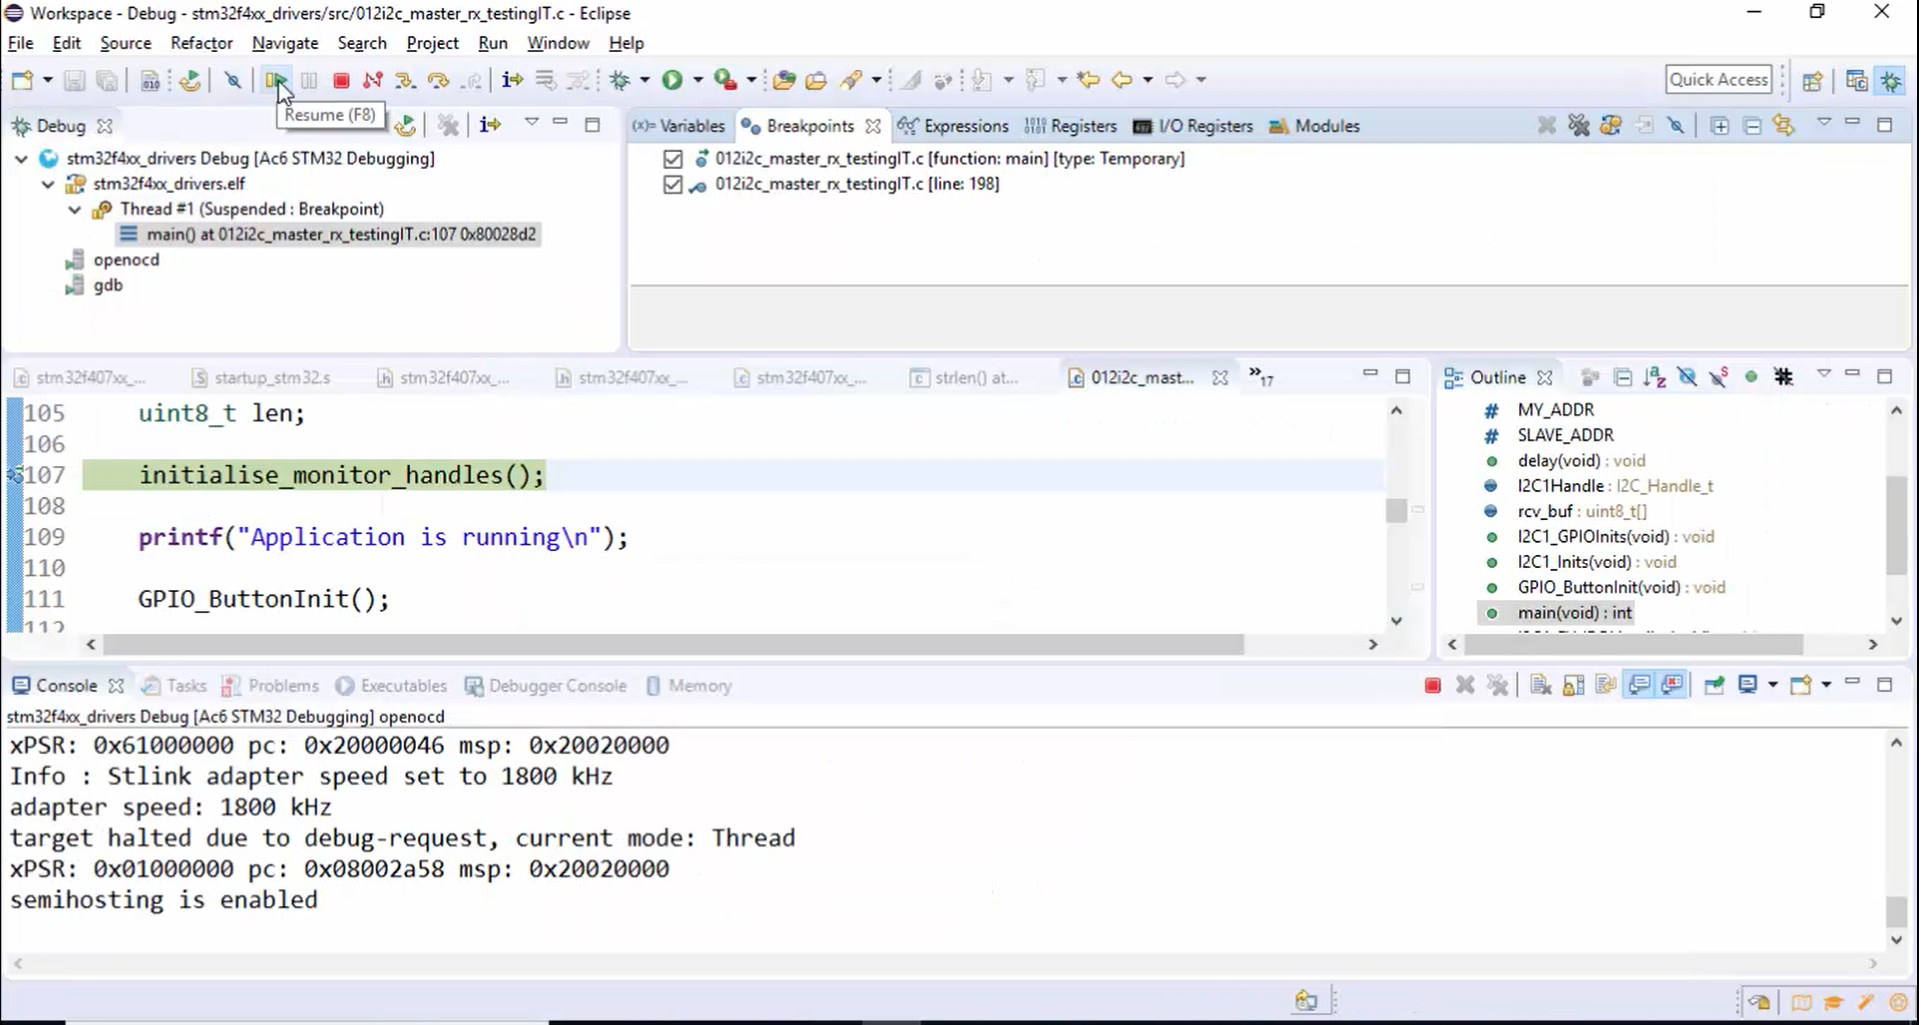
6. Run the application by clicking the run button, shown in Figure 7.
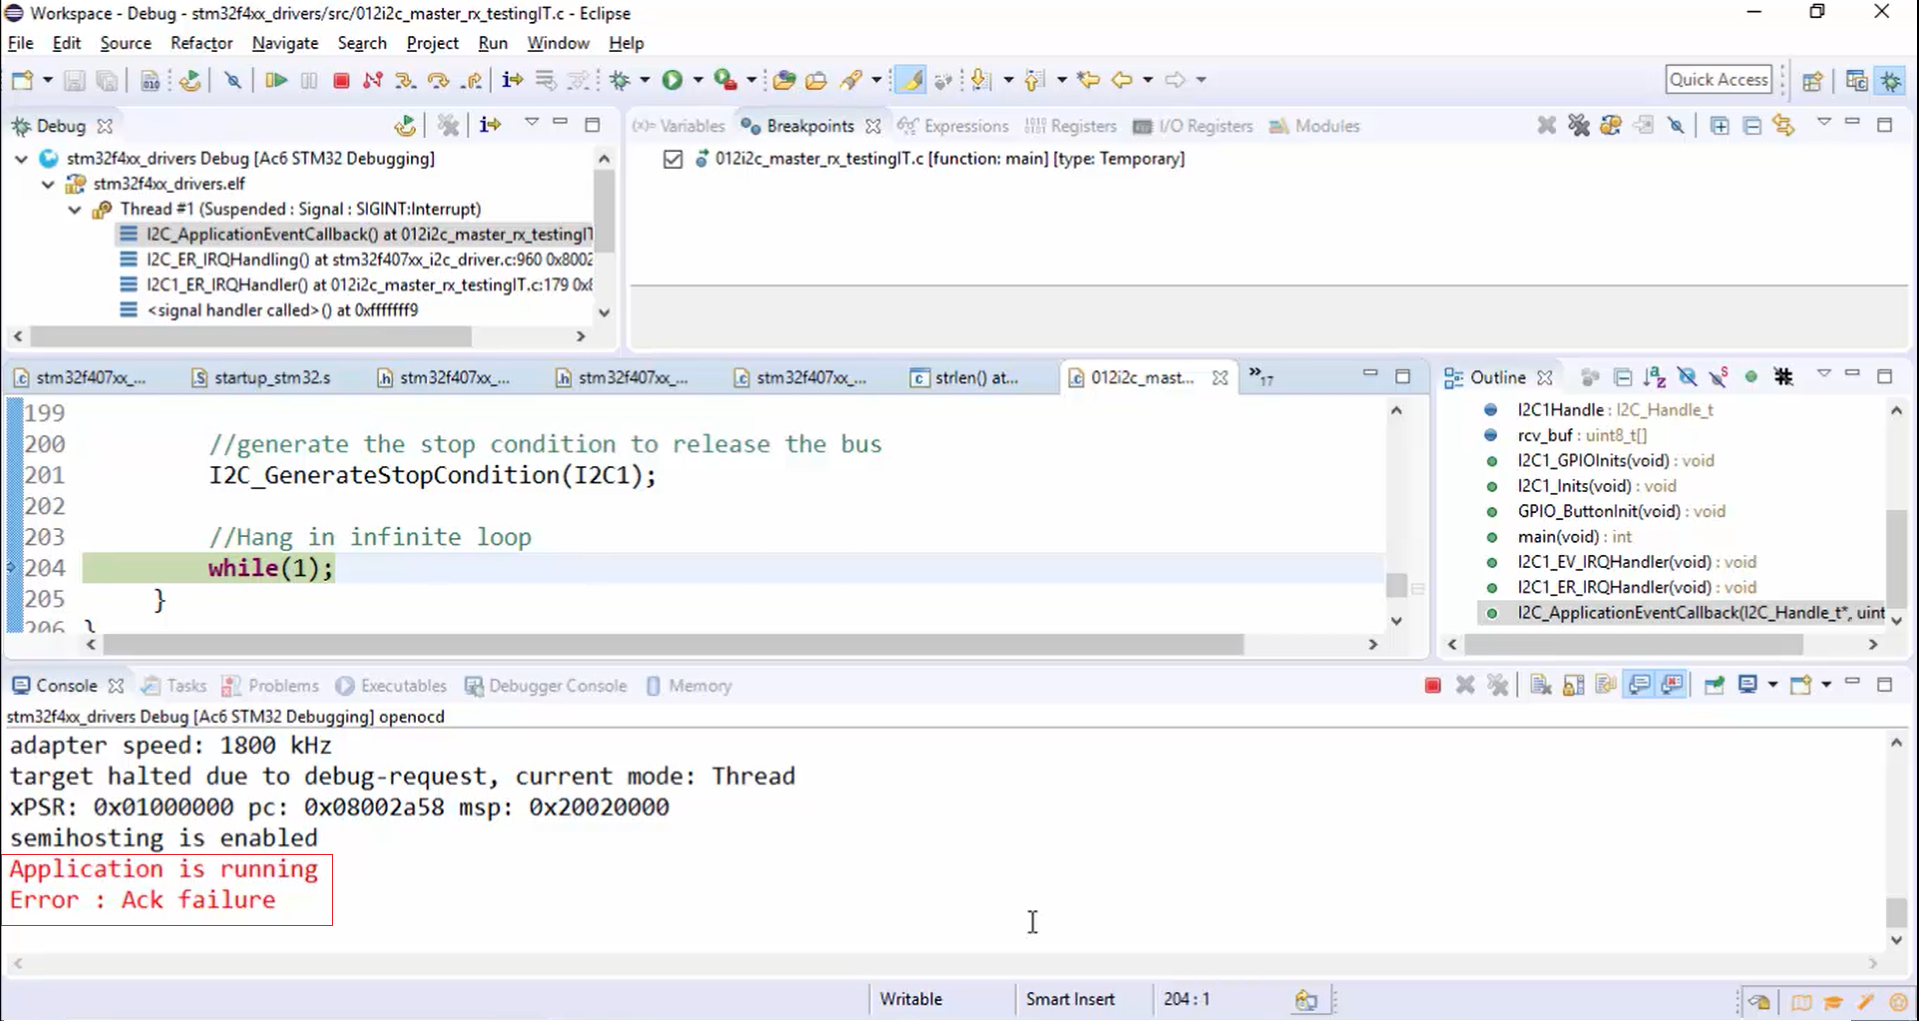
7. The application is running now. Let’s press the user button. Look at Figure 8. The error message ACK failure is displayed on the console or output pane, and the program hangs in the while loop.
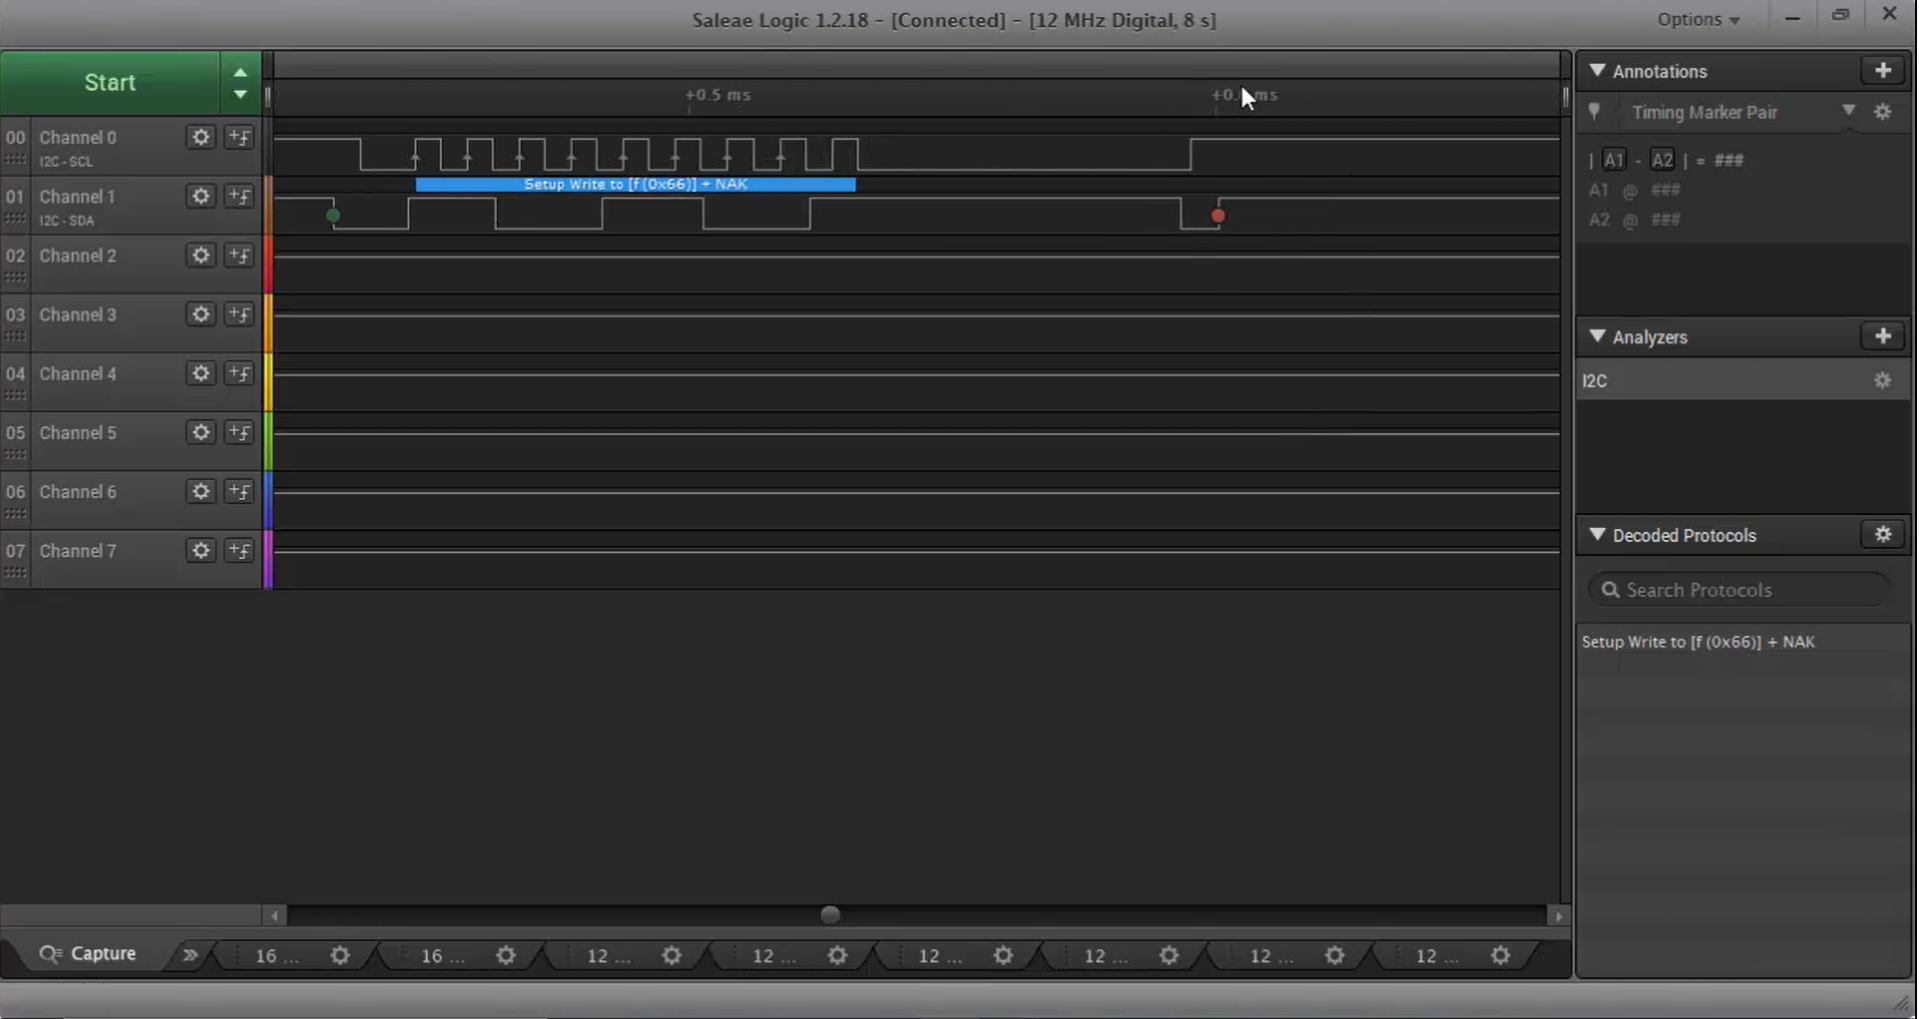
8. Take a look into the trace shown in Figure 9. First, the address 0x66 is generated, then the NACK is received for that. After that, the program hangs in the loop for a while, and then the communication is closed by releasing the SCL and SDA lines.
