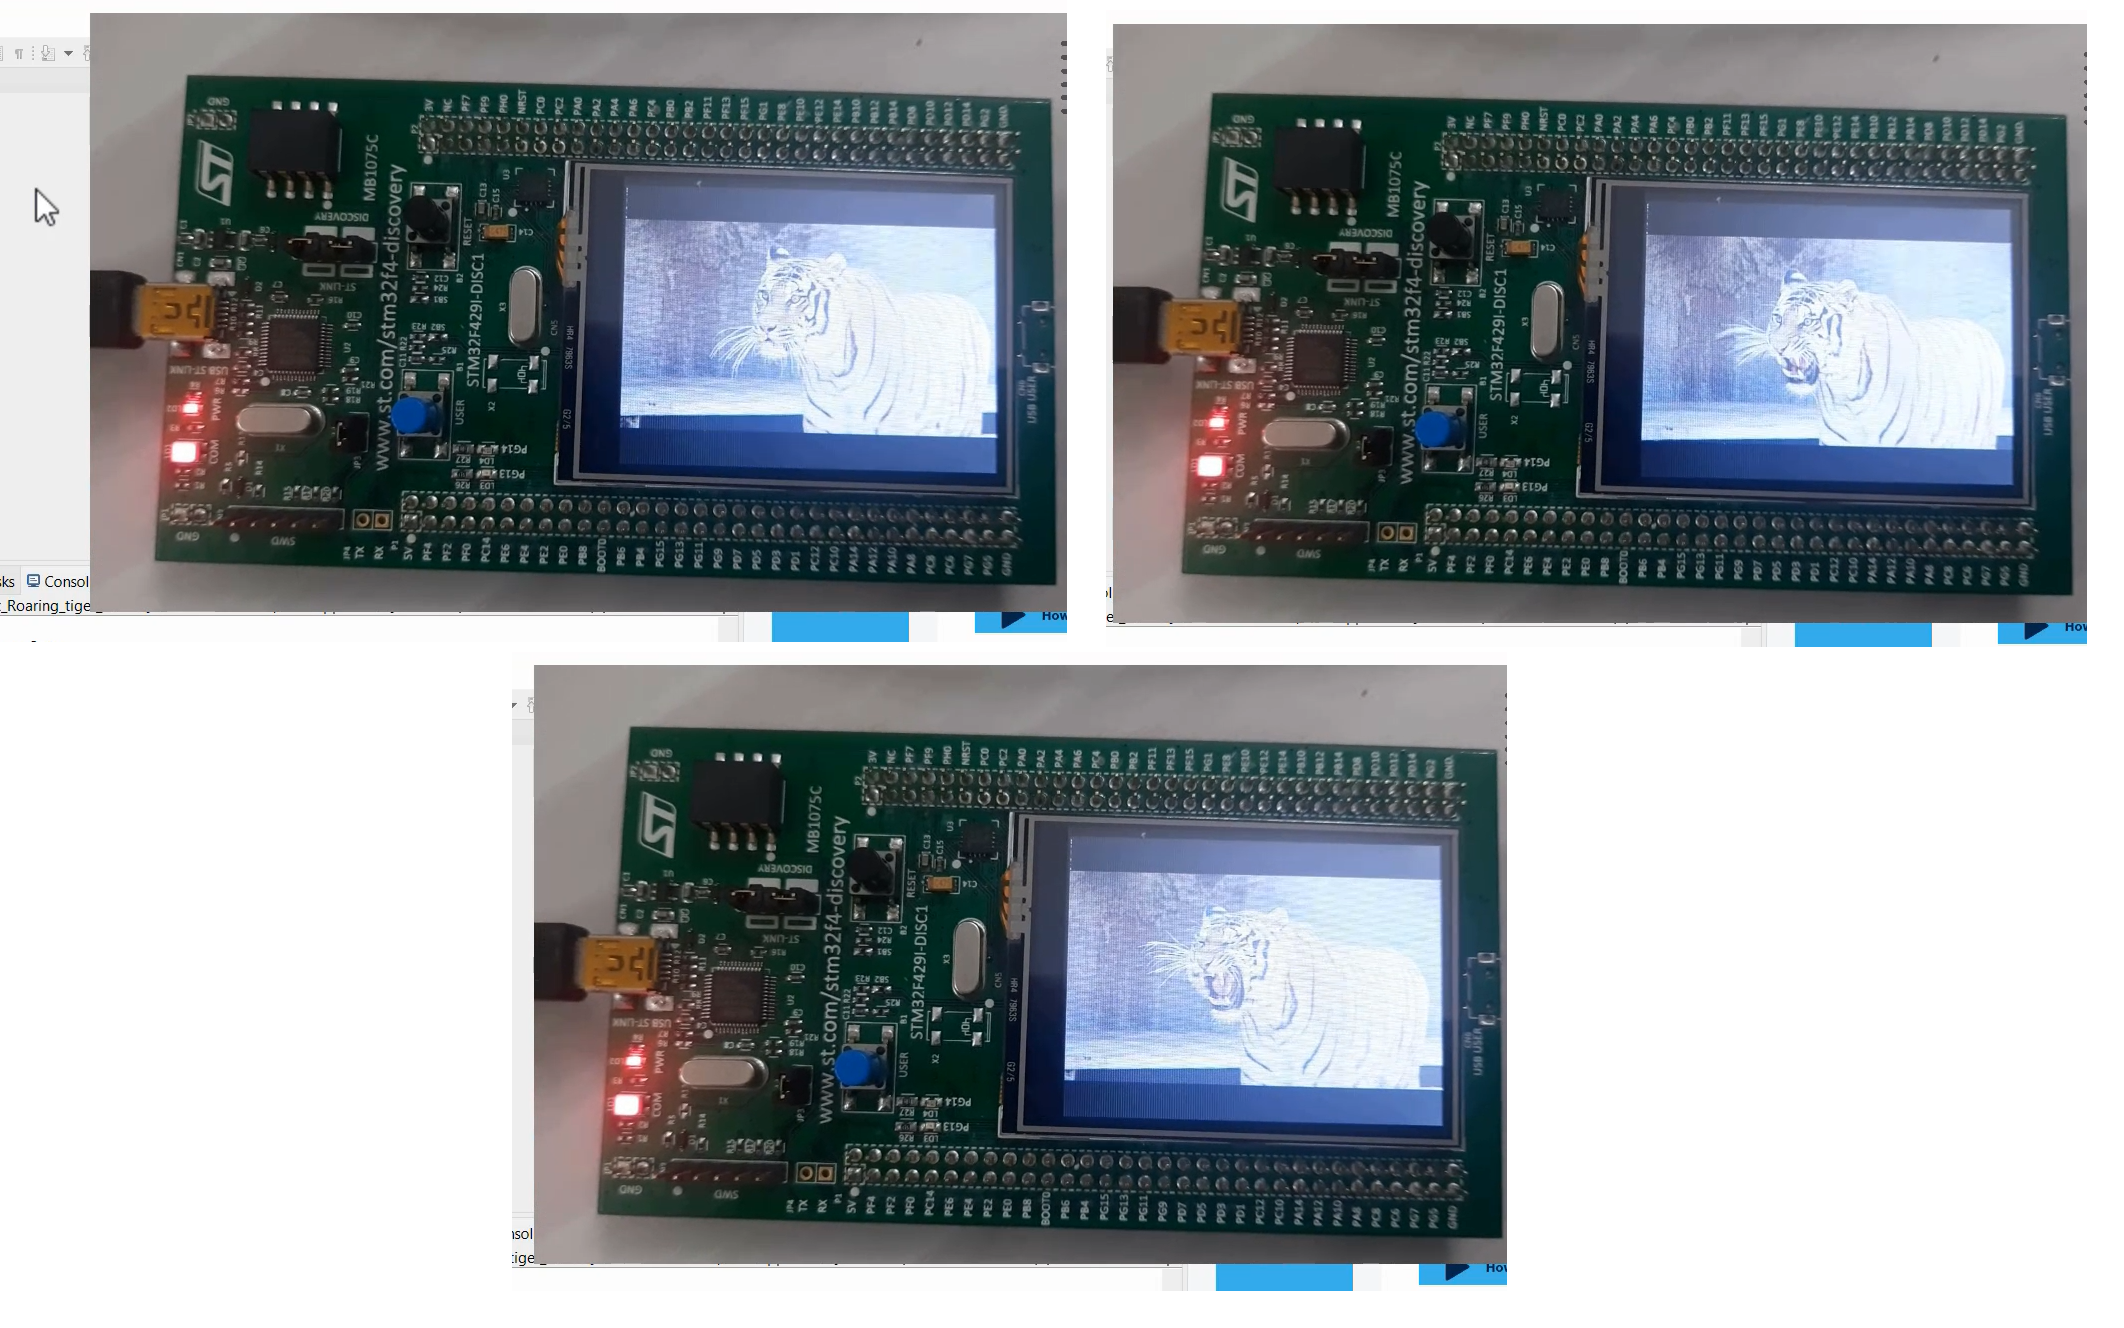
Roaring tiger demo on STM32F429DISC board
In this article, let’s explore some demos on various boards such as 32F429DISCOVERY, 32F746GDISCOVERY, and 32F407DISCOVERY+SPI based LCD module.
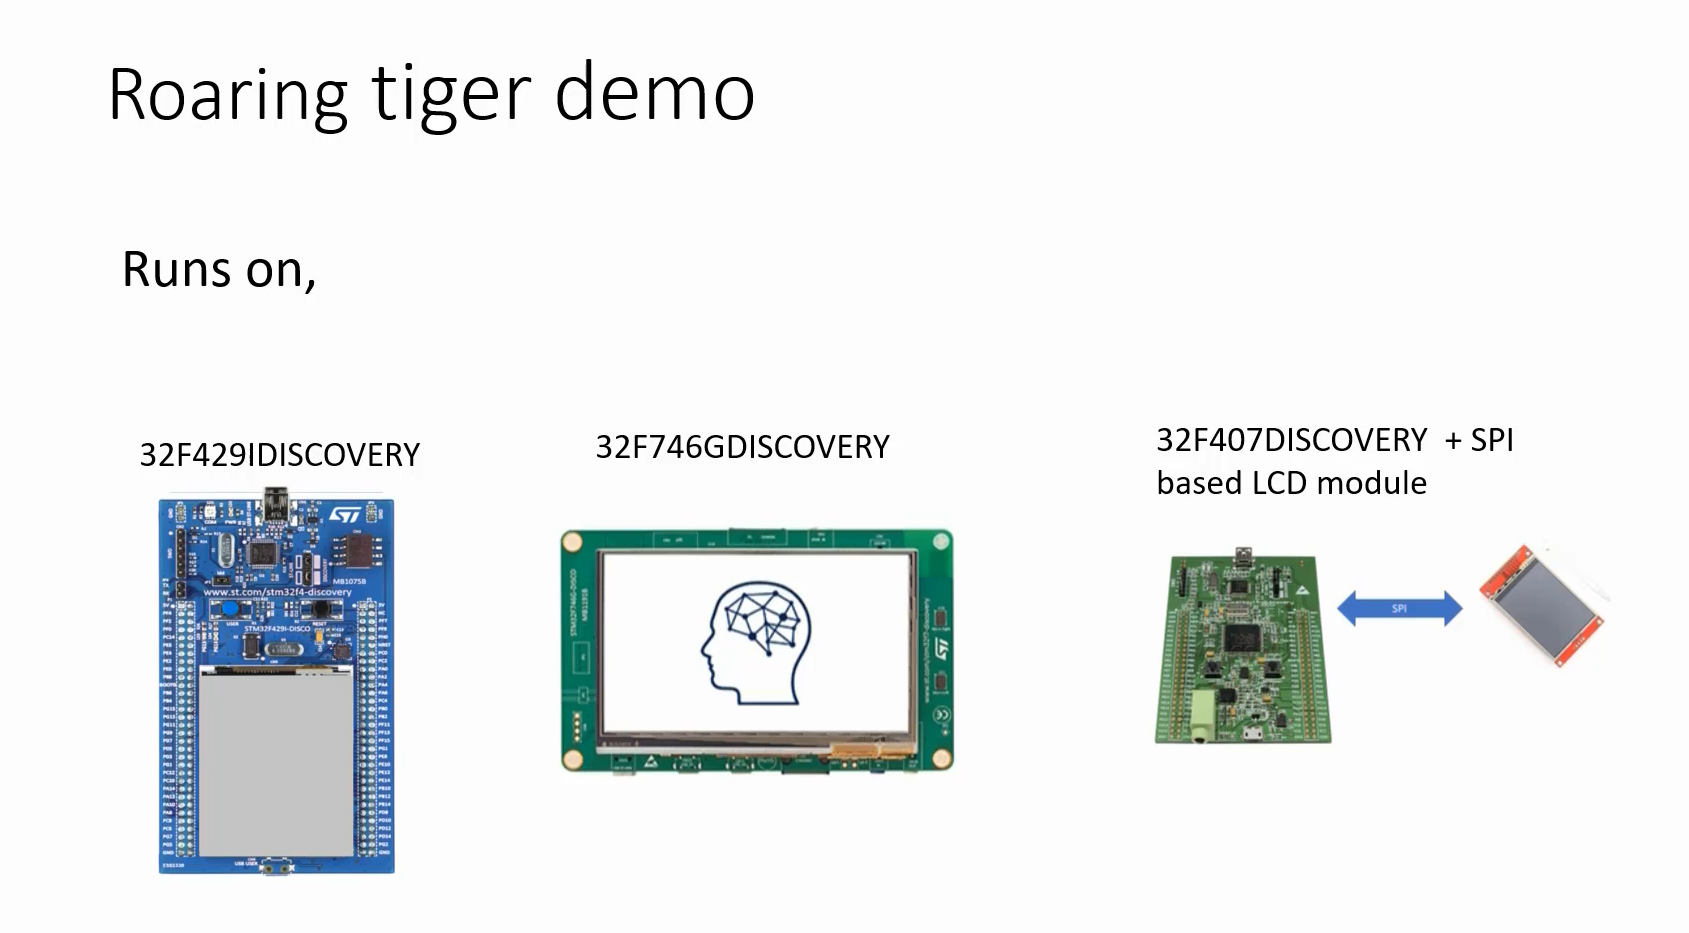
We will proceed by downloading a demo project and running it on the selected board. This will help us explore how the application works. We don’t need to understand the code right now, as we will learn about it in later articles.
To begin, all we need to do is download the project and flash it onto the development board. I’ll guide you through the steps for doing this, ensuring a smooth process.
- First of all, create two folders on your computer: ‘git’ and ‘my_work’.
- In the ‘git’ folder, you are going to download the contents of the git repository of the course. Therefore, do not modify any contents of this folder; you can just use it as a reference.
- In the ‘my_work’ folder, you can keep your work on any projects you are working on.
Import project into STM32CubeIDE
In this article, I will show you how to import the projects into STM32CubeIDE, and once imported, you can compile, flash and test them without making any changes to the original files. Just remember not to modify the projects in the ‘git’ folder, as this is the instructor’s project that you downloaded. If you want to make any changes, do it in the ‘my_work’ folder.
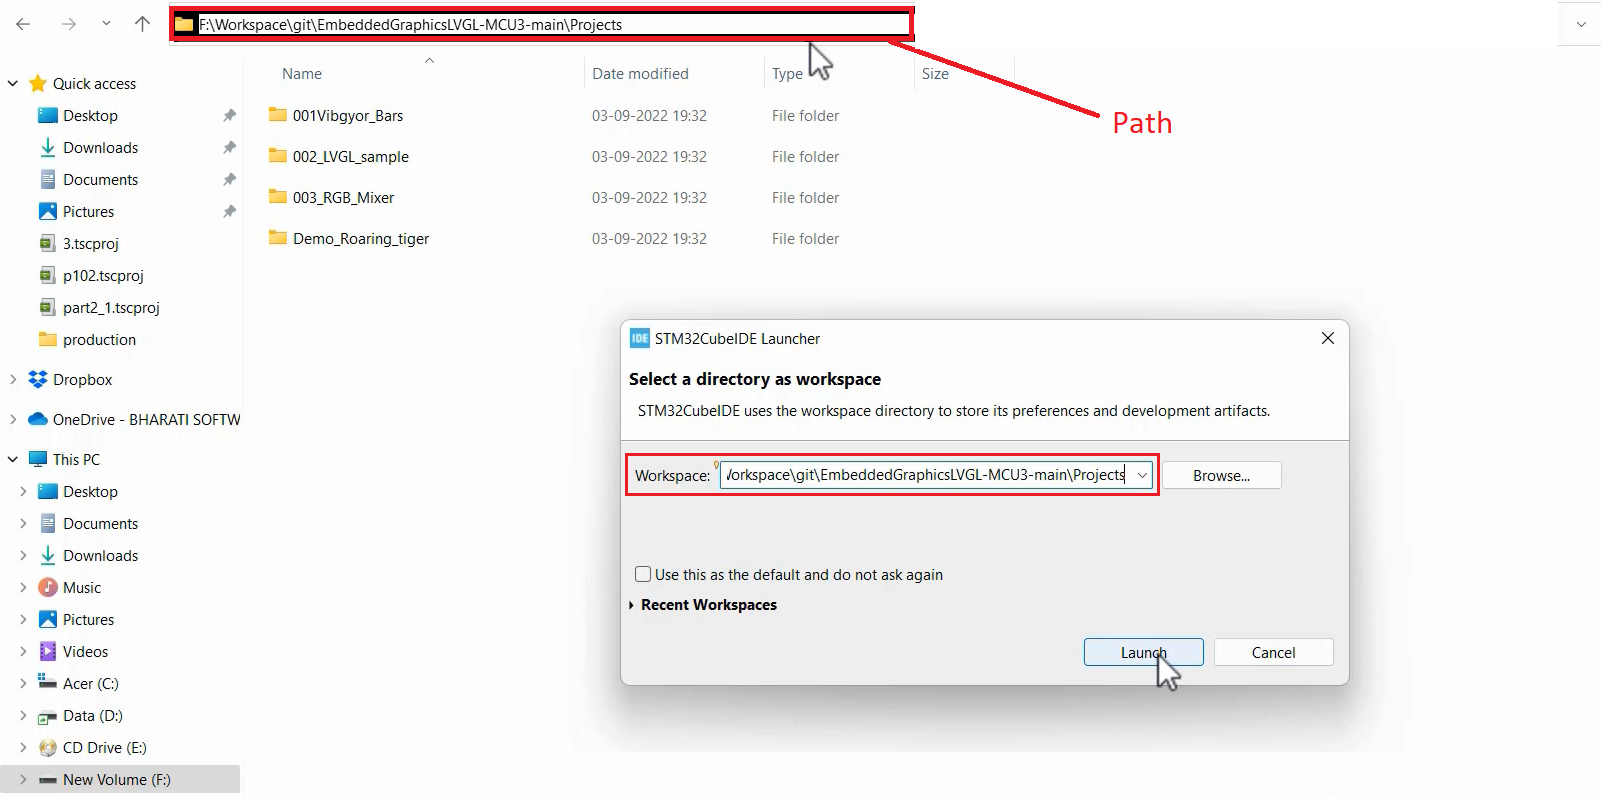
Let’s open up the STM32CubeIDE. Once it’s launched, the IDE will prompt you to select a workspace. We’ll create a workspace by simply copying and pasting the designated path. Then, click on Launch, as shown in Figure 2.
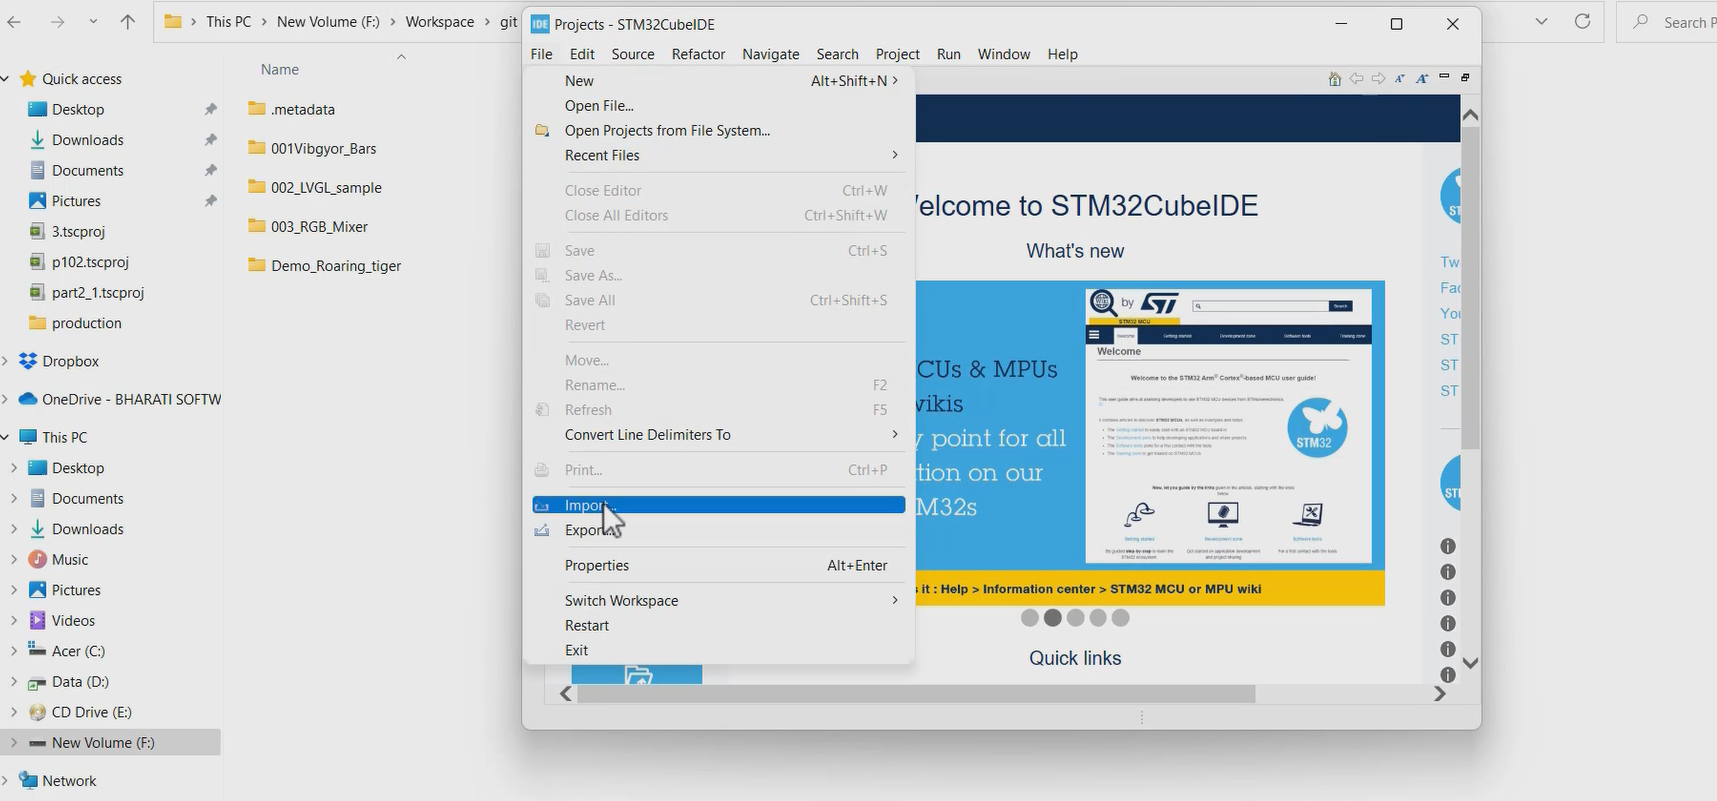
Now, we have to import all the projects. For that, go to file, and click on Import.
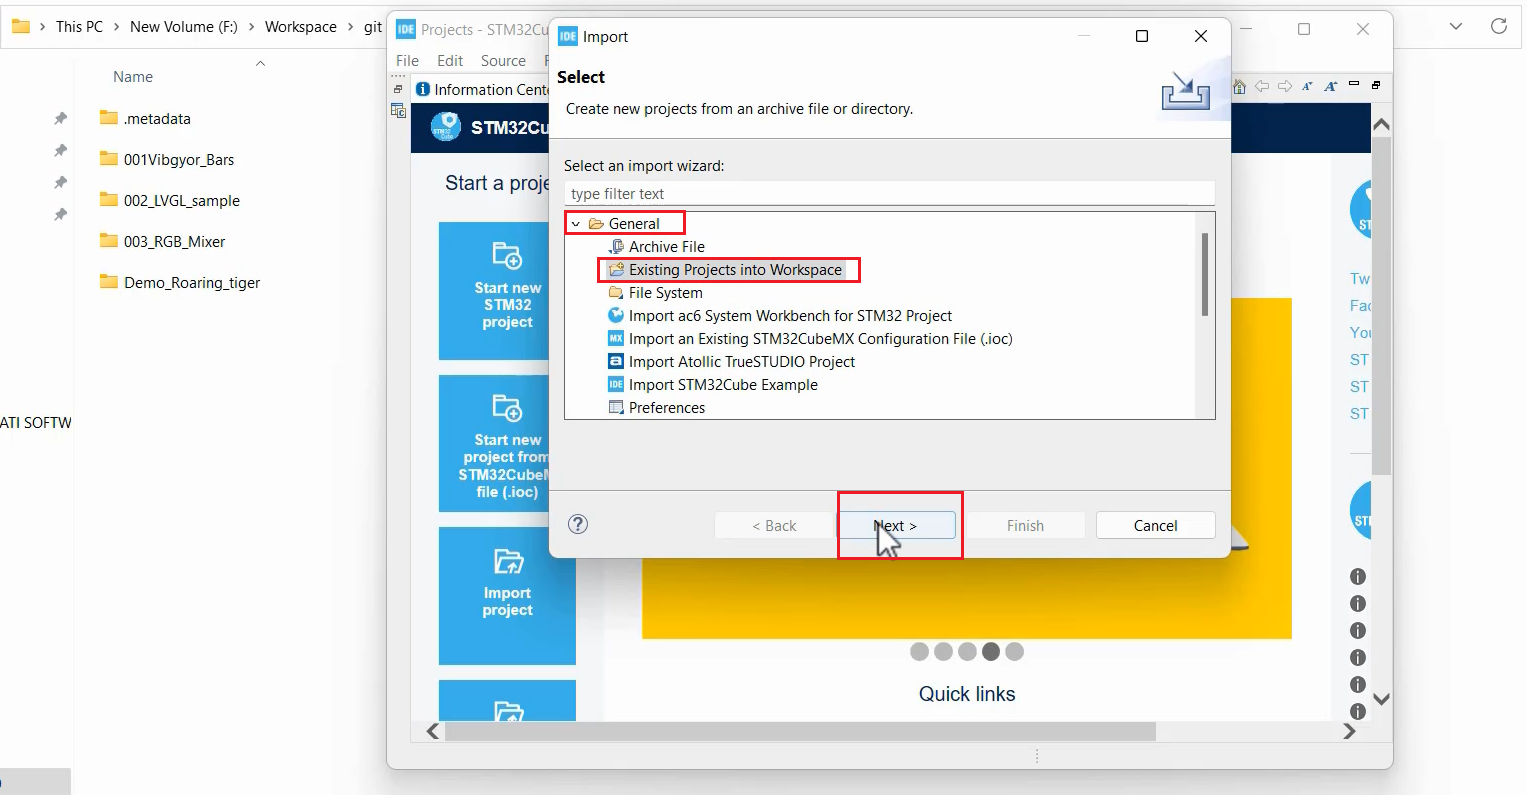
Then, go to General→ Existing Projects into the workspace→ click on Next.
And here again, copy that path and paste it here in the select root directory. Just paste that path and click on Browse.
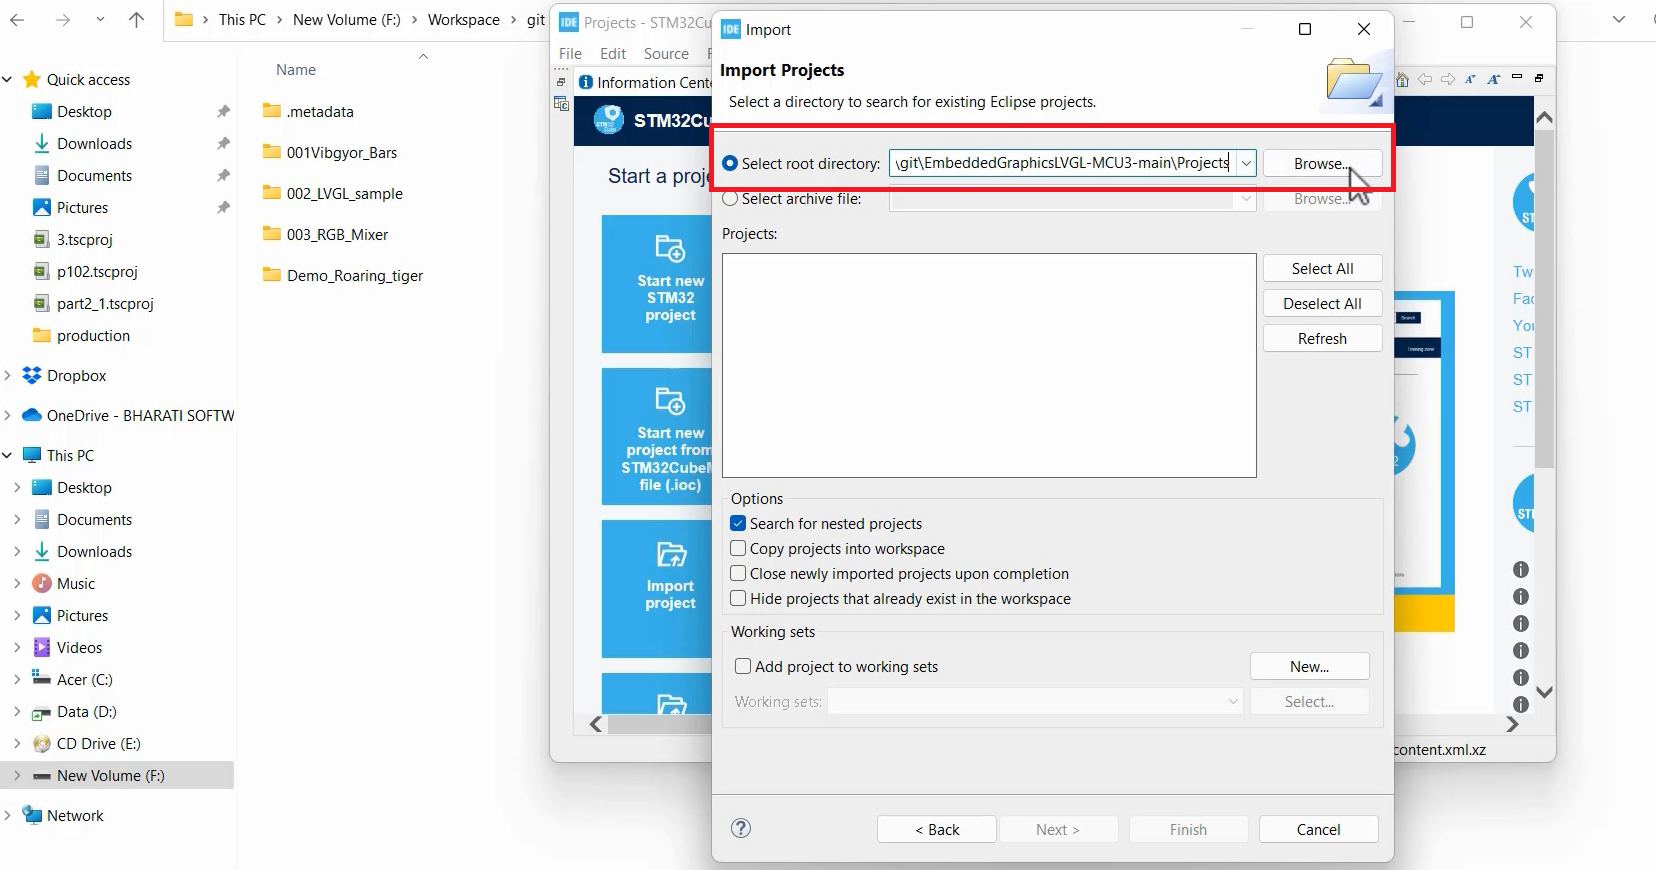
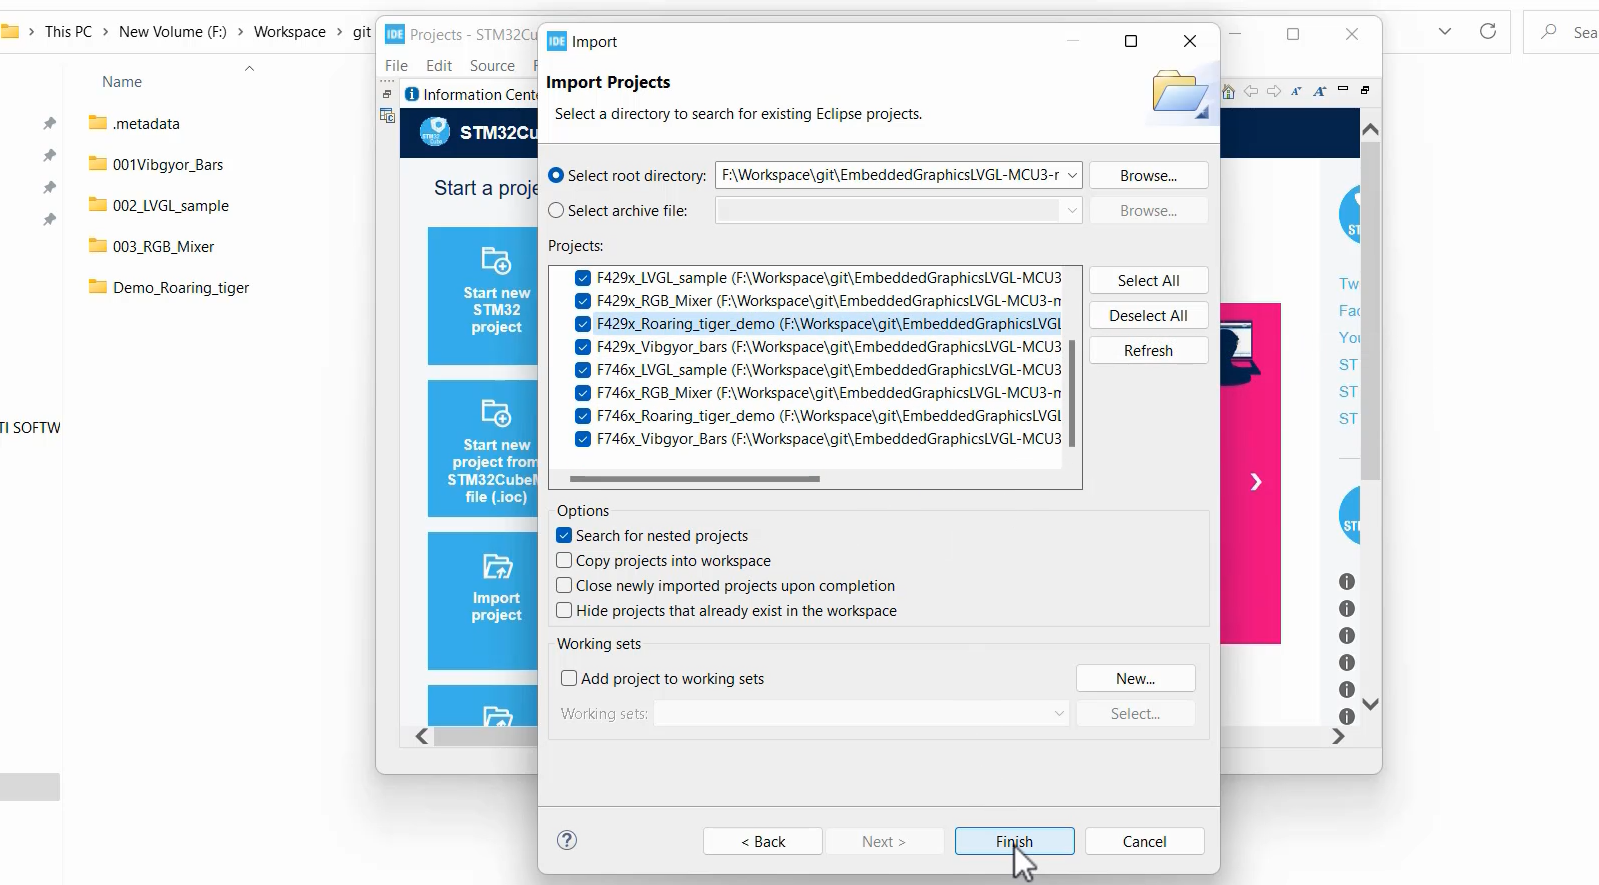
And here it has listed many projects, as shown in Figure 6. You can select everything if you want or select your project, and the rest you may uncheck. That’s your choice.
For example, here I import the tiger_demo project for the 32F429IDISCOVERY board. So, I will check all the projects, and after that, just click on Finish.
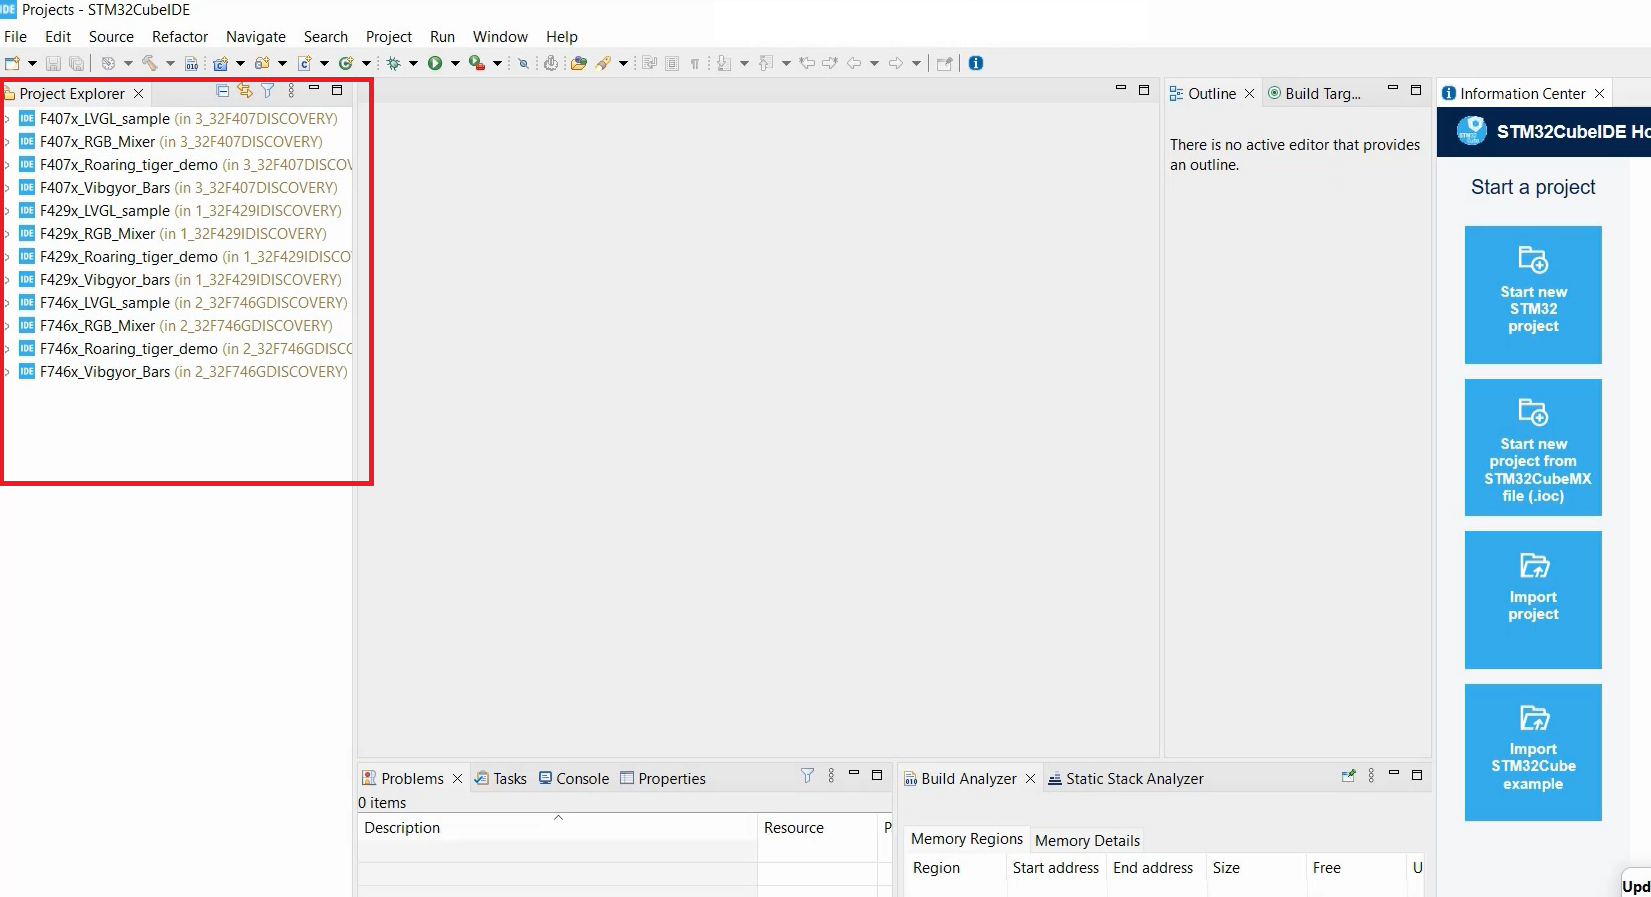
Now, you can see that on the left-hand side, all the selected projects have been imported into the workspace as shown in Figure 7.
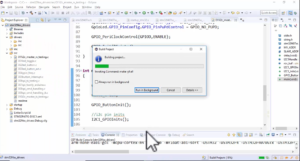
Let’s execute the Roaring tiger demo project on the 32F429IDISCOVERY board. So, I’ll first compile this. Click on ‘Build Projects’.
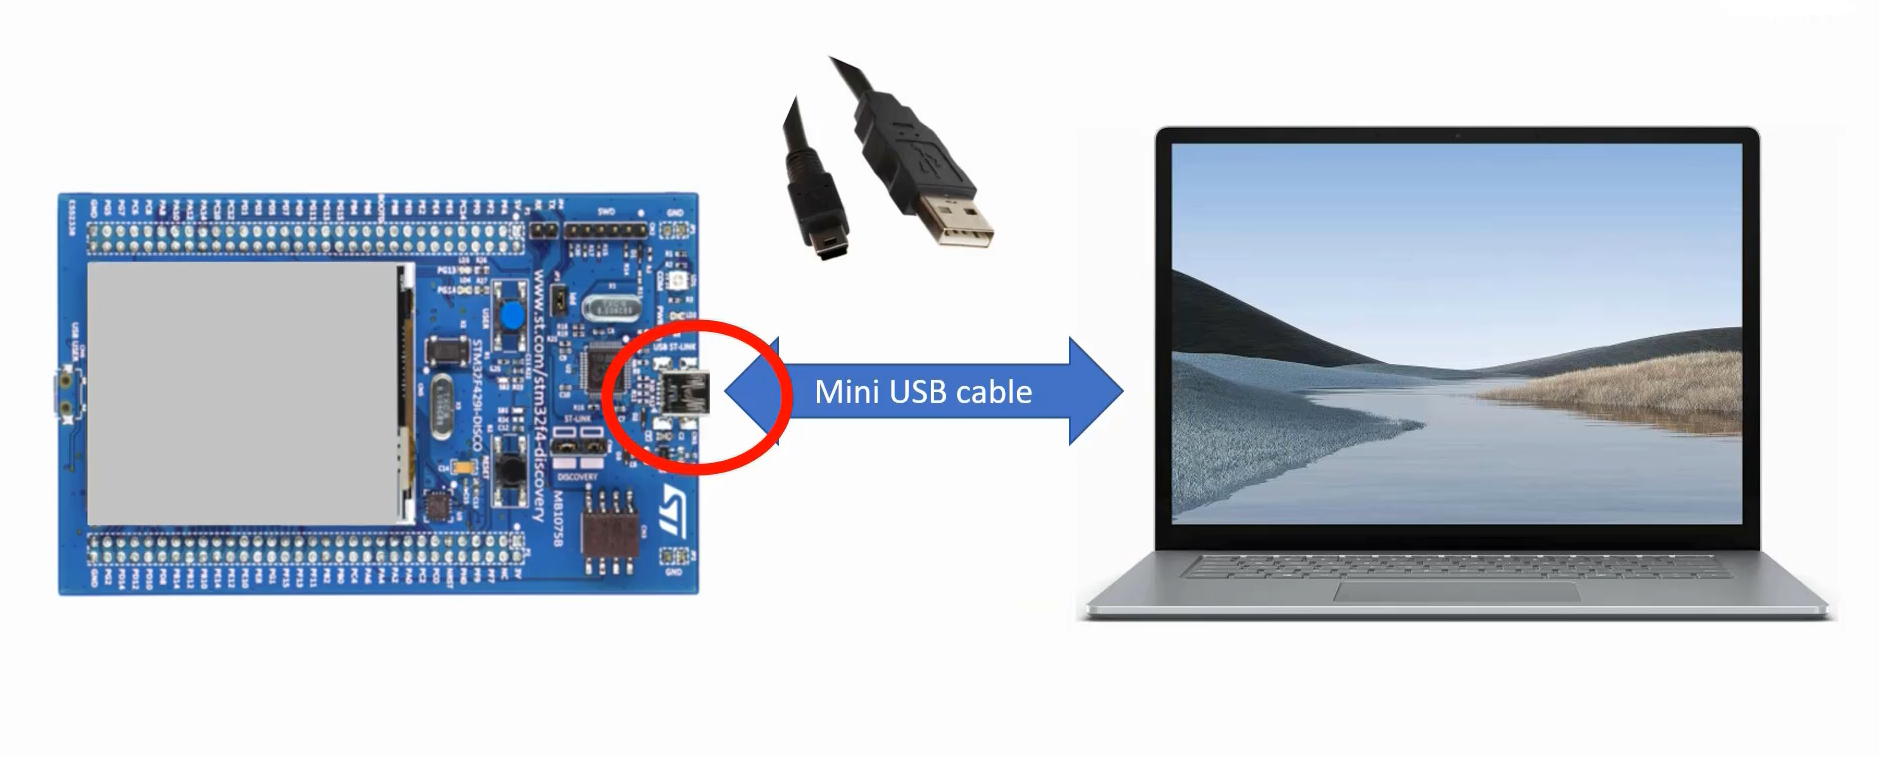
And then, you have to connect the 32F429IDISCOVERY board to the computer or laptop, so you have to use the mini USB cable, as shown in Figure 8.
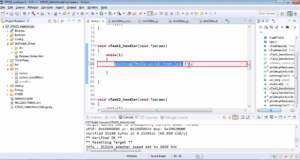
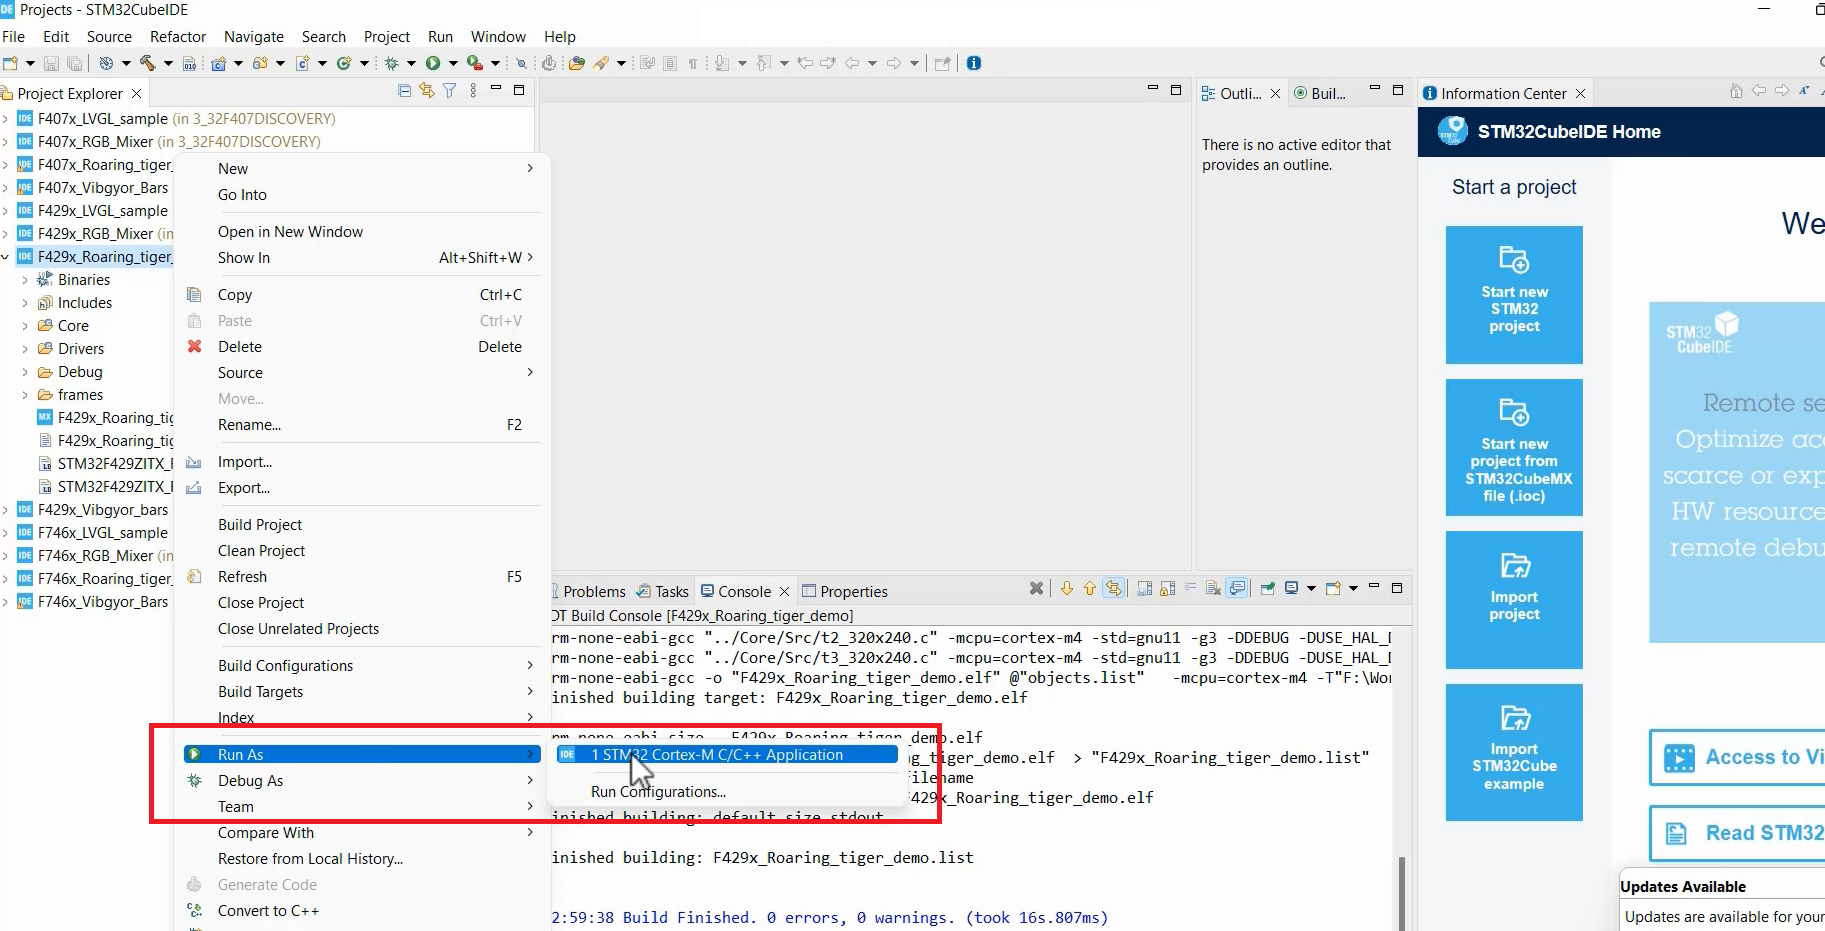
And once you connect the hardware to the laptop, again right-click on that project and you have to click on ‘Run As’ and select the ‘STM32 Cortex-M C/C++ application’ option, as shown in Figure 9.
Look at Figure 10, there is a Roaring_tiger_demo on STM32F429DISC board. Basically, three frames are sent to the display one by one.
FastBit Embedded Brain Academy Courses
Click here: https://fastbitlab.com/course1

