USART baud rate coding
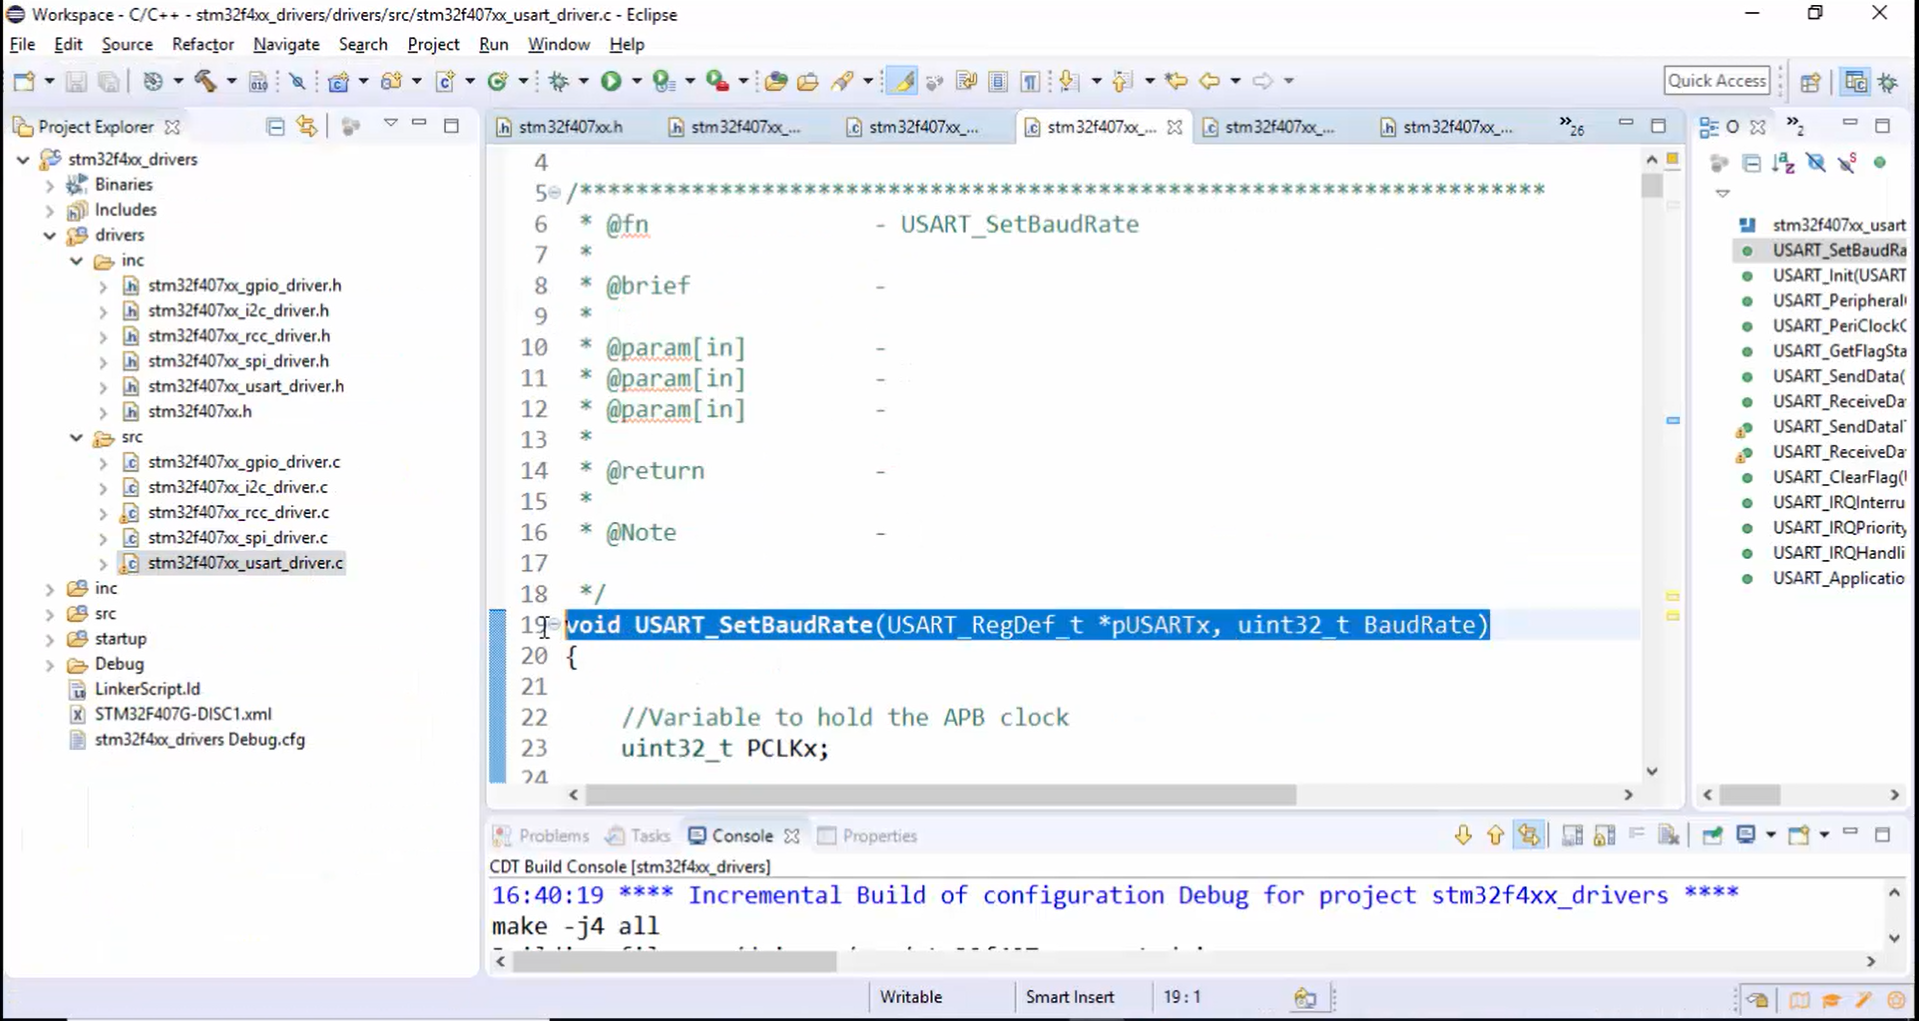
In this article, let’s learn the function to calculate the baud rate, and the function name is USART_SetBaudRate (Figure 1).
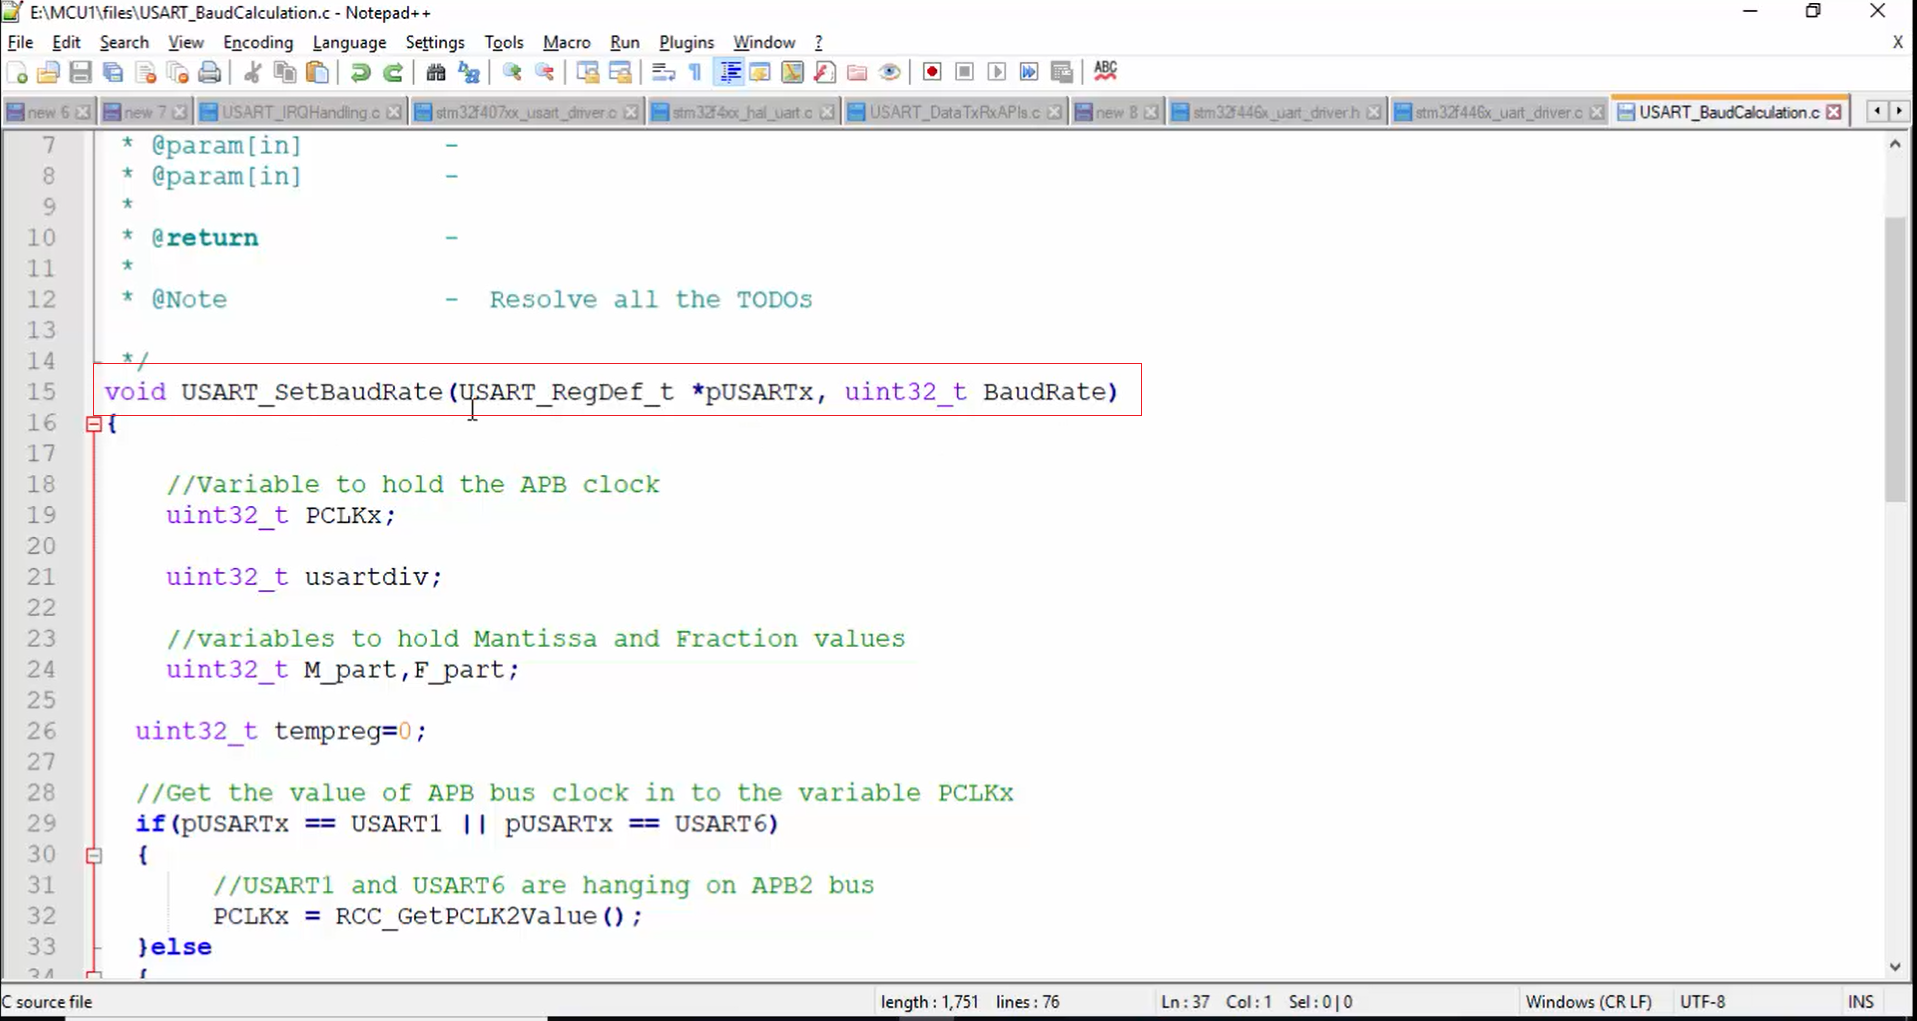
The USART_SetBaudRate function is used to program the USART_BRR register. In this function, you have to resolve some TODOs. You can download this file from the resource section, and the name of the file is USART_BaudCalculation.
The API shown in Figure 1 is coded exactly the way we discussed in the previous article. The RCC_GetPCLK1Value() and RCC_GetPCLK2Value() functions shown in Figure 2 is used to get the value of the APB1 clock or APB2 clock.
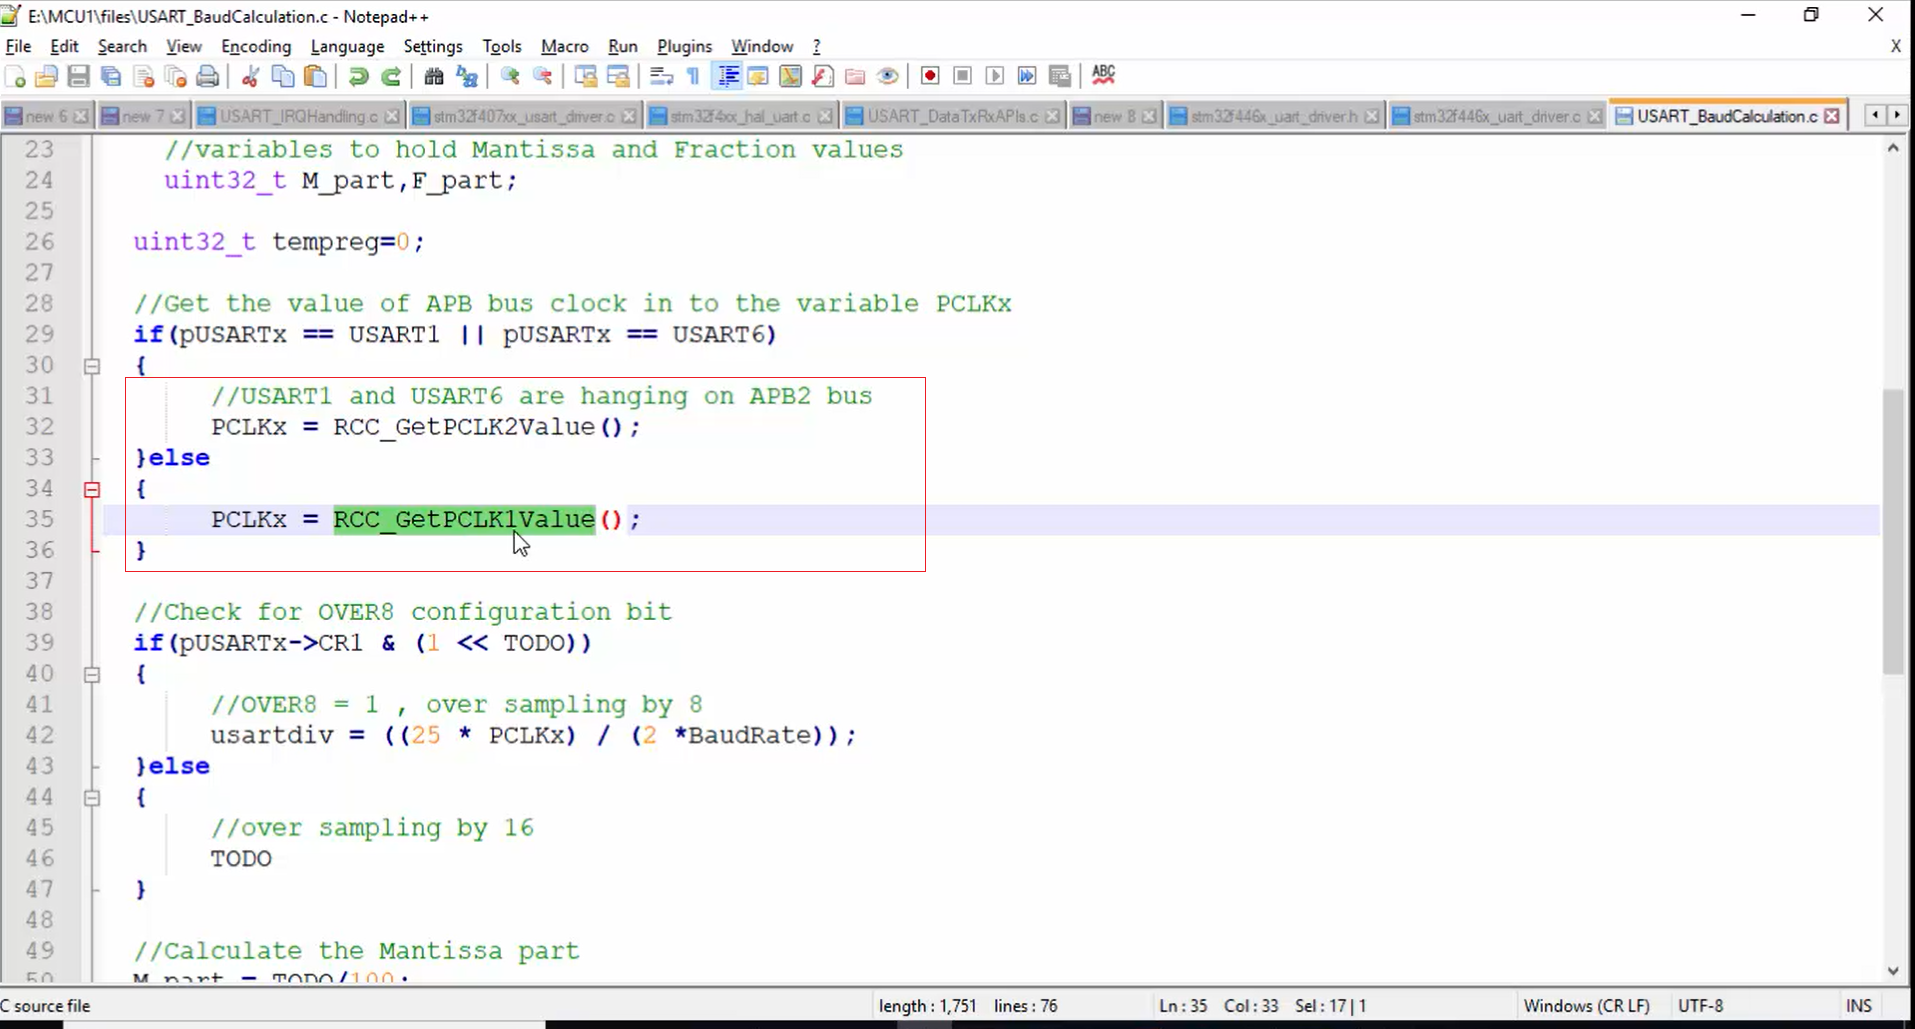
You have to use RCC_GetPCLK1Value() API since it is written in the I2C driver development section. You have to modify that API in order to read the value of PCLK2, i.e., APB2 bus, and create one more function whose name is RCC_GetPCLK2Value().
Steps:
1. Go to the project. You need to do some settings since RCC_GetPCLK1Value() and RCC_GetPCLK2Value() APIs deal with the RCC engine or RCC block of the microcontroller.
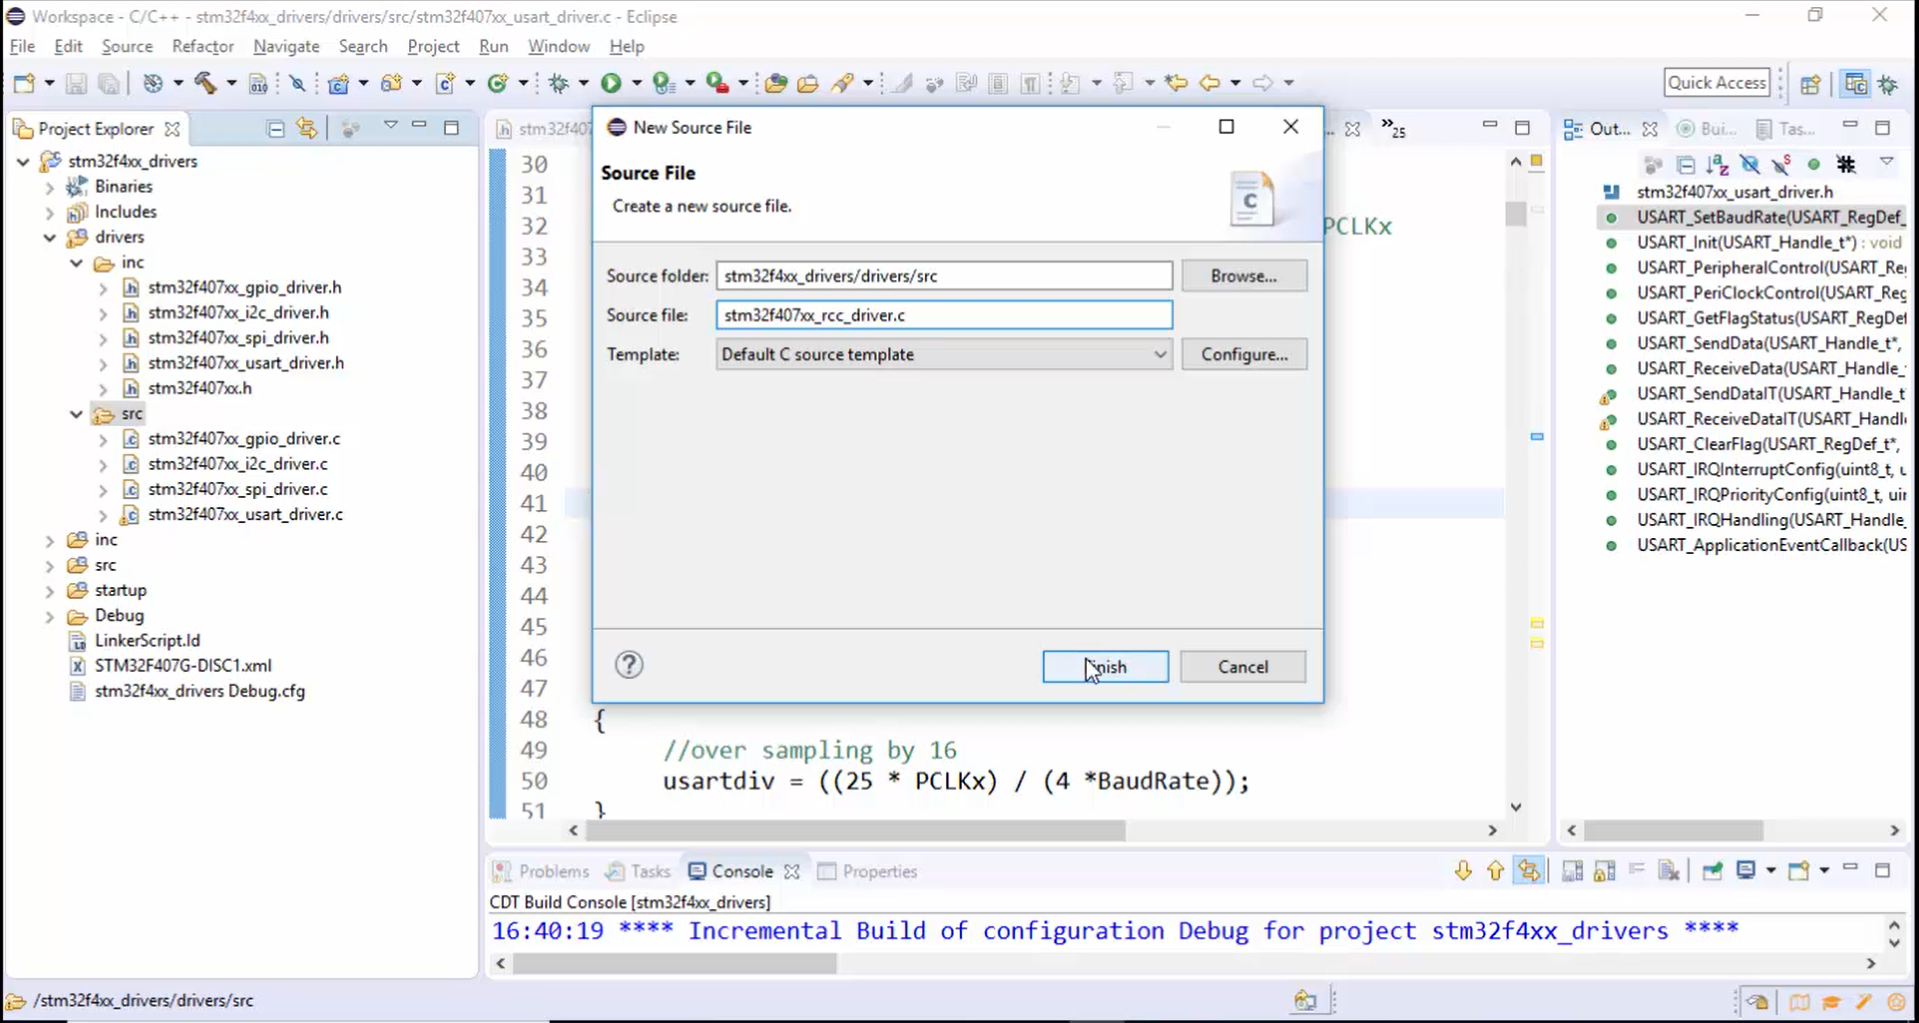
Now let’s separate these APIs in the project. In the project, let’s create a source file called driver source file and give the name as stm32f407xx_rcc_driver.c (Figure 3).
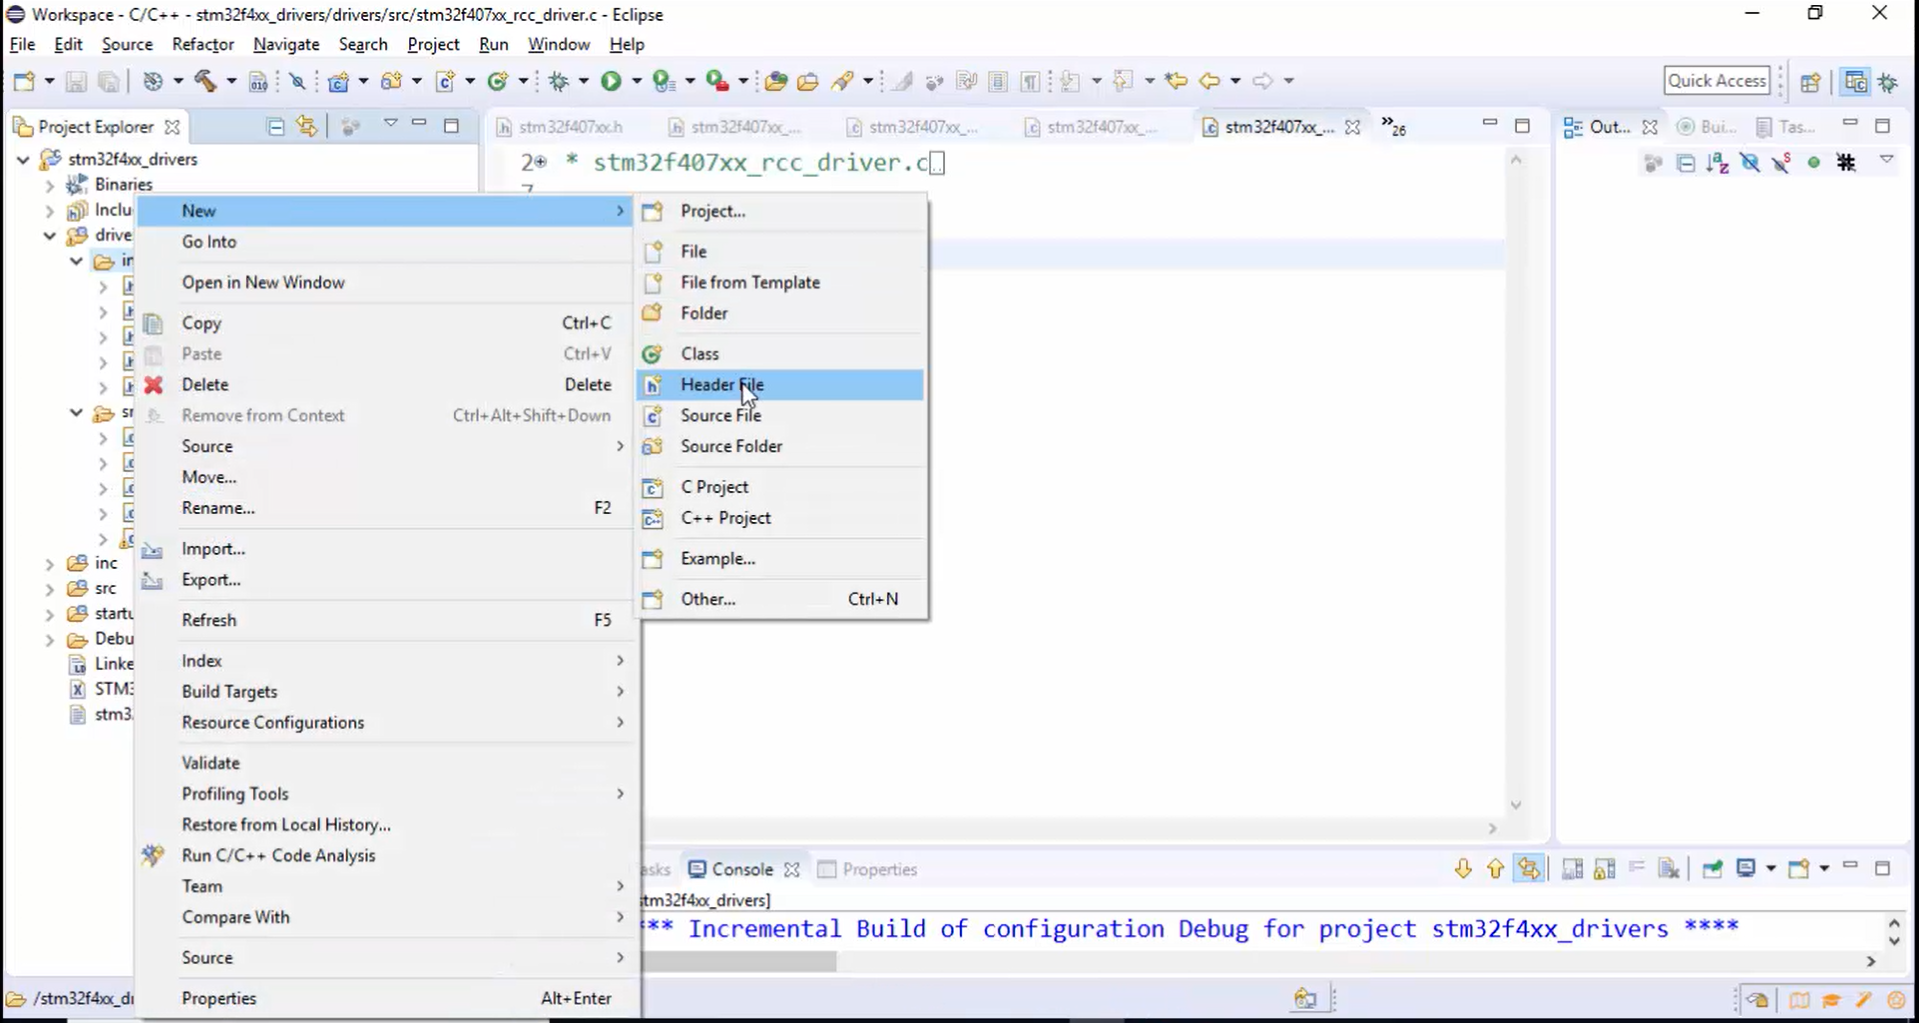
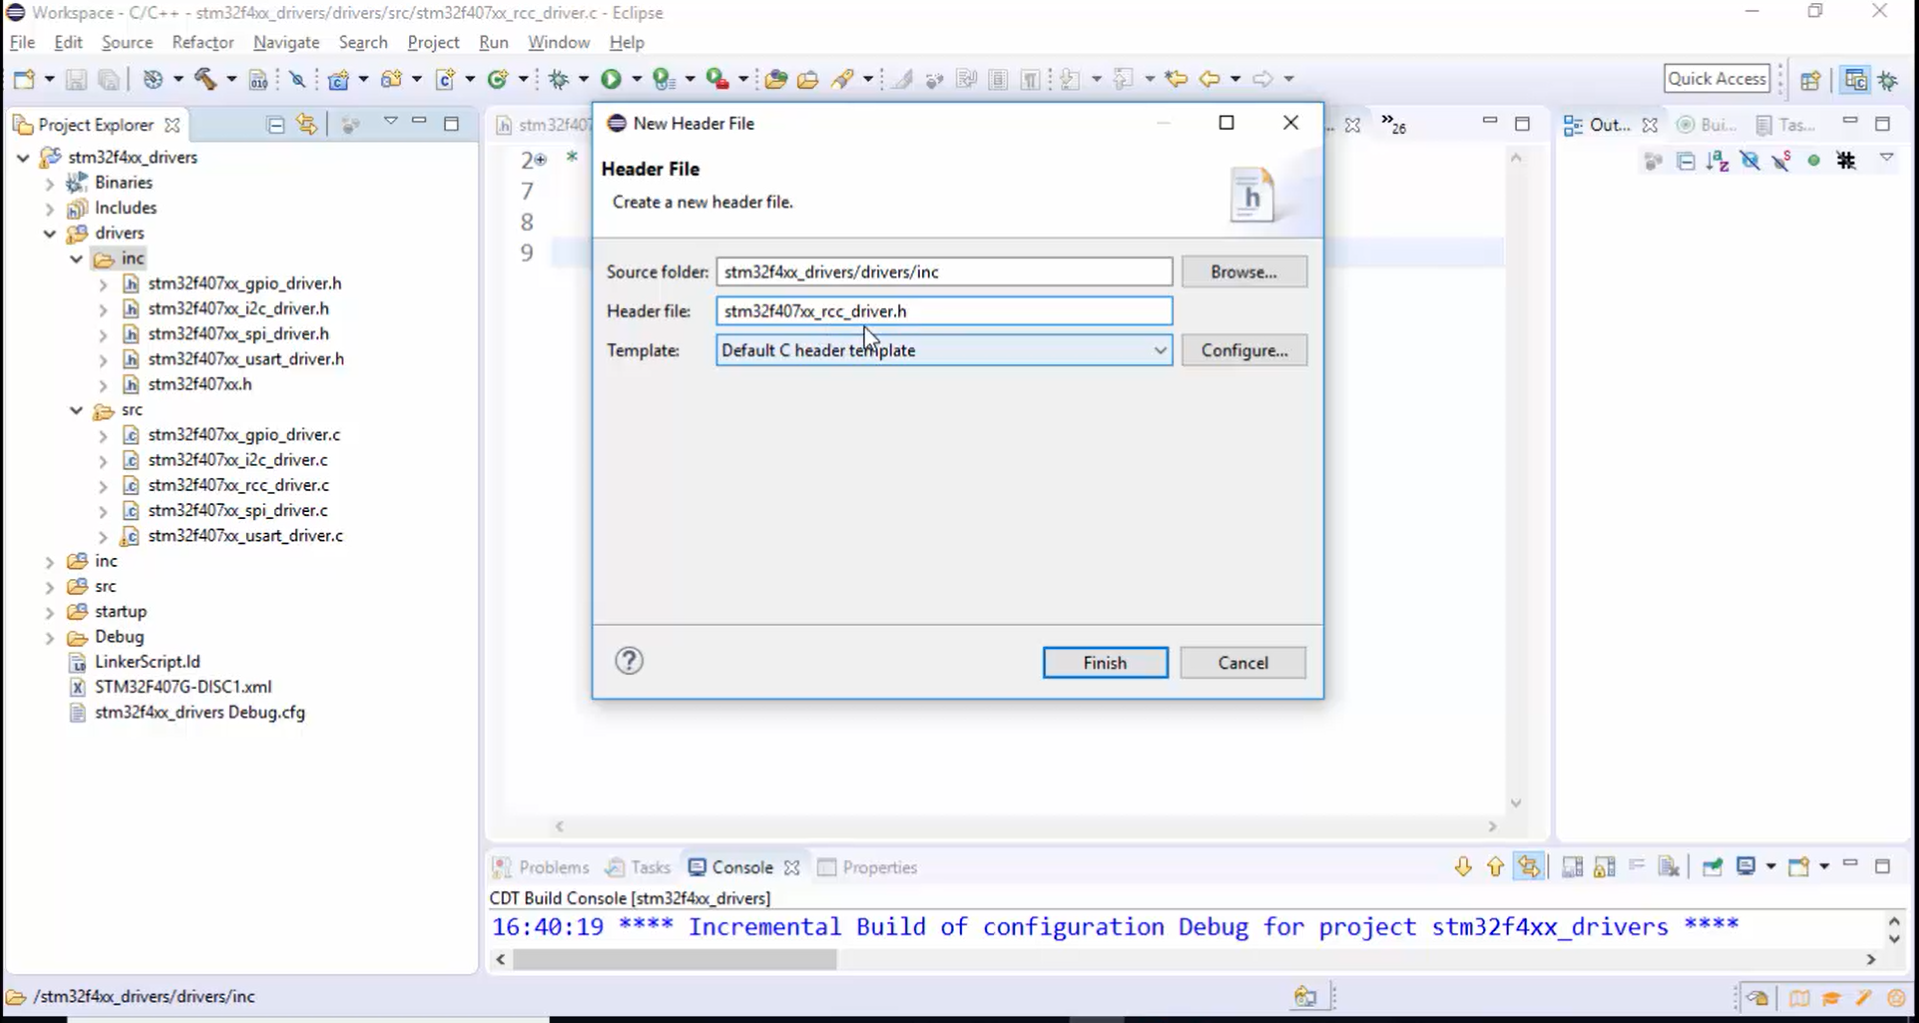
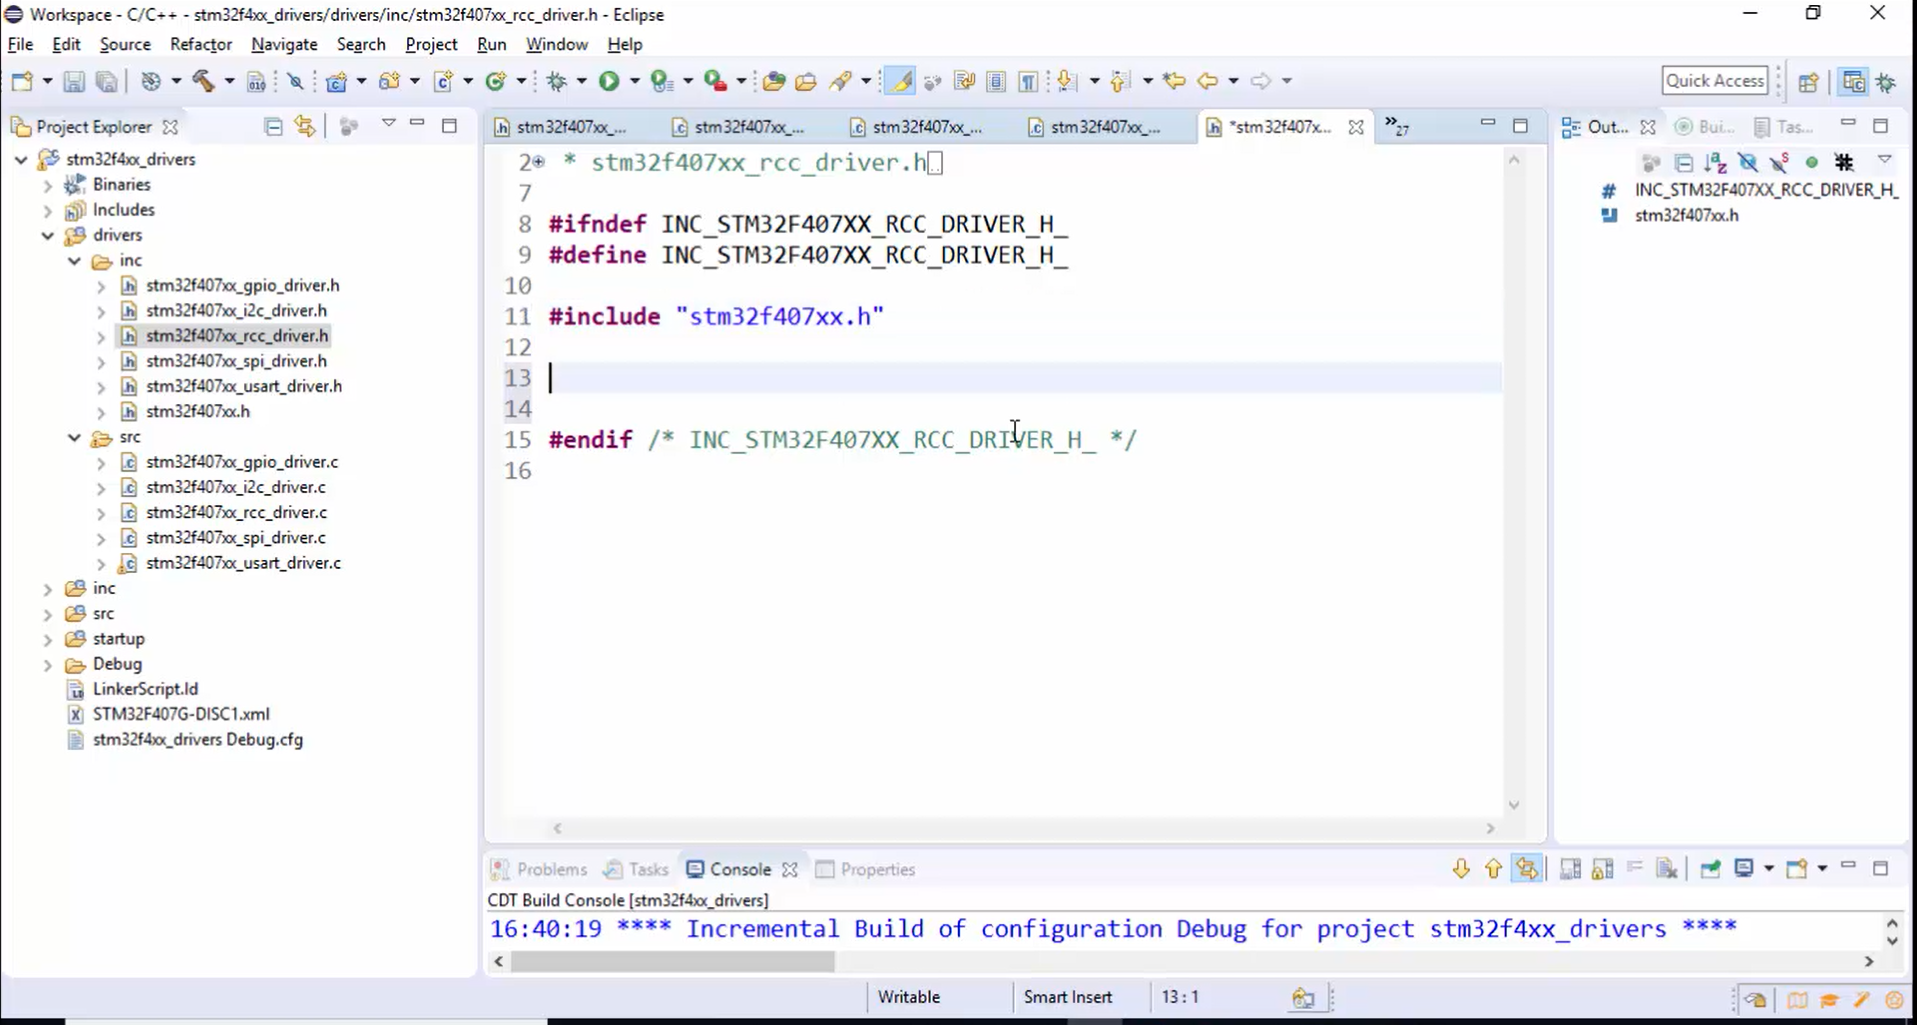
2. Then create a header file in the inc section (Figure 4) and give the name as stm32f407xx_rcc_driver.h (Figure 5).
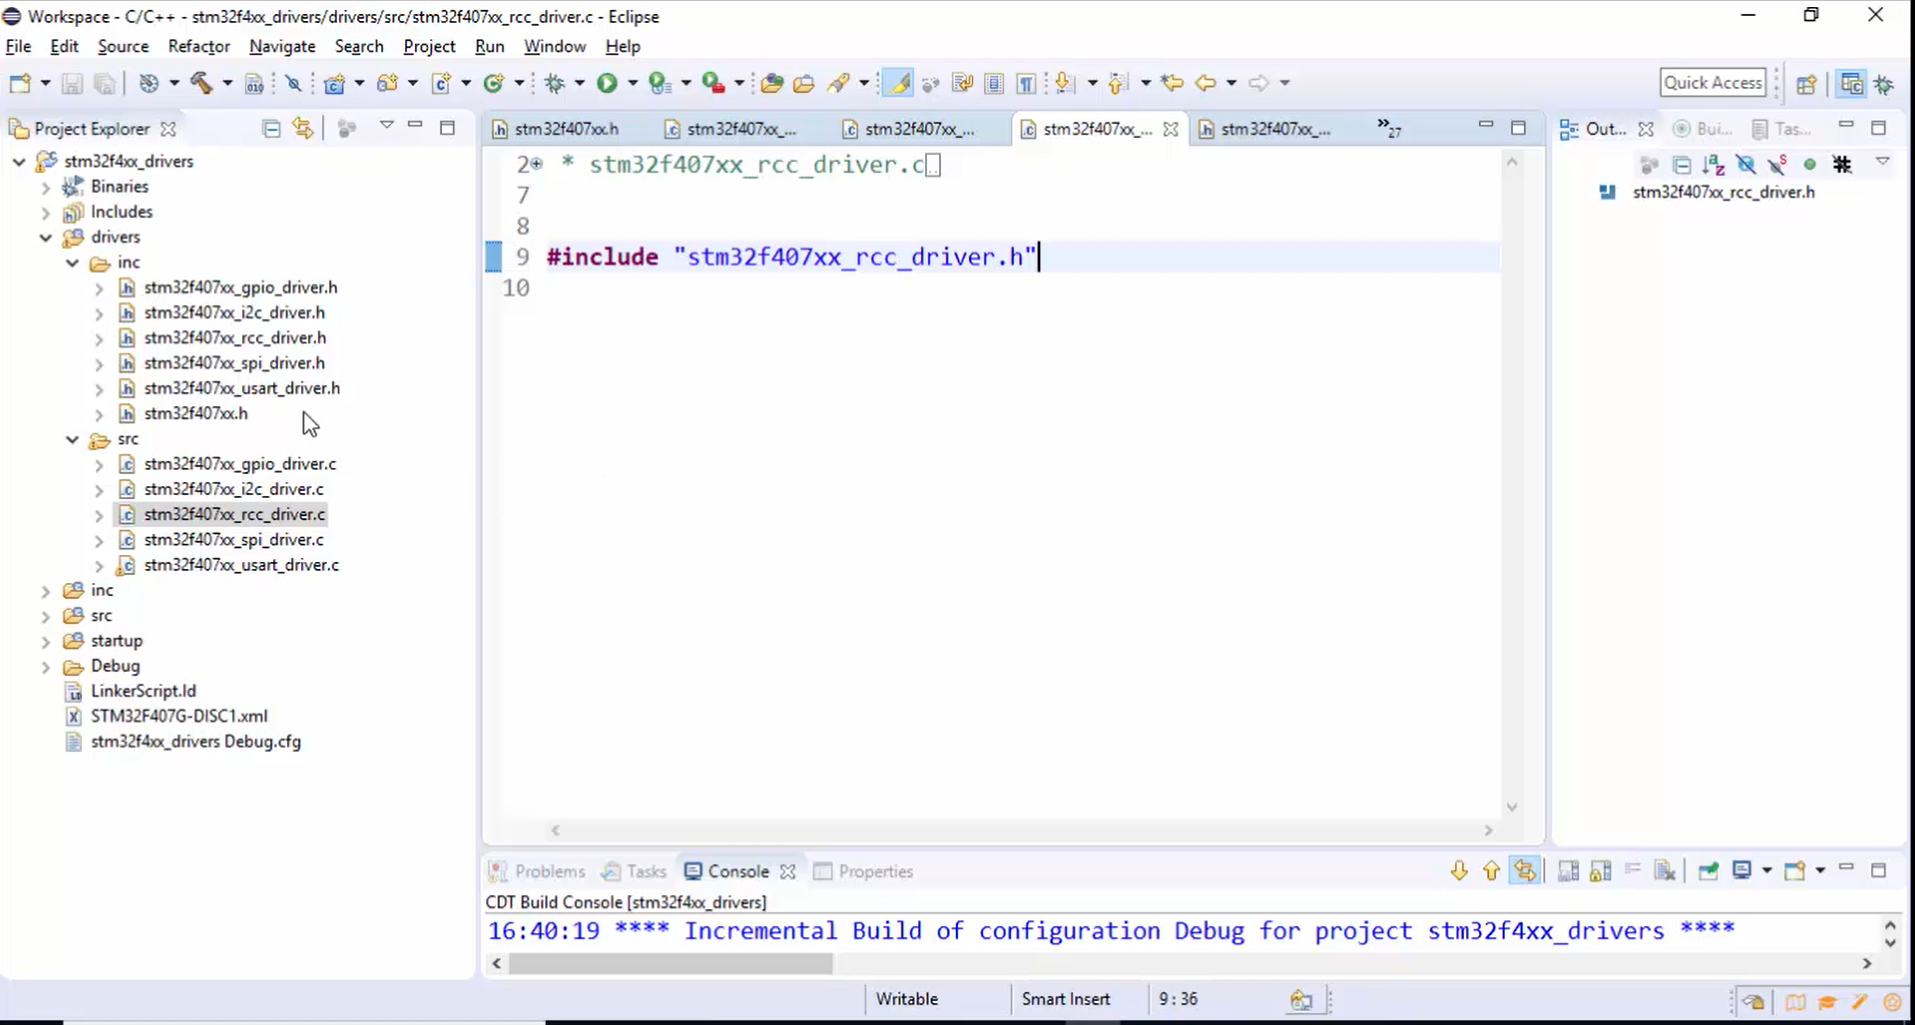
3. Go to the rcc_driver.c file and include the header, as shown in Figure 6.
4. After that, include the device-specific header file in the rcc_driver.h file (Figure 7).
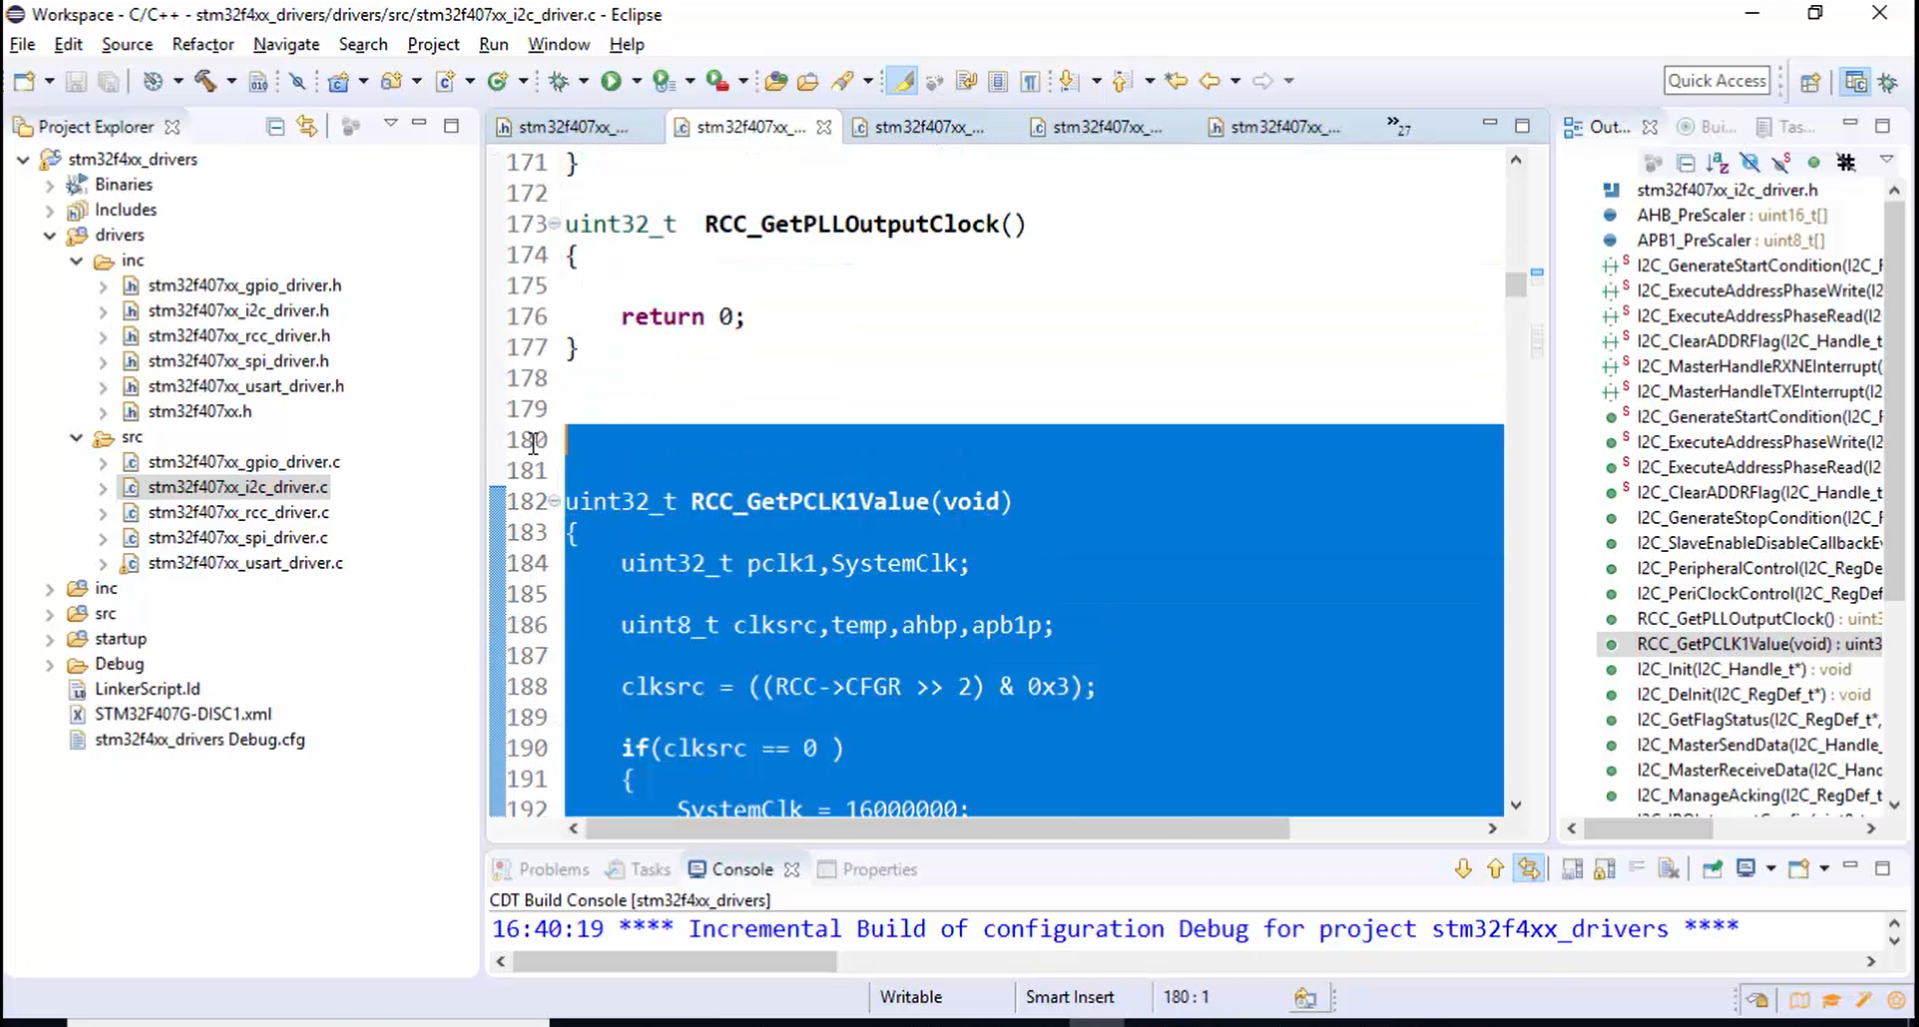
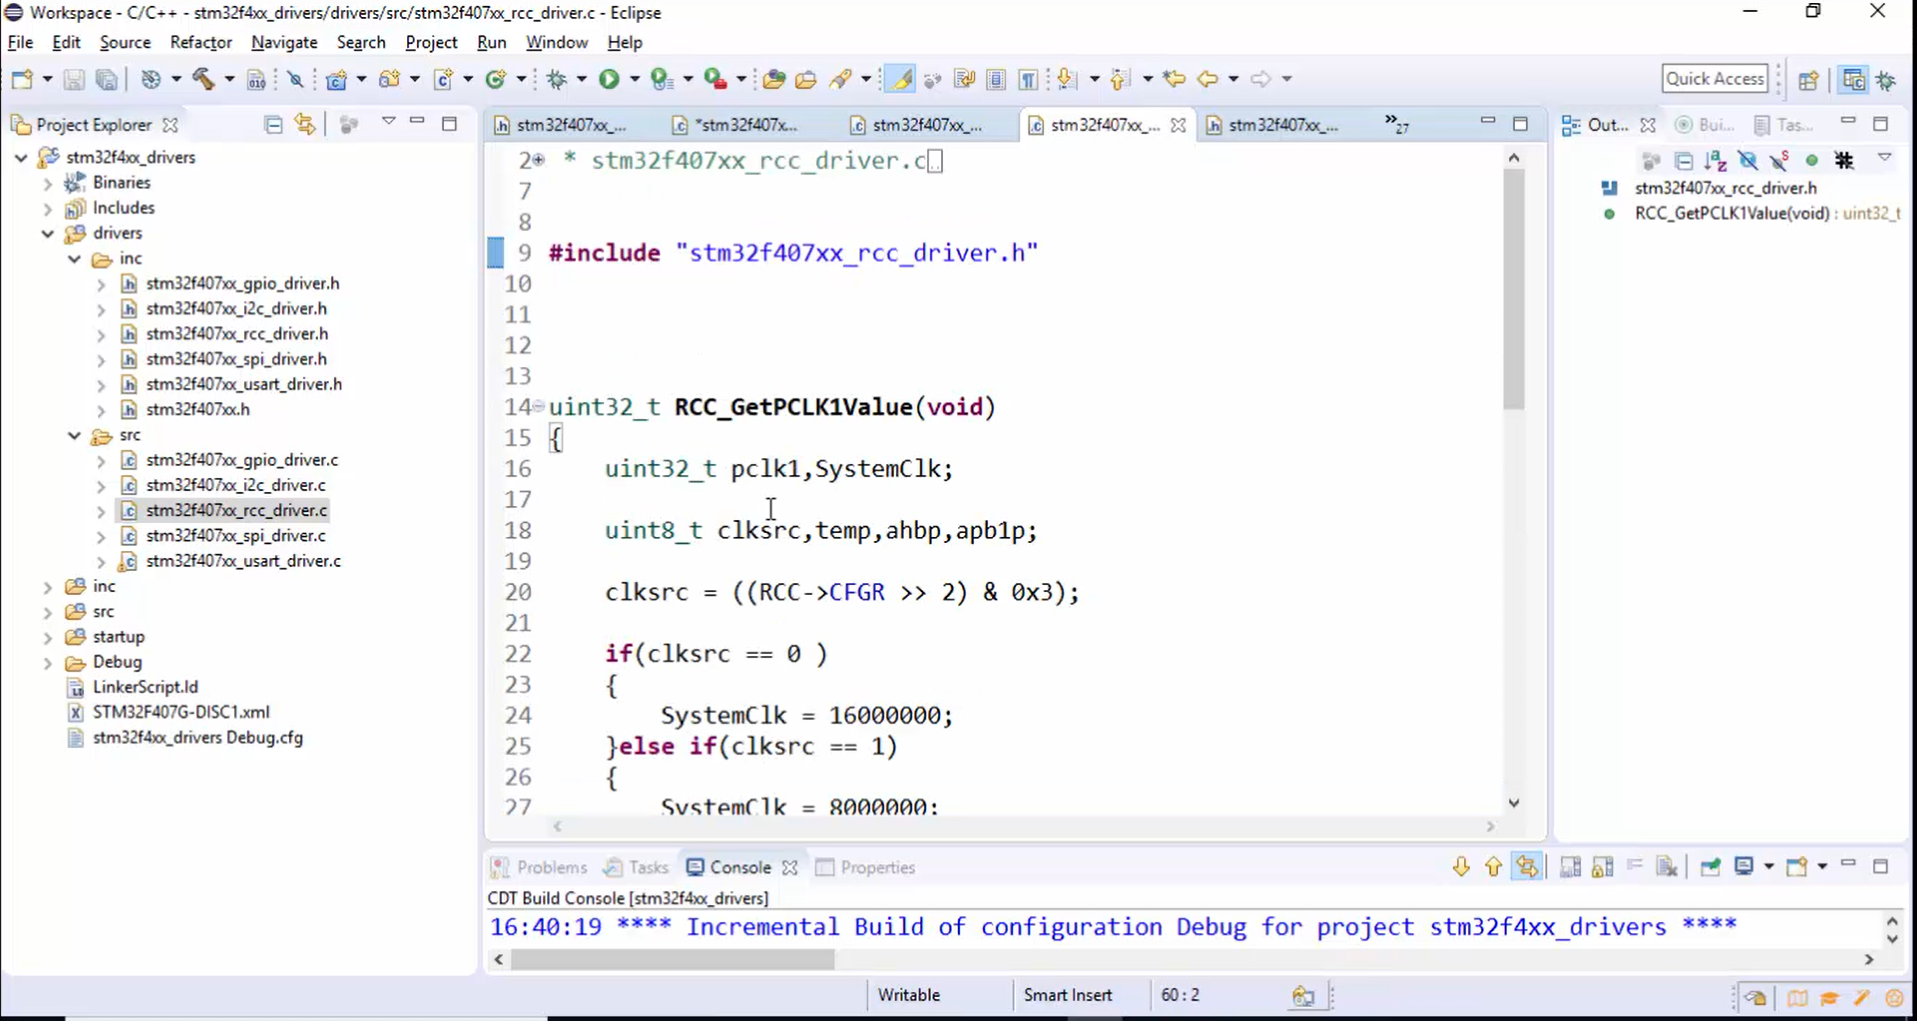
5.In i2c_driver.c, remove the API written to calculate the value of the APB1 clock (Figure 8) and place it in the rcc_driver.c file, as shown in Figure 9.
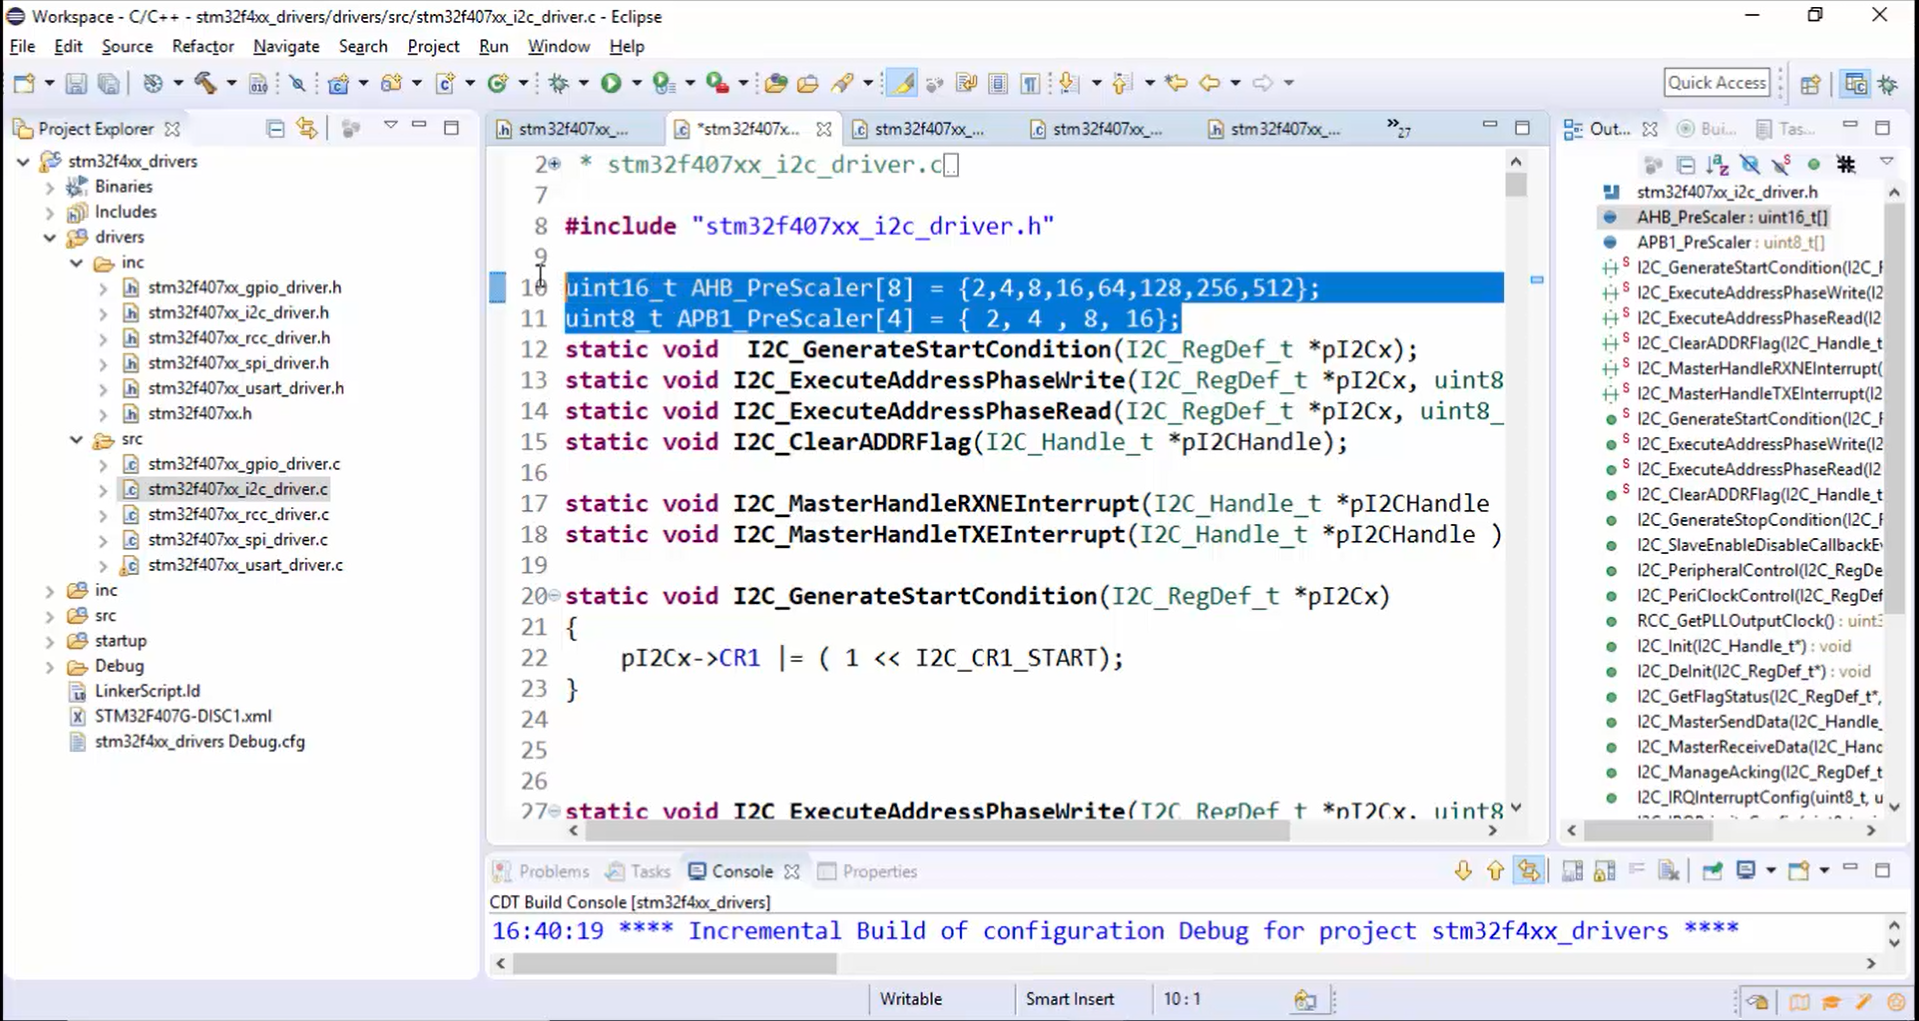
6. At the top of the I2c driver, you will find a divide factor shown in Figure 10, cut them from there, and paste it into the rcc_driver.c file (Figure 11).
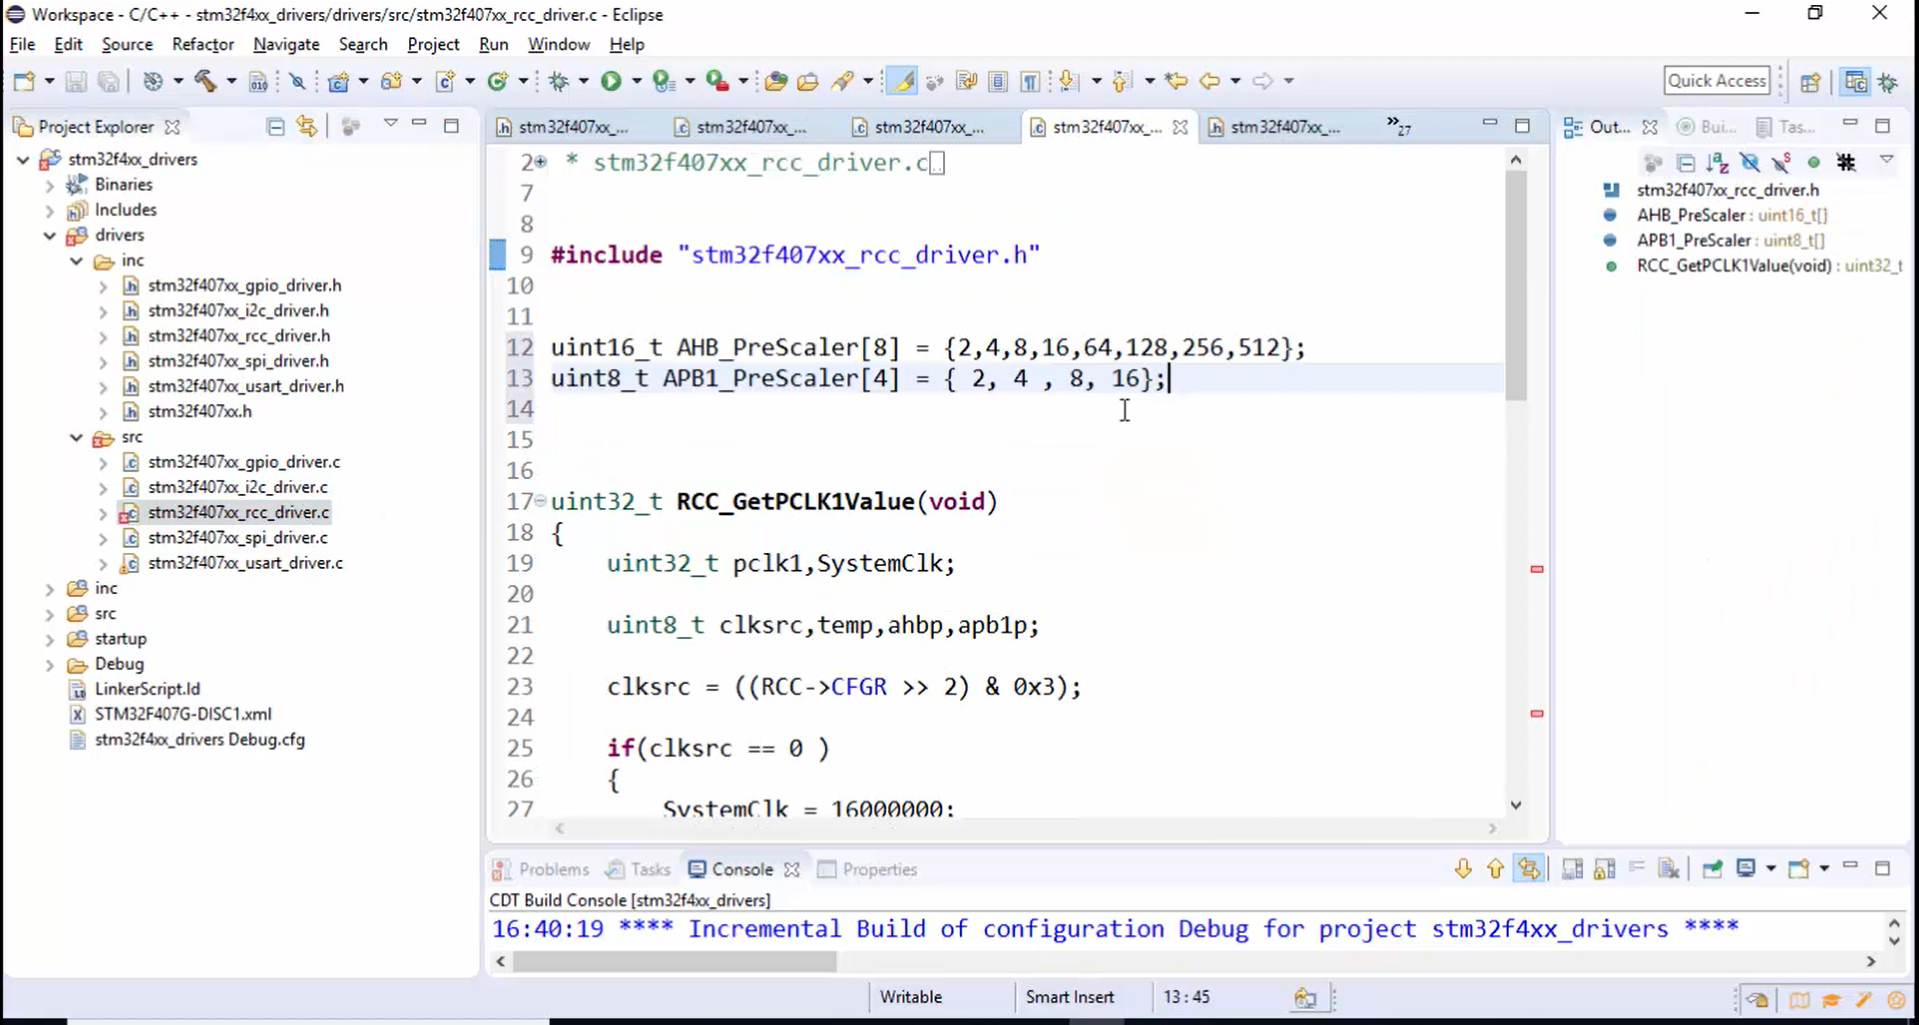
7. Remember that we have RCC_GetPCLK1Value() API and now modify this function to create one more API, i.e., RCC_GetPCLK2Value().
8. Give the API prototype of RCC_GetPCLK1Value() and RCC_GetPCLK2Value() in rcc_driver.h, as shown in Figure 12.

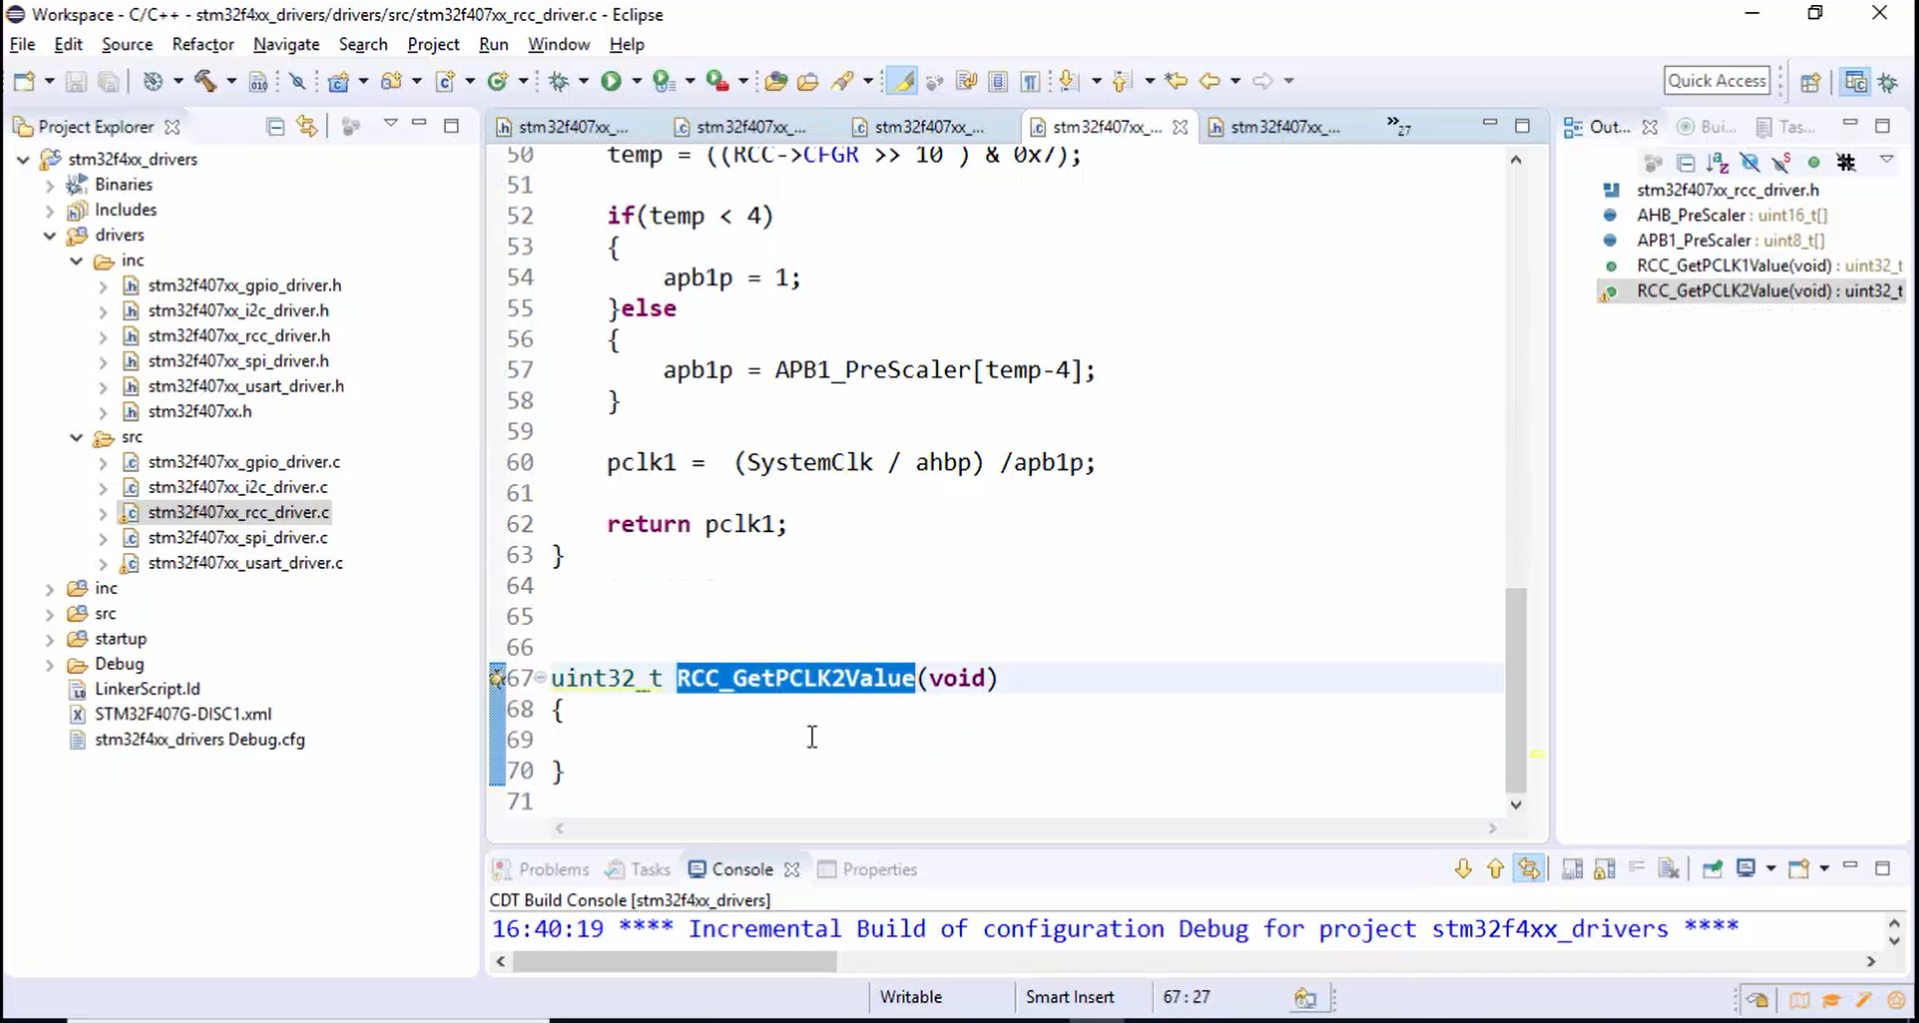
9. Implement RCC_GetPCLK2Value() API in rcc_driver.c (Figure 13), for this you have to just modify the code of RCC_GetPCLK1Value().
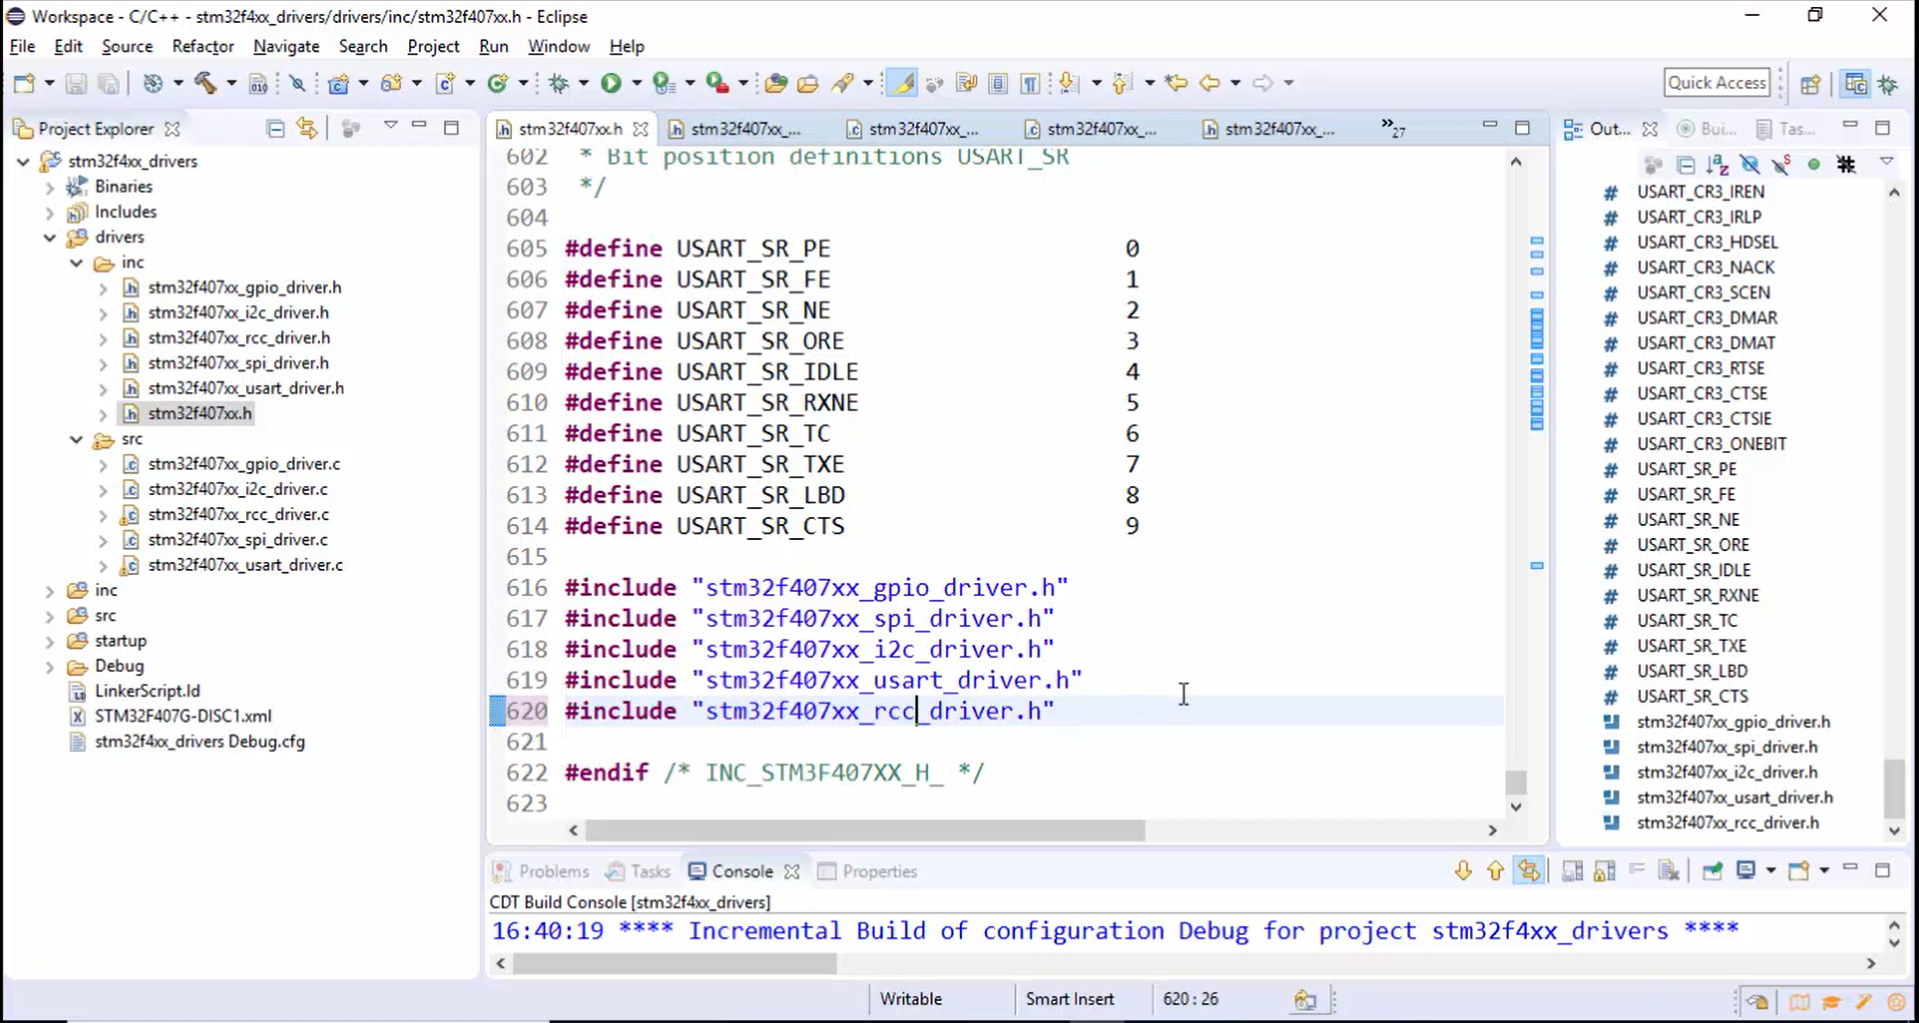
10. Add the RCC driver header file in your device-specific header file, as shown in Figure 14.
11. Complete the USART_SetBaudRate() API shown in Figure 1 and copy it into the USART driver, as shown in Figure 15.
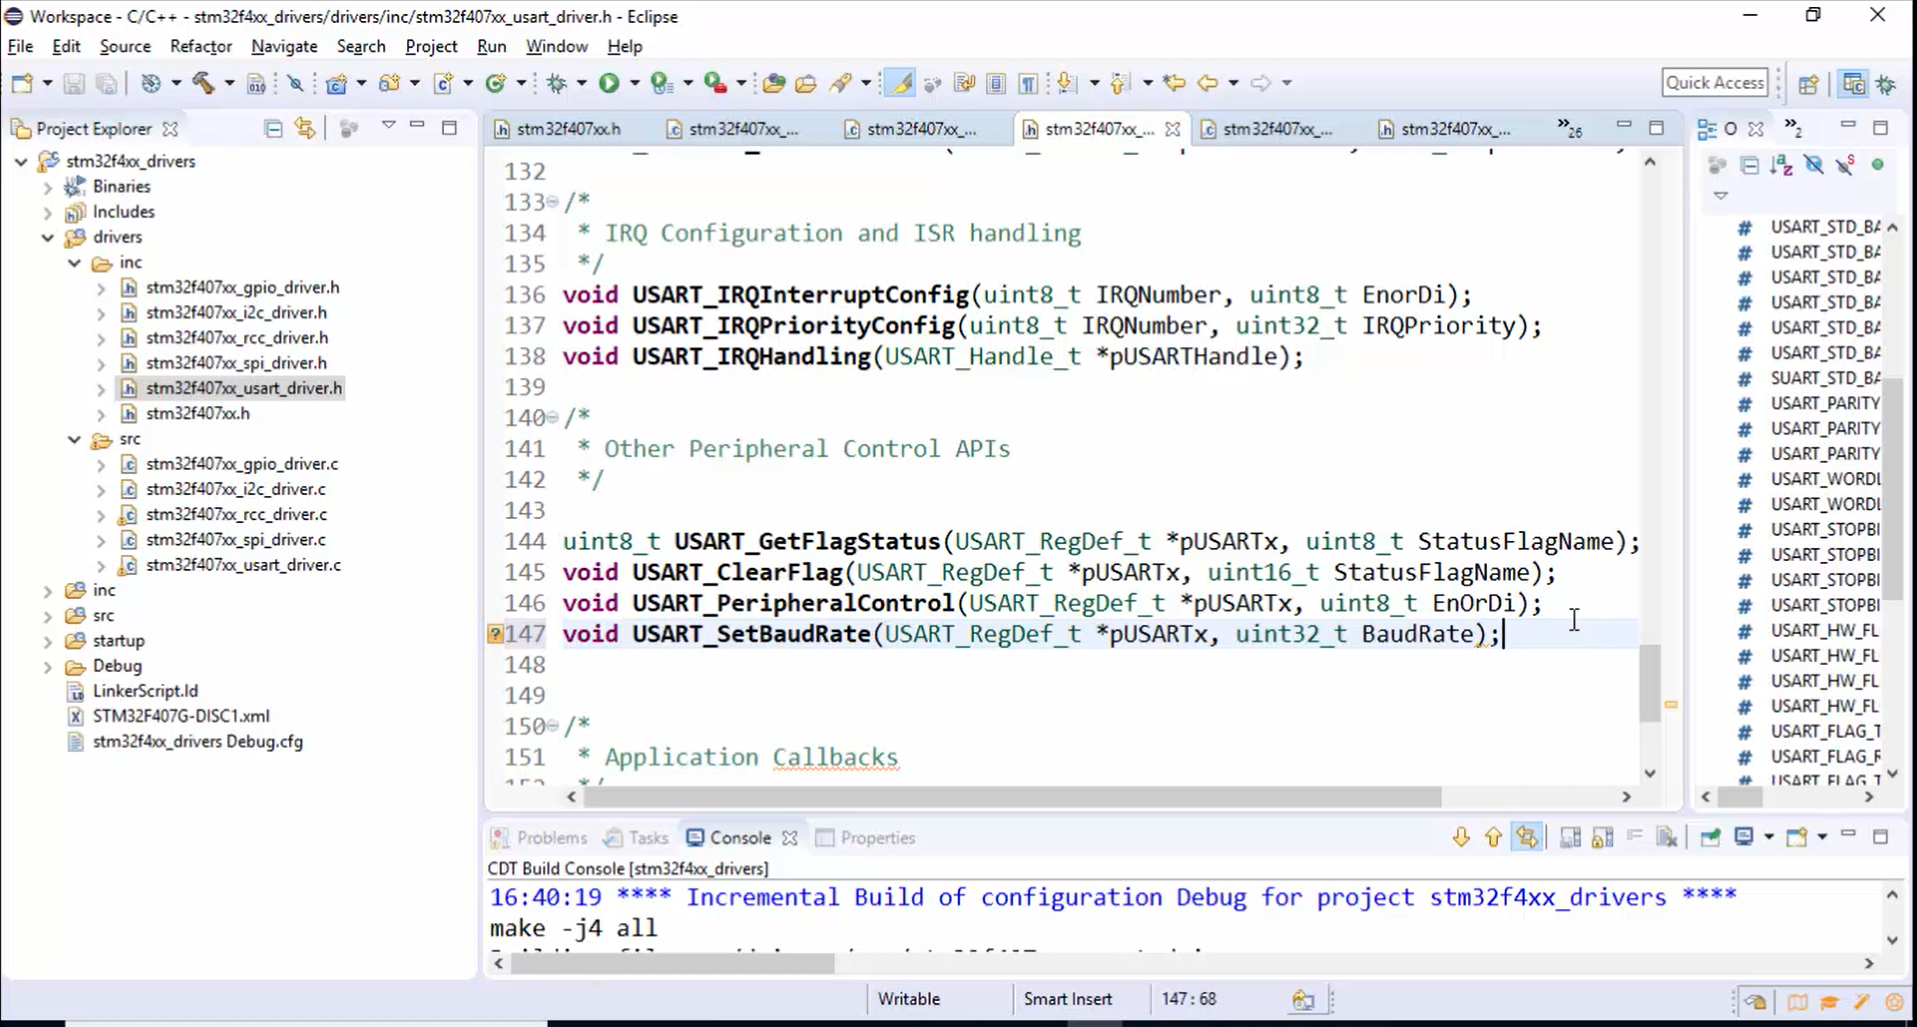
12. Give the prototype of USART_SetBaudRate() API in the other peripheral control APIs section of usart_driver.h (Figure 16).
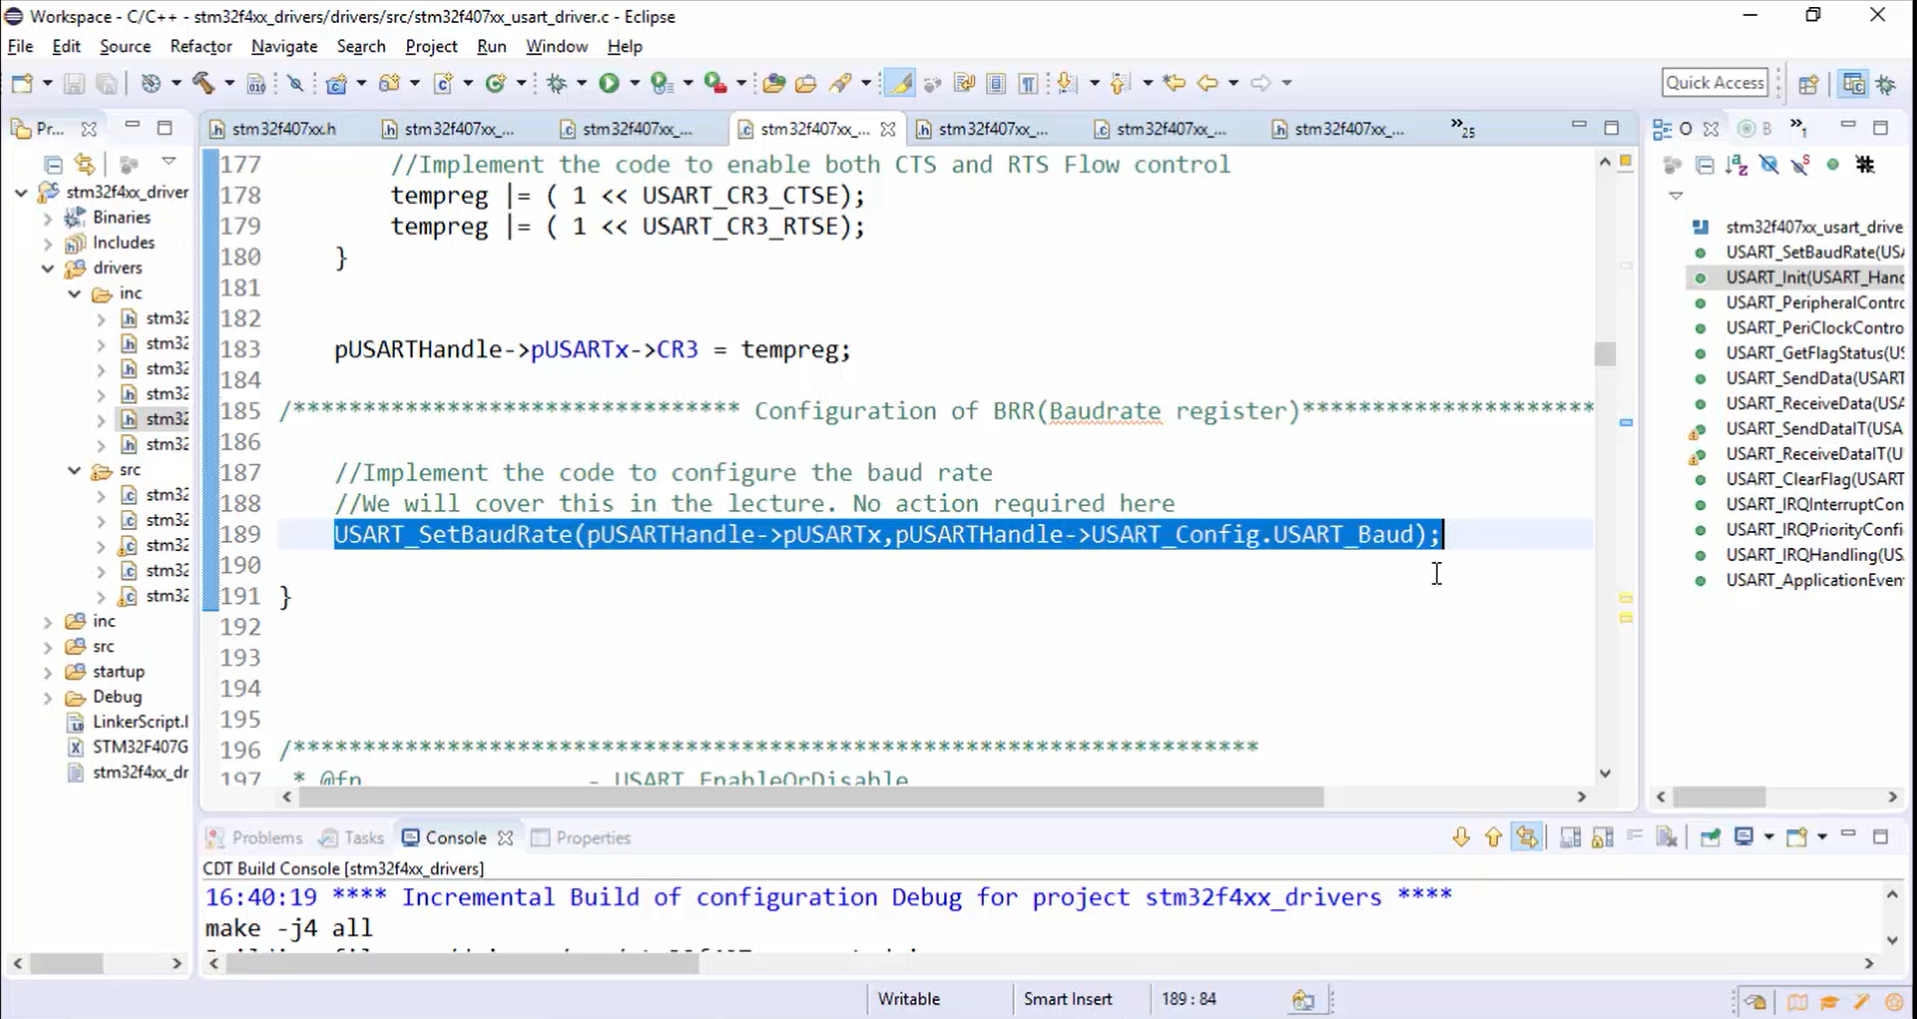
13. Since the baud rate should be configured at the end of init, call USART_SetBaudRate() function from the USART_Init(), as shown in Figure 17.
FastBit Embedded Brain Academy Courses,
Click here: https://fastbitlab.com/course1