Exercise-007 Drawing CLOCK_SETTING state
In this article, let’s learn about the ‘Clock_Setting’ state.
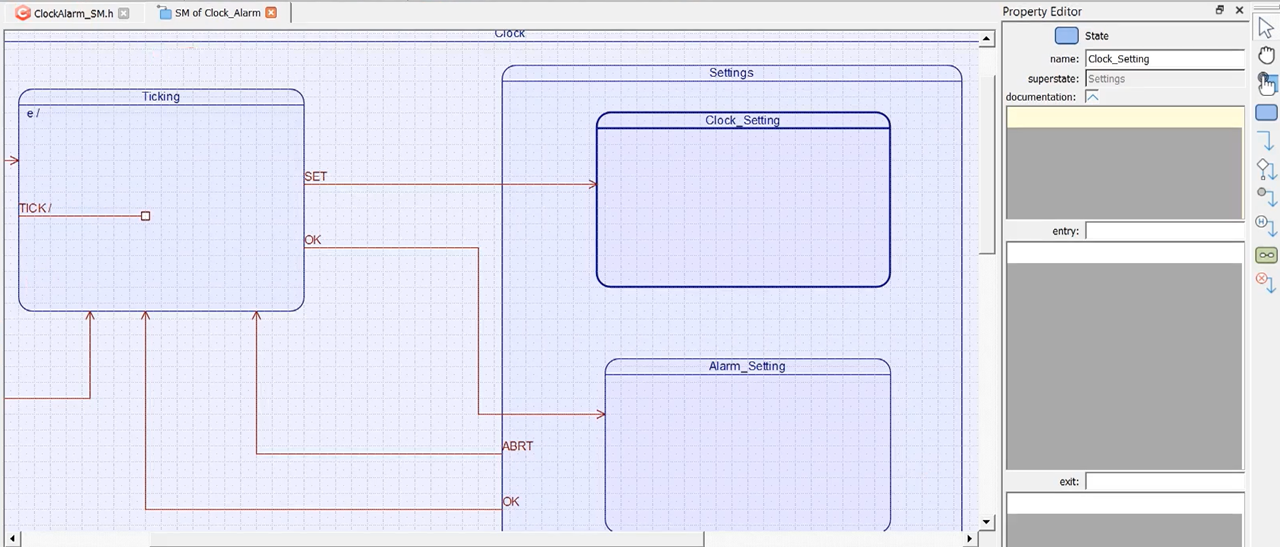
Currently, the current active state is the Ticking state. And when the SET signal is received, there is a transition to the Clock_Setting state.
The button pad generates these events ‘SET’ and ‘OK.’ We already know how to interface the buttons to the Arduino and how to debounce it, all these things we have covered in the earlier exercise. The same debouncing function you can use to send SET and OK signals.
Whenever the SET event is received, we have to do the Clock_Setting as per the demo. In Clock_Setting, first, we have to modify the hour field. And then, we should move to the minutes field and to the seconds field. That’s why, in this state, now let’s draw some sub-states to take care of individual digits of the different fields, like hour, minutes, and seconds.
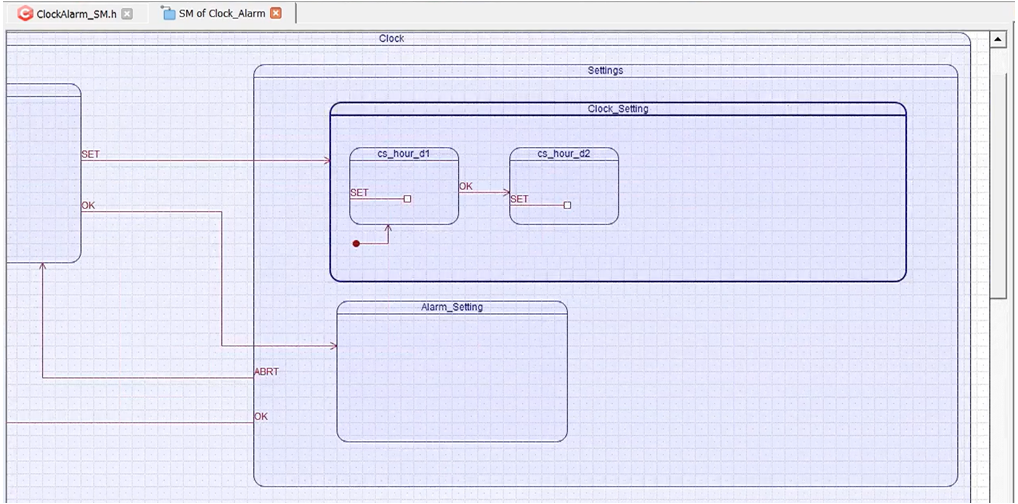
I’m going to draw one state here. This state I’ll call this as cs_hour_d1. Here we modify the digit1 of the hour field. And we need another one; I’ll call this cs_hour_d2. And I will make cs_hour_d1 as the initial sub-state. Whenever you enter this state, cs_hour_d1 is the initial state.
And whenever you are in cs_hour_d1 state, you have to change this digit whenever the SET signal is received. That’s why SET can’t be the external transition. SET should be the Internal transition to this. Let’s make it an internal transition; I’ll give the signal name as SET.
Whenever ‘SET’ is received, you keep changing the digits. And whenever ‘OK’ is pressed, you should move to the next digit. When ‘OK’ is pressed here, and again the ‘SET’ here will be the internal transition. And when ‘OK’ is received here, you should move to the minutes field.
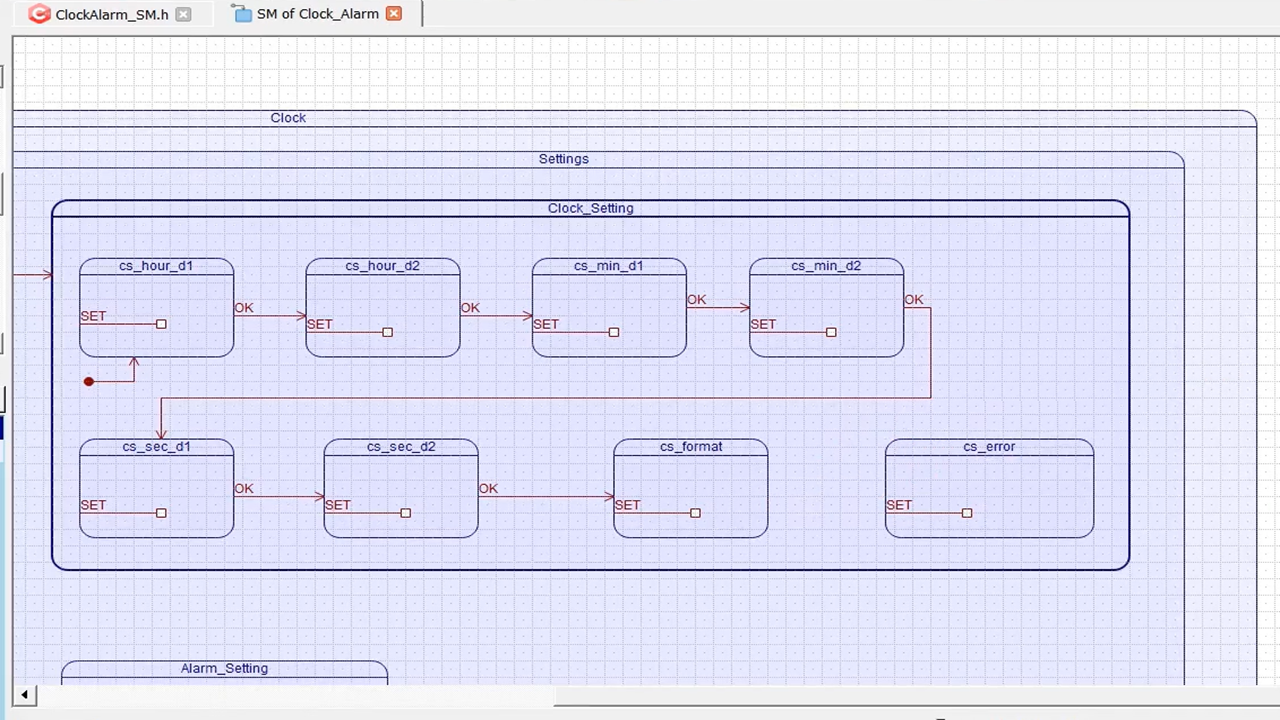
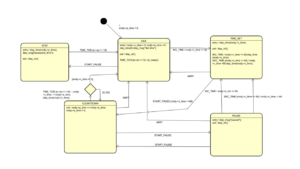
I hope you can now do the rest of the transitions from hour to minutes, minutes to seconds(Figure 3)—complete the rest of the diagram for this state.
FastBit Embedded Brain Academy Courses
Click here: https://fastbitlab.com/course1

