Exercise: Testing UART prints
Serial communication, particularly UART (Universal Asynchronous Receiver/Transmitter), is a fundamental aspect of embedded systems development. Testing UART communication is crucial to ensure the accuracy and reliability of data transfer in STM32 microcontroller-based projects. In this comprehensive guide, we will take you through the process of testing UART prints on STM32 microcontrollers using Tera Term serial monitor software.
Creating the Buffer:
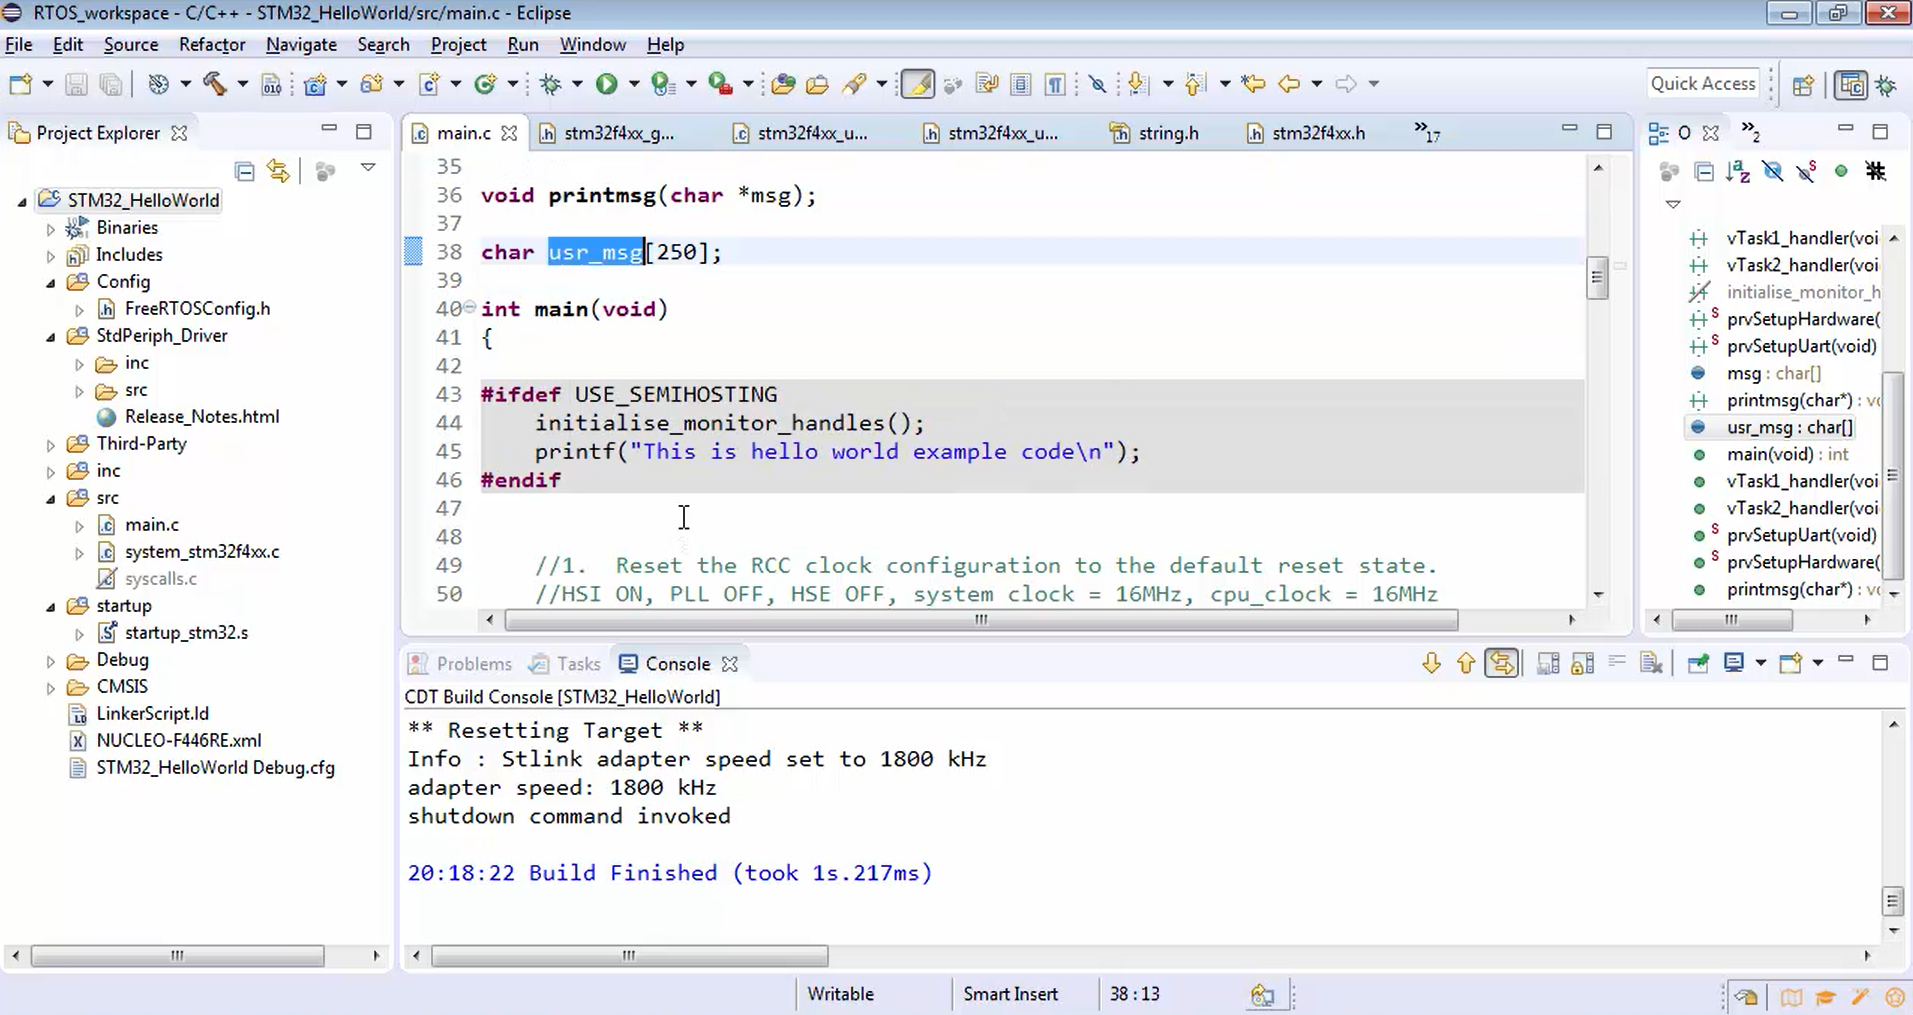
To get started, let’s create a buffer named usr_msg(Figure 1) in the global space. This buffer will serve as our test bed for transmitting messages through UART.
char usr_msg[250];
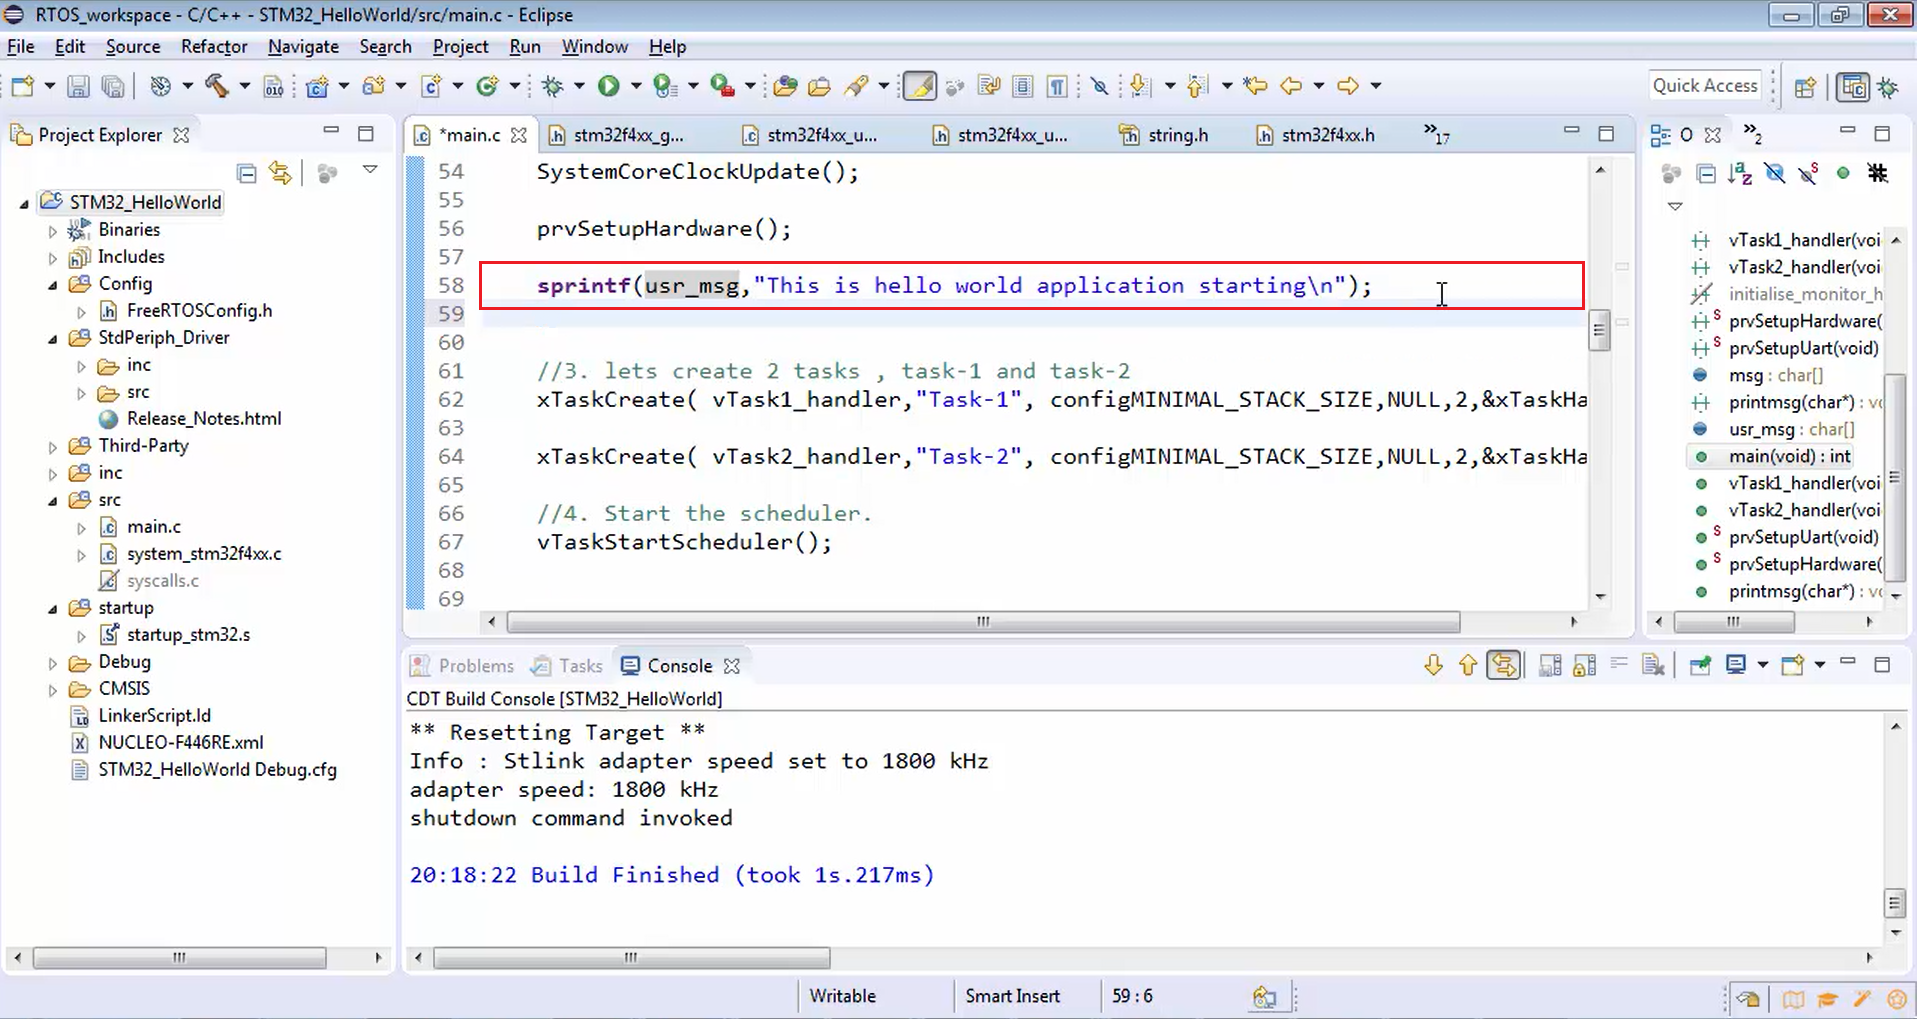
Next, we’ll populate the usr_msg buffer with a sample message using the sprintf function. Let’s do that after the prvSetupHardware function.
The prvSetupHardware is the function that does the UART initialization. Before UART initialization, you can’t print anything. Let’s populate usr-msg with some message by using sprintf, as shown in Figure 2.
sprintf(usr_msg,"This is hello-world application starting\n");
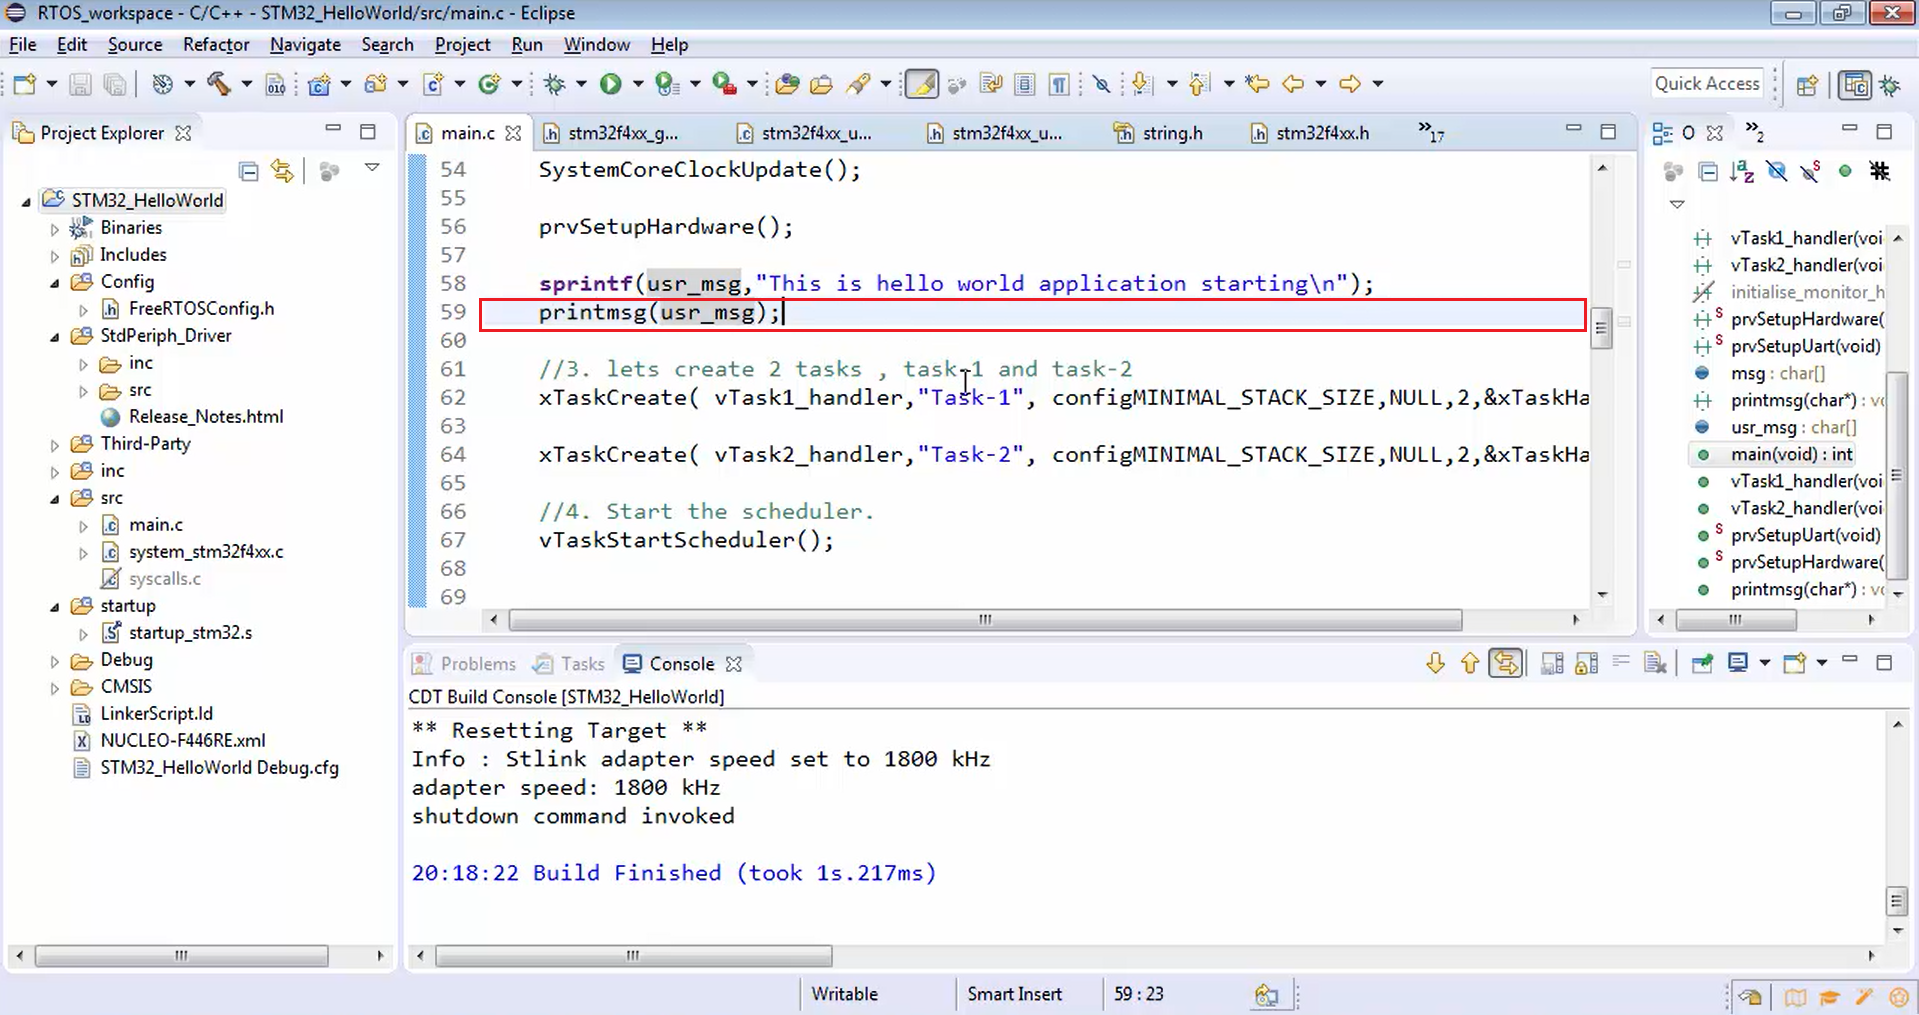
After that, let’s use the printmsg function and just pass usr_msg buffer as a parameter, as shown in Figure 3. The sprintf copies the given message into the usr_msg buffer, and then we just print that message via printmsg function.
printmsg(usr_msg);
Testing the Project:
Now, let’s move on to testing our UART communication project.
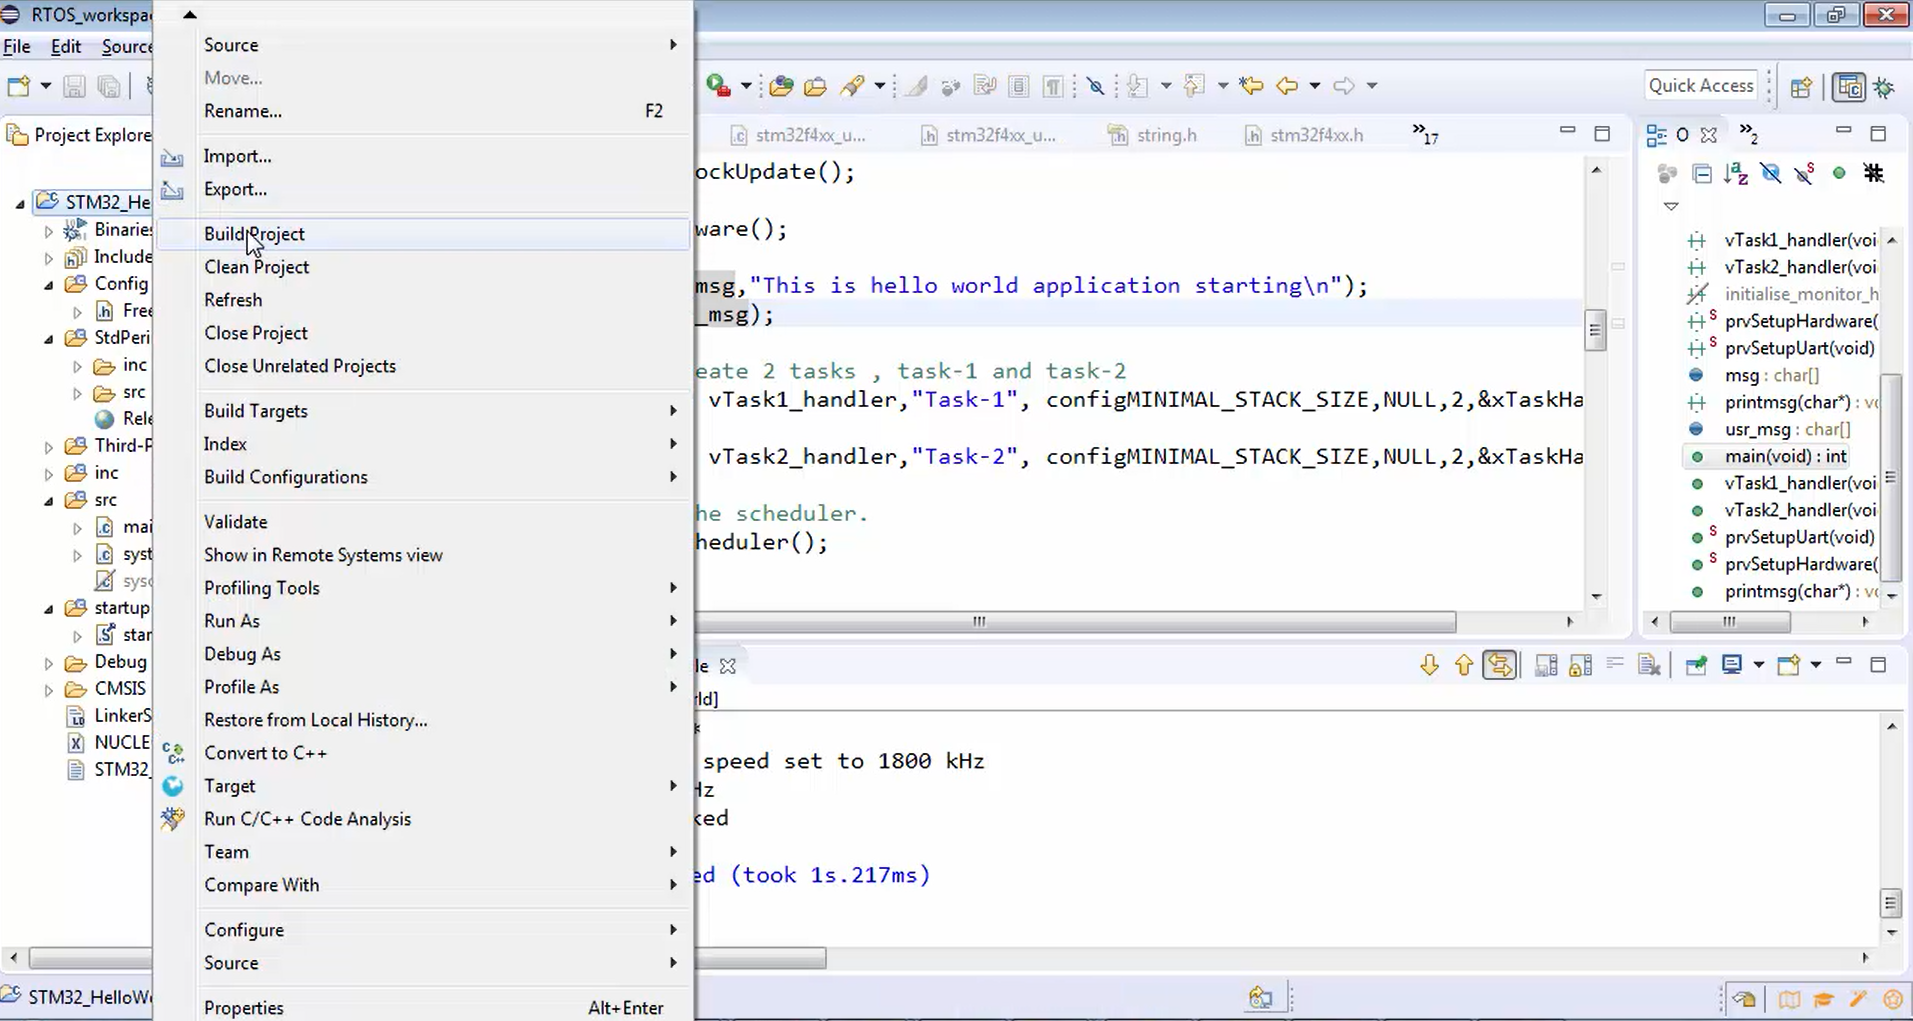
Let’s compile the project (Figure 4). The project builds successfully without any errors.
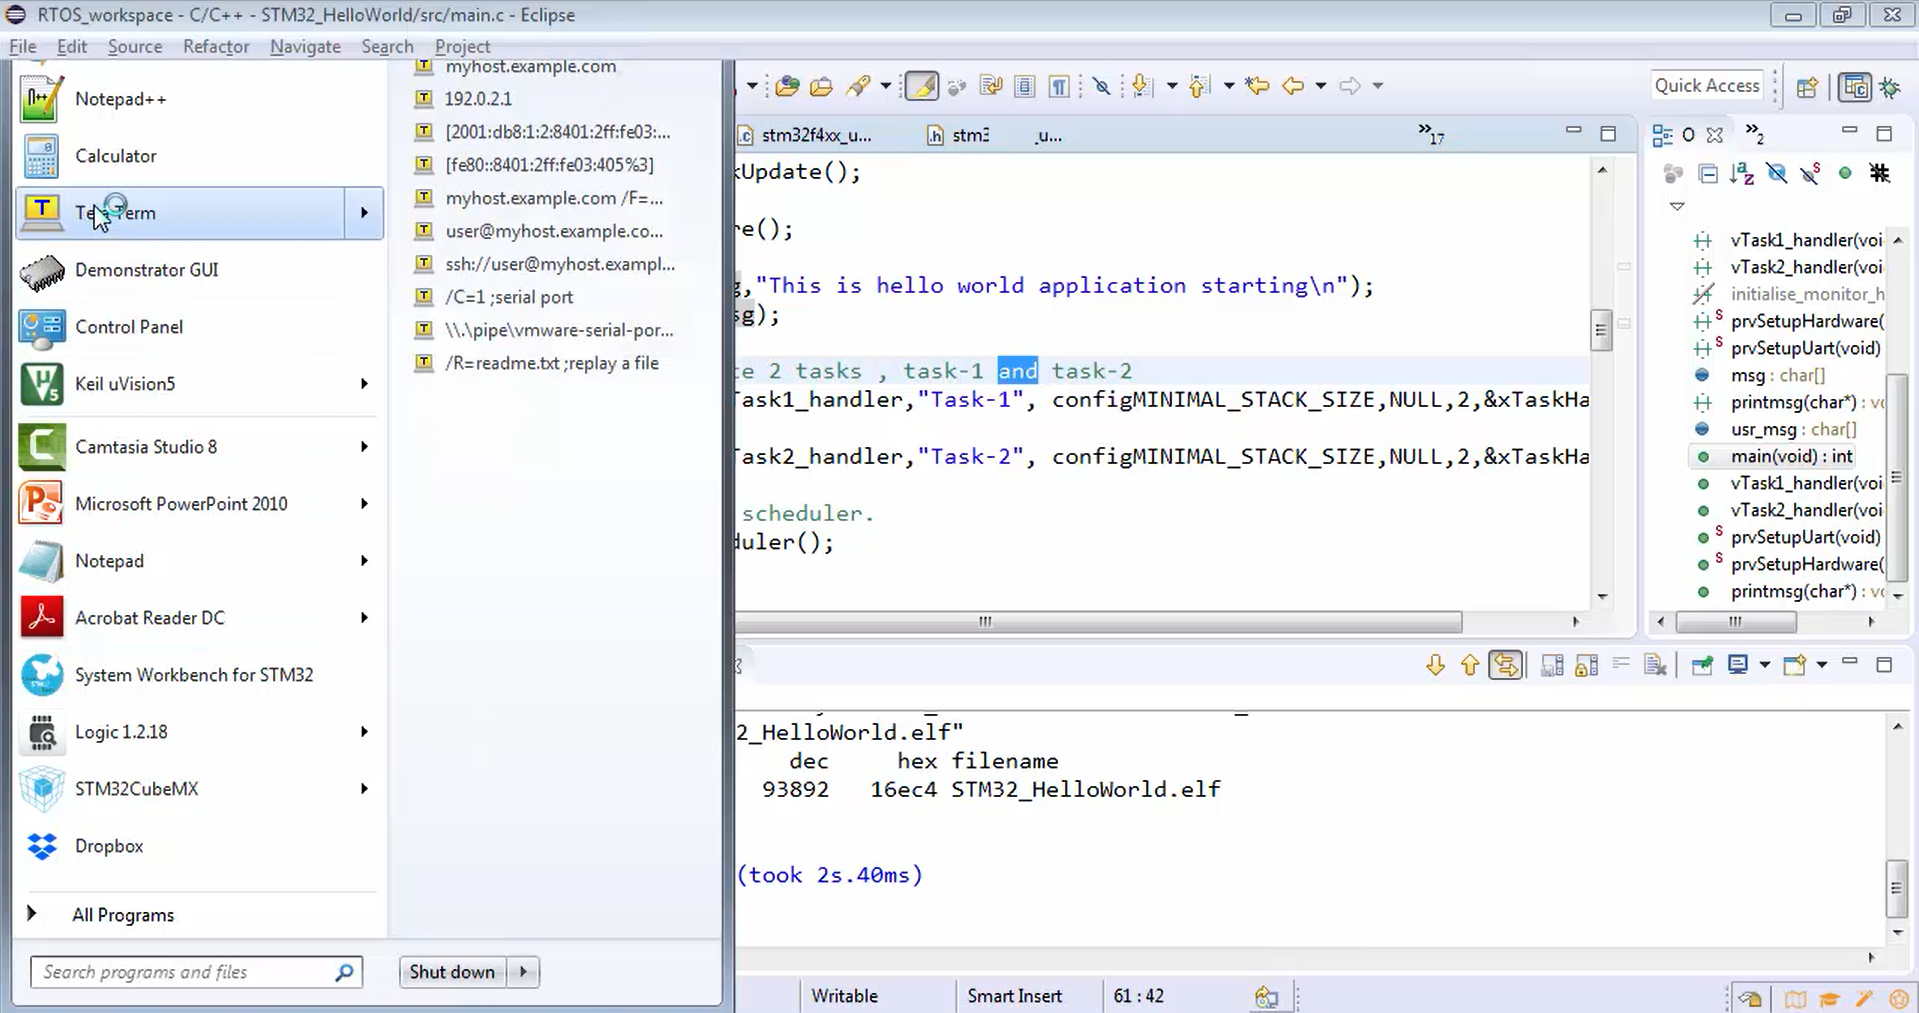
Now open your serial monitor software. If you are using Windows, then you can use tera term software (Figure 5). If you don’t have this software, just download and install it on your computer.
Tera term is a serial monitoring software, which is freely available, and you can download and install it if you haven’t done it already.
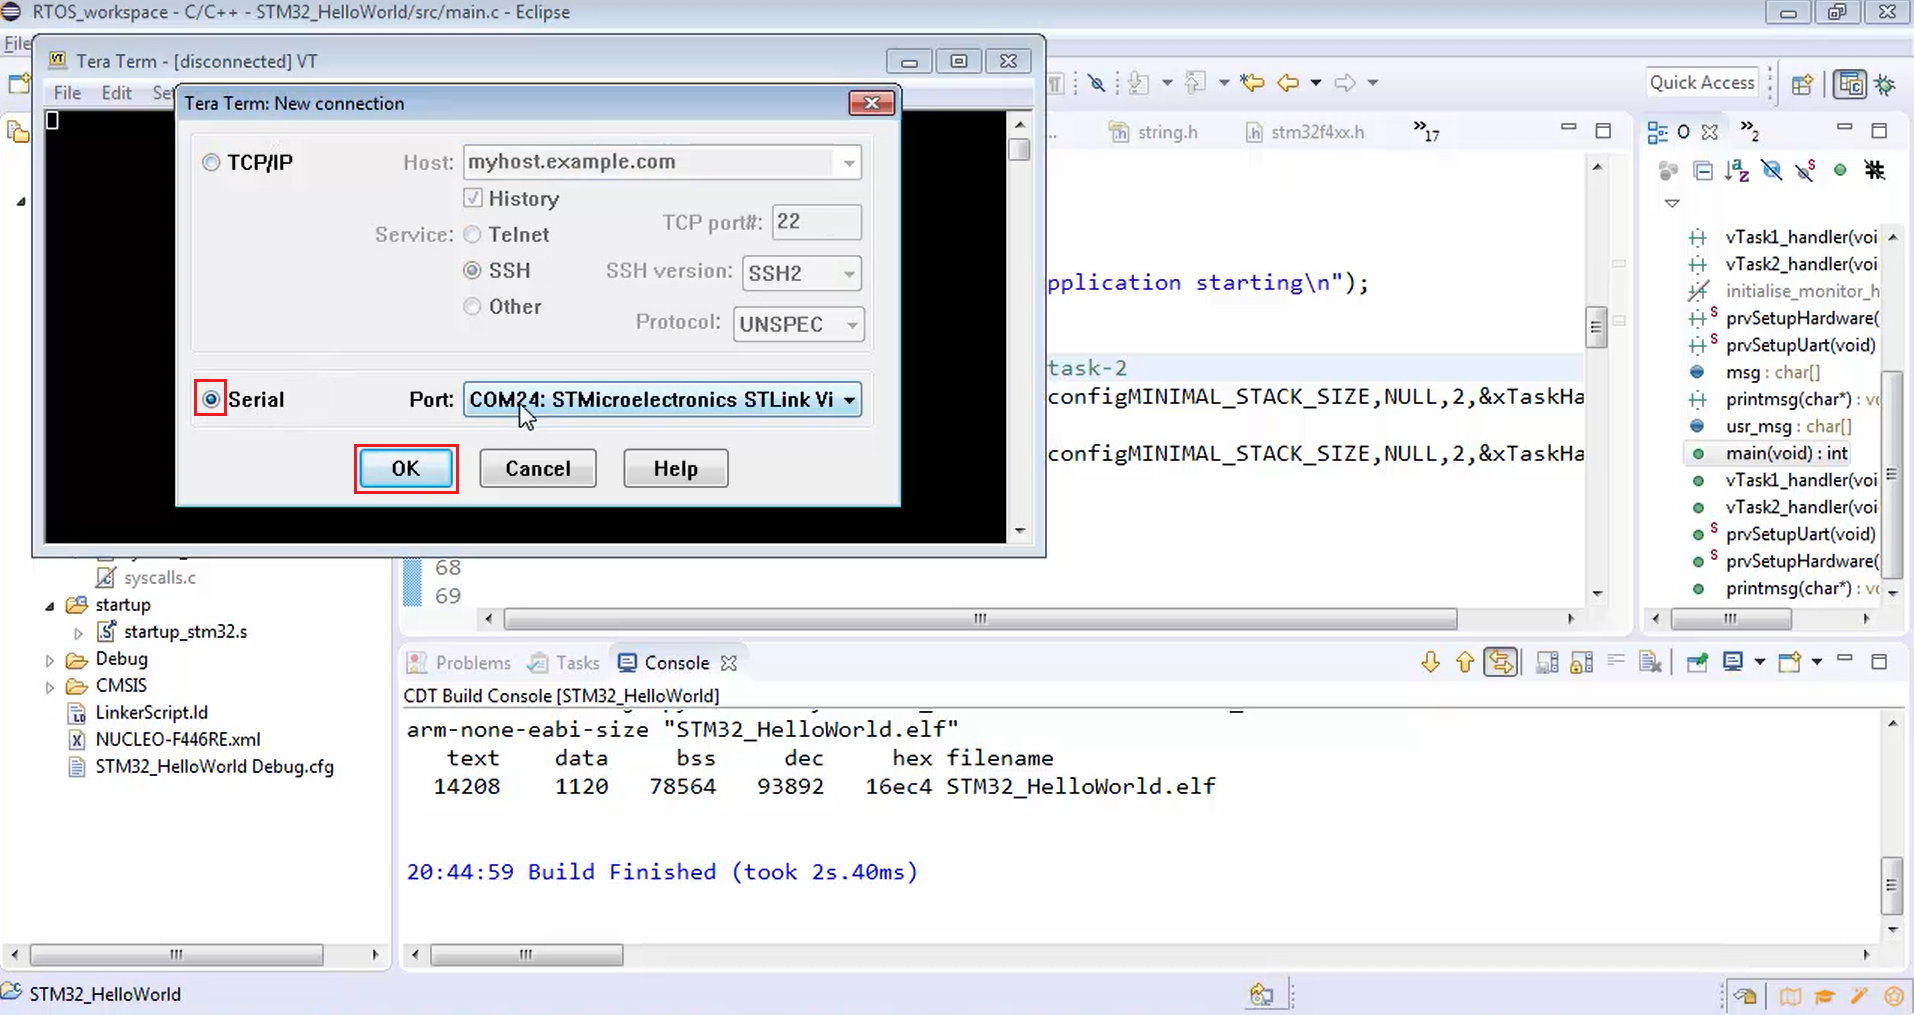
Let’s open the tera term software. Then establish the serial connection, i.e., our ST-Microelectronics, and click ok (Figure 6).
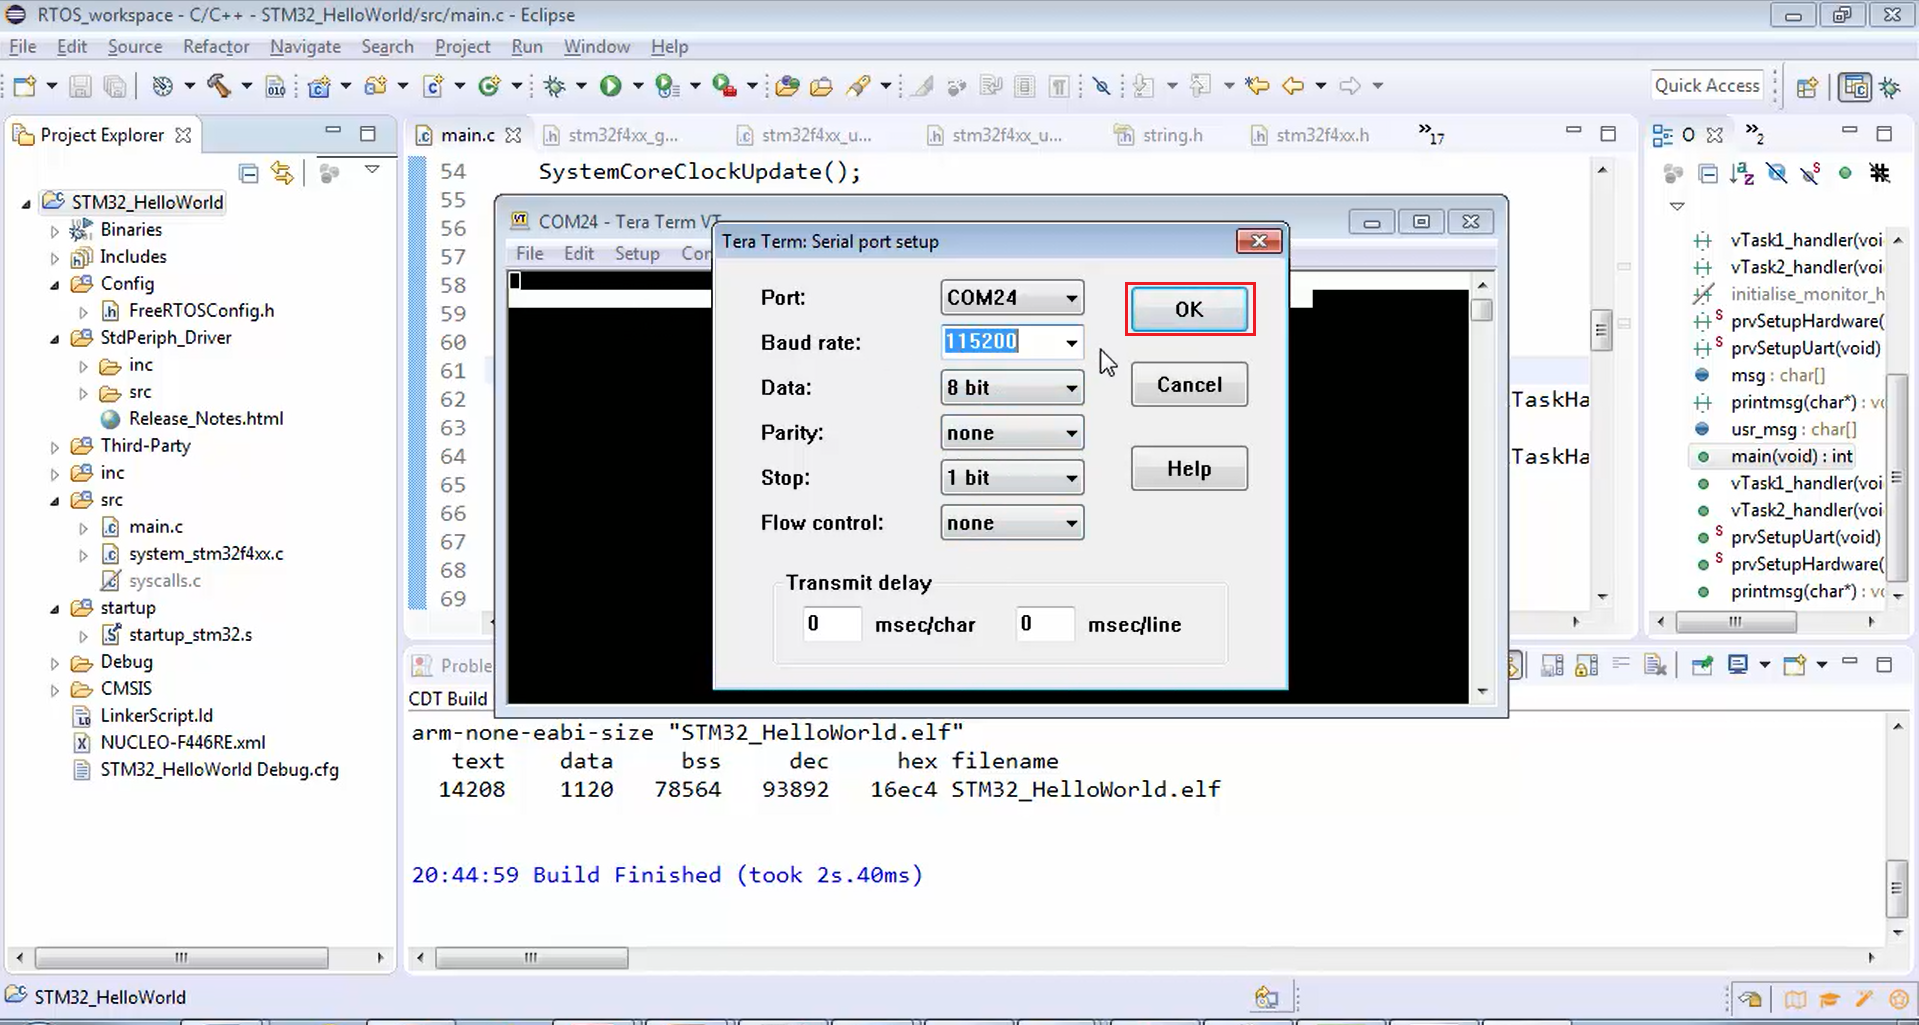
After that, configure the serial port (Figure 7). Select the baud rate of 115200 because the firmware running on our board uses the same baud rate range. All the settings in Figure 7 should be the same with respect to the code that we have written. Now let’s click ok (Figure 7).
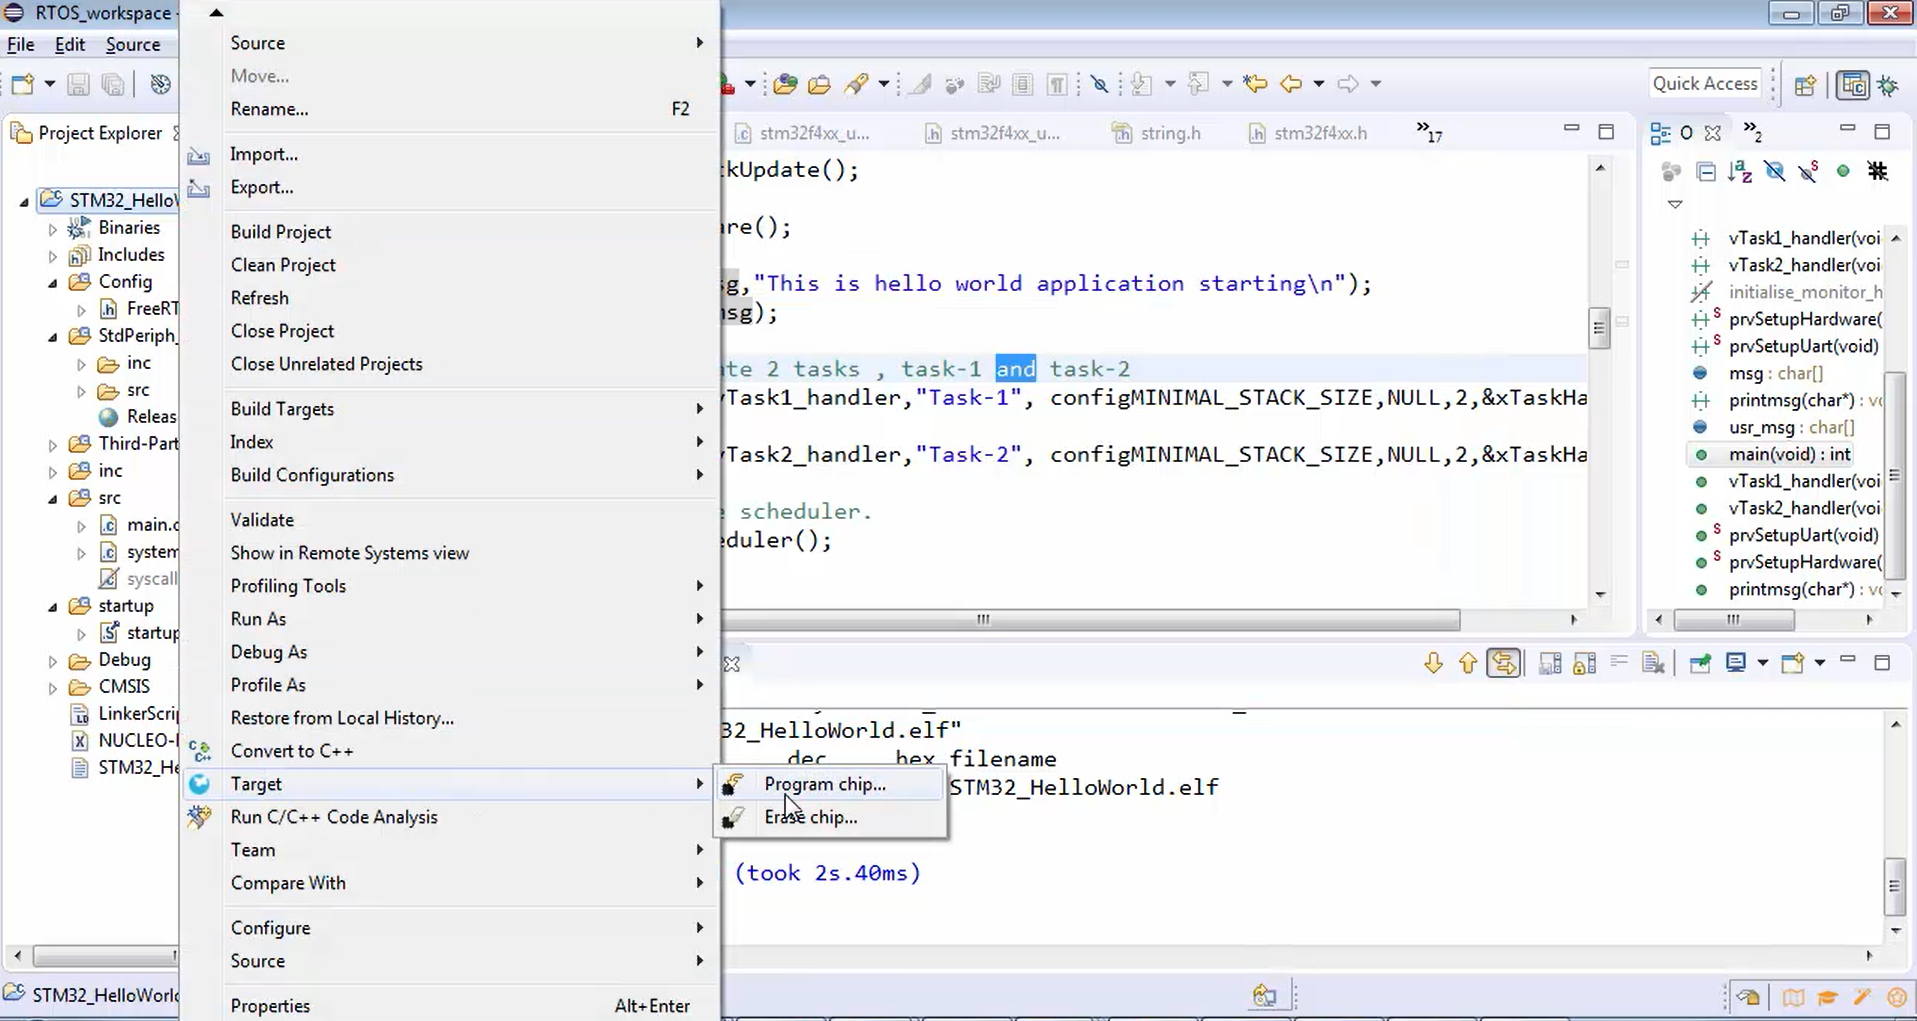
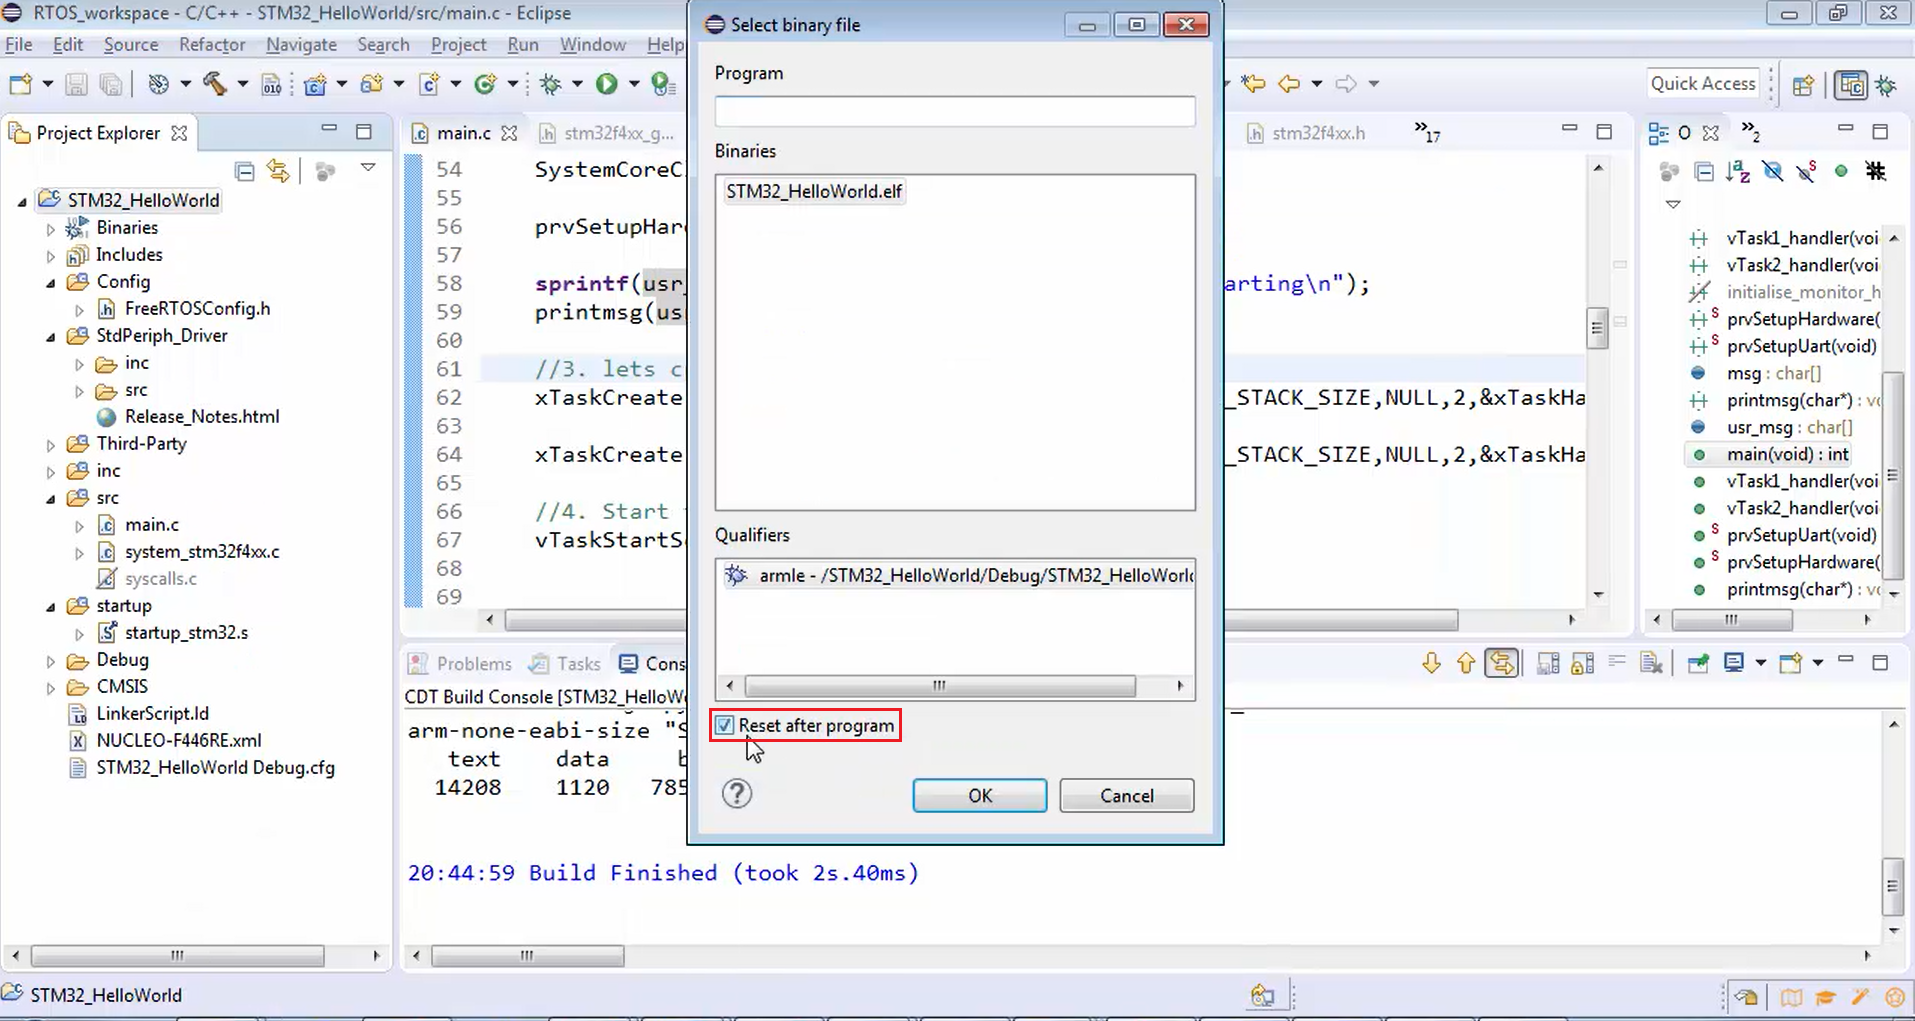
Download the code into the board (Figure 8). Tick the reset after the program (Figure 9) and click ok.
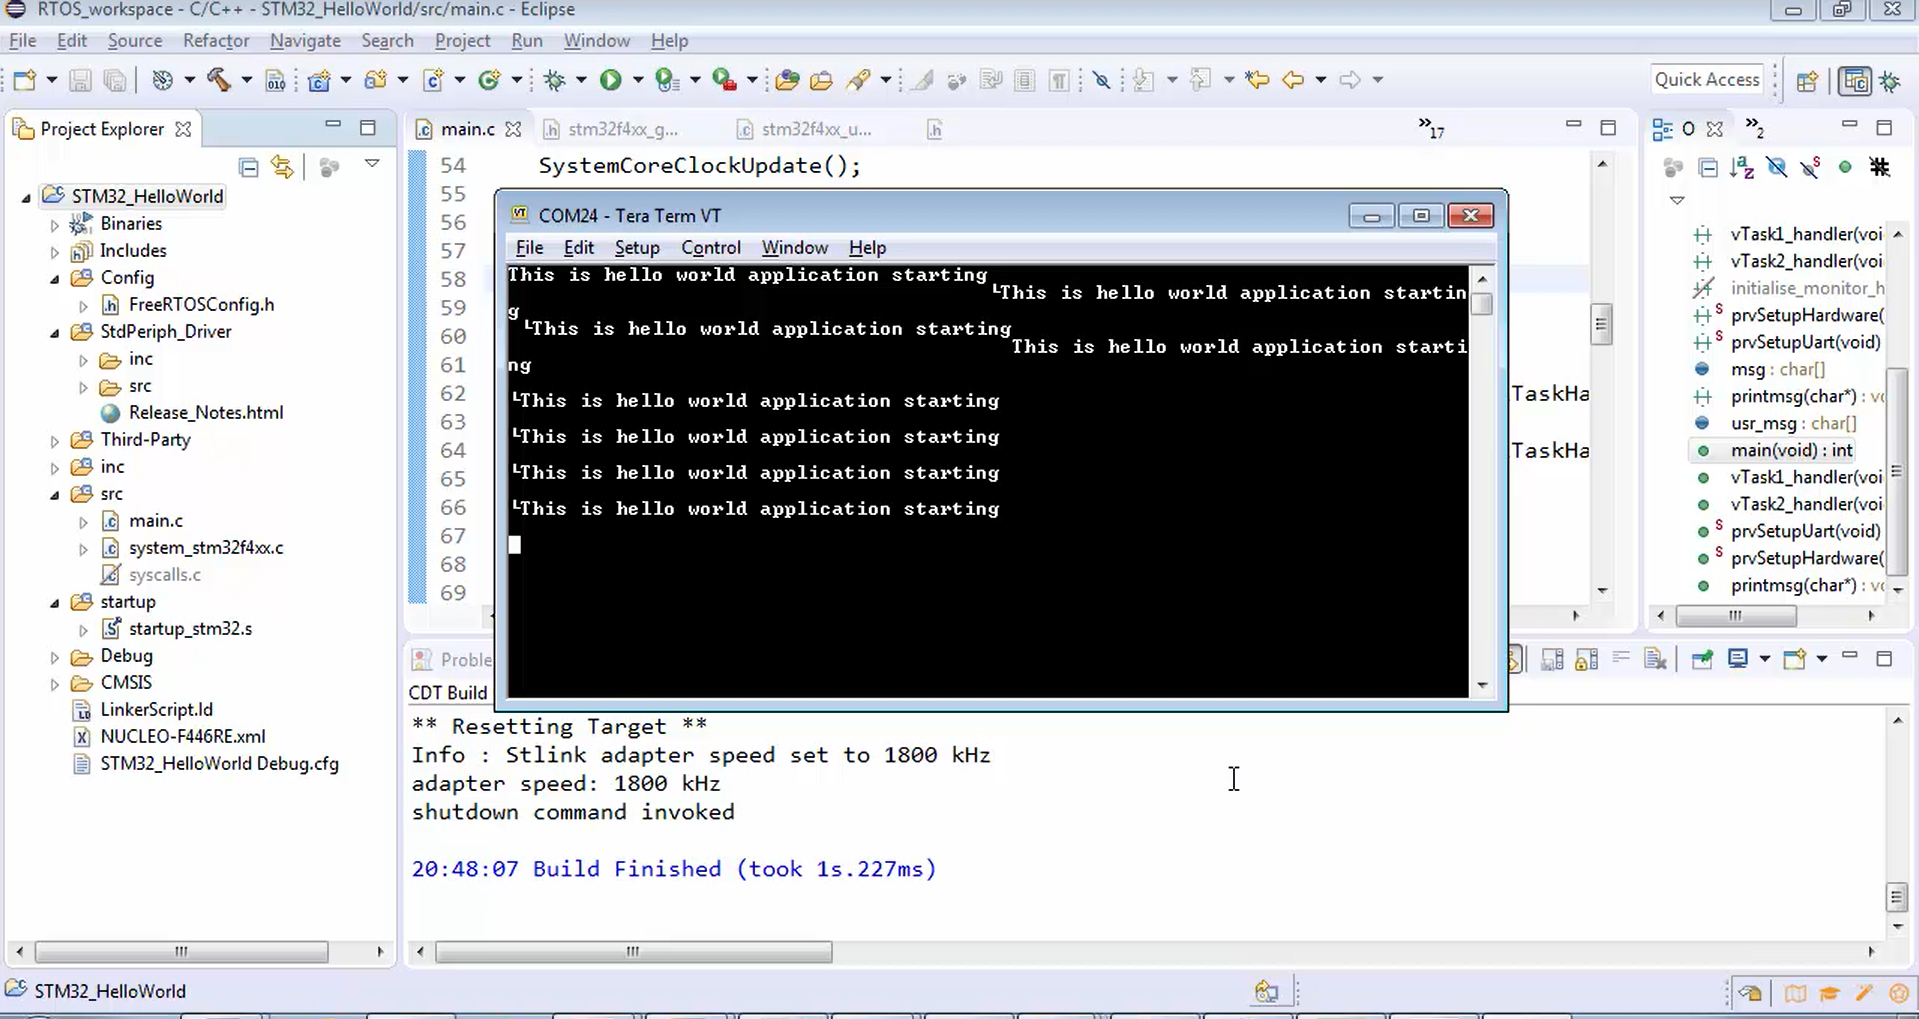
Now the board is programmed, and we got the output on the serial monitor software (Figure 10). And you can see that the cursor is at the end of the output. That’s because you can do some settings here.
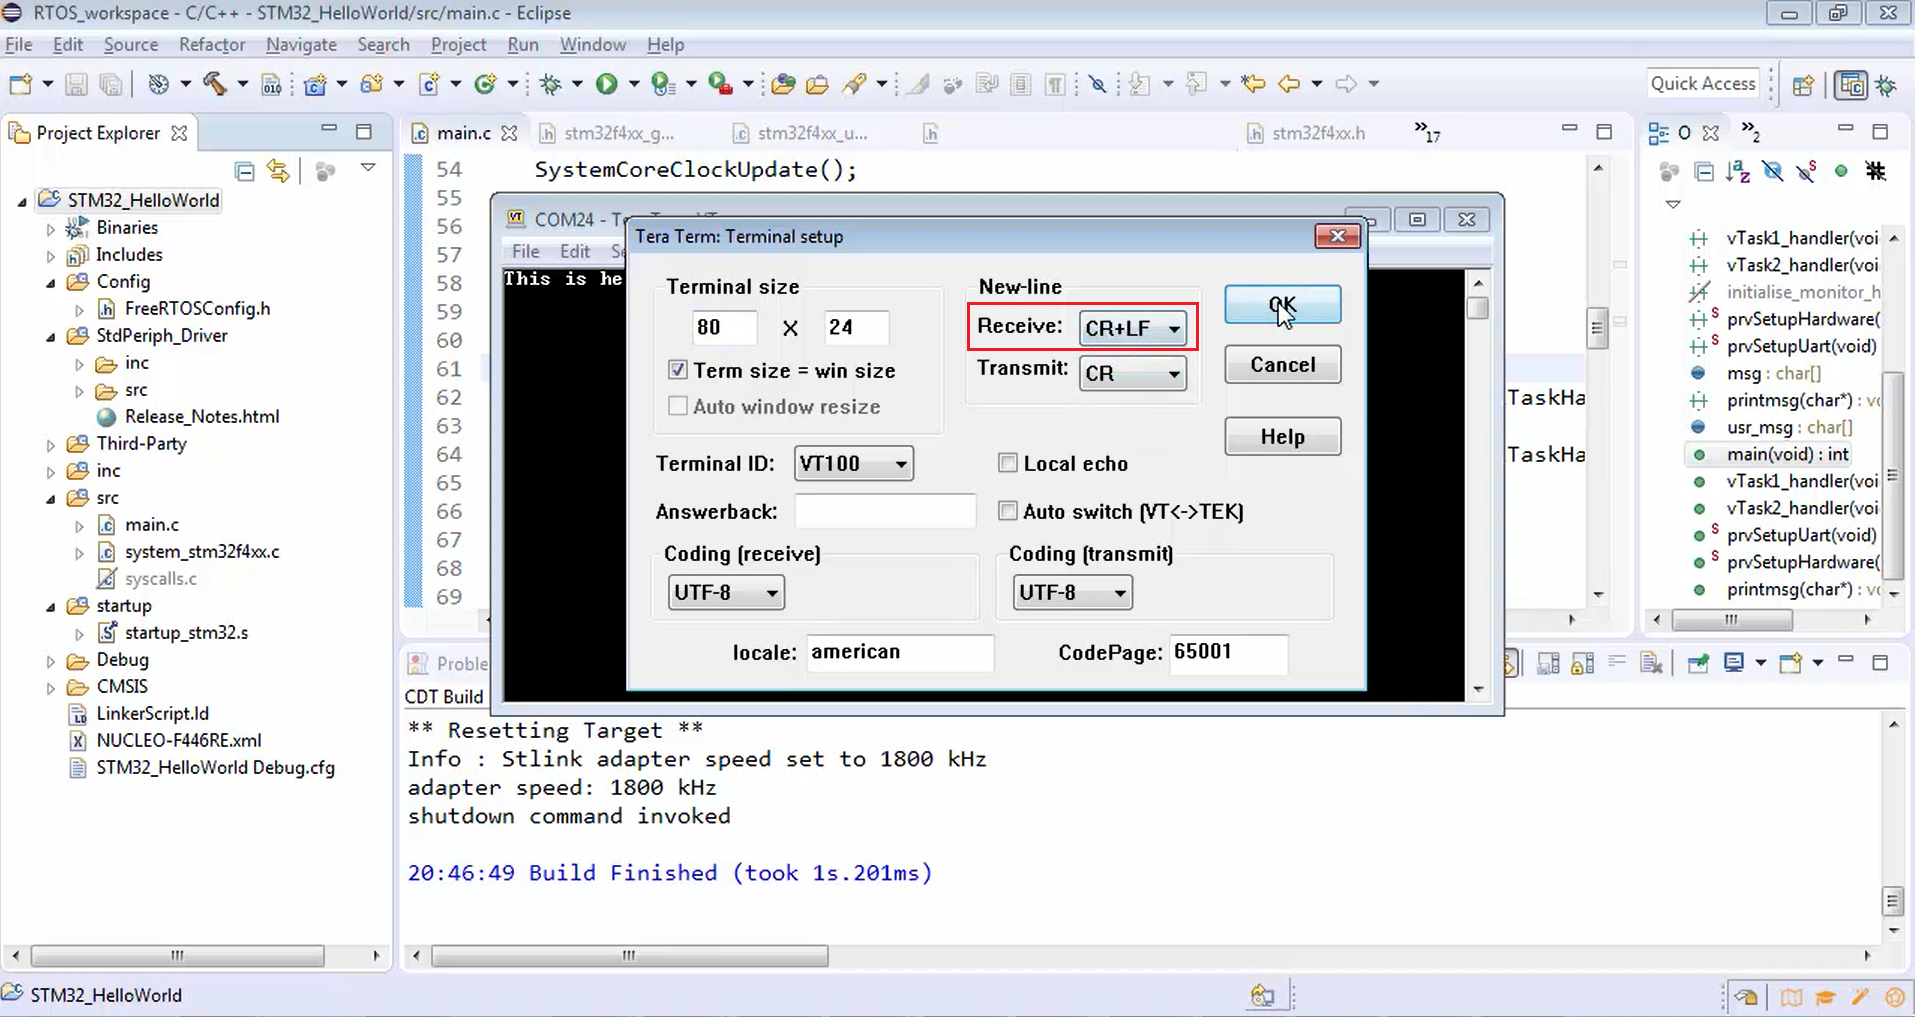
Go to the setup terminal and select receive CR+LF and click ok (Figure 11). Now just reset the board.
Troubleshooting:
- Baud Rate Mismatch: Ensure that the baud rate in your code matches the one configured in Tera Term.
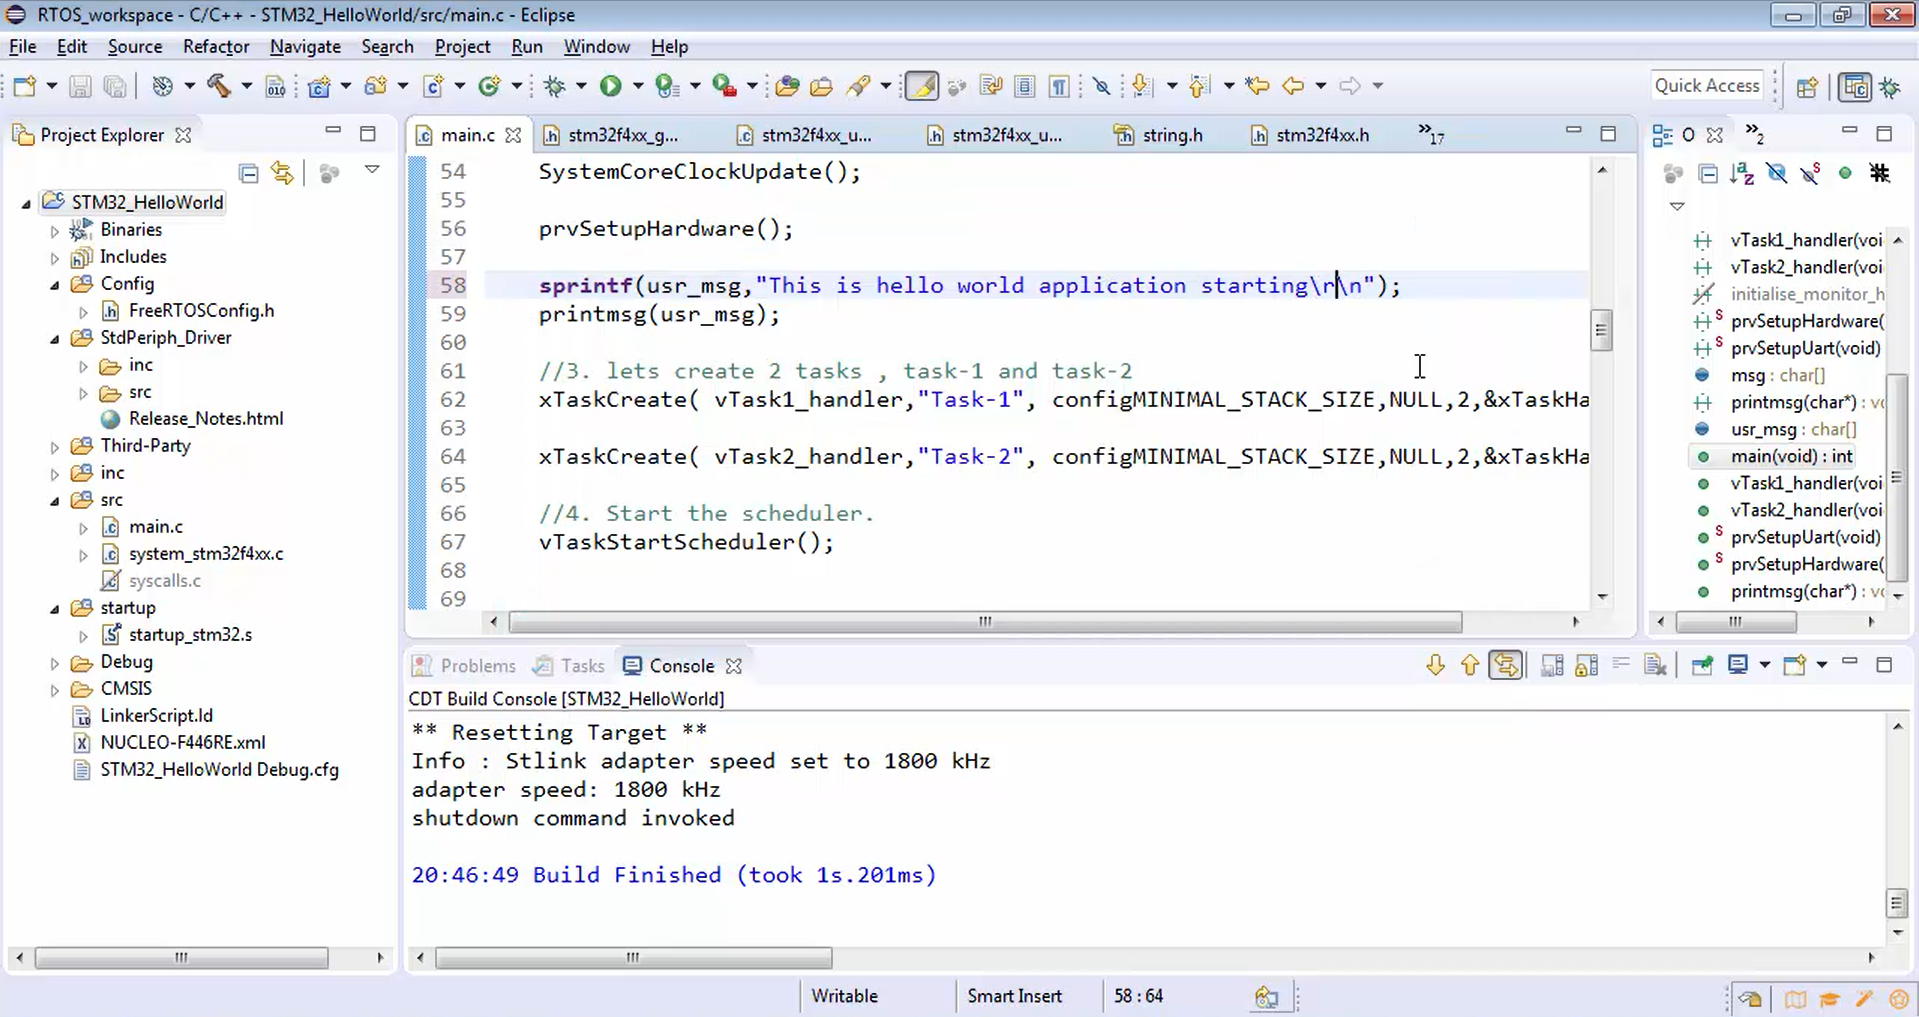
- Newline Character: If messages appear on a new line but don’t return to the original position, add a carriage return (
\r) in yoursprintfstatement. - Incomplete Messages: If messages are truncated or incomplete, check the buffer size and make sure it can accommodate your messages.
In Figure 12, you can see that it is not working. It actually needs a carriage return. The message has come to the newline since you are sending a newline character at the end of the message (Figure 8). But it did not return to the original position. That’s why you have to send the carriage return, i.e., \r, as shown in Figure 13.

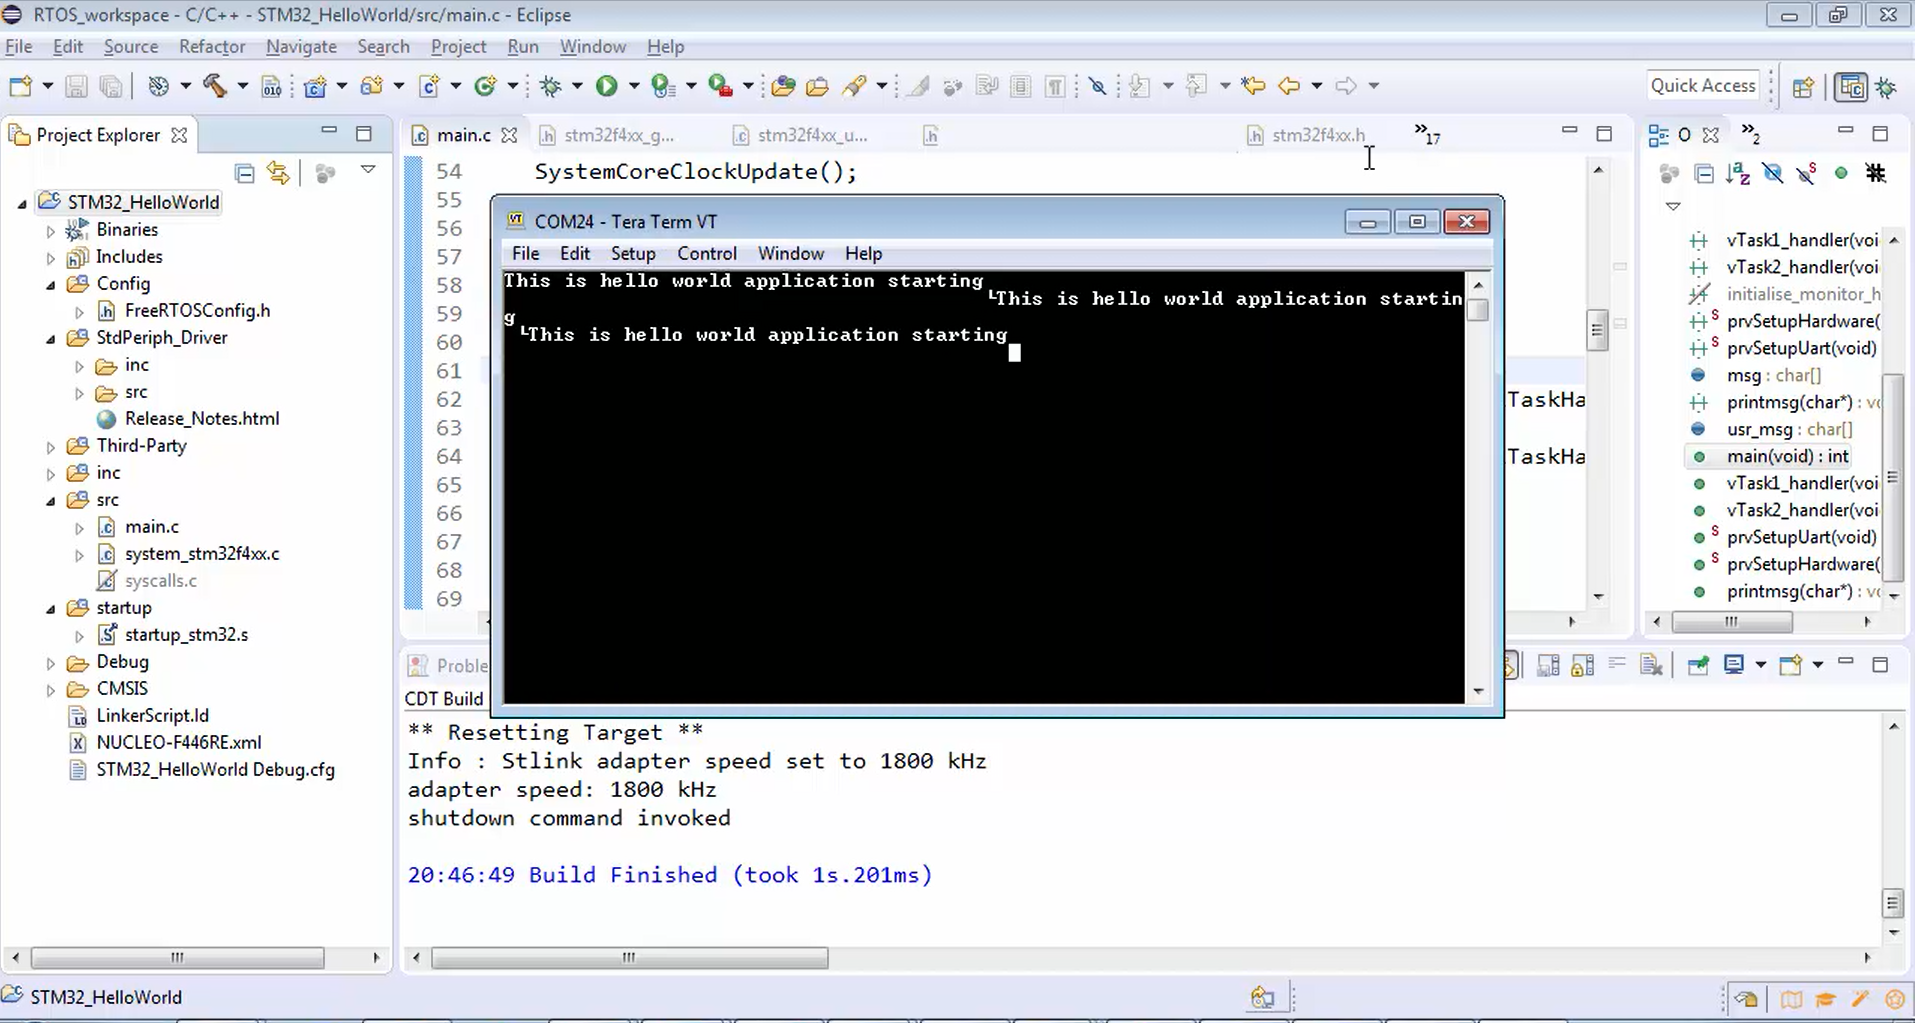
Try to build the project once again—the program compiled successfully. Now let’s test the project by downloading it into the chip. Reset your board once again. Now you can see that the result will be fine (Figure 14).