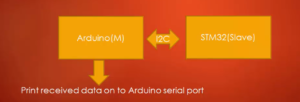
Exercise: UART Printmsg implementation using std periph. library
The configuration of peripherals by using the standard peripheral library is really an important thing. It will help you not only in UART peripheral configuration but also in the future. If you use any other peripheral like RTC or timers, you can quickly be able to understand since we have already covered the required steps. For most of the peripherals, the steps will be common.
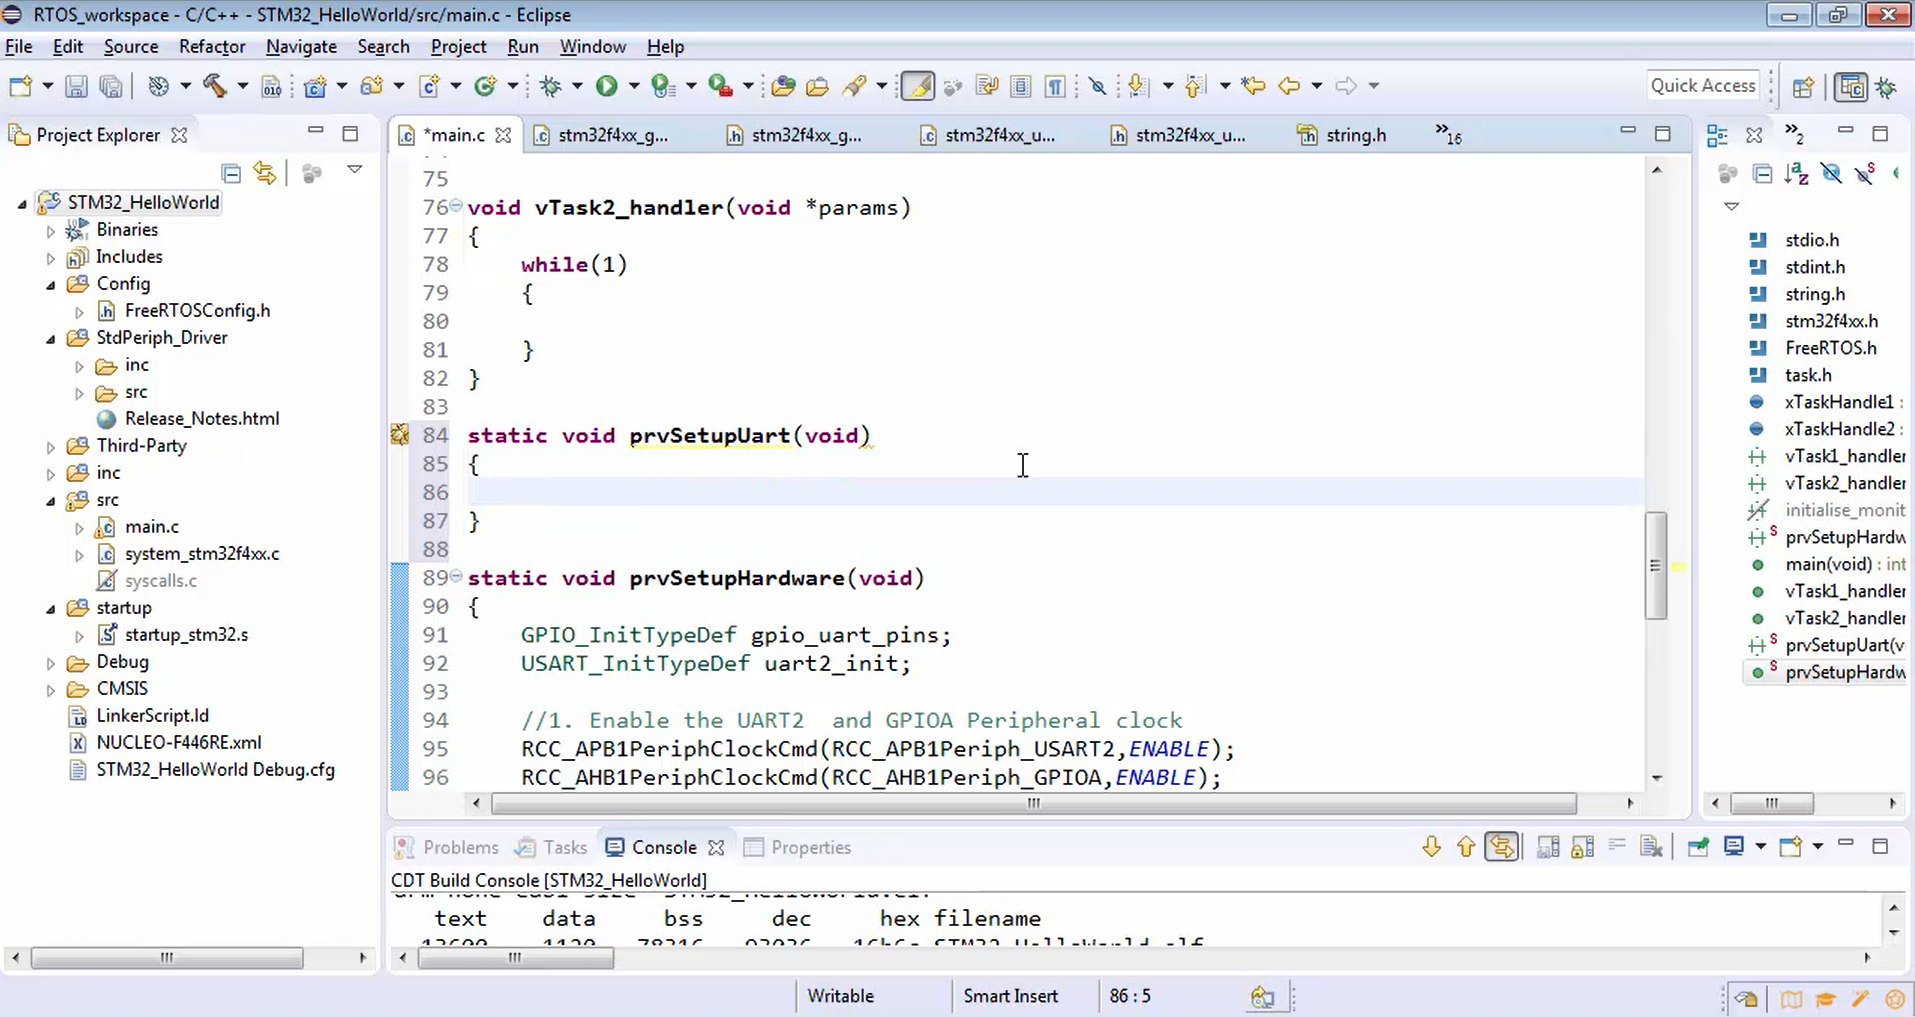
We have already completed all the UART initializations. In order to maintain some discipline, you have to create one more static void function, as shown in Figure 1.
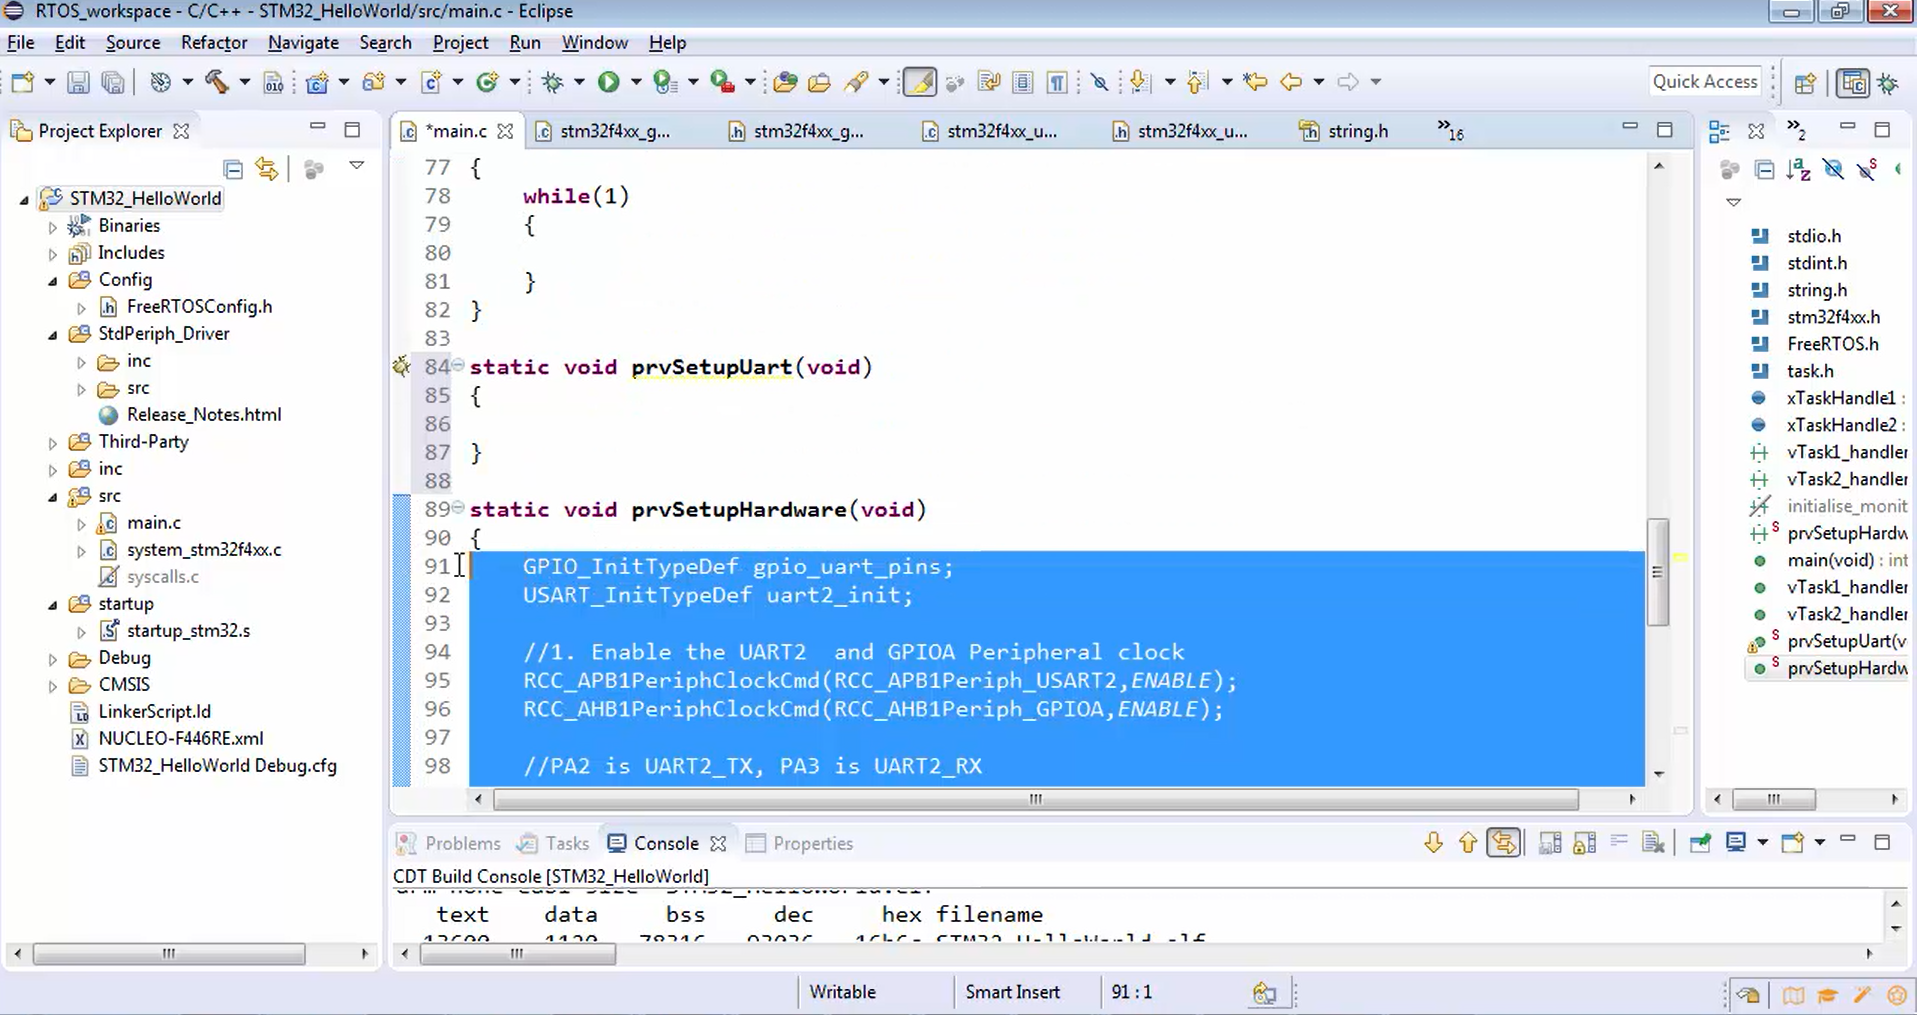
Let’s call that function as prvSetupUart. This is the helper function to set-up the UART. Then remove all the codes inside the prvSetupHardware function (Figure 2) and paste it under the prvSetupUart function, as shown below code snippet.
static void prvSetupUart(void)
{
   GPIO_InitTypeDef gpio_uart_pins;
   USART_InitTypeDef uart2_init;

   //1. Enable the UART2 and GPIOA Peripheral clock
   RCC_APB1PeriphClockCmd(RCC_APB1Periph_USART2,ENABLE);
   RCC_AHB1PeriphClockCmd(RCC_AHB1Periph_GPIOA,ENABLE);

   //PA2 is UART2_TX, PA3 is UART2_RX

   //2. Alternate function configuration of MCU pins to behave as UART2 TX and RX

   //zeroing each and every member element of the structure
   memset(&gpio_uart_pins,0,sizeof(gpio_uart_pins));

   gpio_uart_pins.GPIO_Pin = GPIO_Pin_2 | GPIO_Pin_3;
   gpio_uart_pins.GPIO_Mode = GPIO_Mode_AF;
   gpio_uart_pins.GPIO_PuPd = GPIO_PuPd_UP;
   gpio_uart_pins.GPIO_OType= GPIO_OType_PP;
   gpio_uart_pins.GPIO_Speed = GPIO_High_Speed;
   GPIO_Init(GPIOA, &gpio_uart_pins);


   //3. AF mode settings for the pins
   GPIO_PinAFConfig(GPIOA,GPIO_PinSource2,GPIO_AF_USART2); //PA2
   GPIO_PinAFConfig(GPIOA,GPIO_PinSource3,GPIO_AF_USART2); //PA3

   //4. UART parameter initializations
   //zeroing each and every member element of the structure
   memset(&uart2_init,0,sizeof(uart2_init));

   uart2_init.USART_BaudRate = 115200;
   uart2_init.USART_HardwareFlowControl = USART_HardwareFlowControl_None;
   uart2_init.USART_Mode = USART_Mode_Tx | USART_Mode_Rx;
   uart2_init.USART_Parity = USART_Parity_No;
   uart2_init.USART_StopBits = USART_StopBits_1;
   uart2_init.USART_WordLength = USART_WordLength_8b;
   USART_Init(USART2,&uart2_init);


   //5. Enable the UART2 peripheral
   USART_Cmd(USART2,ENABLE);
}
prvSetupUart function
Then call prvSetupUart function from prvSetupHardware function. Because in the future, we will populate the prvSetupHardware function with various other peripheral initializations.
static void prvSetupHardware(void)
{
   //setup UART2
   prvSetupUart();
}
Calling prvSetupUart function from prvSetupHardware function
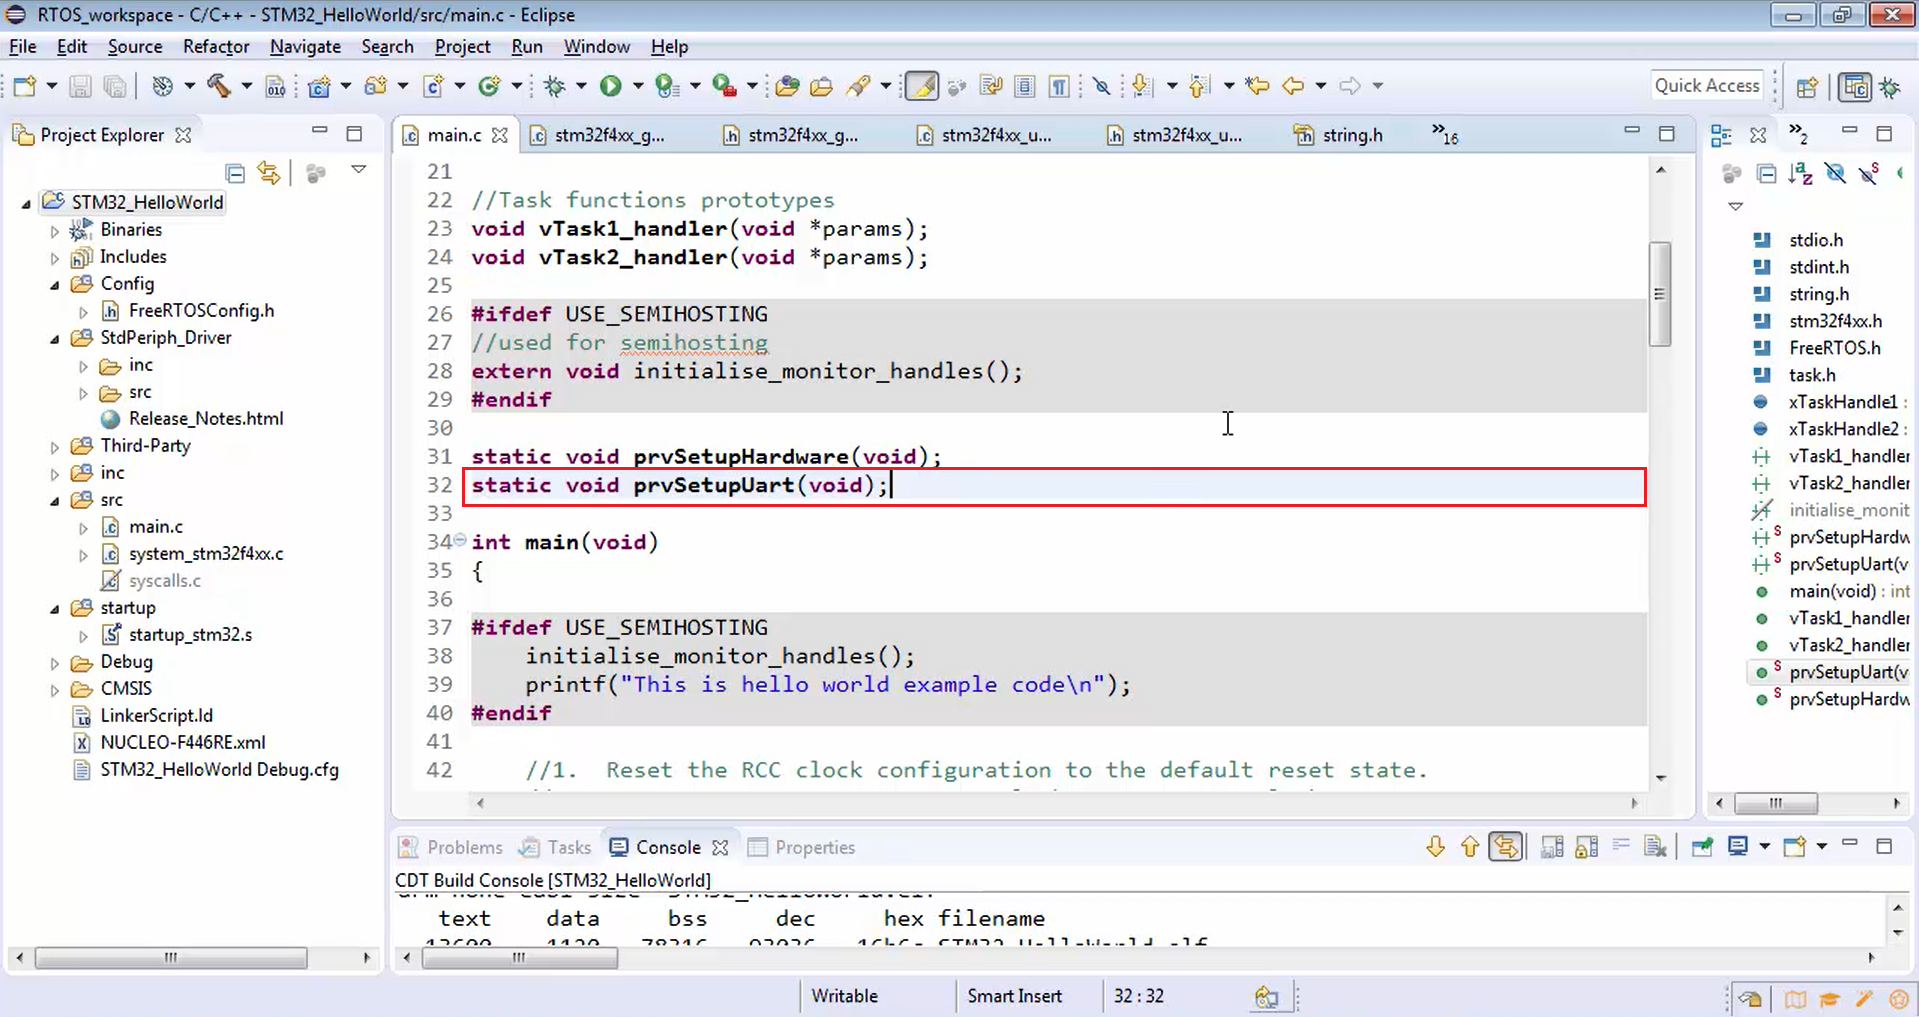
Let’s give the prototype of the prvSetupUart function, as shown in Figure 3.
Now let’s print some data over the UART because we have done all the initializations.
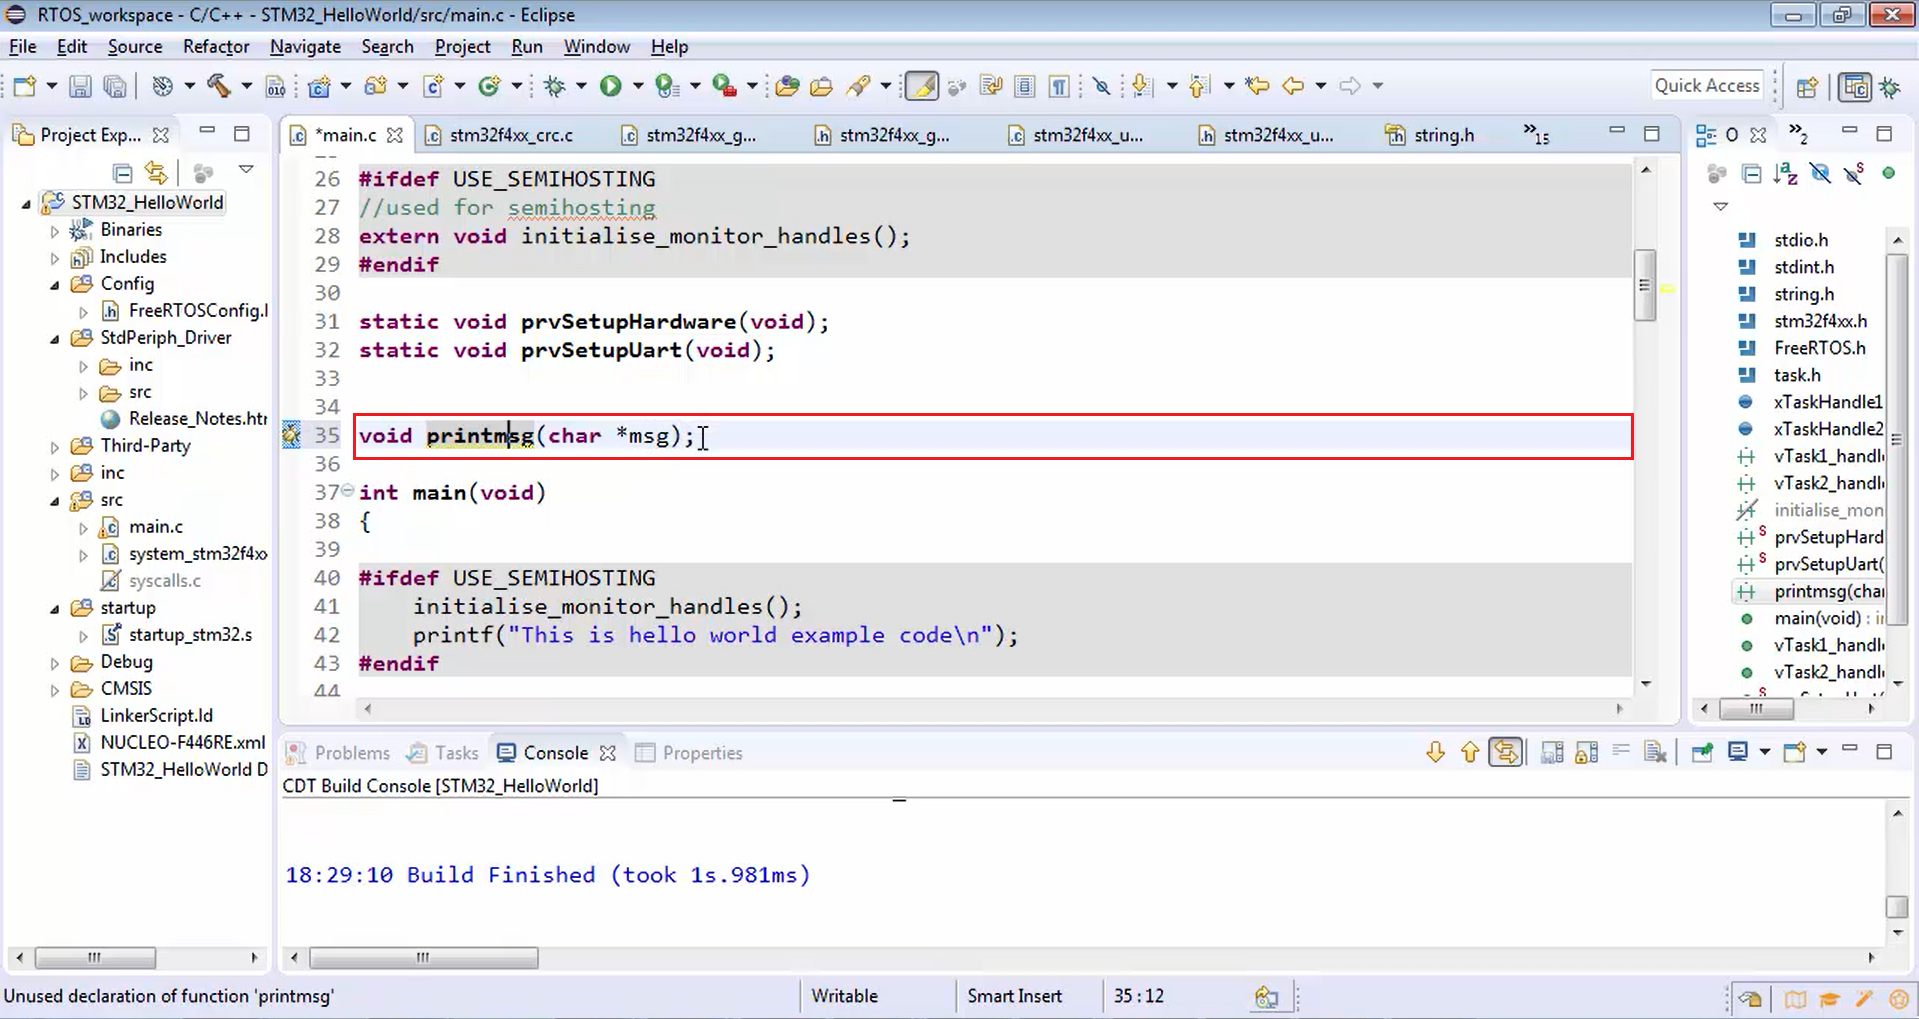
To print over UART, let’s create a small function called printmsg , and this function takes the pointer to the string. Let’s mention it as a character pointer, as shown in Figure 4.
void printmsg(char *msg);
Now we created the printmsg function that returns nothing, but it takes the character pointer as an input parameter.
Let’s implement the printmsg function.
Here we receive the pointer to the string. Now let’s again visit the usart.c (Figure 5), i.e., the driver file in order to explore what exactly is the API to transmit a byte over the UART peripheral.
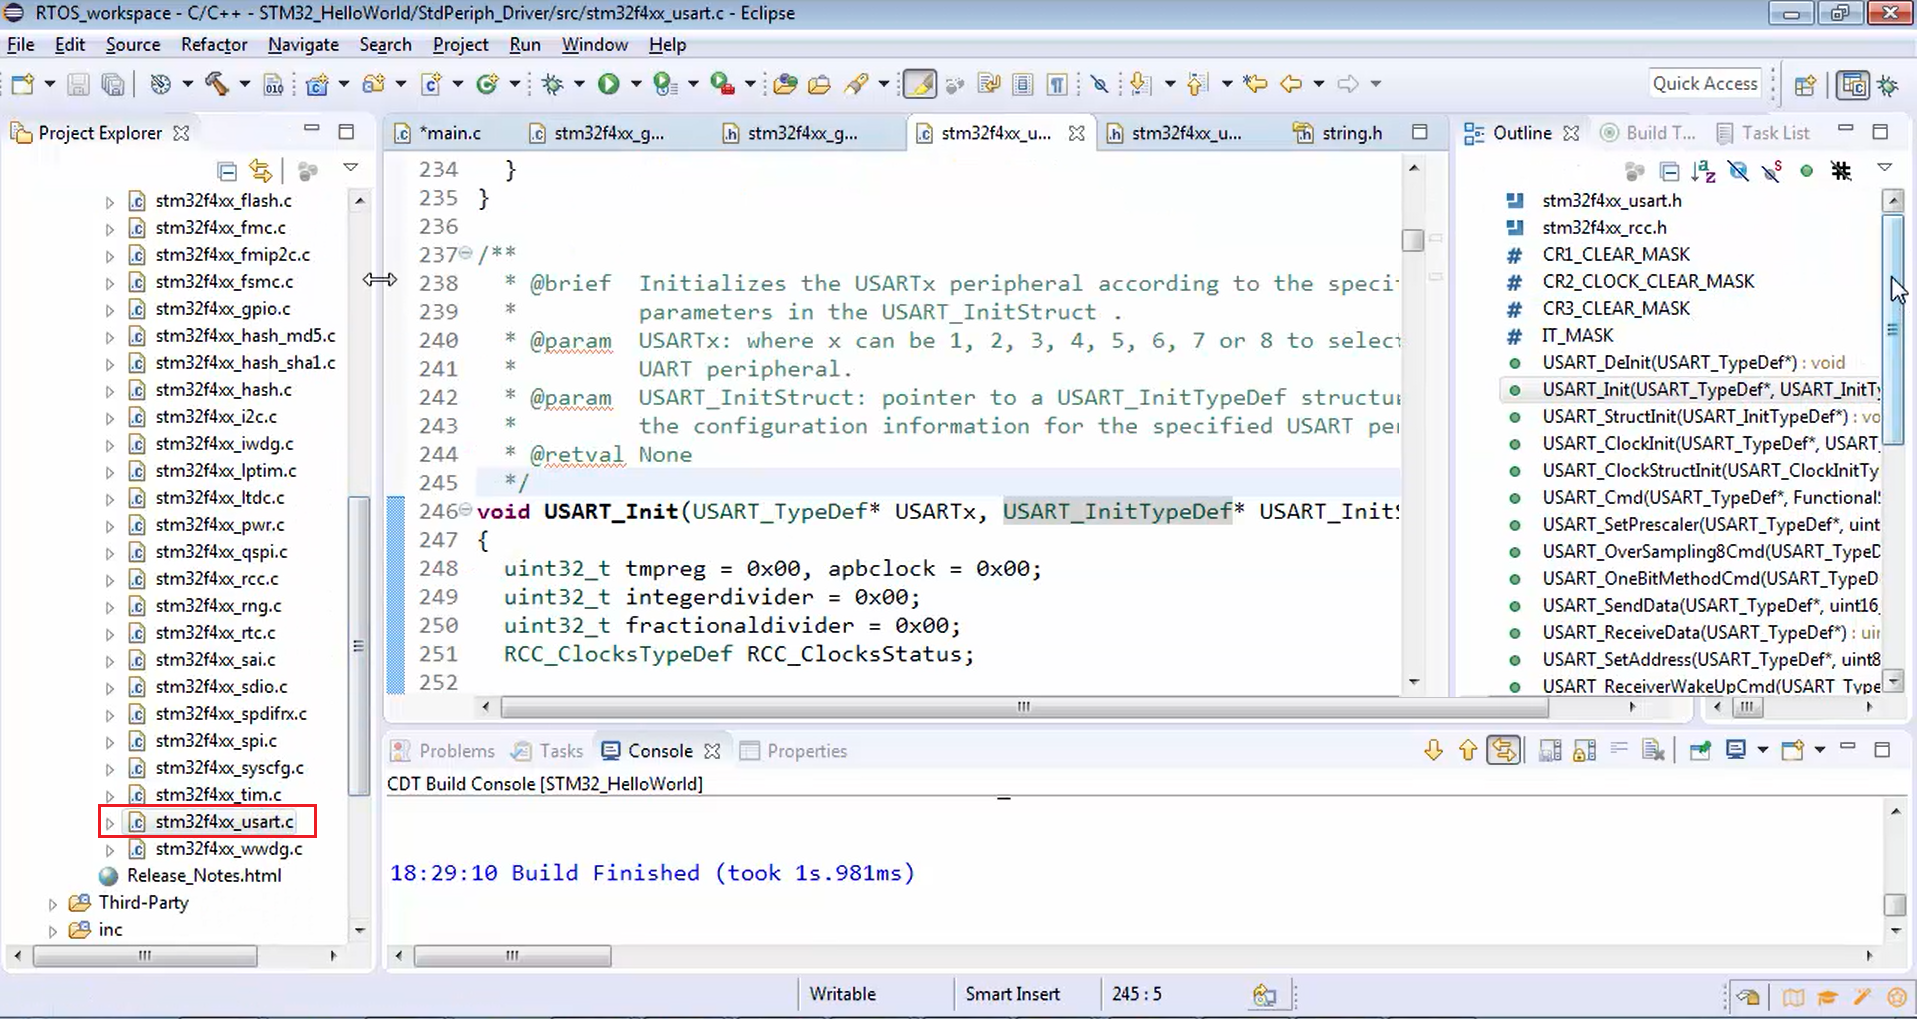
If you explore usart.c, you can see send data and receive data APIs (Figure 6).

For this moment, we are not interested in receive data. So, let’s not worry about that.
Let’s go for send data (Figure 7). For this, first, you have to give the base address of the UART peripheral that you are using, and in this case, that is UART2. You have to supply the data byte over the second parameter.
void USART_SendData(USART_TypeDef* USARTx, uint16_t Data)
{
   /* Check the parameters */
   assert_param(IS_USART_ALL_PERIPH(USARTx));
   assert_param(IS_USART_DATA(Data));

   /* Transmit Data */
   USARTx->DR = (Data & (uint16_t)0x01FF);
}
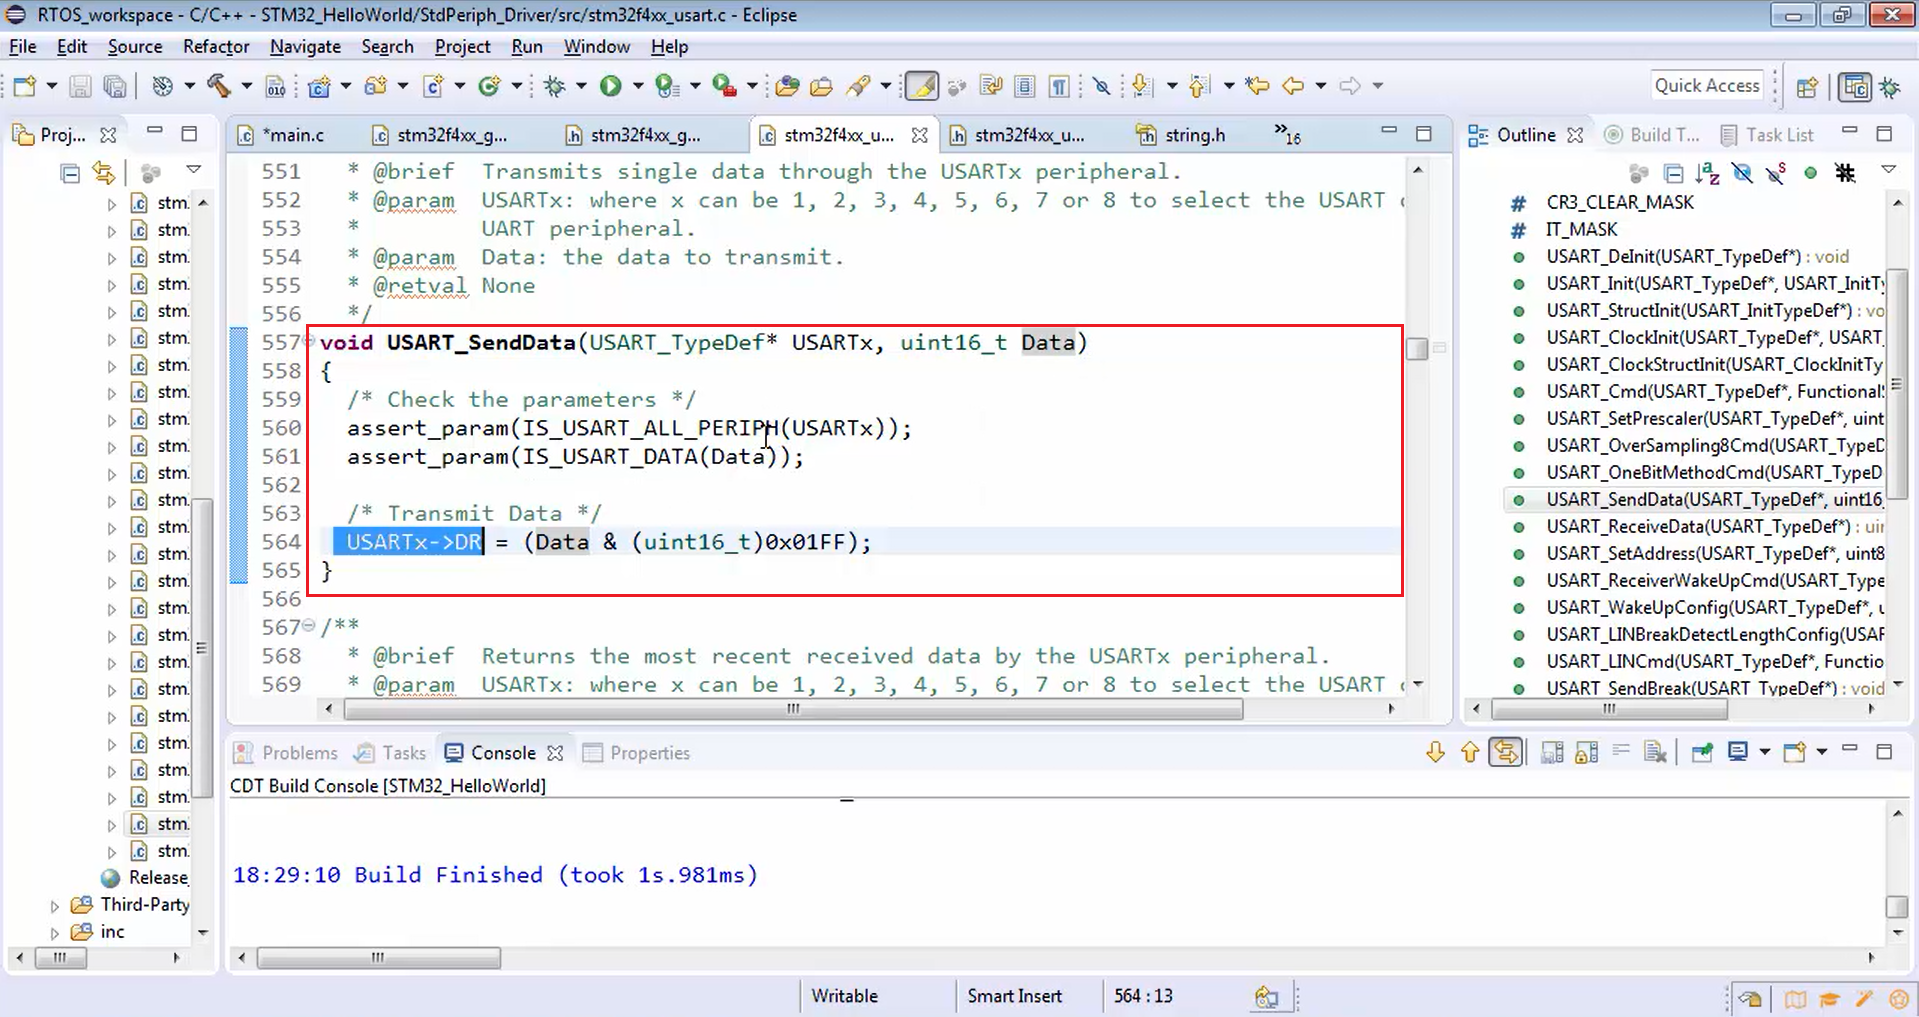
In Figure 7, you can see that, as expected, the UARTs data register is populated with the data that is passed as a parameter of USART_SendData. This is how the transmission works.
In the UART peripheral, whenever you load the DR, the transmission begins. If you want to know more about how the peripherals actually work, explore its functional block diagrams.
Now let’s go to the main.c and call send data API, as shown in Figure 8. Since this msg is the message, let’s loop over this message in order to extract a single byte. For that, you can use for loop.
After that, let’s send the data in the loop.
void printmsg(char *msg)
{
   for(uint32_t i=0; i < strlen(msg); i++)
   {
       USART_SendData(USART2,msg[i]);
    }

}
Call for USART_SendData API
In the function call, the first argument is the UART peripheral base address, i.e., USART2, and the next one is data. Here the data is msg[i].
Now, in the send data API, the data that is passed over msg[i] is filled in the DR, and the transmission begins.
Remember that you should not put another data into the DR or data register until that transmission ends. Otherwise, you will corrupt the data register of the UART. You have to be careful. So, wait until that transmission finishes.
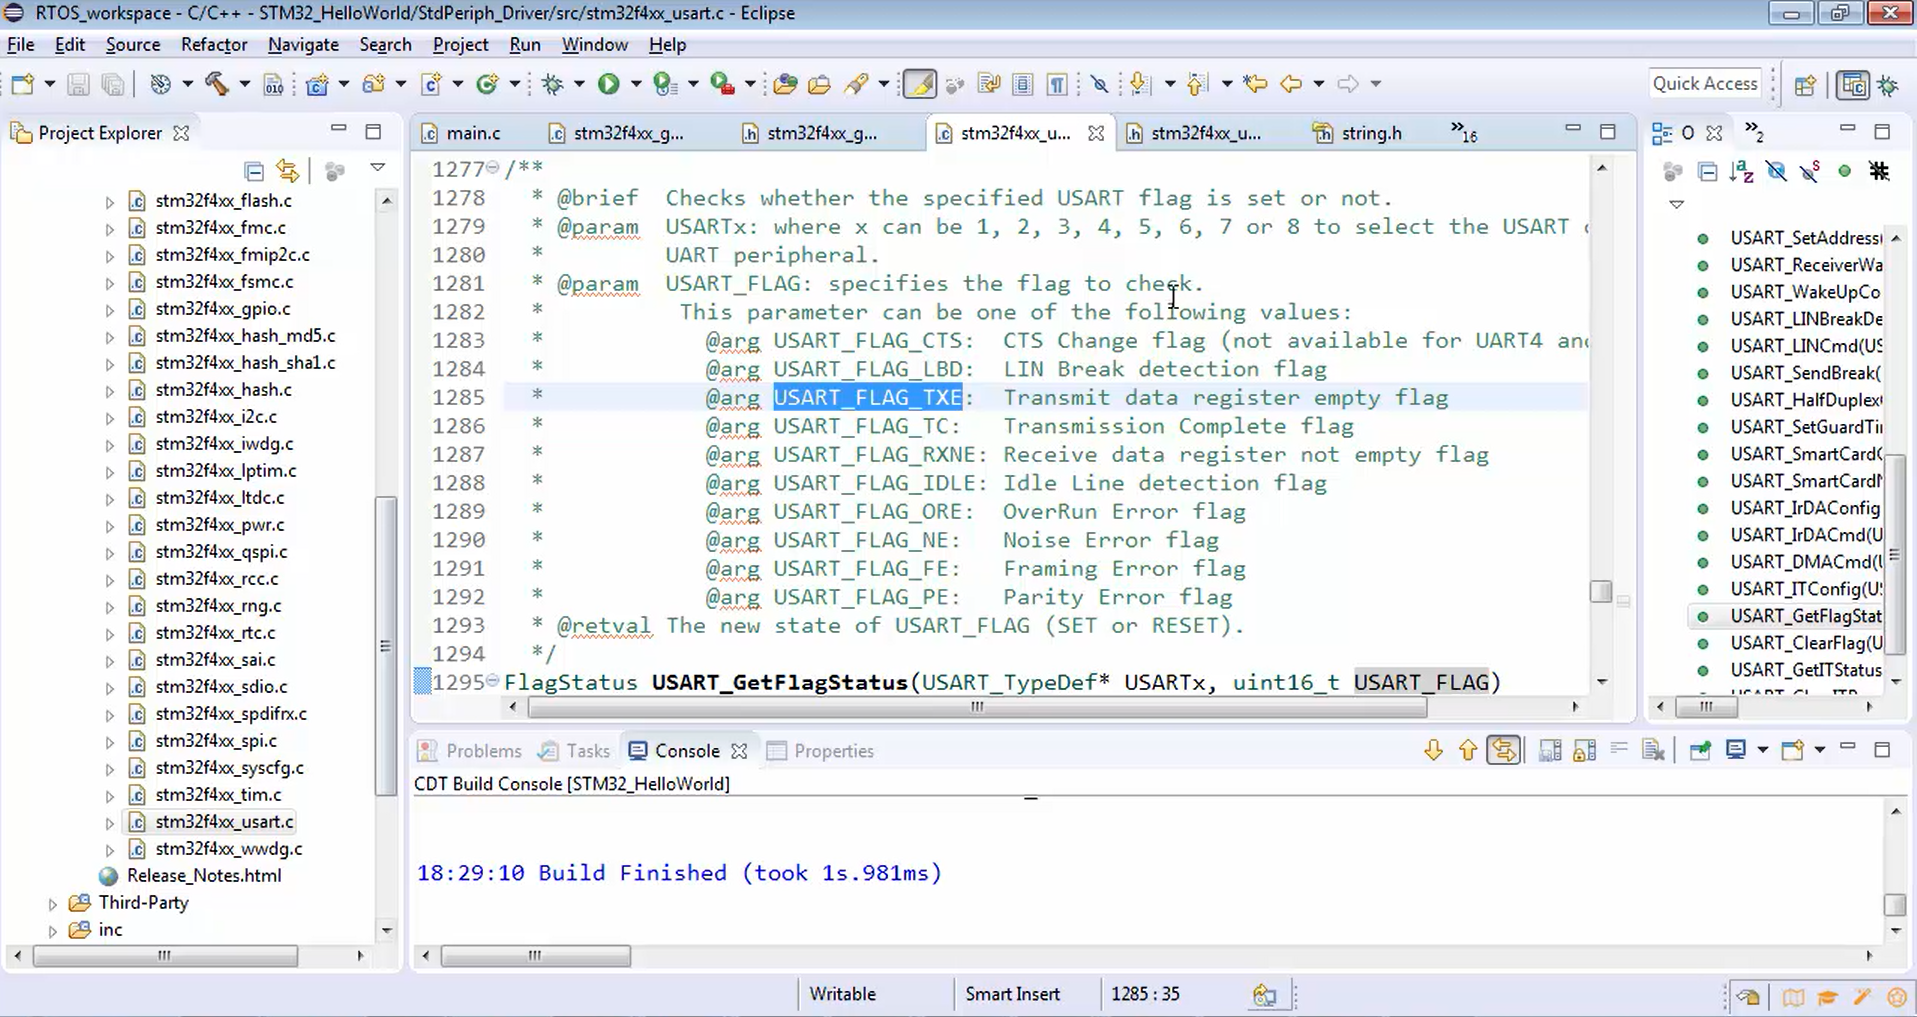
For that, the UART driver gives another API to check whether transmission has ended or not. Search the UART driver. You will get a GetFlagStatus function. You have to use this GetFlagStatus function.
FlagStatus USART_GetFlagStatus(USART_TypeDef* USARTx, uint16_t USART_FLAG)
{
   FlagStatus bitstatus = RESET;
   /* Check the parameters */
   assert_param(IS_USART_ALL_PERIPH(USARTx));
   assert_param(IS_USART_FLAG(USART_FLAG));

   /* The CTS flag is not available for UART4 and UART5 */
   if (USART_FLAG == USART_FLAG_CTS)
   {
      assert_param(IS_USART_1236_PERIPH(USARTx));
   }

   if ((USARTx->SR & USART_FLAG) != (uint16_t)RESET)
   {
       bitstatus = SET;
   }
   else
   {
      bitstatus = RESET;
   }
   return bitstatus;
}
GetFlagStatus function
Which Flag status do you have to check?
In Figure 8, you can see all the details of flags. For this example, you have to use the TXE flag, i.e., Transmit data register empty flag. Whenever you fill the data register, the data transmission begins, and when the data register becomes empty again, the USART_FLAG_TXE flag will be set in the status register. When the TXE flag is set, it’s an indication that the data register is now empty. You can load another byte. Now let’s wait until this flag is set in the status register of the UART peripheral.
In the above code snippet, you can see that the return value of the function will be flag status, i.e., the new state of USART_FLAG (whether it is SET or RESET). So, this function returns SET or RESET. If TXE flag is SET, USART_GetFlagStatus function returns SET.
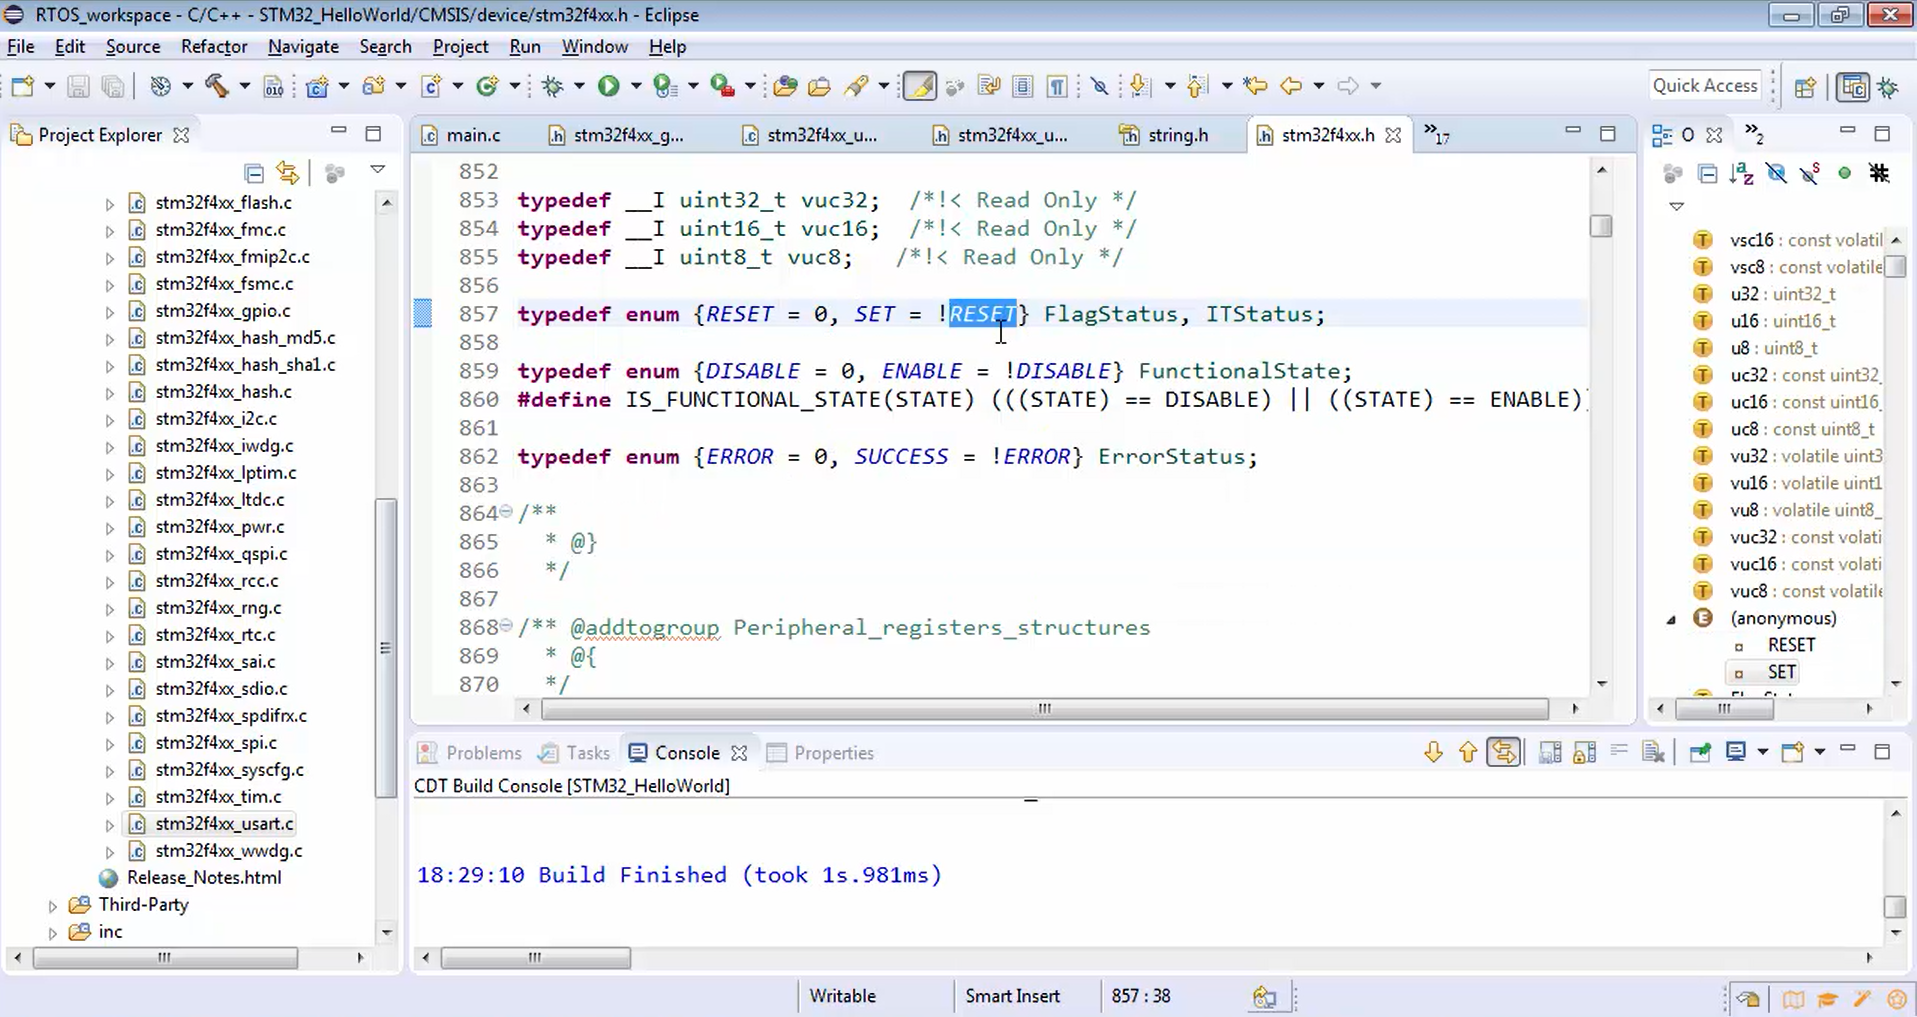
From Figure 9, you can see that the SET means NOT of RESET, i.e., 1.
Go back to the main.c, and before transmitting the data byte, confirm that the data register is empty. For that, let’s use the USART_GetFlagStatus function, as shown in Figure 10.
Here you have to wait until the return value is not equal to SET. Therefore, let’s use a while loop.
while ( USART_GetFlagStatus(USART2,USART_FLAG_TXE) != SET);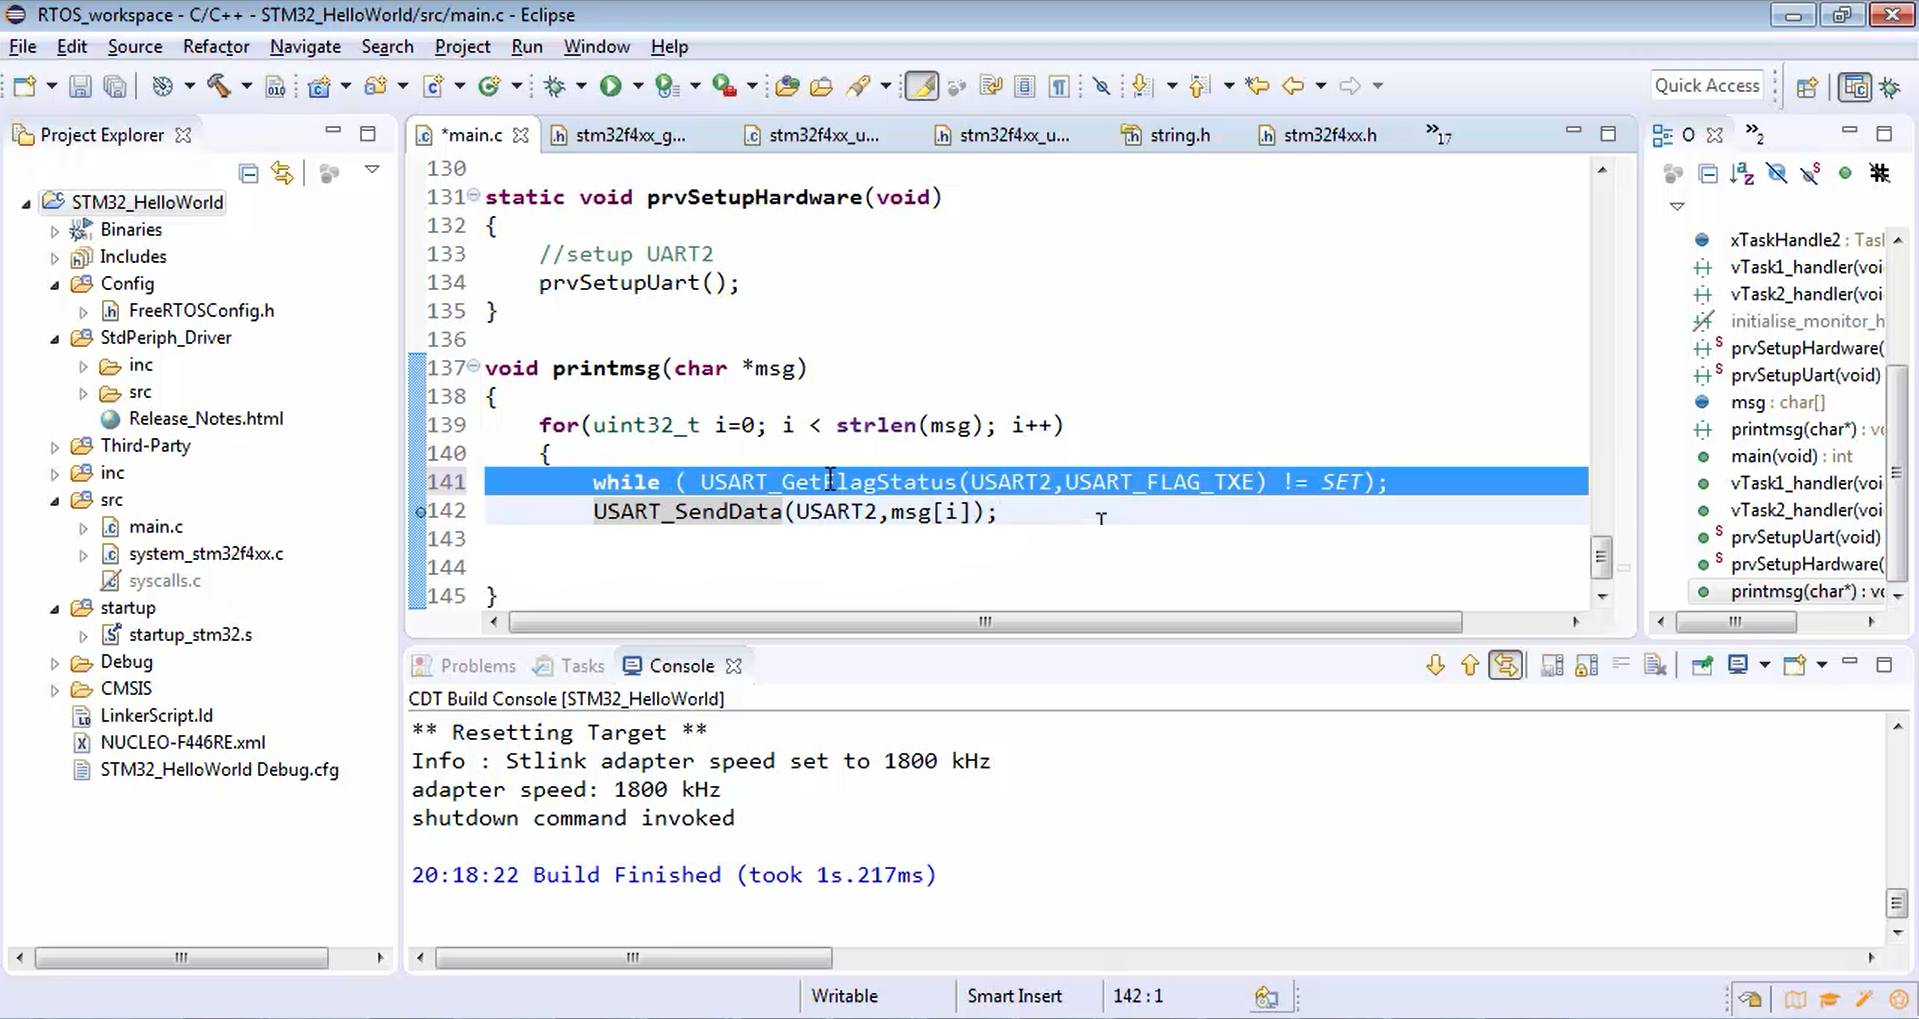
Once the flag is set, the function will return SET, the control comes to the send data, and the data byte will be sent.
Here we missed one configuration in the prvSetupUart.
After initializing the UART, you have to enable the UART peripheral. There is an enable bit in the control register of the UART. You have to enable that.
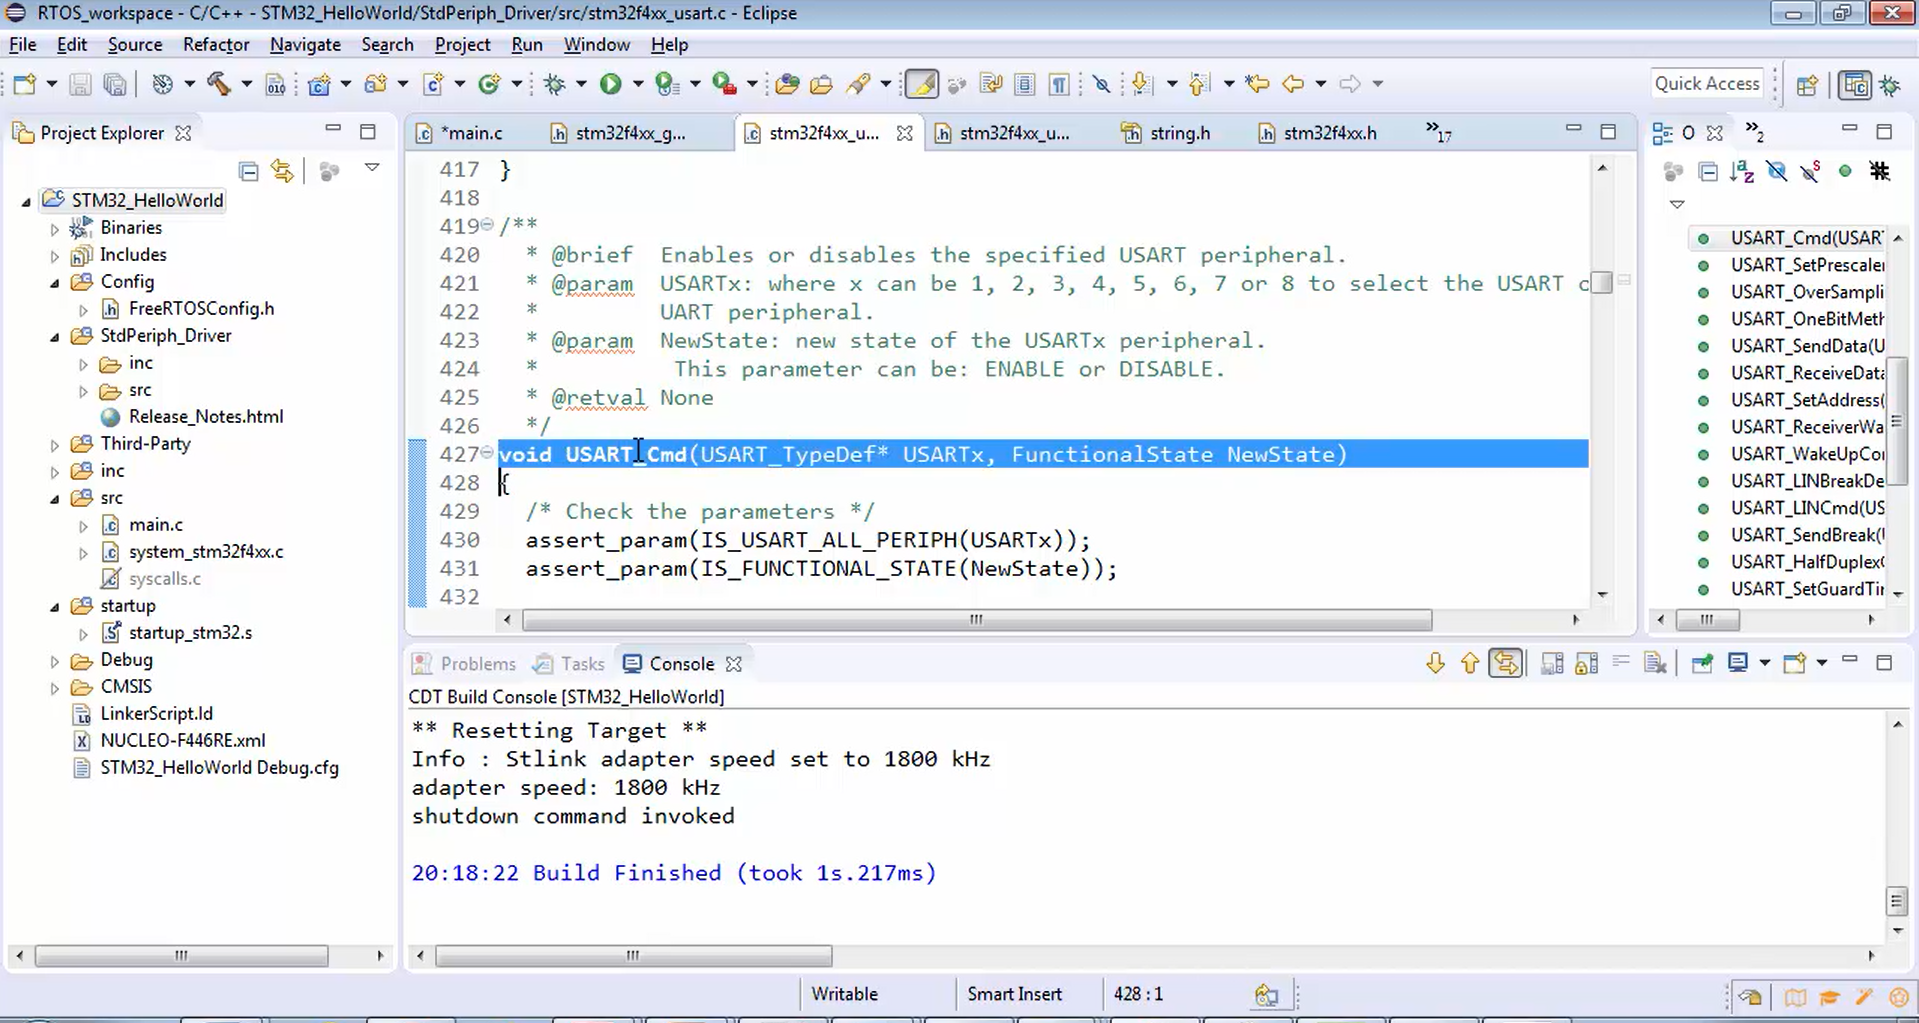
The fifth step is actually to enable the UART2 peripheral. For that, you have to use USART_Cmd API (Figure 11).
Now let’s explore this API. This API enables or disables the specified USART peripheral. Now you have to give the base address of the USART peripheral that you are using, and you have to mention the new state, which may be enable or disable.
If you mention enable, then that peripheral will be enabled, and it will be ready for the reception as well as transmission. If you disable, the peripherals TX and RX engine will be disabled. You have to use this API in your main.c; otherwise, this program will not work. So, please make the change shown in Figure 12.
void USART_Cmd(USART_TypeDef* USARTx, FunctionalState NewState)
{
 /* Check the parameters */
   assert_param(IS_USART_ALL_PERIPH(USARTx));
   assert_param(IS_FUNCTIONAL_STATE(NewState));
//5. Enable the UART2 peripheral
USART_Cmd(USART2,ENABLE);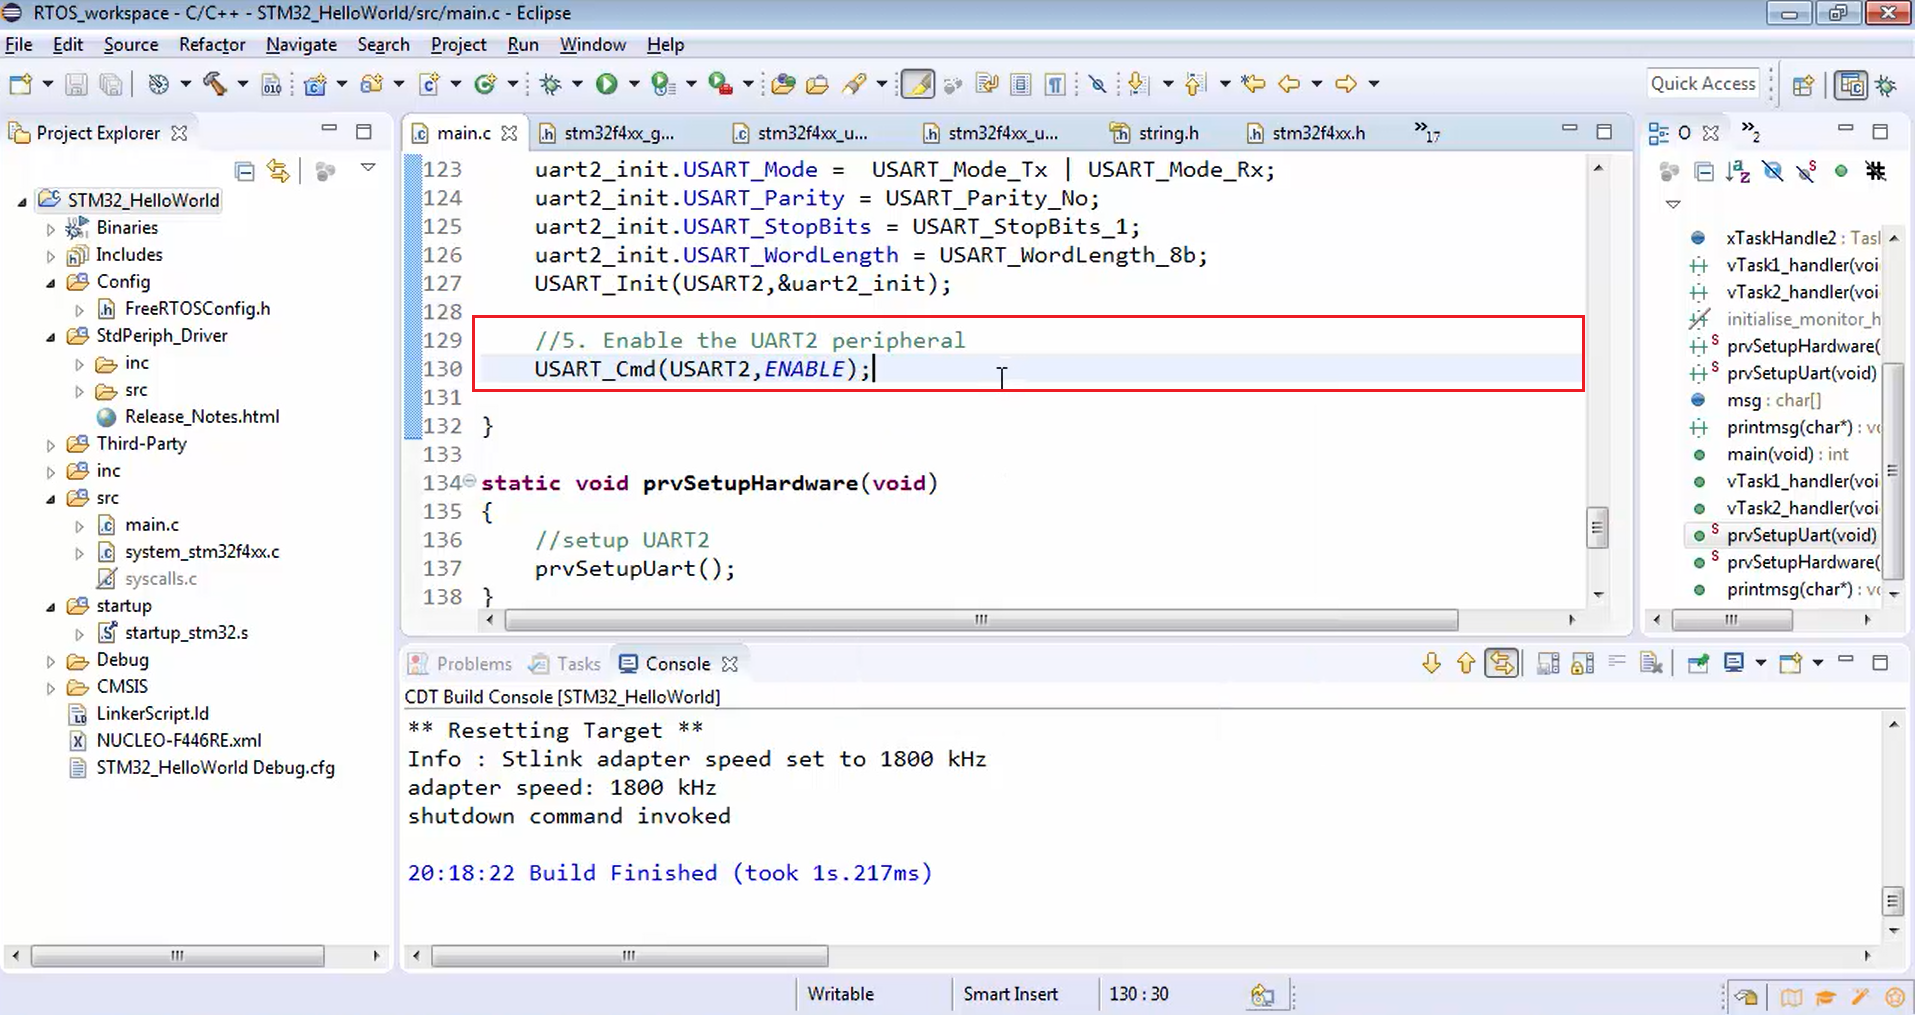
In the following article, let’s learn Testing UART prints.