HSM transition execution sequence testing
In the previous article, we installed the QP framework, the QM tool (a graphical modeling tool), and the QP-nano Arduino library.
This article will focus on understanding various transition execution sequences in the nested hierarchical state machine and event propagation.
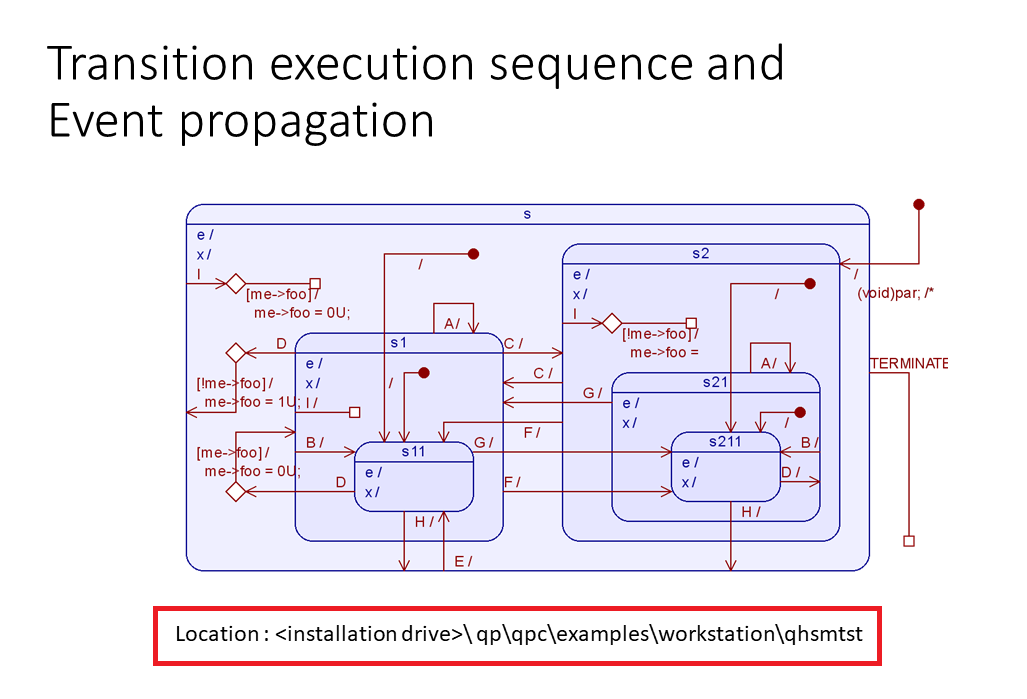
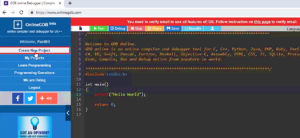
When events are sent to the nested hierarchical state machine, it refers to how the transitions occur from one state to another and the order of execution of various behavioral actions. To gain insights into this process, we have an example code available at the location indicated in Figure 1. You can easily launch the application in Visual Studio and test it, as demonstrated below.
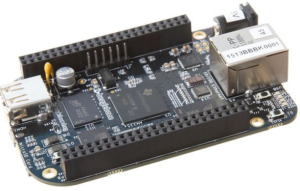
Firstly, there is no need to connect any board to the computer for this. You should navigate to the QP installation folder. Let’s proceed there.
Go to the ‘C’ drive, then qp → qpc → examples → workstation → and open qhsmtst. In this folder, you can launch the Visual Studio solution, as shown in Figure 2. For this, Visual Studio needs to be installed on your system.
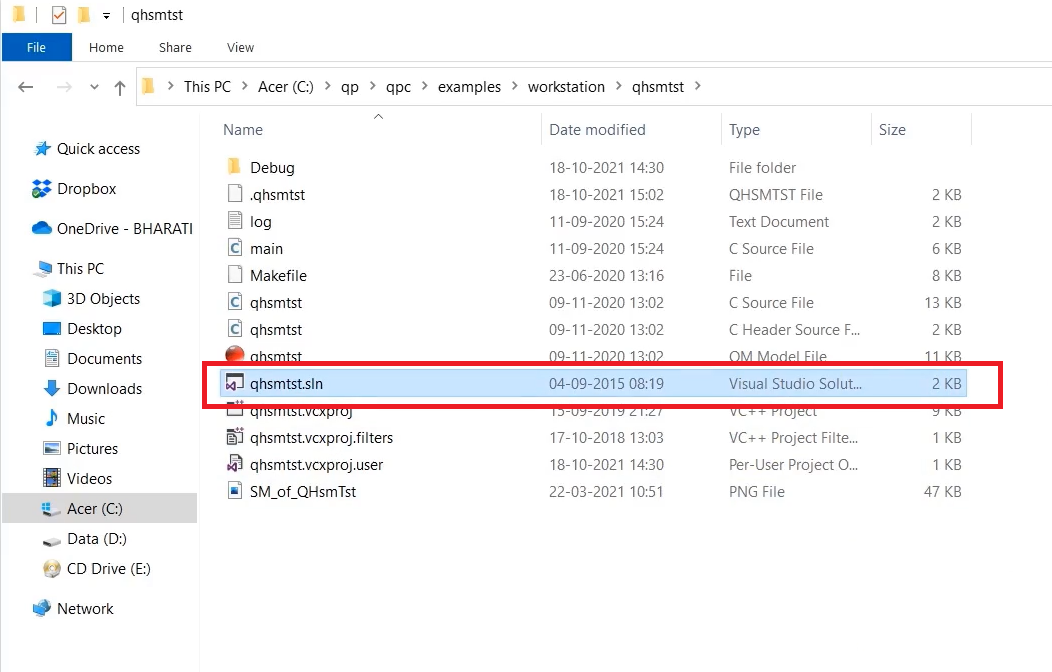
The project is open, and let’s go back to that installation folder. And qhsmtst.sln is a QM model file. This you have to open using the QM tool you installed in the past.
You installed QP frameworks in the past that also installed the QM tool, now let’s launch that.
And after that, by using that QM tool, open the qhsmtst model file. I will just copy the qhsmtst path and go to QM tool→ File → Open model→ paste that copied path → just open qhsmtst.
And after that, expand the HSMs package, double click on QHsmTst: QHsm. So, that opens the state machine of QHsmTst: QHsm‘s class.
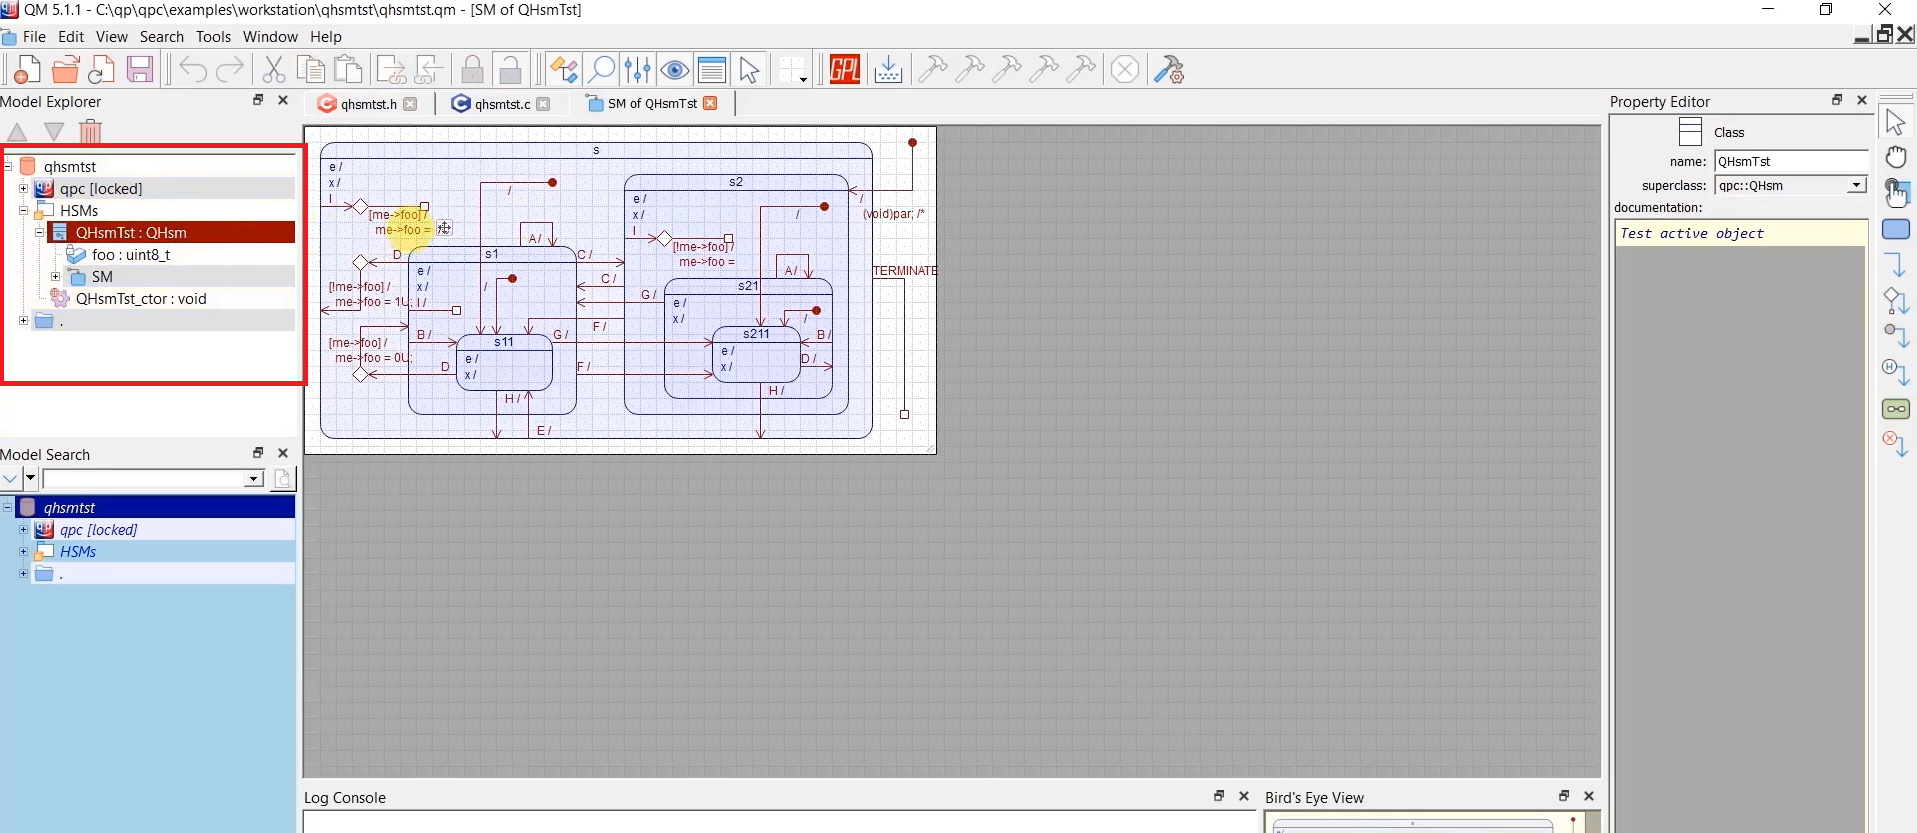
We’ll understand later how to create all these things by scratch, like creating a class, adding attributes, adding operations, adding state machines, and those things.

Figure 4 shows a nested hierarchical state machine of this project. In this diagram, you see, it receives various events. The events are named like A, B, C, D, up to I. There are various events sent to this project to observe various transitions.
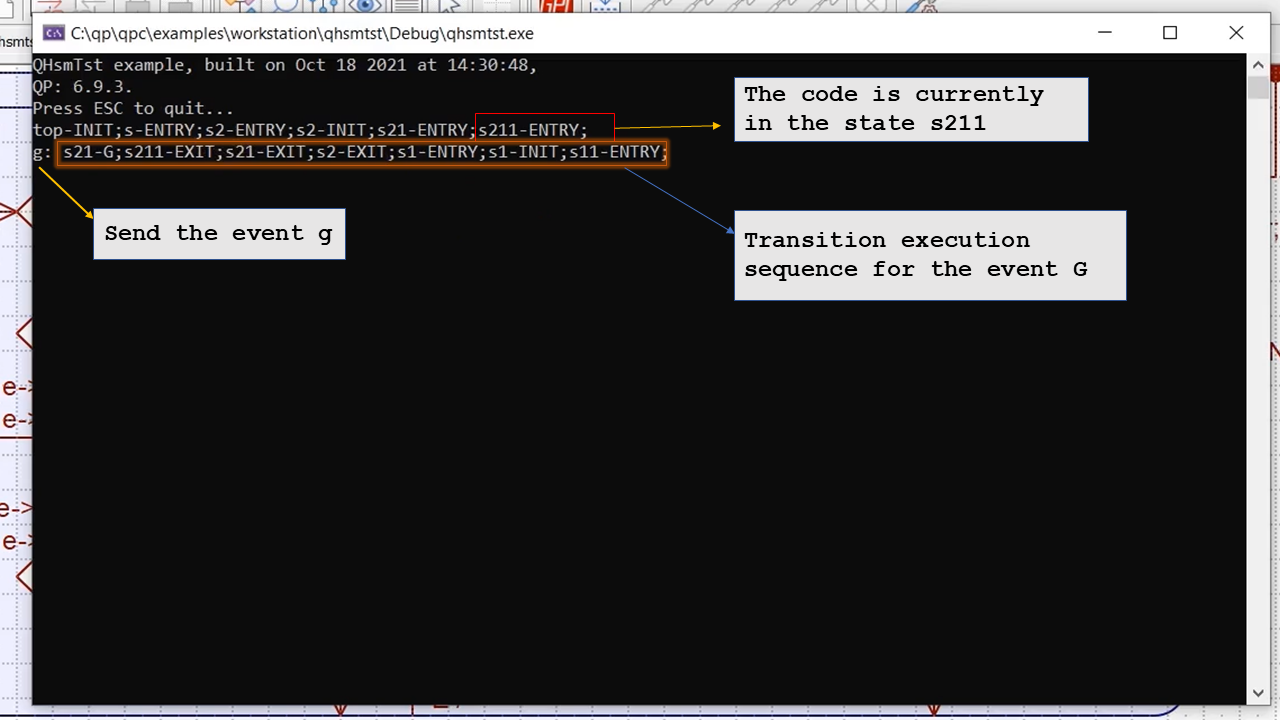
For example, The code is currently in the state s211, send one event, I will send the event g. When you do that, s21-G; s211-EXIT; s21-EXIT; s2-EXIT; s1-ENTRY; s1-INIT; s11-ENTRY; these are a transition execution sequence for the event g, received when the state machine’s state was s211, as shown in Figure 5.
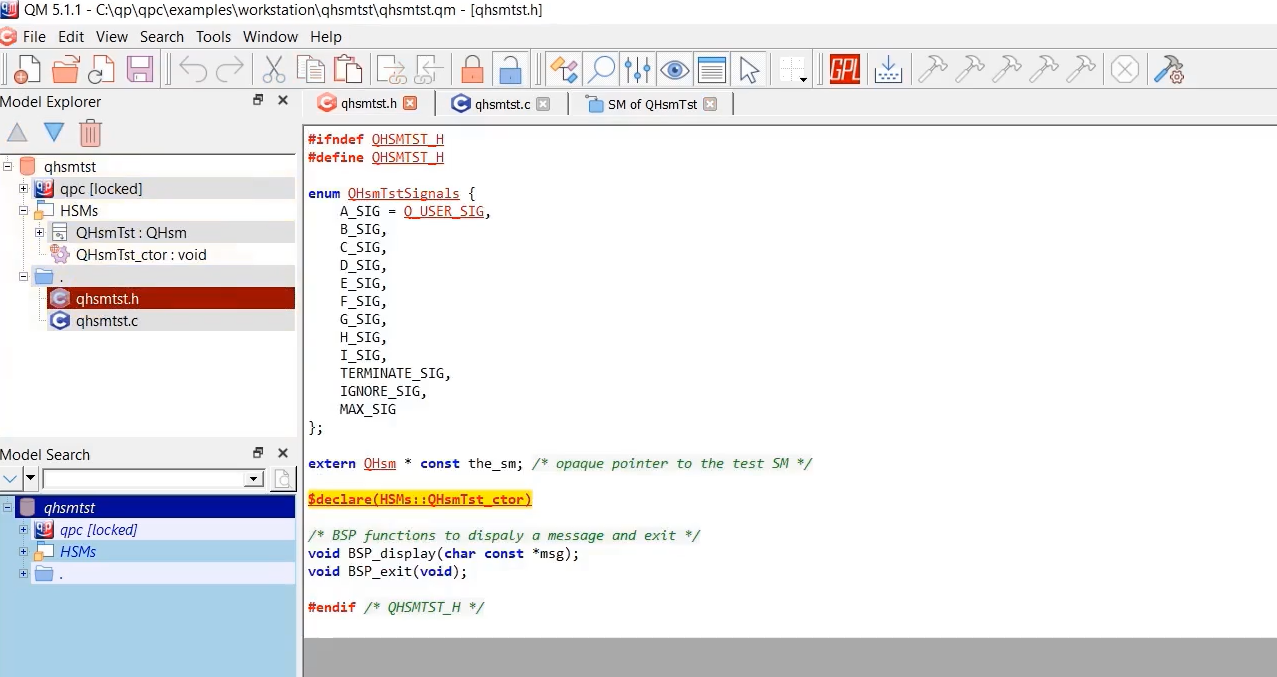
We will understand this one by one. Before that, we will understand how to integrate this project with Arduino. And we will understand how to create the files( shown in Figure 6). We will learn how to use QP frameworks and code generation directives to generate various function declarations and function definitions, etc. But, if you don’t want to try with Arduino, you can try with the computer, as I explained.
FastBit Embedded Brain Academy Courses
Click here: https://fastbitlab.com/course1