Implementing ALARM_NOTIFY state
In this article, let’s understand how the alarm notification is shown in this project. For that, I use a separate state called Alarm_Notify.
In this Alarm_Notify state, there will be a blinking message for every 500 milliseconds. What I do is I use this alarm_msg_on state, and here I use one variable called timeout. Whenever the TICK event is received, I increment the timeout variable(me -> timeout++), and I monitor that timeout variable using this Guard. When the timeout is equal to 10, that means 10 into 50 milliseconds, that is 500 milliseconds.
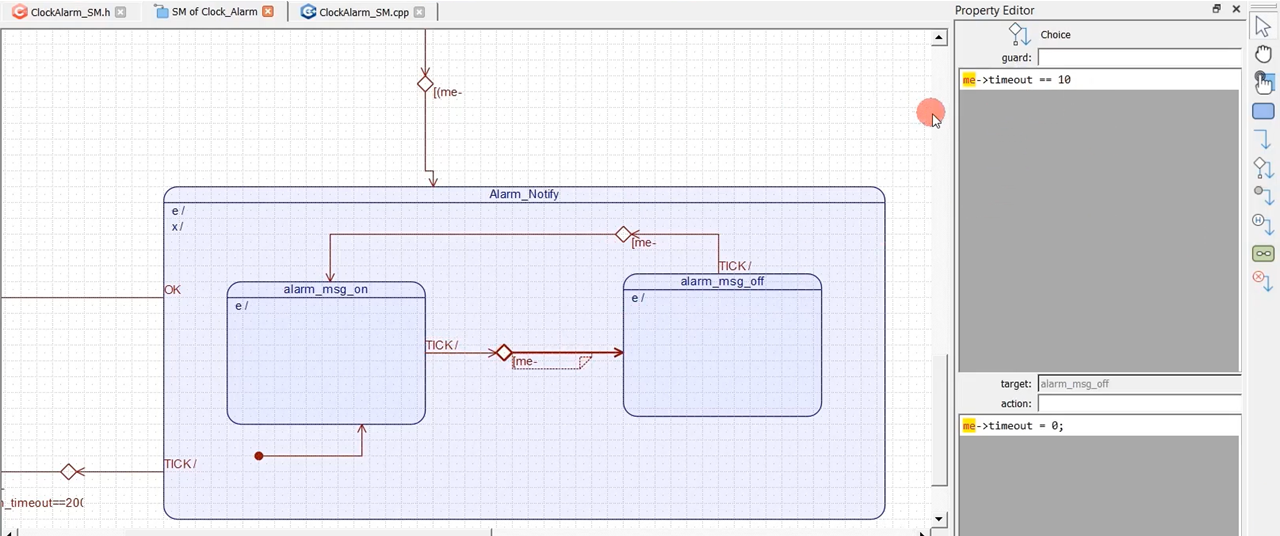
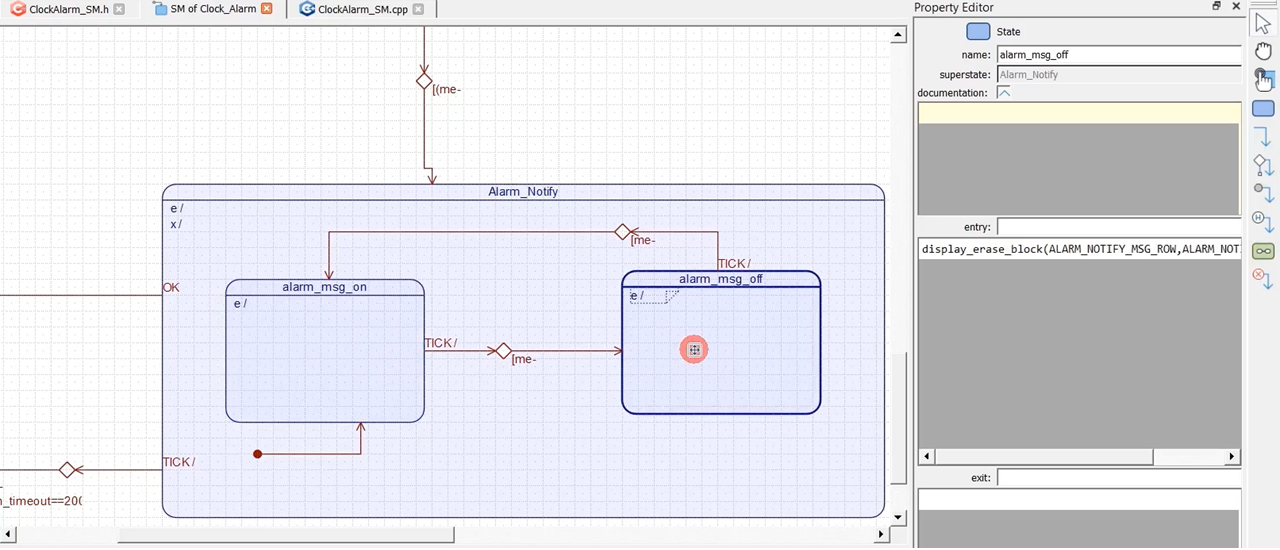
I go to alarm_msg_off state (Figure 2), and here I will erase the dispaly_erase_block message block. That gives the blinking effect for the message.
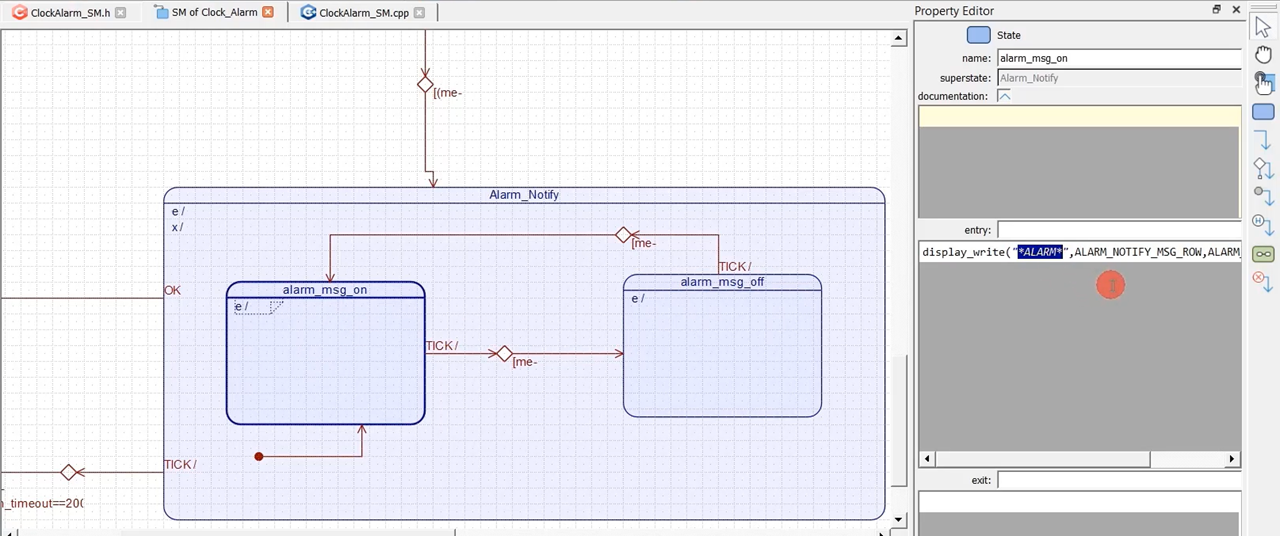
In the entry action of alarm_msg_on state, I display Alarm.
When the alarm message is being displayed, if anyone presses the OK button here, then we should go back. So, this OK transition takes us to the history state of the Clock superstate. The meaning of this is to go to the history of the Clock state. Because alarm may happen while being in any of these states, that’s why it makes sense to come back to the history state.
And when the alarm notification is being displayed, and if no one presses the OK button, we cannot display the alarm notification for eternity. So, you have to EXIT this Alarm_Notify state after some time.
That’s why I use another variable called alarm_timeout. Whenever the TICK signal is received here in this Alarm_Notify state, the current time is displayed because whenever you are in the Alarm_Notify state, you should also display the current time. That’s why that is handled in this signal TICK. So, I used Clock_Alarm_display_curr_ time.
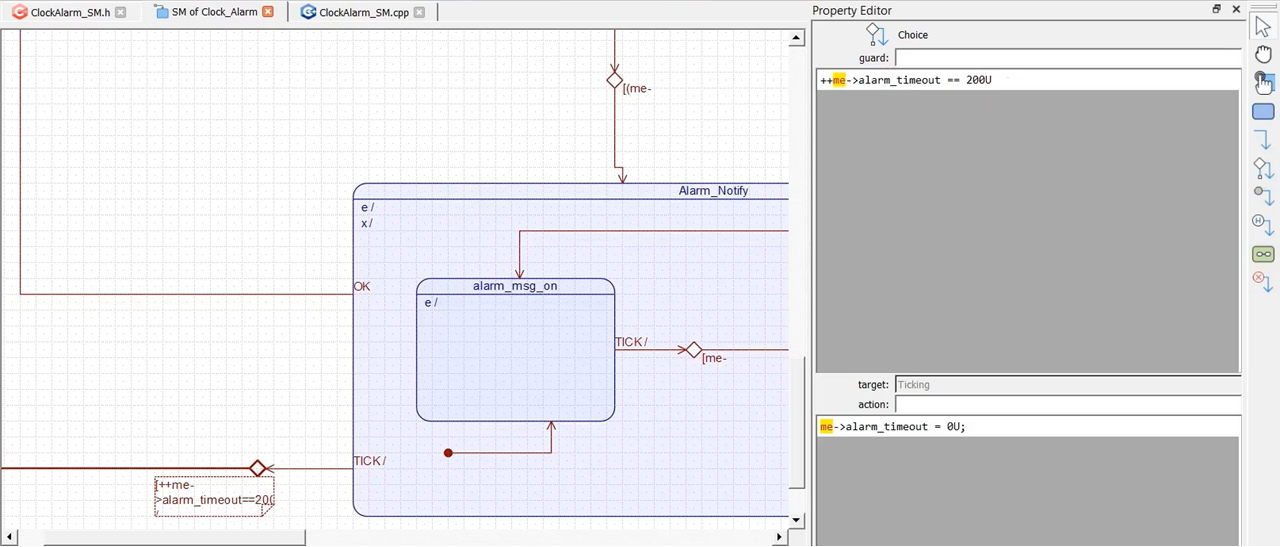
After that, I use another guard condition here, incrementing that alarm_timeout variable and if it is = 200. 200 means 200* 50 milliseconds. So, that is around 10 seconds. For 10 seconds, if no one presses the OK button. This condition will become true, and a transition will be taken to the Ticking state. Just explore this.
Now the next question is, how the alarm event is delivered to the state machine?
The alarm event is delivered from the main function. Let’s go to the main.cpp. In the loop function, I send the alarm event you can see, for every 500 milliseconds, to see whether there is any alarm or not.
 while(millis() - alarm_check_time >= 500 ){
   //send TICK event
   alarm_check_time = millis();
   Q_SIG(super_ClockAlarm) = ALARM_SIG;
   QHSM_DISPATCH(super_ClockAlarm);
}
main.cpp
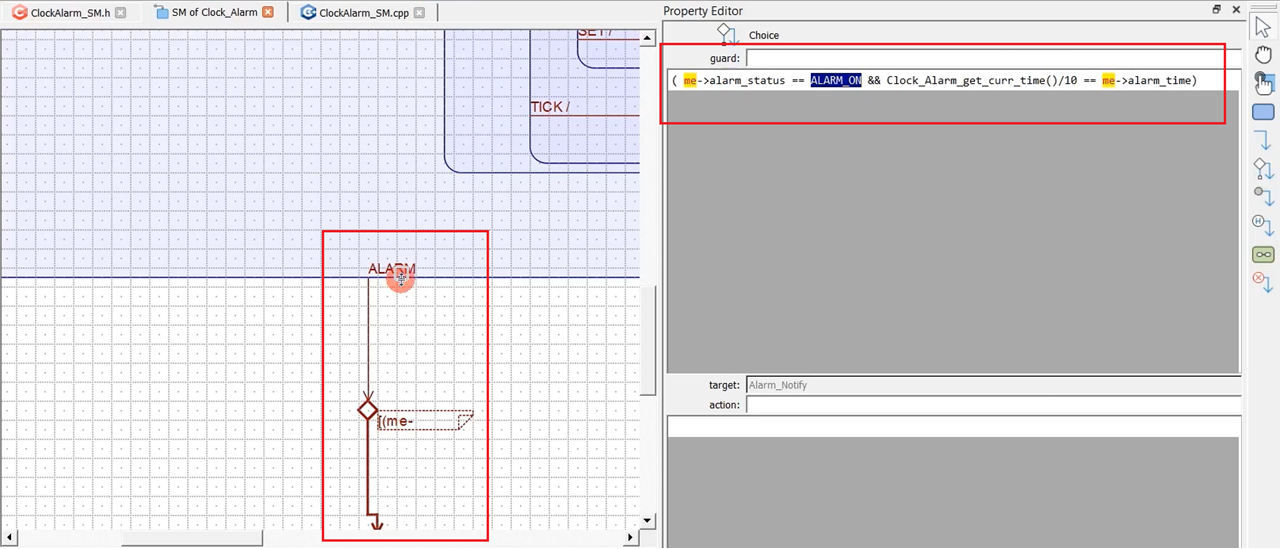
Please note that only the Clock state handles the alarm signal. So, none of these substates of the clock state handles the alarm signal. When the clock state handles the alarm signal, we use this guard (Figure 5) to test whether the alarm_time is really equal to the current time or not. And the alarm_status must be ON. If these two conditions are true, it’s an Alarm. That’s why the transition will be taken to the Alarm_Notify state.
Now, let’s test this project with these changes.
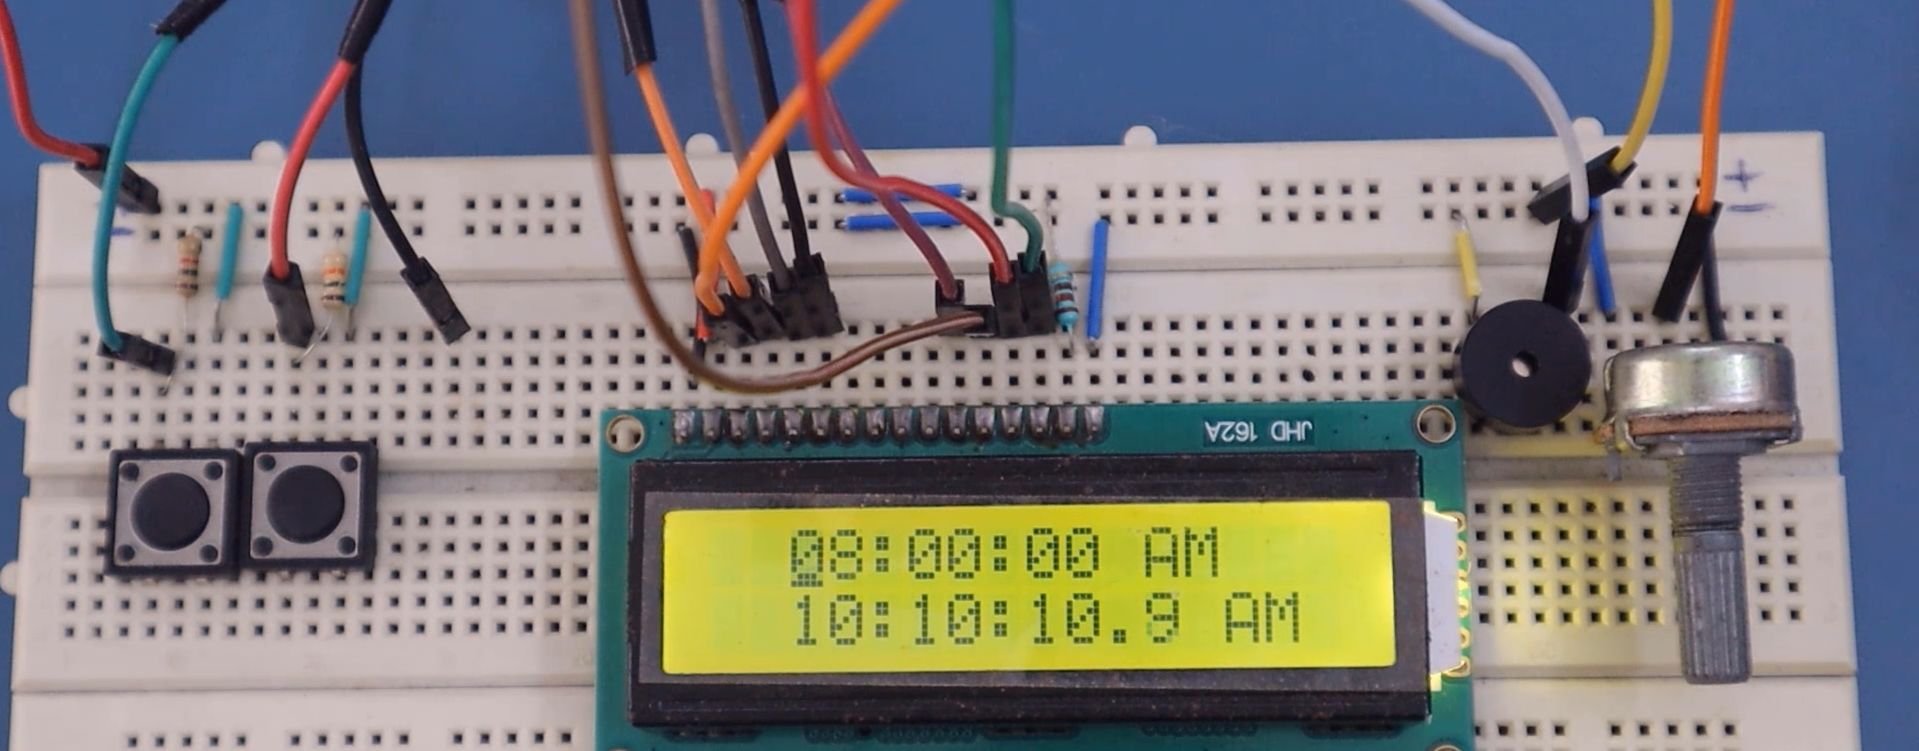
It is in the Alarm_Setting state, and let’s do some modifications here. I will set the alarm for 10:10:50 and AM; Press OK.
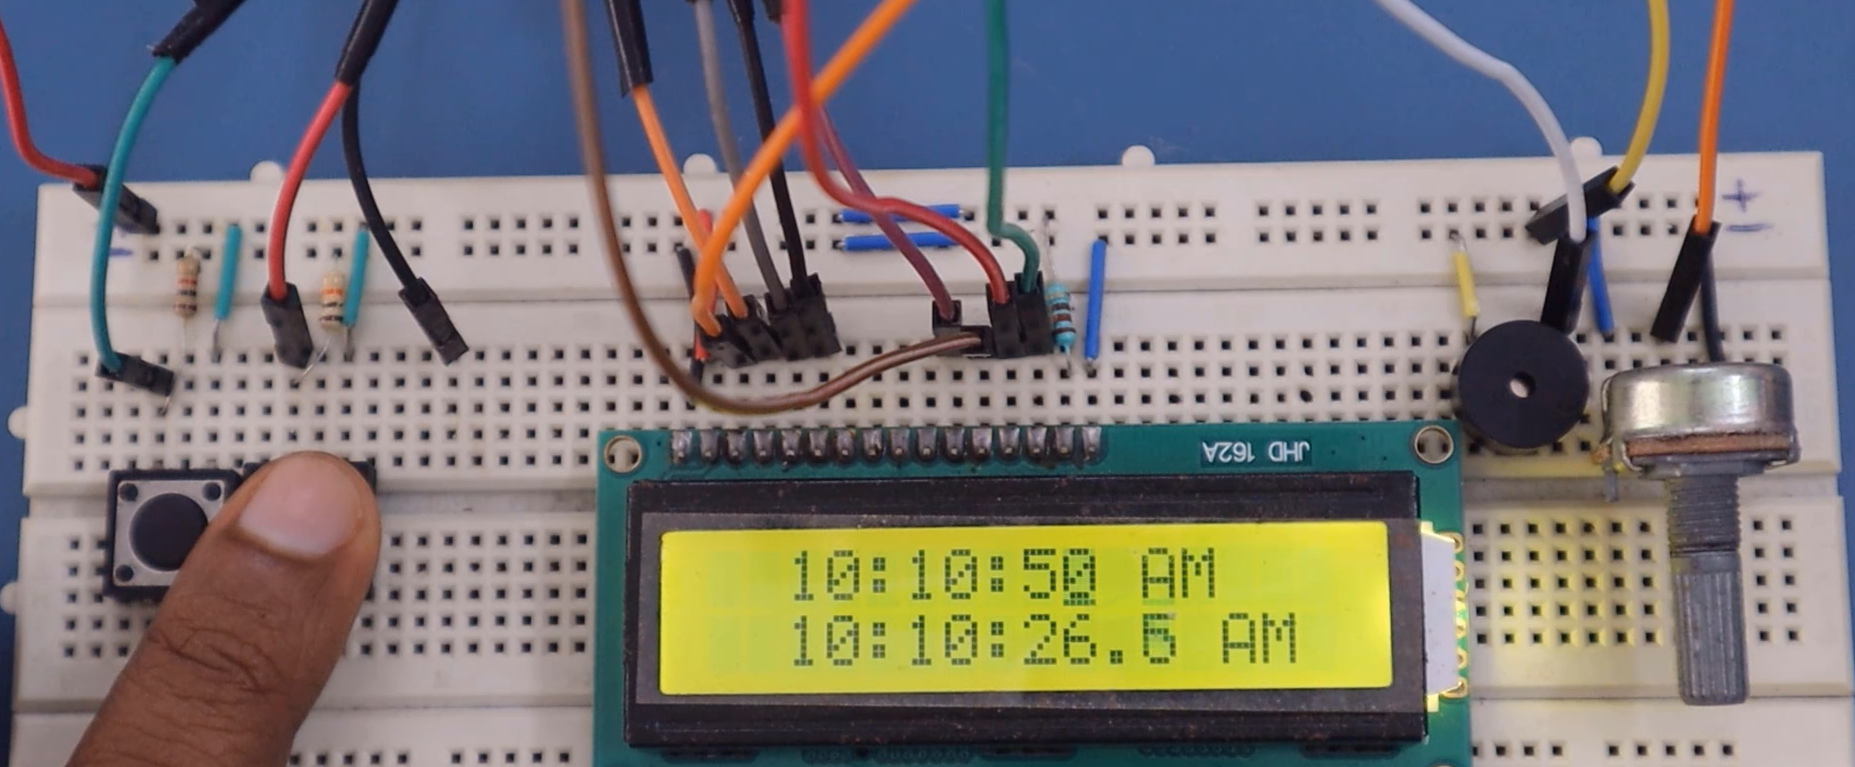
Then it asks you to Alarm OFF or ON. I will make it ON. That’s OK.

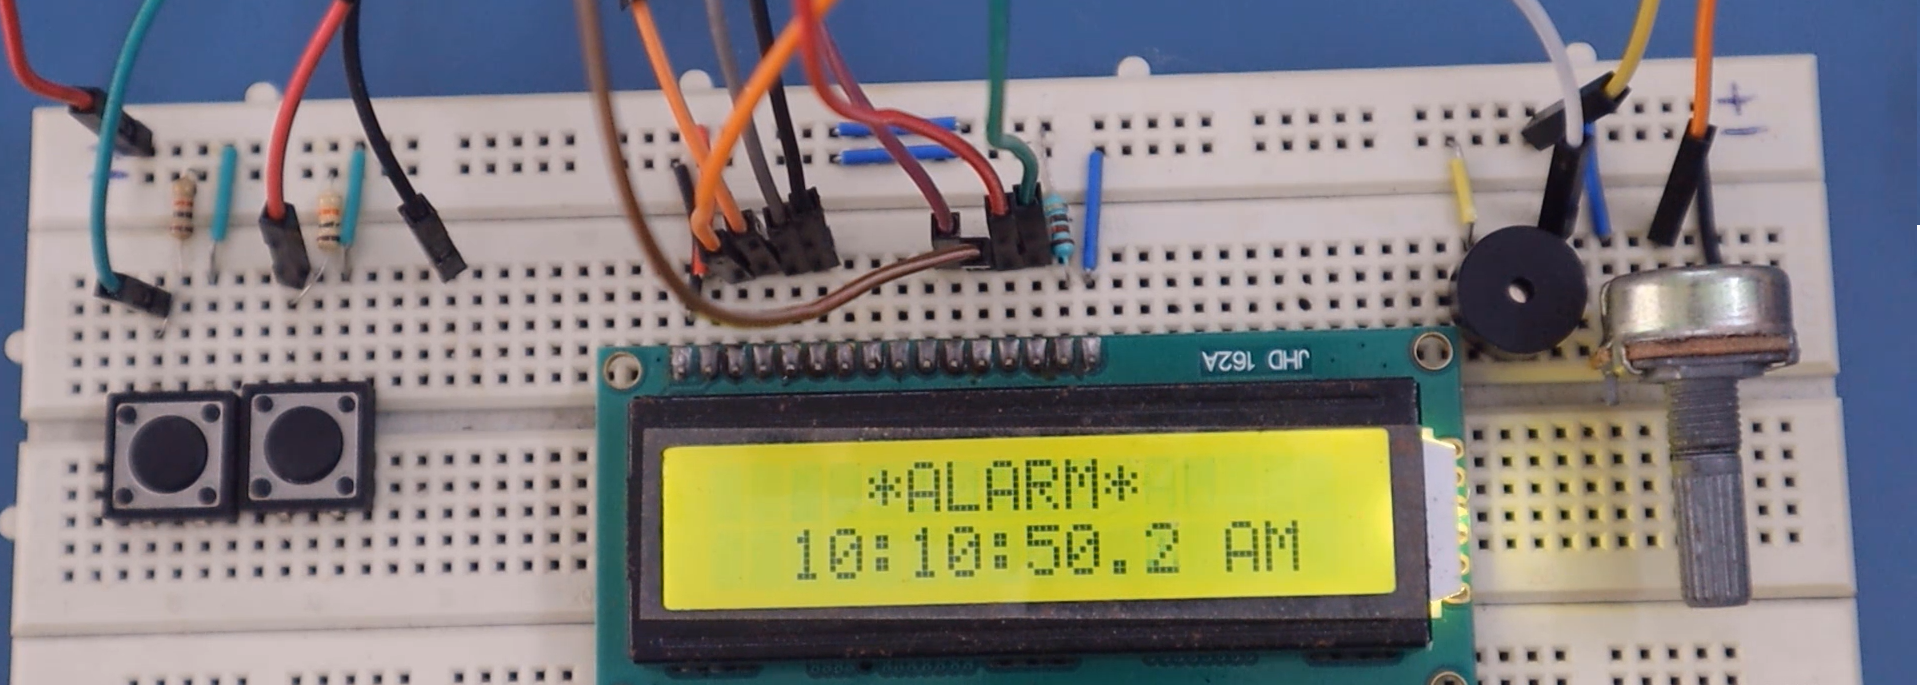
You can see that the alarm has been set for 10:10:50 AM. So, now the alarm should happen. Let’s see. Yes, the alarm has happened and the message is being displayed. And you can give some more effects here, like beeping or some other thing. Now, let me press the ‘OK,’ It goes back to the history state, which was this one (10:10:50).
Let me try one more time. Actually, there is one bug; let me explain that. For that, in your IDE, you open the serial monitor. Now, the serial monitor is open.
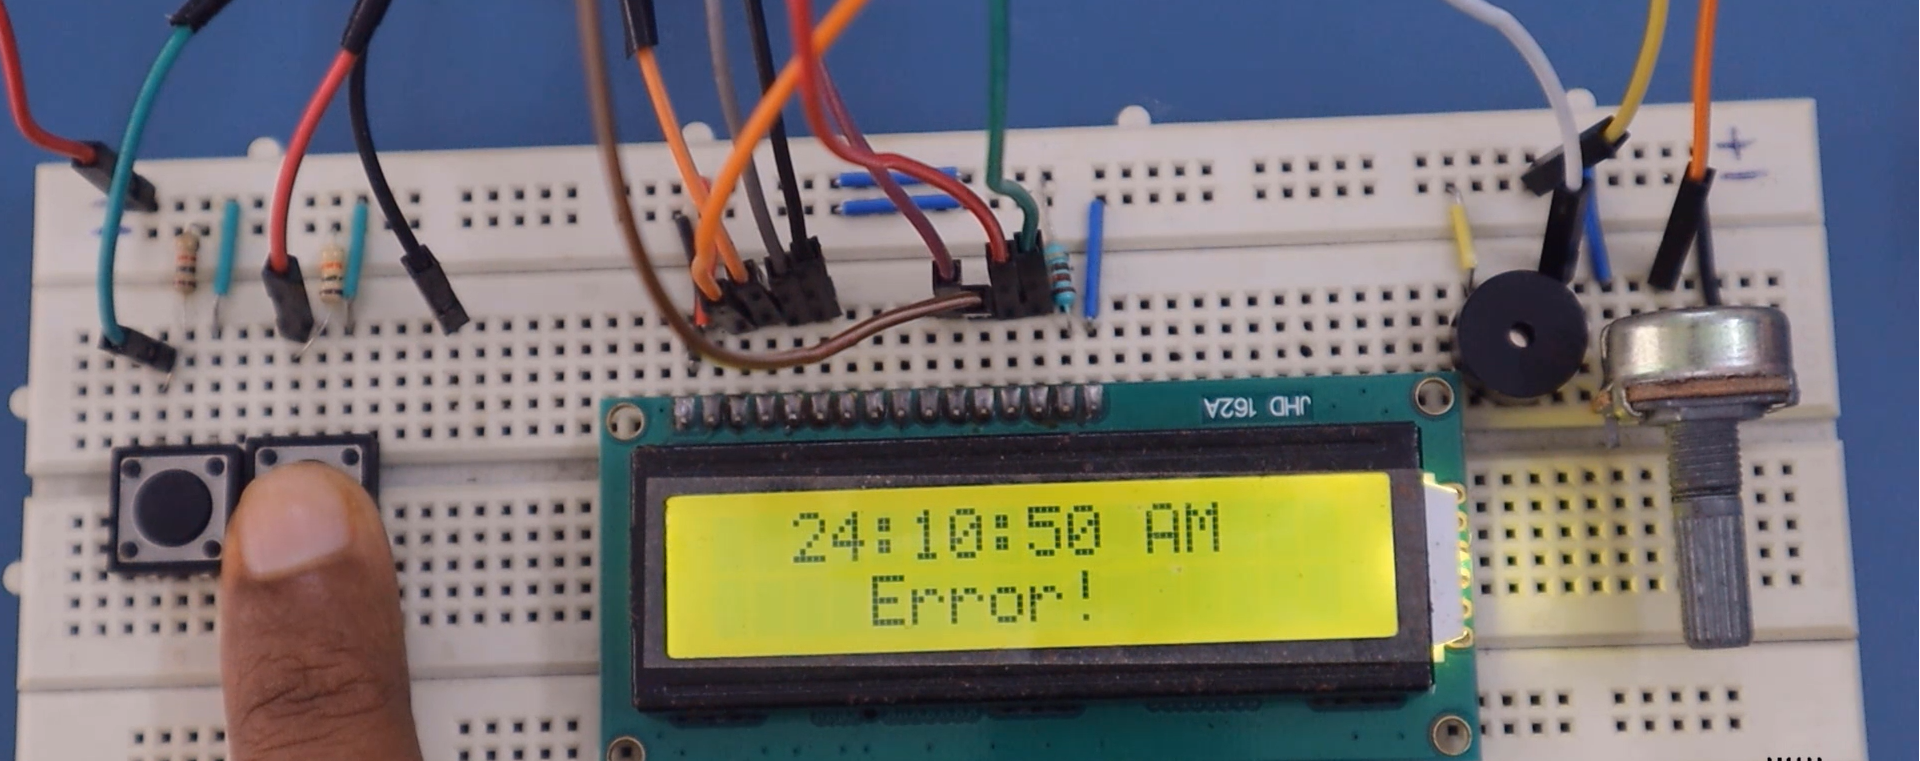
And let me try one more time. This time, I set the Alarm for 10:11:10 AM. I’ll turn the Alarm ON. And now I get into an Error state. Let me quickly get into the Error state. This is an Error.
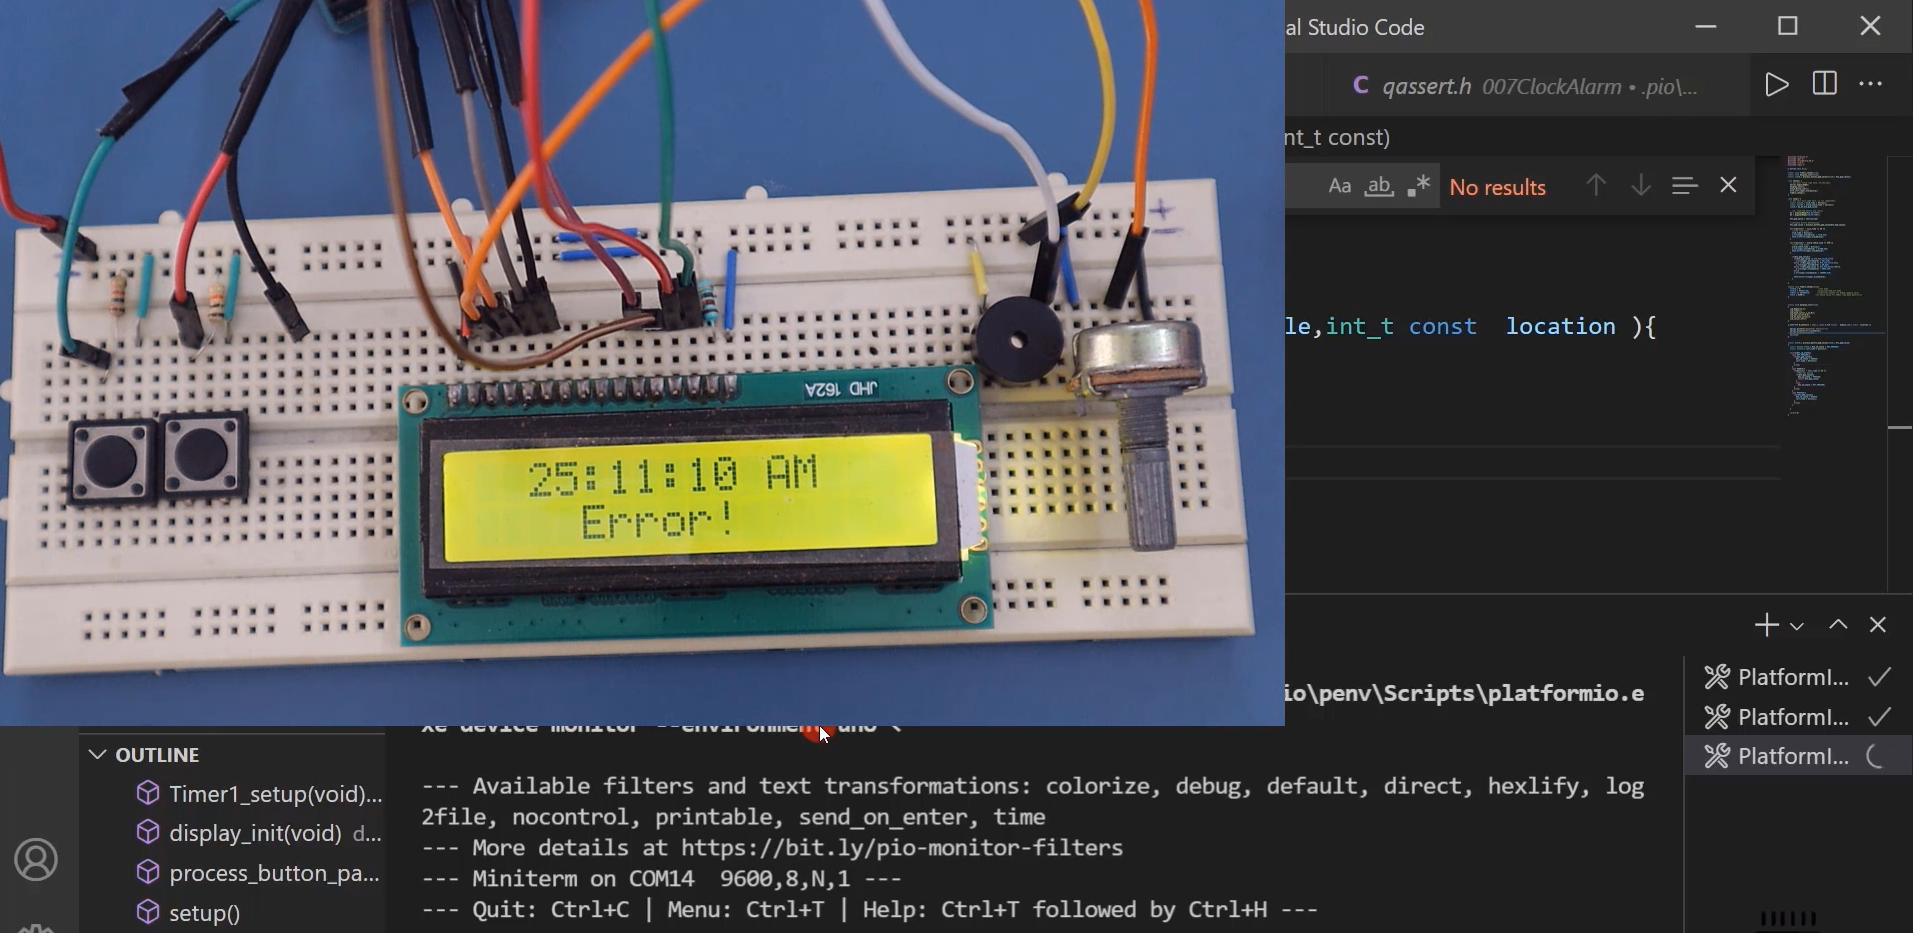
So now, an Error is being displayed, but the Alarm happens for the previously set Alarm. Let’s wait for some time. You can see that Alarm has happened.
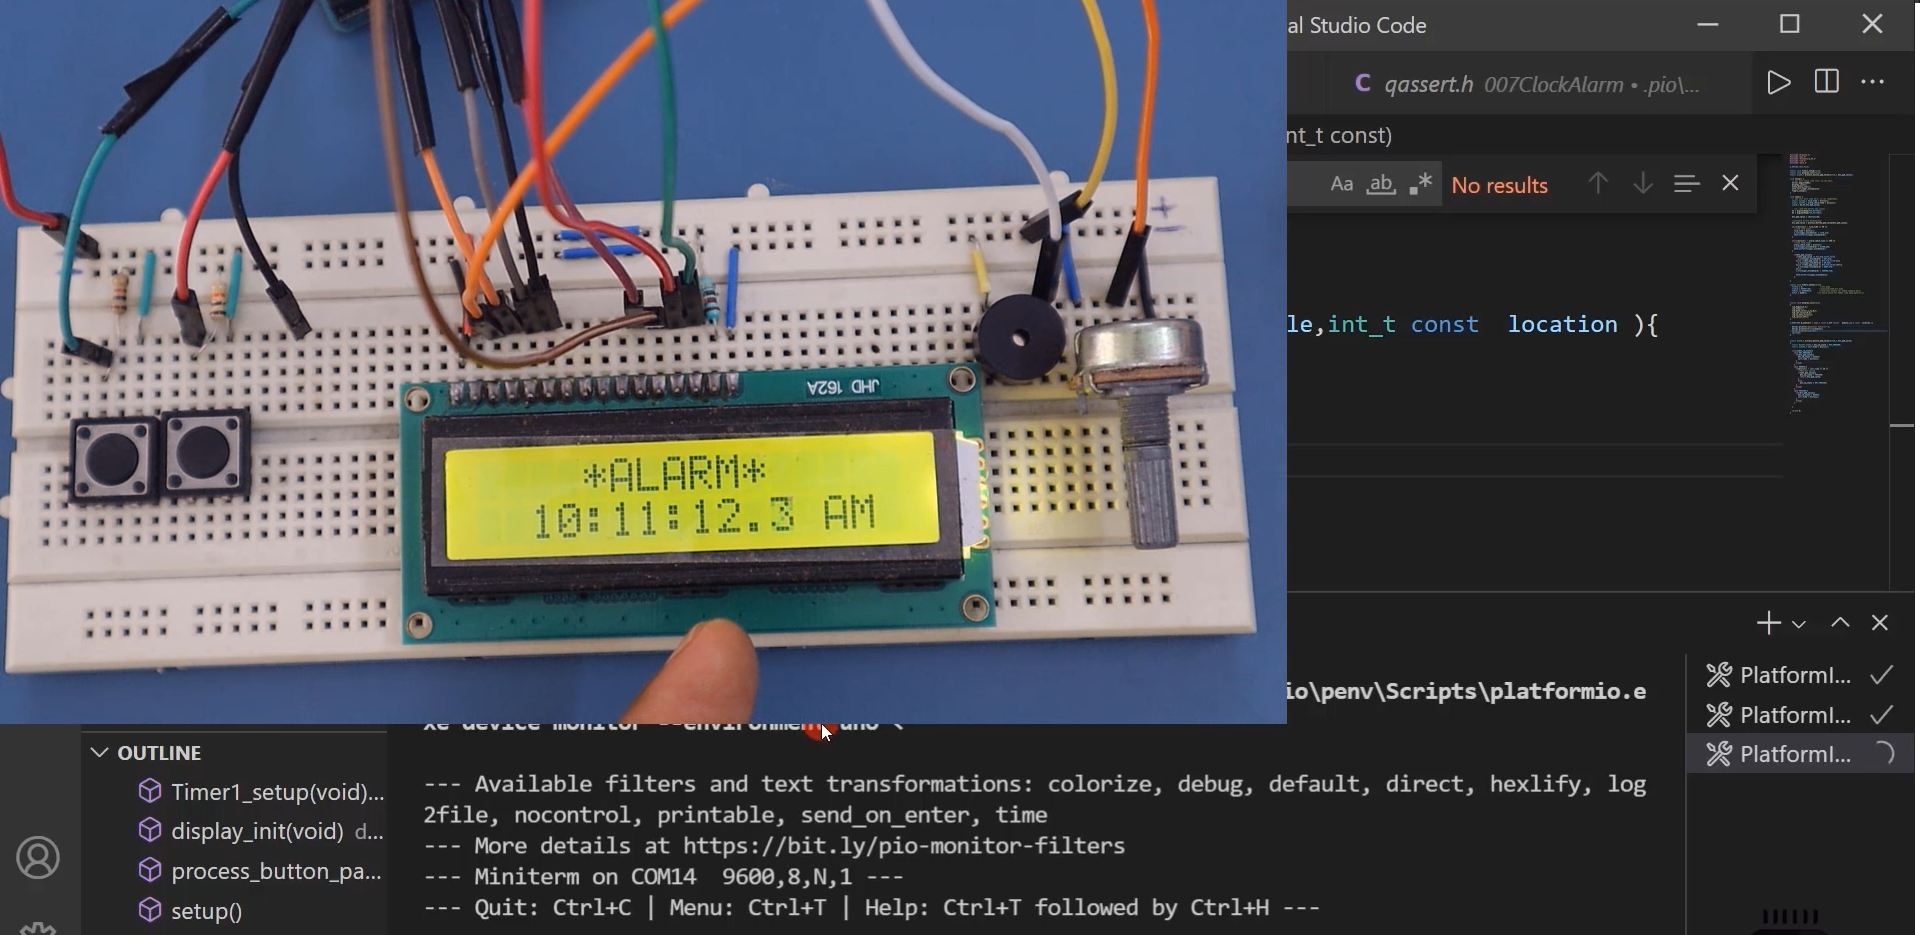
Now let me press the OK button. It should go back to its history state. That is the error notification, but there is a problem.
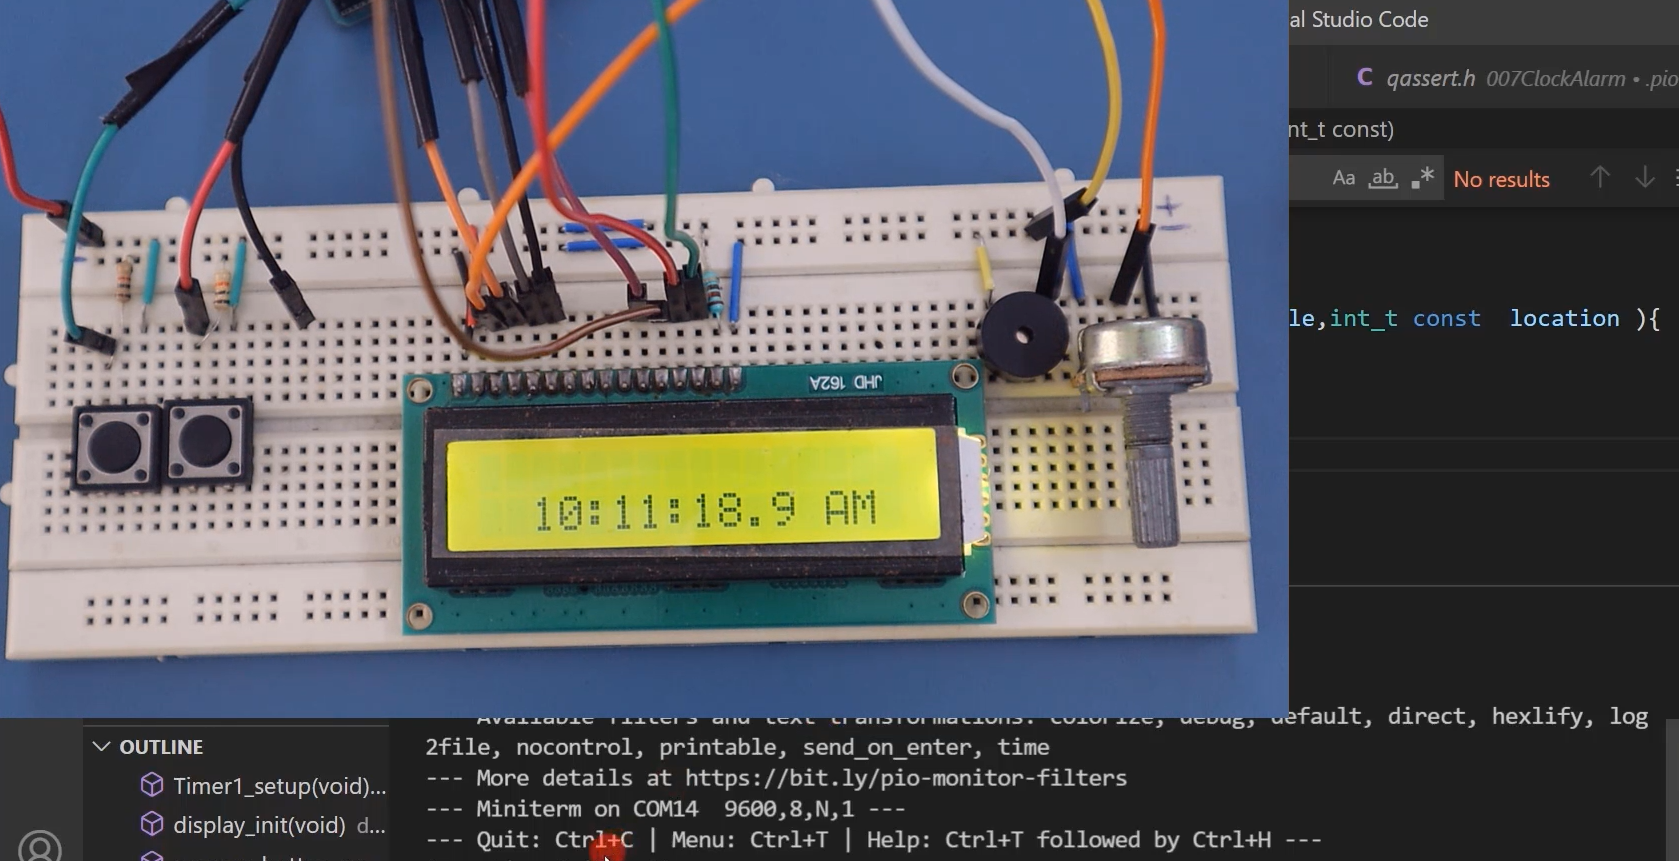
You can see that in the serial monitor, it is displaying assertion failure. That means we actually met with Assertion error here, and this function of our main.cpp has been called, and it has printed a couple of details here, and we are now hanging in this while(1) loop. That’s why the application doesn’t respond to any of the events because we are now here.
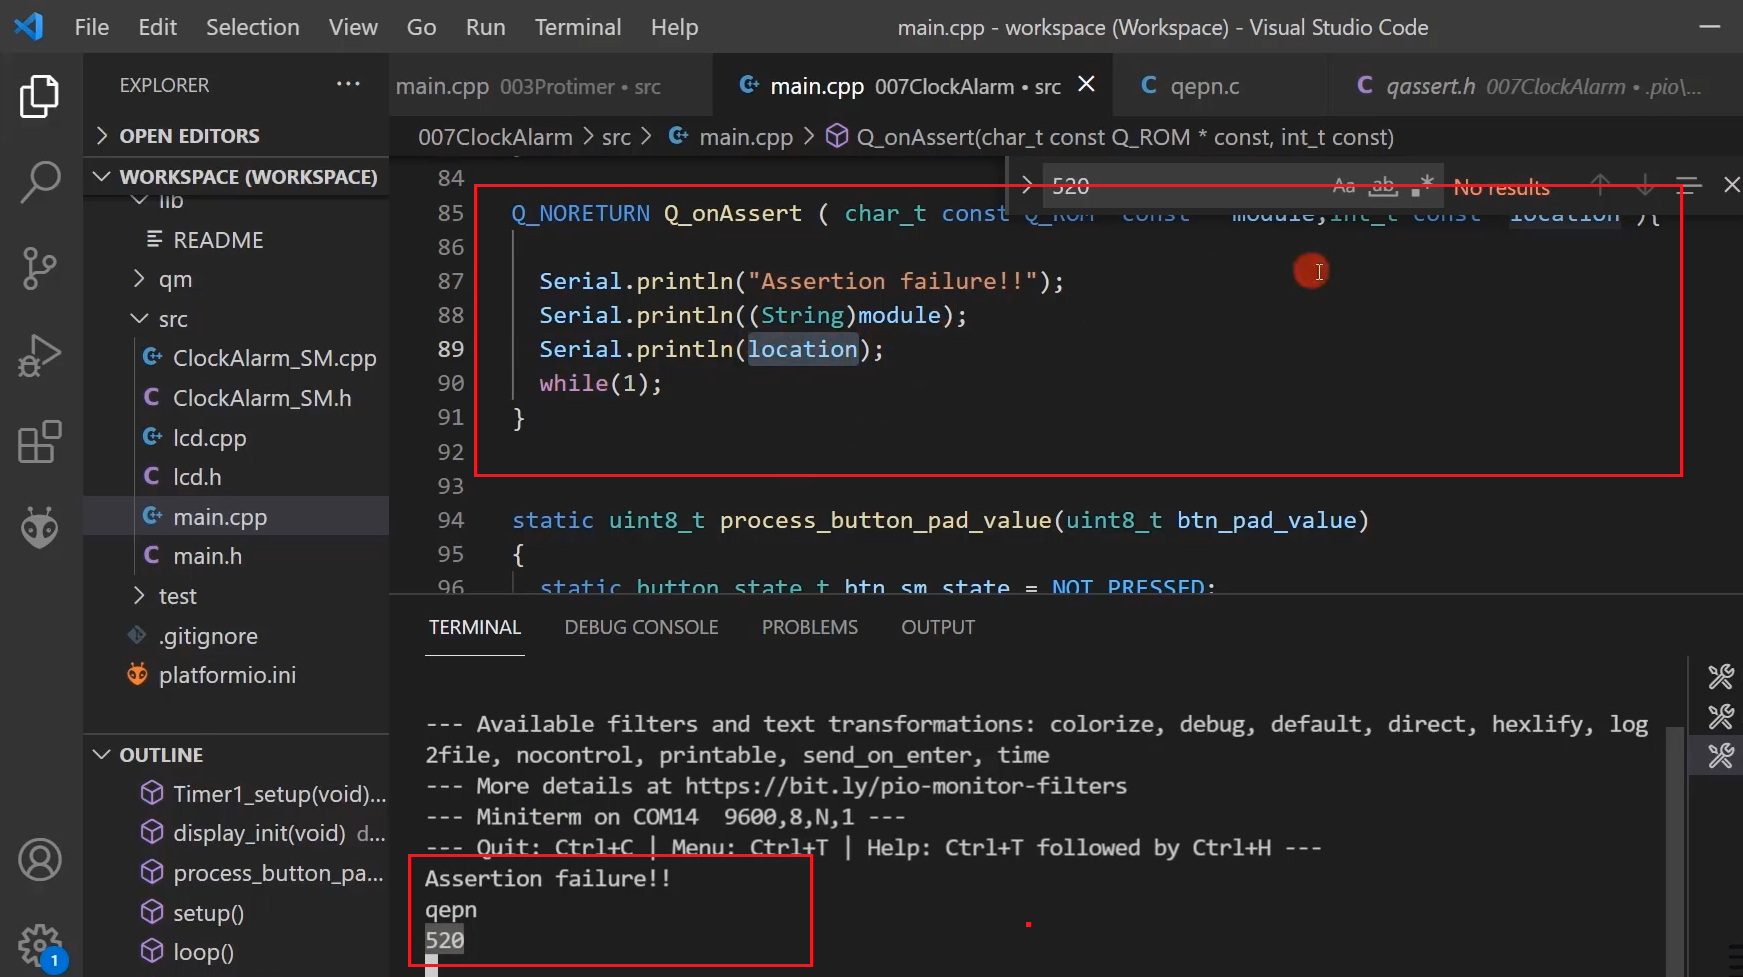
Why this assertion as happened? Let’s analyze that.
And this assertion has happened in this module ‘qepn.c’, and the assertion code is 520, as shown in Figure 13.
Now, let’s debug this. Go to any of these functions of the framework. Let me open that QHSM_DISPATCH, which is defined in qepn.h. At the left-hand side, you can see all the source files of this framework(Figure 14).
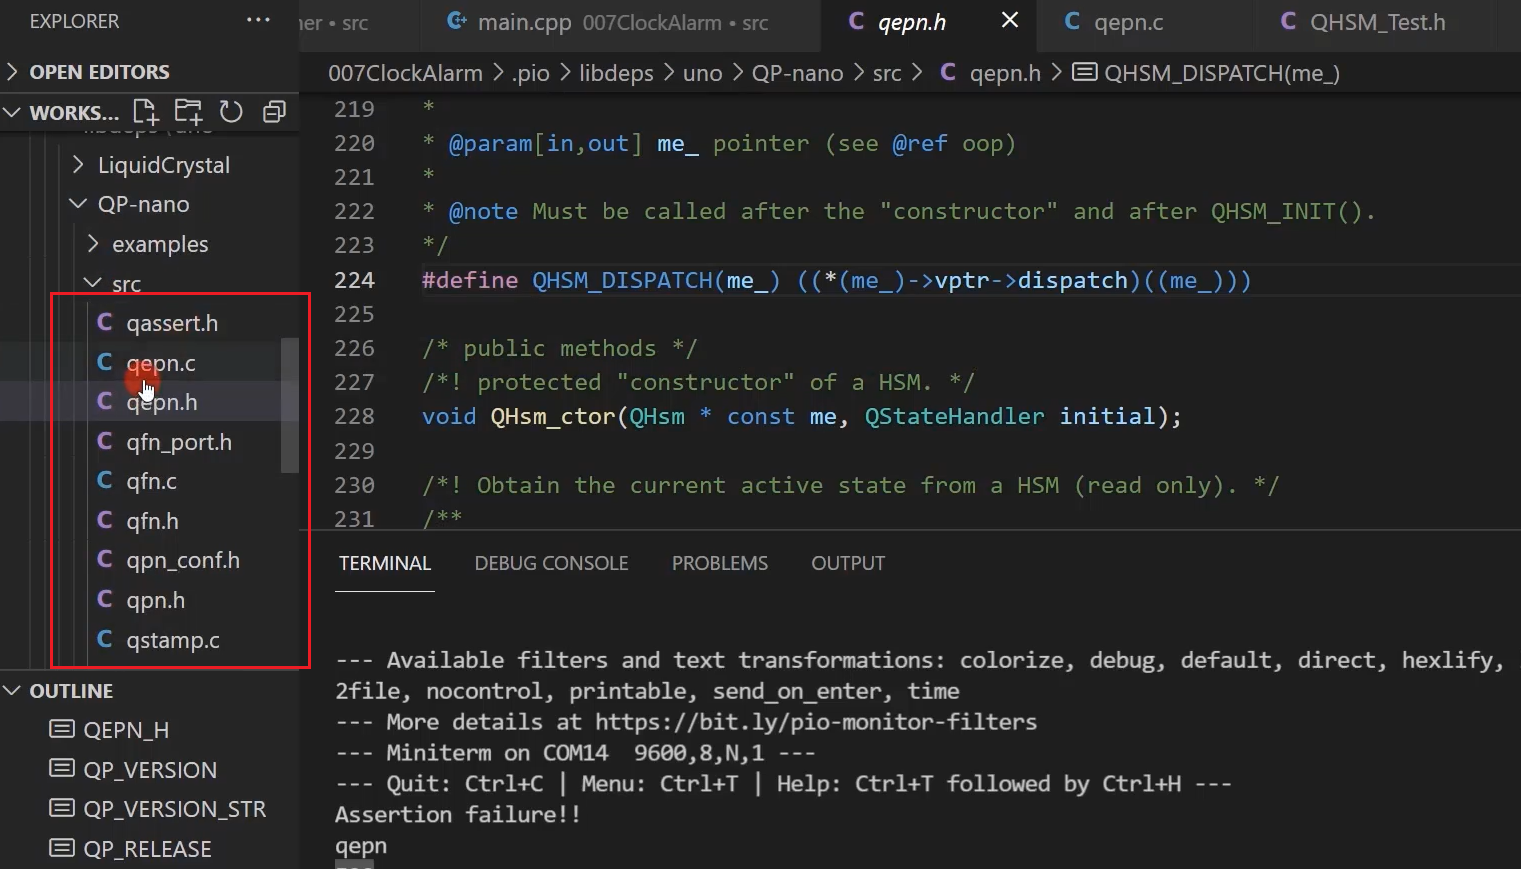
Go to qepn.c. And here, search for that code 520, and here it is(Figure 15).
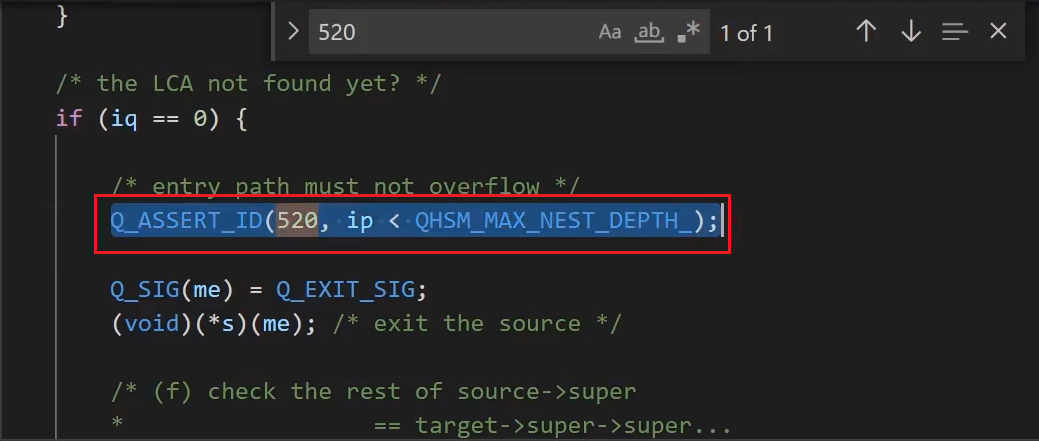
This is where the assertion has failed. Basically, the condition was ‘ip.’ (The ‘ip’ is a variable; this is the transition entry path index). Its value suppose to be less than QHSM_MAX_NEST_DEPTH macro; that is, the maximum depth of the hierarchical state machine is set to 5. And its value must be less than 5.
But in our model, what’s happening is we were displaying the notification here in the alarm_notify state, and the OK signal arrived, and we come to the history state. And from the history state, we have to move to the error state (as_error). as_err_on or as_err_off state. What’s the number of depths involved? Number 1 is Clock state, second is Settings state, 3rd is Alarm_Setting, 4th is as_error, and 5th is as_err_off. I think this ‘ip’ value is 5 or something. That’s why there is an assertion failure.
Now to get rid of this problem, what you can do is you can flatten these as_err_on and as_error off states. You can remove that composite state and flatten these states or increase the value of QHSM_MAX_NEST_DEPTH macro to 6. This macro makes it 6.

Actually, increasing this macro value is not recommended because the algorithm will consume more RAM space if you blindly increase the value of the QHSM_MAX_NEST_DEPTH macro. But, for the time being, I will make this macro value 6. And let me save this, and let’s retest.
Compile this, and let’s download this code. So, let’s get into the Alarm setting. Let me set the alarm for 10:10:50 AM, Press OK.
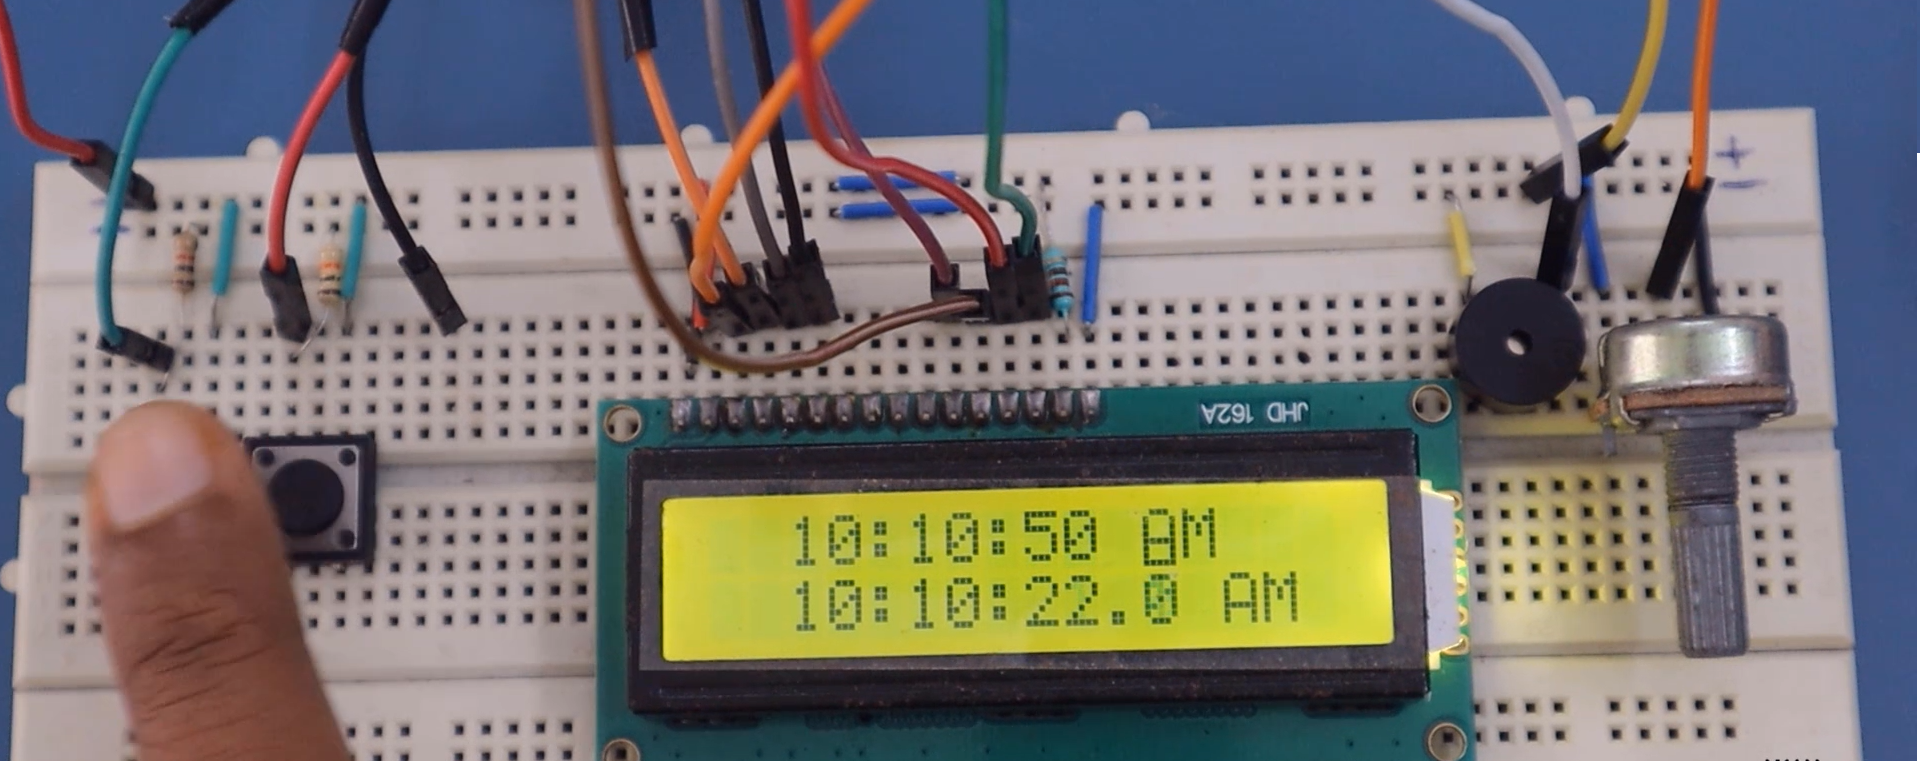
Then the Alarm is ON. Now, let me get into the Error state. The Error notification is being displayed. And now the Alarm happens.
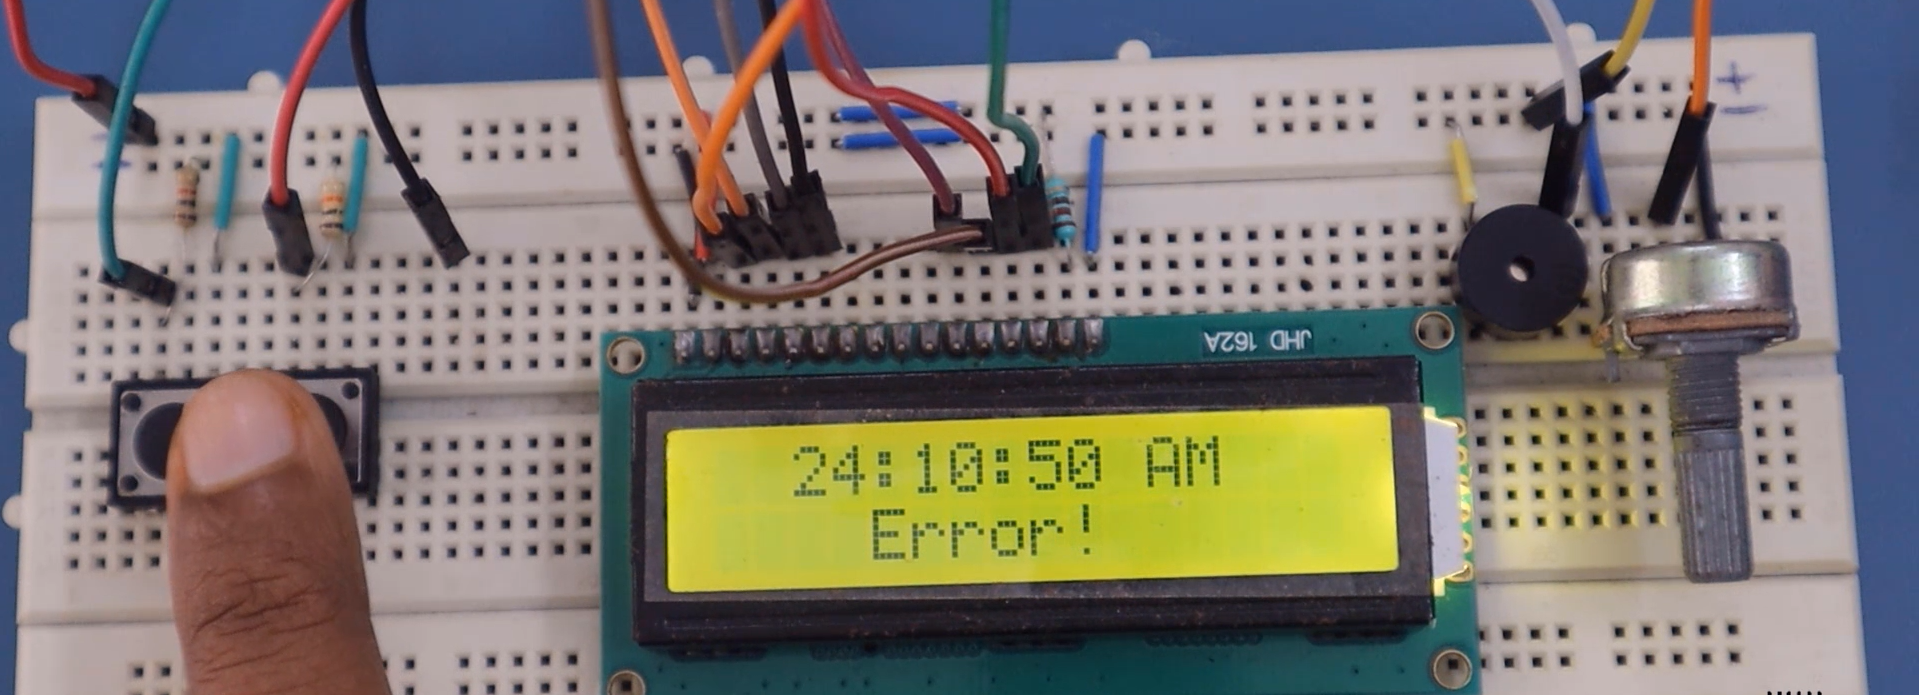
As you can see(Figure 19), the Alarm has happened.
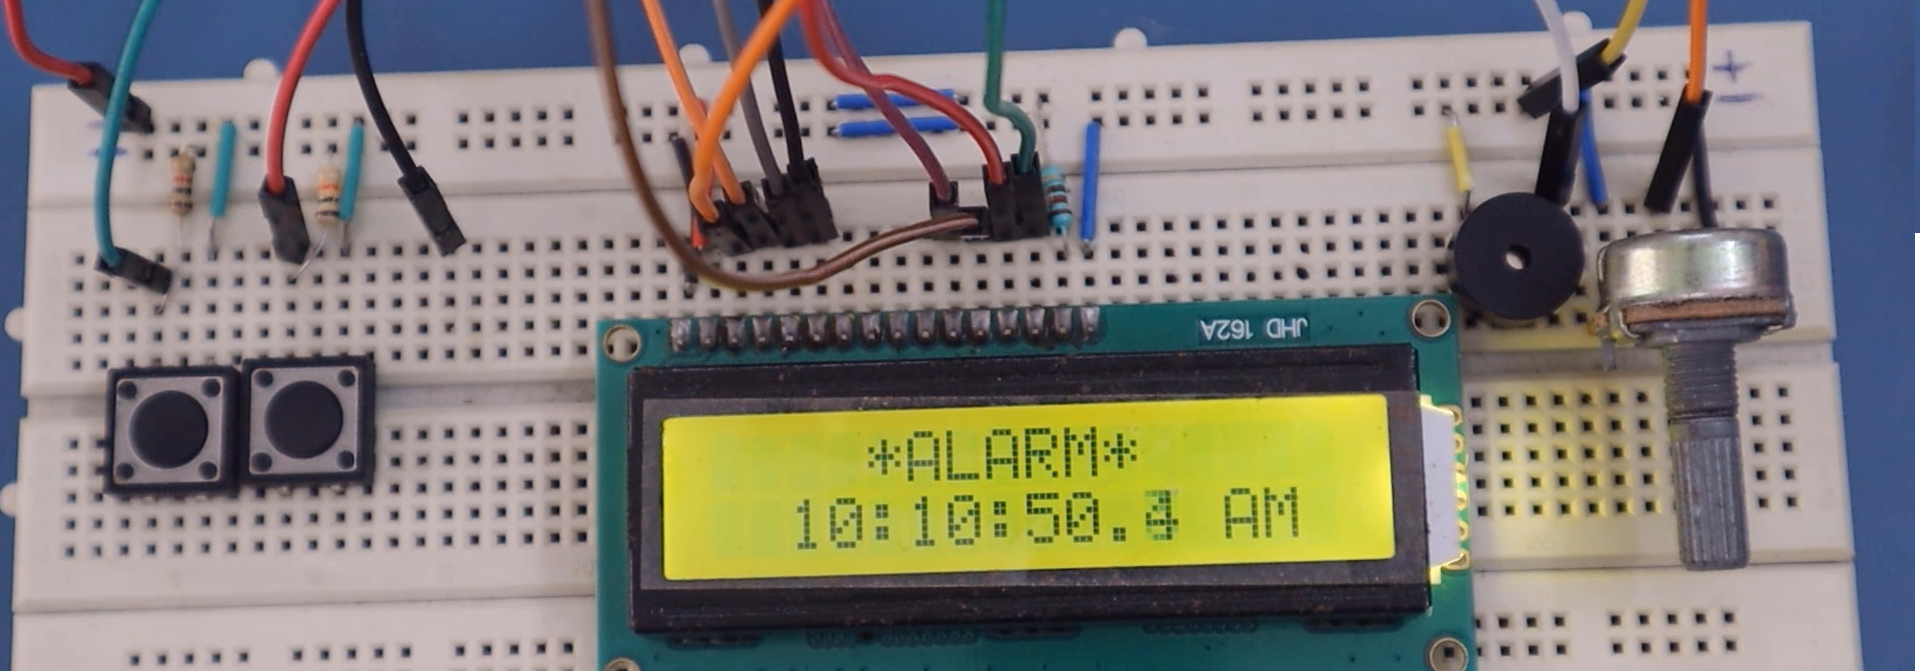
And now let me press the OK button; you can see that(Figure 20) it takes me back to that Error notification.
FastBit Embedded Brain Academy Courses
Click here: https://fastbitlab.com/course1

