Creating FreeRTOS based project for STM32 MCUs Part-3
Now let’s include the FreeRTOS source codes into the already created project, and let’s try to build.
1. For that, first, let’s go to the workspace. Figure 1 shows the workspace, RTOS_workspace, and there you have a project named STM32_HelloWorld (Figure 1).
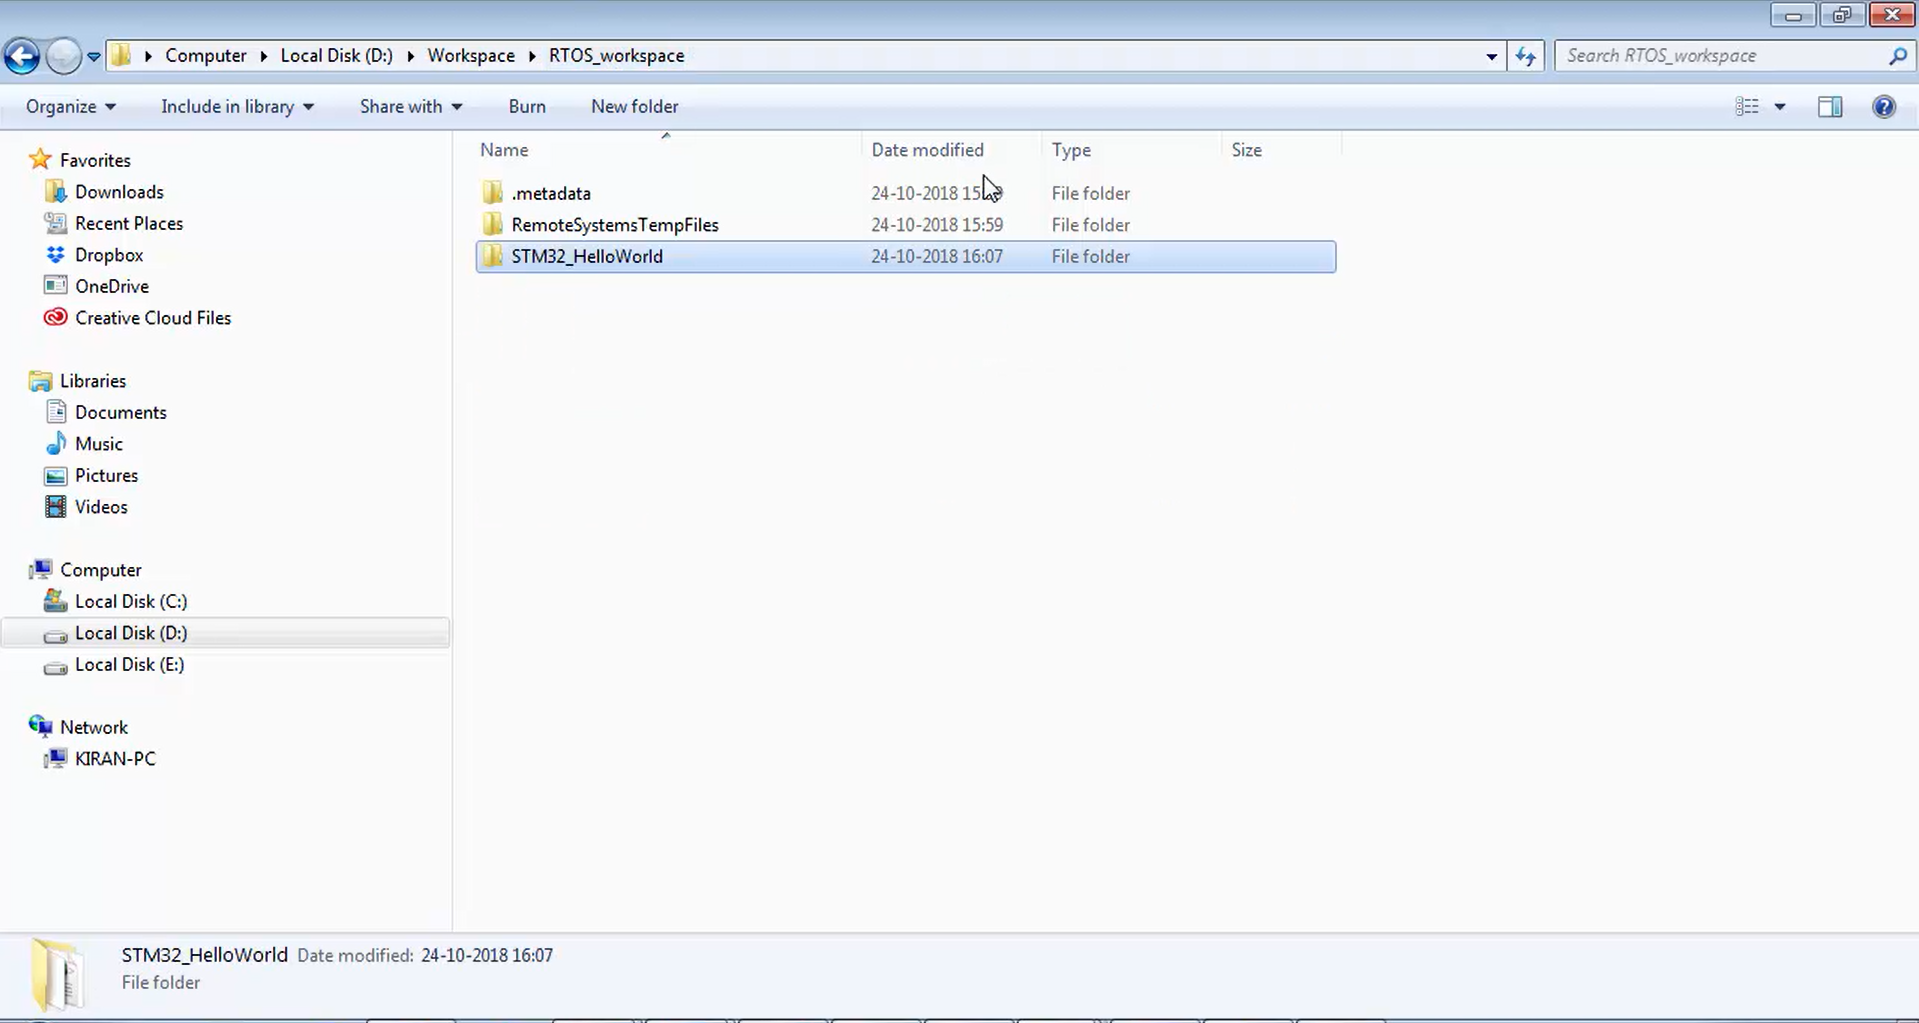
2. Now let’s go inside the STM32_HelloWorld project. Here you have all the folder structures (Figure 2) that you see in your eclipse (Figure 3). You have a startup, src, inc, CMSIS, and the standard peripheral driver (StdPeriph_Driver).
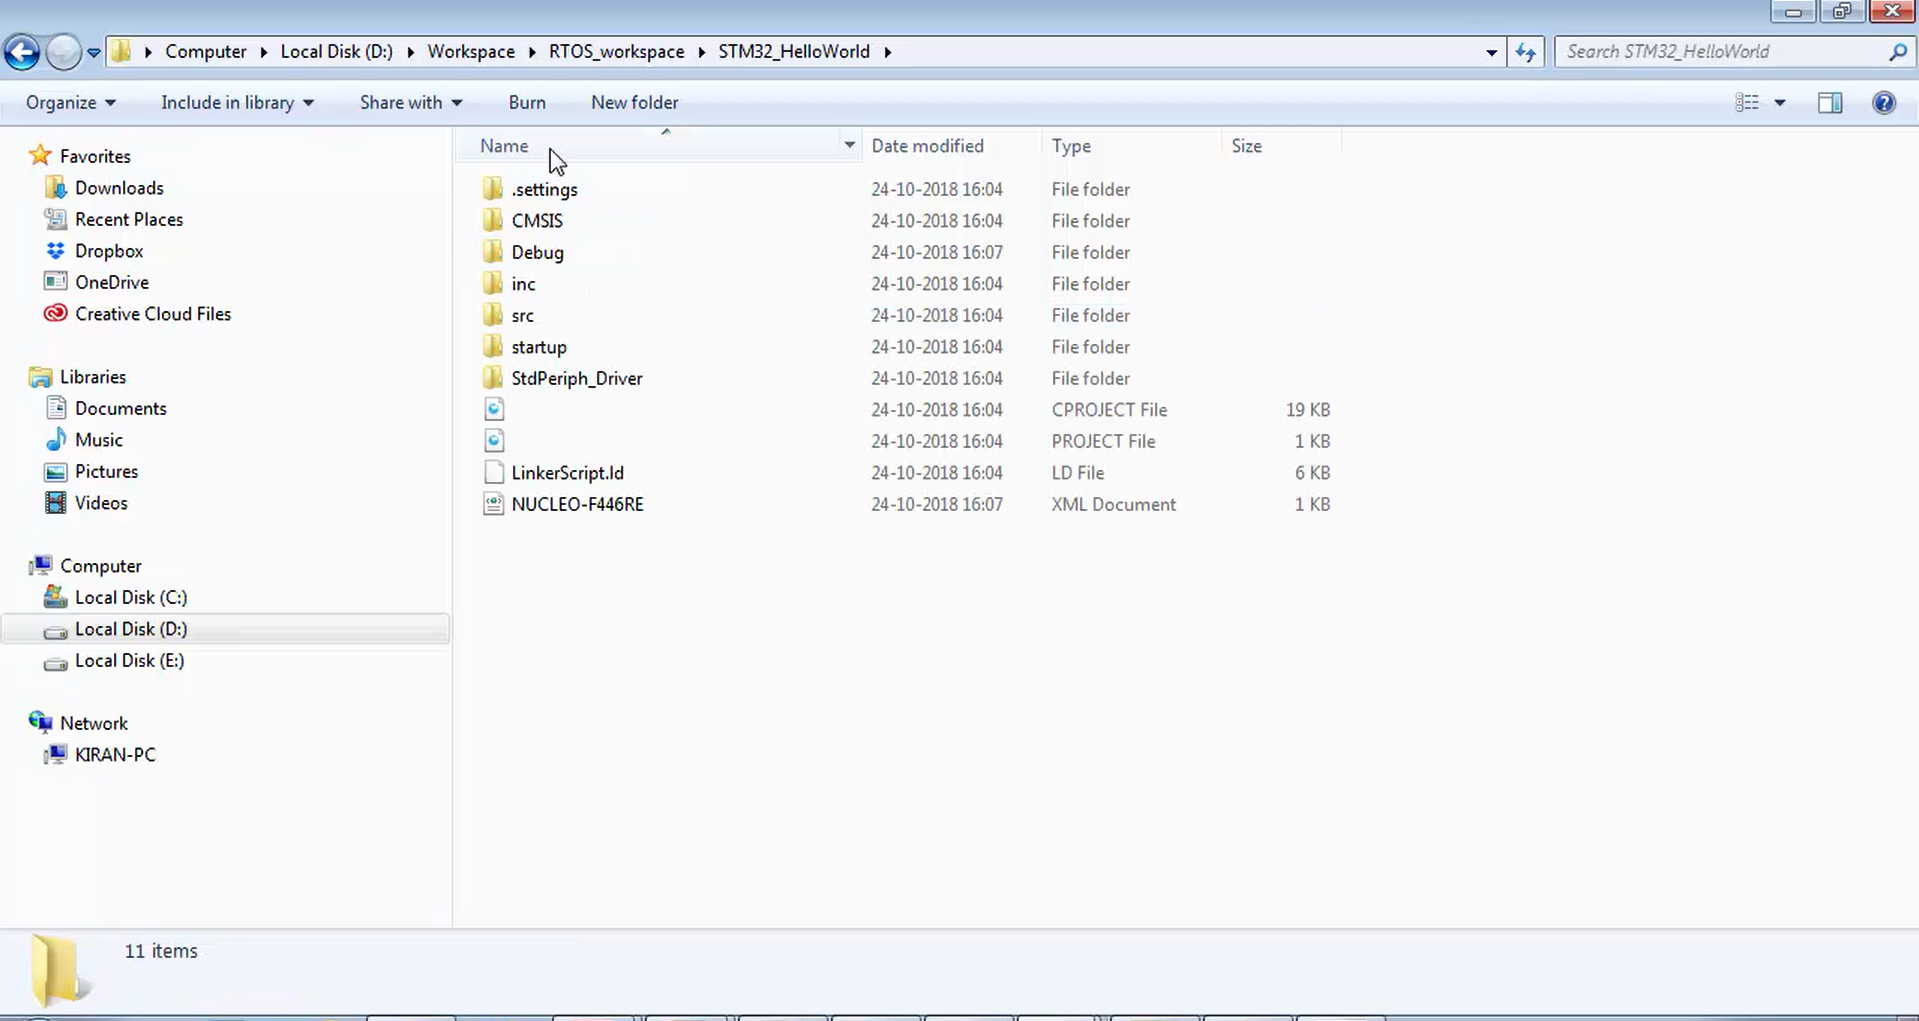
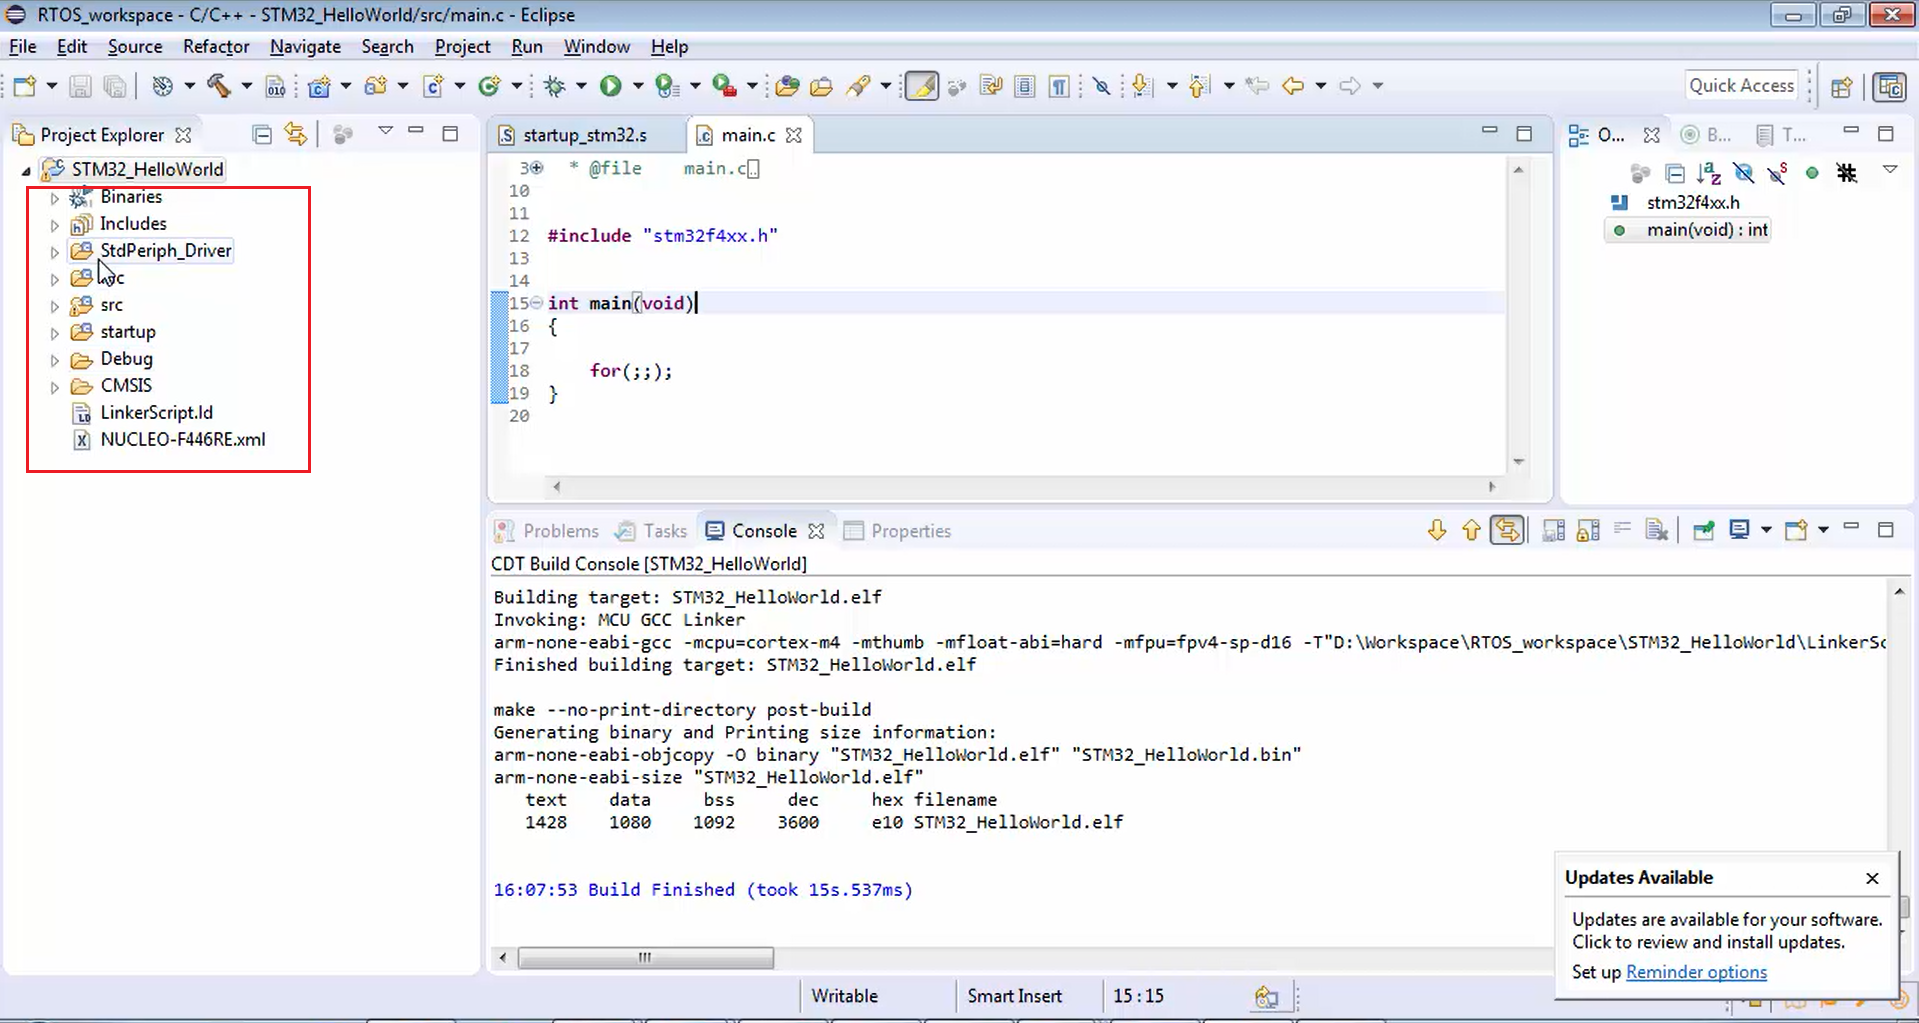
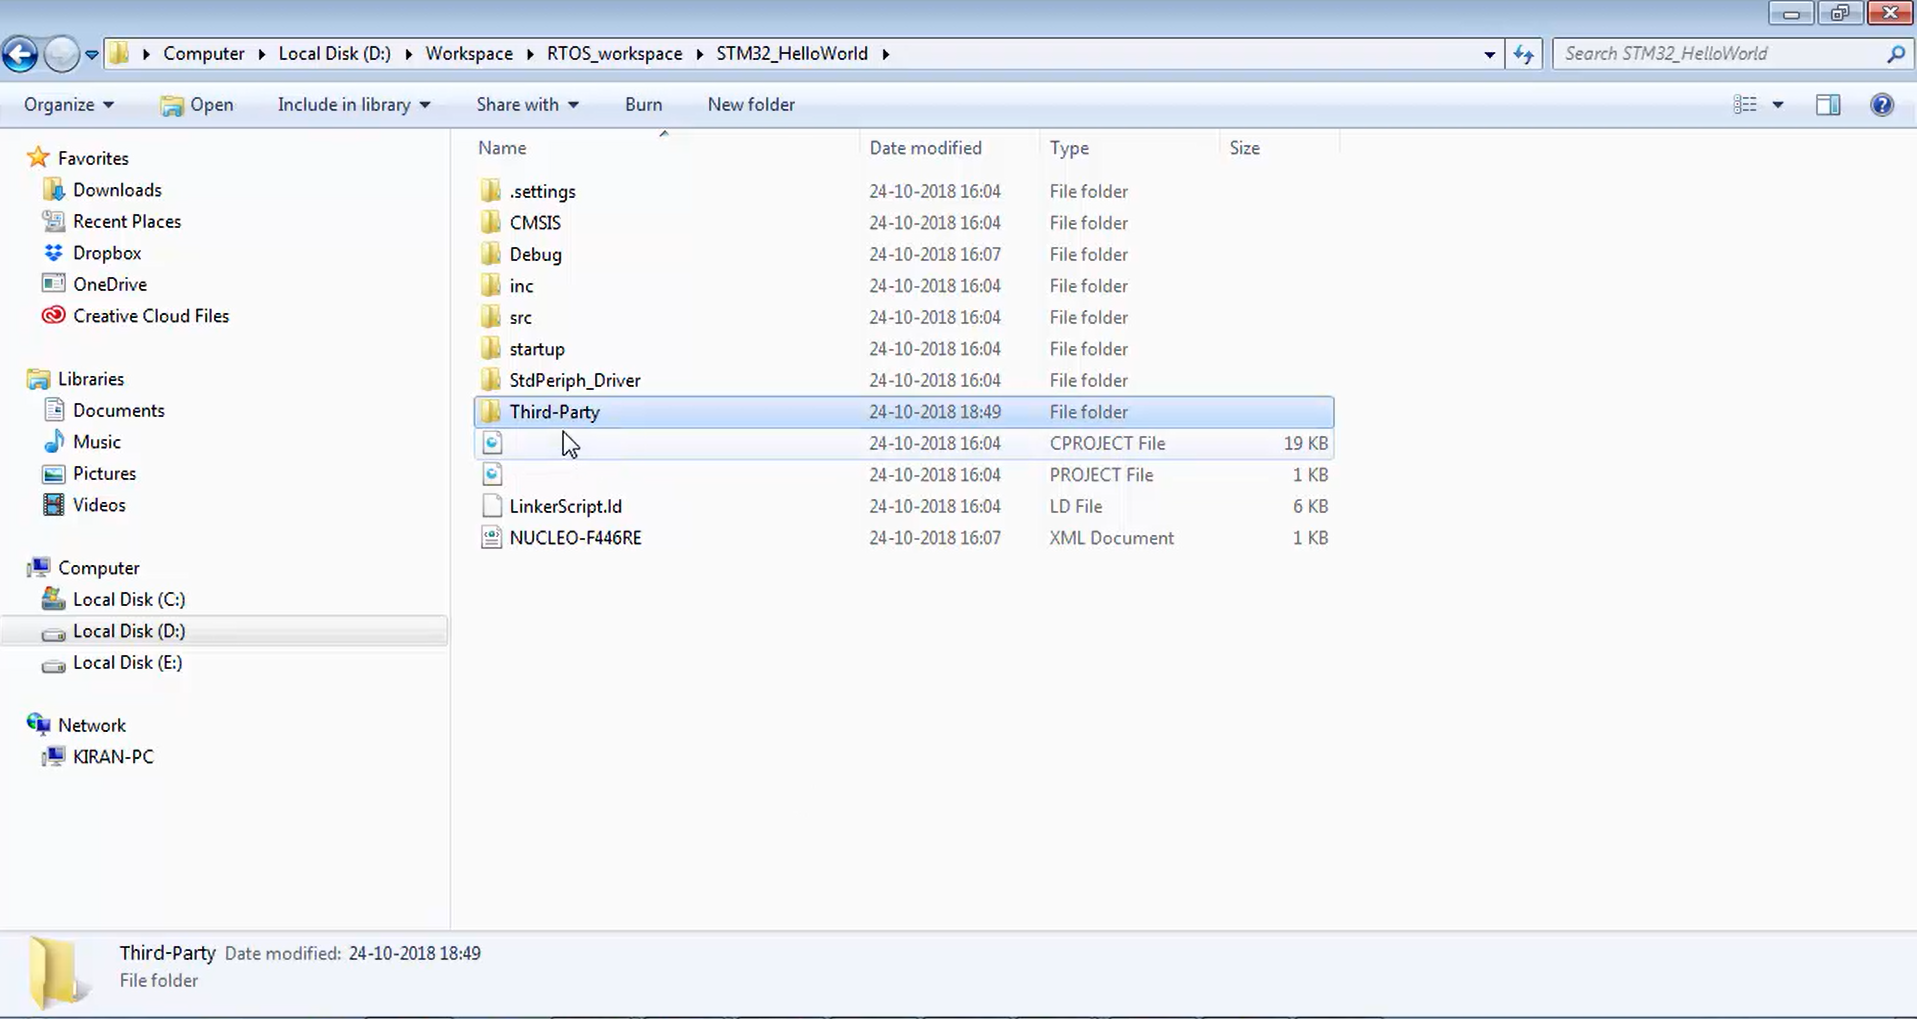
3. Create one folder inside the STM32_HelloWorld project folder (Figure 4) and name it as Third-Party. Don’t give any space, just write as shown in Figure 4.
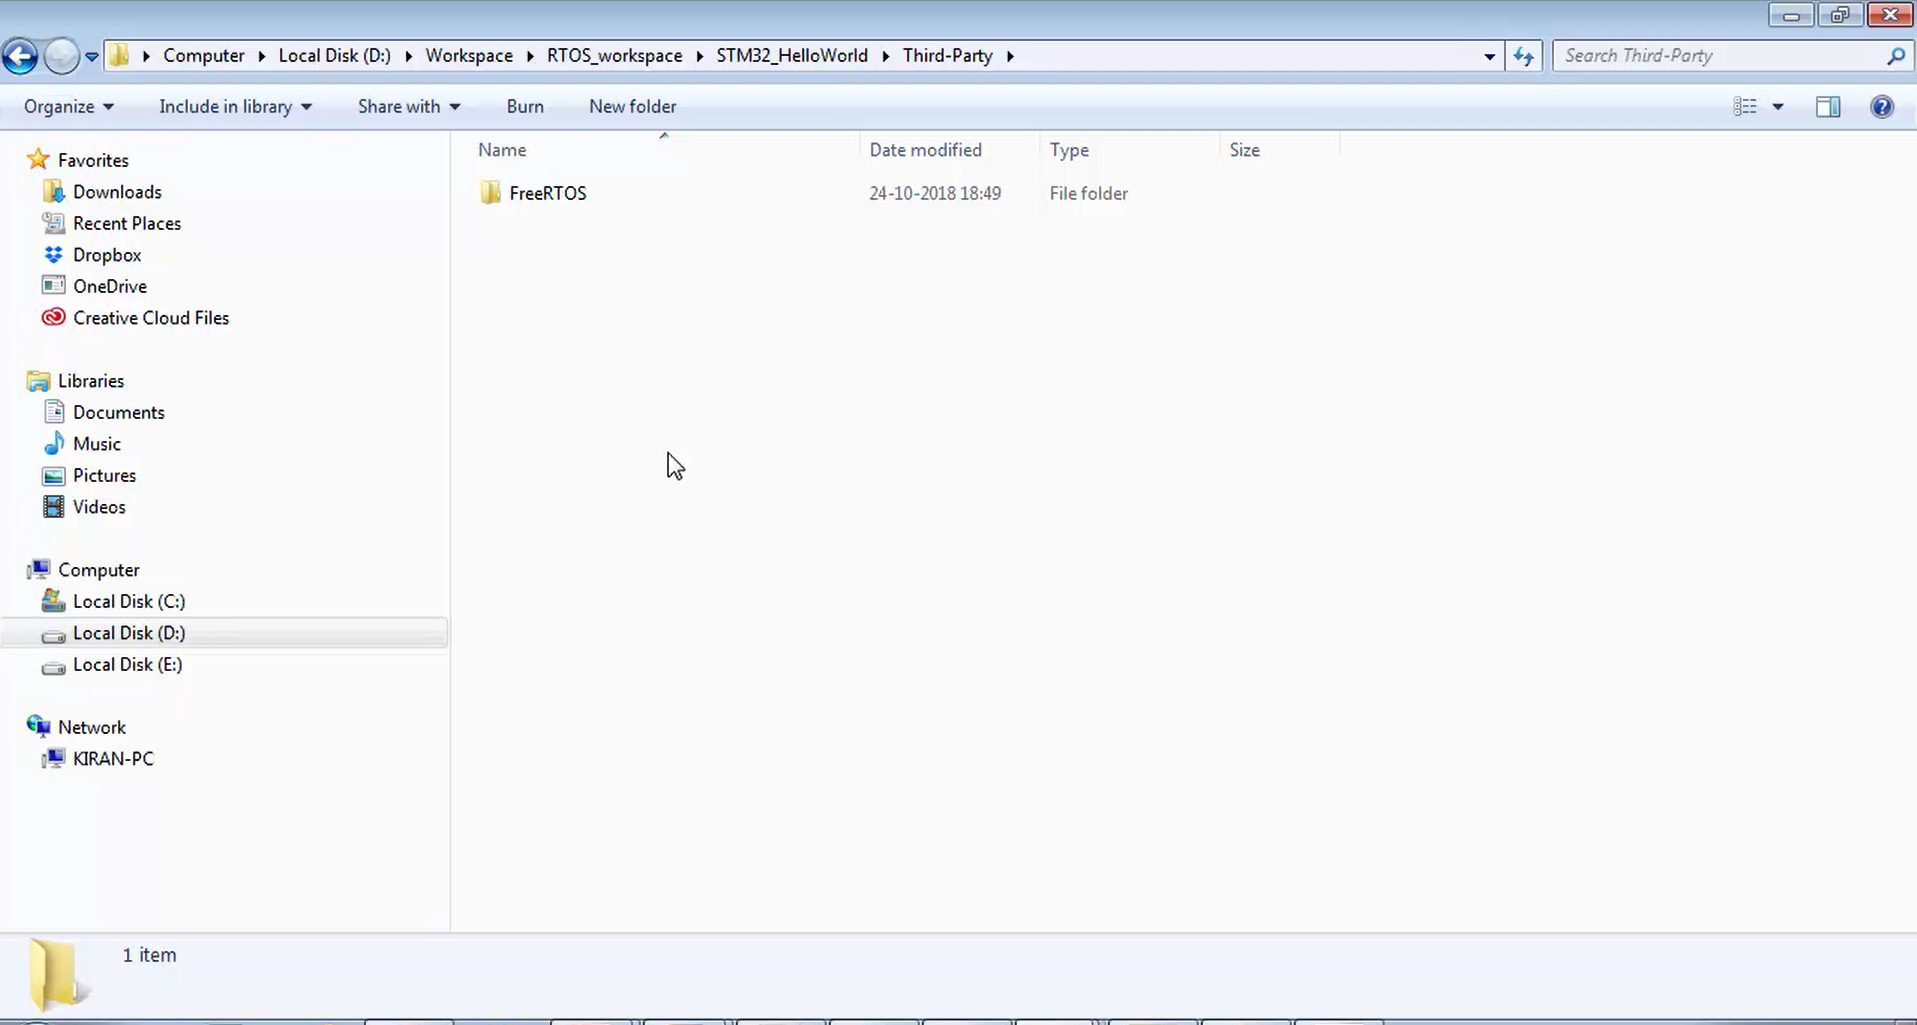
4.Create one more folder named FreeRTOS inside the Third-Party,as shown in Figure 5. In this Third-Party folder, you can keep any 3rd party codes. Like from FreeRTOS.org or if you obtain any graphics library, low power IP stack, USB stack, etc. Whatever the code, which you take from the 3rd party, you can keep it here.
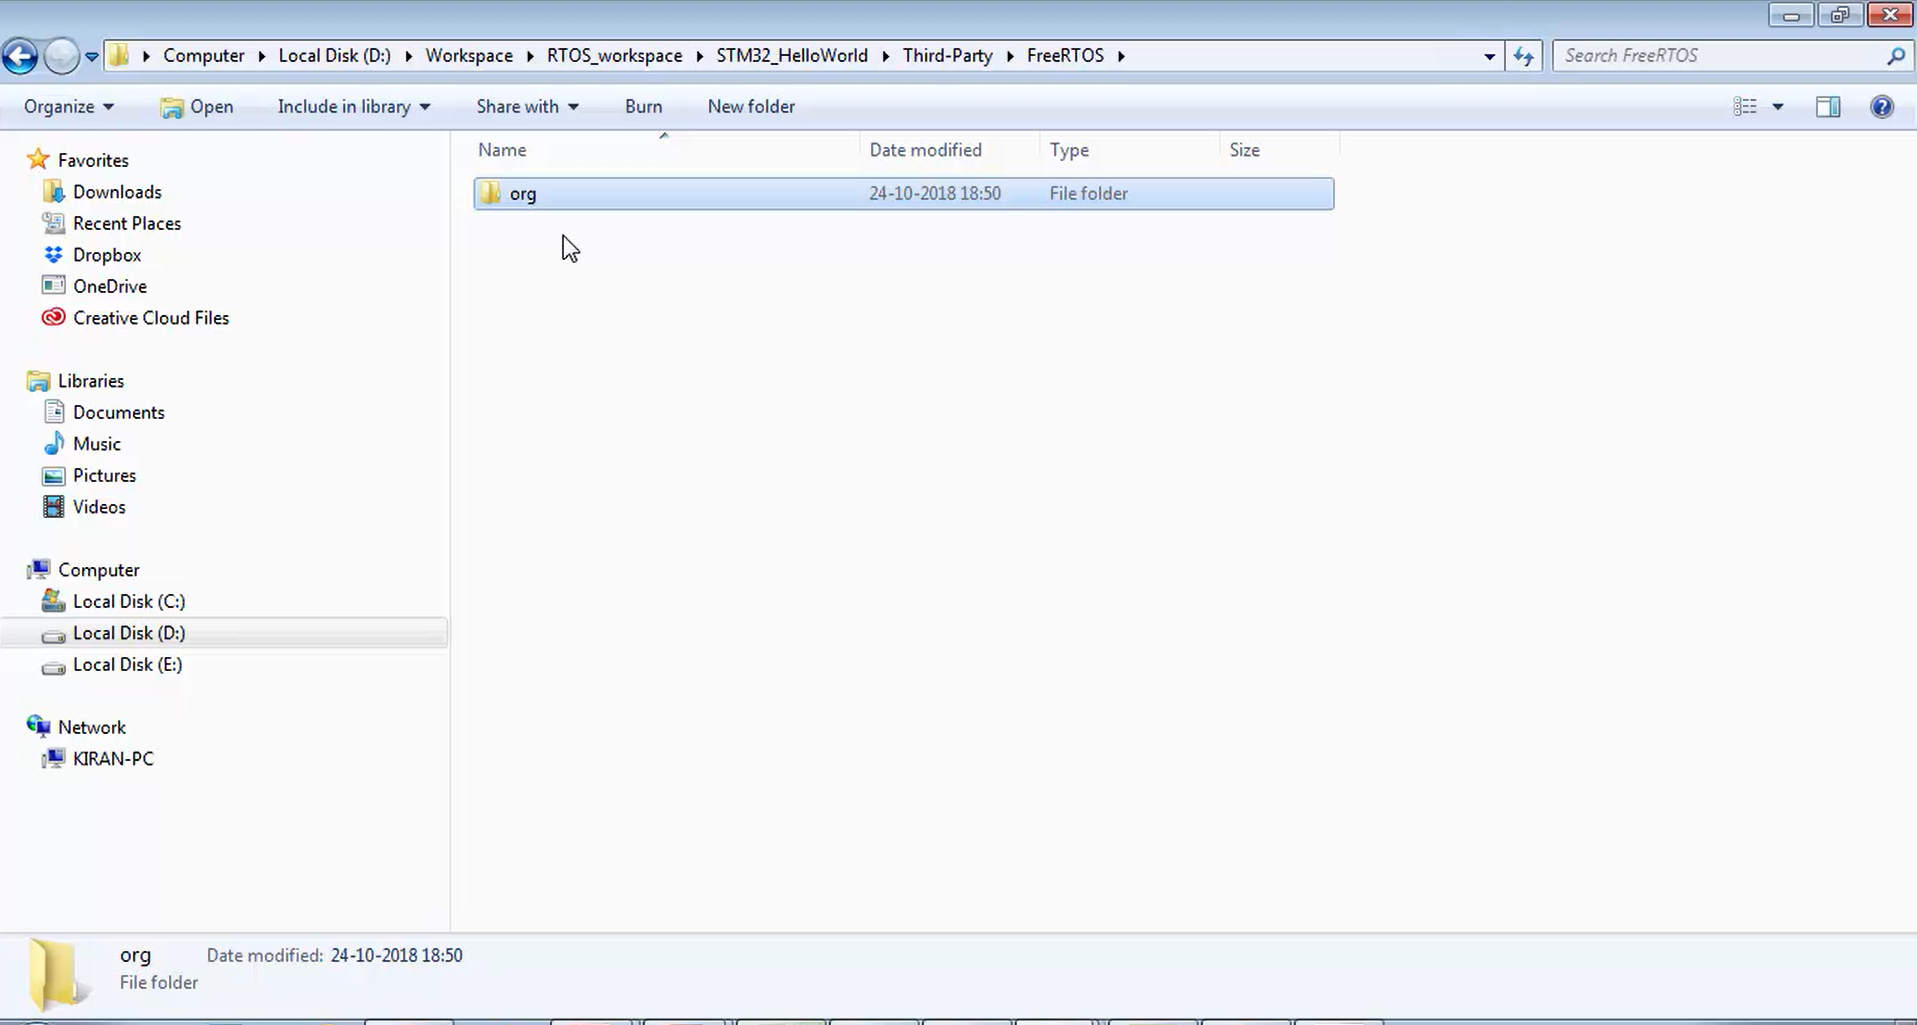
5. Inside FreeRTOS, create one more folder called org (Figure 6). Just type org. The org folder structure required to help in patching some of the FreeRTOS files while using Segger system view software. That’s why you have to create this folder named org.
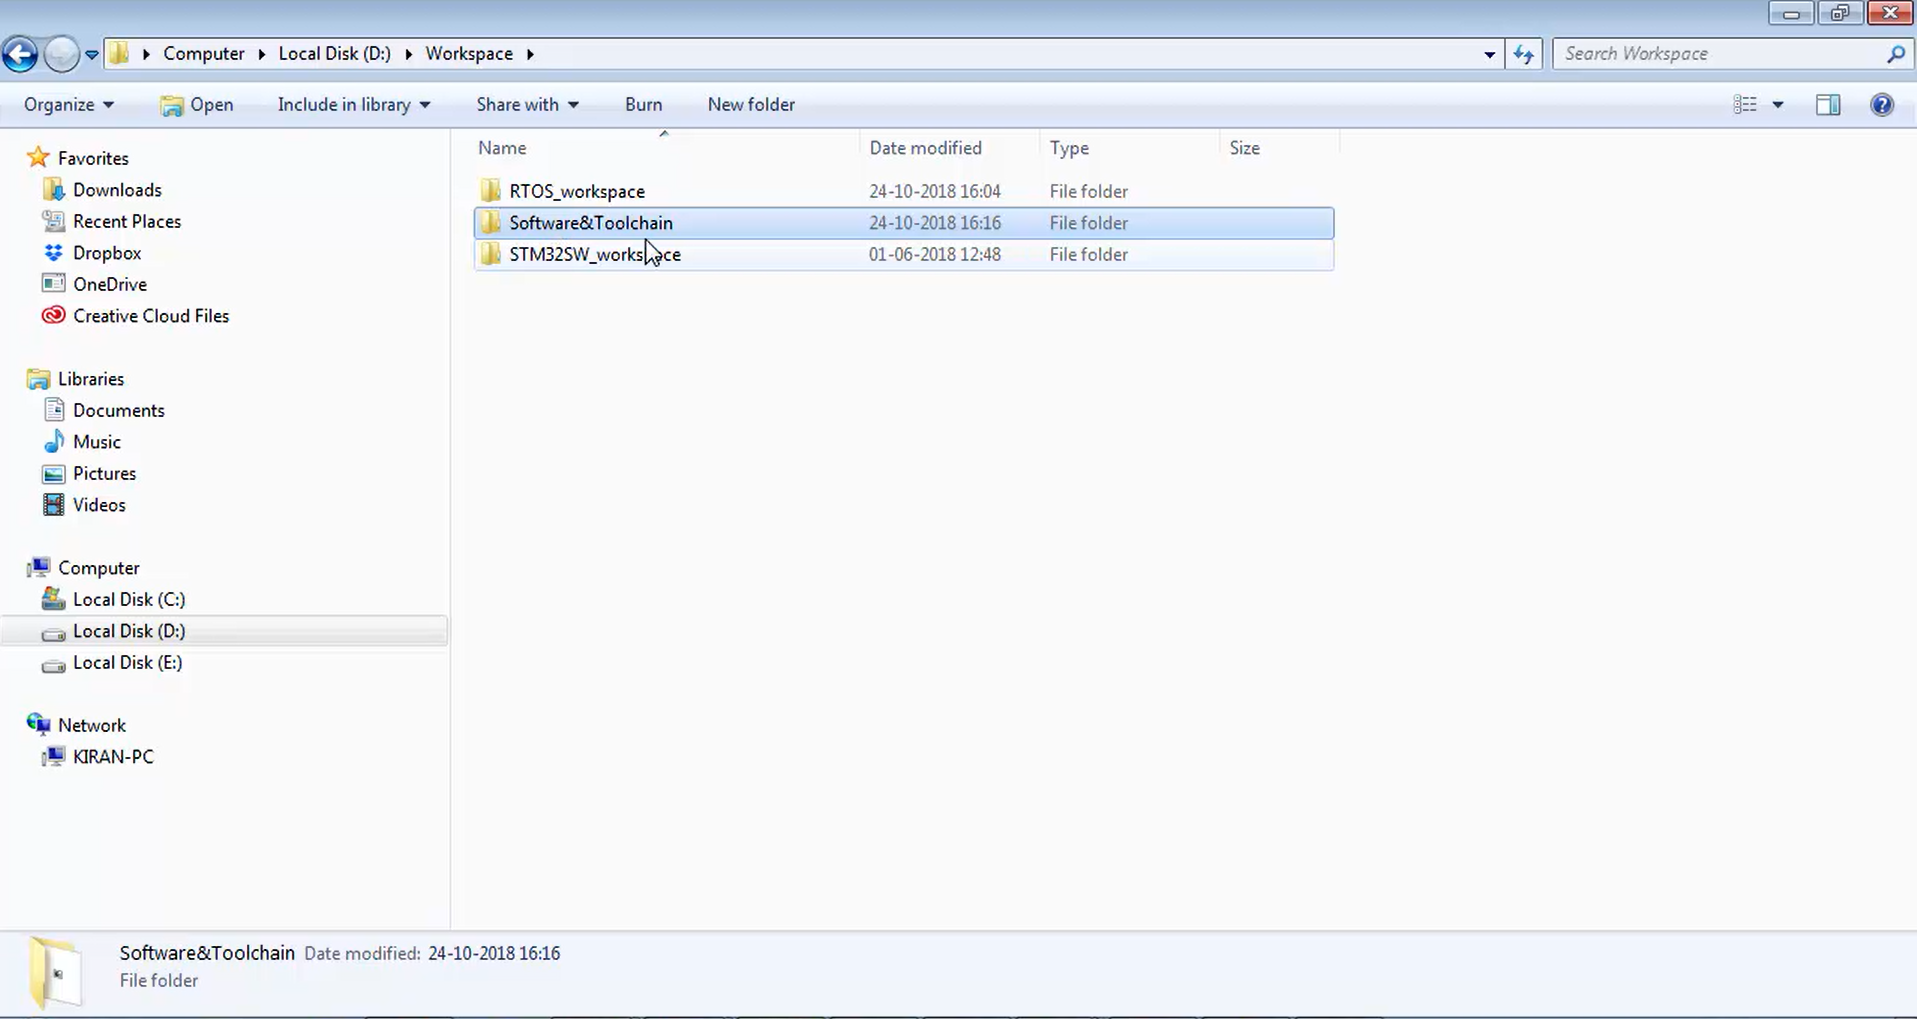
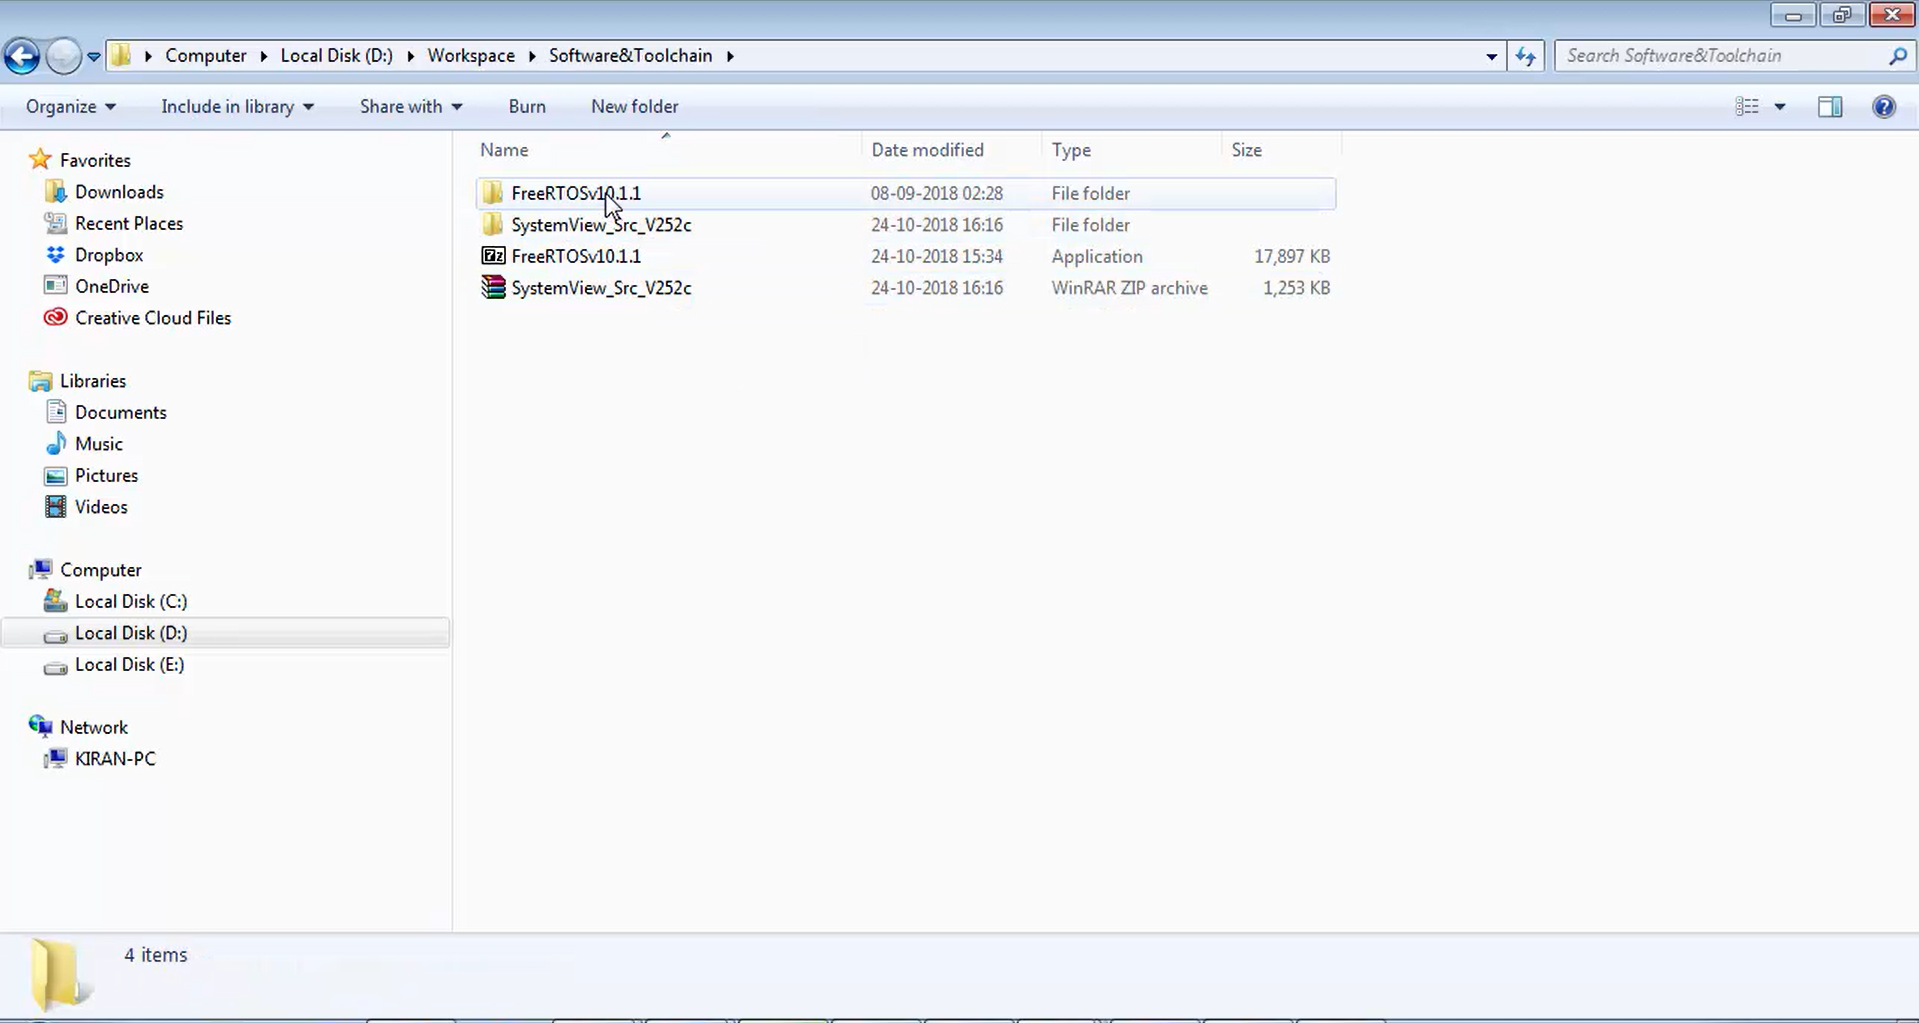
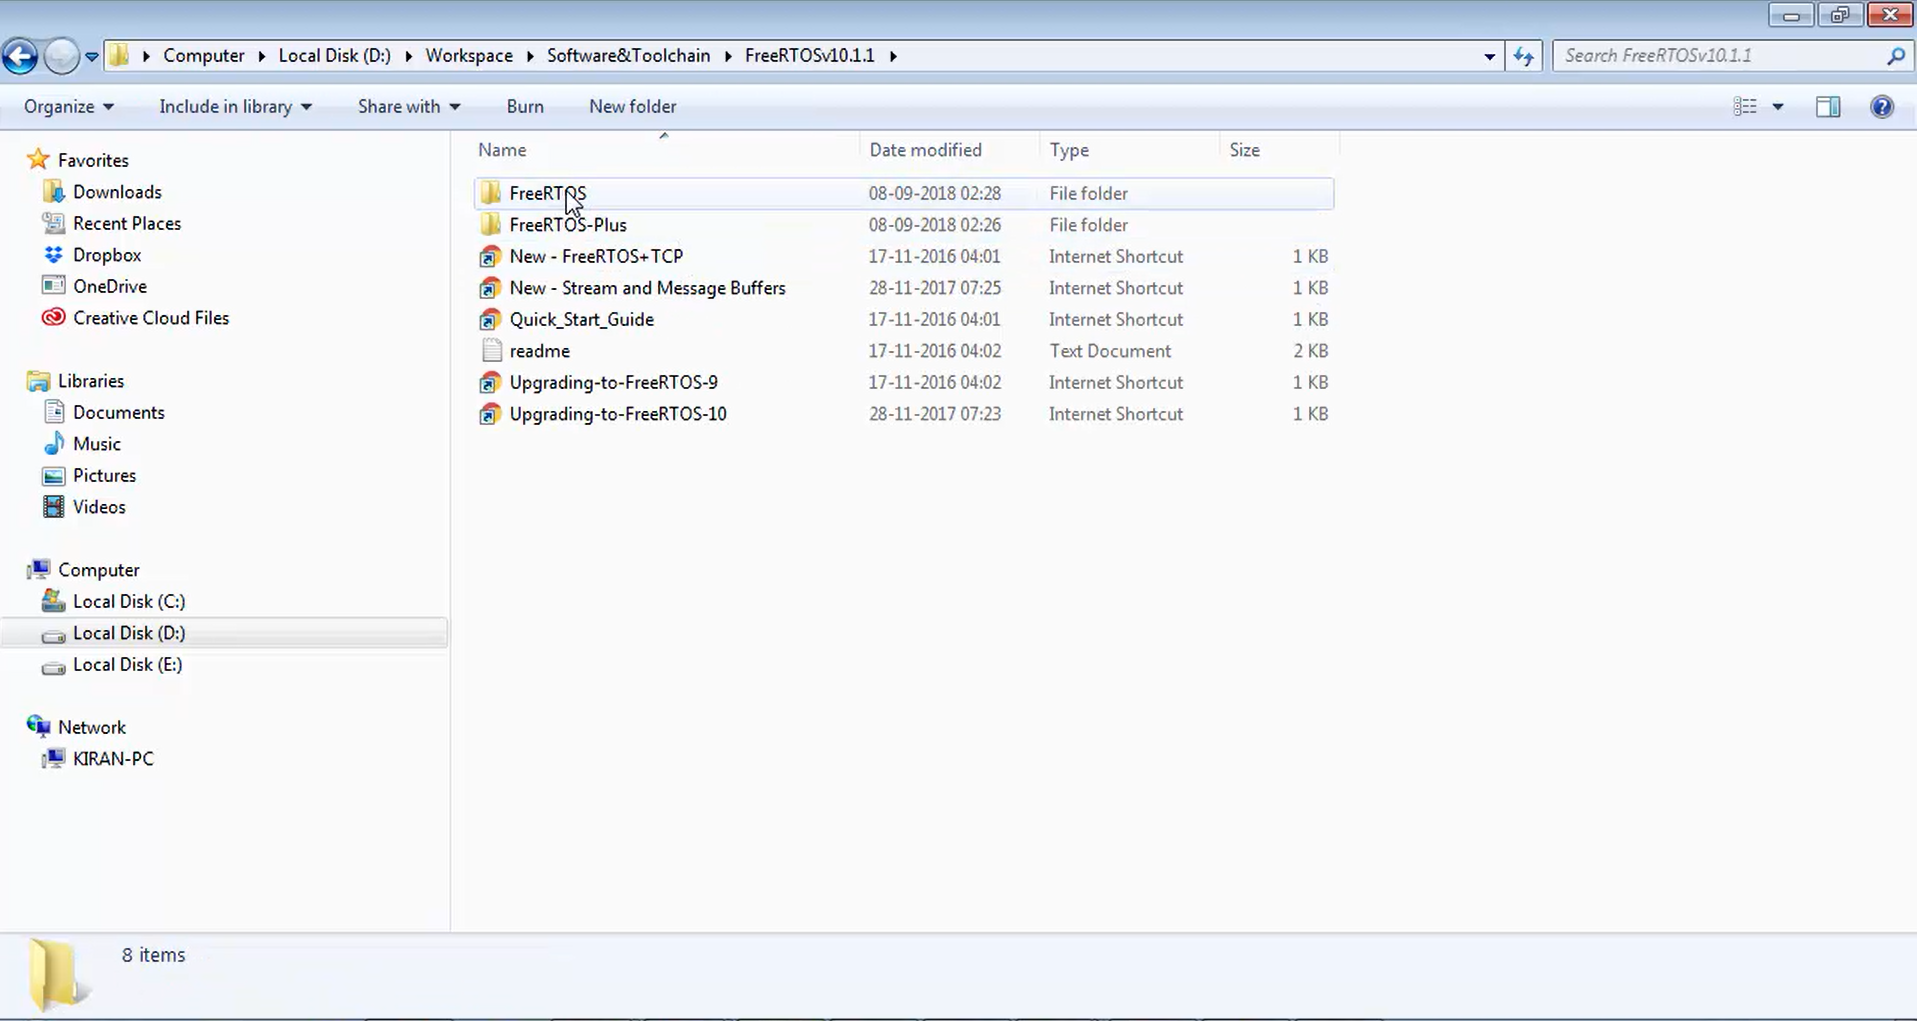
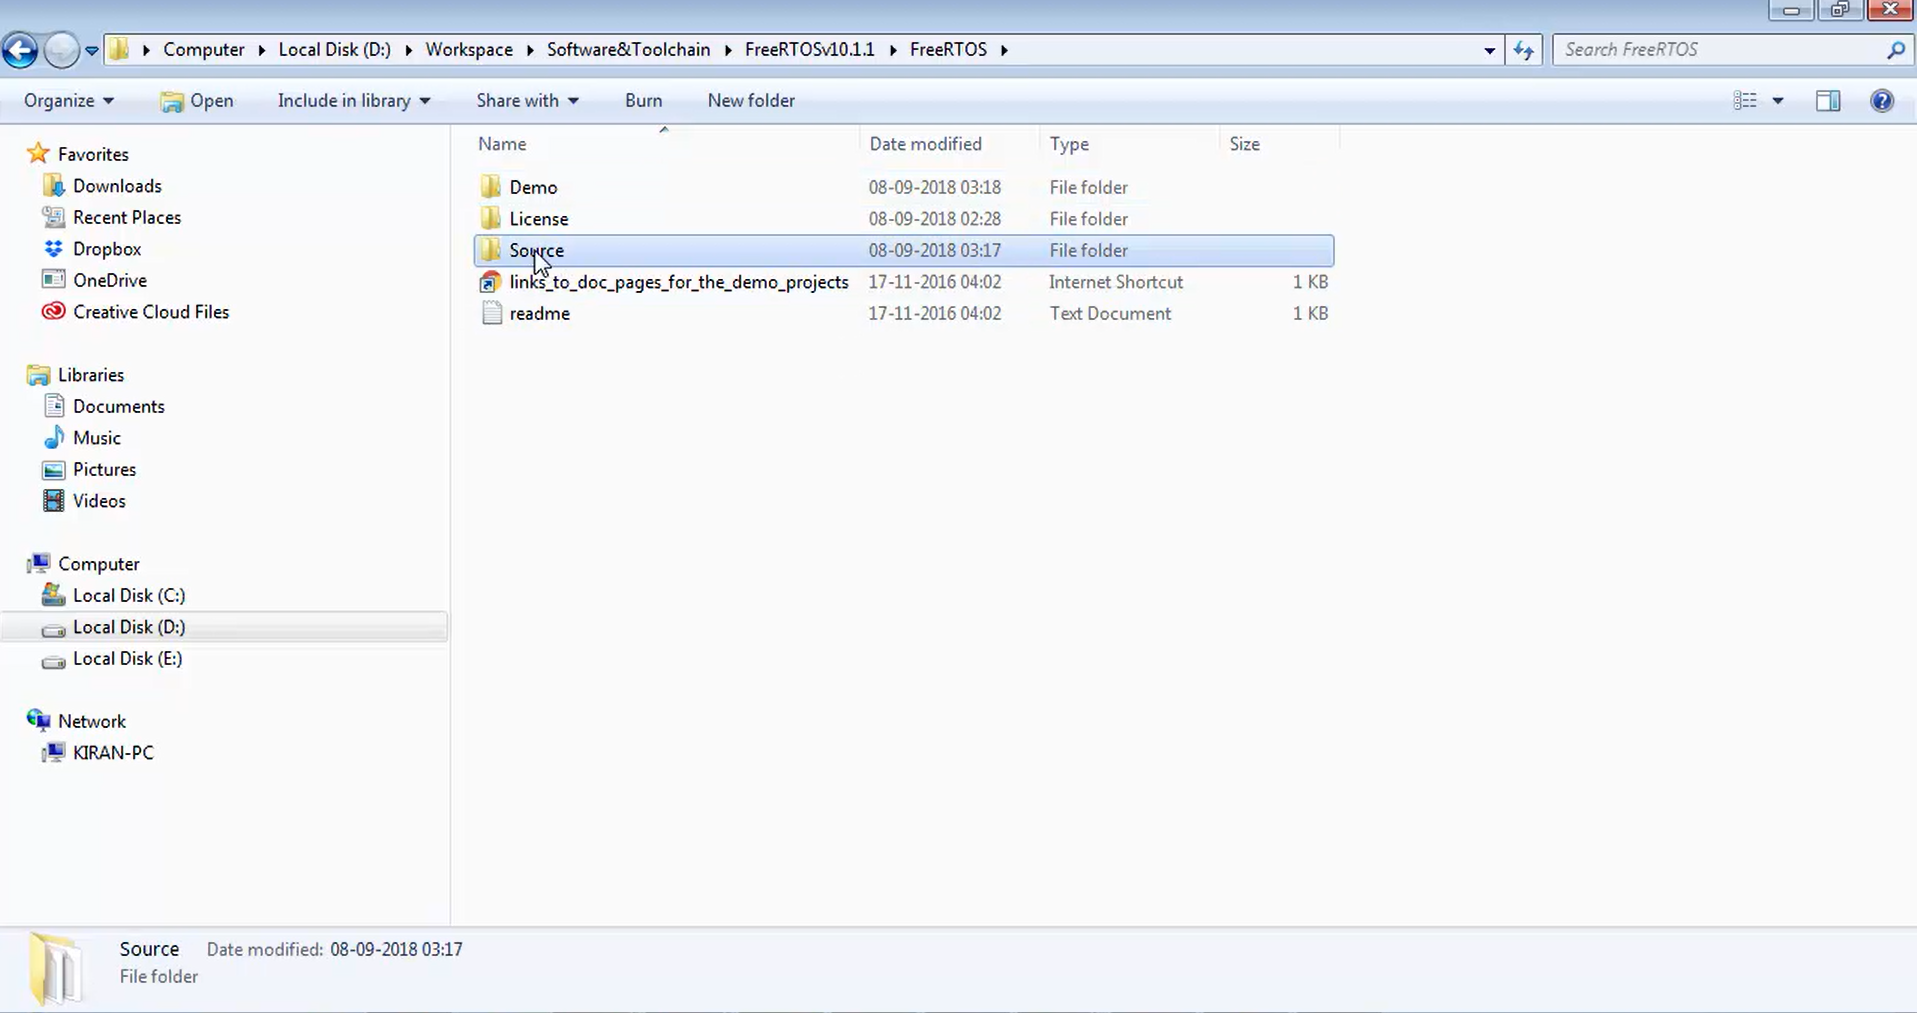
6. Now let’s head over to the FreeRTOS code that you extracted. It is actually in the Software and Toolchain folder (Figure 7). Then open the FreeRTOSv10.1.1 folder (Figure 8). After that, let’s go to the FreeRTOS (Figure 9) and copy the source folder shown in Figure 10.
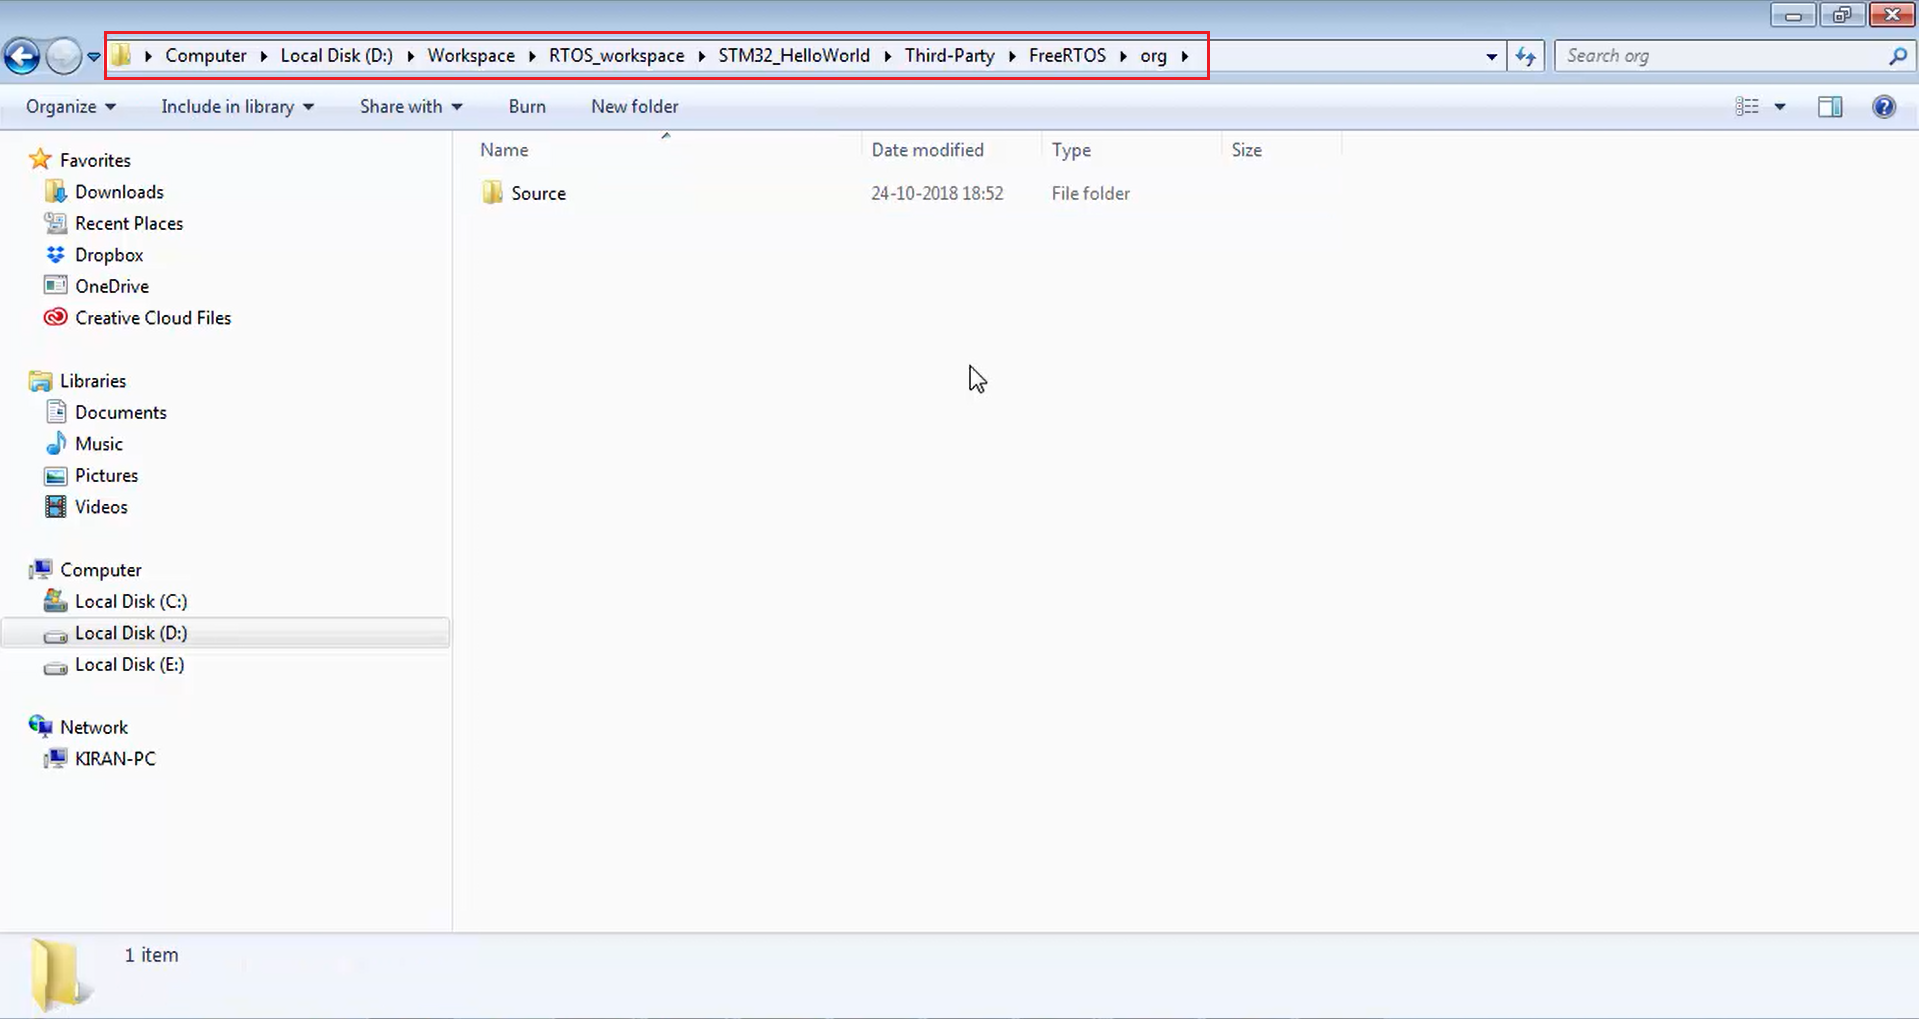
7. Go back to your workspace, and paste the copied source folder inside the org, as shown in Figure 11.
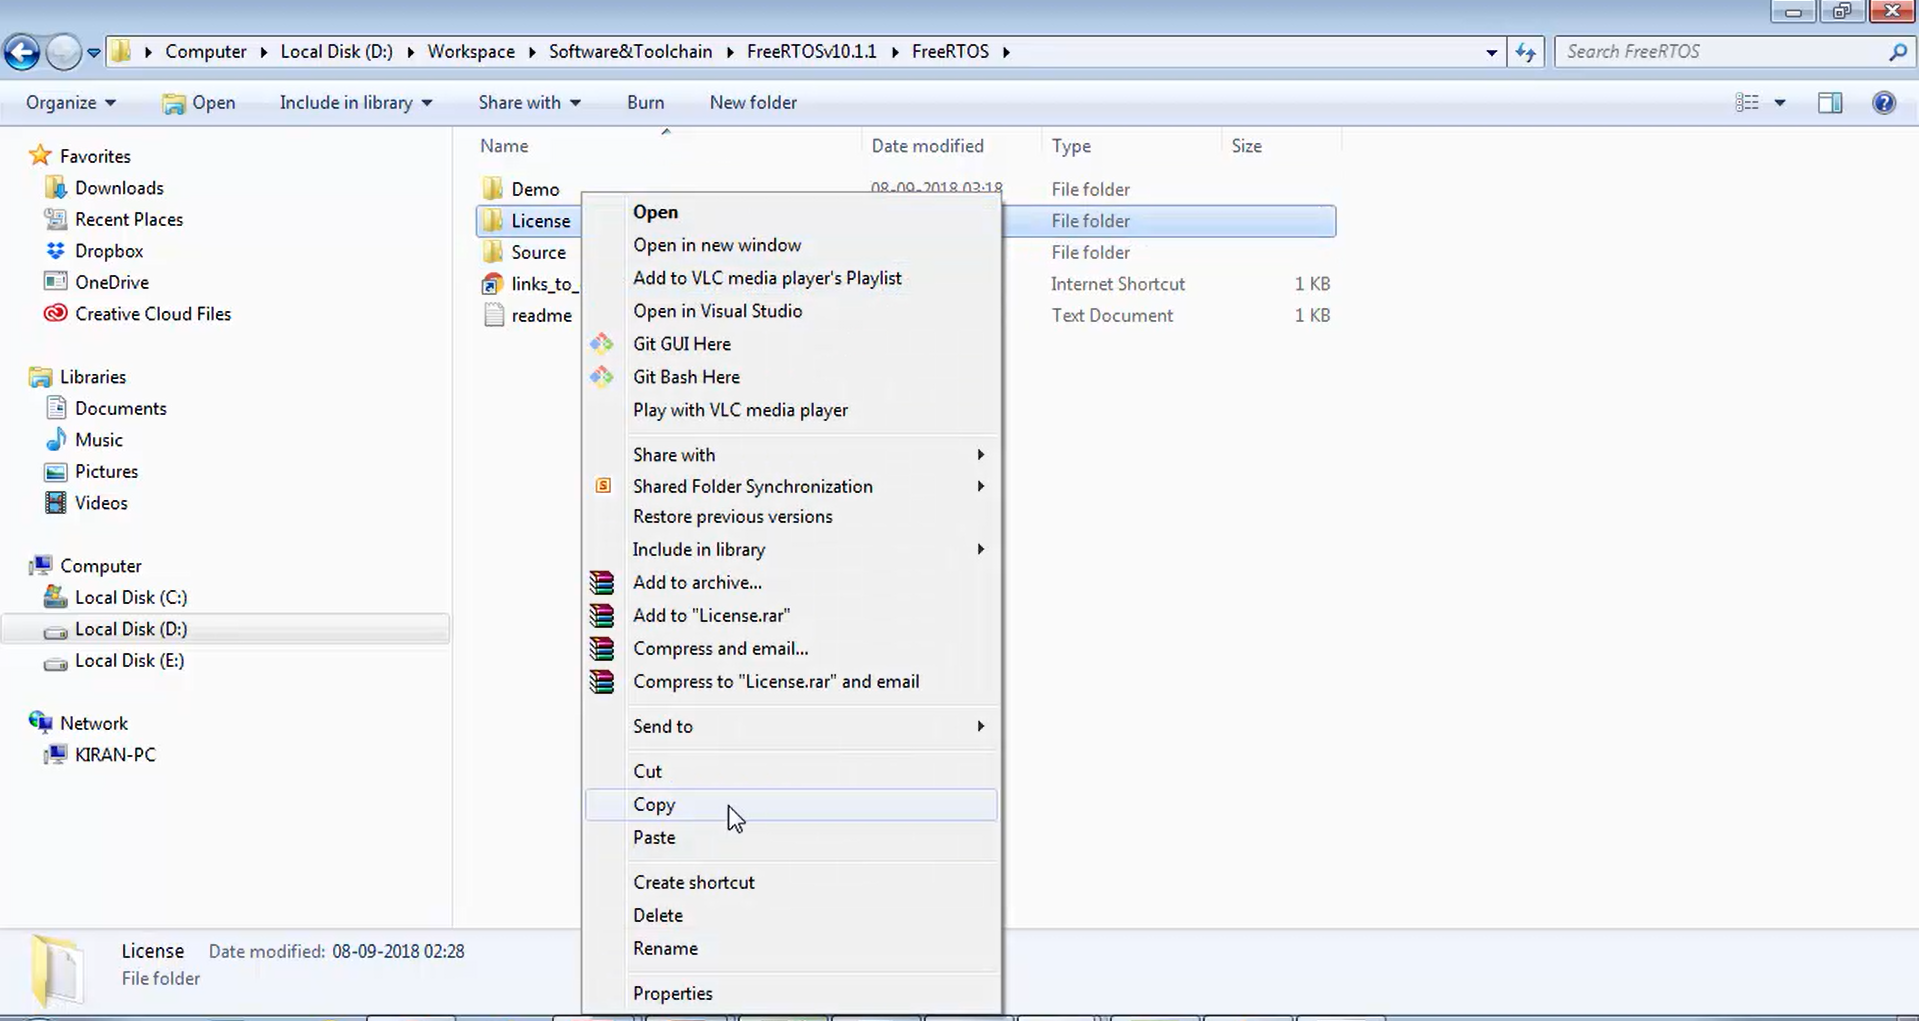
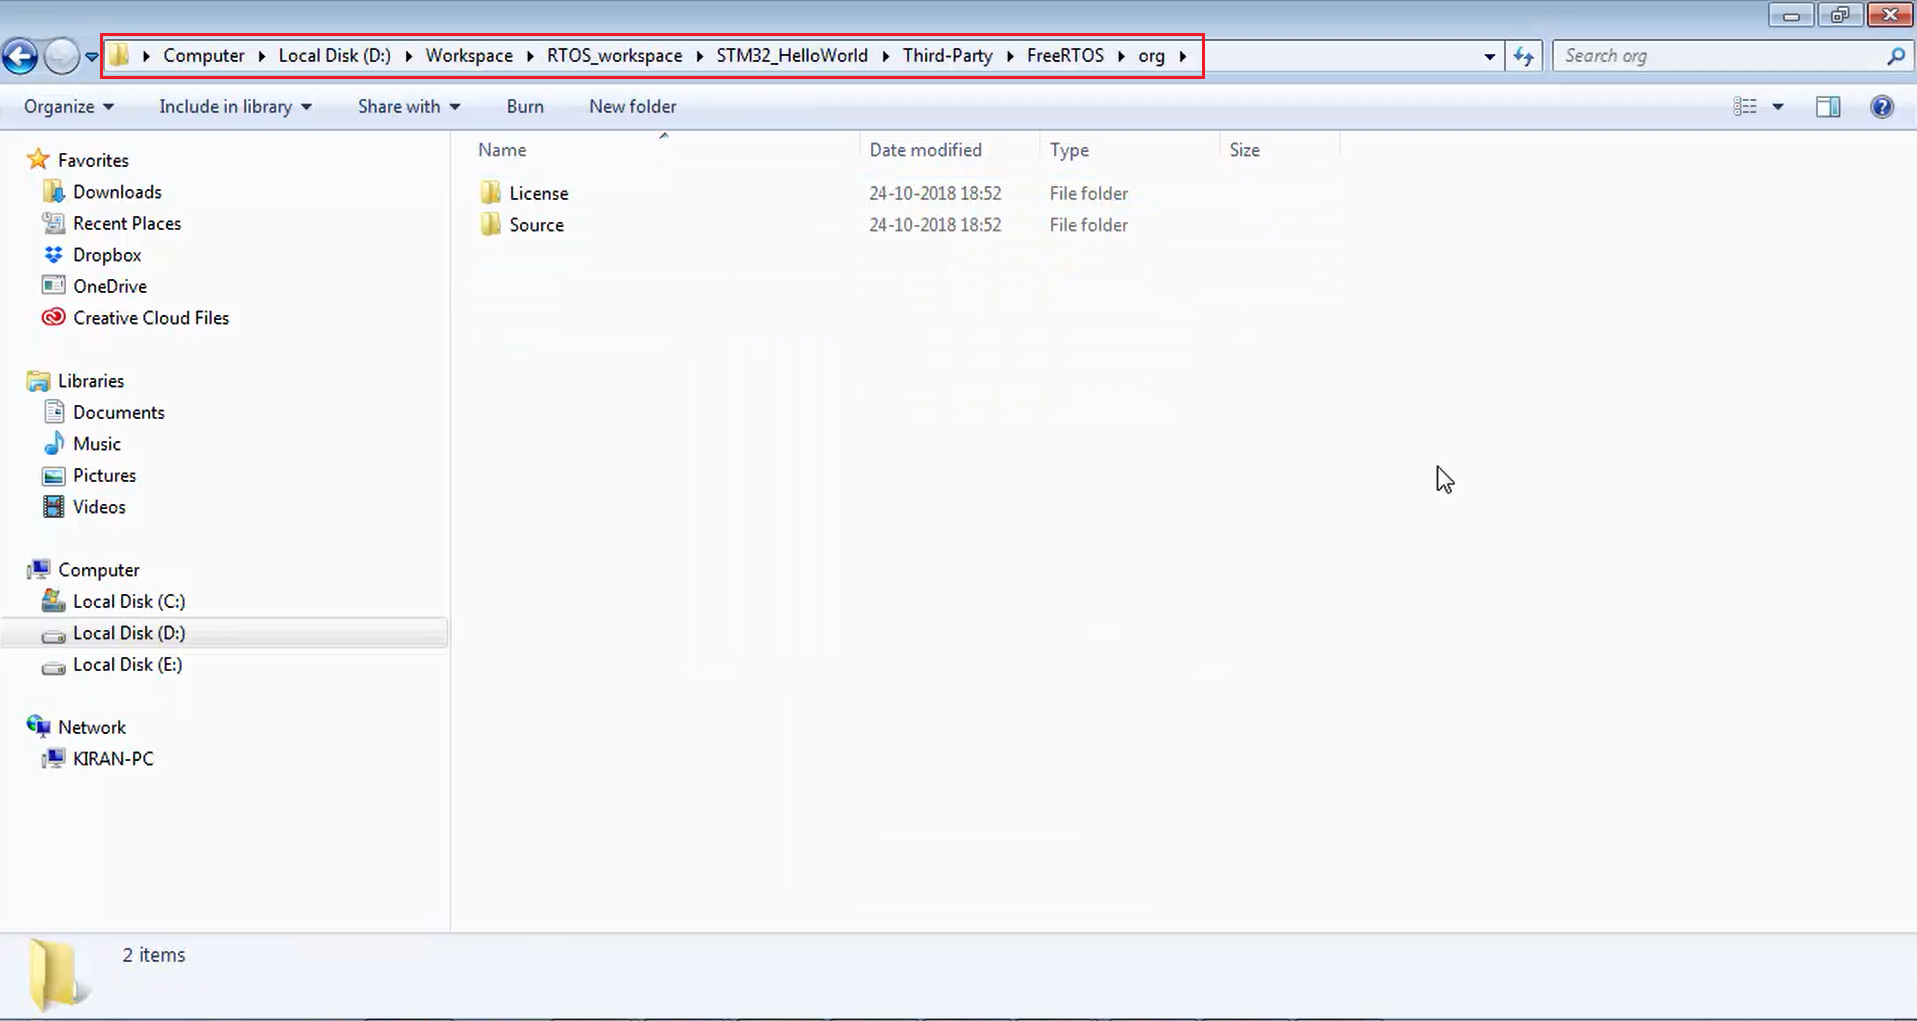
8. Again, head over to your software and Toolchain folder, where you extracted the things and copy the license shown in Figure 12. But don’t use the demo. We don’t need it. Just copy the license and paste it into the org (Figure 13). The license is nothing but a FreeRTOS license that you have to keep in your project.
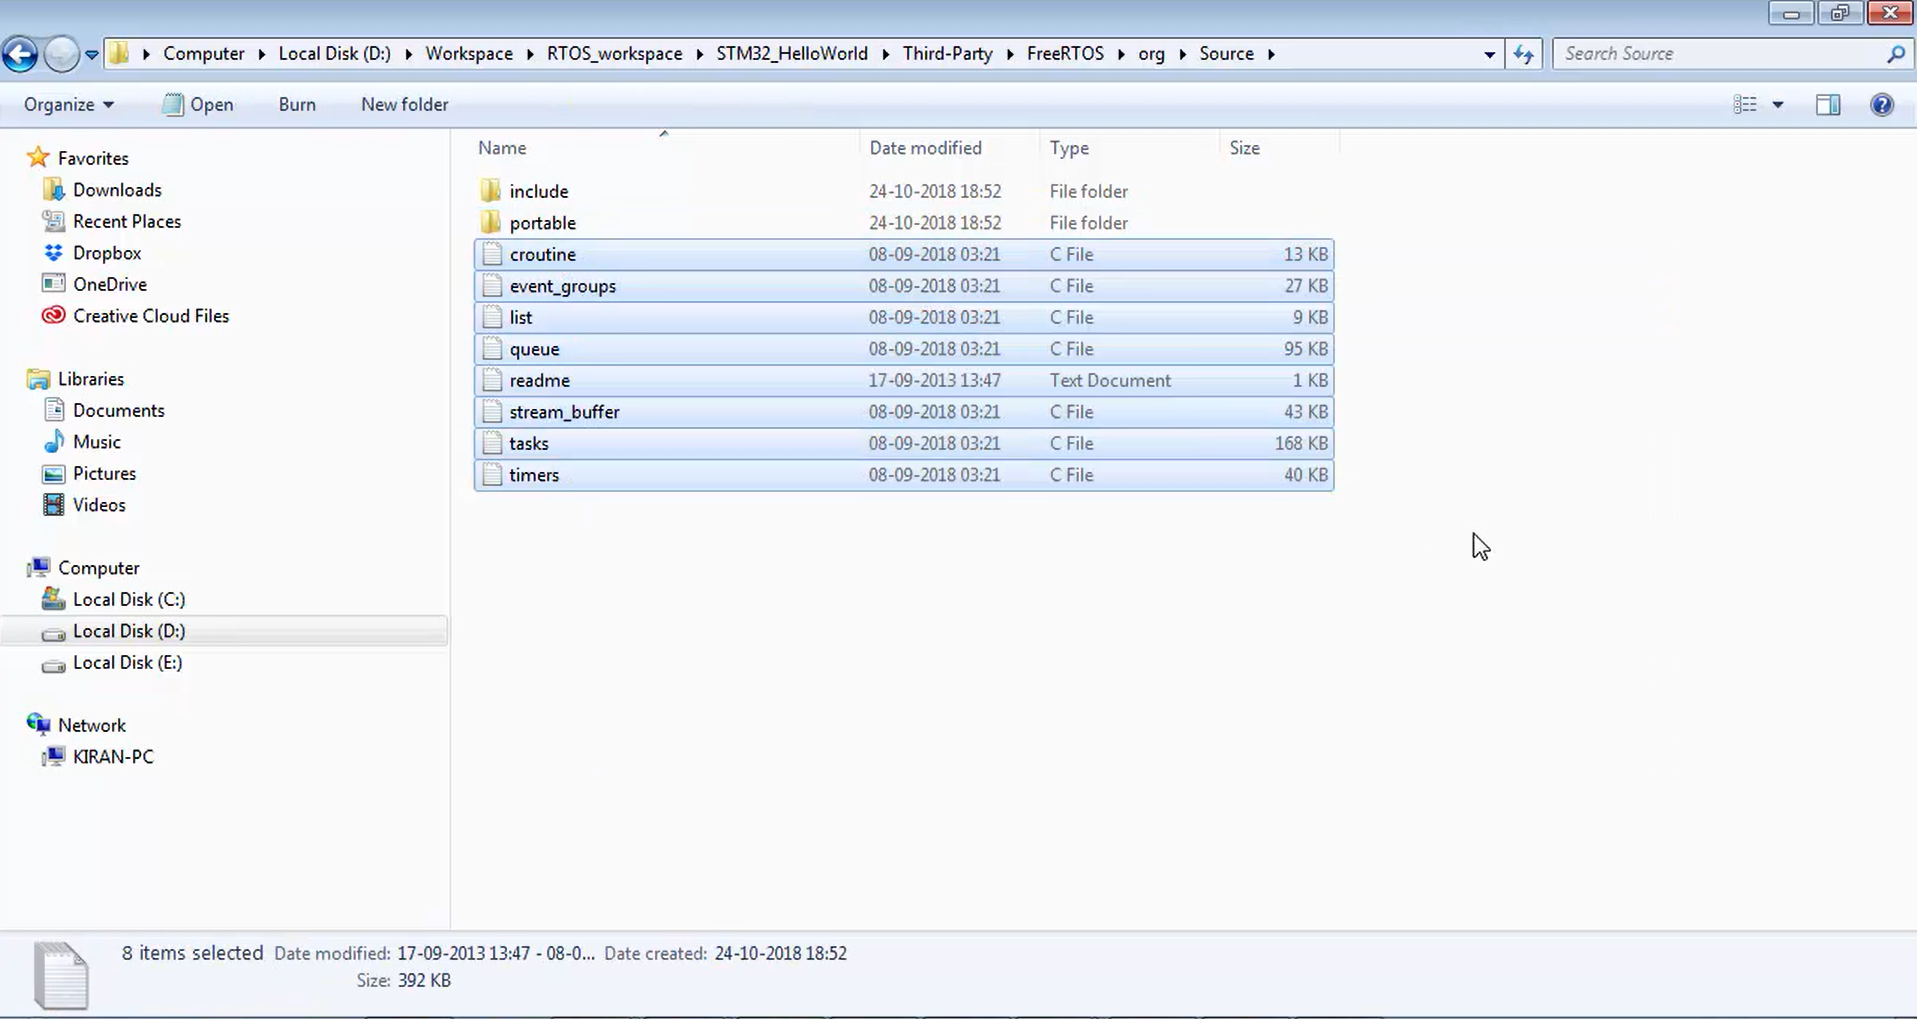
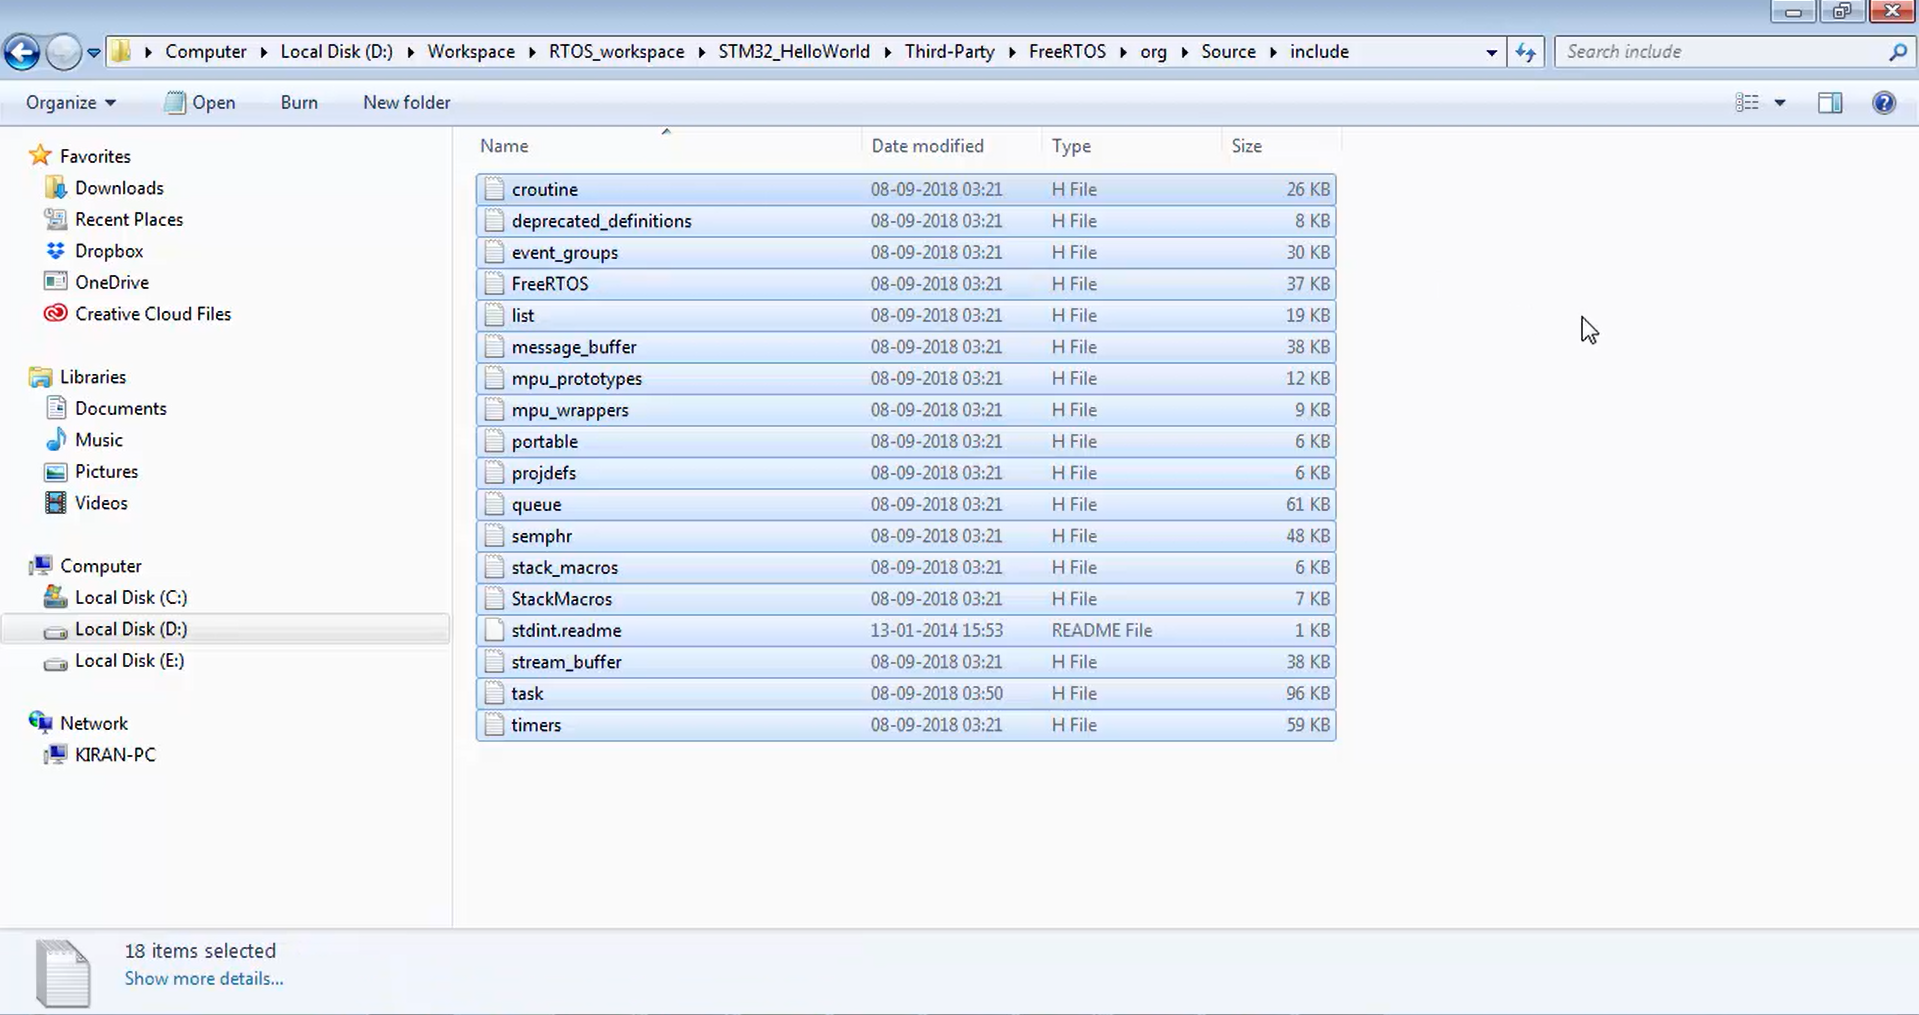
9. After that, let’s go under source. It contains all the .c files (Figure 14), which are required. So, don’t delete anything. In the include, it has respective header files (Figure 15). Here also, don’t delete anything. Just keep it as it is.
10. But in the portable, you can delete a couple of folders, no problem. Let’s see what are the things you can delete safely. First of all, in this project, you are using GCC. So, keep GCC as well as Mem management (MemMang) and the rest of the folders are unnecessary. Select everything, then uncheck GCC, MemMang, and readme and delete the rest of the things shown in Figure 16.
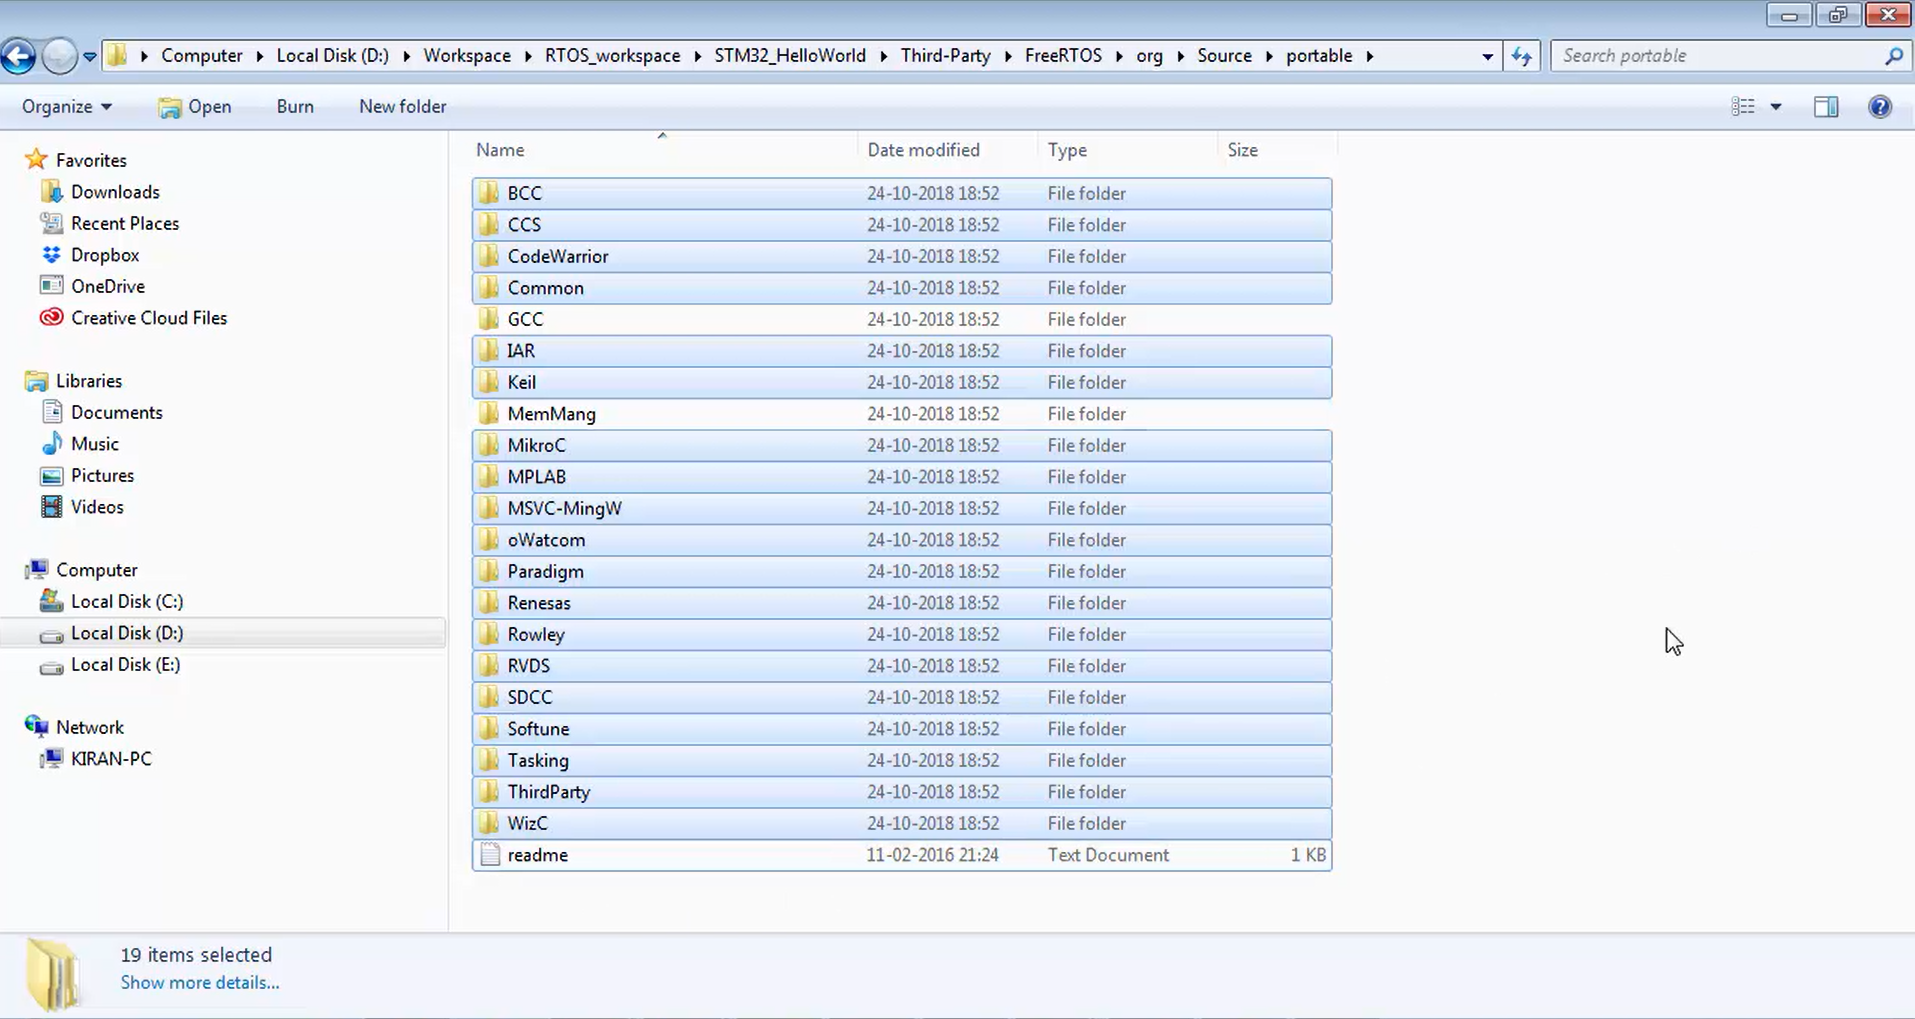
Remember that you have to make all these changes in your project, not in the original FreeRTOS source that you have extracted into the Software and Toolchain folder. Don’t touch anything in the original extracted FreeRTOS code.
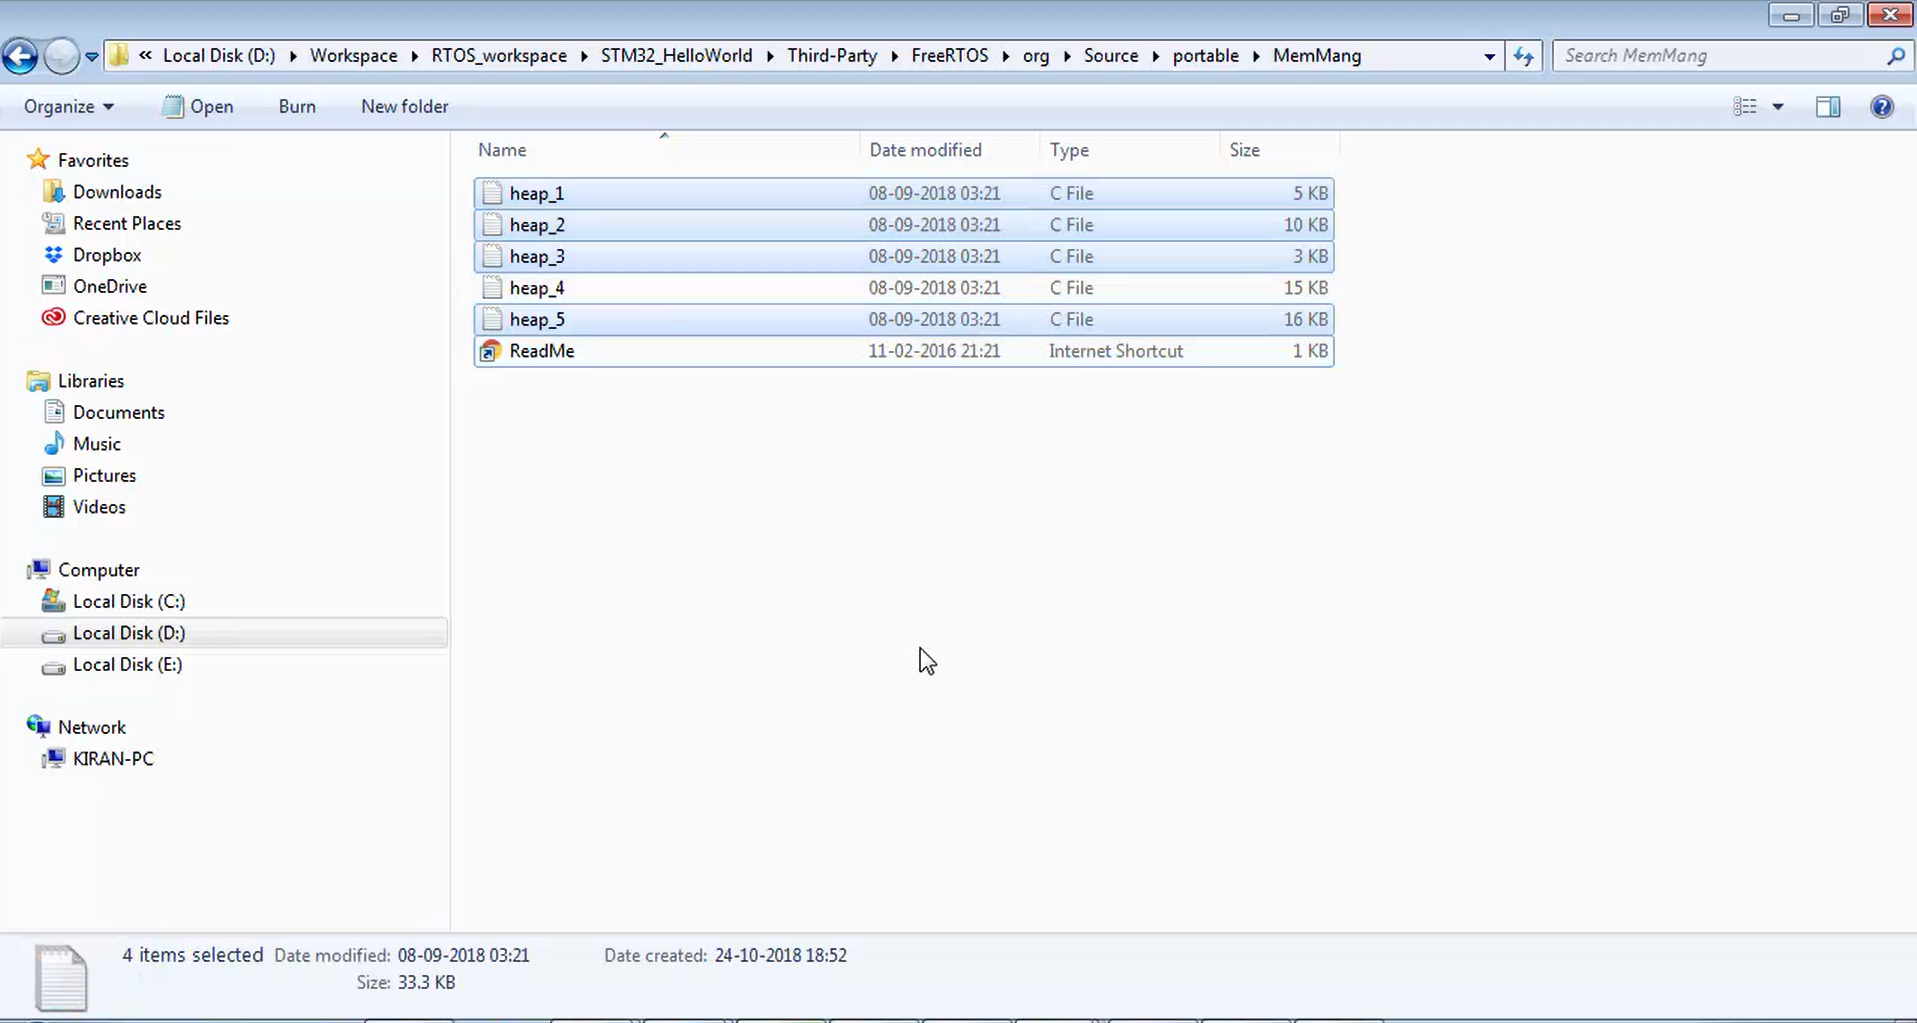
11. In Mem manage, you have a couple of memory management files like heap_1, heap_2, heap_3, up to heap_5 (Figure 17). These are used by the FreeRTOS kernel in order to manage the system RAM, i.e., the RAM of the microcontroller. FreeRTOS uses its own RAM handling files when you use malloc, free, etc. The dynamic memory allocation schemes are implemented by FreeRTOS in these files. There are 5 different files. Need not to use all files. These are application specific.
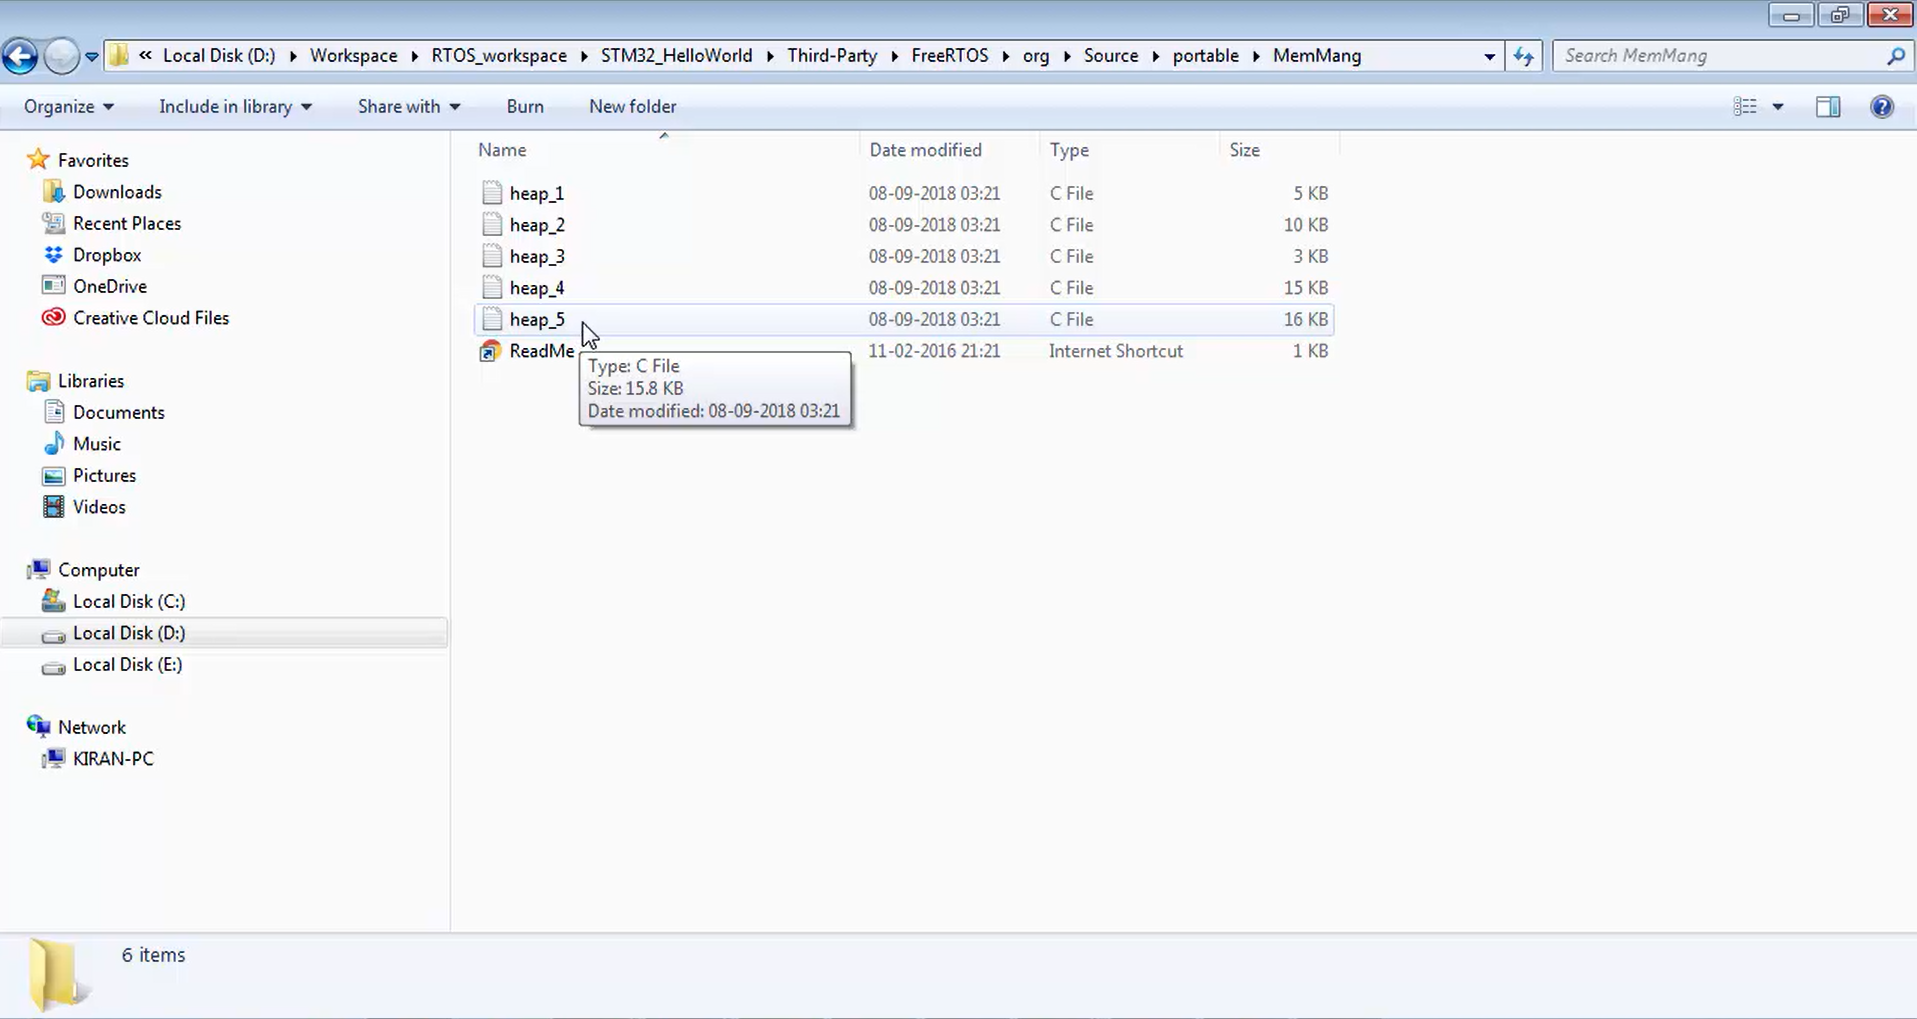
Let’s say you kept heap_4 for all your exercises. So, now you can delete all other files except heap_4. Let’s delete everything except heap_4, as shown in Figure 18.
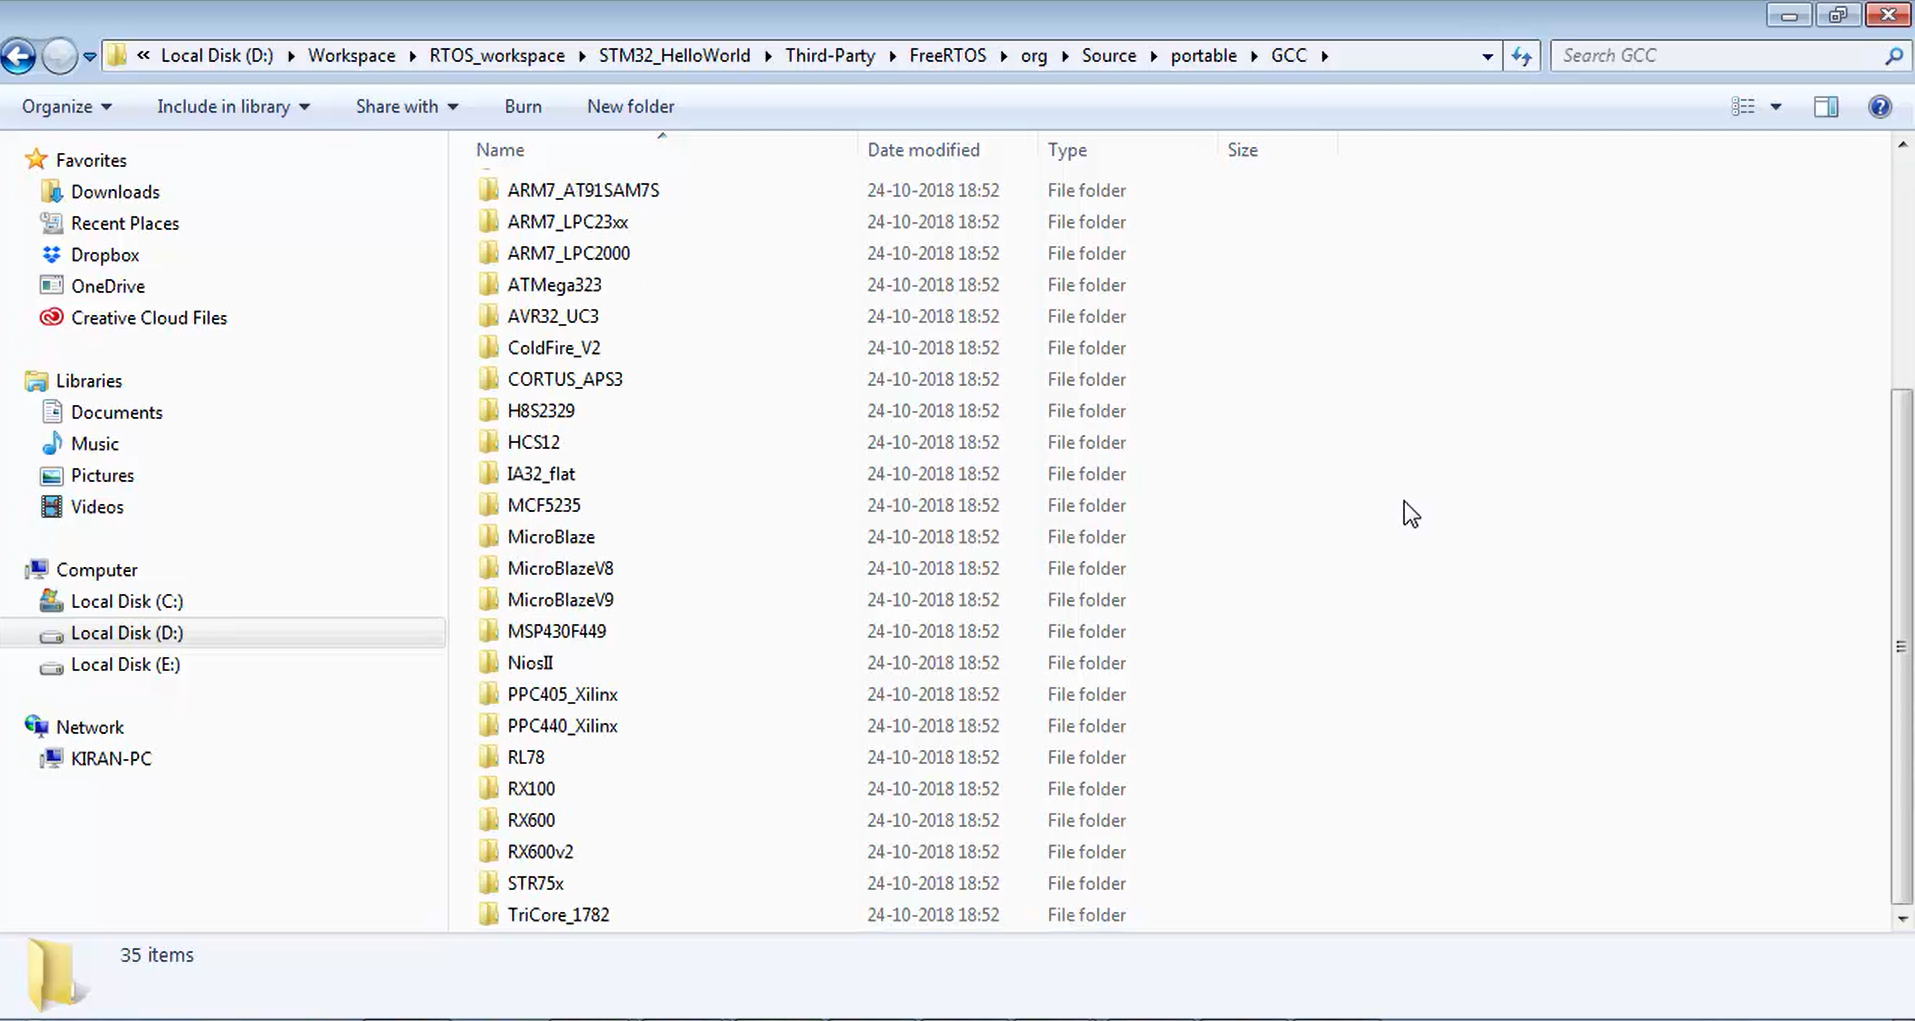
12. Now let’s go under GCC. You will find folders related to various microcontrollers processor architectures in the GCC, as shown in Figure 19. You will see folders related to ARM cortex M7, ARM cortex R5, ARM cortex M0, etc. There are different folders for different processor architectures. The commonly available processor architectures are ARM cortex M, ARM 9, AVR, PIC, MSP 430, etc.
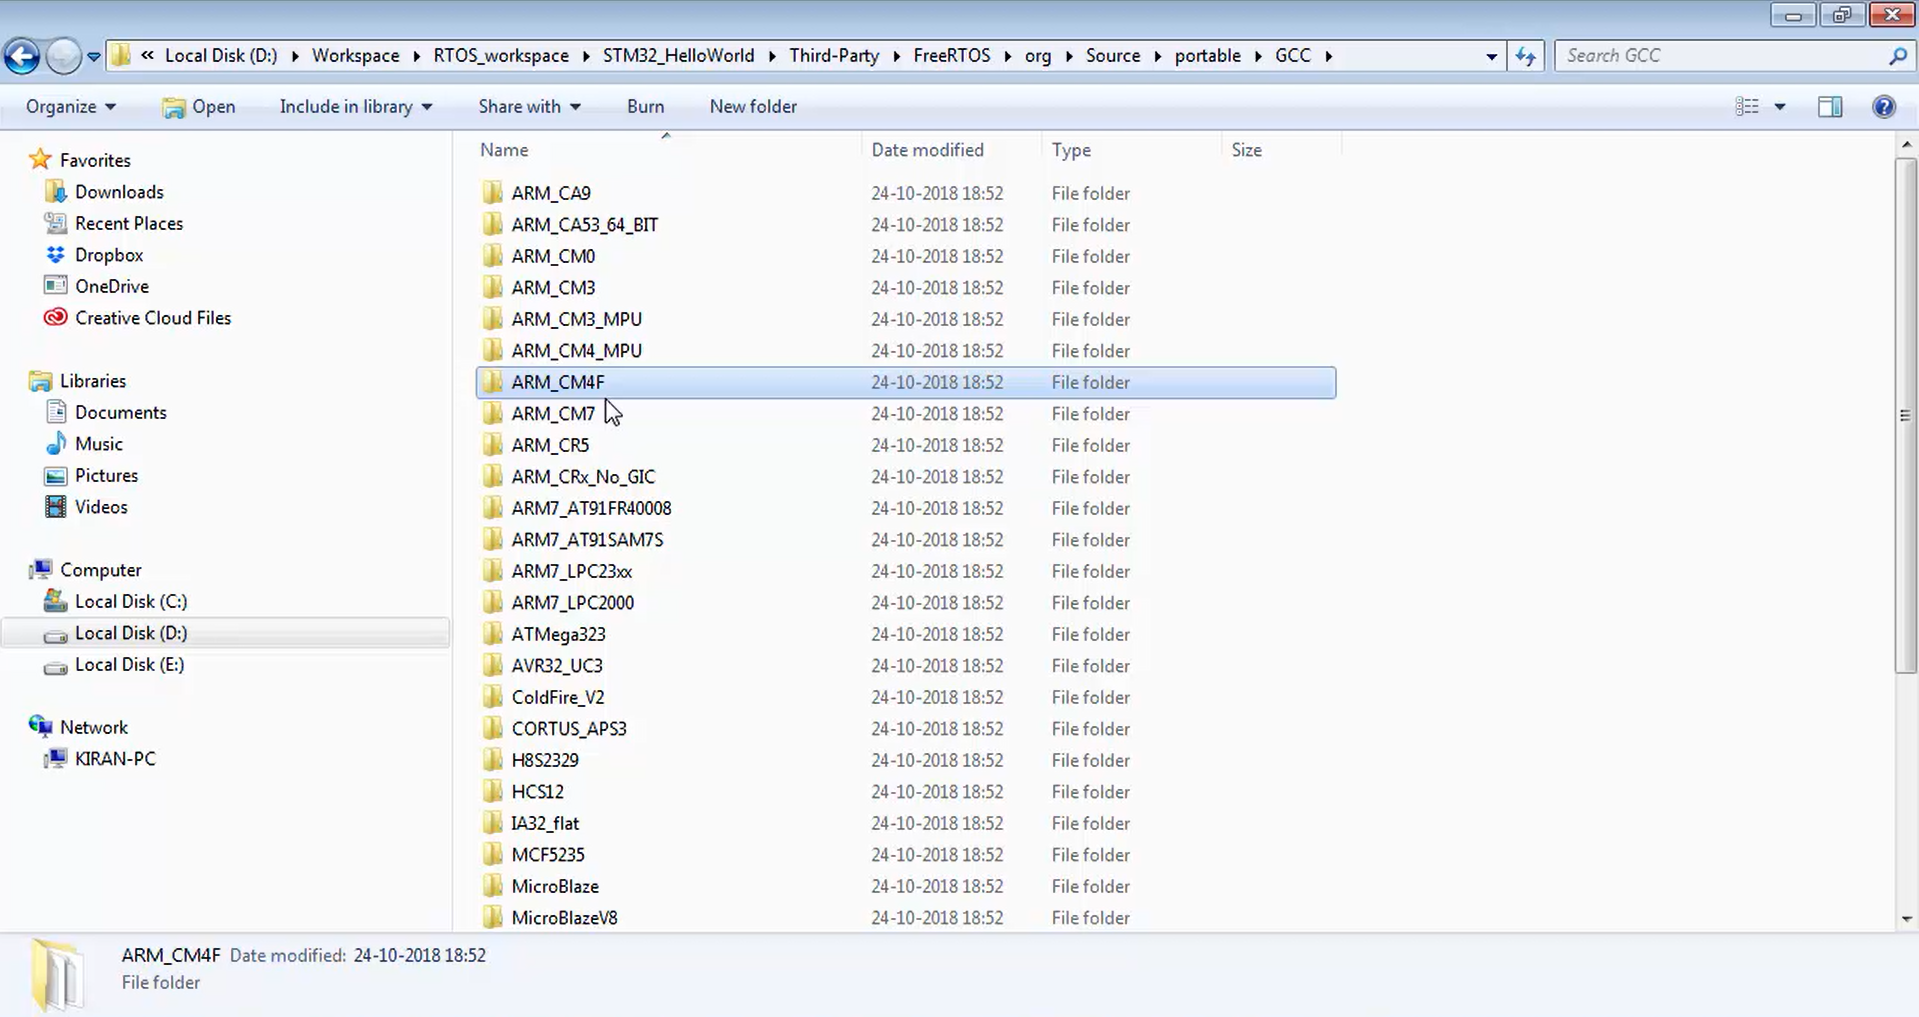
Now let’s check what exactly these folders contain. Let’s take an example. Since you are using a microcontroller, which is based on an ARM Cortex M4, let’s check the ARM cortex M4 F folder shown in Figure 20. Here F stands for floating-point. This is the exact processor which is used on our microcontroller.
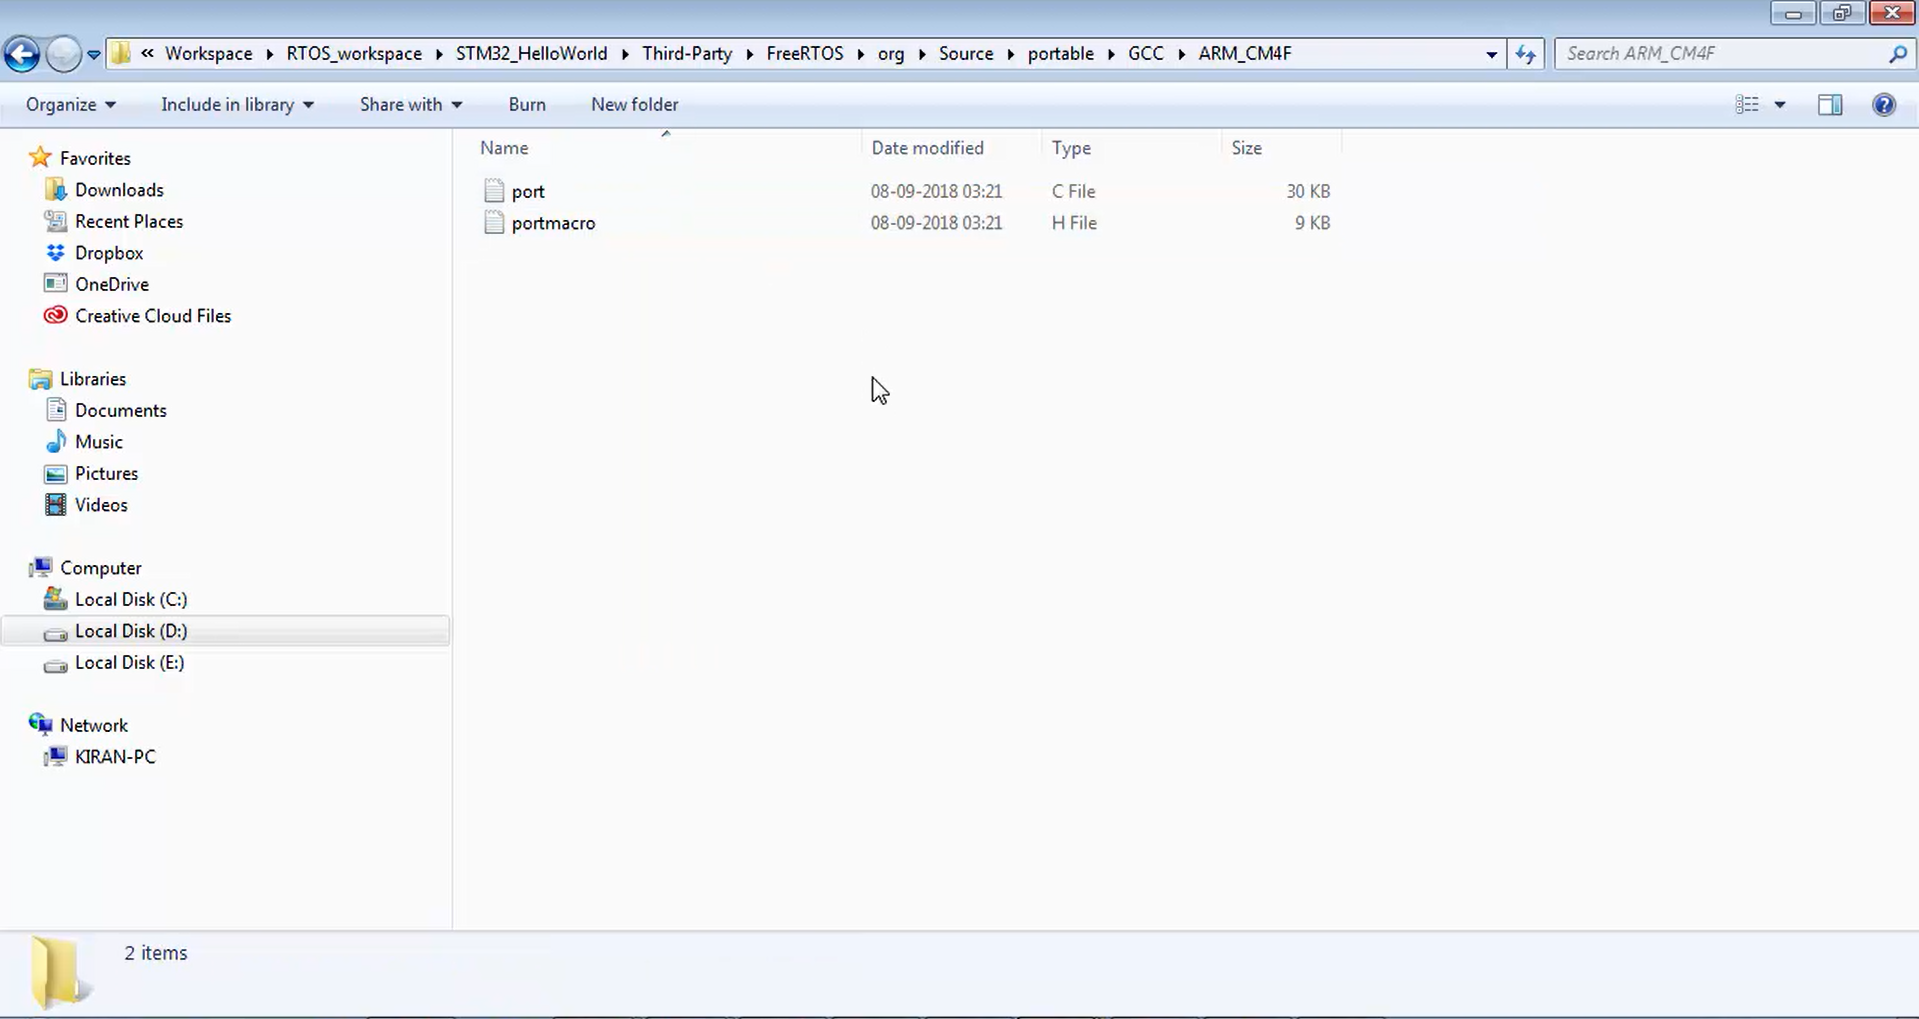
Now let’s go and check what exactly this ARM cortex M4 F contains? It contains an architecture-specific file, and the name of that file is a port, i.e., a port.c (Figure 21).
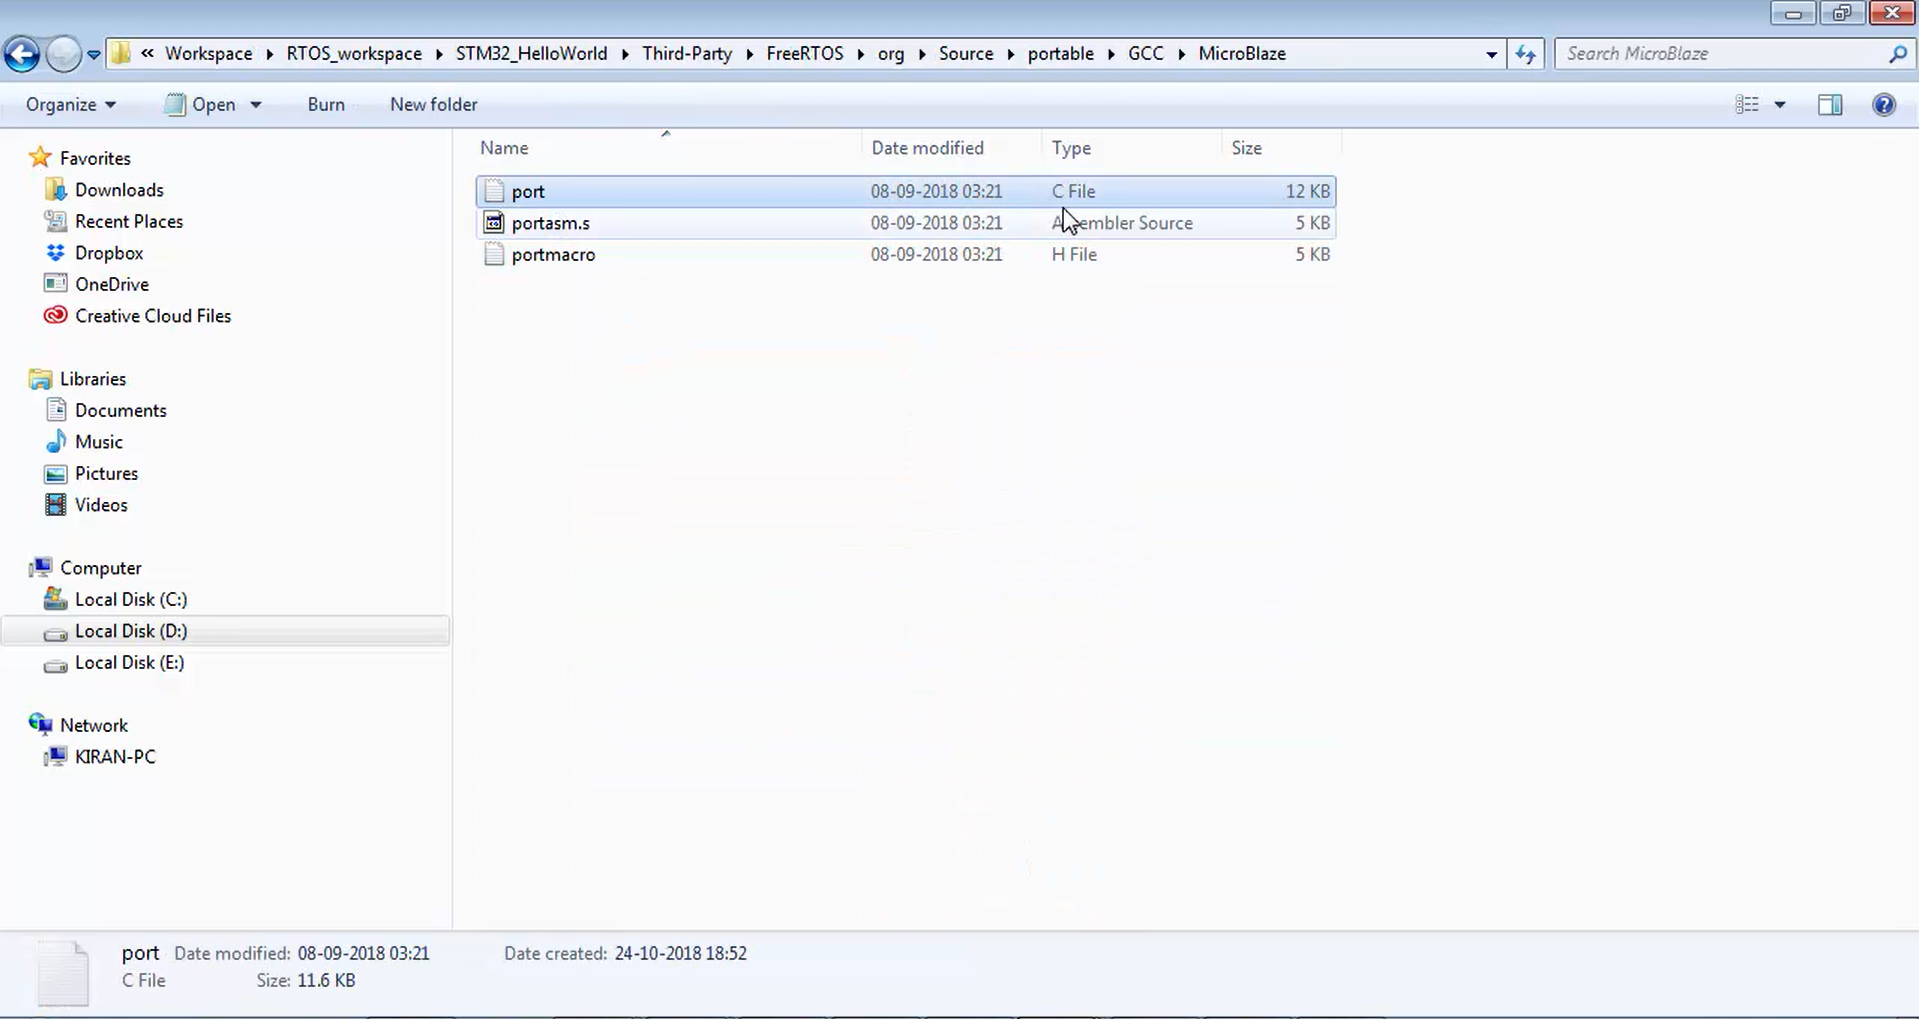
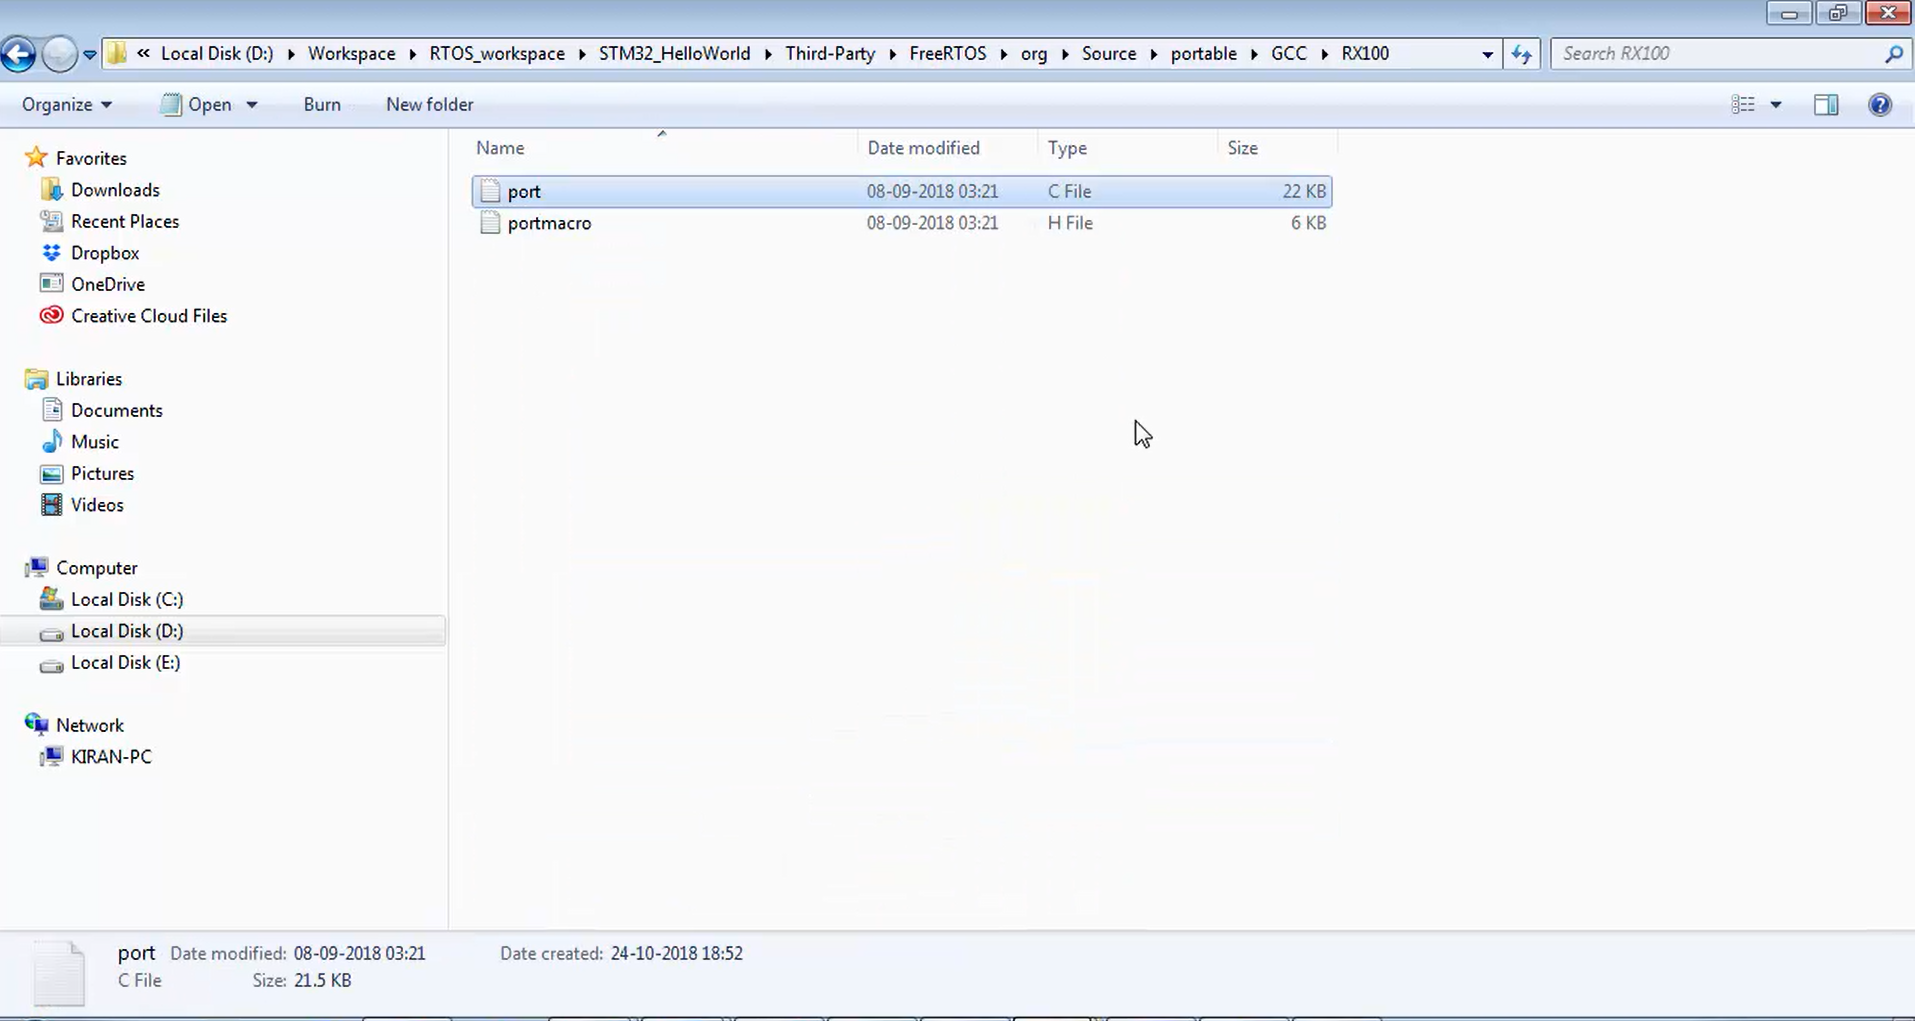
13. You can check any folder if you want. For example, let’s say you go to MicroBlaze. Here also, you will see the port file. If you go to RX100, there also you will find a port.c. That means port.c is the architecture-specific c file that contains processor-specific code, which the FreeRTOS kernel will use for various processor-related services. This architecture-specific code you have to provide to the FreeRTOS; otherwise, FreeRTOS cannot be able to run on your microcontroller. So, you have to tell the nativity about that microcontroller or processor to the FreeRTOS in order to context switch, trigger the Systick timer, change the interrupt configuration, or change the MPU settings, FPU settings, etc.
FreeRTOS doesn’t know what are the things available in your processor. You have to tell that to FreeRTOS. We do that by using port.c. If you want to run a FreeRTOS on different processor architecture, first, get the port.c file, which completes 90% of your work. After that, you have to just link the port.c to the FreeRTOS kernel source code, and the FreeRTOS will start executing on your microcontroller.
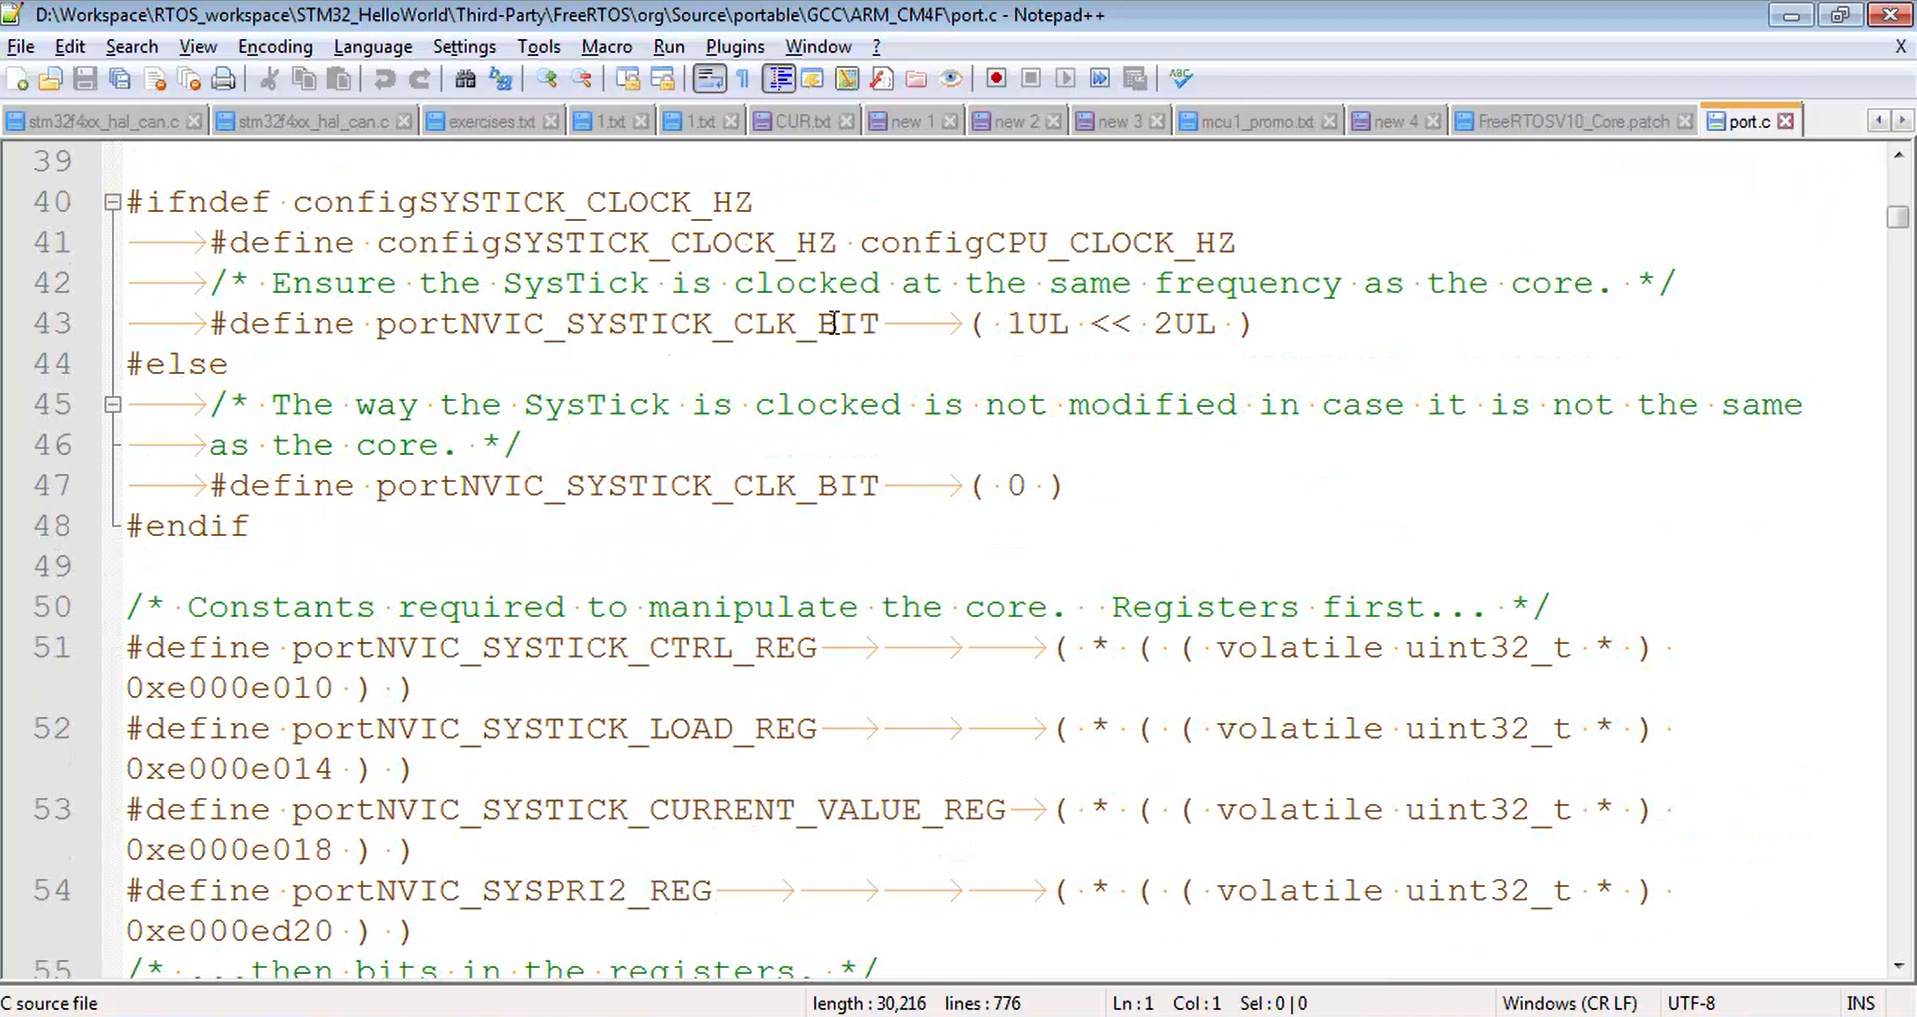
14. If you open the port.c file, you can see that it contains various codes related to the processor configuration (Figure 24). Let’s say configuring the Systick, pendSV instruction execution, here the pendSV is the instruction related to the ARM cortex MX processor, setup timer interrupt, here timer means it is a Systick timer and enabling the VFP. All the enabling, disabling, and configuring things are there in this port file.
15. Since we are using Cortex M4 with floating point, keep that folder only and delete the rest of the folders (Figure 25).
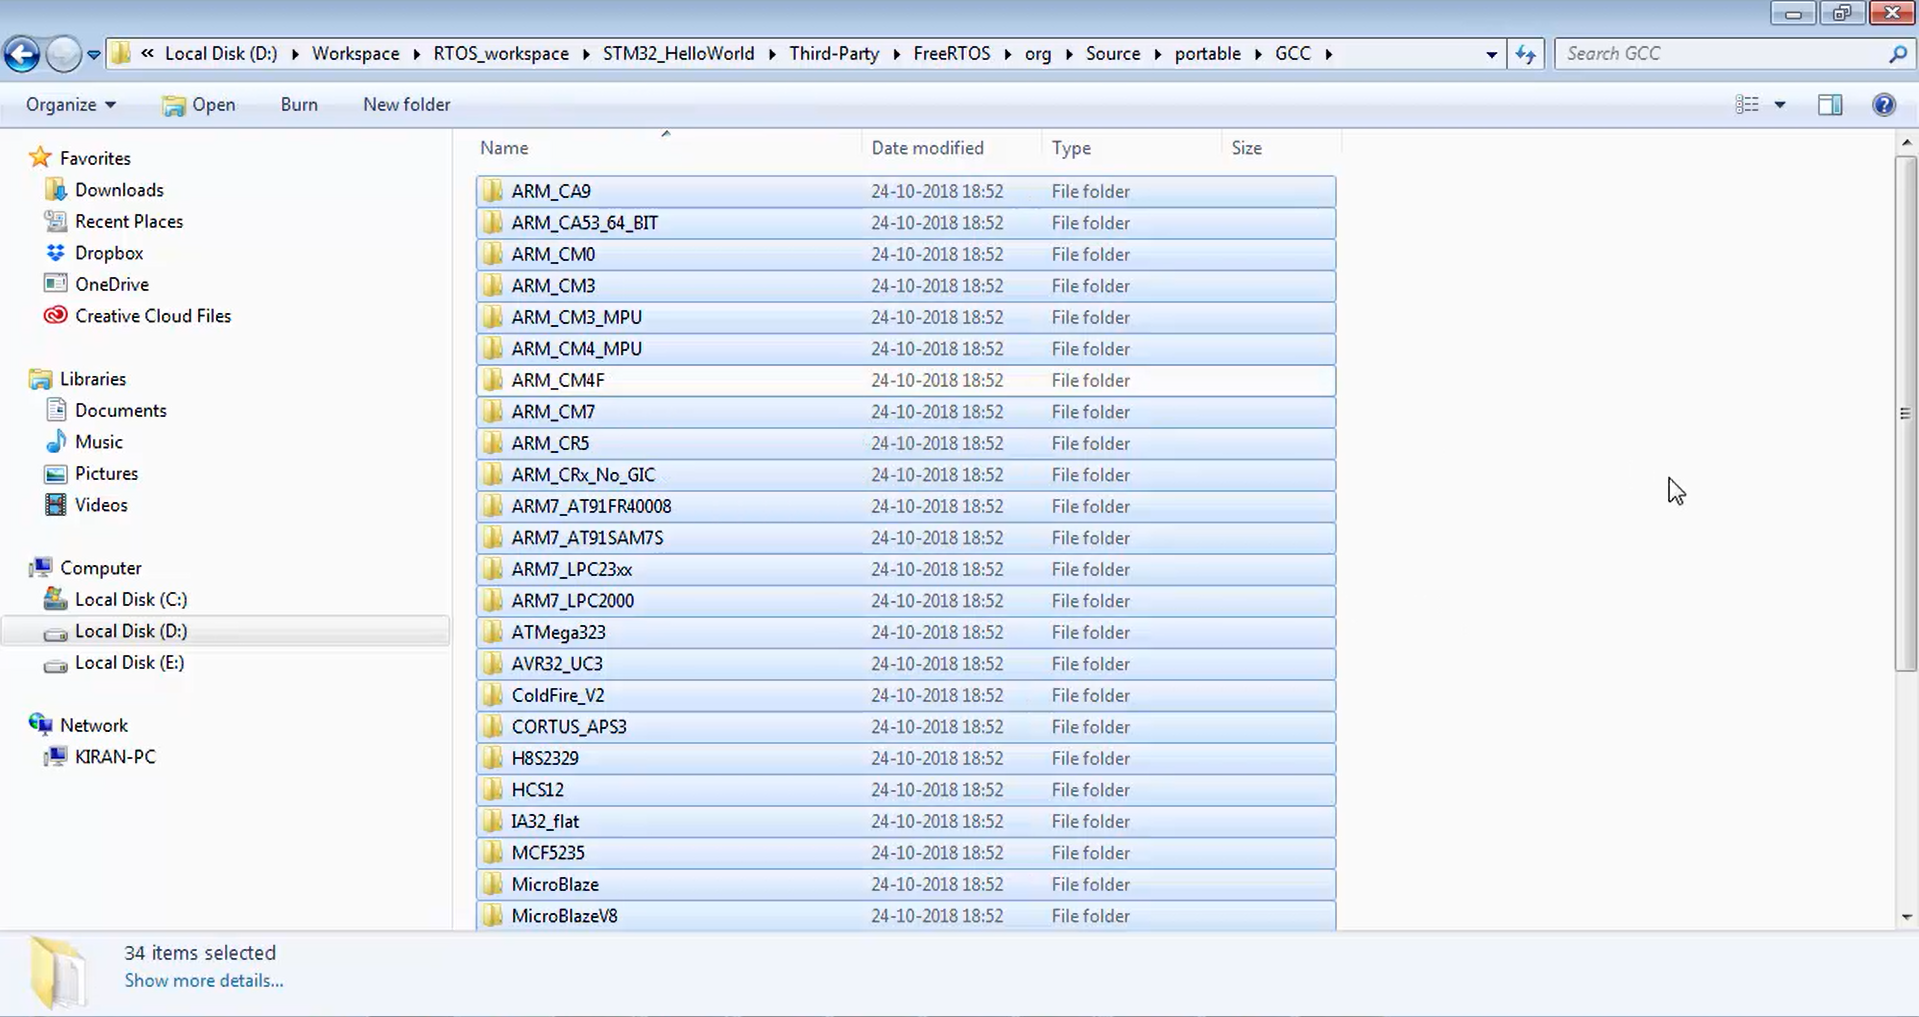
If you are using some other microcontroller, then you have to keep the folder related to that microcontroller, deleting the rest.
FastBit Embedded Brain Academy Courses
Click here: https://fastbitlab.com/course1

