Creating a project for the Target
In this article, let’s create a project for the target using STM32CubeIDE. For the target, we have a separate workspace. In this tutorial, we’ll navigate through the process, beginning with setting up a distinct workspace for your target.
Launch STM32CubeIDE: Start by opening STM32CubeIDE and follow these steps:
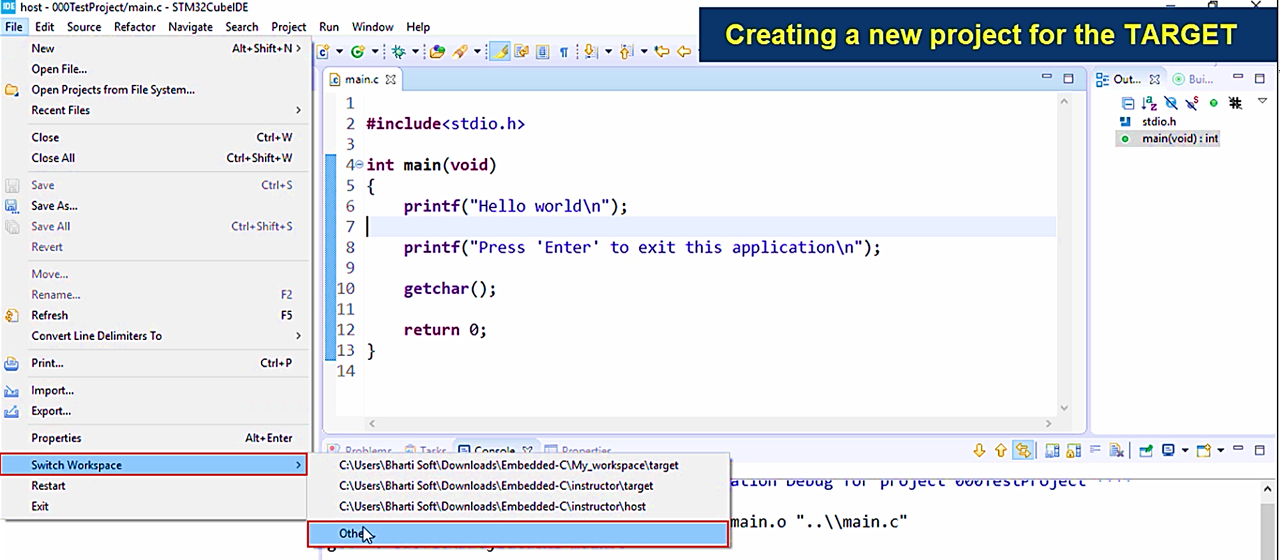
- Click on “File“
- Select “Switch Workspace“
- select the “Other” option (Refer to Figure 1)
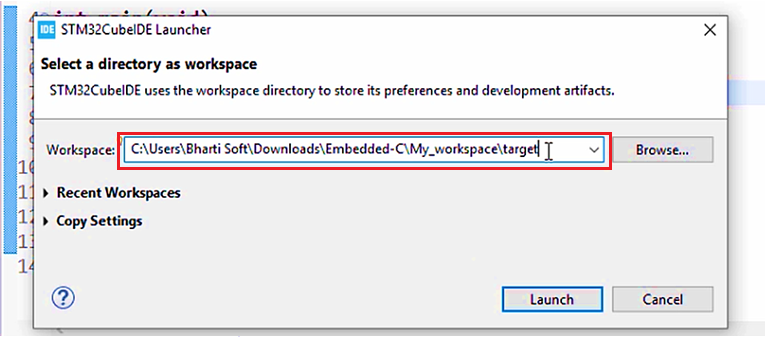
Choose a Workspace: Designate a workspace directory for your target project. Upon selection, click “Launch” (See Figure 2).
Project Creation: Let’s initiate the project creation process:
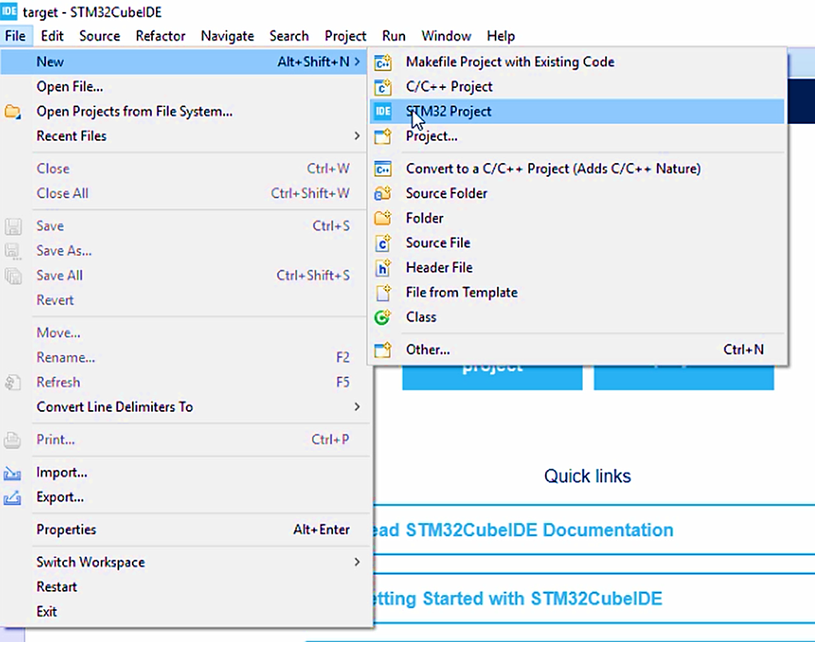
- Navigate to “File”
- Select “New” followed by “STM32 Project” (Shown in Figure 3)
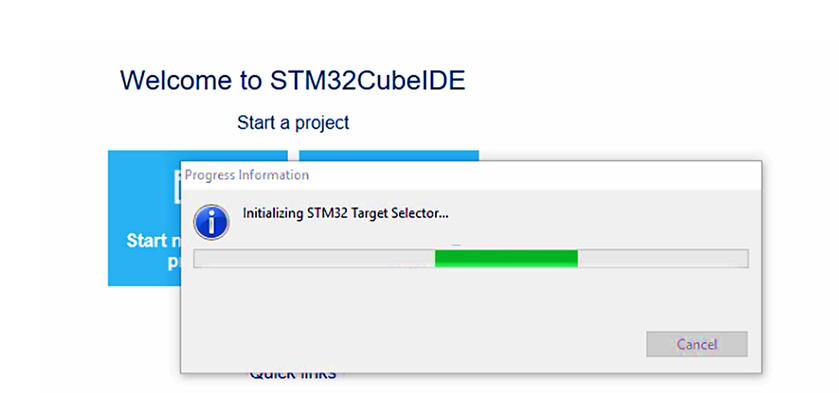
Target Selection: Patience is key as the STM32 target selector launches; initialization may take a moment (As depicted in Figure 4). Allow the process to unfold without interruption.
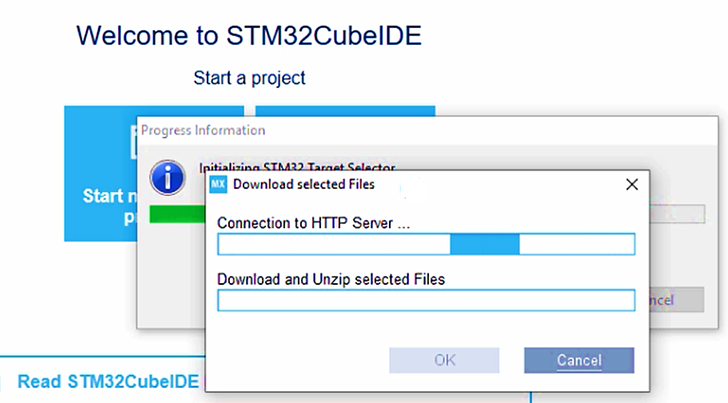
Network Activities: It does some network activities, so let it happen. Please don’t cancel it.
Now, it launches the board selector or what you can call a target selector. Here you have to select your target.
What kind of microcontroller are you using, or what board are you using?
That’s why there are two types of selection.
- MCU Selection
- Board Selection
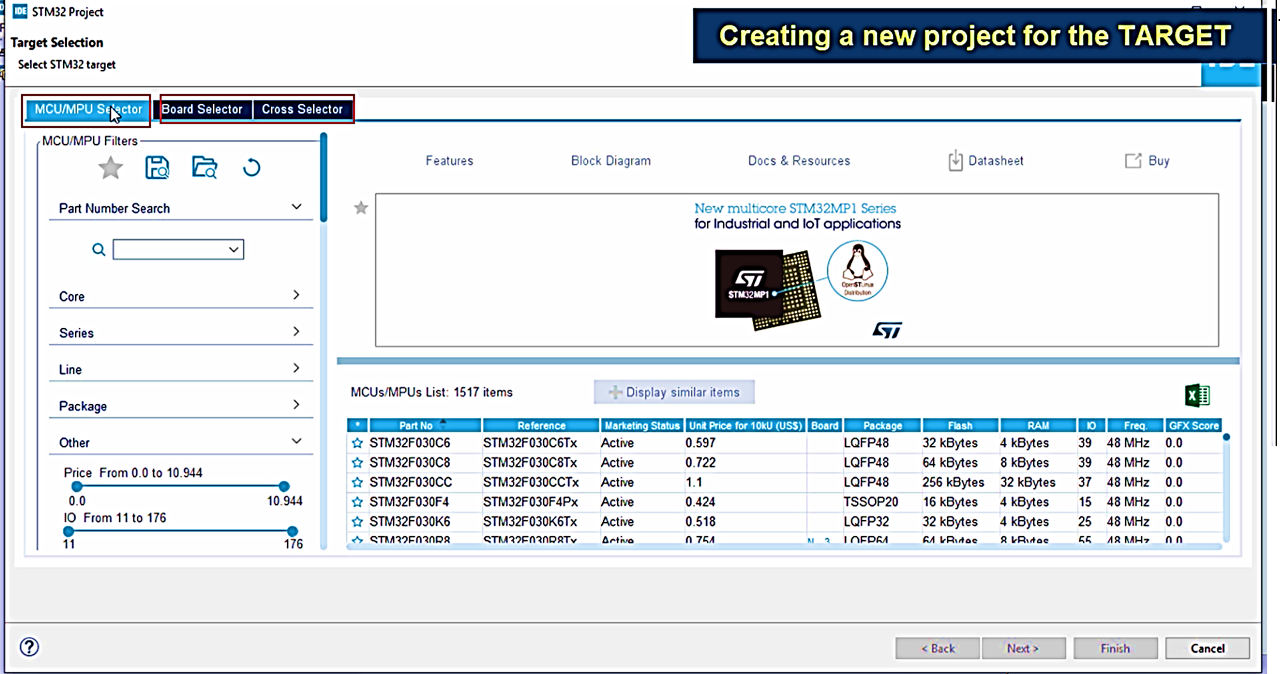
Since we are using a standard board produced by ST microelectronics, that is the STM32F407 discovery board. We can use the board selector here. So, if you have any custom board which is not recognized by ST, then you can use the MCU selector.
Suppose you have any custom board based on the STM32 microcontroller, then you can go for an MCU selector.
In the Board selector, type your board name. In our case, the board is STM32F4 Discovery. Suppose, if you have a Nucleo board, then you can type Nucleo. So, it will list all the Nucleo board supported and select according to that.
Now let me select STM32F4 Discovery. Look at Figure 7. It shows the picture and all the details about the STM32F4 Discovery board. You can browse all the details here.
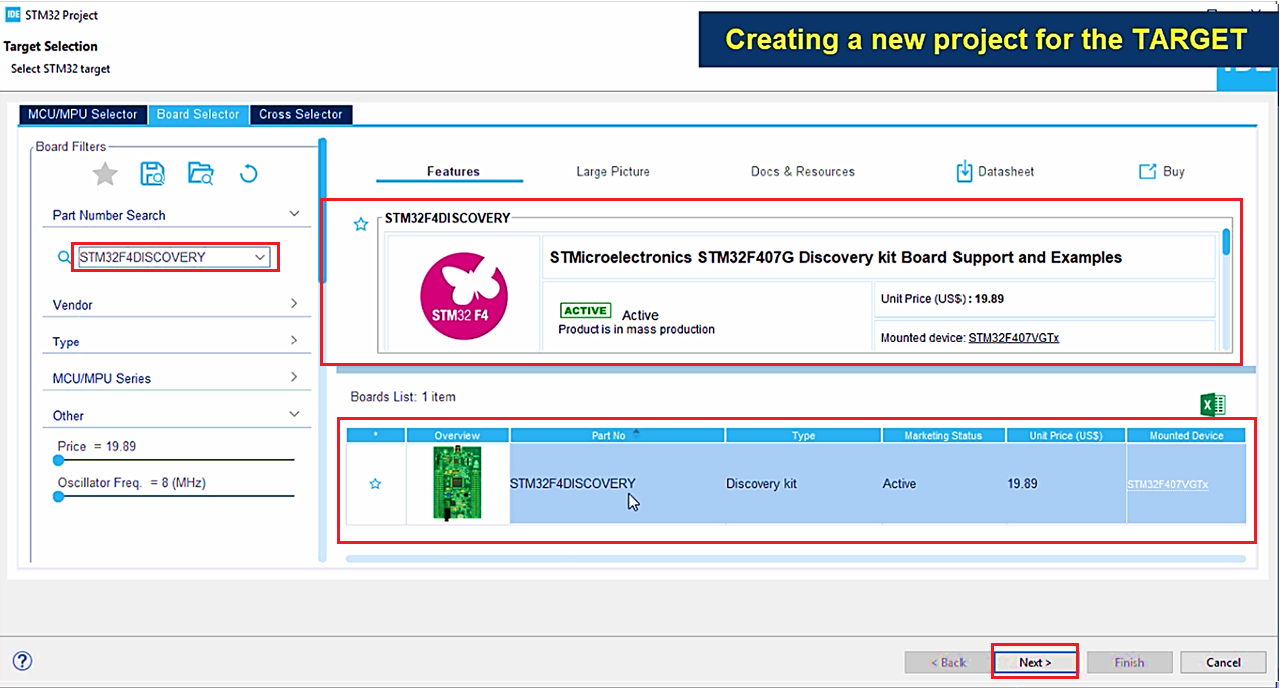
And if you want to get the datasheet, you can click over the datasheet icon. It will open the datasheet.
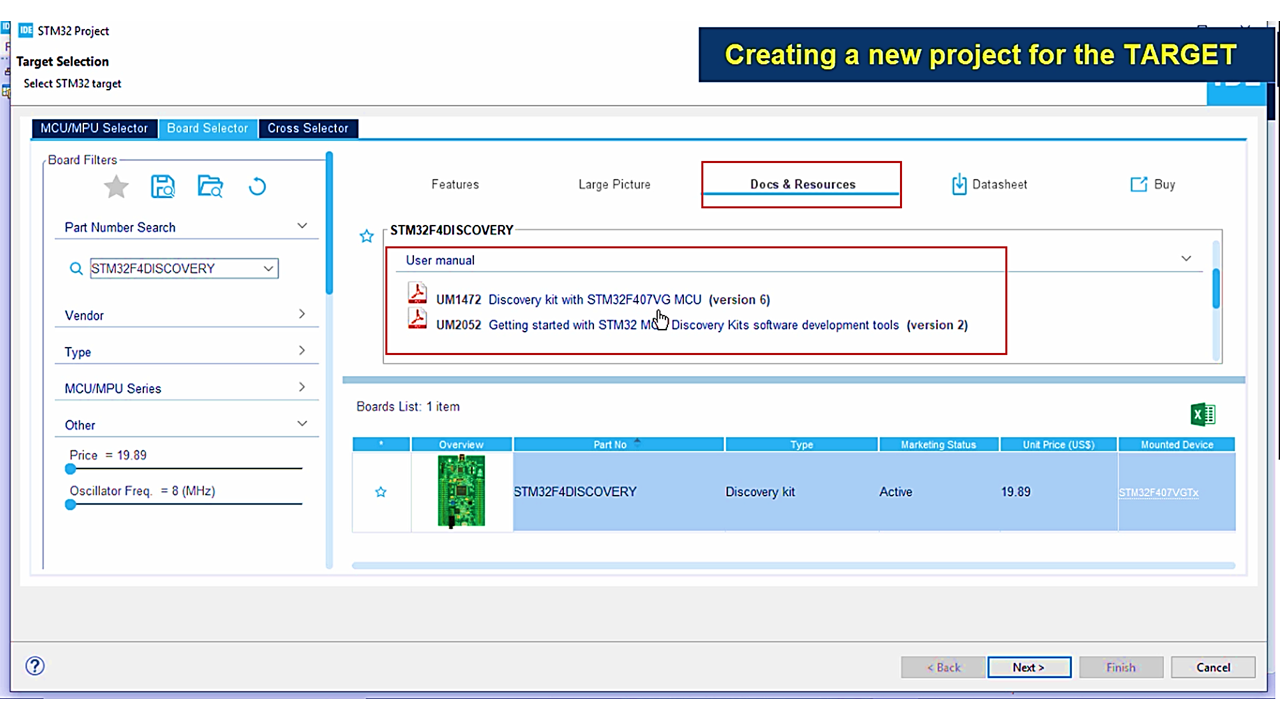
If you want to access all the documentation related to this board, click on Docs and resources, as shown in figure 8. Here, you can get the datasheet and the user manual. All the documentation you can get here. After that, you have to click Next.
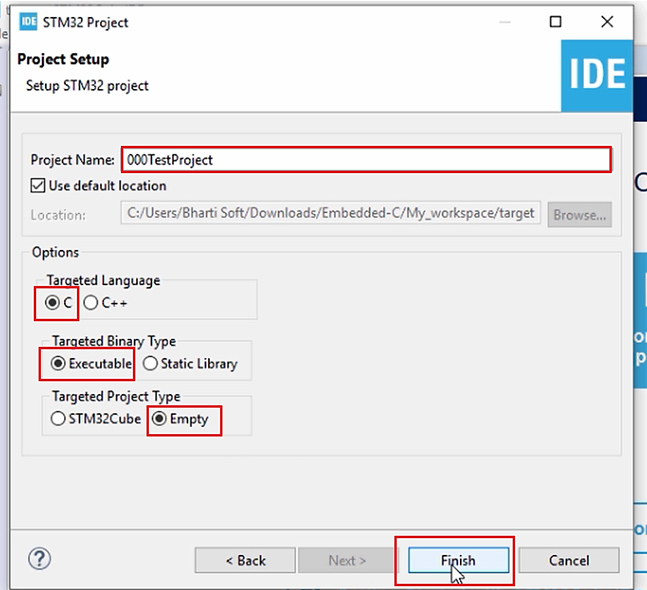
Now you have to give the project name. The project name is 000TestProject. Here, the targeted language is select C, the targeted binary type select executable, and the targeted project type select empty. The targeted project type is very important, not STM32Cube, so do not select this unless you know how to work on STM32CubeMX software.
After that, click on Finish, as shown in Figure 9.
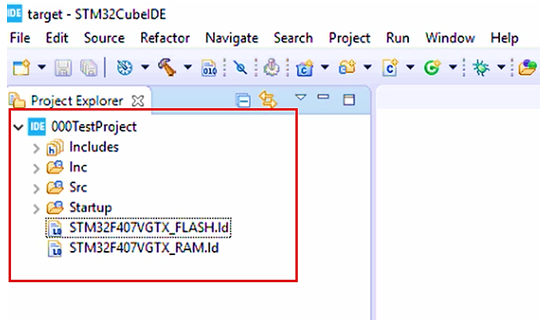
Now created the project for the target, as shown in Figure 10.
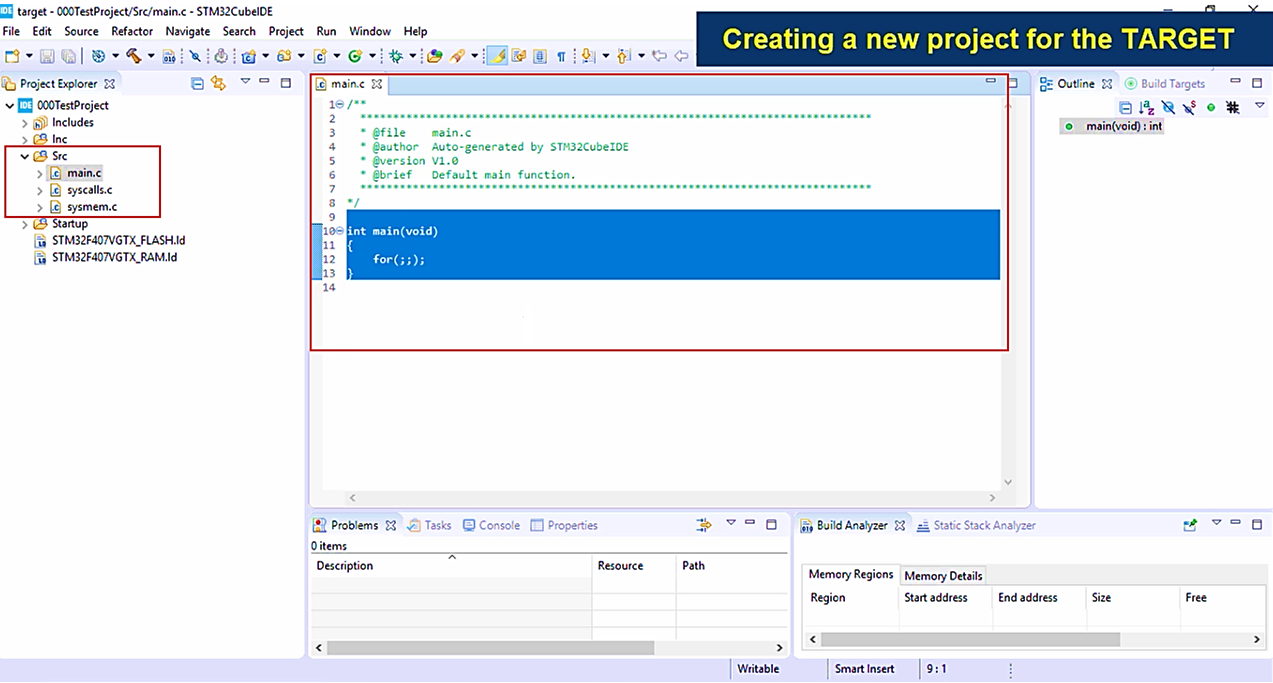
Now you can see the source. Here it has already kept our source file for you. That is the main.c. Here you can start writing your application and do not delete any files from this project. All these files will be explained later. This article shows the project creation steps.
After that, let’s build the 000TestProject.
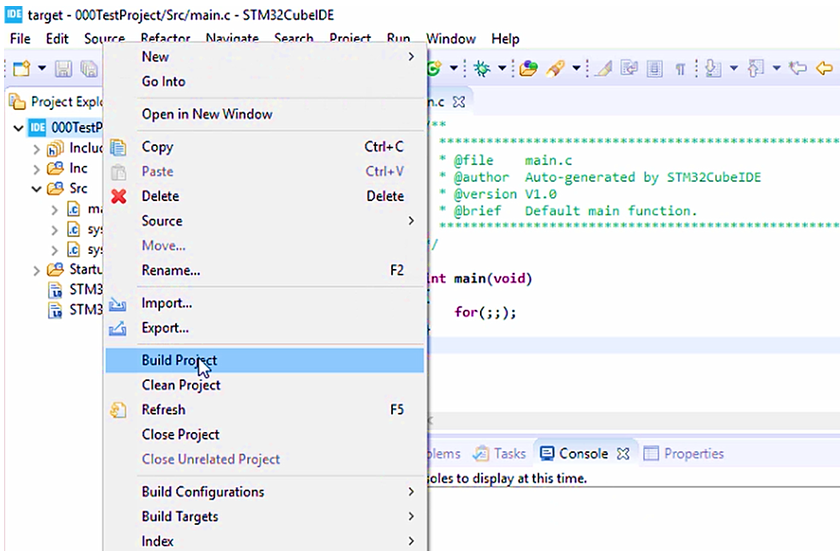
Here, the cross compiler is invoked, the project is built successfully, and you get the executable, which is in the format .elf.

You will also learn how to load this project into the target hardware, debug the code, check the disassembly, and execute the instructions one by one. So, all these things we will explore as we make progress.
In the next article let’s learn Embedded Target.
FastBit Embedded Brain Academy Courses
Click here: https://fastbitlab.com/course1

