Embedded project build process
In this article, let’s understand the build process. Your project will be built when you hit the build option in your IDE. So, the building process involves a couple of stages.
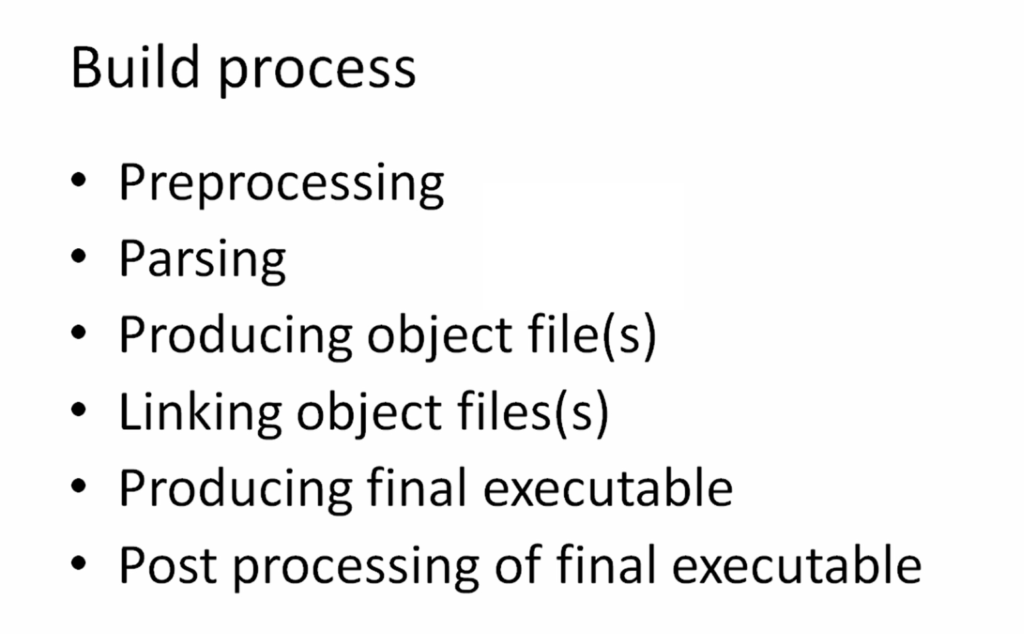
The source file that you have written first undergoes Preprocessing. After that, your source code will be parsed, and then object files will be generated, and linking of all those object files will happen, and finally, an executable will be generated for your project, and optionally you can do post processing of the final executable.
Let’s understand all these steps.
Broadly the build process can be divided into two stages. One is the compilation stage, and another one is the linking stage. So, your source code, that is .c files, will be first preprocessed using the preprocessor engine of the compiler and the preprocessing stage produces .i for every .c file.
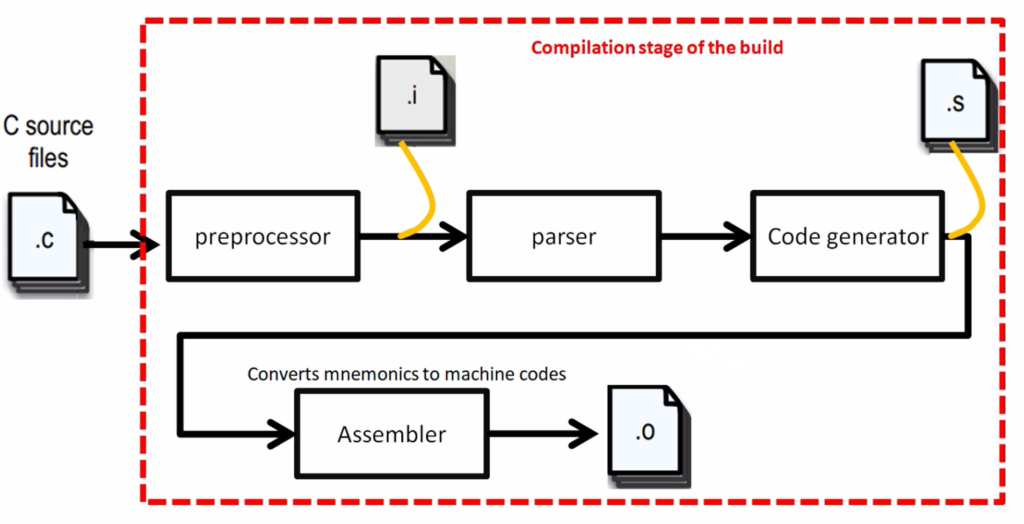
The preprocessor is a stage where the #include files will be resolved, and all the ‘C’ macros will be resolved and .i file will be created.
The next stage of the compilation or the compiler is parsing. The parser engine of the compiler will then parse the .i files, to check the syntax of the statements you have written in the source file. So, syntaxes will be checked against the standard you are selected, and if there is any error, if there is any problem with the code, it will be reported to the programmer at this stage. So, if everything is fine, then the code is converted into .s file using another compiler engine called code generator. That means later .i will be converted into .s.
Here is a place(as shown in Figure 3) where higher-level language such as ‘C’ is converted into lower-level languages, such as assembly language.
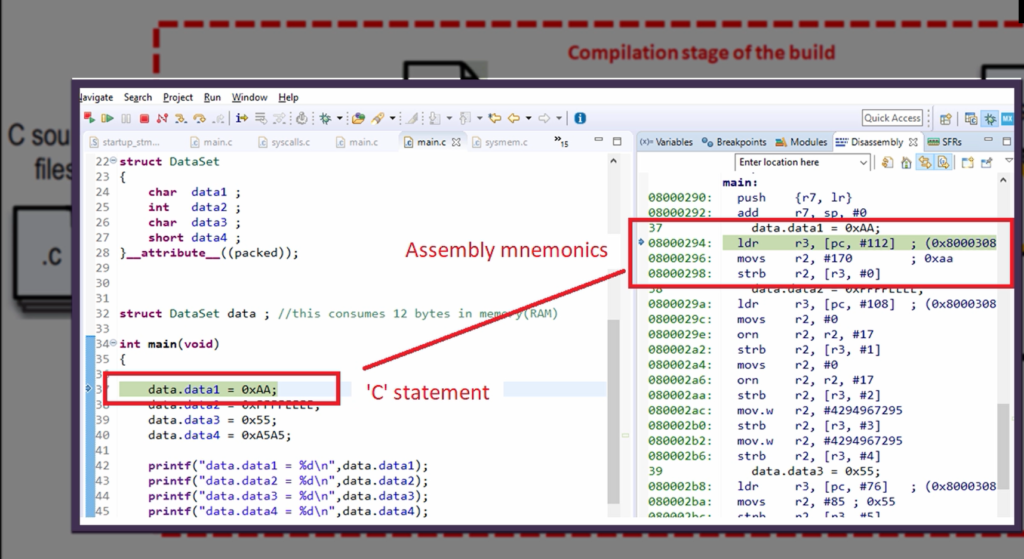
That means, for every ‘C’ statement you have written the equivalent mnemonics will be created in the .s file by the code generator.
And after that, the assembler engine of the compiler converts mnemonics into machine codes. At the end of the day, machines understand numbers. So, your higher-level language is converted into mnemonics, and after that, those mnemonics later it’ll be converted into machine codes by the assembler.
Assembler actually generates .o files, which are also called relocatable object files. For every .c file, a .o file will be created by the assembler. The .o file is nothing but a collection of machine codes of your .c file.
After that, the linking stage of the build will be invoked. Multiple relocatable object files will be combined into one executable file in the linking stage. If you have five .c files, then five .o files will be created. So, each .o file will have its own machine code. So, the linker will merge all those machine codes into one file, and then it creates a final executable file.
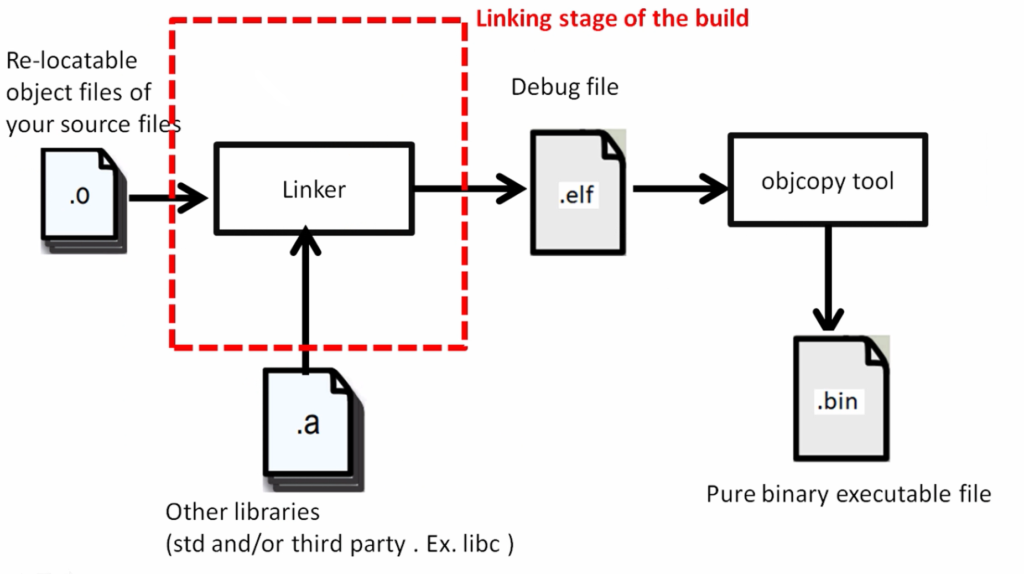
In our case, the format of the final executable file will be .elf, where elf stands for executable and link format. Basically, the GCC based compilers will generate an executable file of .elf. It’s a debug + executable file.
And after that, you can do post processing on that elf file using tools such as object copy and other tools to produce various other files like .bin, .hex, etc. So, that is what we call Post processing. These are the steps involved in producing the executable file from the source file. All these things happen in the background when you trigger the build.
Now let’s get into our 003Add project, and the main.c file code snippet as shown below.
Here it is a very simple program. I have two global variables int g_data1 = -4000; int g_data2 = 200; Then I am just adding those global variables, and after that, I store the result into the 3rd global variable, that is result. And after that, I print the result.
#include <stdio.h>

/* global variables */
int g_data1 = -4000;
int g_data2 = 200;
int result = 0;

int main(void)
{
   result = g_data1 + g_data2;
   printf("Result = %d\n",result);
   for(;;);
}
Let’s compile this program. So, let me clean the project first, and after that, let me build the project.
When you build a project, you can see that(Figure 5) the compiler is invoked(arm-none-eabi-gcc). That compiler itself takes care of all the stages like it does Preprocessing, Parsing, Assembling, and linking, so everything is taken care of by this executable. So, that is our cross compiler.
![Figure 6. Build console[003Add]](https://fastbitlab.com/wp-content/uploads/2022/07/Figure-6-1-1024x499.png)
Here, it compiles the startup file first, then compiles the main.c, then it compiles syscalls.c. Once the compilation and linking stage ends, the .elf file is generated, that is final executable.
And after that, on that .elf, a Post processing tool can be invoked, such as object dump, or size, in order to gather more information about the executable which is generated. For example, when you invoke this command arm-none-eabi-size, it gives the size of the executable, like the size of the code section, the size of the data section, the size of the bss section, etc.
If you want to see all these intermediate files, such as .i, .s, and .o, you can go to the build folder of your project, where all these files are stored. Let’s check that.
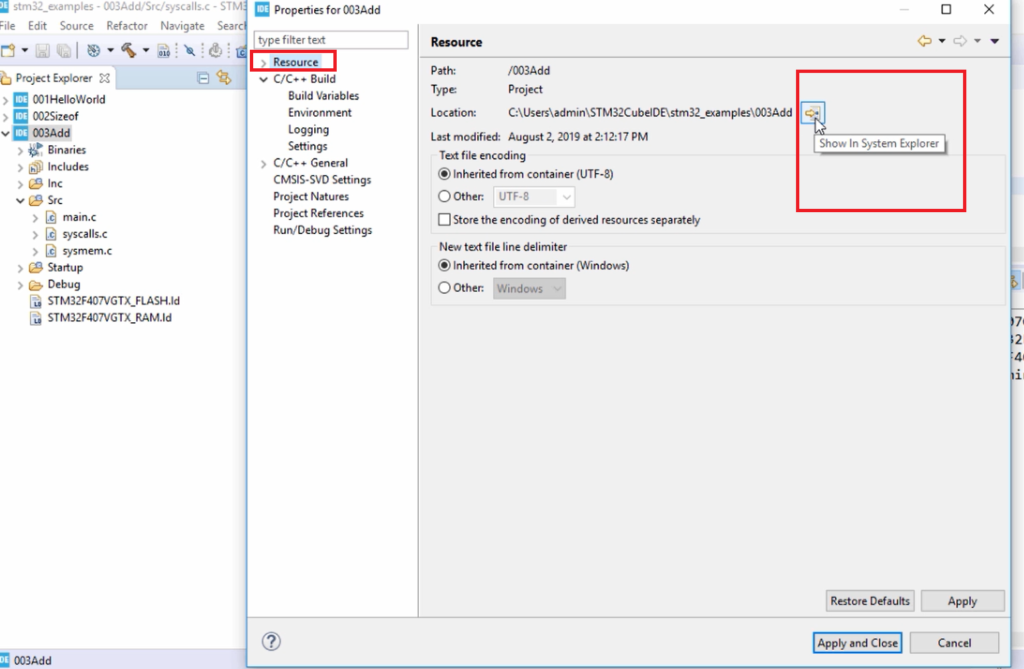
For that, you have to right-click on the project and select Properties. And go to the Resource, and after that, click on the Show In System Explorer icon, as shown in Figure 6.
Show In System Explorer will take you to the folder where your project(003Add) is placed.
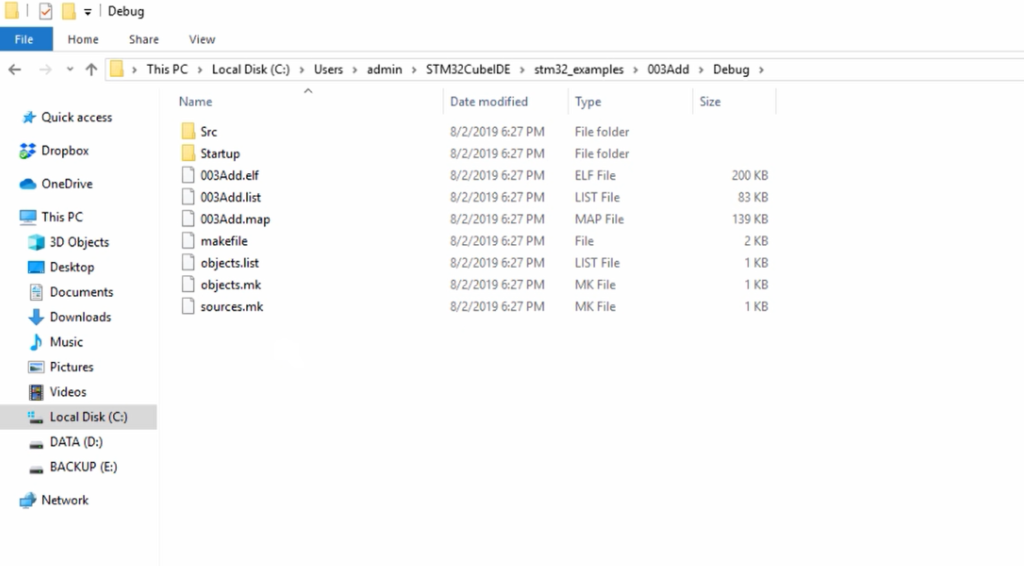
Let’s open the 003Add project and go to the Debug folder. Here(look at Figure 7), by default, we don’t find .i and .s files because those are actually not generated for the user. Those are generated internally, and the compiler uses them internally. So, you have to instruct the compiler to create them and store them in the file system.
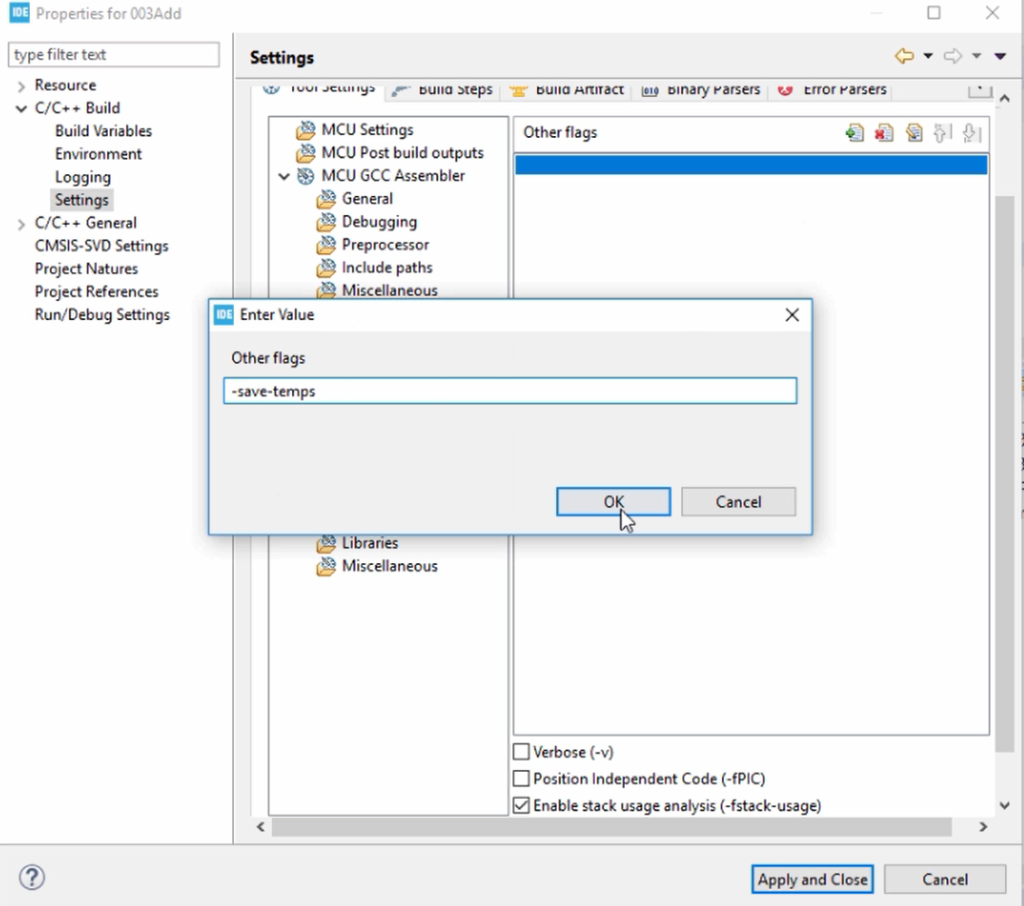
So, we can instruct the compiler. For that, you have to go to the project’s Properties. Go to the C/C++ Build option, and go to Settings. And in the settings, go to the MCU GCC compiler, go to Miscellaneous, and click on the ‘+’ icon, as shown in Figure 8.

Here, type -save-temps and click OK. Then click on Apply. After that, click Apply and Close.
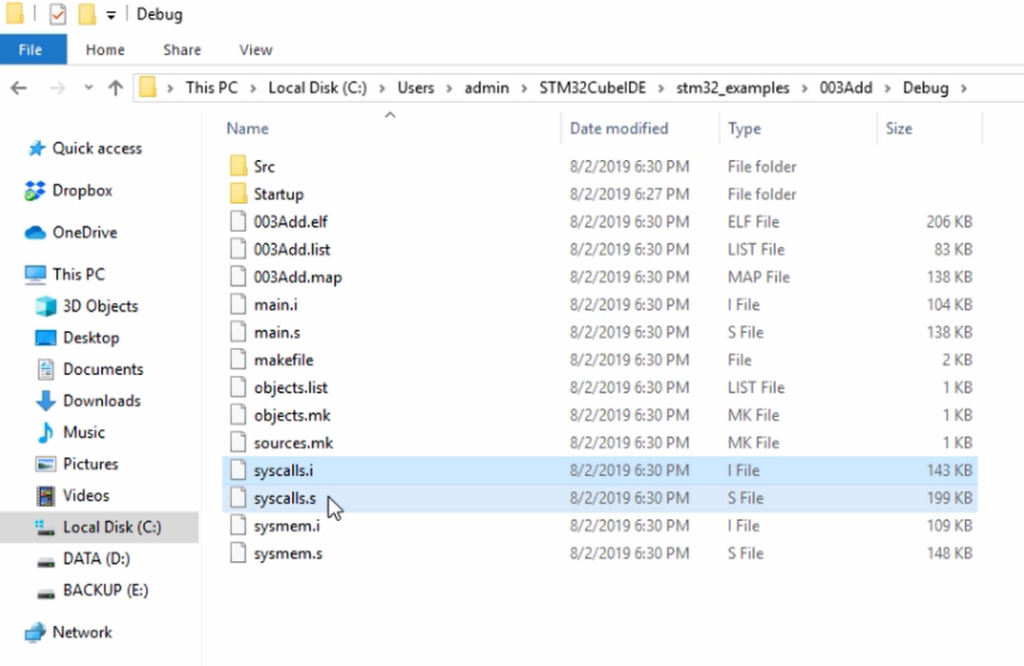
Then rebuild the project. When you rebuild the project, you can see that this Debug folder is now populated with .i, .s, and various other files, as shown in Figure 10. For every source file, there will be a .i, .s file. main.i, main.s; syscalls.i, syscalls.s; like that.
You already know what is main.i. This is a Preprocessed source file.
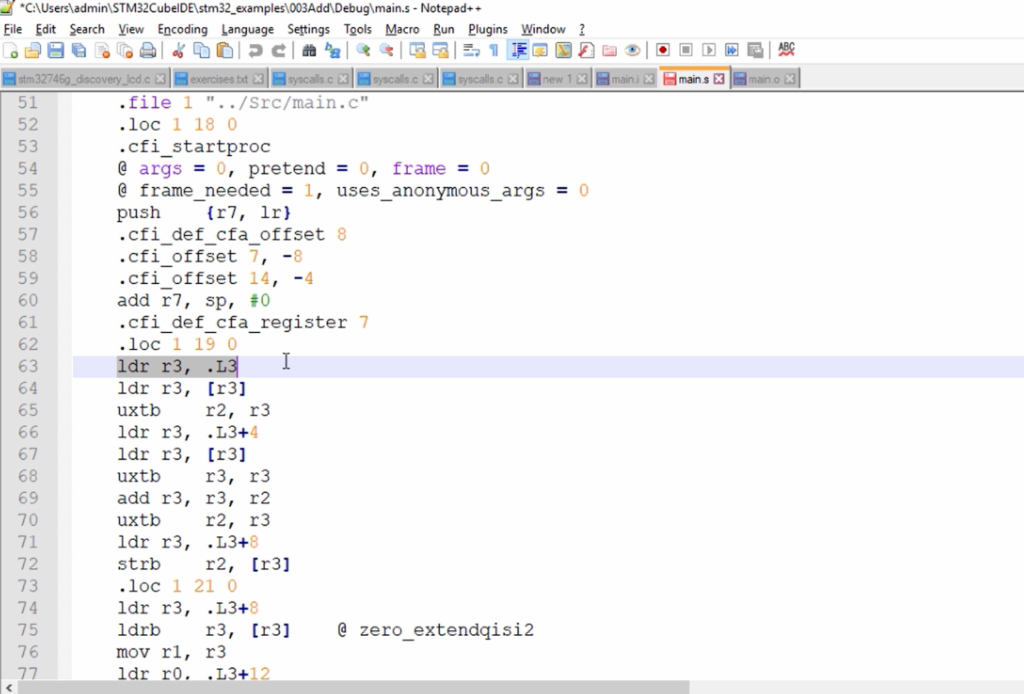
And if you open main.s, this is nothing but mnemonics. Mnemonics means it is actually an instruction, which is generated for every ‘C’ statement that you have written. So, these mnemonics are from ARM Cortex instruction set architecture. If you want to understand these mnemonics, you have to refer to the instruction set document of the ARM Cortex processor.
After that, the .o file you can find in the Src folder.
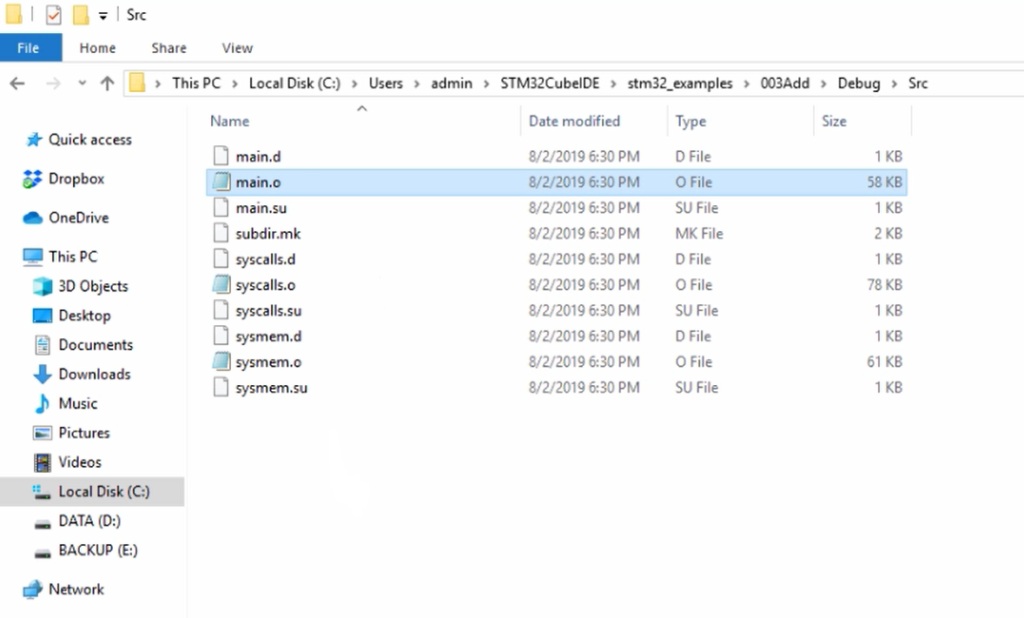
These are the .o files(as shown in Figure 12) created for every .c file. .o file is a machine code.
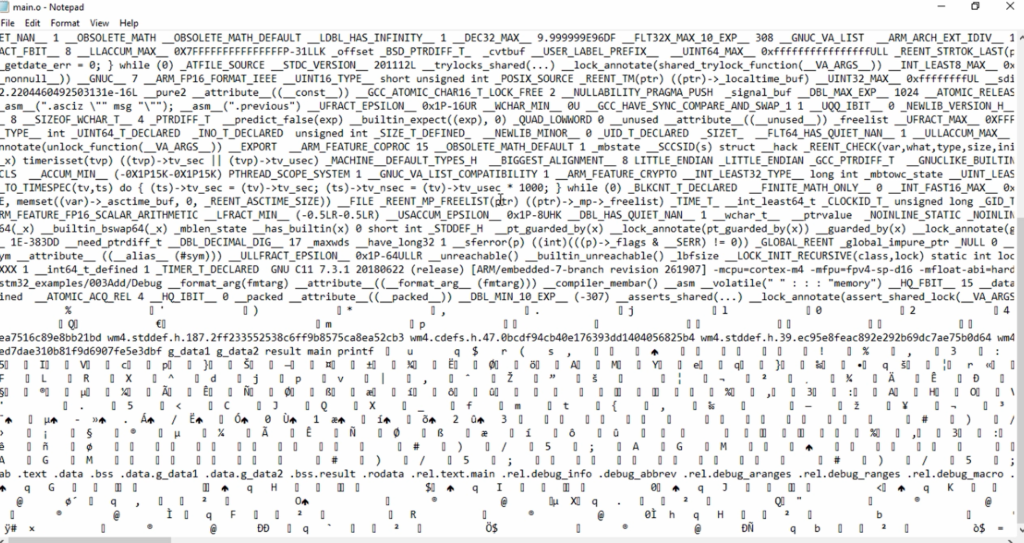
These are the machine codes(Figure 13), so you will not be able to read that.
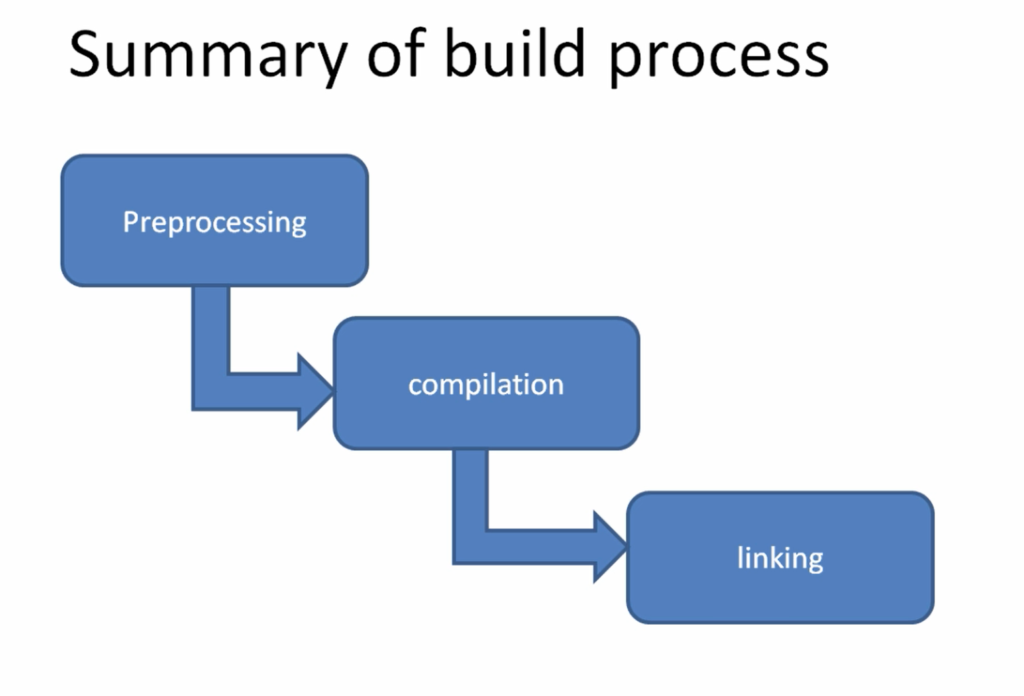
The summary of the build process. The build process we can broadly classify into three stages. Preprocessing, compilation, and linking.
FastBit Embedded Brain Academy Courses
Click here: https://fastbitlab.com/course1