Exercise: Reading data from the I2C slave
Let’s do the I2C master and slave communication exercise in order to understand the master receiving data from the slave.
Exercise:
When a button on the master is pressed, the master should read and display data from Arduino slave connected. First, the master has to get the length of the data from the slave to read subsequent data from the slave.
- Use I2C SCL=100KHz (Standard mode).
- Use internal pull resistors for SDA and SCL lines.
Things you need for exercise:
- Arduino board, which acts as a slave device.
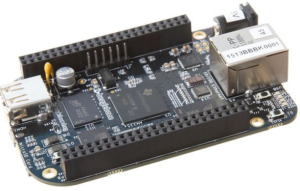
- ST board, which acts as a master device.
- Some jumper wires to connect I2C pins.
- Breadboard
- 2 Pull up resistors of value 407KΩ (only if your pin doesn’t support internal pull-up resistors)
1. Circuit connection for this exercise is as shown in Figure 1.

Connect the ST board to the Arduino board through I2C pins and data will be read from the slave to the master. Then the master has to print the received data over the semi hosting.
Figure 2 shows the connection of the Arduino board with the ST board SPI pins. Don’t use the PB9 here; instead, use PB7 because we have faced some issues with the PB9 in our previous exercise.

The user button is used to initiate the I2C transactions and also you can use USB logic analyzer if you want.
2. Power your Arduino board and download the I2C slave sketch to Arduino, and the sketch name is 002I2CSlaveTxString.ino. In order to perform this exercise, the slave device or Arduino board should be ready with the sketch.
3. The procedure to read the data from the Arduino Slave is shown in Figure 3.
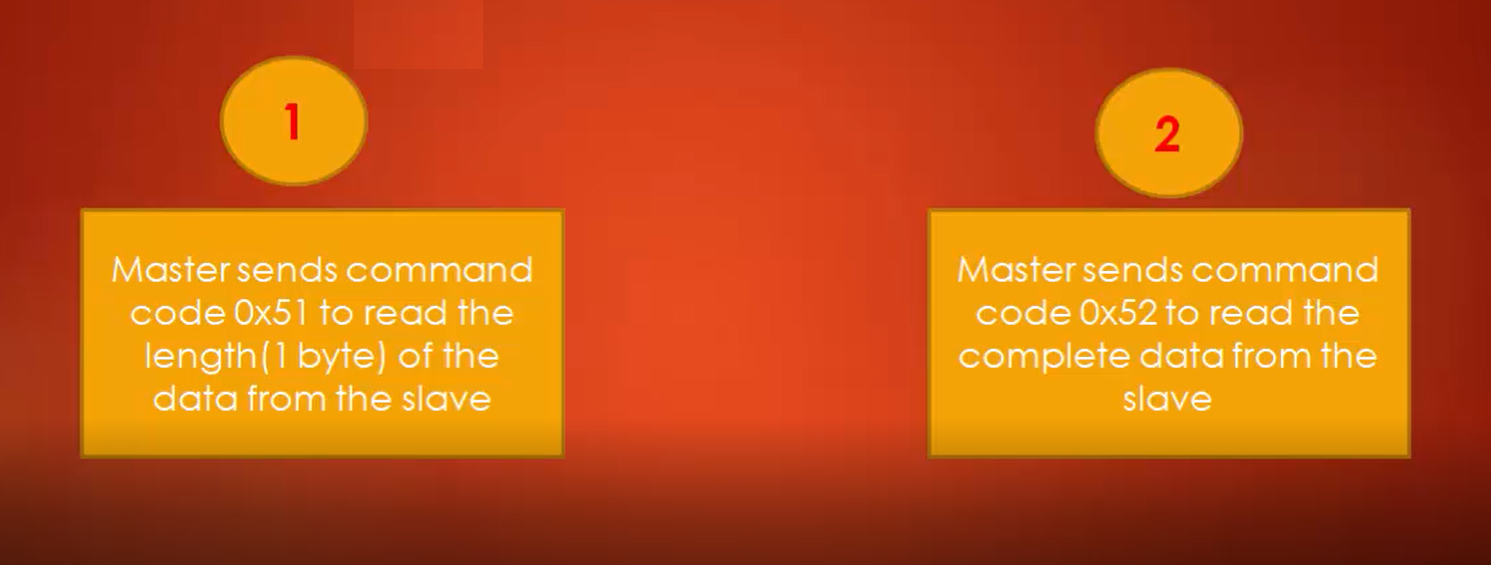
- The Arduino I2C sketch is written in such a fashion that you should send commands to get the response.
- First, the master should send command code 0x51 to read the length of the data from the slave because the master should have some idea about the length. The master should send the command 0x51 to the slave to fetch one byte of length information.
- After that master should send the command code 0x52 to read the complete data from the slave.
- The master has to display that data using semi hosting.
Now let’s see how to execute these procedures. Let’s understand I2C transactions to read the 1-byte length information from the slave.
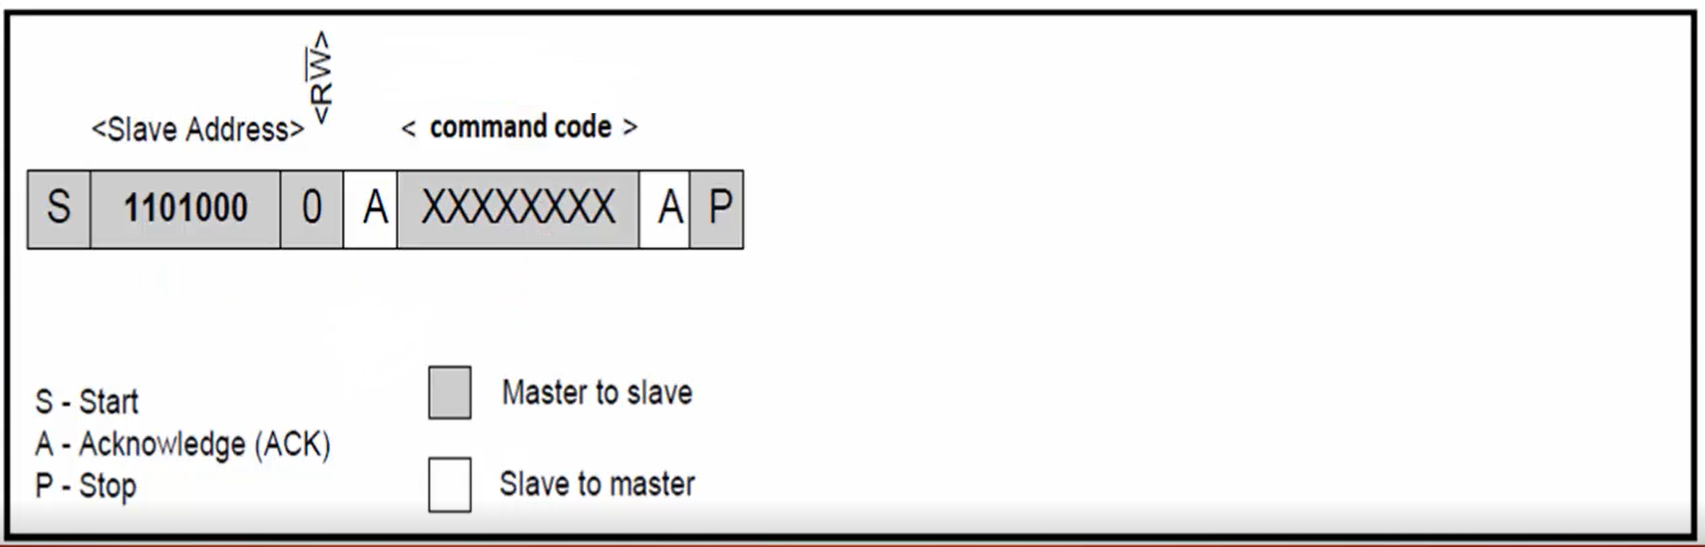
1. Master should send a command to slave (Figure 4): Here, the master performs data write. That is master sending command code 0x51, which is the write operation to the slave, and the R/W position will be zero.
2. Master reads the response from the slave (Figure 5): The master reads the length information from the slave as a response. For this I2C transaction, the master makes R/W bit as 1 since it reads 1 byte of data from the slave.
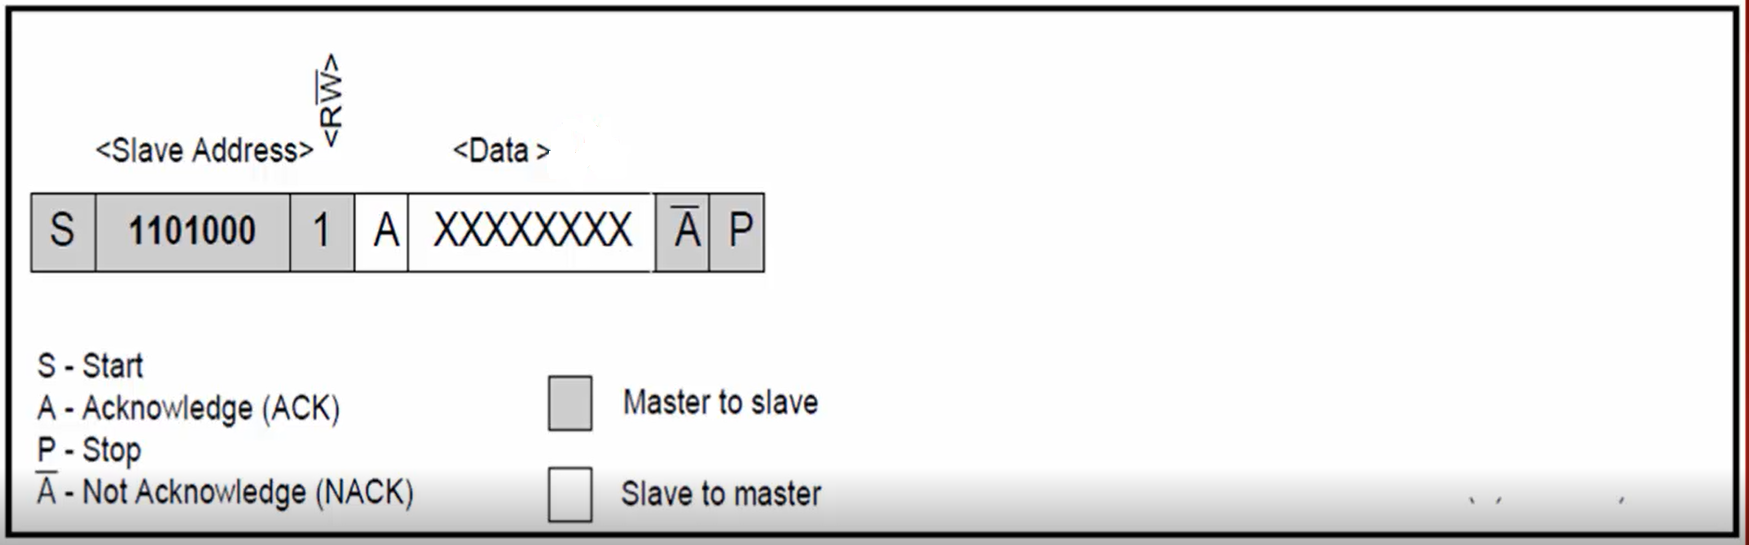
Here we are going to use two I2C transactions. The first transaction is data write that is master sending the command and the second transaction is data read that is master reading one byte of data from the slave, which is nothing but length information.
3. I2C transactions to read “length” bytes of data from the slave:
- The master has to send the command 0x52 to the slave, indicating that the slave should send the data to the master (Figure 4).
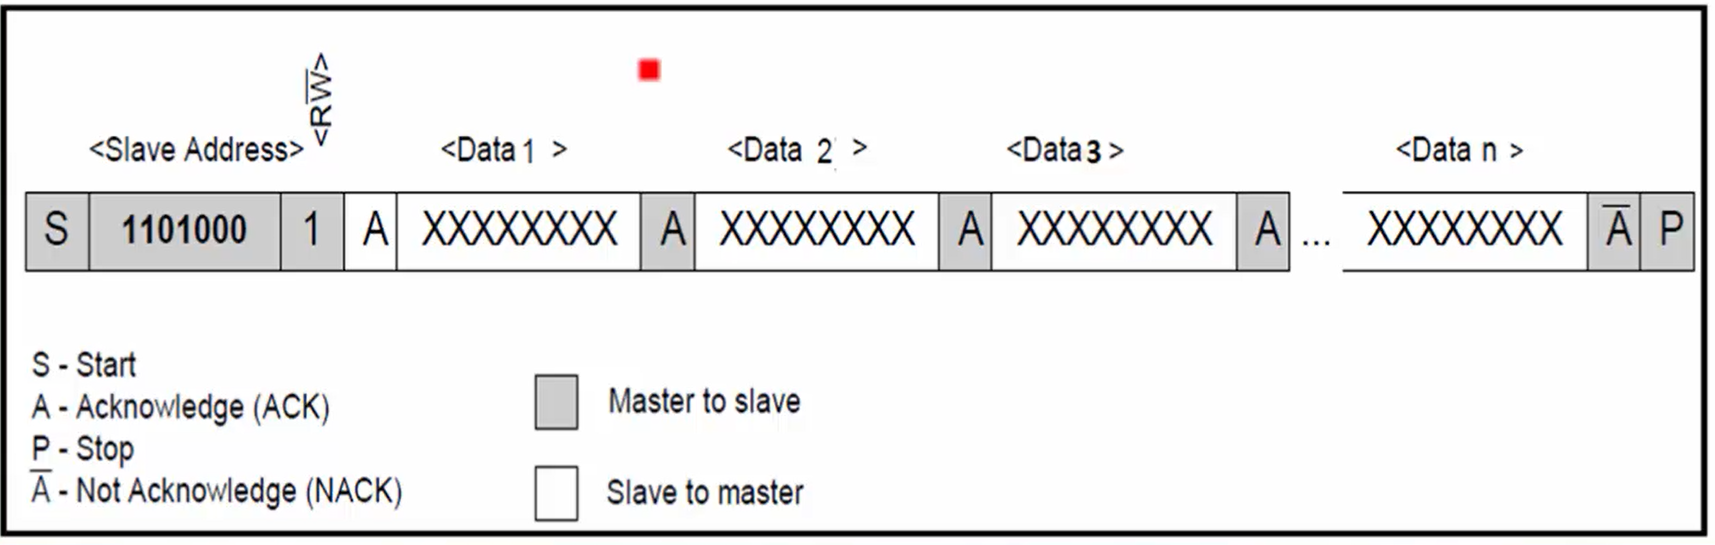
- The next I2C transaction is a data read (Figure 6). The master is reading the response from the slave. In Figure 6, N is the length, which is fetched in the earlier transaction. In the data read, the master receives all the bytes from the slave.
In the following article, let’s write the code.
FastBit Embedded Brain Academy Courses,
Click here: https://fastbitlab.com/course1