Exercise: Coding Part
Steps to create a new source file is as follows:
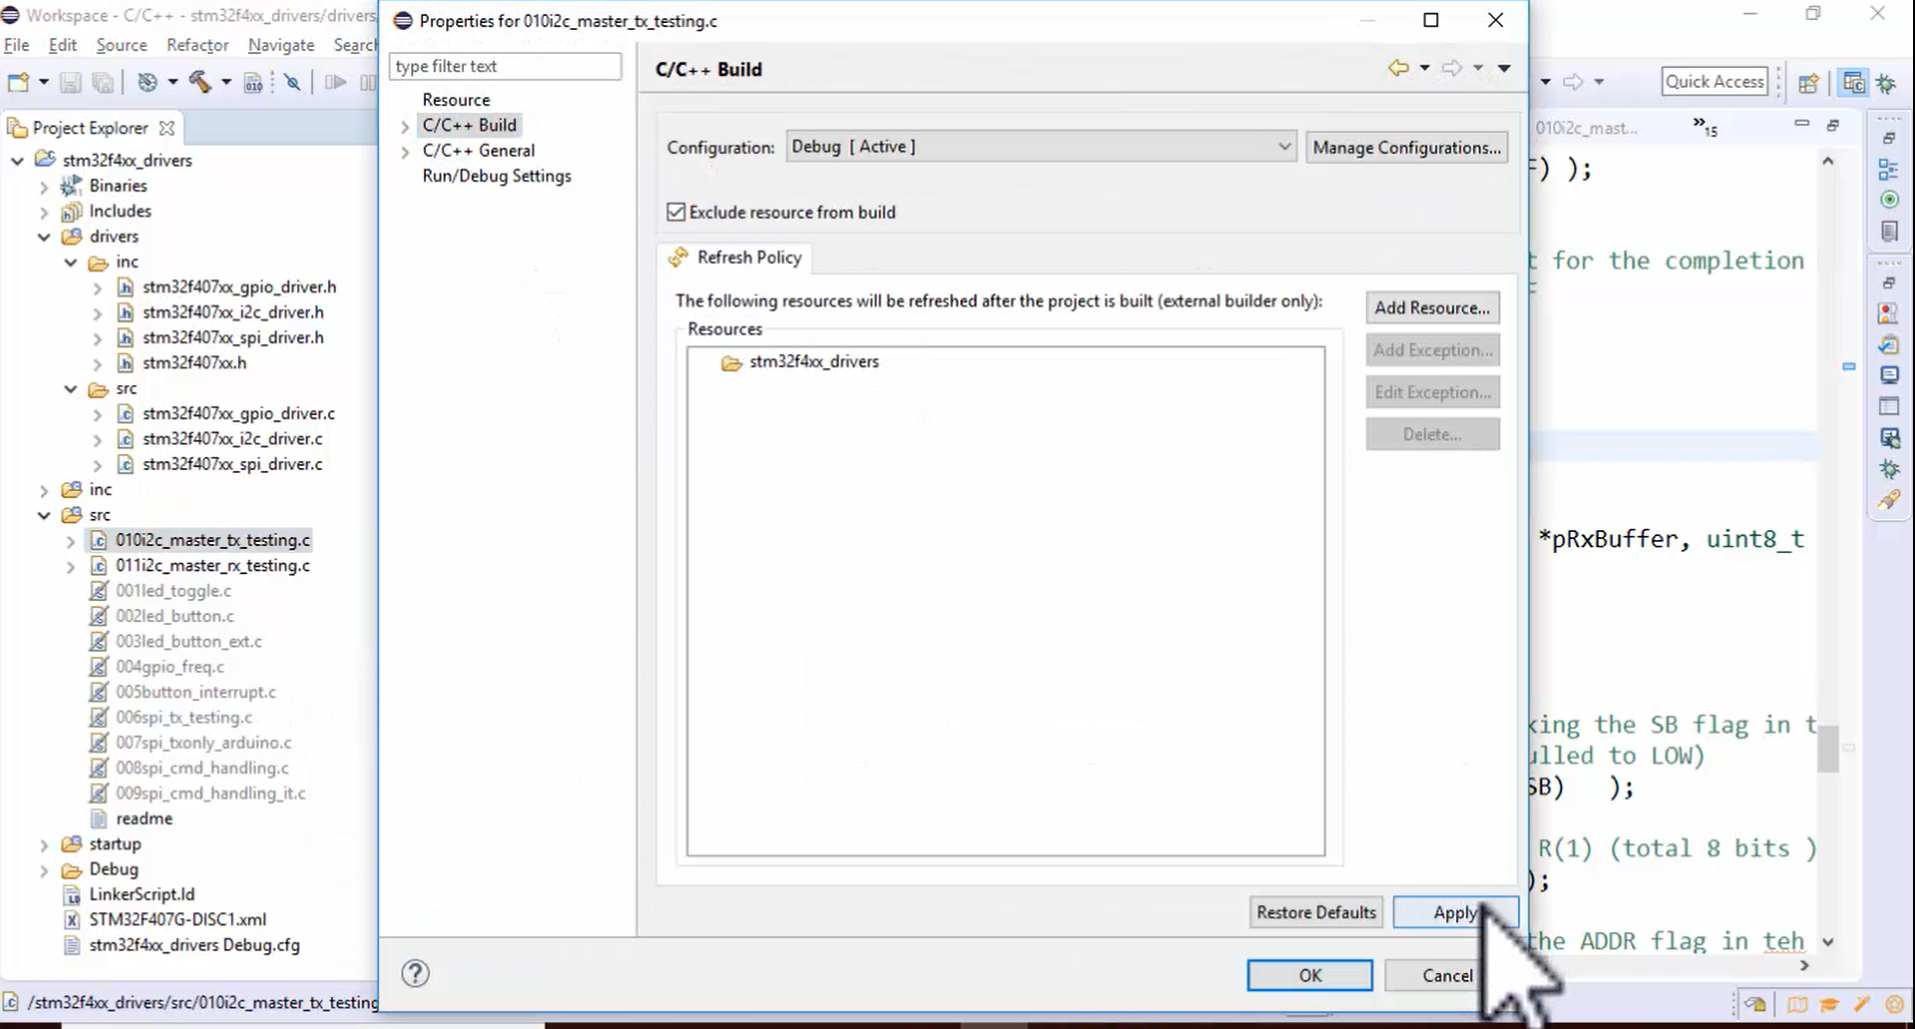
- Copy the old source file and paste it into the source file section. Then change the name to 011I2C_master_rx_testing and save it by clicking on ok, as shown in Figure 1.

- Exclude the Tx testing source file from the build: Right-click on the source file, go to properties, select the option C/C++ to build, and then click on apply.
In the Rx testing file, the slave address is 0x68, which is defined as shown below.
#include<stdio.h>
#include<string.h>
#include "stm32f407xx.h"
//extern void initialise_monitor_handles();
#define MY_ADDR 0x61;
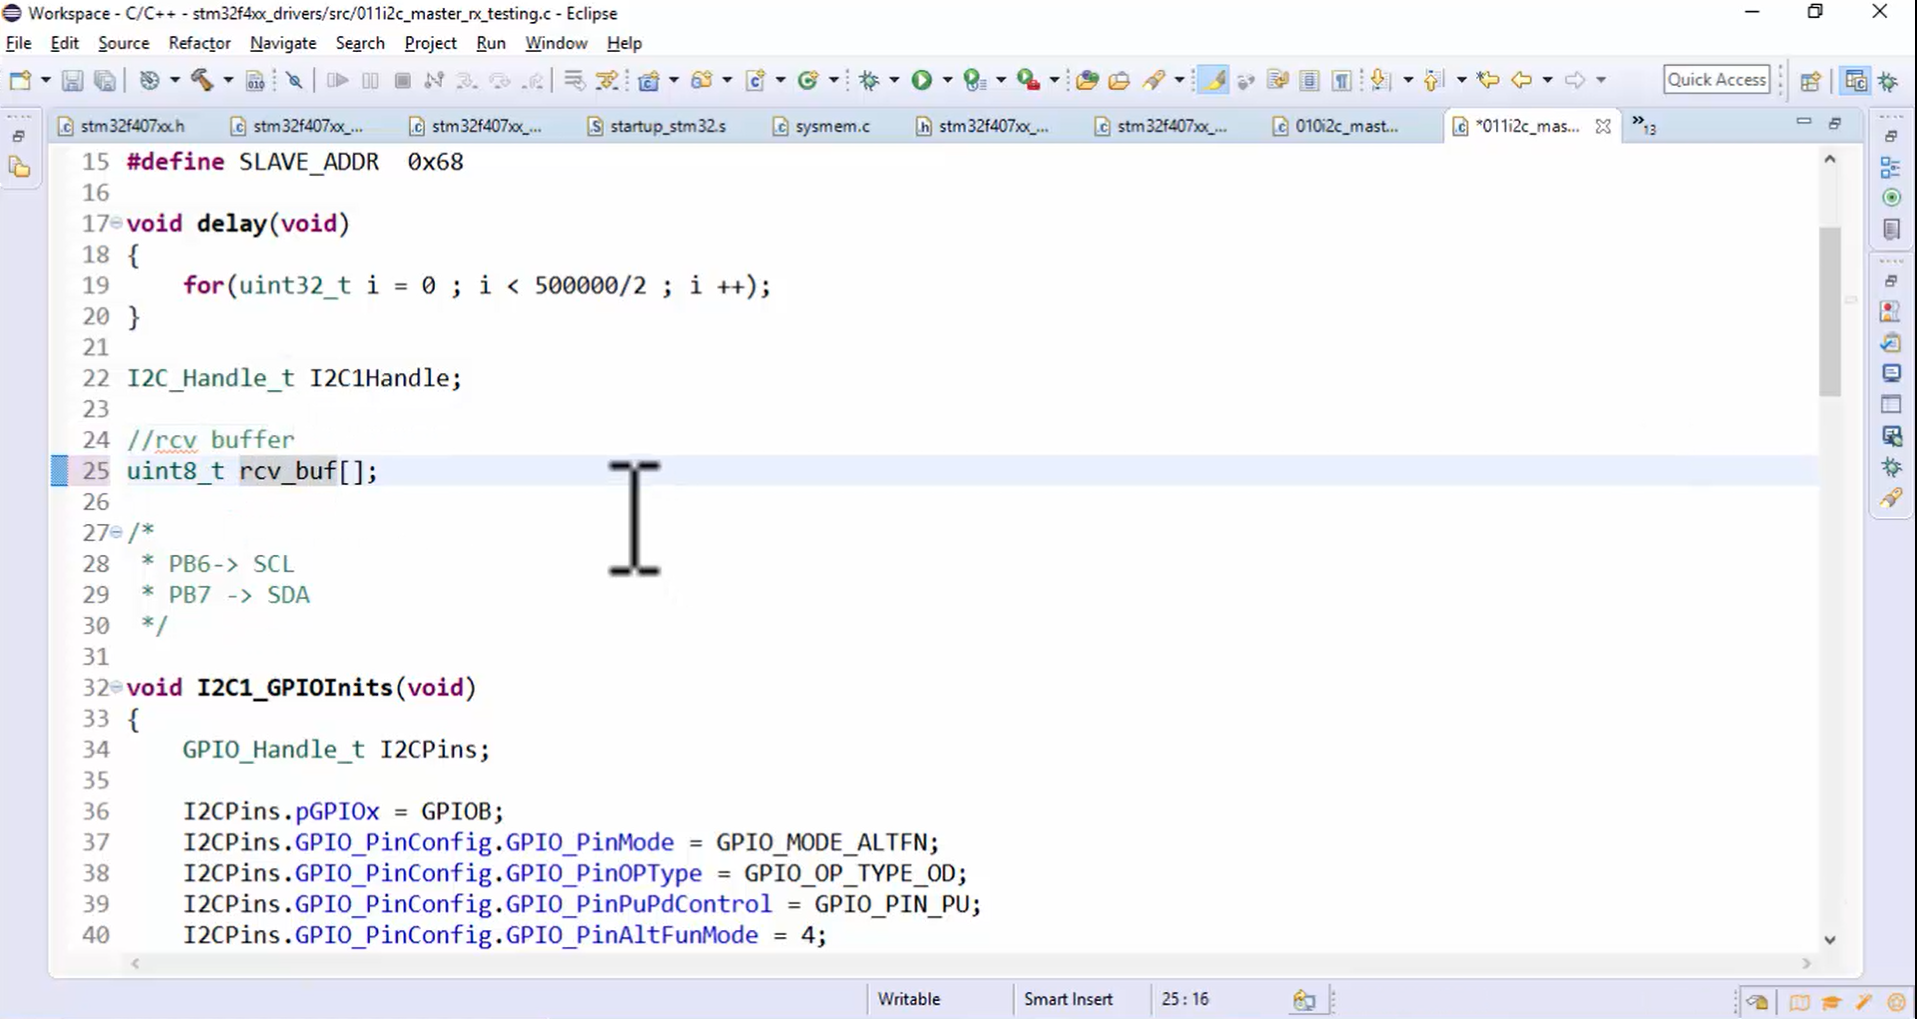
#define SLAVE_ADDR 0x68
void delay(void)
{
for(uint32_t i = 0 ; i < 500000/2 ; i ++);
}
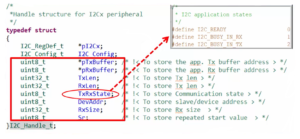
I2C_Handle_t I2C1Handle;
Remove all the codes which are not necessary:
- Rename the send_data array as rcv_buf (Figure 3) since we are receiving the data.
- Remove master send data shown in Figure 5.

Keep all the codes that are necessary:
- Keep the GPIO init as it is (Figure 6).

- Keep I2C1_inits shown in Figure 7.

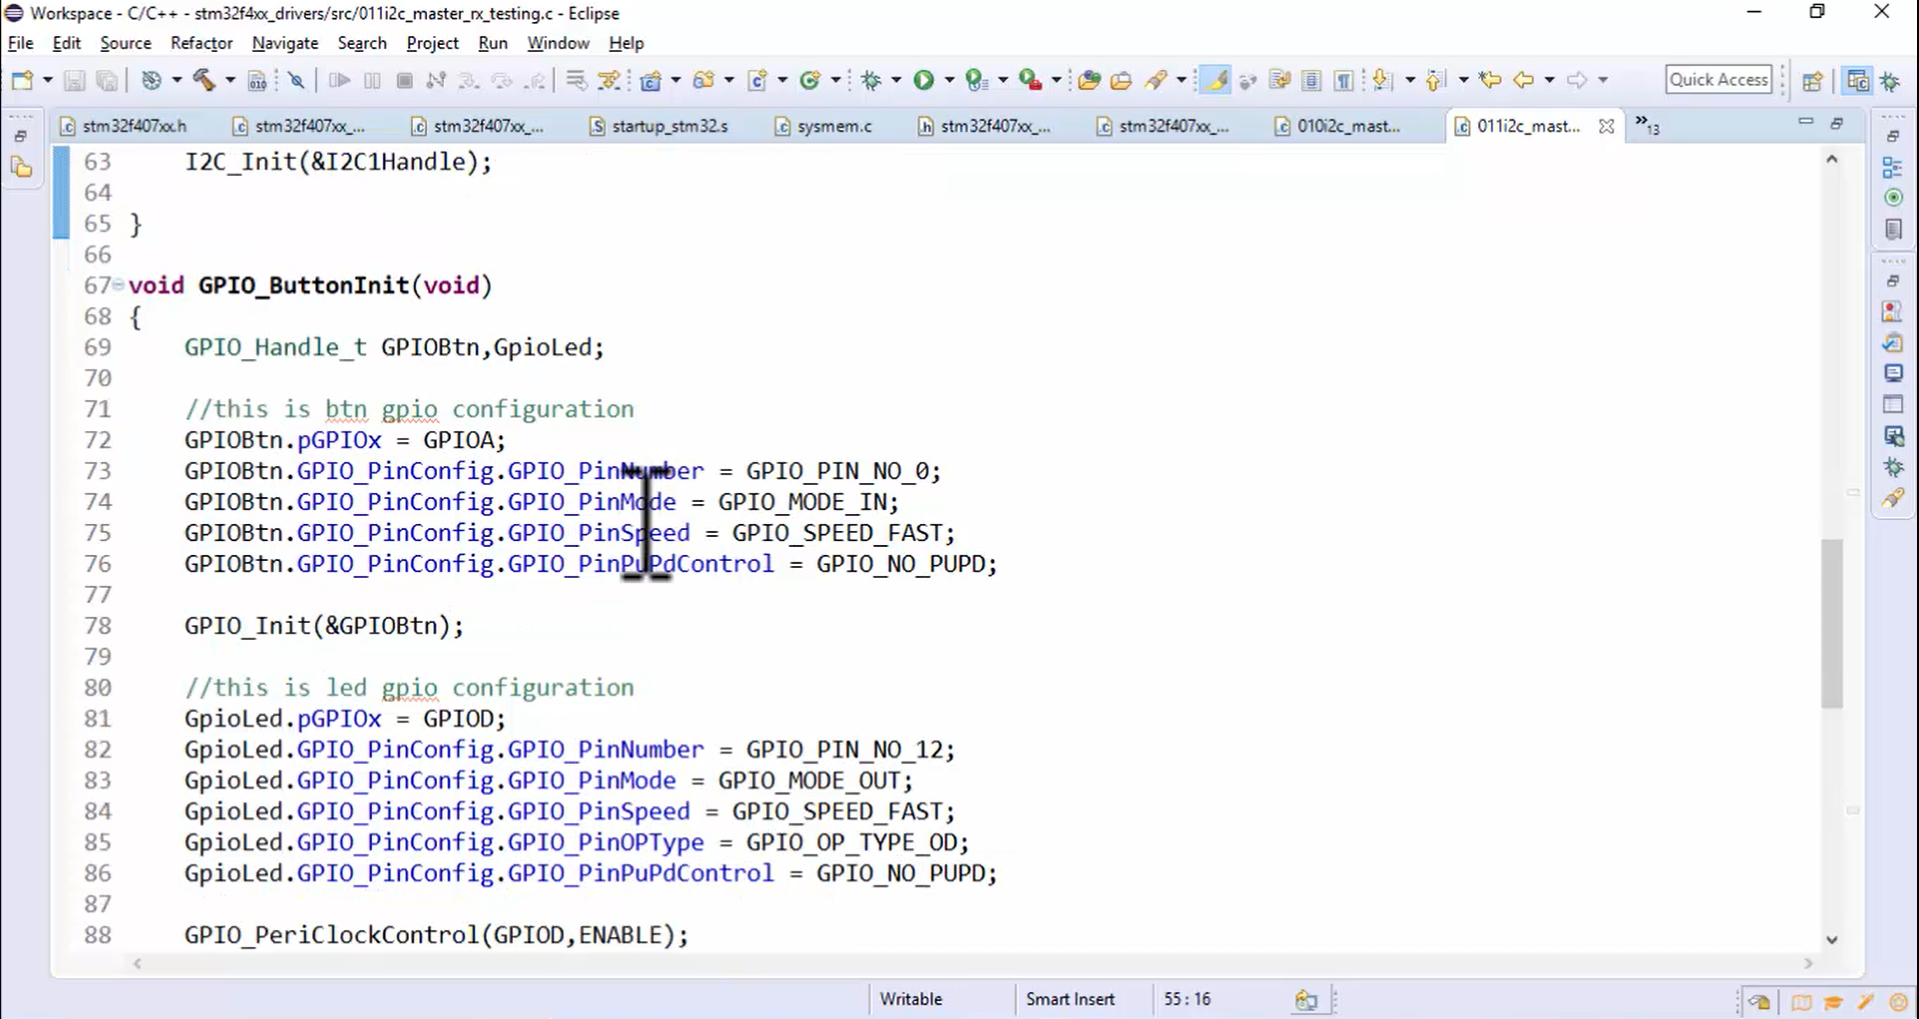
- Keep the GPIO button init shown in Figure 8.
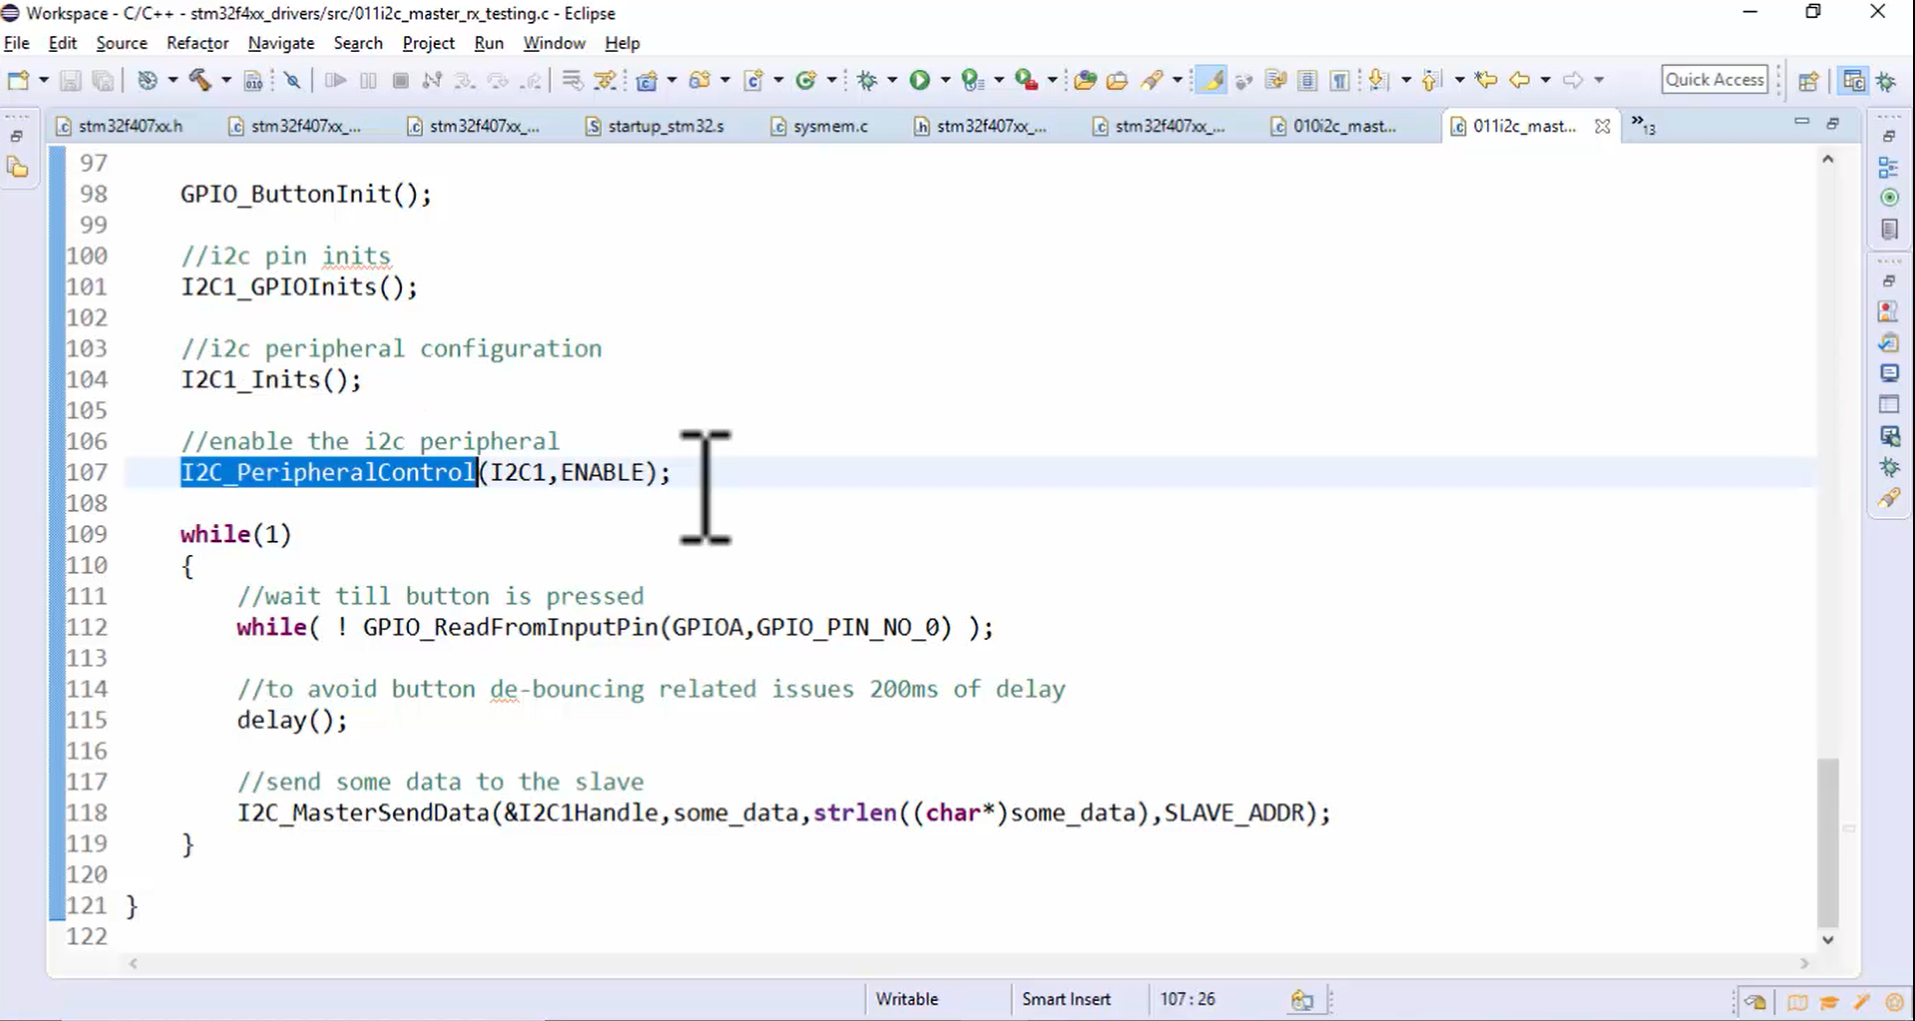
- The peripheral control code shown in Figure 9 is required, so keep that as it is.
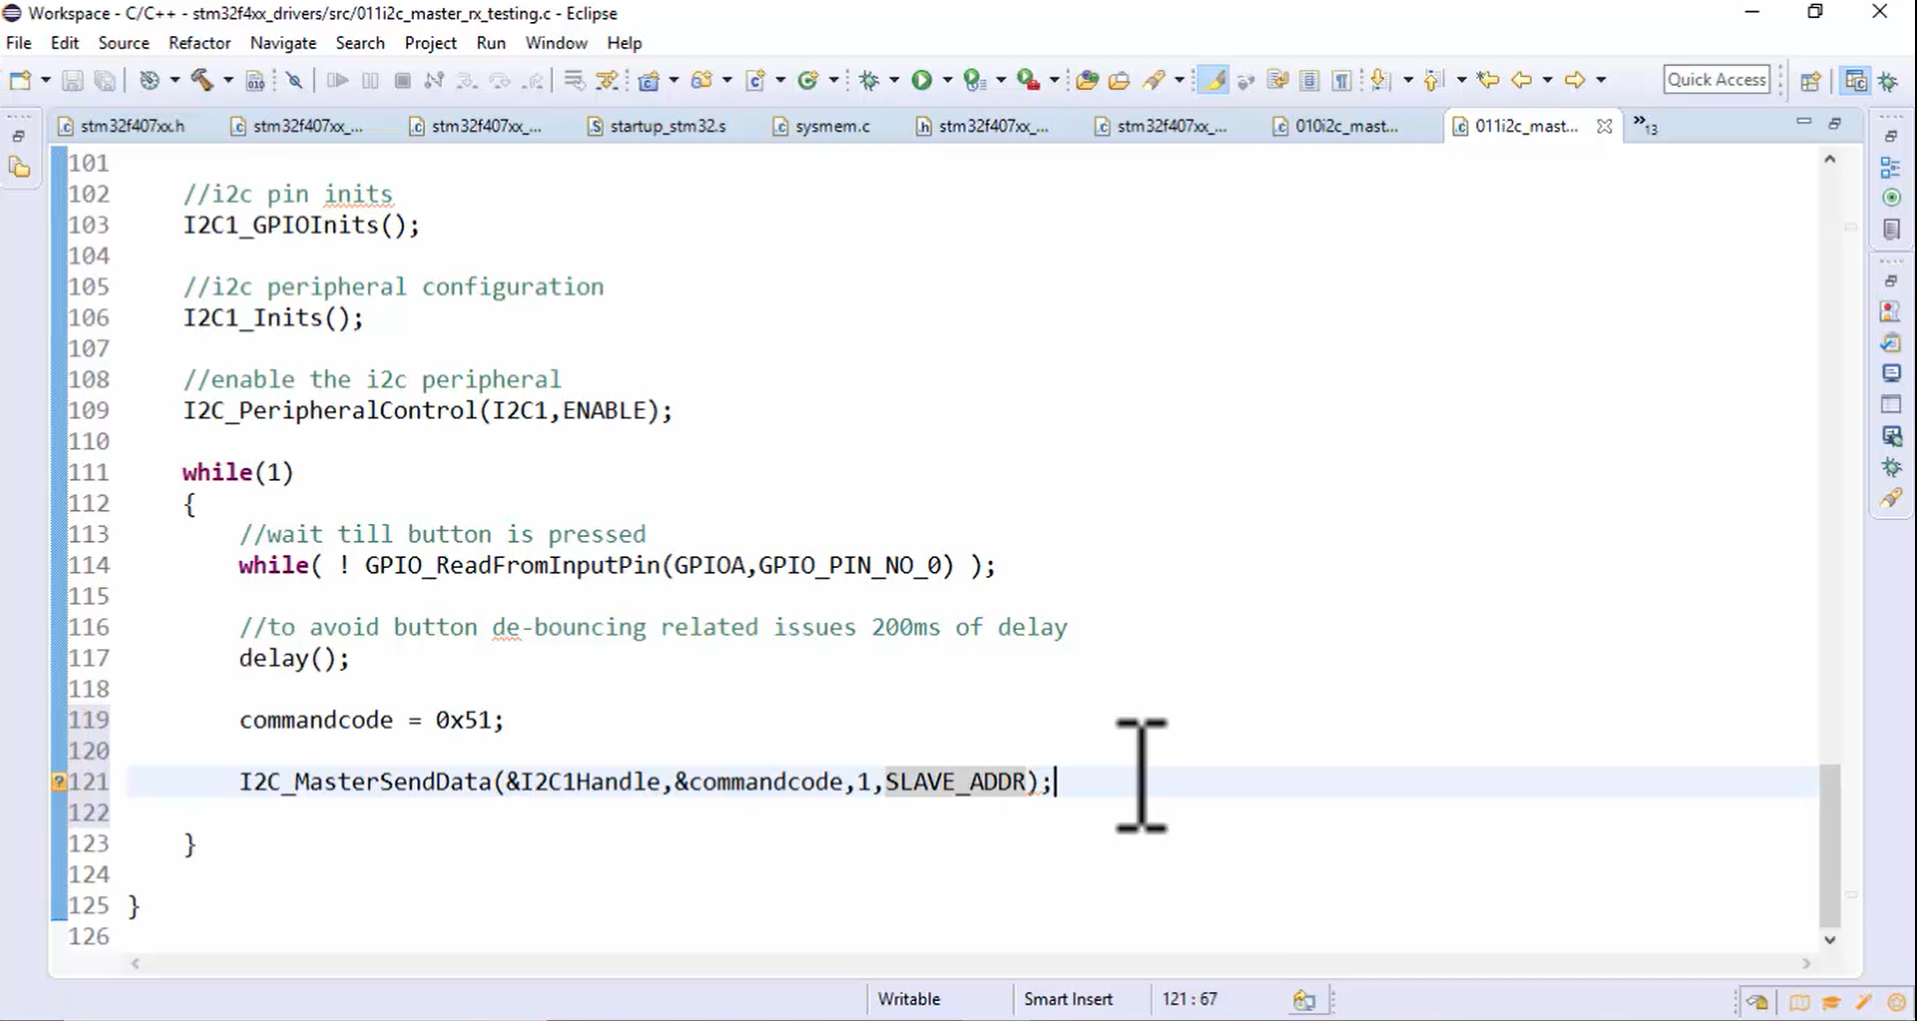
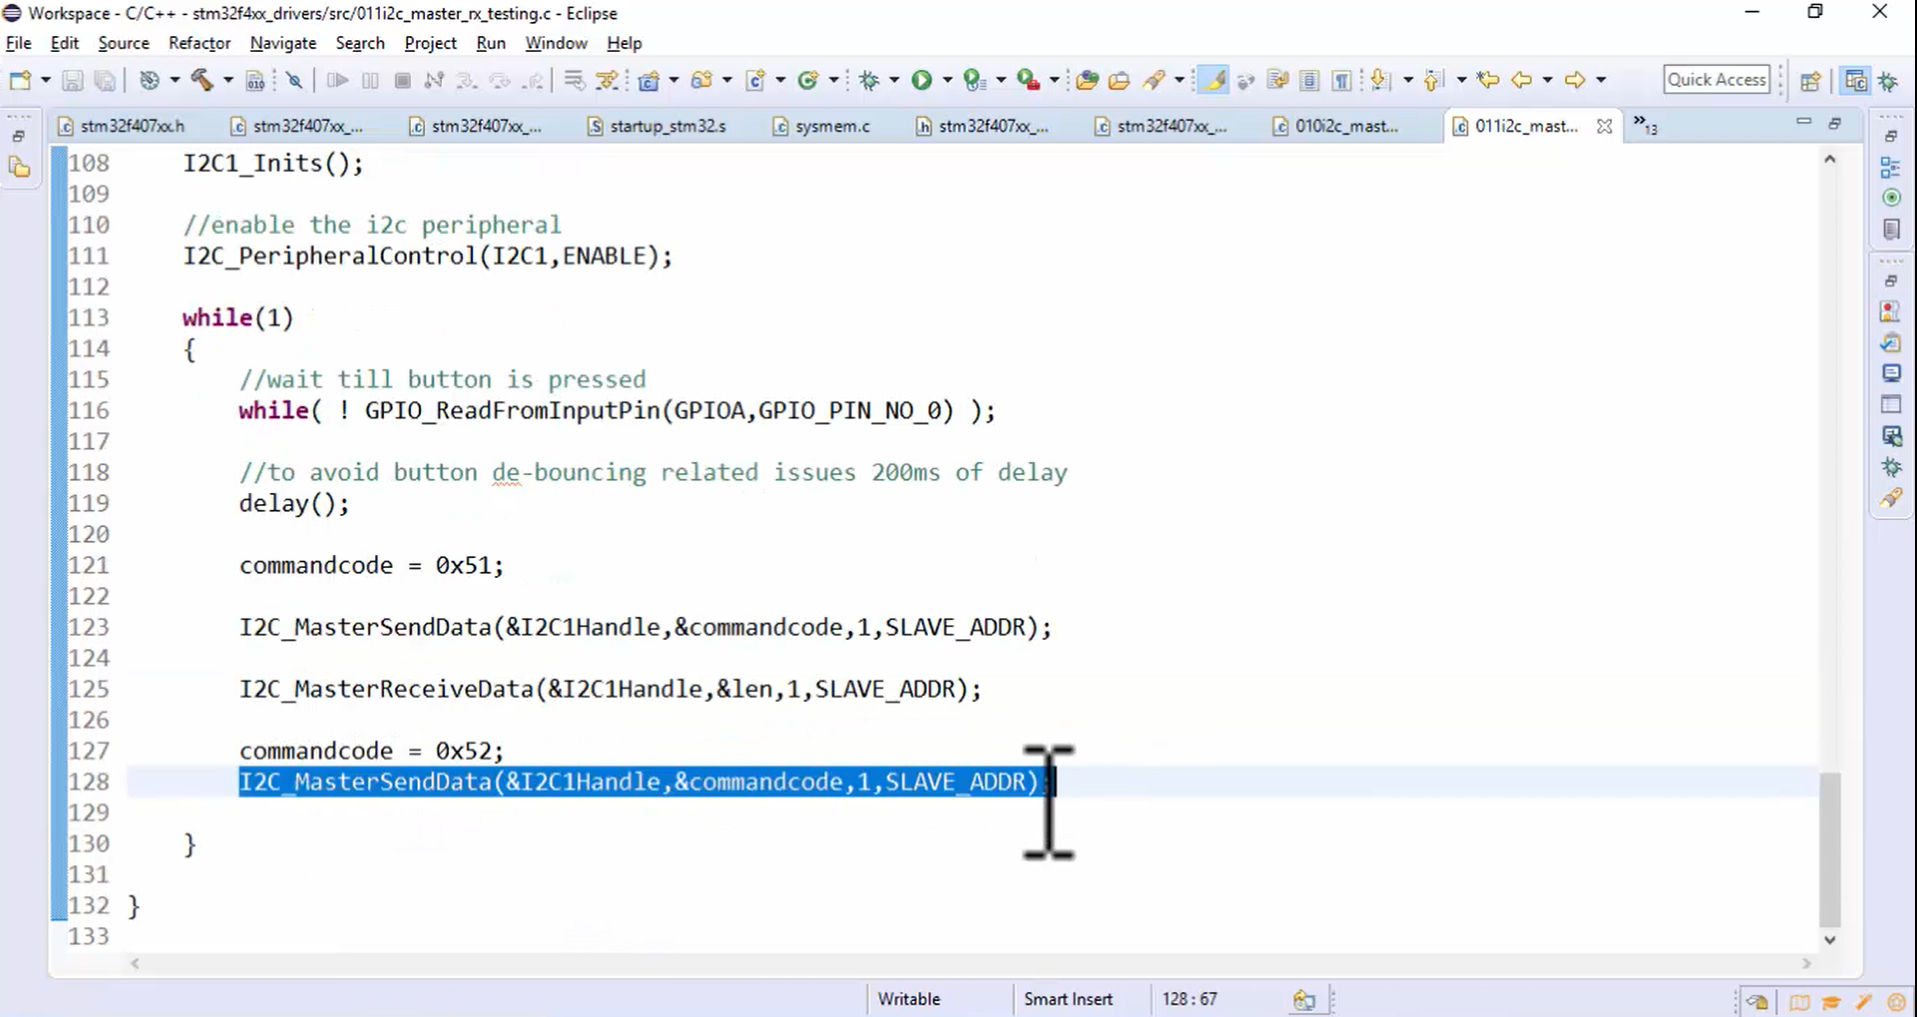
Now let’s write the code for I2C transactions to read 1-byte length information from the slave. For that, you have to perform the first data write by sending the command code 0x51, as shown in Figure 10.
Code for the master to read response from the slave, which is nothing, but 1-byte length information is shown in Figure 11.

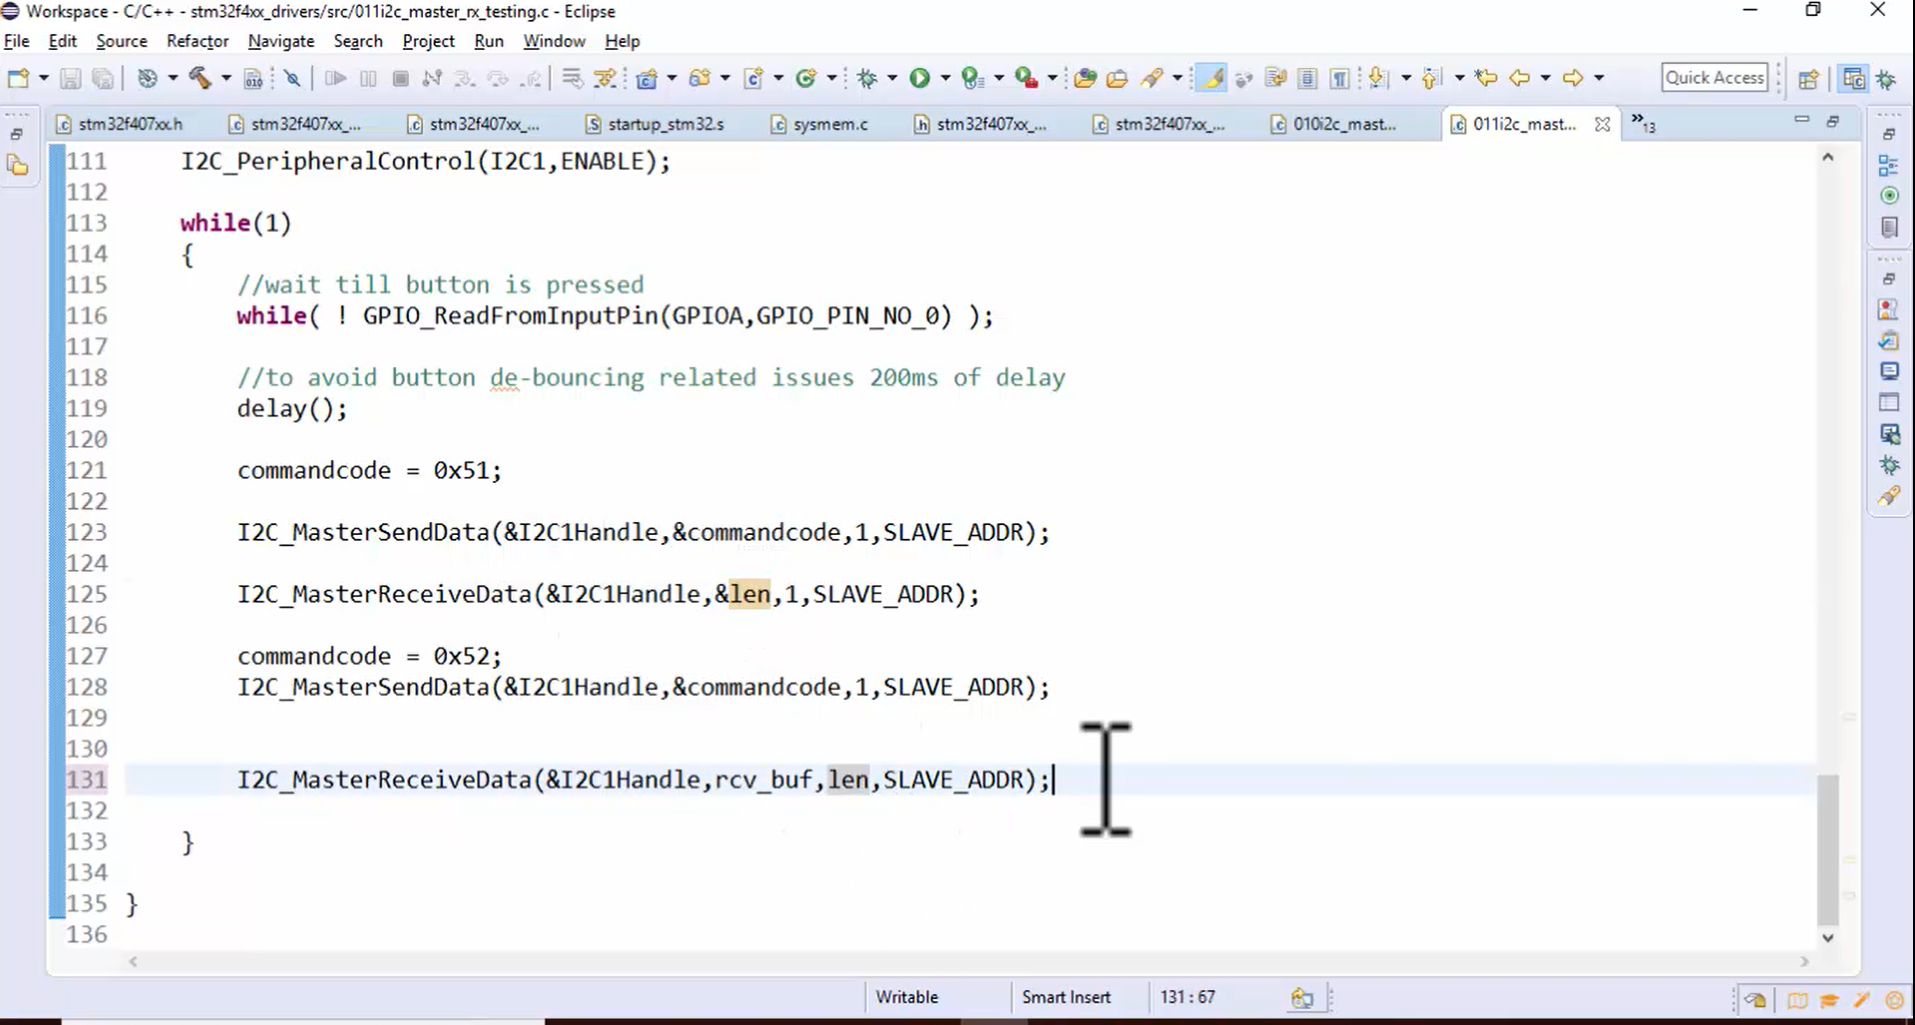
Write the code for I2C transactions to read “length” bytes of data. First, you have to perform data write by sending the command code 0x52 to the slave (Figure 12).
Next, the master reads the whole data from the slave by using the data read function (Figure 13).
Specify the size of the recv_buf array, as shown in Figure 14.

Build the project to see if everything is fine or not. Let’s continue the code in the following article.
FastBit Embedded Brain Academy Courses
Click here: https://fastbitlab.com/course1