Create a basic graphical user interface (GUI) using the LVGL
The exercise involves creating a basic graphical user interface (GUI) using the LVGL (Light and Versatile Graphics Library) in the LVGL simulator.
To begin, create two source files:
- rgb_mixer.c for the LVGL code
- rgb_mixer.h for declaring functions and structures used in rgb_mixer.c.
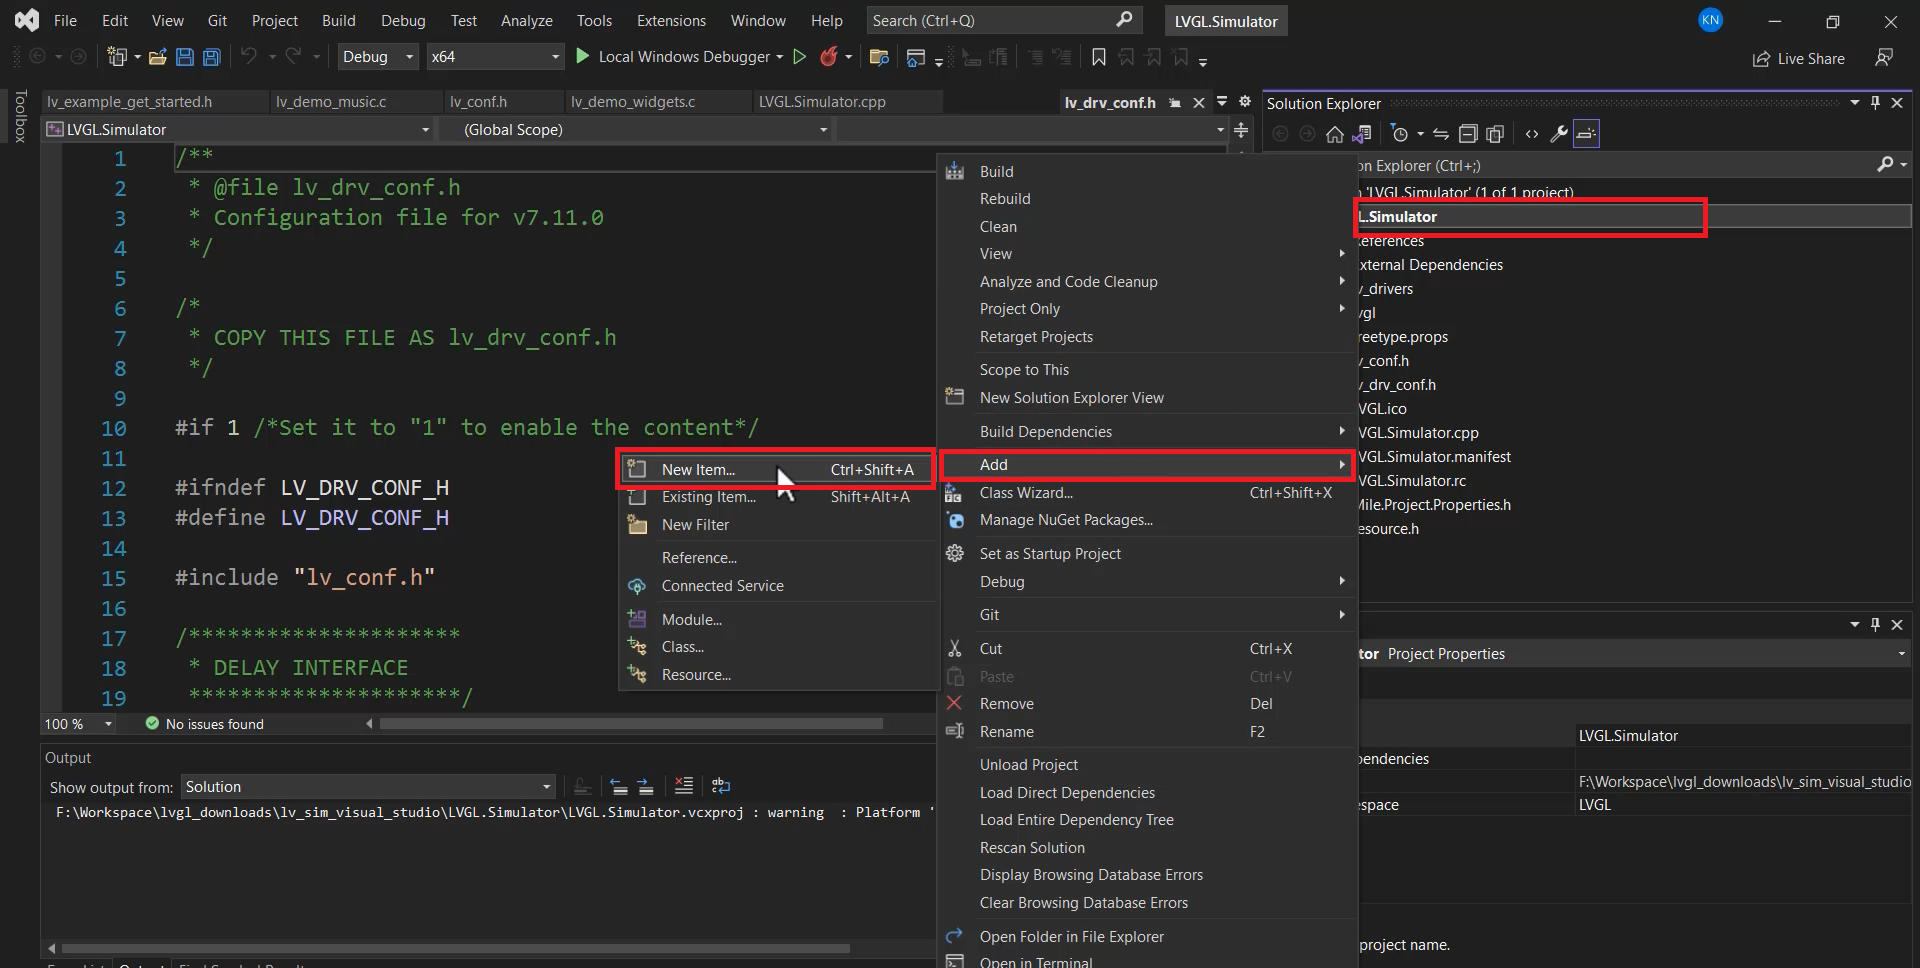
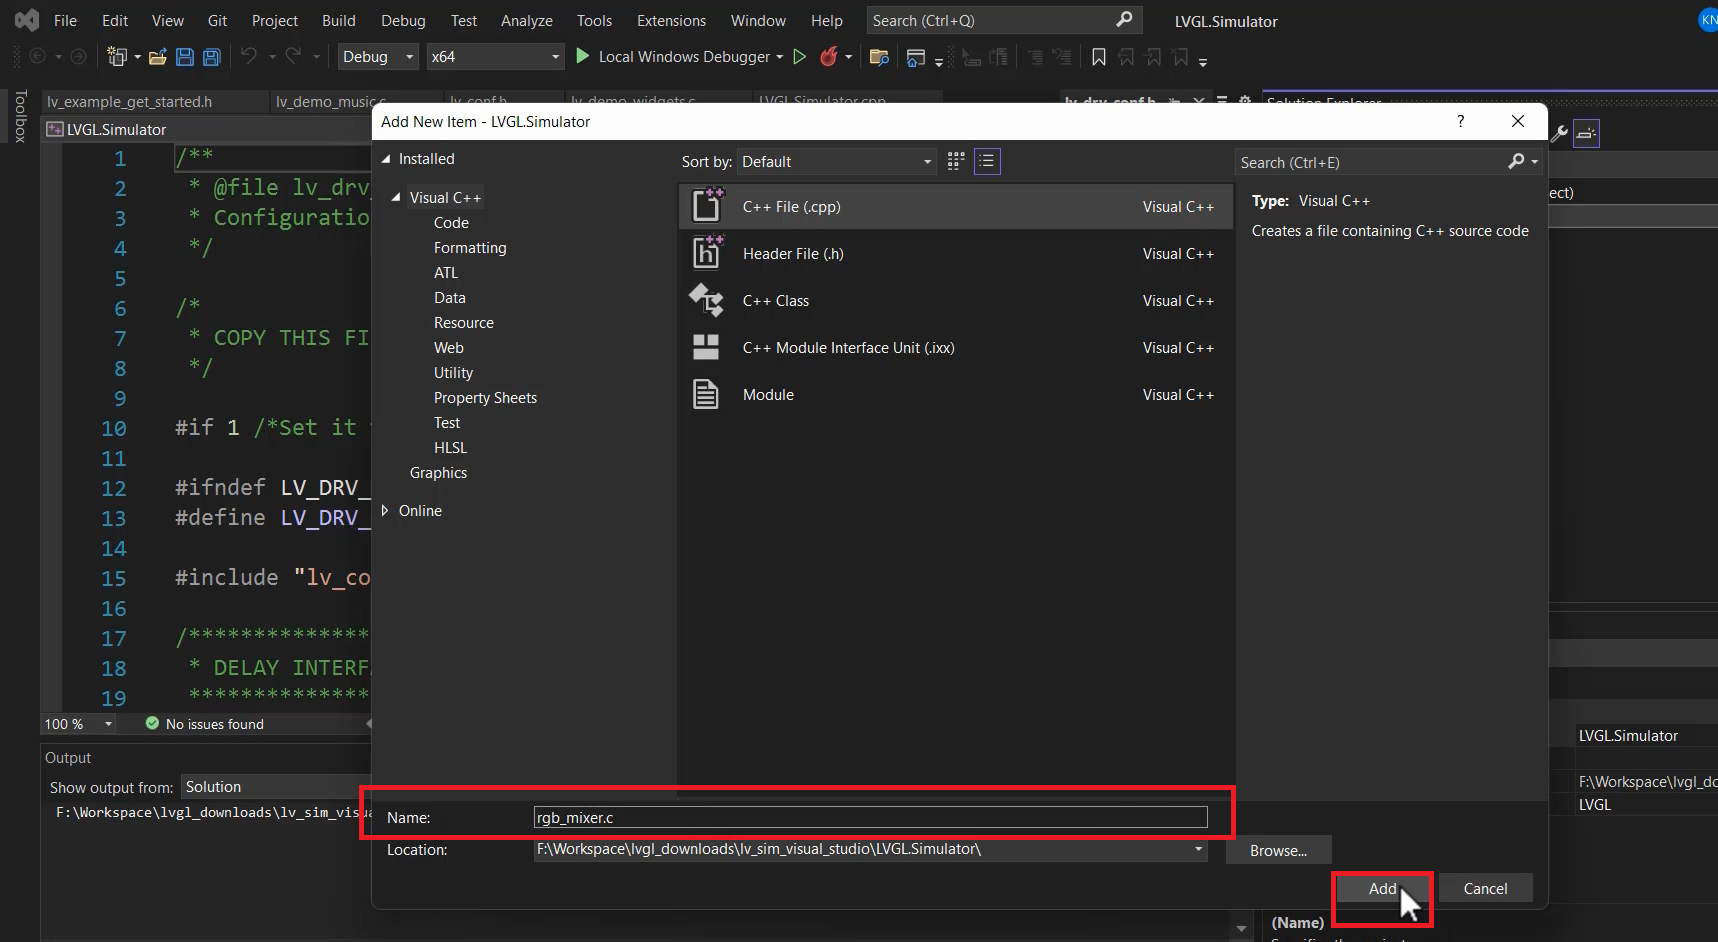
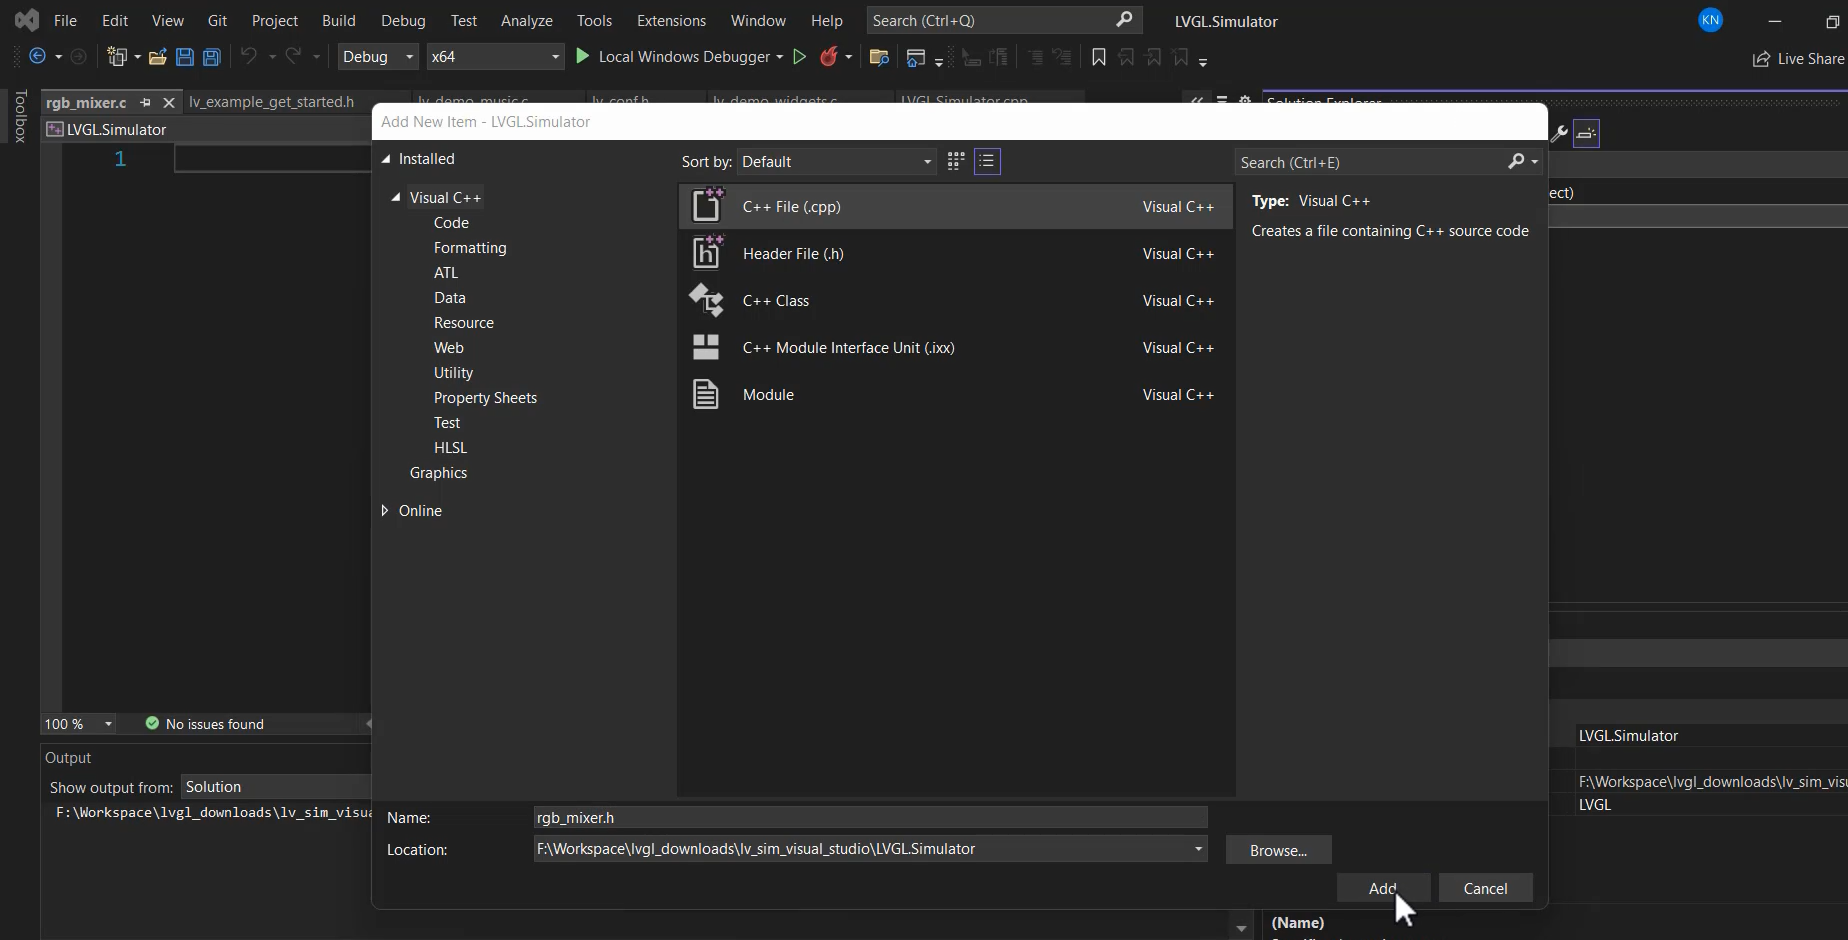
Right-click on the project, select “Add” > “New Item” (Figure 1) and name the file rgb_mixer.c (Figure 2). Repeat the process to create rgb_mixer.h.(Figure 3).
In the rgb_mixer.c file, define a function named rgb_mixer_create_ui, which will create and set up the LVGL widgets for the RGB mixer UI.
Start by initializing a base object (a rectangle) using the lv_obj_create function and setting its parent as the active screen (retrieved with lv_scr_act()).
Don’t forget to include the LVGL header #include “lvgl/lvgl.h”. This provides access to the LVGL functions and features.
I get this from the LVGL documentation. Go to the Widgets, and go to the Base object. And if you want to understand what all APIs are related to a base object, go to the API section.

Let’s give the prototype of the rgb_mixer_create_ui function in rgb_mixer.h and add the include guards here.
#ifndef RGB_MIXER_H
#define RGB _MIXER_H
Handling C++ Compilation Issues:
Since the project is a C++ project, there might be linkage issues when calling C functions from C++ files.
So, in rgb_mixer.h, use #ifdef __cplusplus and extern “C” to ensure proper C function linkage when used in a C++ environment.

Run the code, and you’ll see a rectangle in the center of the screen. A base object is nothing but it’s a rectangle.

You can now adjust its properties, like its position.
Set its properties like width, height, and alignment using lv_obj_set_width, lv_obj_set_height, and lv_obj_align functions, as shown in Figure 7.

Run the code, and you can see that now it came to the center. (Figure 8) And this width is 300, and the height is 50.

So, like that, you can use ‘set’ and ‘get’ methods to manipulate to play with the attributes.
But this is not our objective. Our objective is to create a slider. Use LVGL’s lv_slider_create function to create a slider widget and set its properties like size, position, and alignment using LVGL API functions.
The exercise guides users on how to use LVGL to create GUIs in a simulator environment. To explore more LVGL features and widgets in the official LVGL documentation.
LVGL documentation version 8.3
Fastbit Embedded Brain Academy Courses

