Exercise-003 Implementing LCD functions Part 1
In this article, let’s implement the lcd.cpp.
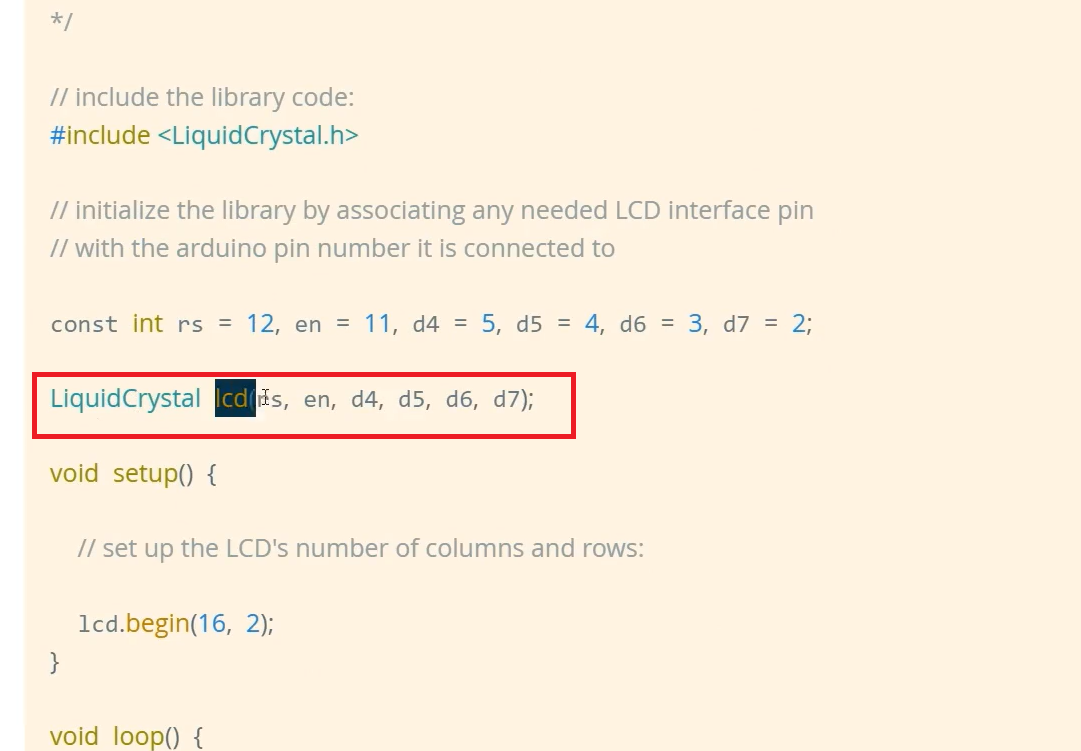
You can look at one usage example(Figure 1). First, you have to create the LCD object.
#include "lcd.h"
#include "main.h"
#include<LiquidCrystal.h>

LiquidCrystal lcd(PIN_LCD_RS,PIN_LCD_RW,PIN_LCD_EN,PIN_LCD_D4,PIN_LCD_D5,PIN_LCD_D6,PIN_LCD_D7);

void lcd_clear(void){
   lcd.clear();
}
void lcd_print_char(char c){
   lcd.print(c);
}

void lcd_scroll_left(void){
   lcd.scrollDisplayLeft();
}
In the lcd.cpp, #include “lcd.h”. Let’s also #include “main.h”. At the top, you create the LCD object for the Liquid Crystal Library of Arduino, as shown above.
LiquidCrystal lcd(PIN_LCD_RS,PIN_LCD_RW,PIN_LCD_EN,PIN_LCD_D4,PIN_LCD_D5,PIN_LCD_D6,PIN_LCD_D7);
Type LiquidCrystal(this is a class name) and the object name, let’s name it as lcd(), and then you have to pass the pin details. Arduino pin details for which we connected the LCD pins.
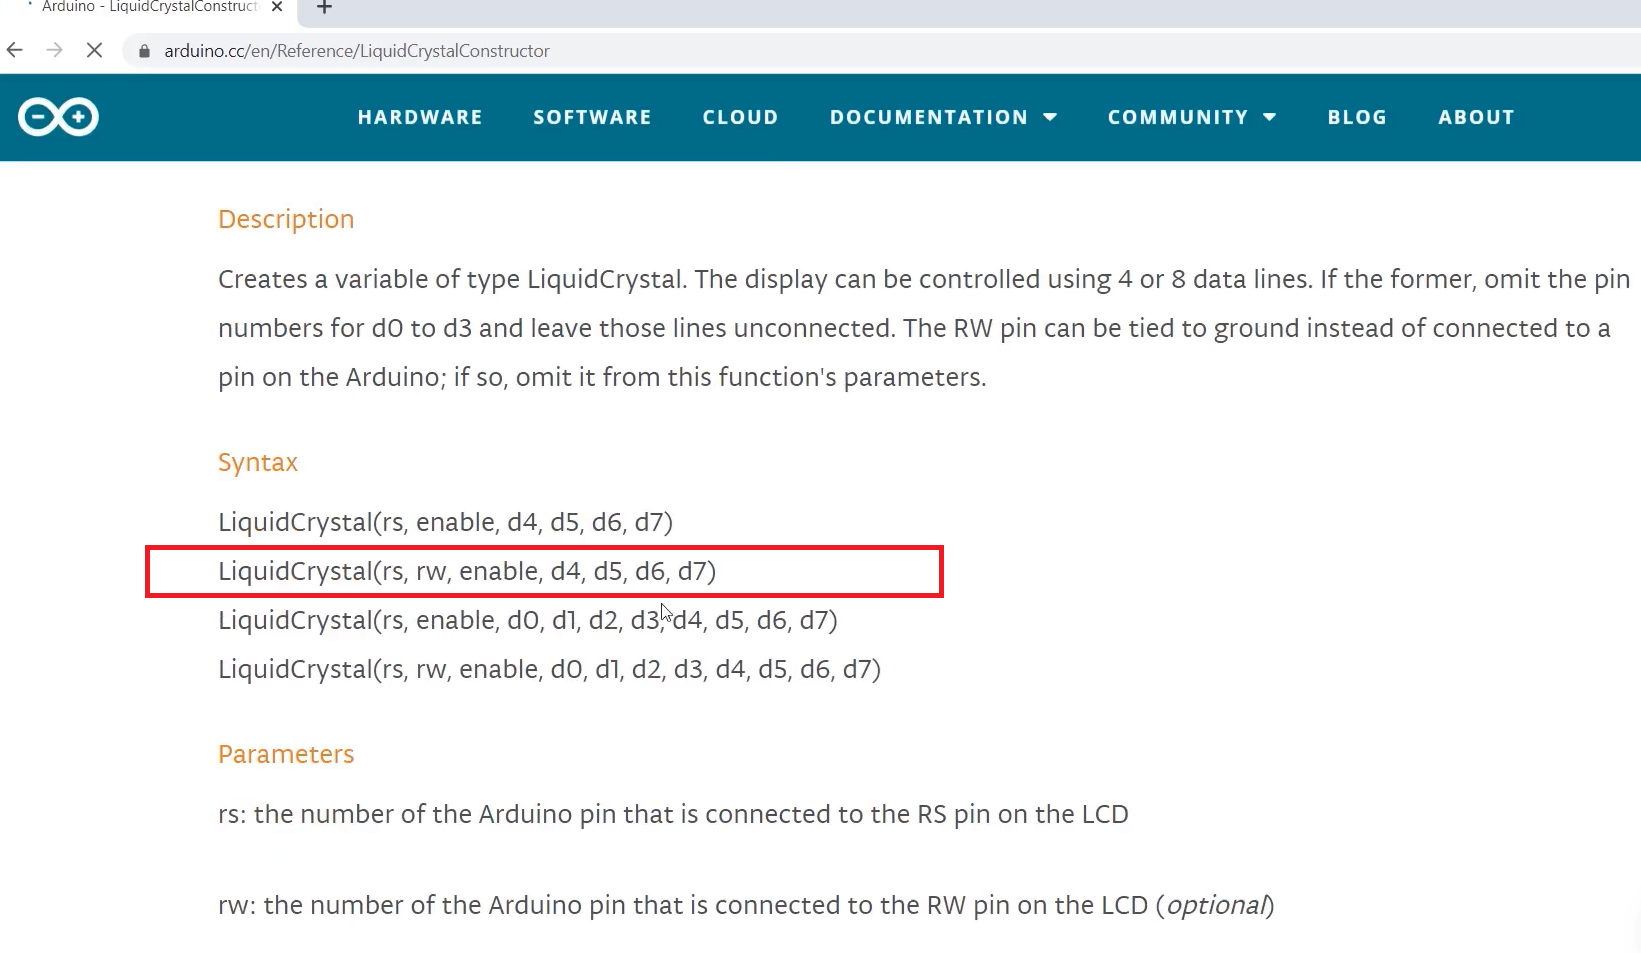
The first is RS. We have macros PIN_LCD_RS. We also have connected LCDs Read-Write pin, that is, RW pins. That’s why we also have to use that; the Read-Write position is second. That’s why the second argument is PIN_LCD_RW, then PIN_LCD_EN, then PIN_LCD_D4, PIN_LCD_D5, PIN_LCD_D6, PIN_LCD_D7(as shown in Figure 2). We just created the object. This calls the constructor of the LiquidCrystal class, and the library initializes the pins. Since we have used LiquidCrystal class, you have to add its header file. The header file is #include<LiquidCrystal.h>.
And now you use the lcd object to access its various methods.
For lcd_clear, you can use lcd.clear().
For lcd_print_char, you can use lcd_print(c). You can pass the character.
For lcd_scroll_left, you can use lcd.scrollDisplayLeft(). Like that, complete the rest of the functions.
FastBit Embedded Brain Academy Courses
Click here: https://fastbitlab.com/course1

