Building In tree module
In this article, let’s understand In-tree building. We are going to build our kernel module by adding our kernel module inside the Linux kernel source tree.
- You have to add the Linux kernel module inside the Linux kernel source tree and let the Linux build system builds that.
- If you want to list your kernel module selection in kernel menuconfig, then you have to create and use a Kconfig file.
When you do menuconfig, Linux configuration will come in the form of menus, and from there, you can select or deselect your kernel modules. You can add a small menu for your kernel module, and that what we are going to learn in this article.
Below are the steps we follow to add the in-tree module to the kernel menu configuration.
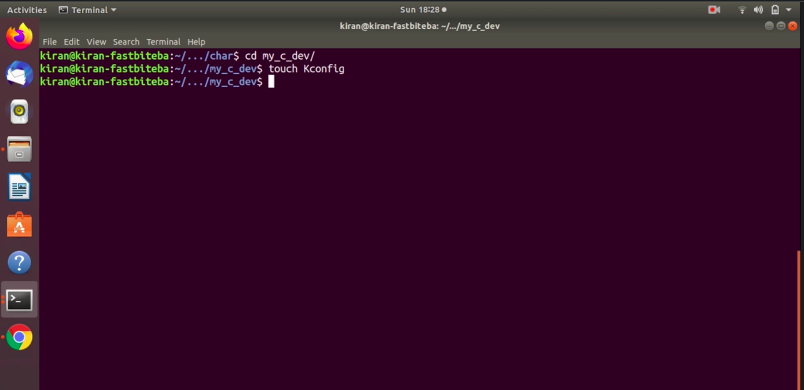
1. Create a folder in drivers/char/my_c_dev
2. Copy main.c
3. Create Kconfig file and add the below entries
menu “my custom modules”
config CUSTOM_HELLOWORLD
tristate “hello world module support”
default m
endmenu
4. Add the local Kconfig entry to upper level Kconfig
5. Create a local Makefile
6. Add obj-$(config_item) += <module>.o in to local Makefile
7. Add the local level makefile to higher level Makefile
(Ref:-https://www.kernel.org/doc/Documentation/kbuild/kconfig-language.txt)
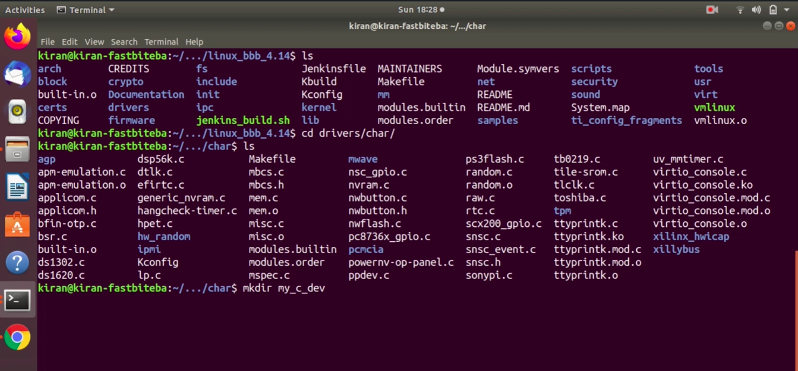
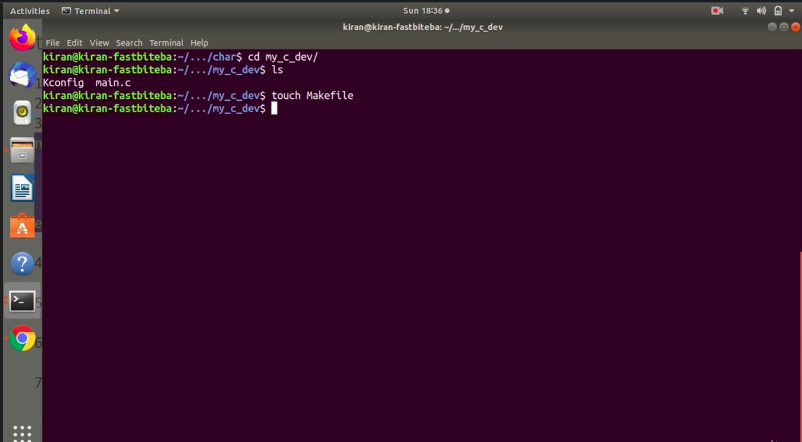
First, what you have to do is, you have to create a folder in the Linux kernel source tree. Under the directory drivers/char under this path, create a directory called my c_dev as shown in Figure 1.
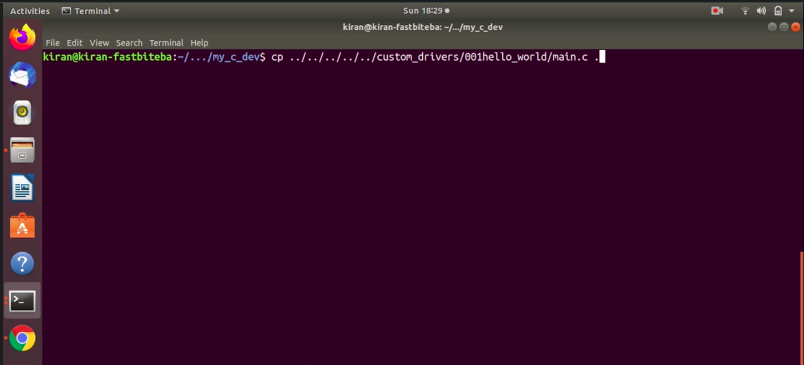
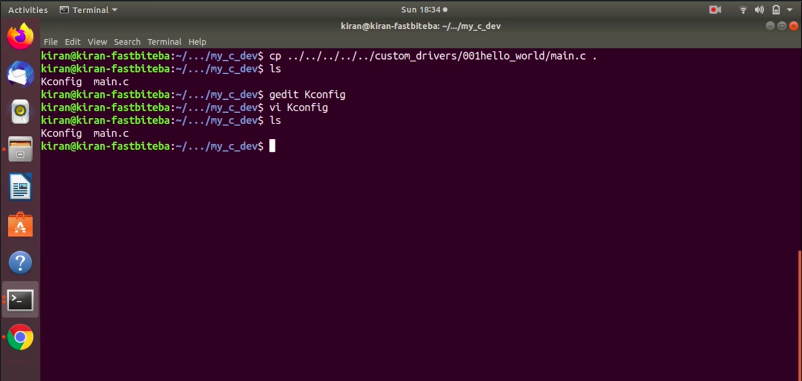
And there, you copy your main.c (as shown in Figure 2).
After that, create a local Kconfig file (as shown in Figure 3).
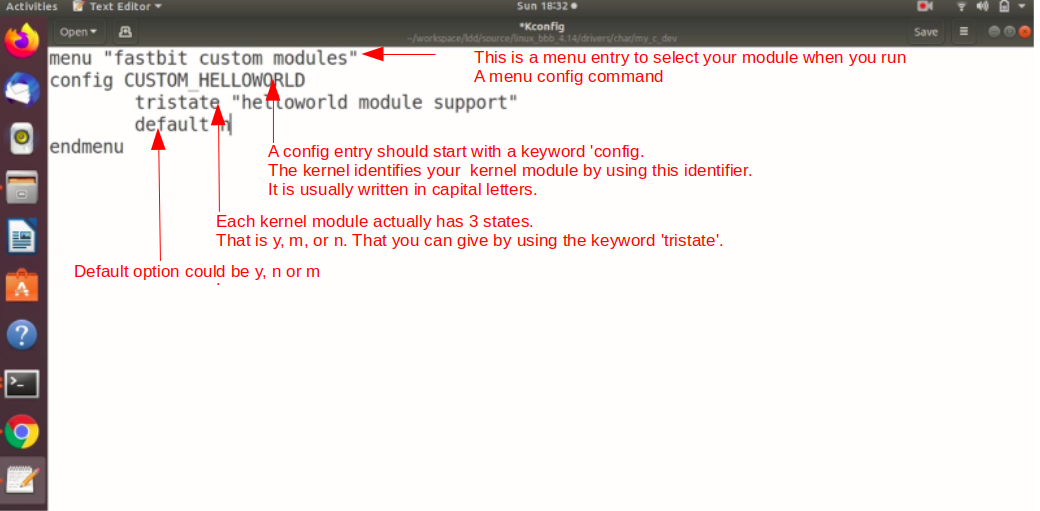
Open Kconfig using command gedit Kconfig and add the entries as shown in Figure 4.
Text: menu “fastbit custom_modules”
config CUSTOM_HELLOWORLD
tristate “helloworld module support”
Default n
endmenu
A menu entry should start with a keyword ‘menu,’ and it should end with a keyword ‘endmenu.’
Inside the menu, you can add a couple of config items—one config item for each kernel module. You can give a short description which describes your menu.
Let’s open the Kconfig file. Here, add menu. Add a descriptive name for your menu, your custom, or let me add “fastbit custom modules” After that, end this with the end menu.
We have got one, which prints “Hello World.” That’s why this is a config entry or config item for my Hello world kernel module. A config entry should start with the keyword ‘config.’
In this config item, you have to use a config keyword and an identifier. This is an identifier string. The kernel identifies your kernel module by using this identifier. It is usually written in capital letters.
Let’s add the first entry config entry, config. You have to give an identifier name for your config entry. We are adding a helloworld kernel module. Call it as CUSTOM_HELLOWORLD.
After that, your kernel module can be deselected, or it could be selected. And if it is selected, it could be a static module or dynamic module. That means each kernel module actually has three states.
That is y, m, or n. That you can give by using the keyword ‘tristate.’ You can give a short description about your custom module. Mention tristate keyword. Just give a descriptive name for this CUSTOM_HELLOWORLD module “helloworld module support. “
And after that, mention the default selection for this kernel module. M, or y, or n. Let me mention n. It is deselected by default m. That’s a small menu entry for our CUSTOM_MODULE. Let’s save this and close this.
Next, you have to add the local Kconfig entry to the upper-level Kconfig. That’s how the kernel build system will detect your local kconfig. You have to inform that to the upper-level Kconfig.
Let’s do ls. You can see Kconfig(as shown in Figure 5 ).
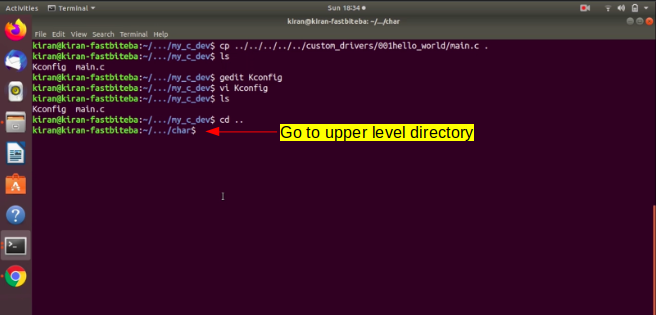
Let’s go to the upper-level directory do cd .. , and this is an upper-level directory. Here it is char, as shown in Figure 6.
And here, open Kconfig. Go at the end and add source “drivers/char/ your folder/Kconfig”(as shown in Figure 7). Save and exit.

After that, the next step is to create a local makefile. Now let’s get into our folder my_c_dev. Here, let’s create a local Makefile, as shown in Figure 8.
The next step is to add this obj variable entry into the local makefile.
First, let’s go back to our command prompt and let’s open the makefile that we created.
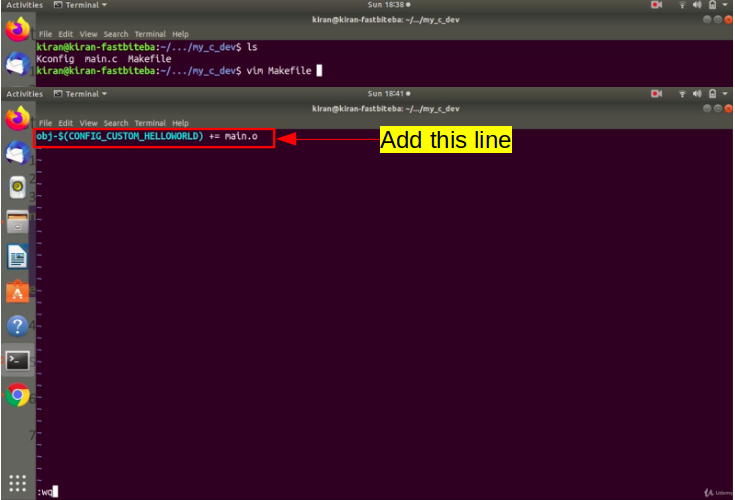
Here, you should do obj-, but you don’t know whether it is m, or y, or n. That’s what, you are going to select using the kernel menu configuration. That’s why you have to mention the config identifier what you have given in the Kconfig. This is how you should write. $ sign open the parenthesis. Inside the parenthesis, give the config identifier for your custom module, that is, we have given the name CUSTOM_HELLOWORLD. This identifier has to be preceded with the keyword CONFIG_
If the identifier name is CUSTOM_HELLOWORLD, you should mention it as CONFIG_CUSTOM_HELLOWORLD. Now, this identifier later will be replaced by the menu configuration selection. It will be replaced by either n, or y, or m, as you select in the kernel menu configuration.
After that, you have to give the target. You can use = or +=, and here you have to mention module name.o. The module name is main.o the object file. Let’s save this and exit(as shown in Figure 9).
The final step is to add the local level makefile to a higher level makefile. We have to establish the link.
Let’s go back to the command prompt. Go to the upper level and open the Makefile. And you have to go to the end here you have to add your entry as shown in Figure 10.
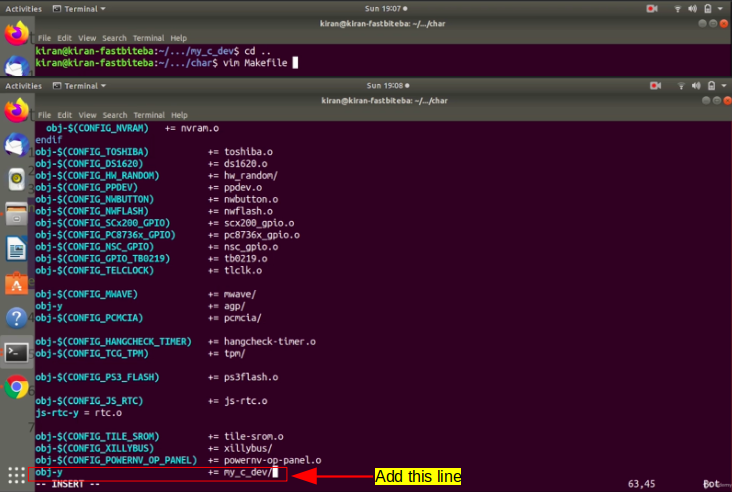
In char, you have created your directory, which is my_c_dev. You have to add that the way they have added here. Add obj-y because that folder is always selected. That’s why use obj-y. To select that folder, we don’t have any config item remember that.
To select a kernel module under that menu, we have config item. But, select our folder we don’t have any config item, that’s why, directly using obj-y += your folder, my_c_dev. The kernel build system will come to drivers /char, and it will read this makefile, and it will go inside our my_c_dev, that it finds another local makefile and it will use that a Kbuild variable obj- whatever the config item we have given. Let’s save and exit.
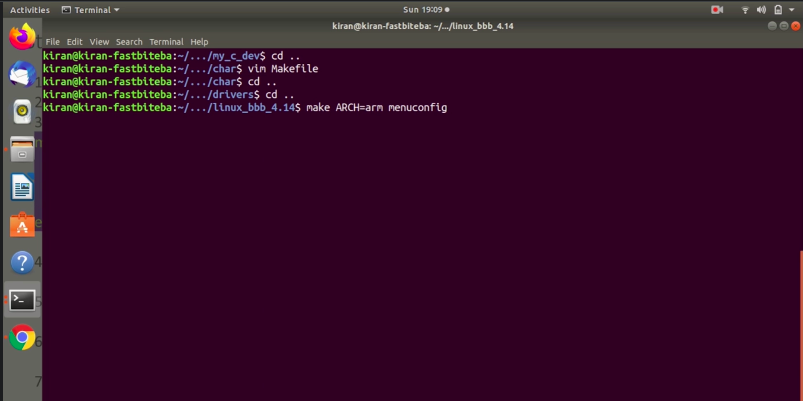
We have completed all the steps. Let’s try the Linux menu configuration.
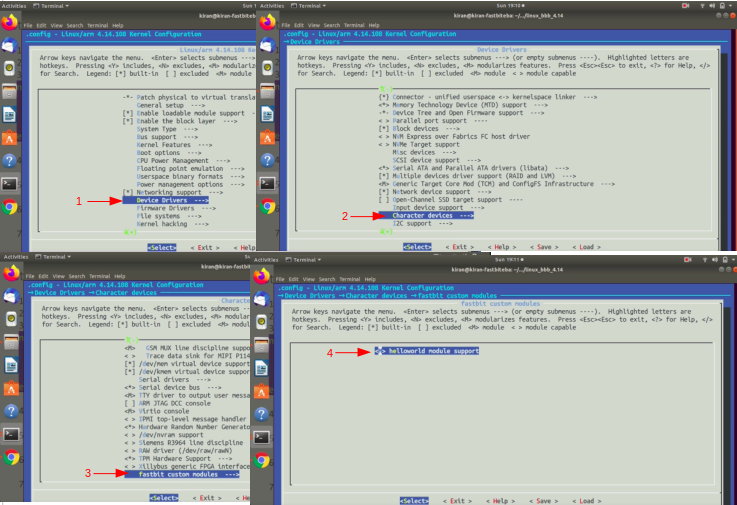
Come back to the top-level directory of the Linux kernel tree and here execute make ARCH=arm menuconfig as shown in Figure 11.
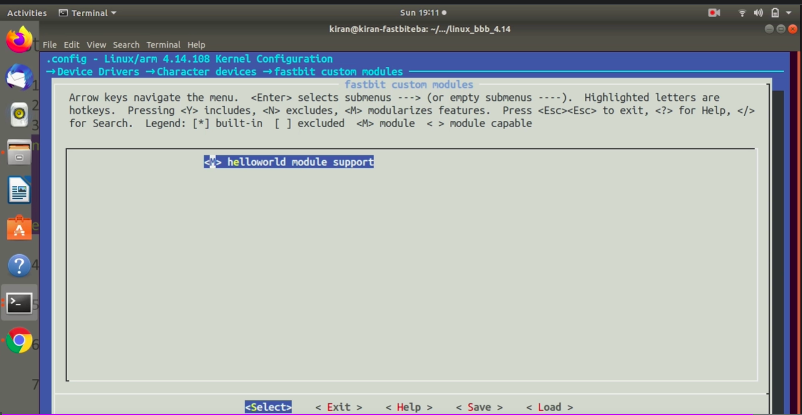
Go to device drivers(1). And here go to character devices(2). And here go at the end. Here you see our menu entry fastbit custom modules(3). Go inside that. This is the main menu, and here we have to list our custom modules. We have got one custom module helloworld module support(4).
And you can see that by default, it is not selected(Figure 12).
If you go to the help as shown in Figure 13, it will show you what is a symbol or identifier of that module. By default, it is equal to n. Exit.

And you can use the space key of your computer to select between multiple options here. It would be M or *. Star(*) means this will be statically linked to the kernel. If it is M means, it will be built as a dynamically loadable module. I would select M here, as shown in Figure 14. and after that exit.
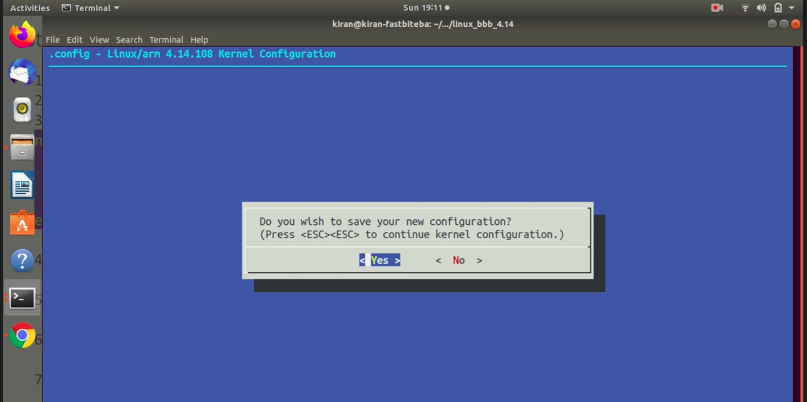
It will ask, Do you wish to save your new configuration? You have to press ‘Yes’ here, as shown in Figure 15.
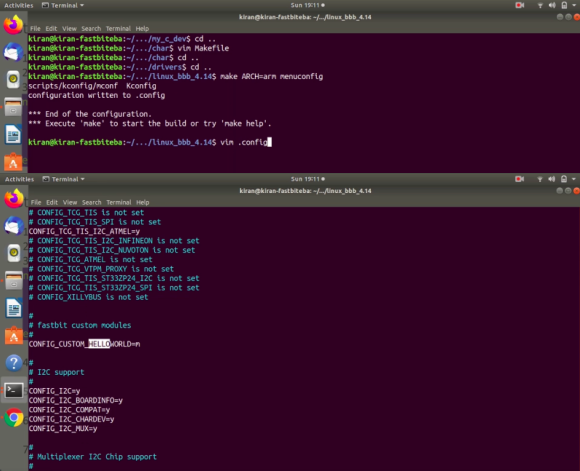
And now open the .config file which is created. Just search for your helloworld(shown in Figure 16). Let’s quit this. Don’t edit .config.
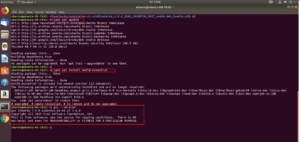
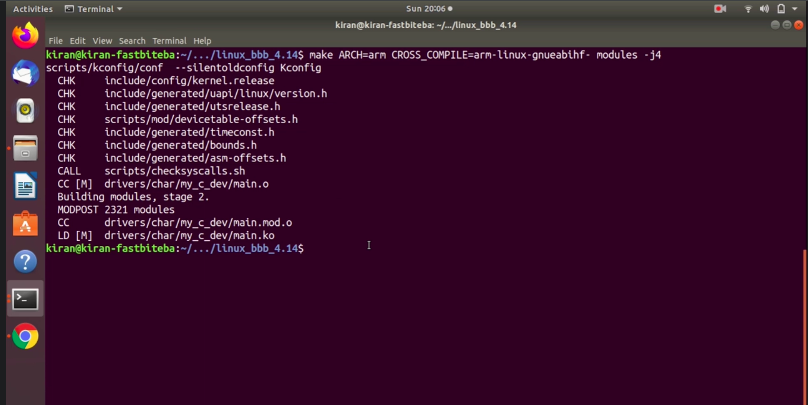
Let’s invoke the module building command again, as shown in Figure 17.
make ARCH=arm CROSS_COMPILE=arm-linux-gnueabihf modules -j4
This is a command we used to build the loadable modules. Here you can see that the module that we added is built. You can see that the .ko file is generated.
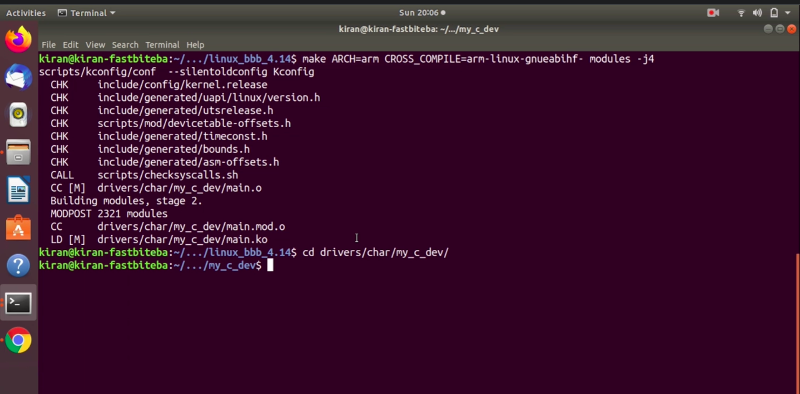
Let’s get into that location drivers/char/ my_c_dev as shown in Figure 18.
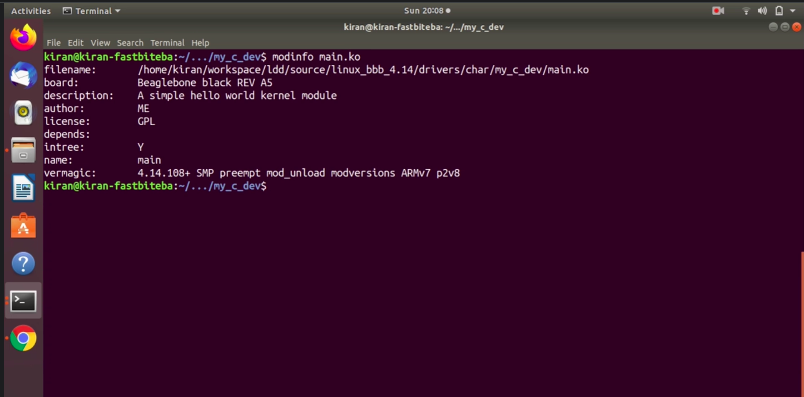
And here, just run modinfo (as shown in Figure 19) on that kernel module, and here you can see that it shows now in-tree is Y. That means this module is now an in-tree module.
When you load this module into the kernel, Kernel won’t throw that warning message saying ‘out of tree module taints the kernel.’
That’s about the in-tree building of kernel modules and let me know if you face any issues. Try to reproduce at your desk, I will see you in the following article.
FastBit Embedded Brain Academy Courses
Click here: https://fastbitlab.com/course1