Compilation and testing of an LKM
In the previous article, we delved into the build command. Now, in this article, we’ll walk through the process of building and testing our “Hello World” kernel module.
Navigate to the custom drivers folder where we’ve already created a folder.
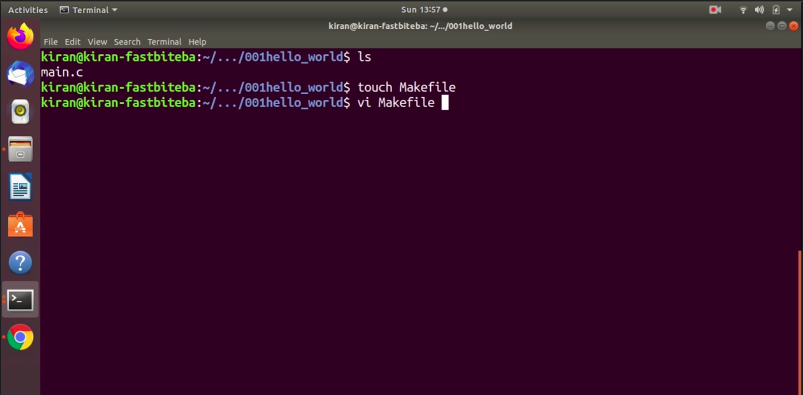
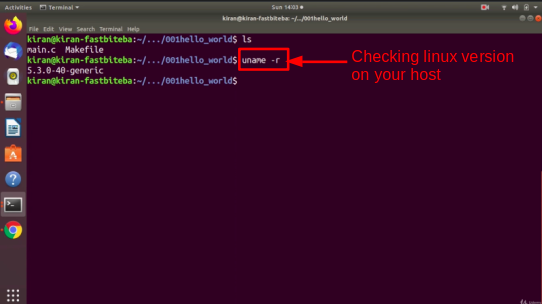
Enter the “hello_world” project directory, where you’ll find the “main.c” file. Let’s create a Makefile. Simply run the command touch Makefile, then open the Makefile (as shown in Figure 1).
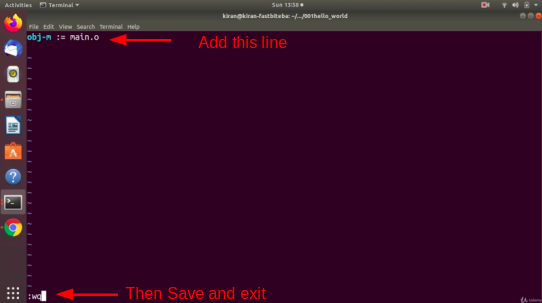
In the Makefile, add the obj variable, a kernel build variable: obj-m := main.o. This is the only entry you need to make for now; we’ll explore more complex syntax later. You’re initializing this variable to “main.o.” Afterward, save and exit the Makefile.
Now we’re ready to build. You can build the kernel module for your host or target machine. In this case, “main.c” is a kernel module that can be built and run on your host machine or your target machine.
First, let’s try building the kernel module for your host machine, specifically on your Ubuntu system.
For that, you need a pre-built kernel source of a Linux kernel version, which is running on your host system. First of all, what is a version of the Linux kernel which is running on our host? To check that, just run uname -r, it is 5.3.0.
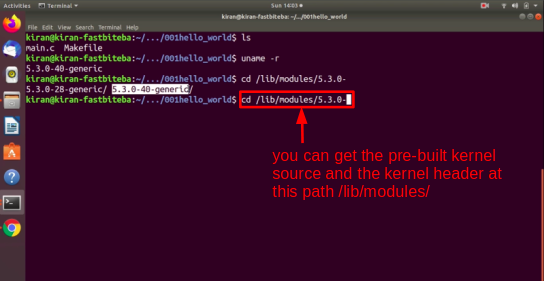
And you can get the pre-built kernel source and the kernel header at this path /lib/modules/ (as shown in Figure 4). You just mention the kernel version that is 5.3.
Here, this is a pre-built kernel source and kernel header directory. Now, you’ll build your module against the 5.3.0-40-generic/ directory.
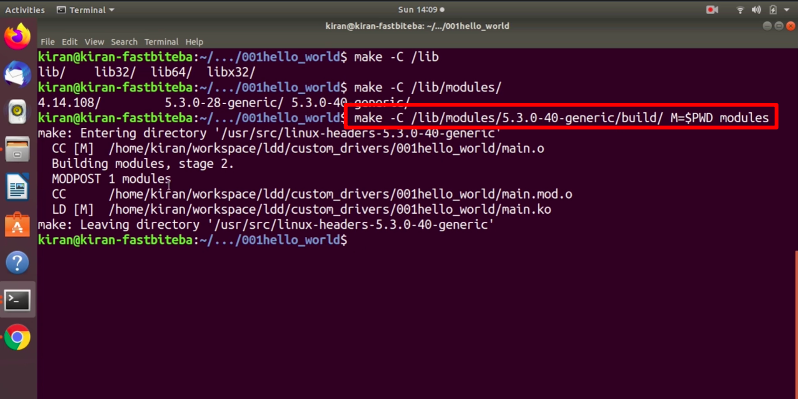
If you want to build a kernel module against your host machine(as shown in Figure 5). make -C, now you have to mention the path to the linux kernel source or to the linux kernel header.
Let’s mention /lib/modules/ 5.3.0-40- generic. So, generic, and then you have to mention build. And after that, we have to define the M variable, M is equal to it should point to the path of the current working directory.
This is a current working directory. We can get the current working directory’s path by using the environment variable PWD. You have to get the value of the environment variable PWD, that’s why we have to use $PWD.
Here, $PWD refers to the current working directory. It points to the directory where your module’s source code is located.
And after that, you have to mention the command or target. We want to build a module, you have to mention modules.
There are different types of commands or targets likemodules, modules_install, clean, and help. In this case, we’re using modules.
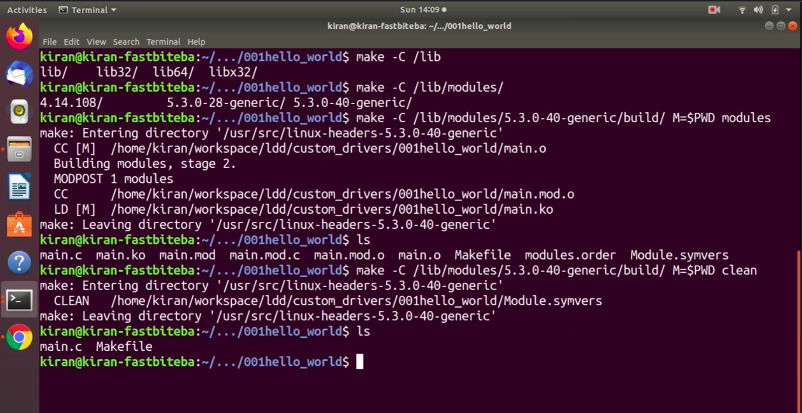
First, what happens is, here, when make is executed. It first goes into /lib/modules/5.3.0-40-generic/build/ path. It triggers the top-level makefile, which it is going to find here(/lib/modules/5.3.0-40-generic/build/).
And the top-level makefile get the value of M. ‘M’ points to the current directory. The top-level make file visits your current directory, and it sees a makefile that. Because you have kept a local makefile, and it reads the local makefile where you have written a obj-m=main.o. It builds your main.c to produce the kernel object file main.ko.
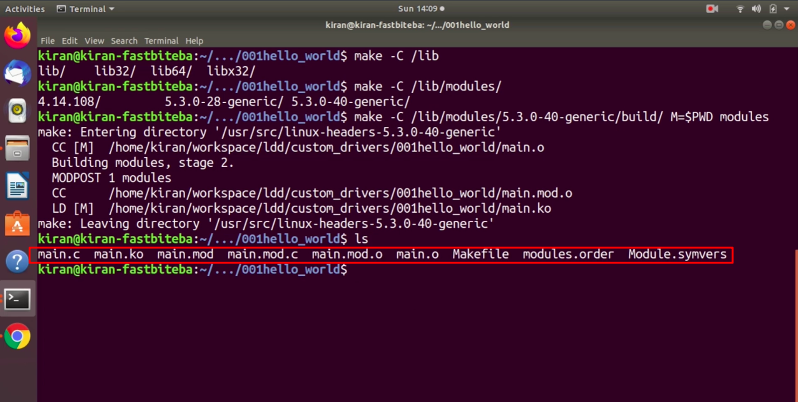
When you Hit enter. You can see that entering the directory. It went to that path and after that, it came to your local directory. And it built main.o, because that was a target mentioned in the local makefile, and it finally generated main.ko as shown in Figure 6. Then Do ls.
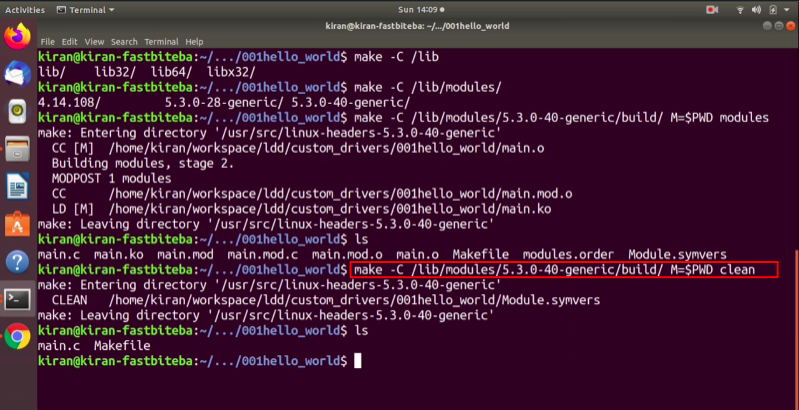
If you change the target modules to clean(as shown in the Figure 7), it will clean your working directory. You can see that everything will get deleted.
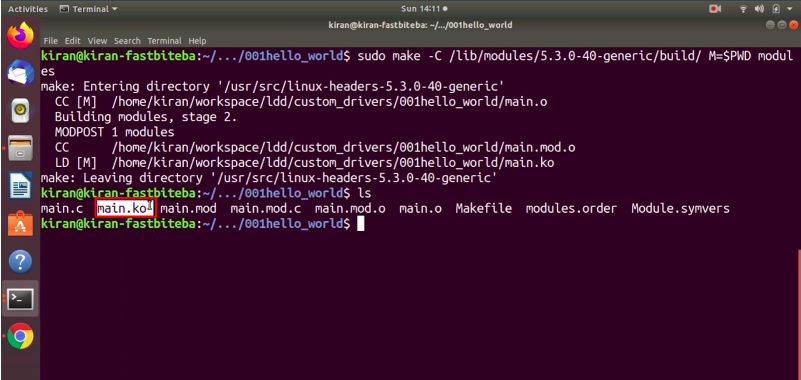
Let’s run that command once again. Now, we got main.ko, as shown in Figure 8. This is a kernel module.
Let’s insert that kernel module into the running kernel of the host. For that, you can use the user-level program sudo insmod main.ko(as shown in Figure 9). Hit enter.
And if you want to see the result, just type dmesg.
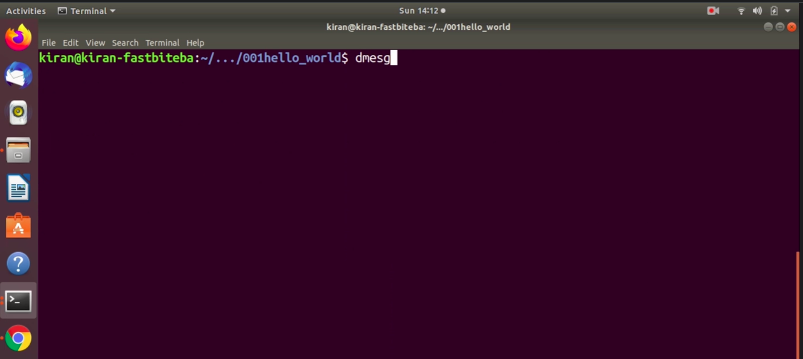
Here you can see that we got these messages. You see, there are two warning messages, as shown in Figure 11.
The first one is loading Out of tree module taints the kernel. That’s a warning added by the kernel because you just loaded the Out of tree kernel module. You don’t see this warning message if the module is an In tree module. Let’s try building and loading an In tree module later.
After that, you see one more warning message here: ‘module verification failed, signature and/or required key is missing’. This is because the vendor, in this case, Ubuntu, has turned on module signature verification.
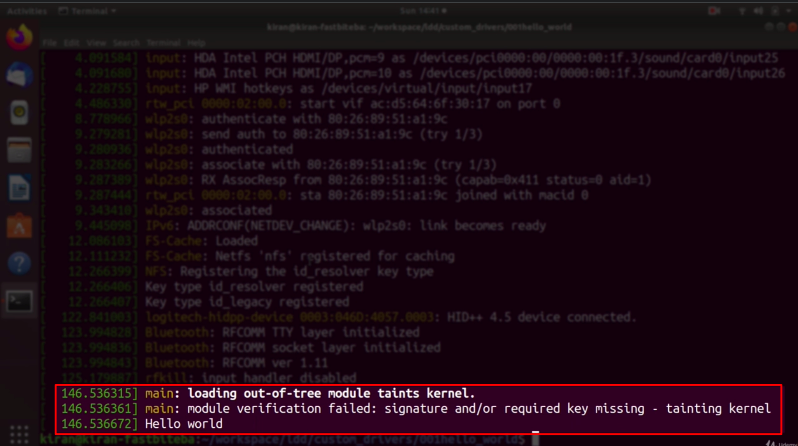
The kernel, which is configured by Ubuntu, compares the signature of the vendor on the kernel module. Since our kernel module is not signed up by the vendor, the verification fails.
After that, the third message that is “helloworld” is from our kernel modules init function. So, when you loaded the module using insmod, the modules entry point ran, and it printed this message.
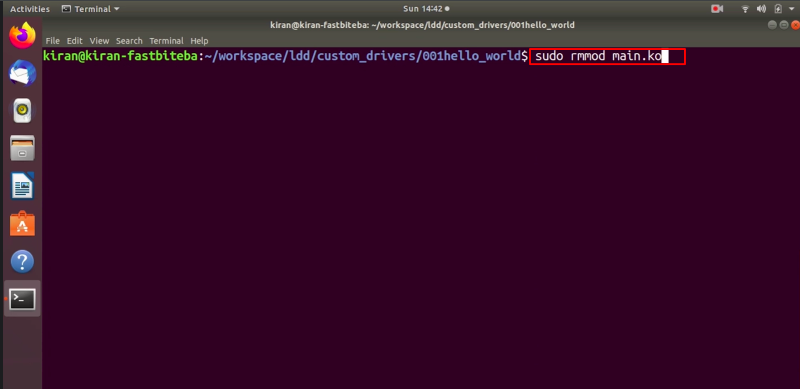
Now, you can remove the module using the command rmmod.
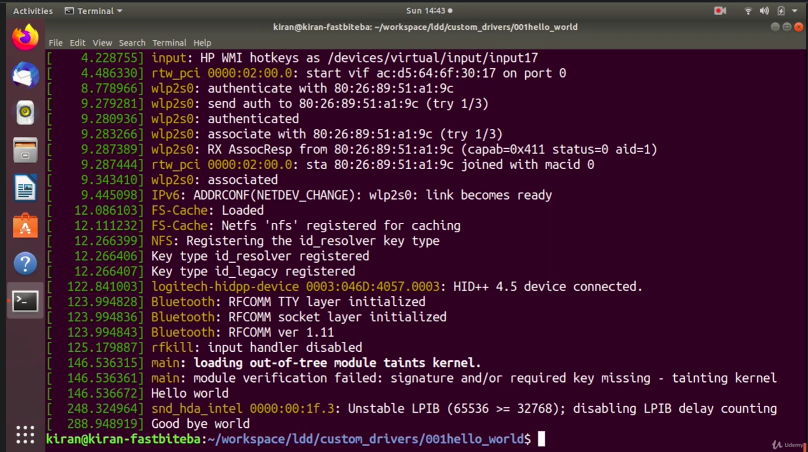
Now you see that the cleanup function of our module has been executed, and it printed this message.
In the following article, let’s build the kernel module for our target and then we can transfer and test it on the target.
Get the Full Course on Linux Device Driver(LDD1) Here
FastBit Embedded Brain Academy Courses
Click here: https://fastbitlab.com/course1