Exercise: UART Parameter Inits
Now the fourth step is UART parameter initializations.
The parameters of the UART that need to be configured are as follows:
- Baud rate.
- The number of stop bits.
- Whether hardware flow control is required or not.
- The parity
All the above configurations can be collectively called a UART peripheral configuration.
Now let’s do the UART peripheral configuration. For that, you have to go to USART.c.
In USART.c you can see USART_Init() API. You have to initialize the USART_InitTypeDef structure in order to initialize the UART peripheral.
Now let’s use this USART_Init API. Here the first parameter is the base address of the USART peripheral, i.e., USARTx, x indicates the USART peripheral that you want to use. It can be either 1, 2, 3, 4, 5, 6, 7, or 8. The second parameter is a pointer to the initialization structure.
void USART_Init(USART_TypeDef* USARTx, USART_InitTypeDef* USART_InitStruct)
{
  uint32_t tmpreg = 0x00, apbclock = 0x00;
  uint32_t integerdivider = 0x00;
  uint32_t fractionaldivider = 0x00;
  RCC_ClocksTypeDef RCC_ClocksStatus;
Now let’s go to the main.c and start doing the initialization. First, let’s create a variable for the structure USART_InitTypeDef and name it as uart2_init.
static void prvSetupHardware(void)
{
   GPIO_InitTypeDef gpio_uart_pins;
   USART_InitTypeDef uart2_init;
Creation of structure of type USART_InitTypeDef
Now let’s initialize the parameters of the structure named uart2_init.
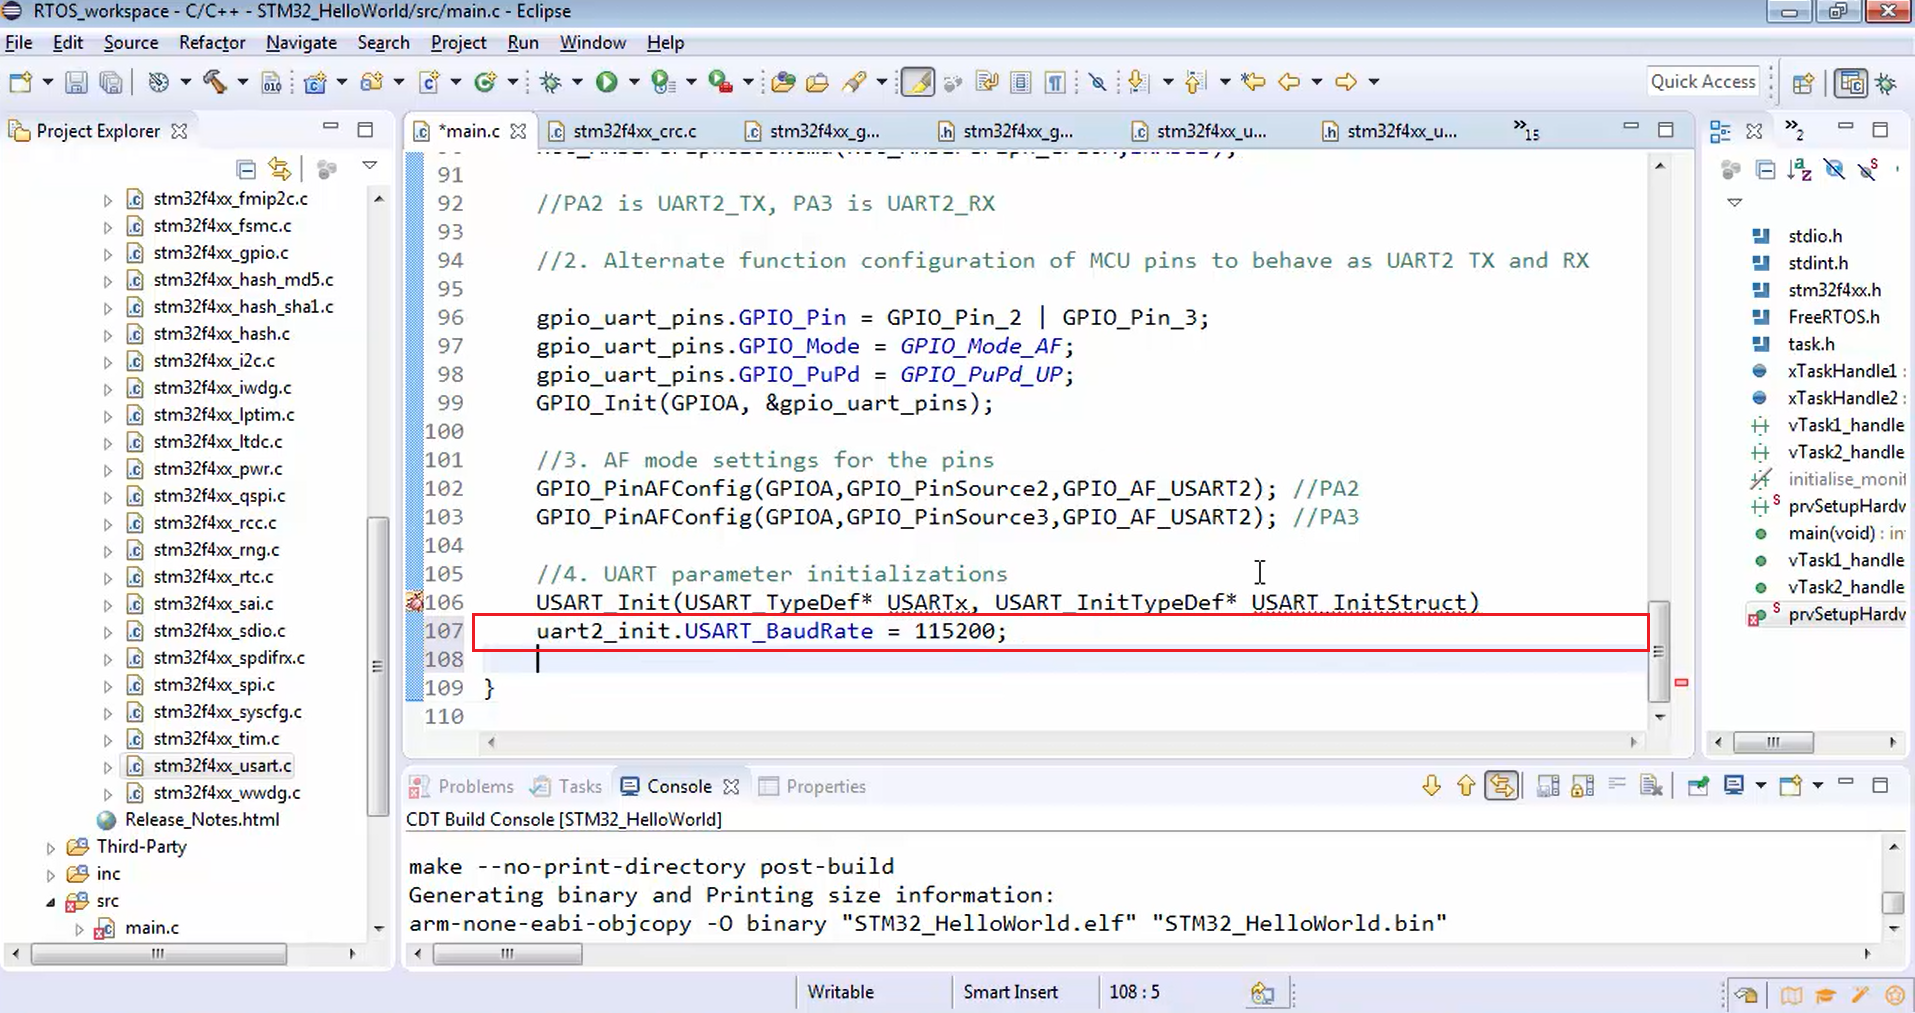
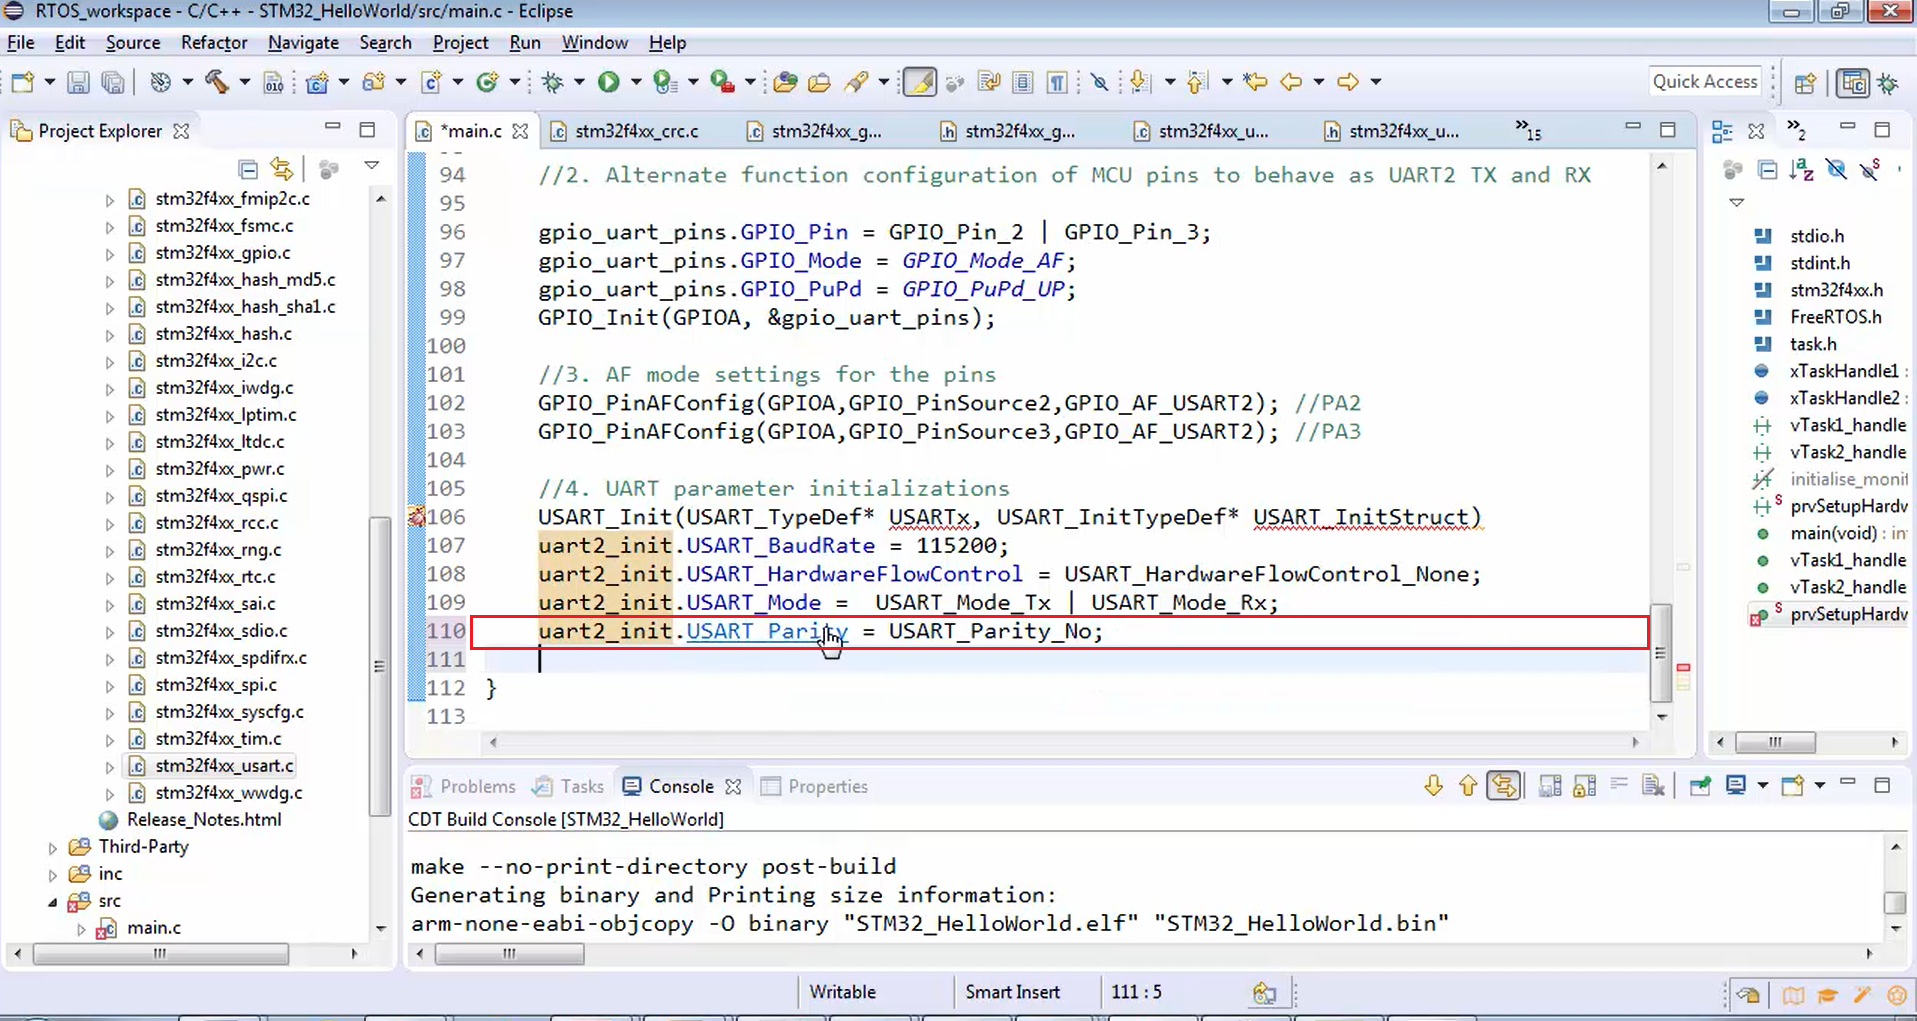
- USART_BaudRate: For baud rate, let’s use 115200. You can just type that number, as shown in Figure 1.
uart2_init.USART_BaudRate = 115200;
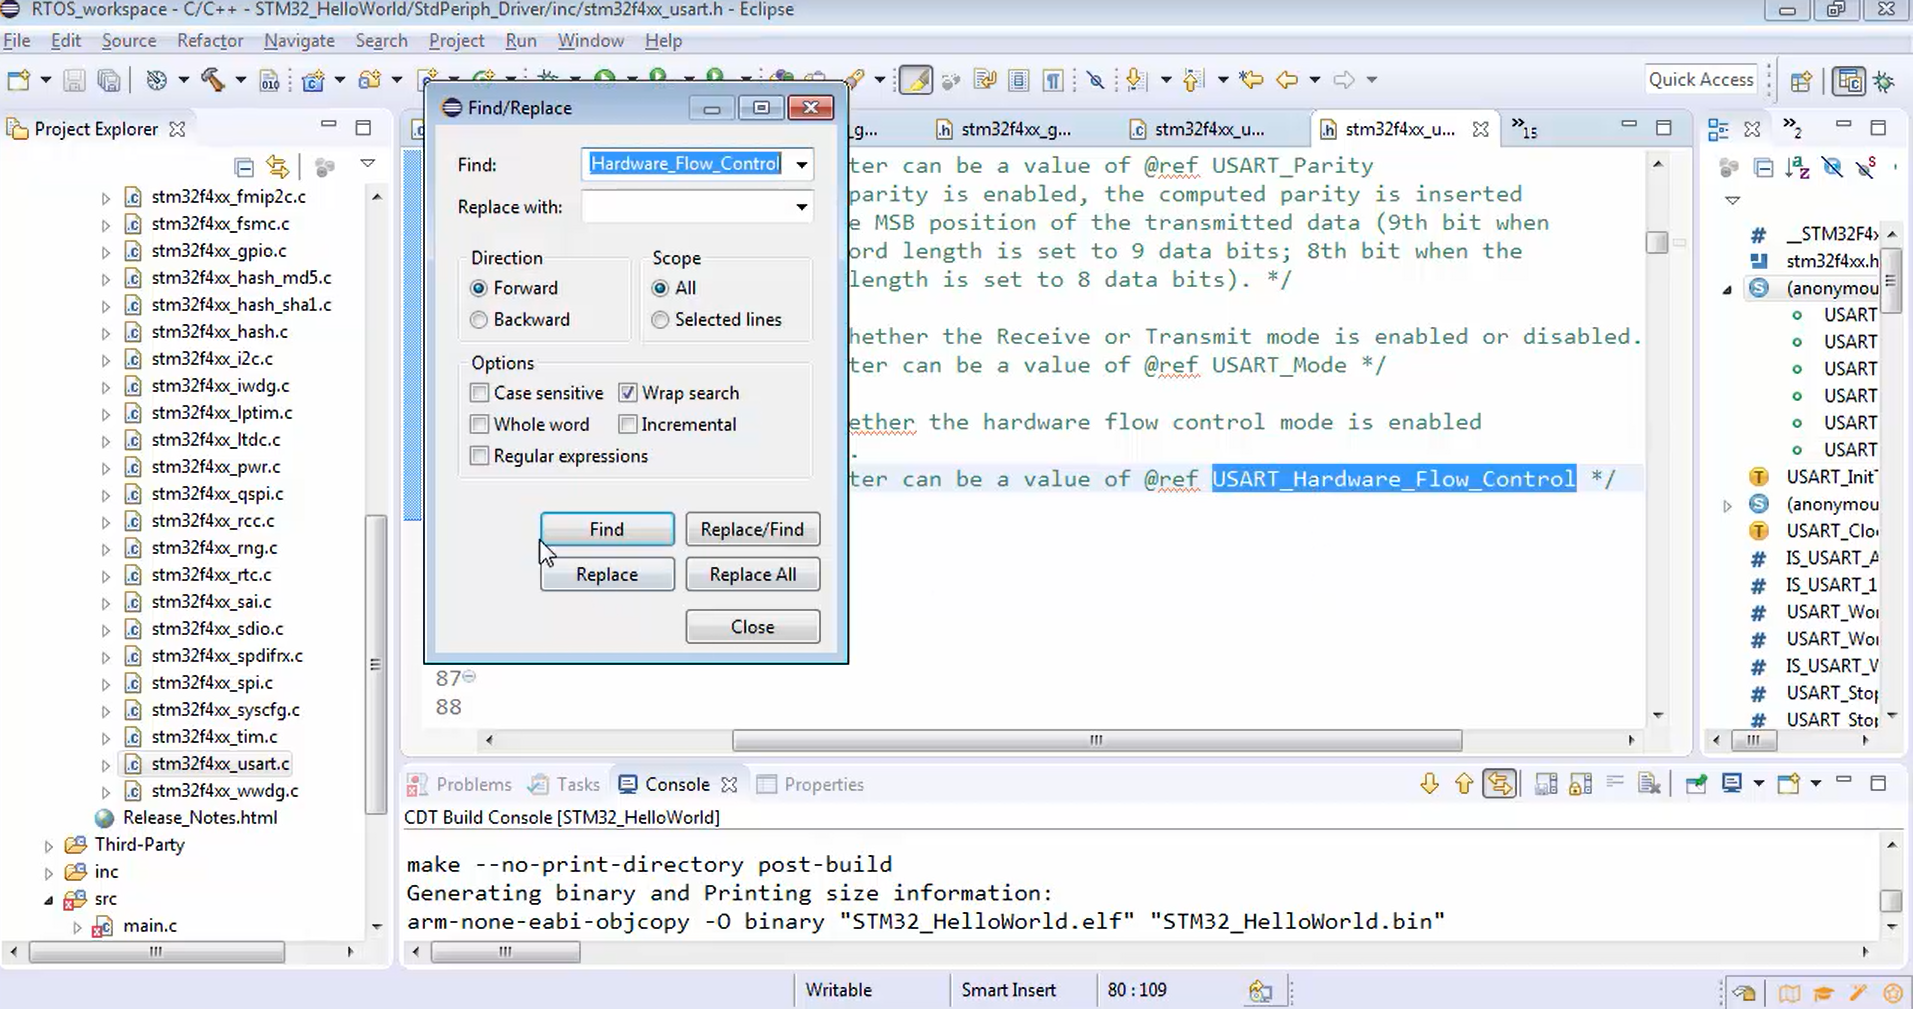
- USART_HardwareFlowControl: First, let’s see what are the options available to configure the hardware flow control. You can get the reference for hardware flow control from USART_Hardware_Flow_Control (Figure 2).
Now let’s search USART_Hardware_Flow_Control, as shown in Figure 3.
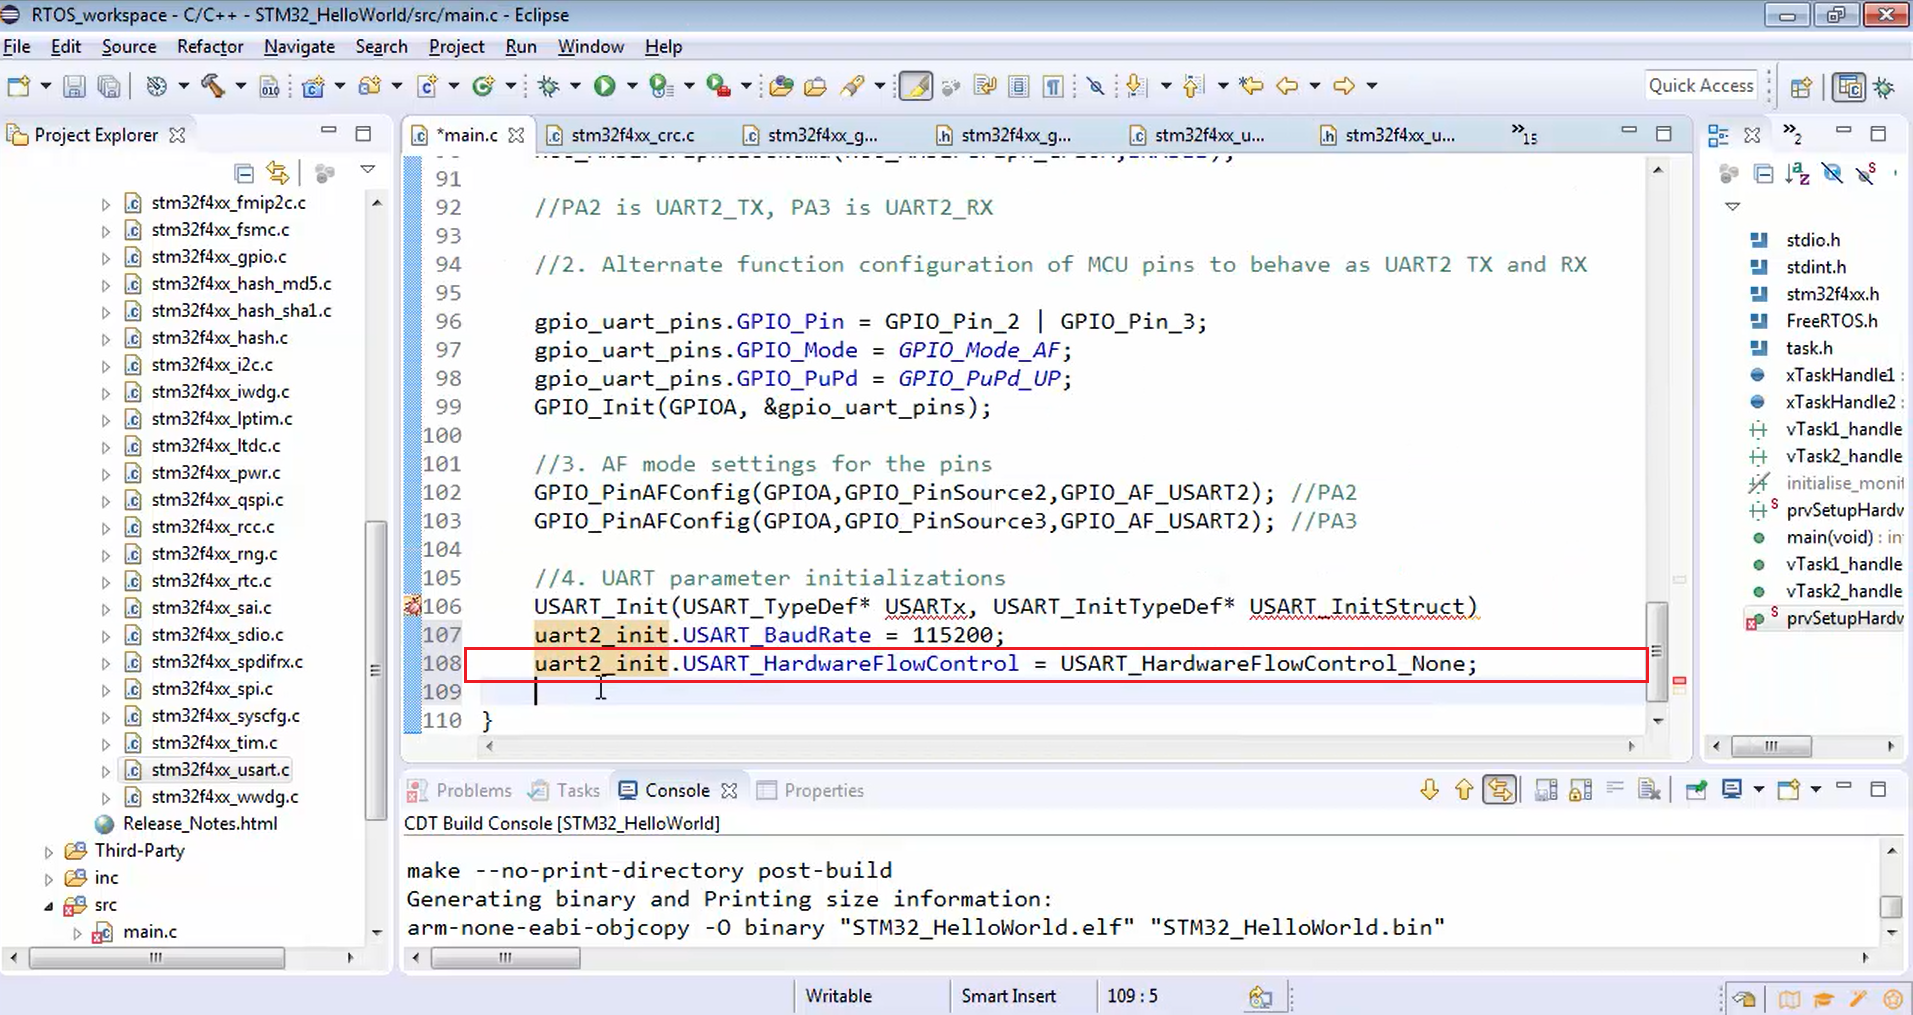
In Figure 4, you can see various options for hardware flow control. Since we don’t want to use hardware flow control, configure USART_Hardware_Flow_Control as none, as shown in Figure 5.

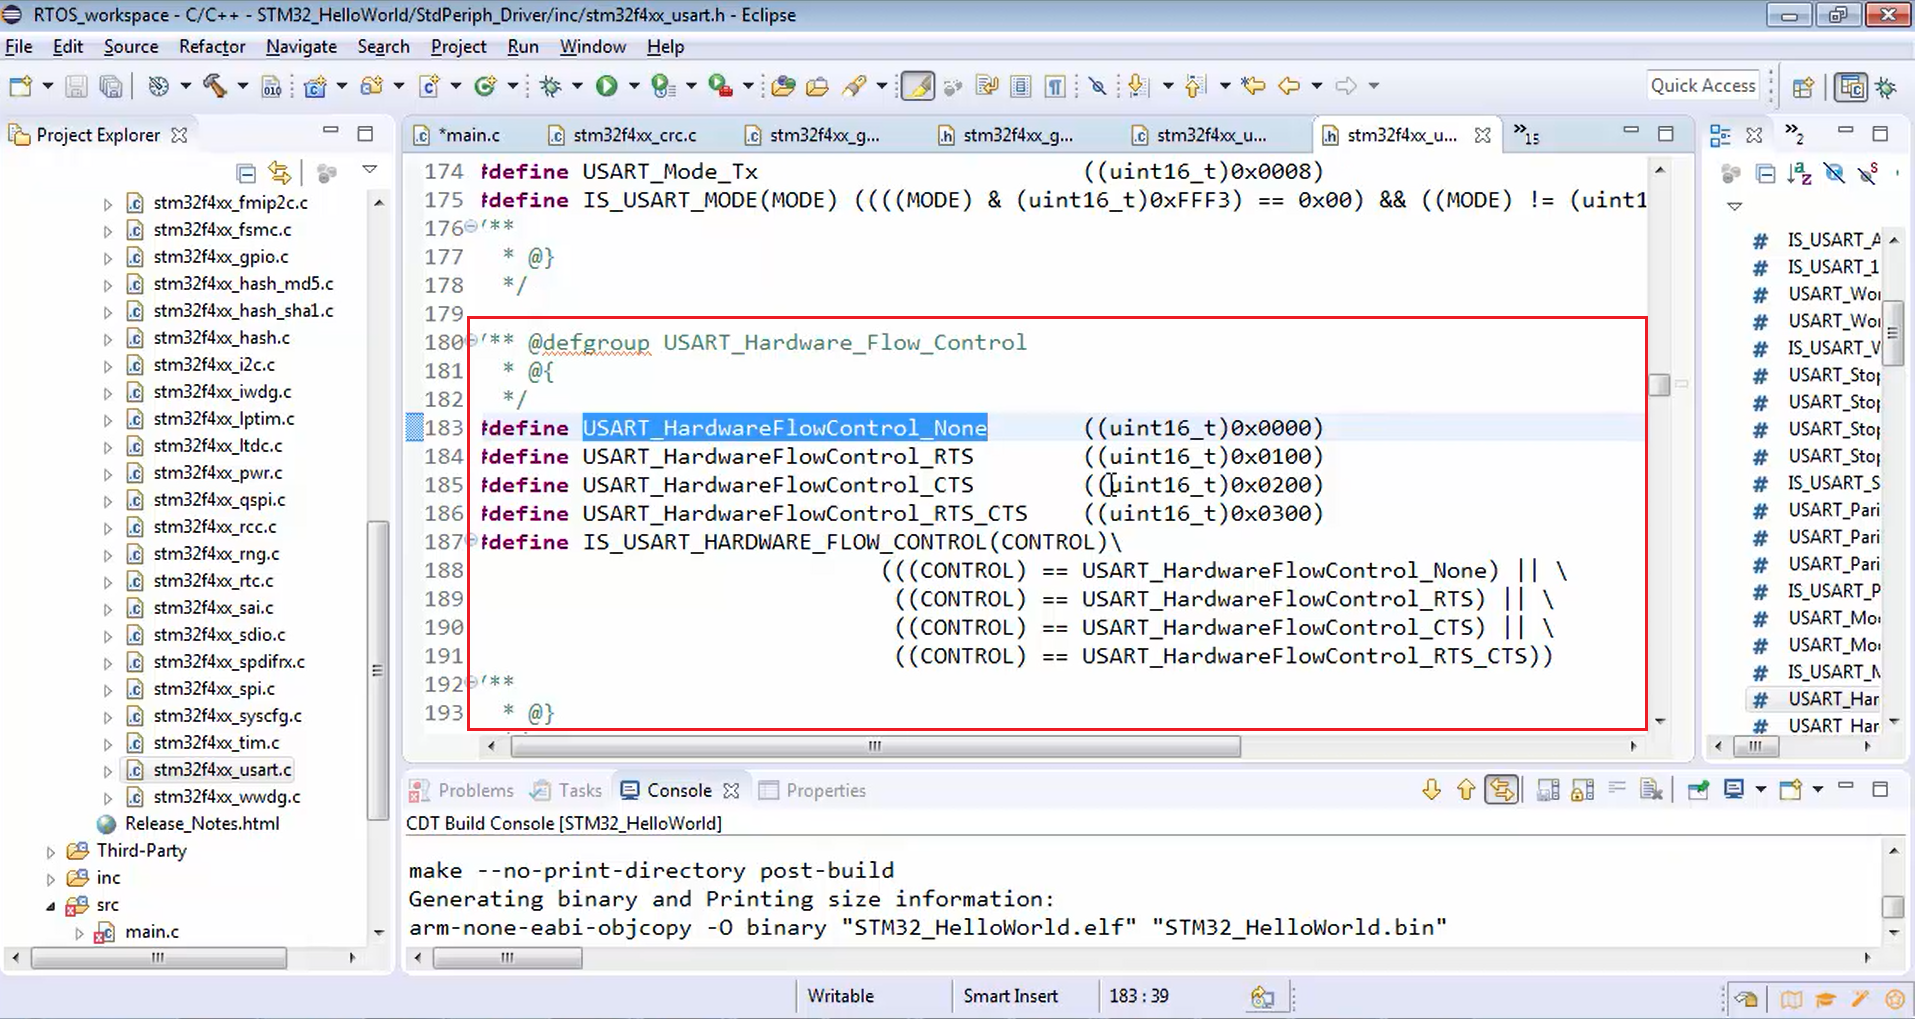
uart2_init.USART_HardwareFlowControl = USART_HardwareFlowControl_None;
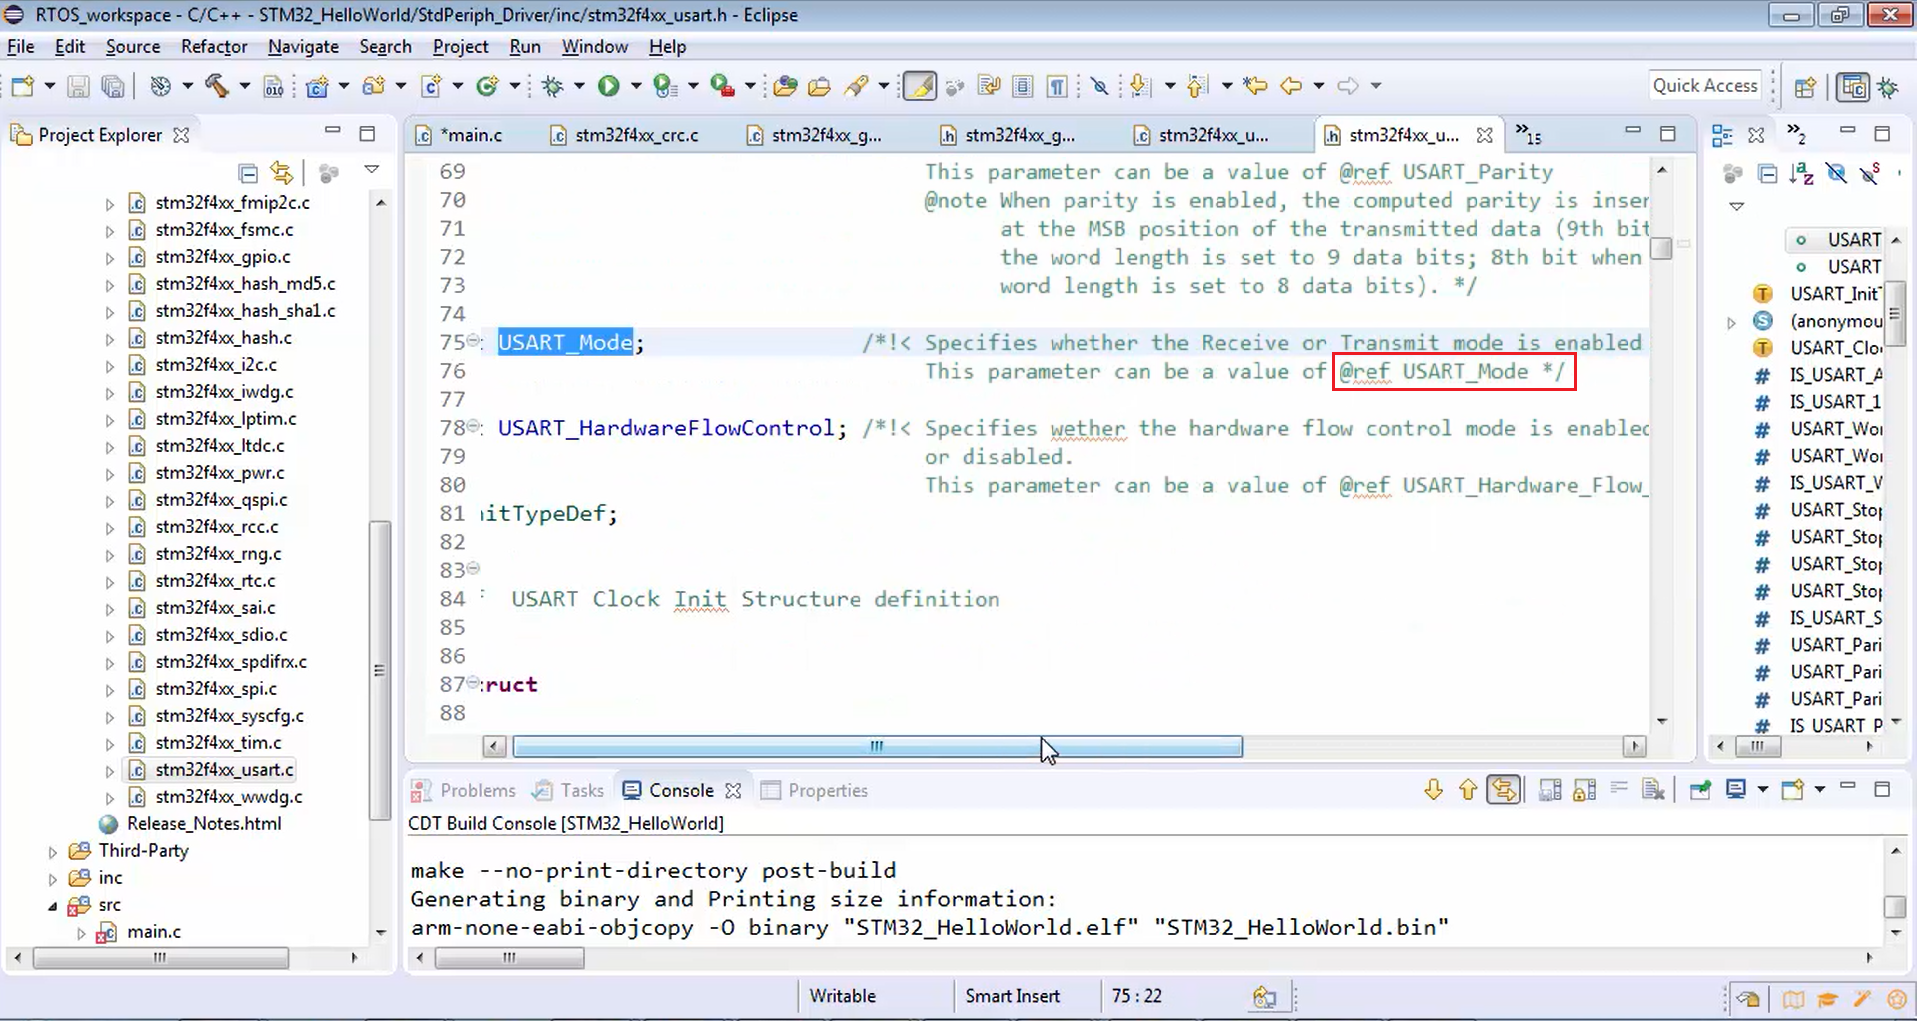
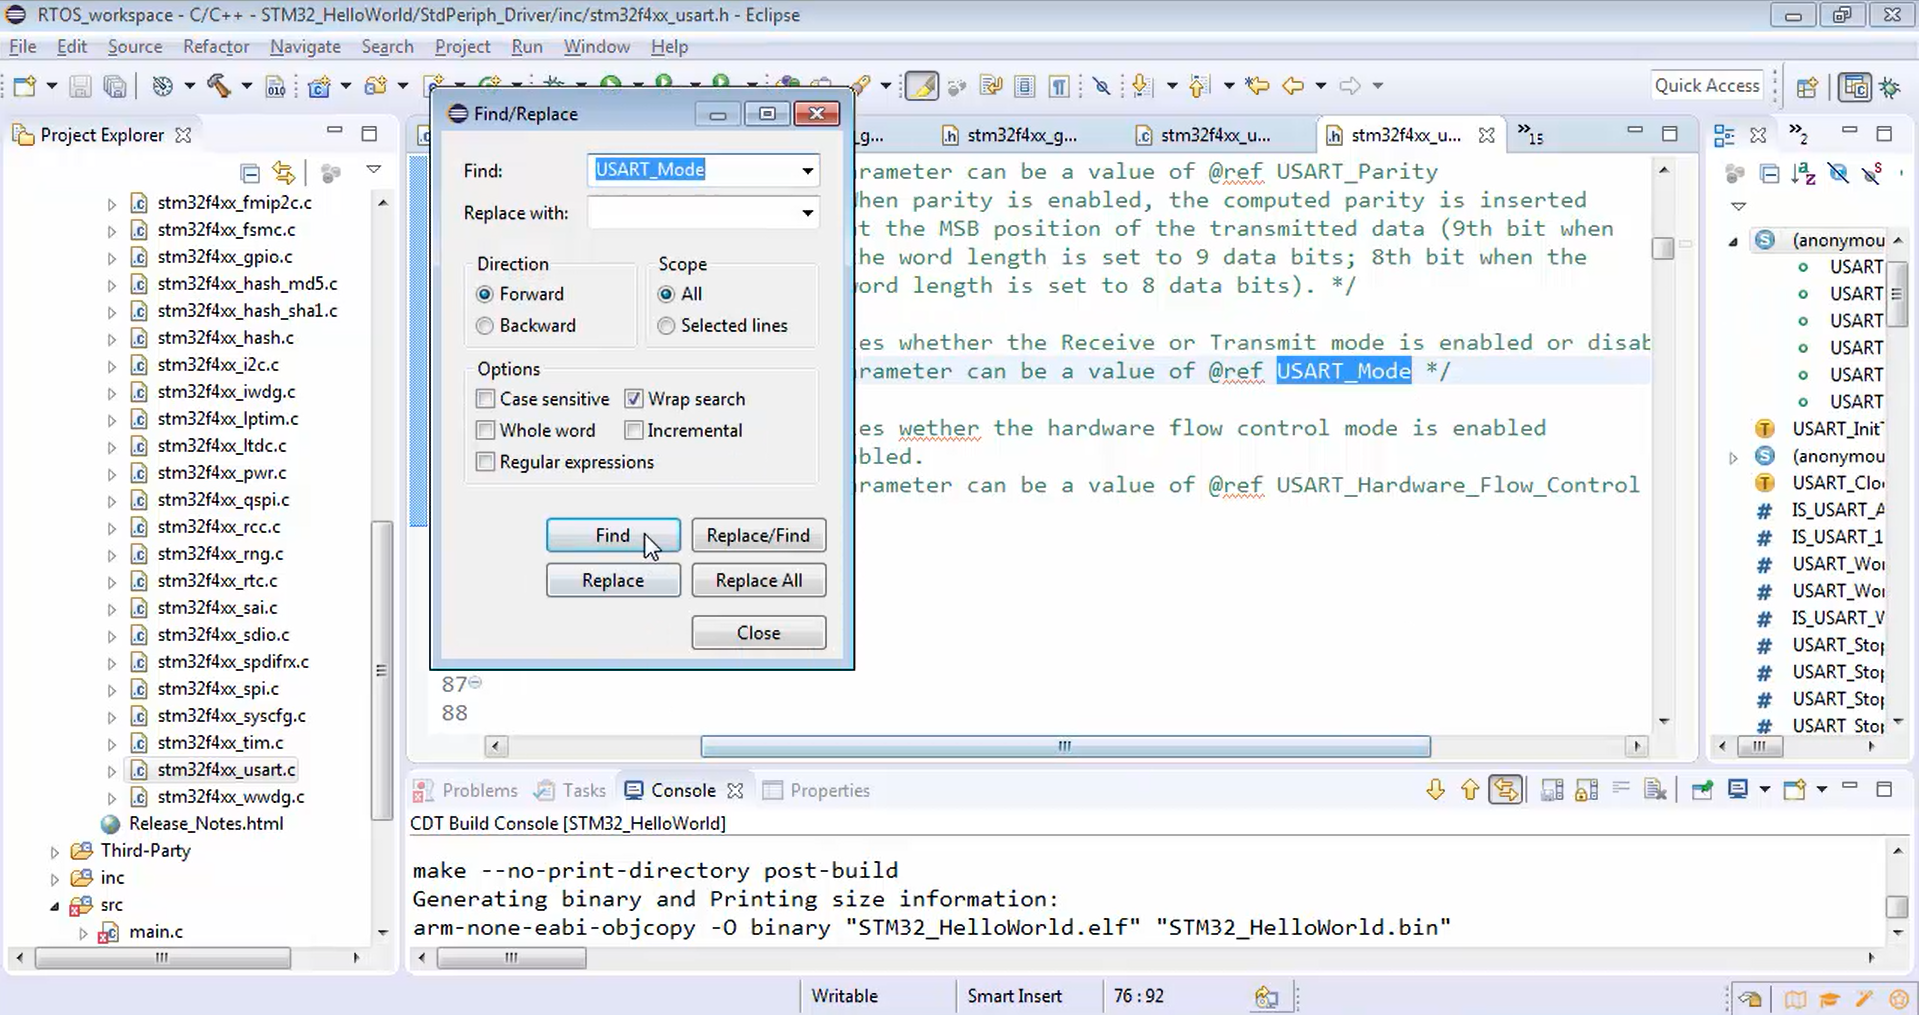
- USART_Mode: The next one is a mode. Let’s see what are the options available for the mode. For that, you have to refer to the mode reference marked in Figure 6.
Now let’s search for USART_Mode, as shown in Figure 7.
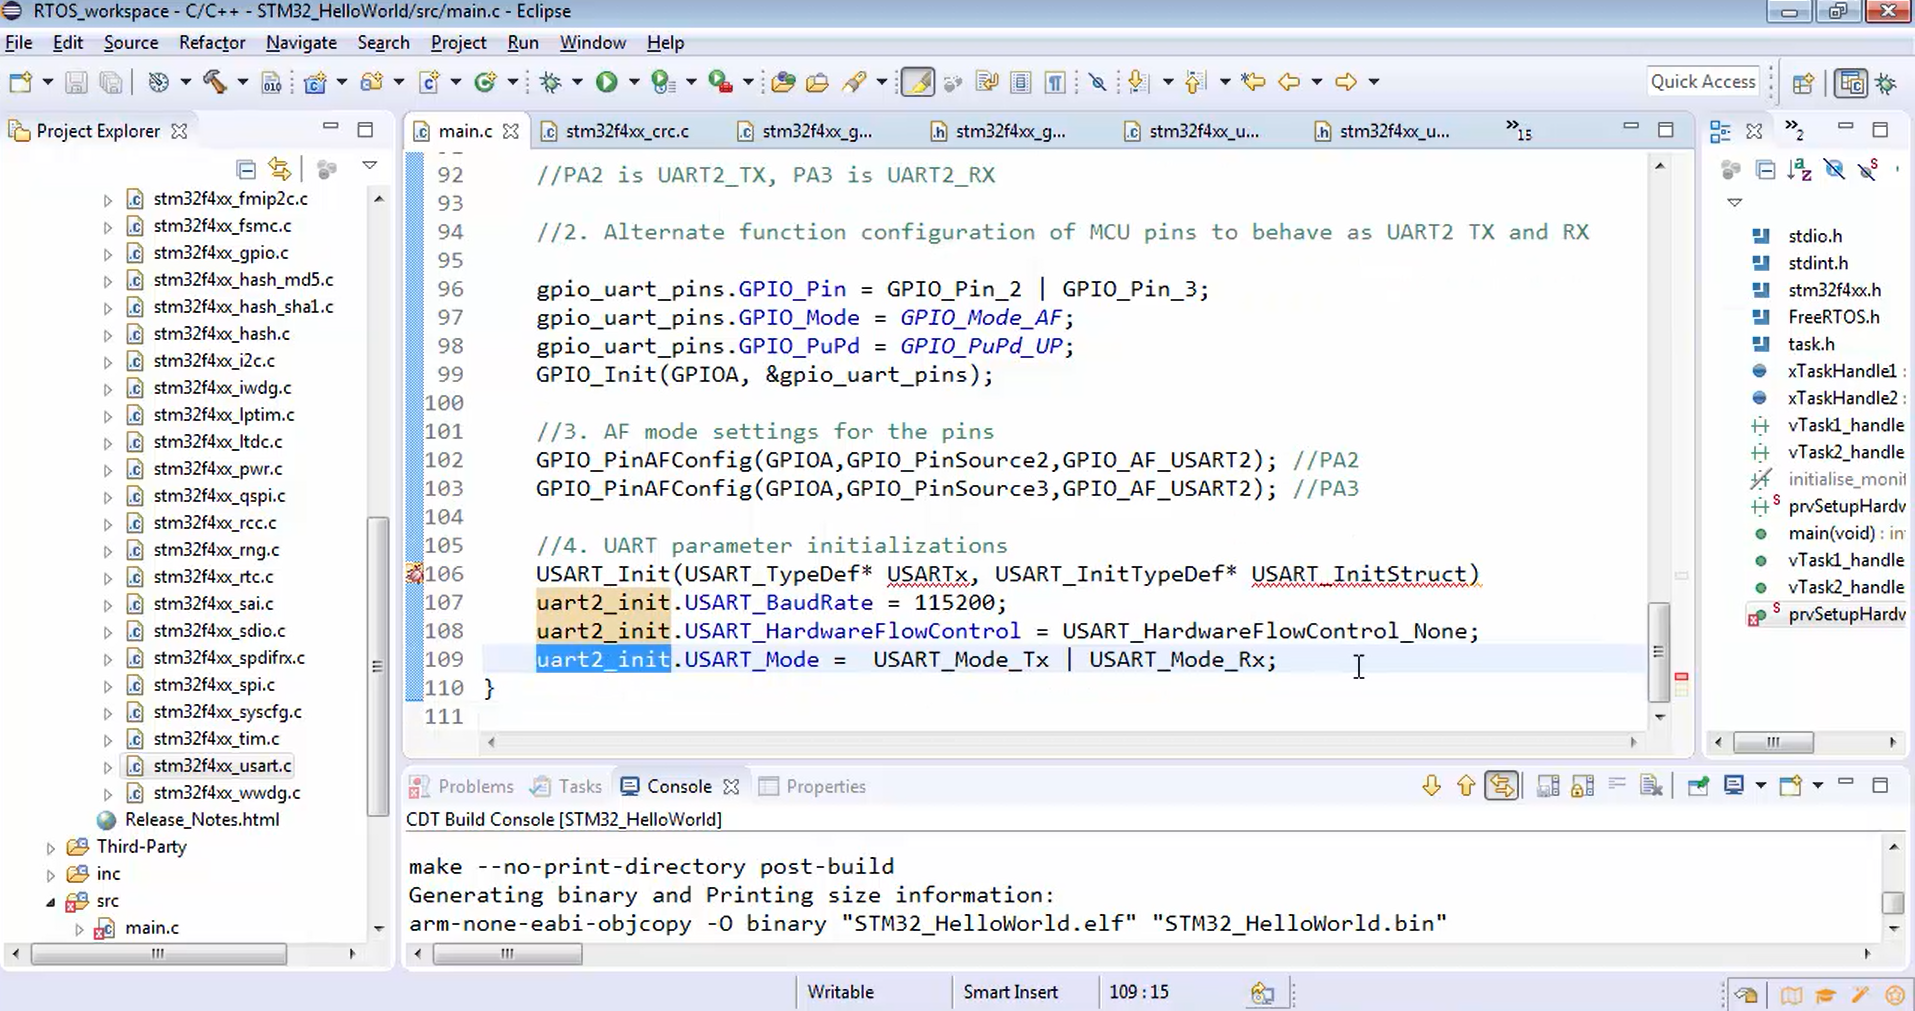
The available modes are USART_Mode_Rx and USART_Mode_Tx (Figure 8). Let’s use both TX and RX modes. For that, you have to use USART_Mode_Tx bitwise OR then you can give USART_Mode_Rx, as shown in Figure 9.

uart2_init.USART_Mode = USART_Mode_Tx | USART_Mode_Rx;
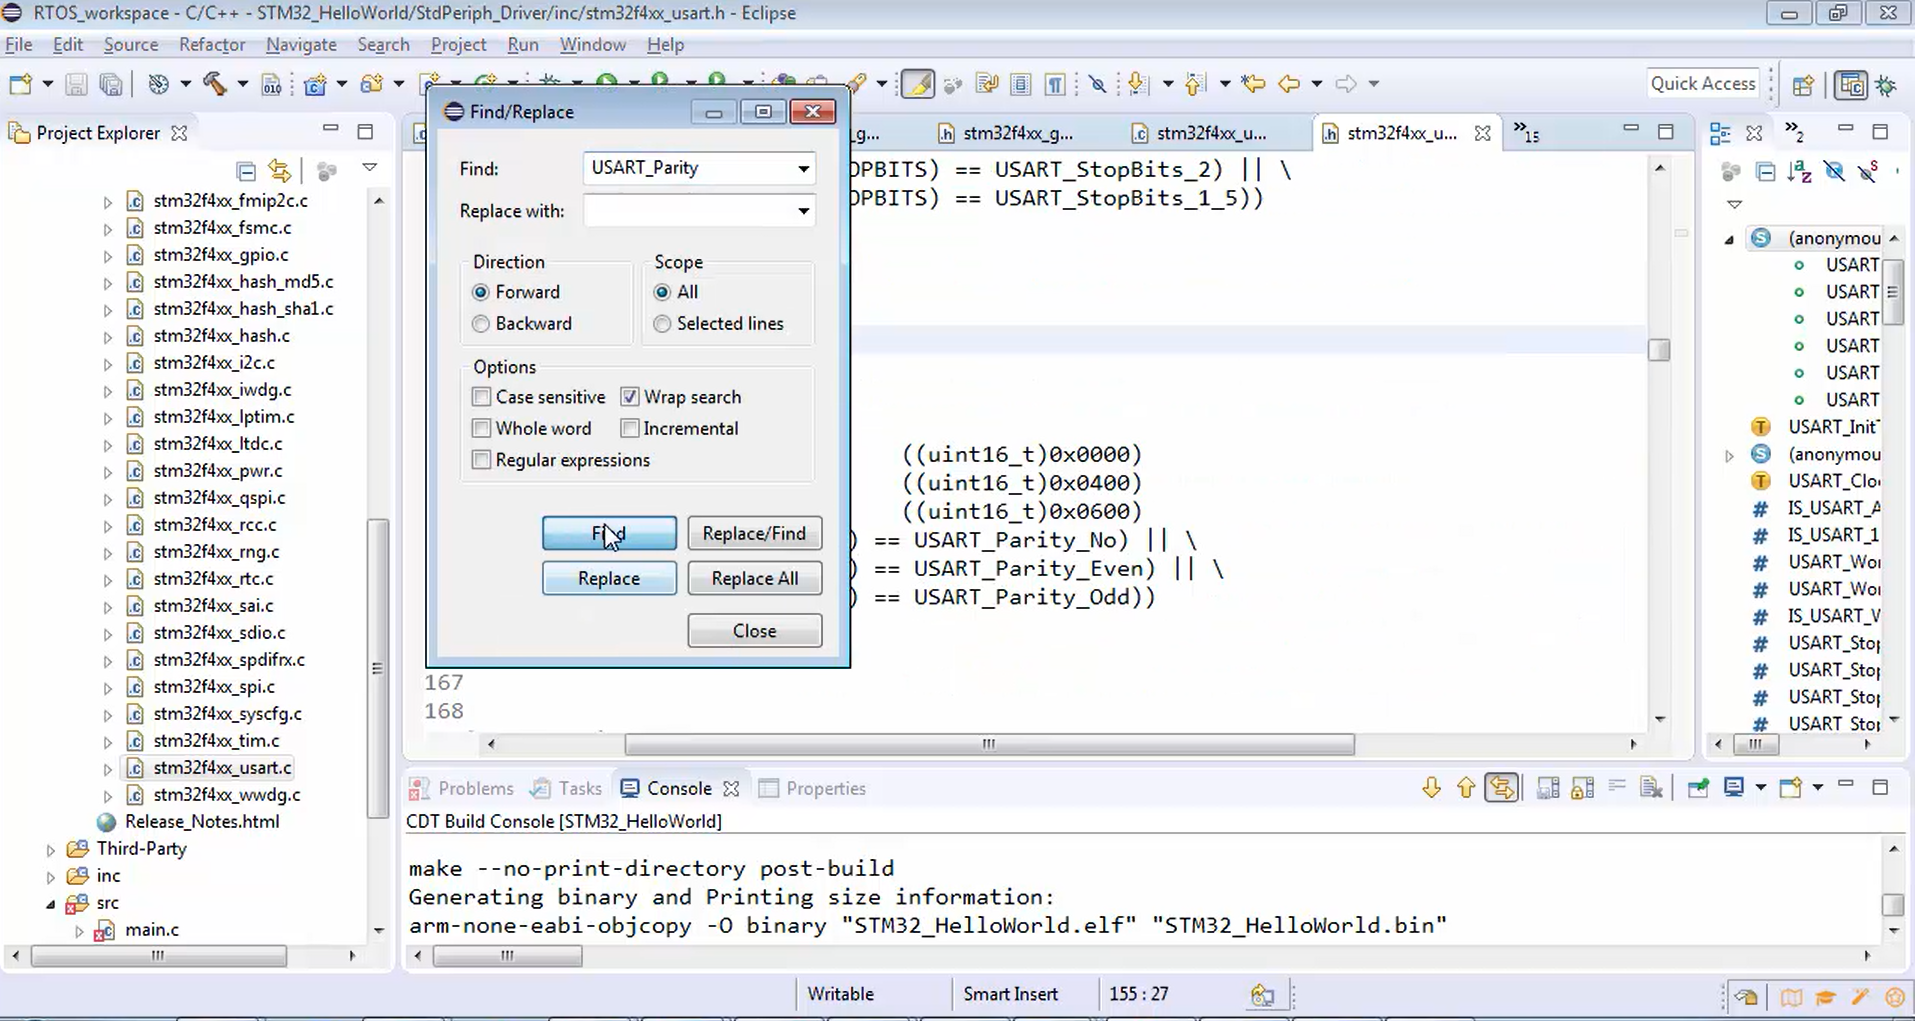
- Parity: Refer to the parity reference macro shown in Figure 10 to see the options available for the parity. Search for USART_Parity, as shown in Figure 11. Figure 12 shows different options available for the parity.
For this example, let’s use no parity (Figure 13) because we don’t want to use any parity checking.

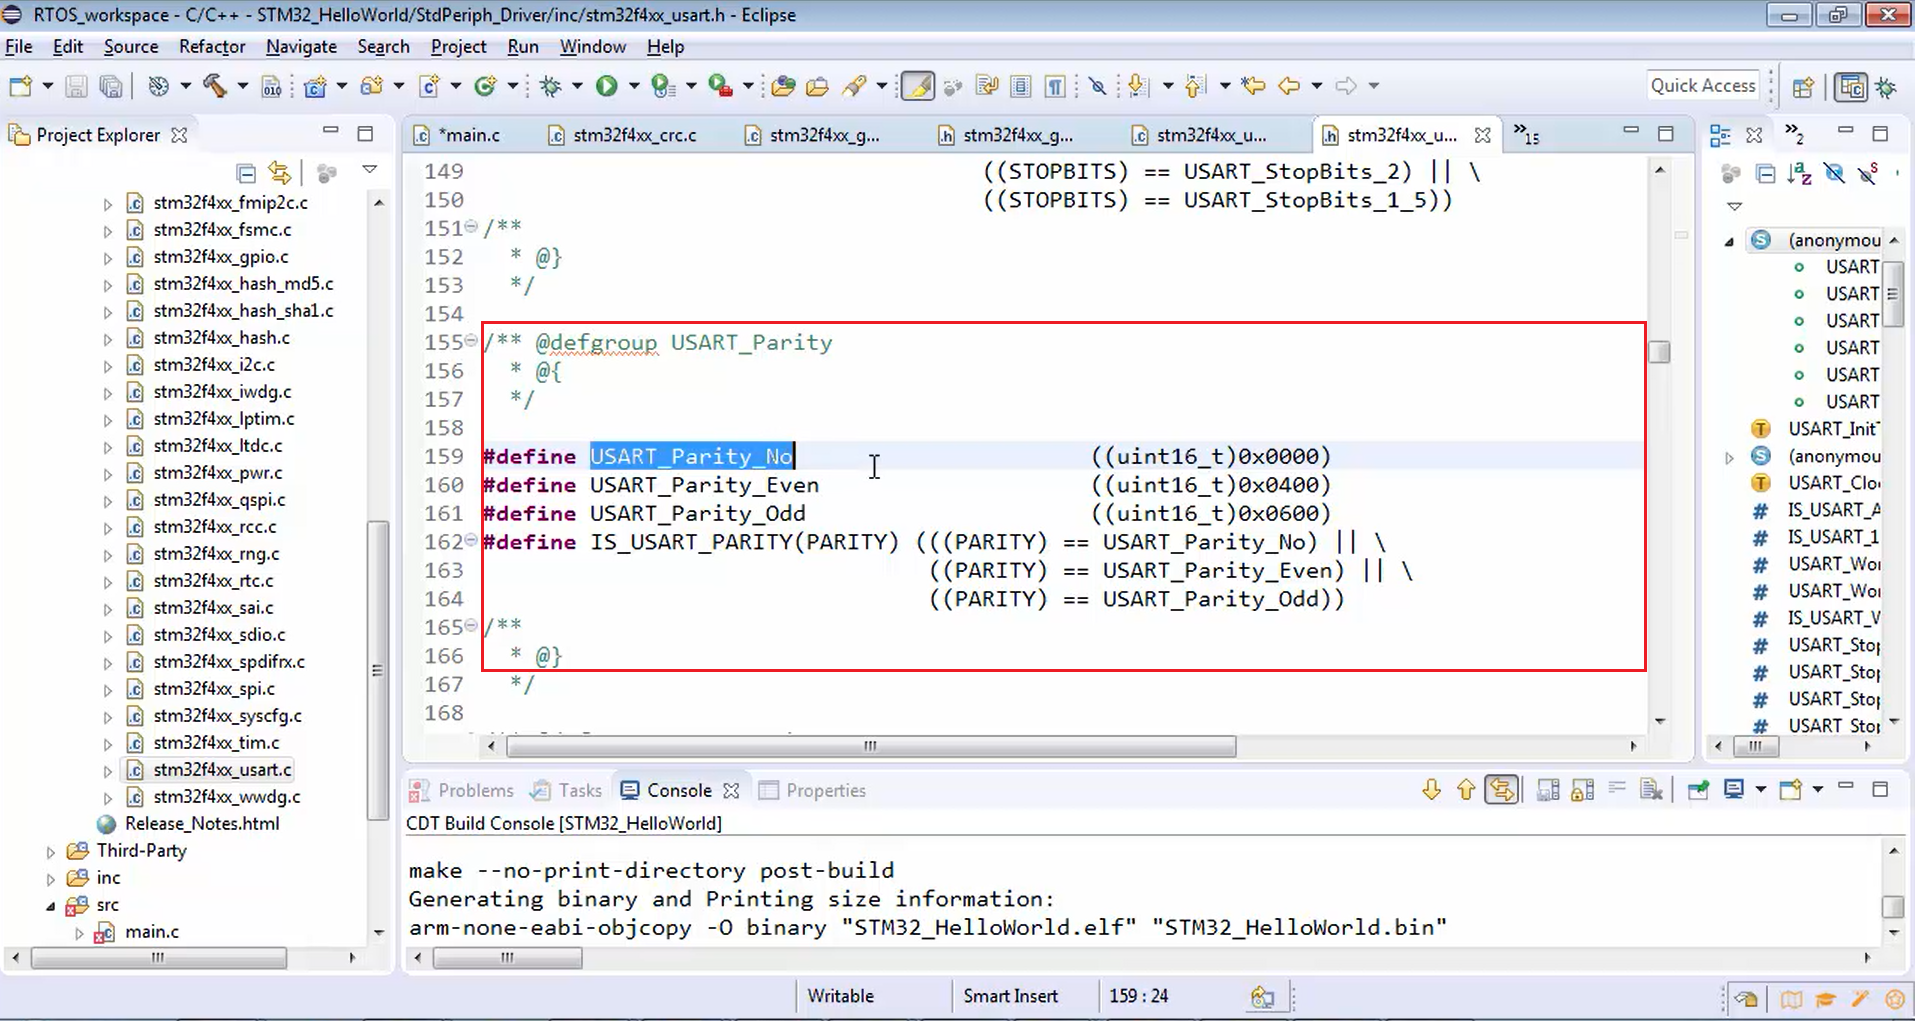
uart2_init.USART_Parity = USART_Parity_No;
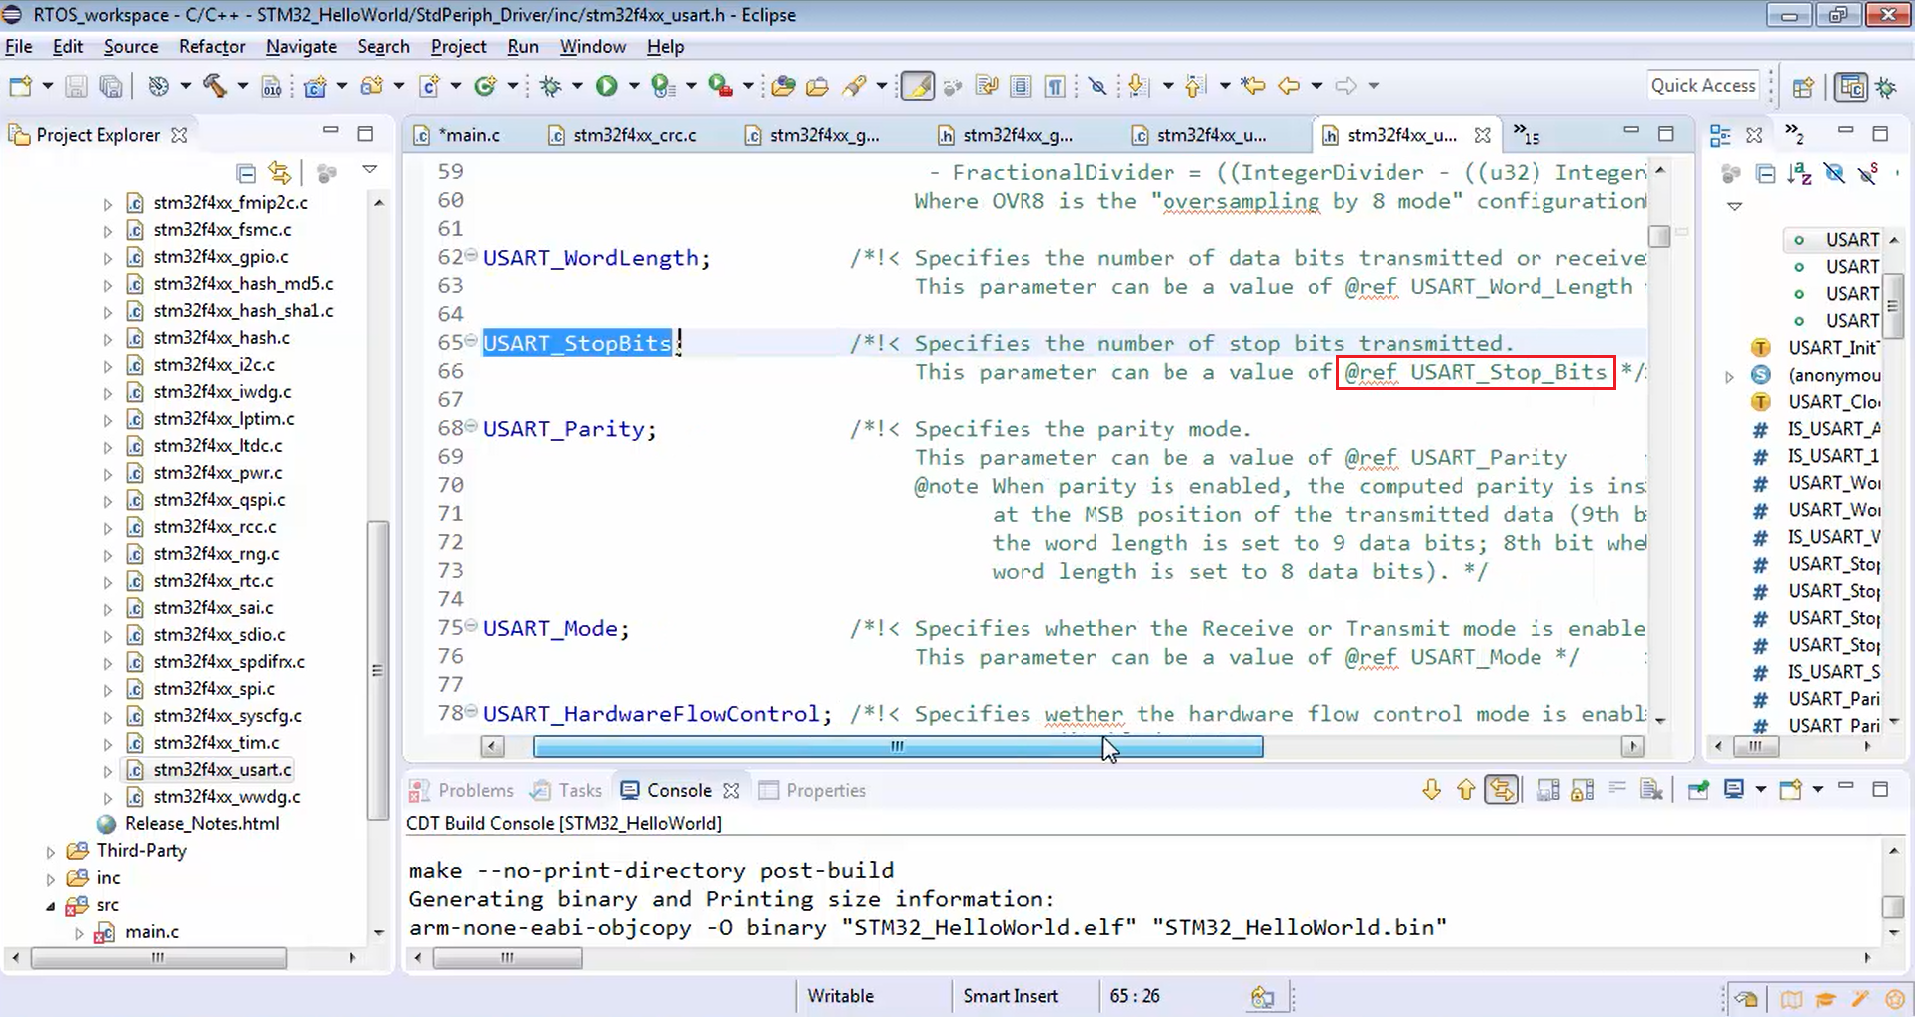
- Stop bits: After that, you have to configure the stop bits. Let’s use only one stop bit for this example.
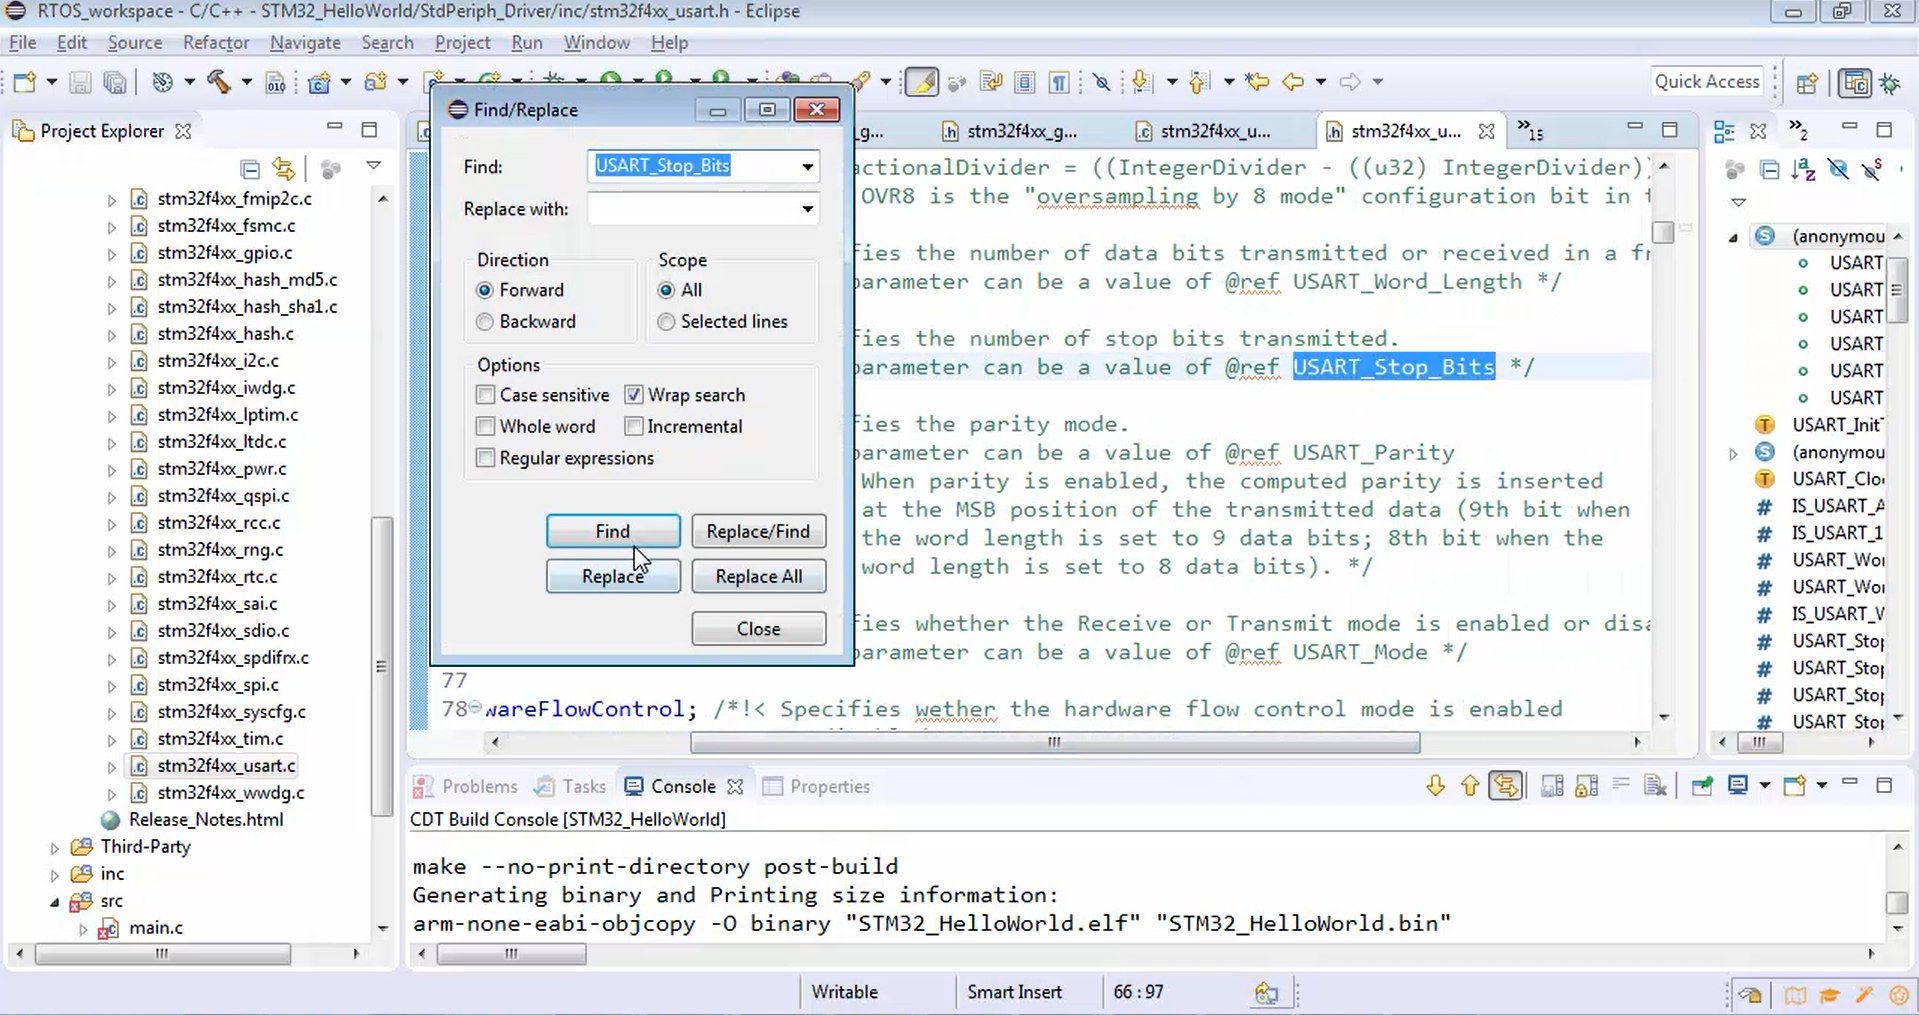
Search for parity reference macro USART_Stop_Bits (Figure 16), as shown in Figure 14. Figure 15 shows options available for the stop bits, which may be 1, 0.5, 2, or 1.5.
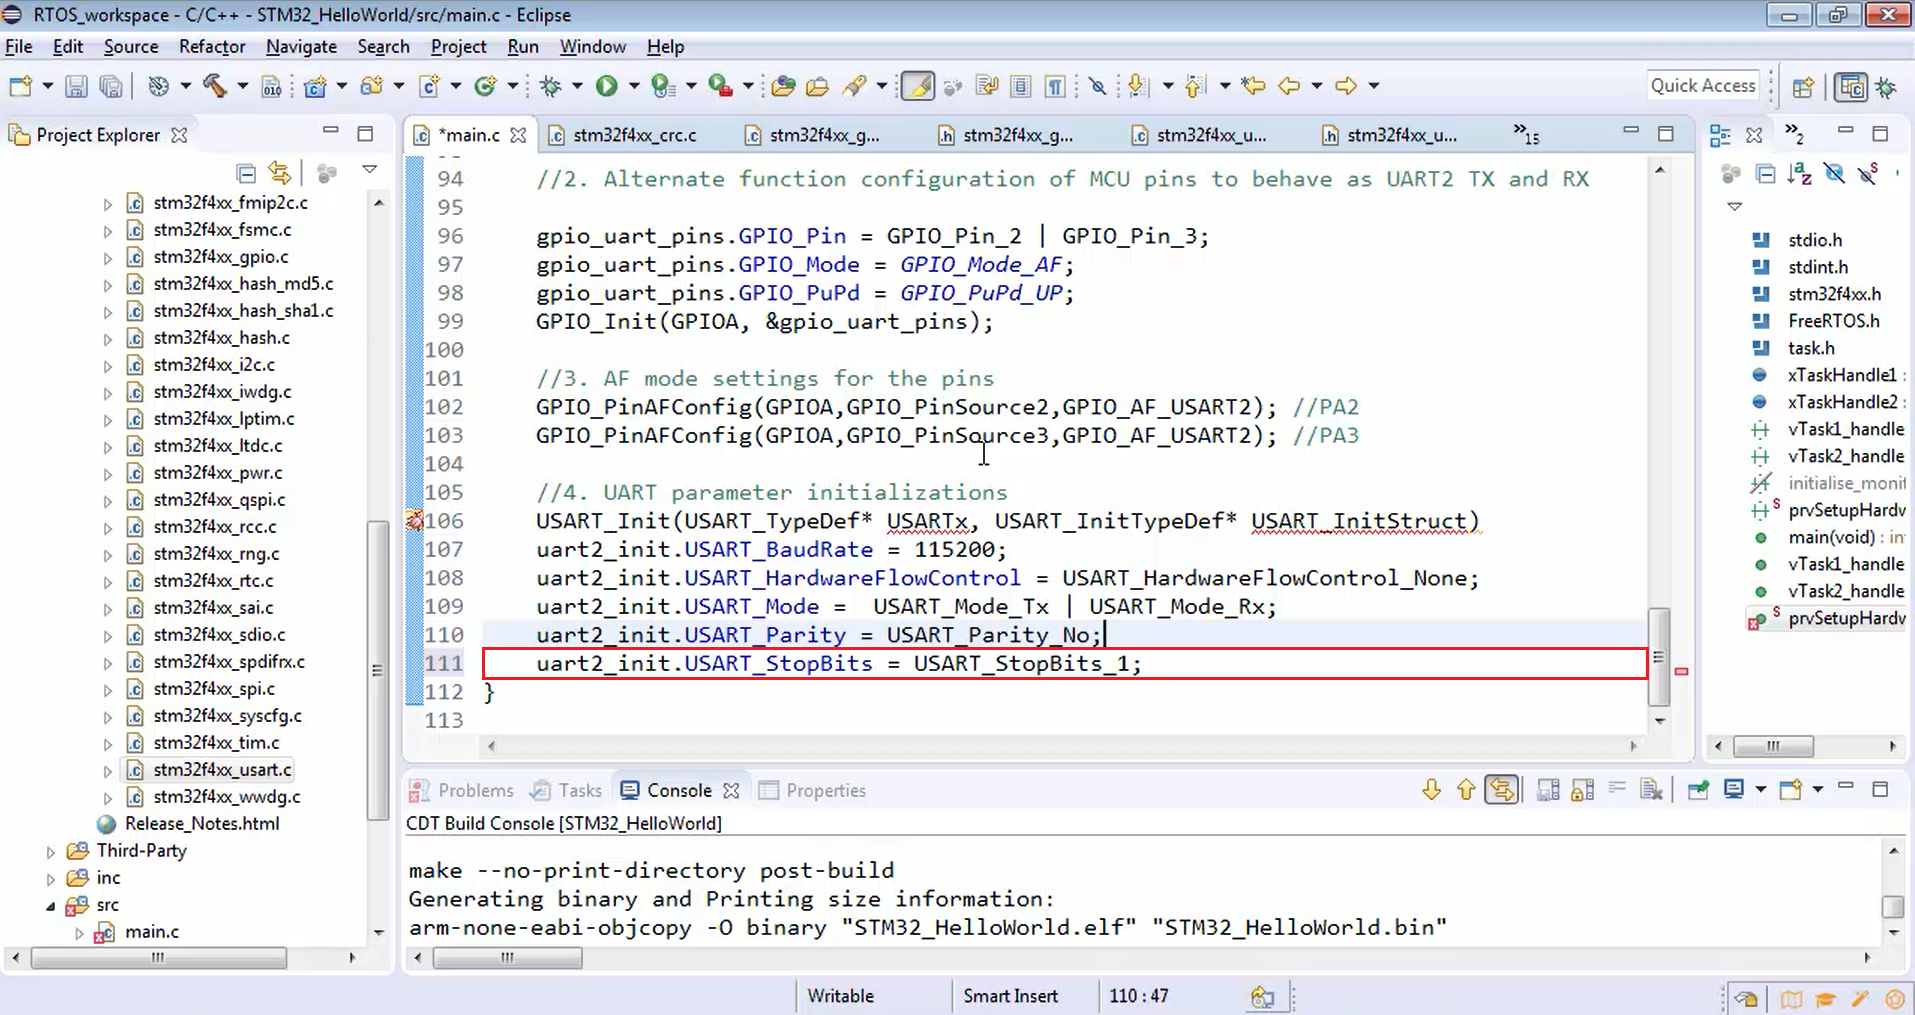
Let’s use one stop bit that is a standard value (Figure 16). If you are using UART at a higher baud rate like 1 MB, or 2 MB, then it makes sense to use 2 or more stop bits. Otherwise, for normal and 115200 communication, 1 stop bit is sufficient.
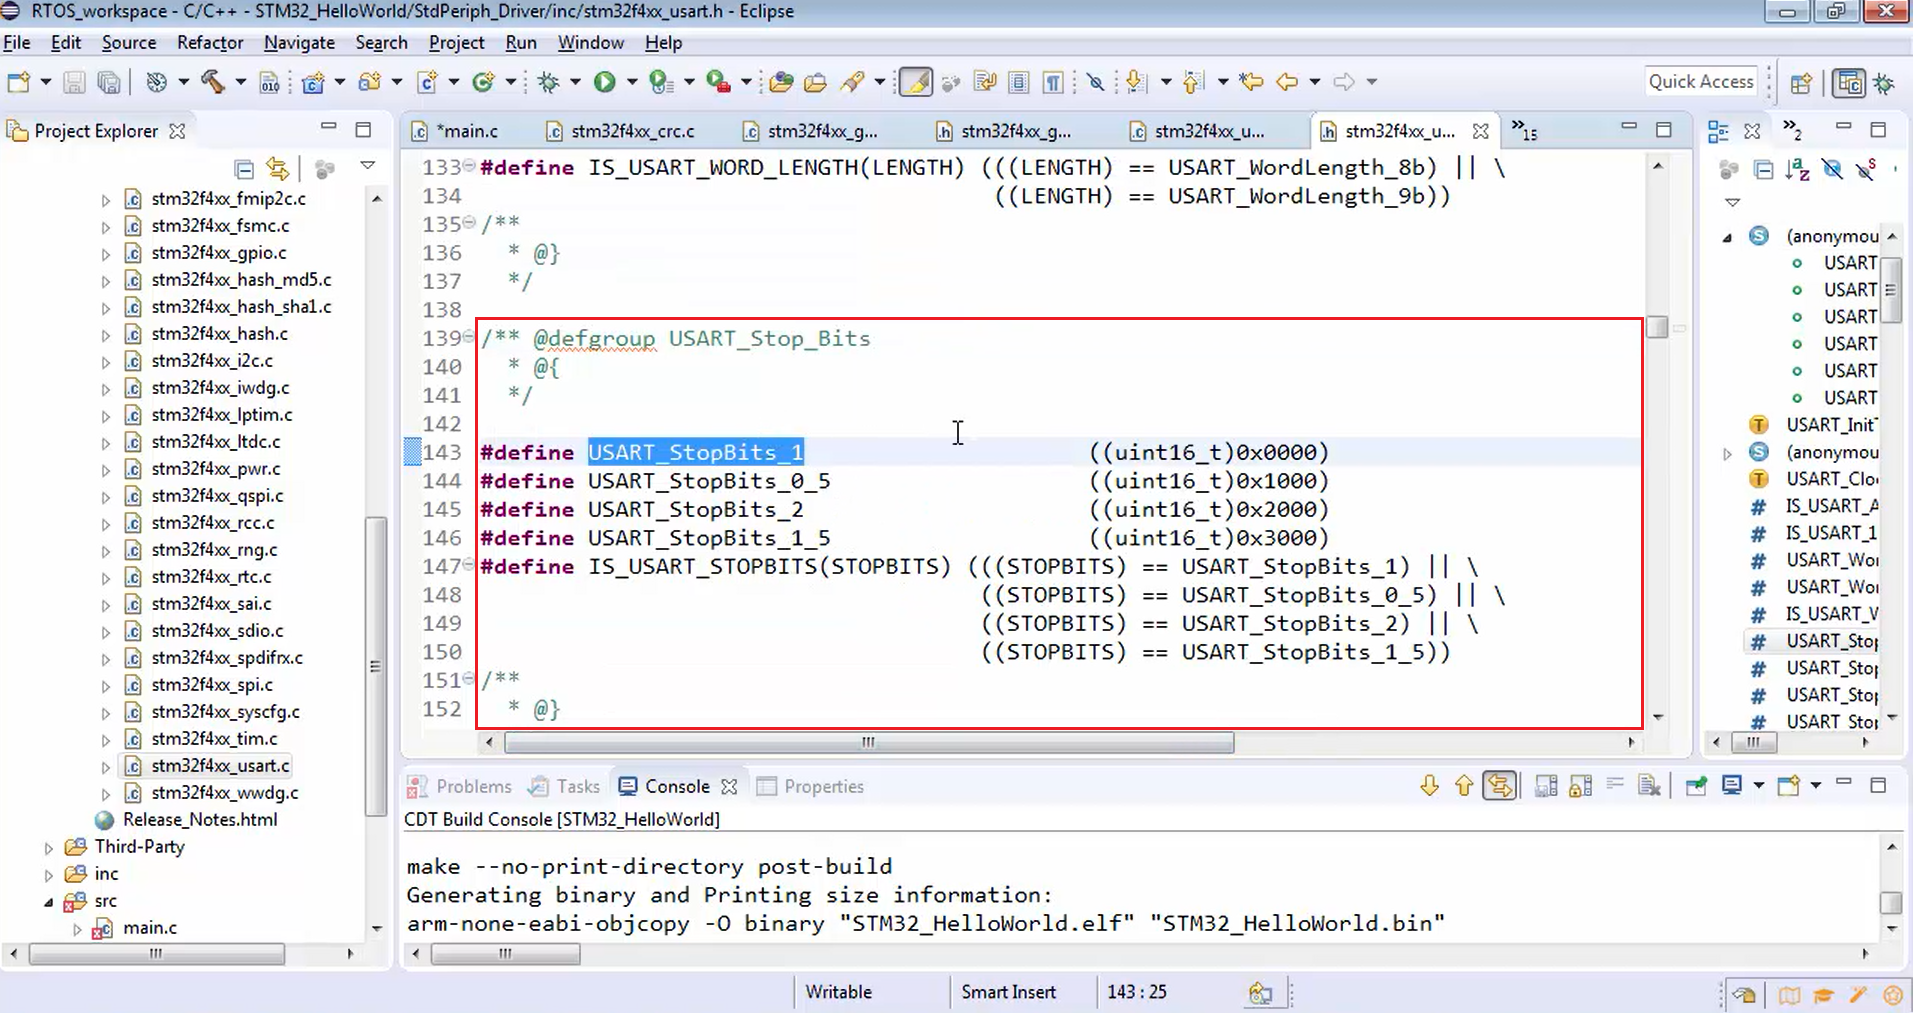
uart2_init.USART_StopBits = USART_StopBits_1;
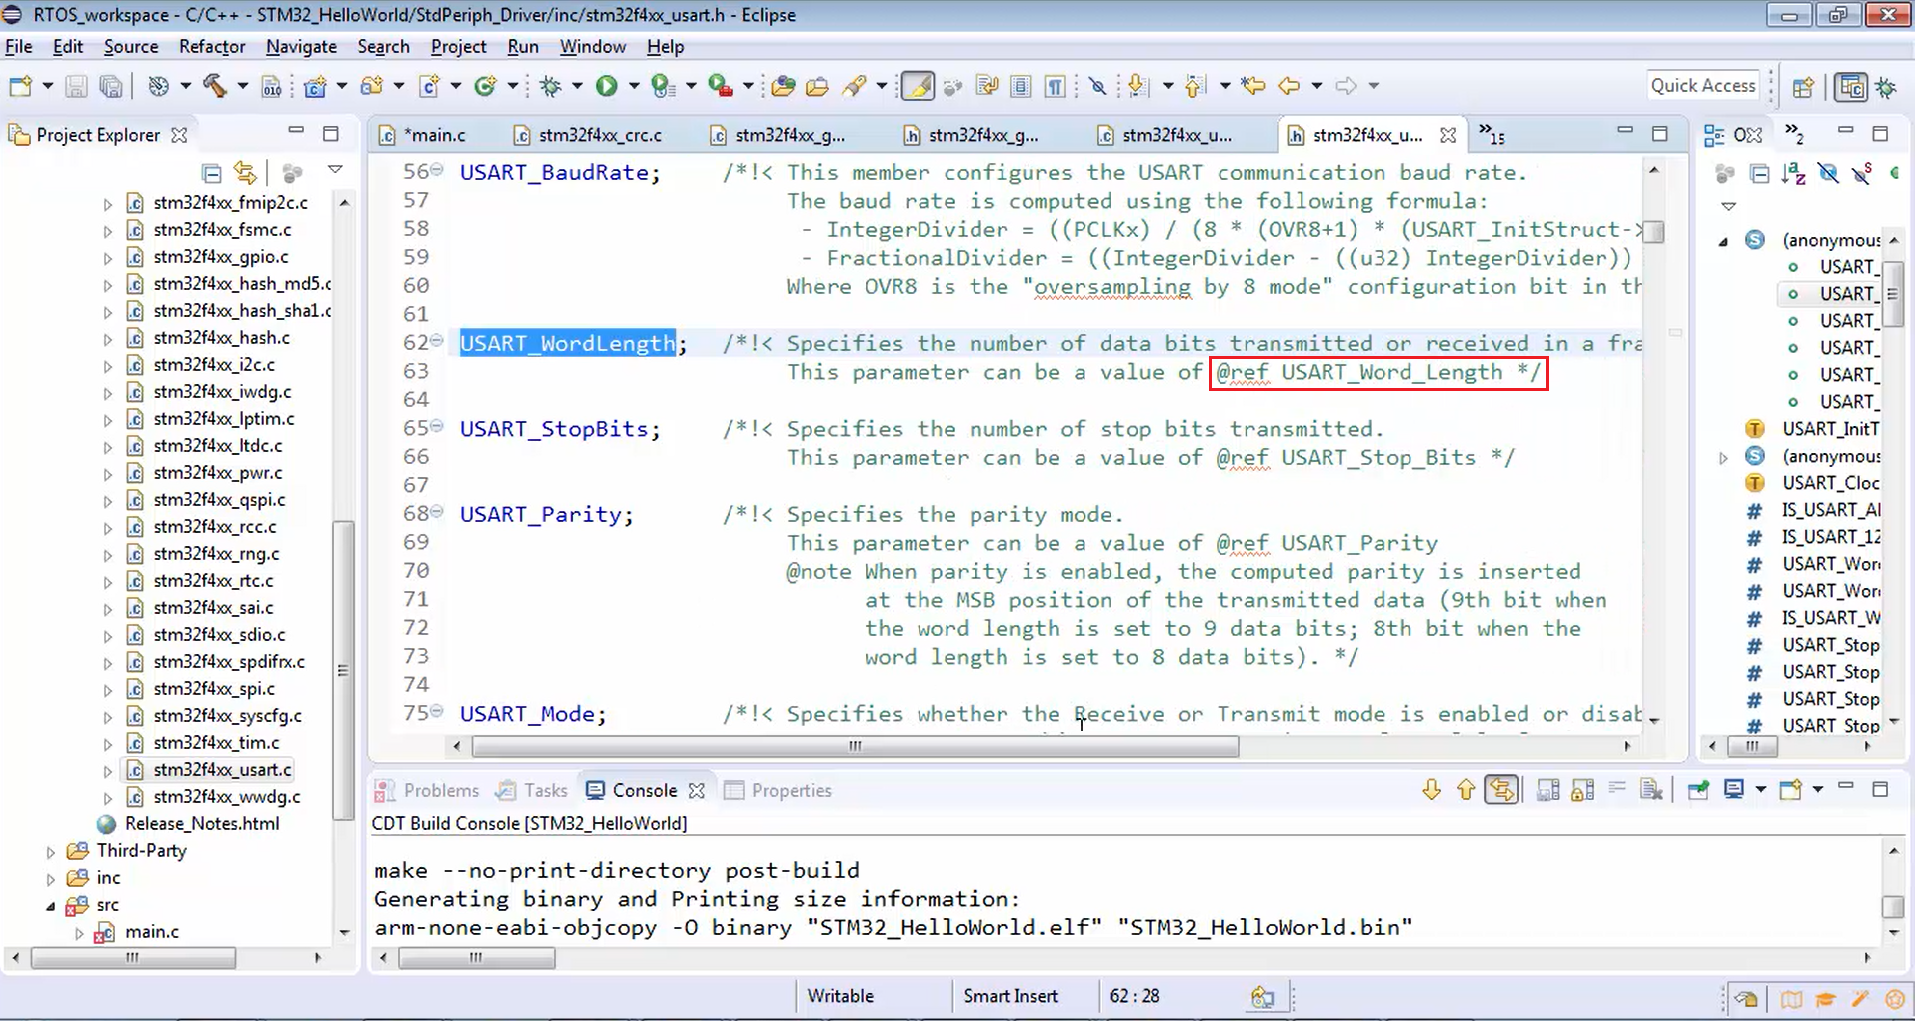
- Word length: Next step is to find out the word length for the message format.
First, search for word length reference USART_Word_Length (Figure 18). There are two options available for word length: 8 bits and 9 bits (Figure 19). That means one UART packet contains either 8 bits or 9 bits of user data. For instance, let’s select 8 bits (Figure 20).
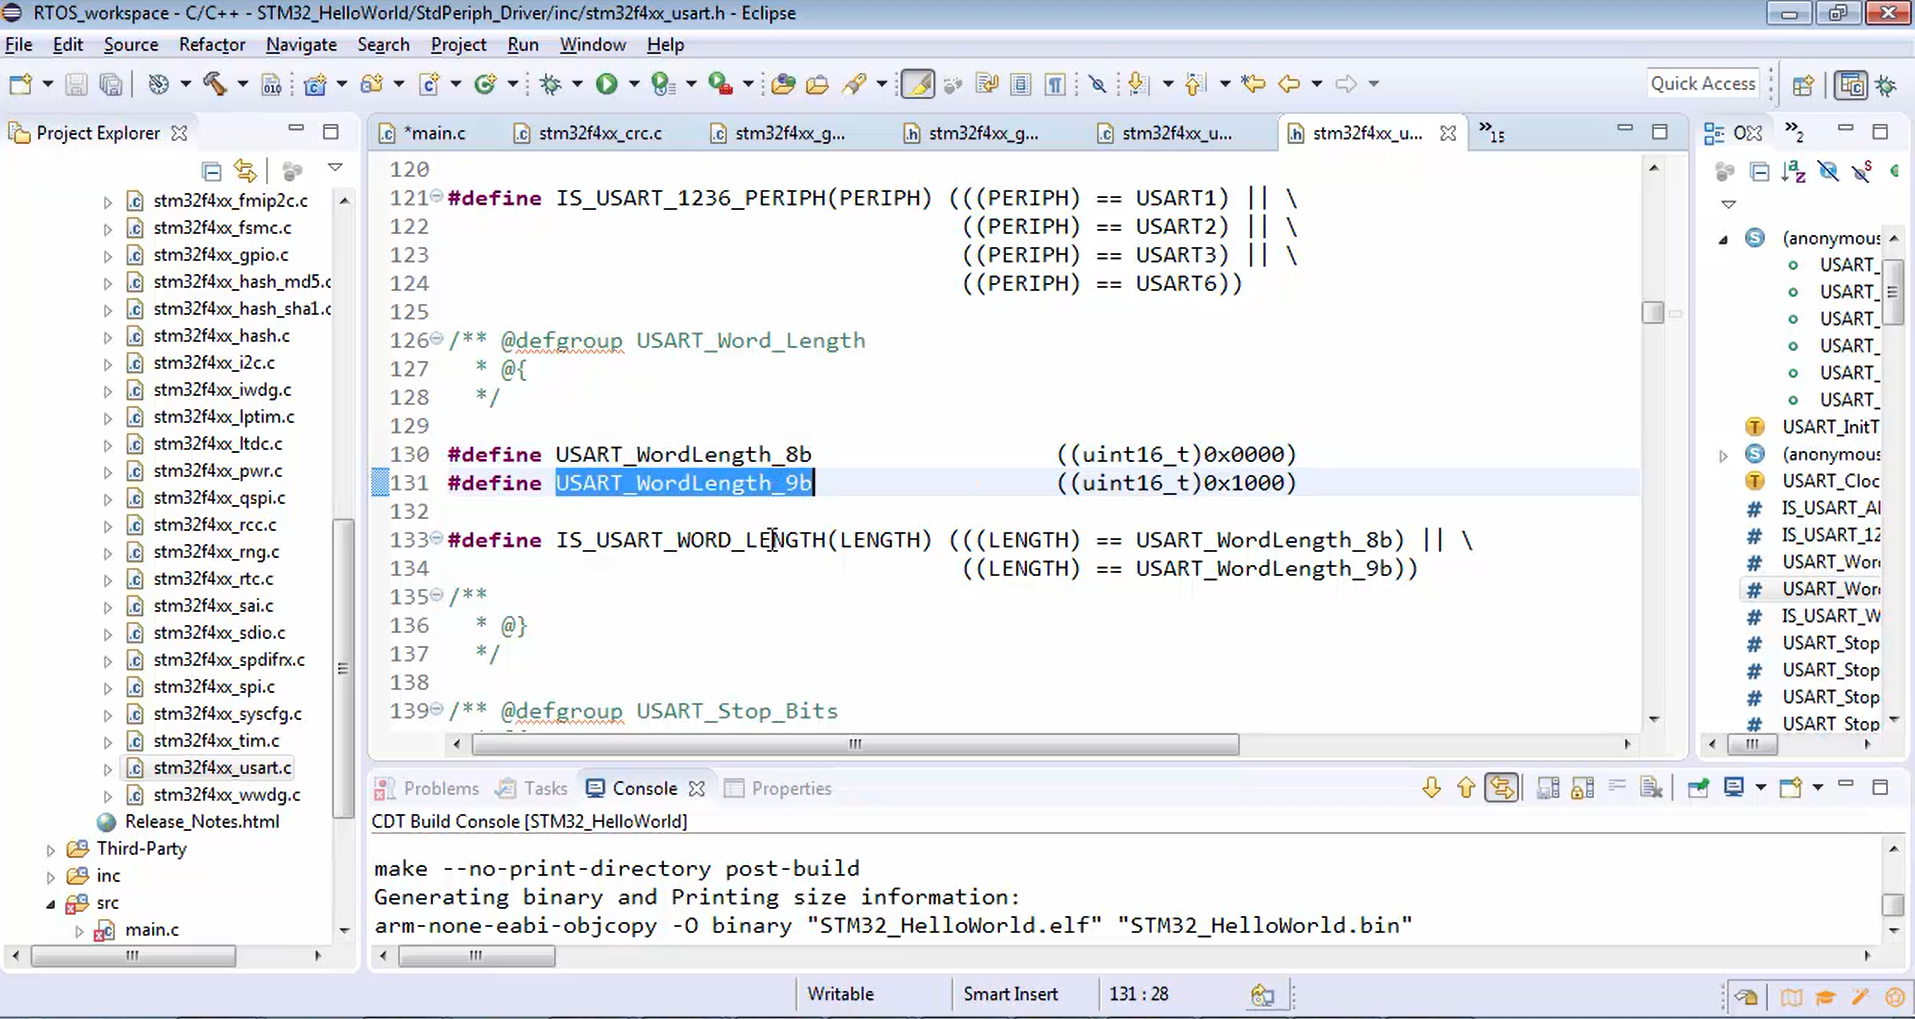
uart2_init.USART_WordLength = USART_WordLength_8b;
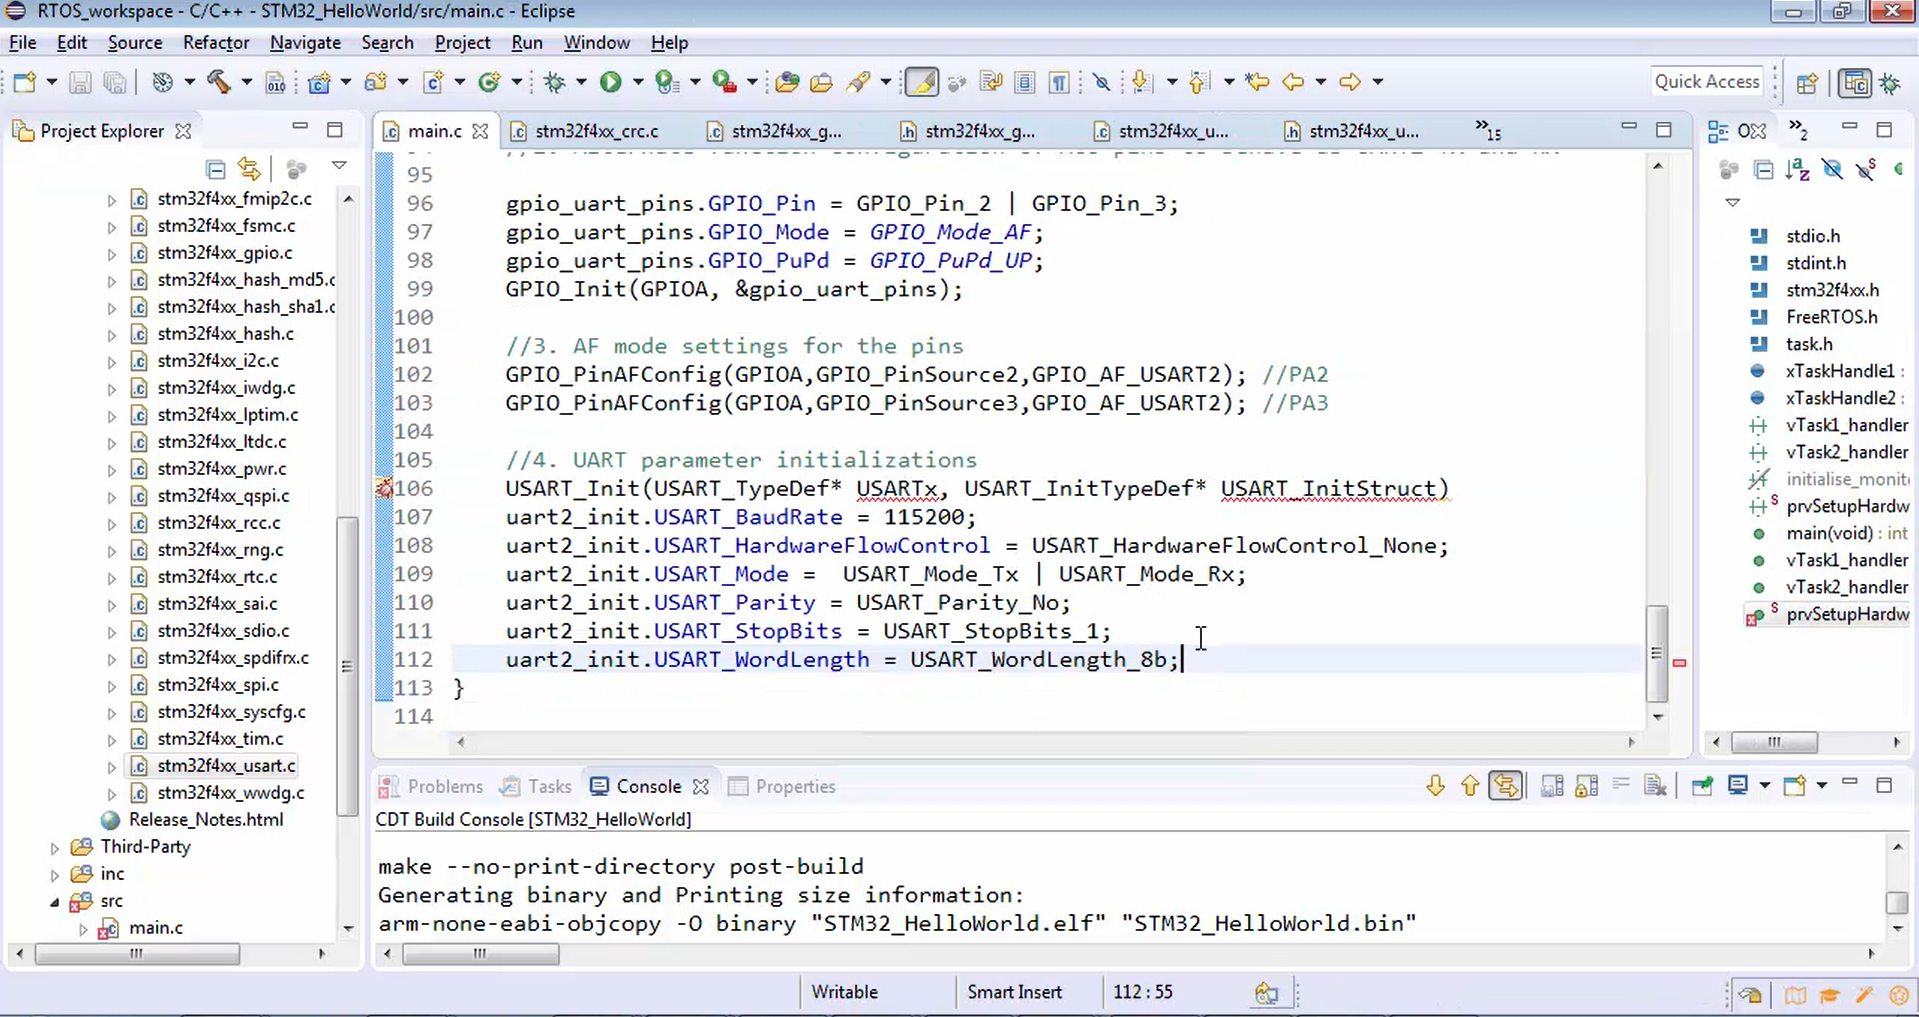
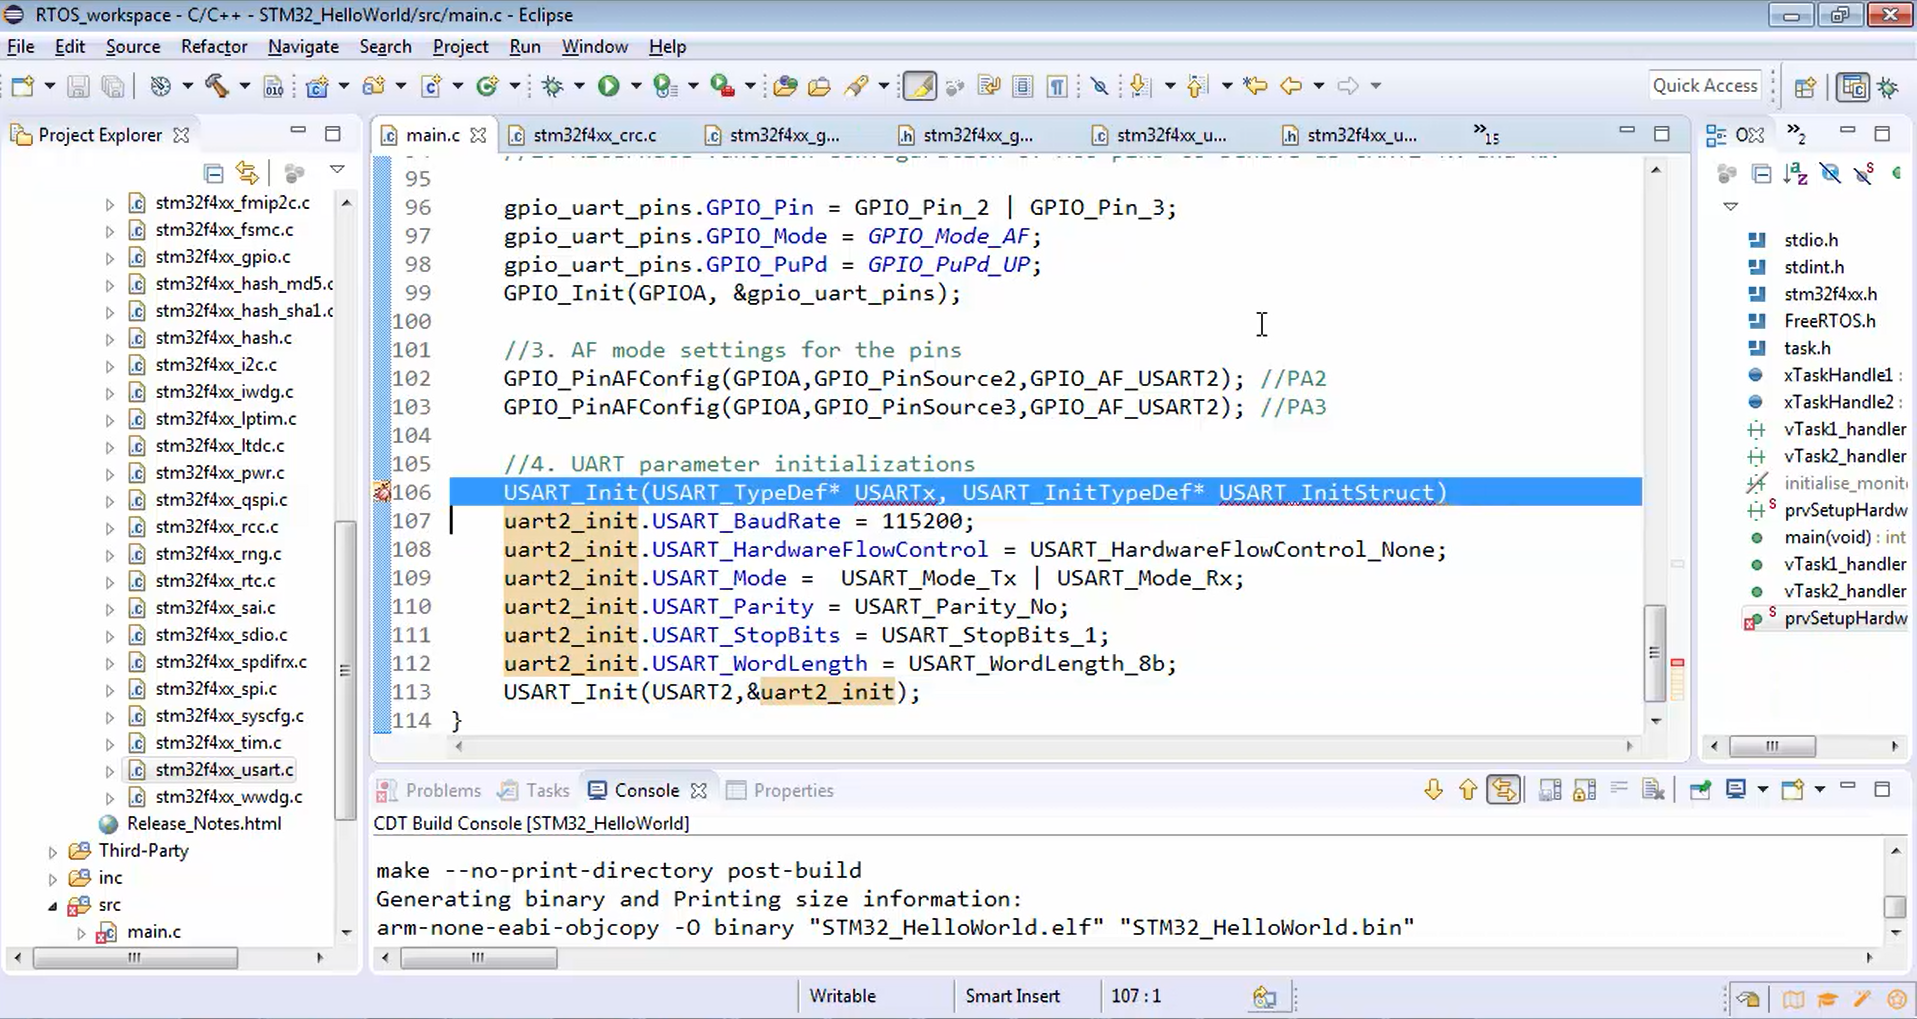
After initializing all the above macros, let’s call USART_Init(), as shown in Figure 21, where the first argument is the base address, i.e., USART2 and then pass the address of this structure.
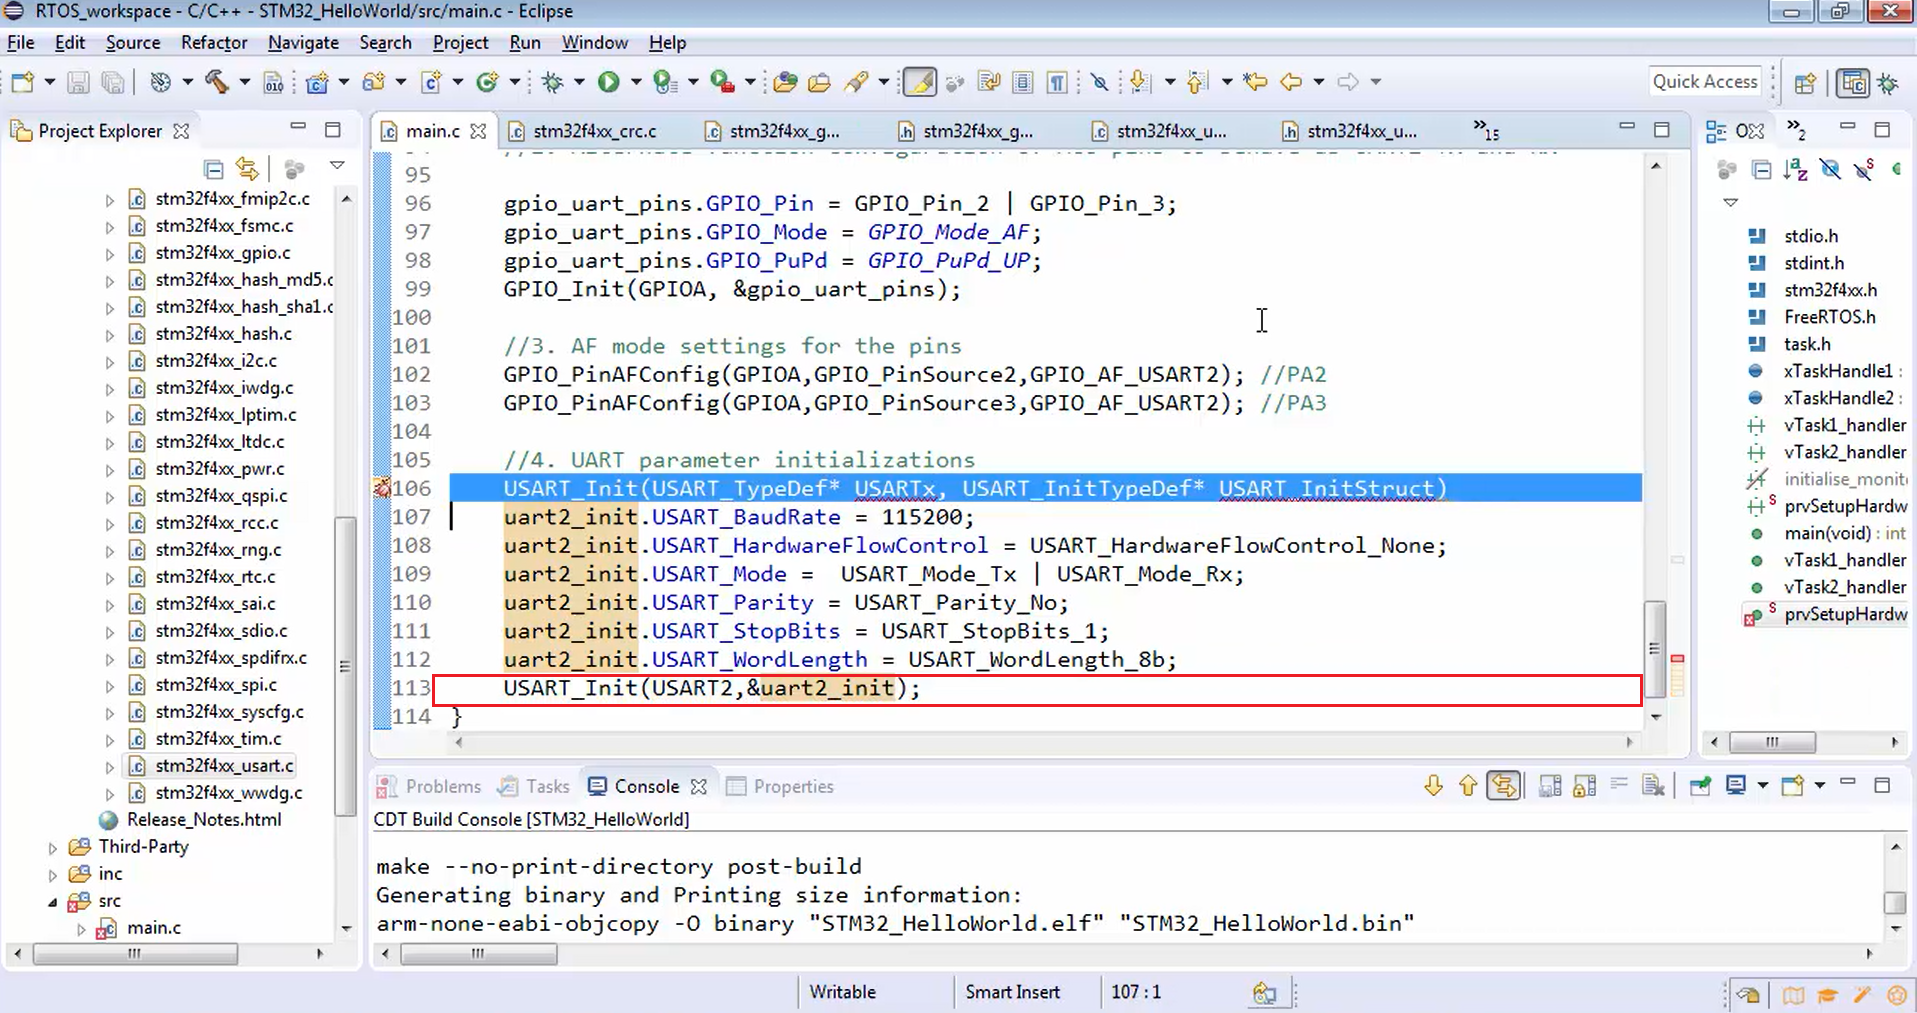
Then delete the statement marked in Figure 22.
You have to do interrupt initialization if you want to use UART interrupts. But for the time being, it’s not required; we will see that as we make progress.
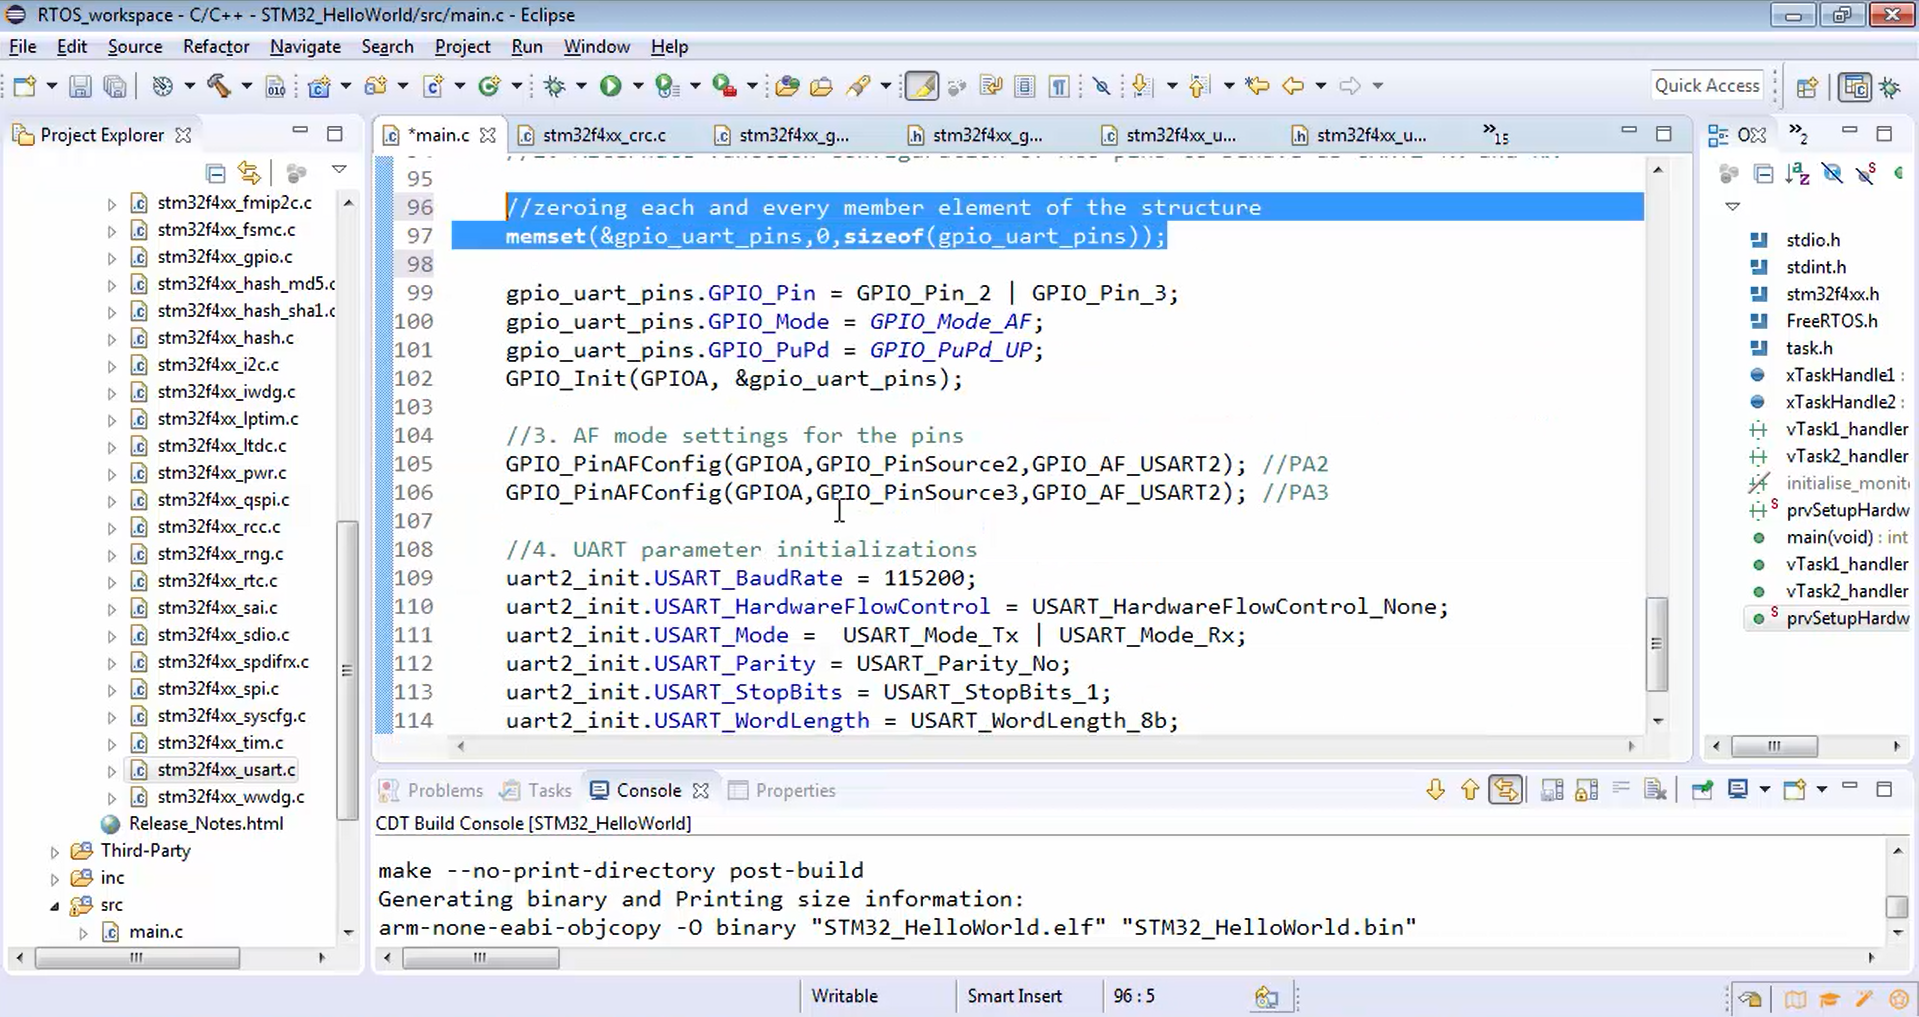
Remember that the uart2_init and gpio_uart_pins are local variables. They actually contain garbage values. There may be some member elements that are uninitialized. That’s why before initializing the member elements, it is better to initialize all the member elements to zero. Initialize each and every member element of the structure gpio_uart_pins to zero by using the memset function, as shown in Figure 23.
//4. UART parameter initializations
//zeroing each and every member element of the structure
memset(&gpio_uart_pins,0,sizeof(gpio_uart_pins));
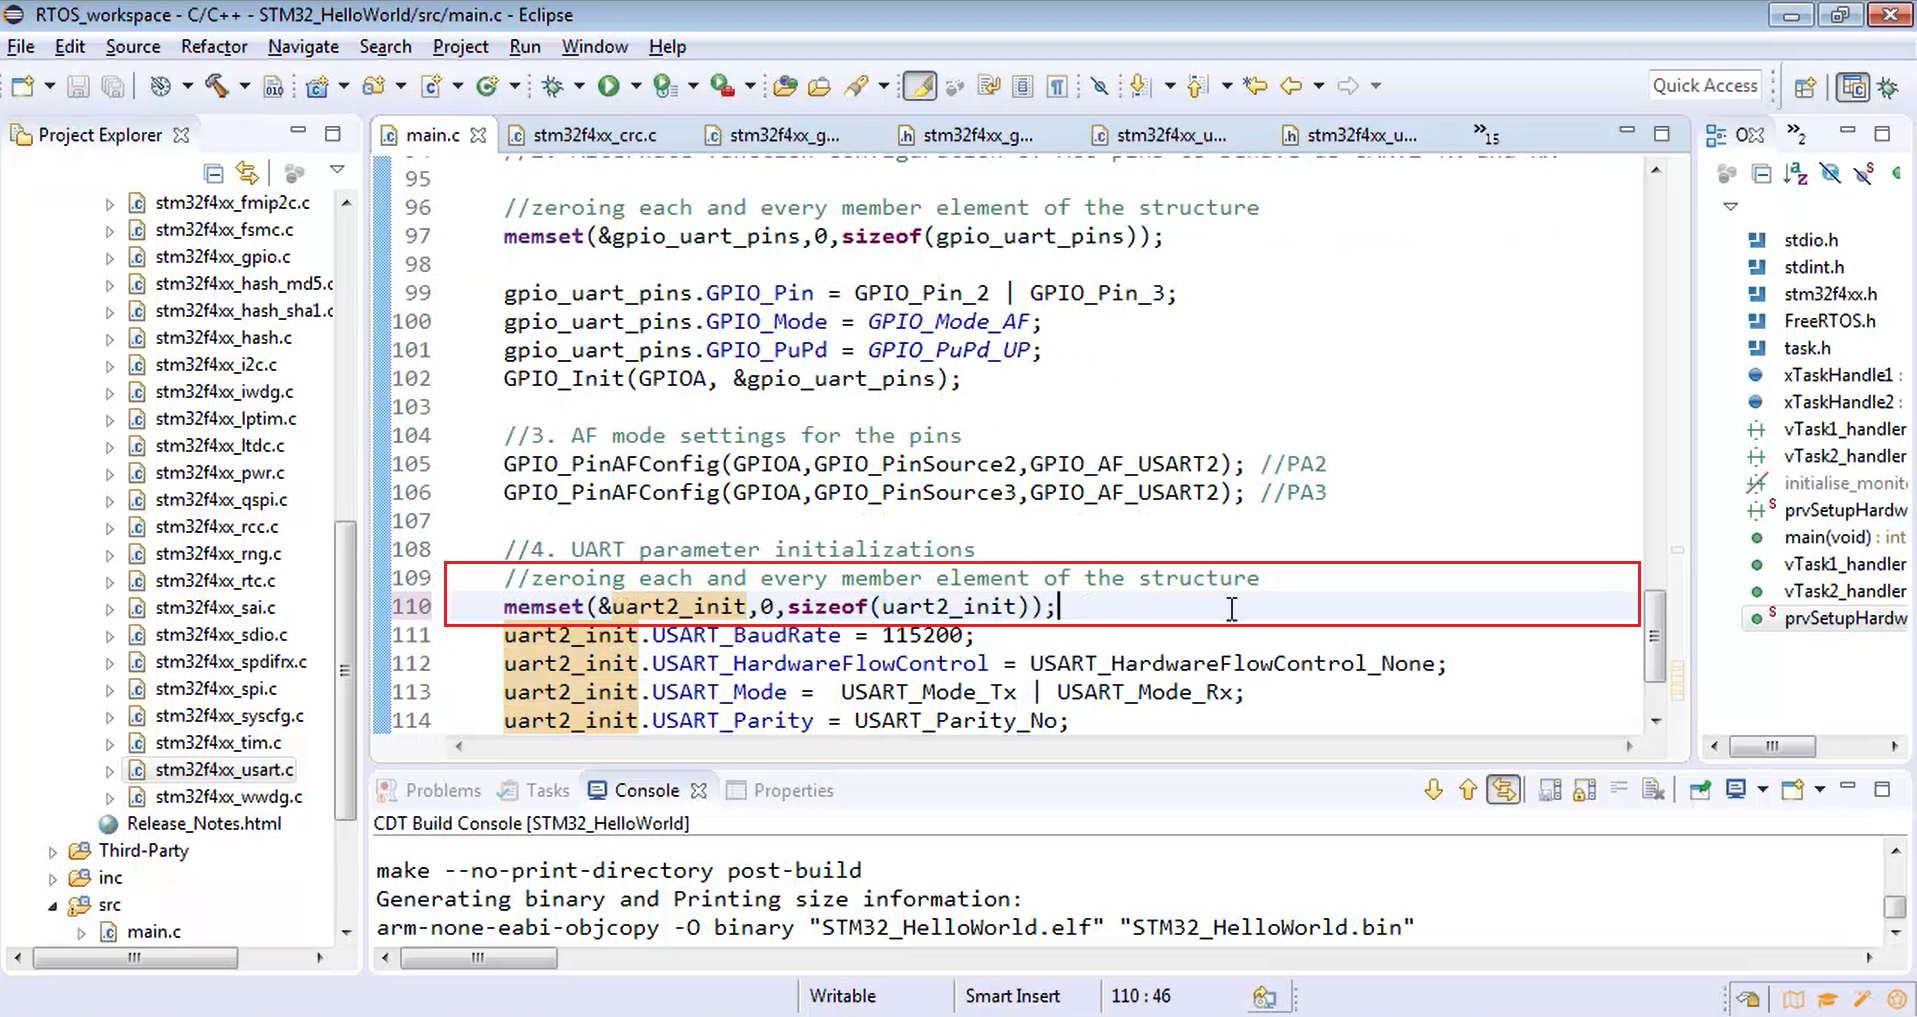
Now repeat the same procedure for structure uart2_init (Figure 24).
//4. UART parameter initializations
//zeroing each and every member element of the structure
memset(&uart2_init,0,sizeof(uart2_init));
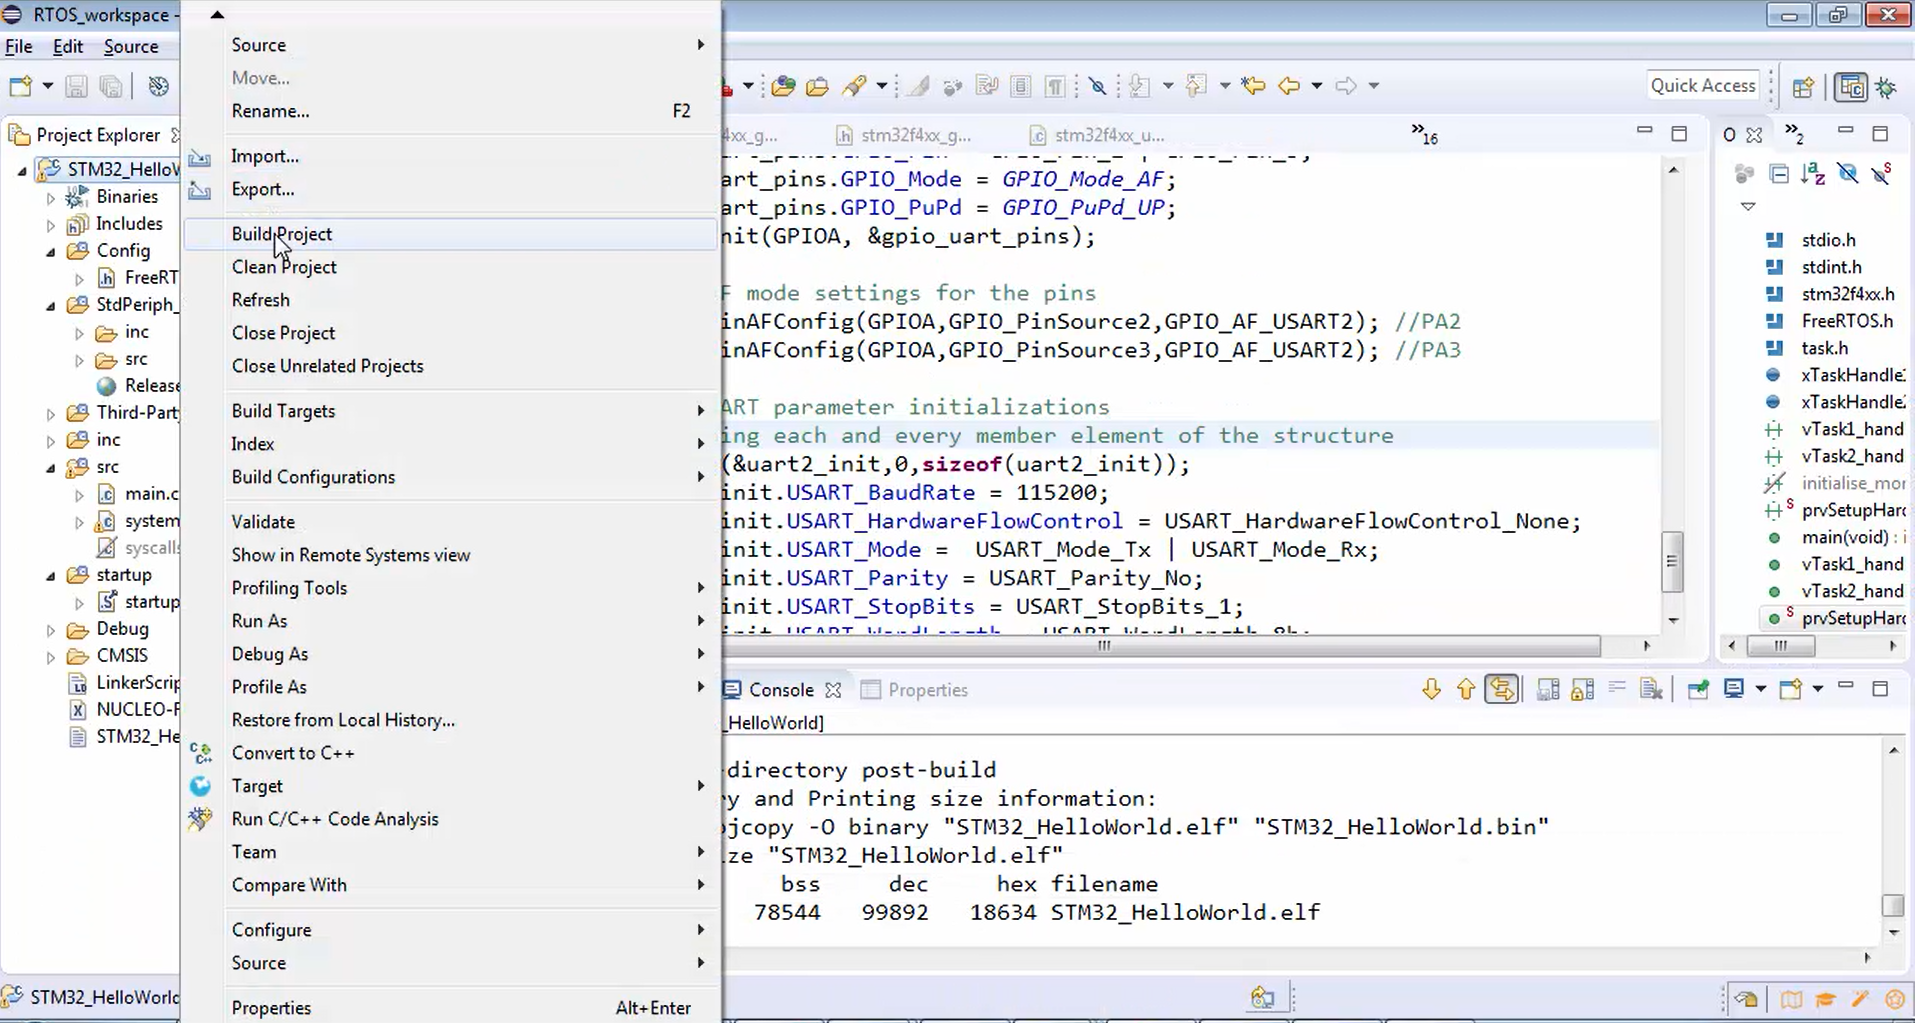
Now let’s compile the code (Figure 25).
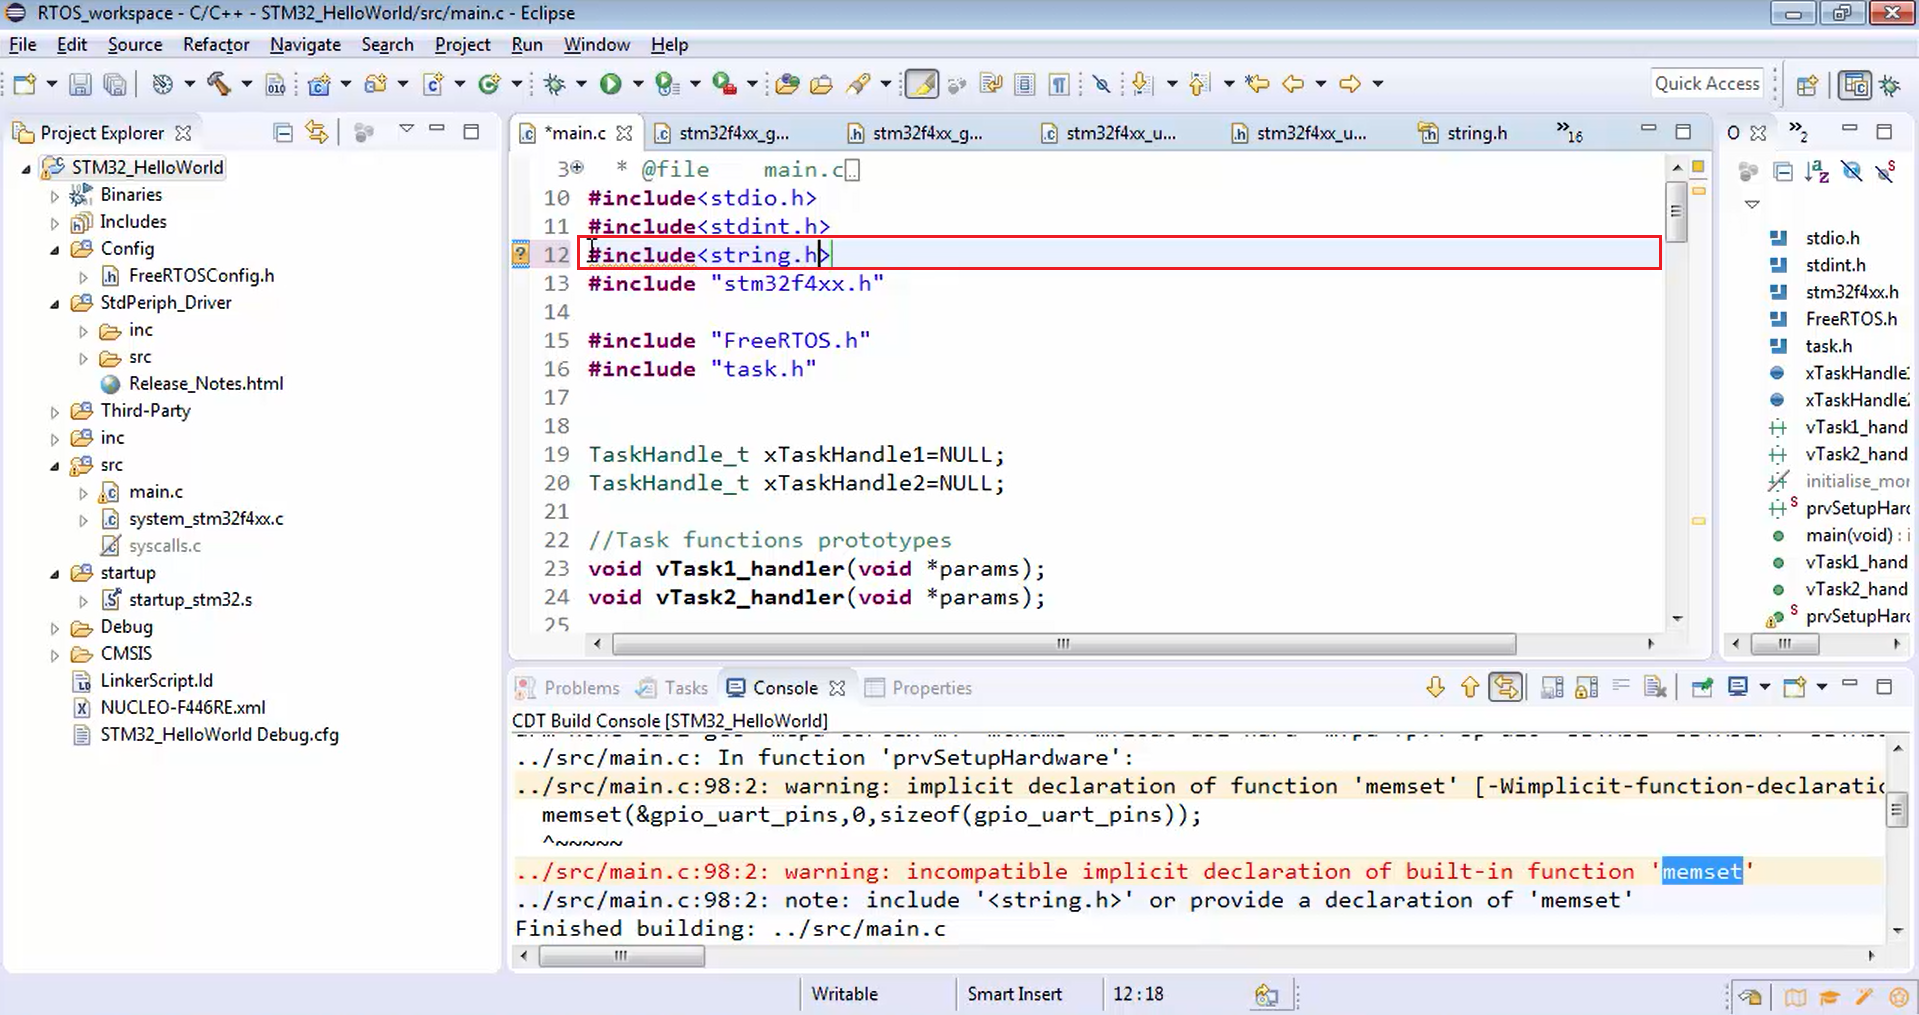
There are no errors. The project builds successfully. But there are a couple of warnings. Now let’s check them because sometimes the warnings may be dangerous.
Here the warning is “implicit declaration of memset”. To resolve this issue, you have to include a string.h library in your project, as shown in Figure 26.
Let’s build the project once again. Now the project is compiled successfully without any errors and warnings.
FastBit Embedded Brain Academy Courses,
Click here: https://fastbitlab.com/course1