How to copy boot images to SD card
In our previous article, we have done two partitions to our SD card.
The next step is copying BOOT images and the root file system.
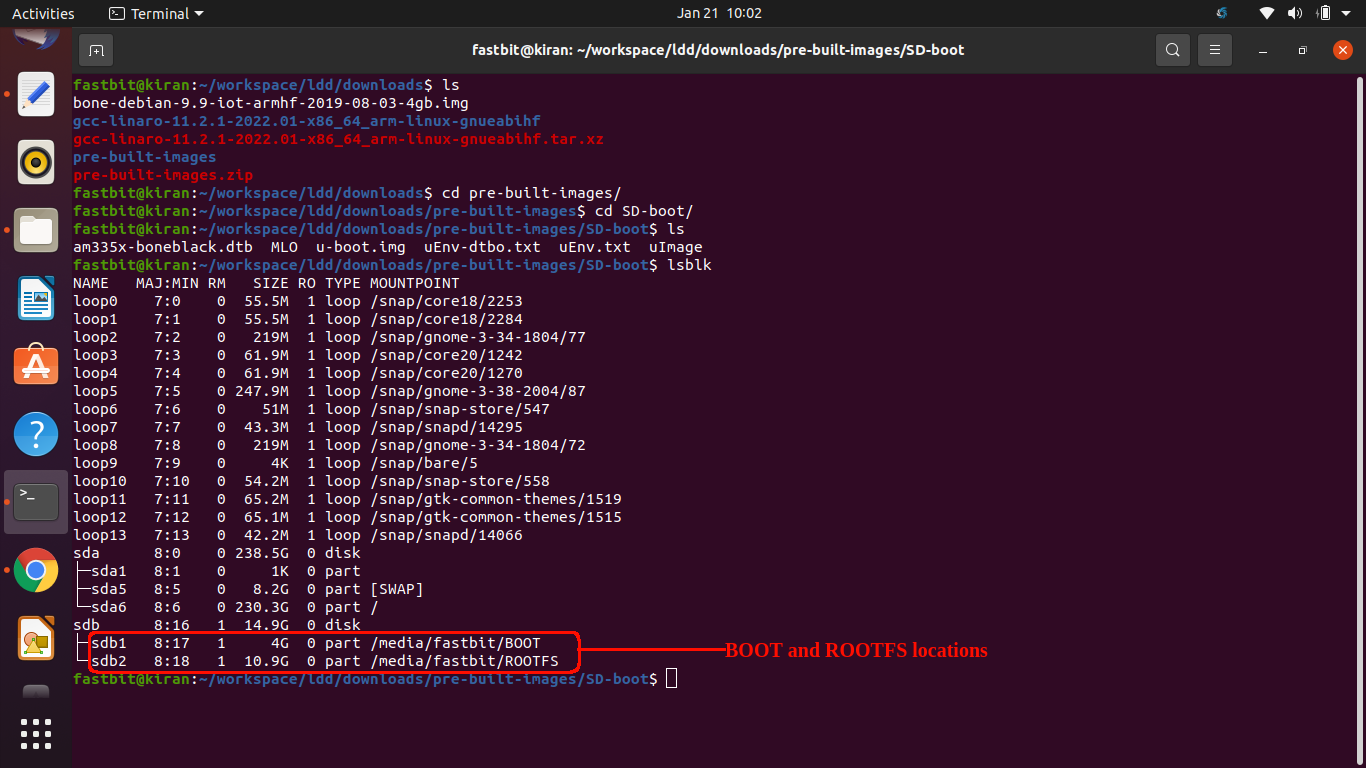
Copy BOOT images on FAT16. For that, let’s go to the command prompt. Let’s go to the home directory and workspace folder; let’s go inside the ldd and downloads. Go inside pre-built images, and go inside SD boot, and there you find the boot images shown in Figure 1.
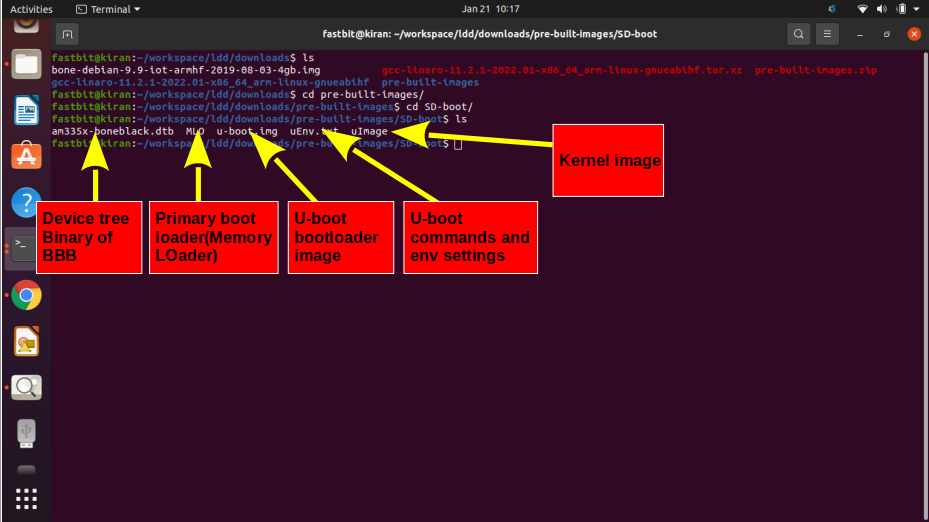
Here we find the dtb.i.e.device tree binary, the MLO, that is, memory loader or primary bootloader, U-boot image, and the U-boot environment variable settings, which are placed in uEnv. txt files and the uImage. This is a kernel image and this kernel image we will update in later sessions. For testing we are using this uImage.
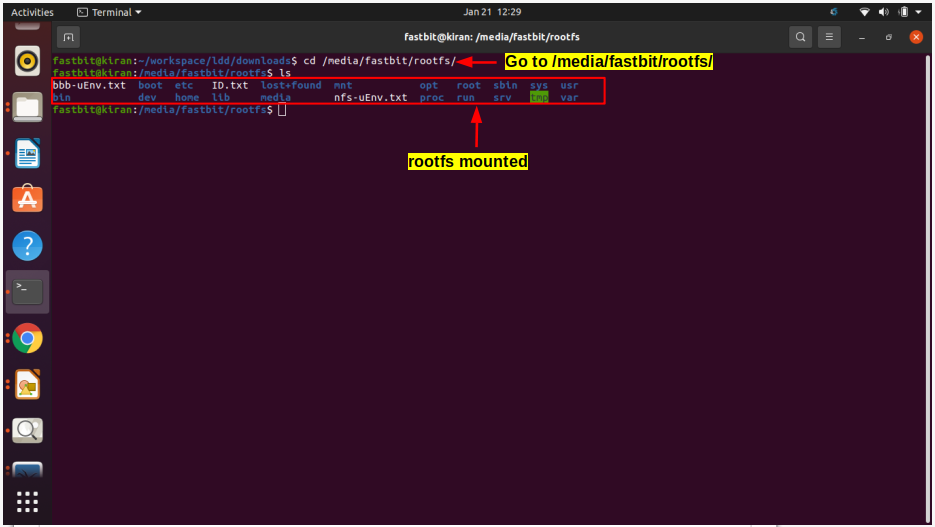
Let’s run lsblk command, which lists block devices.
And you can see that , sdb1 is a partition 1, that is of type fat16, which is mounted at /media/fastbit/BOOT location (as shown in Figure 2). Partition 2 is mounted at /media/fastbit/ROOTFS (as shown in Figure 2).
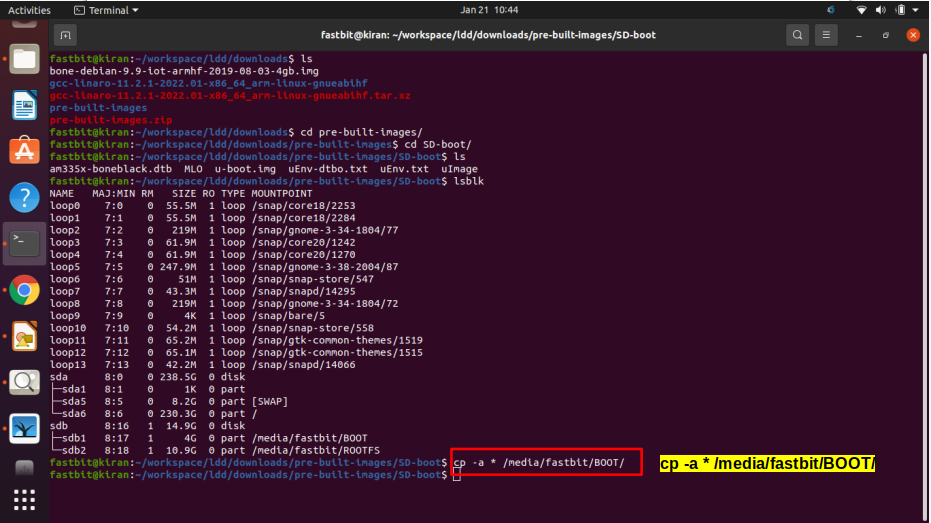
So, to copy the BOOT images into fat16(BOOT partition), Type copy cp -a, select all, *, /media, in my case, it is /fastbit, and in your case, it may be different; it may be with your username and /BOOT/, enter as shown in Figure 3.
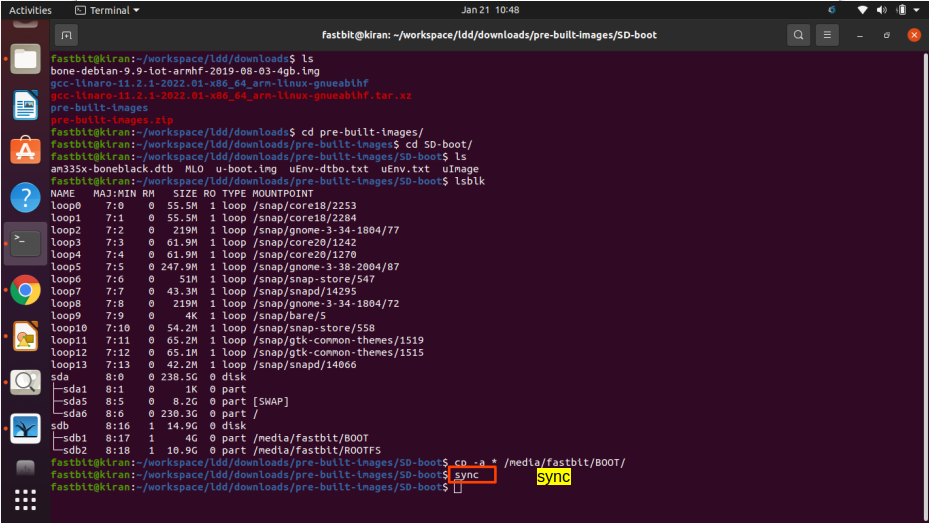
After that, type the sync command (as shown in Figure 4.) to flush all the buffer contents to the media.
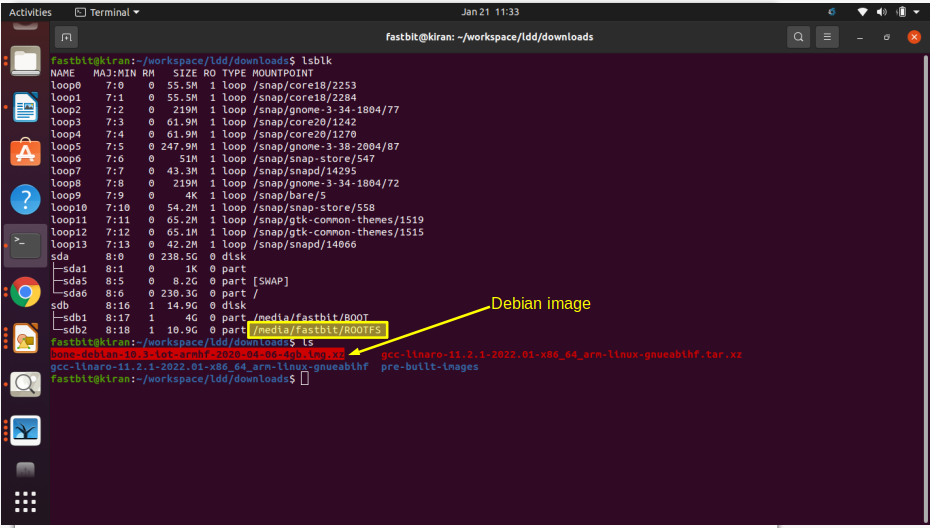
Let’s go back to where we have the Debian image (as shown in Figure 5).
Let’s extract it. Just run the command unxz with the debian image file name (as shown in Figure 6) ,then hit enter.
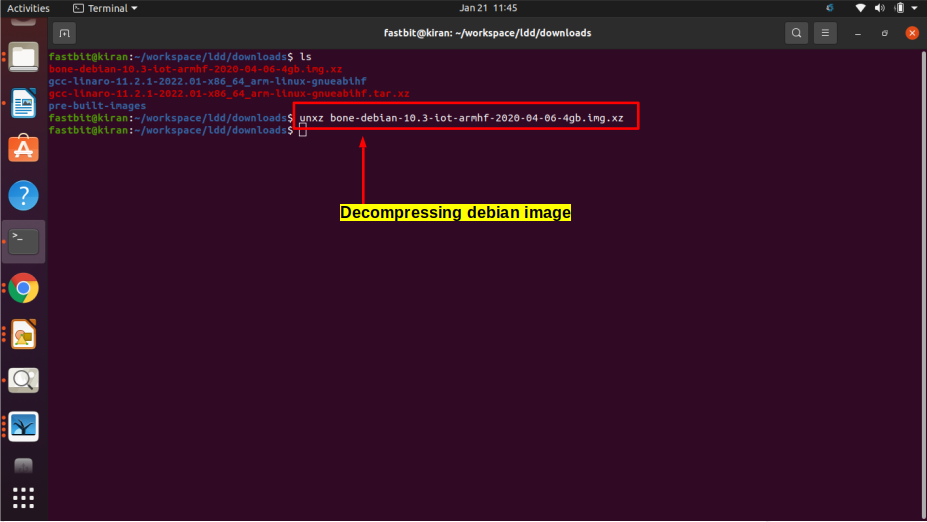
We are actually decompressing that image. So, we have to wait for some time.
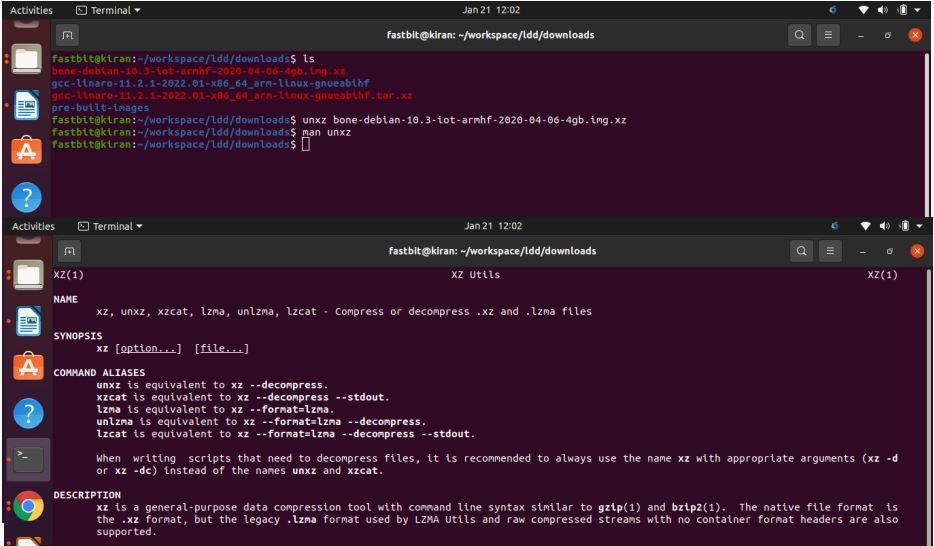
If you want to understand exactly what the unxz command does, just run man with unxz as shown in Figure 7. It says compress or decompress .xz files. What we did is just decompress a .xz file.
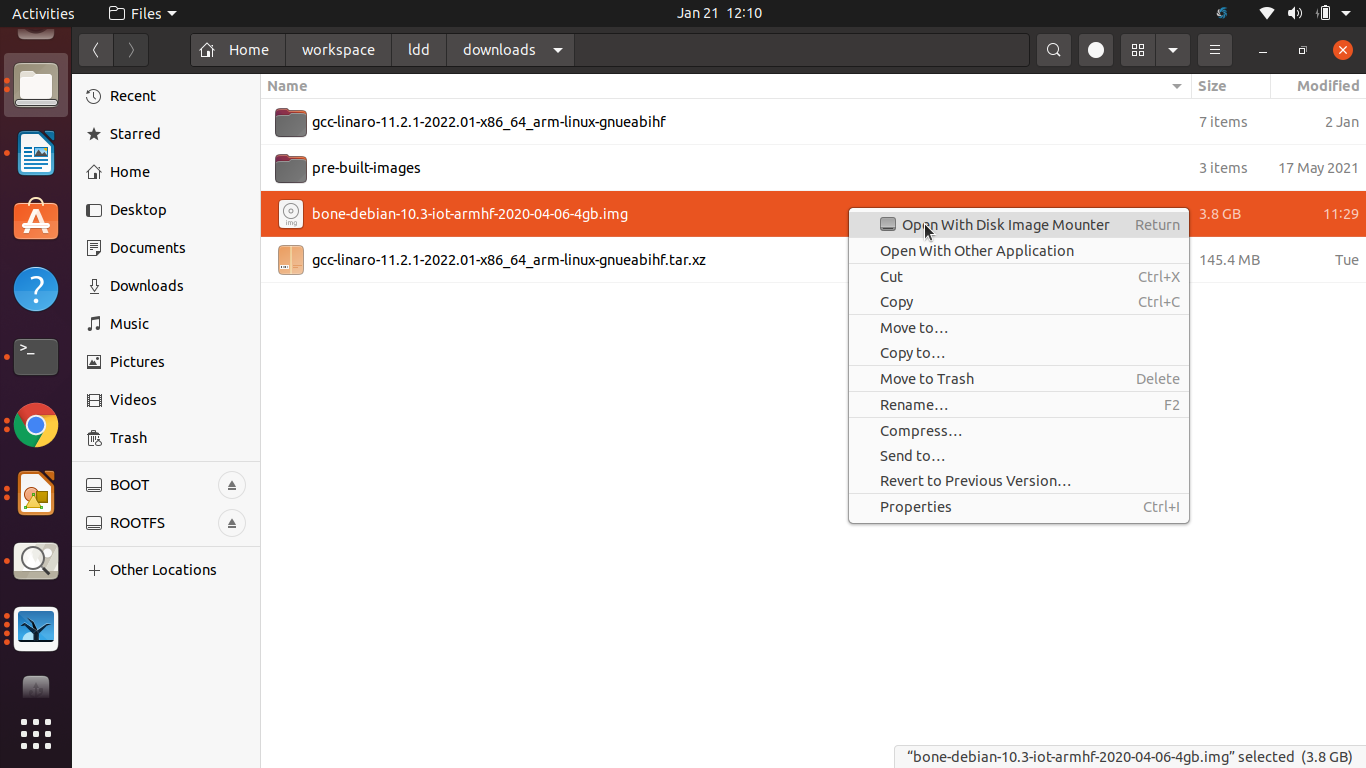
Let’s get into the downloads folder, and there we got .img instead of xz. What you have to do is, select the .img file, right-click, and just use the option open with disk image mounter(Figure 8).
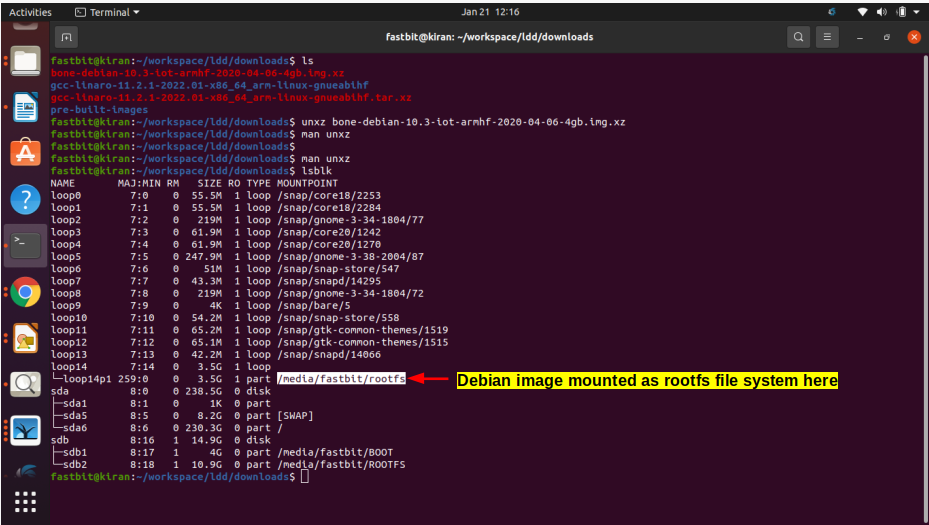
When you do that, The image (.img) will mount in the file system, which you can see by running the command lsblk. It is mounted here as rootfs, that is, at /media/fastbit/rootfs mount point.
Now, we have to go inside this mount point (/media/username/rootfs/) as shown in Figure 10.
And copy rootfs contents into our media, that is, partition 2 (/media/username/ROOTFS/)
Using command cp -a * /media/fastbit/ROOTFS/ (as shown in Figure 11), and hit enter.
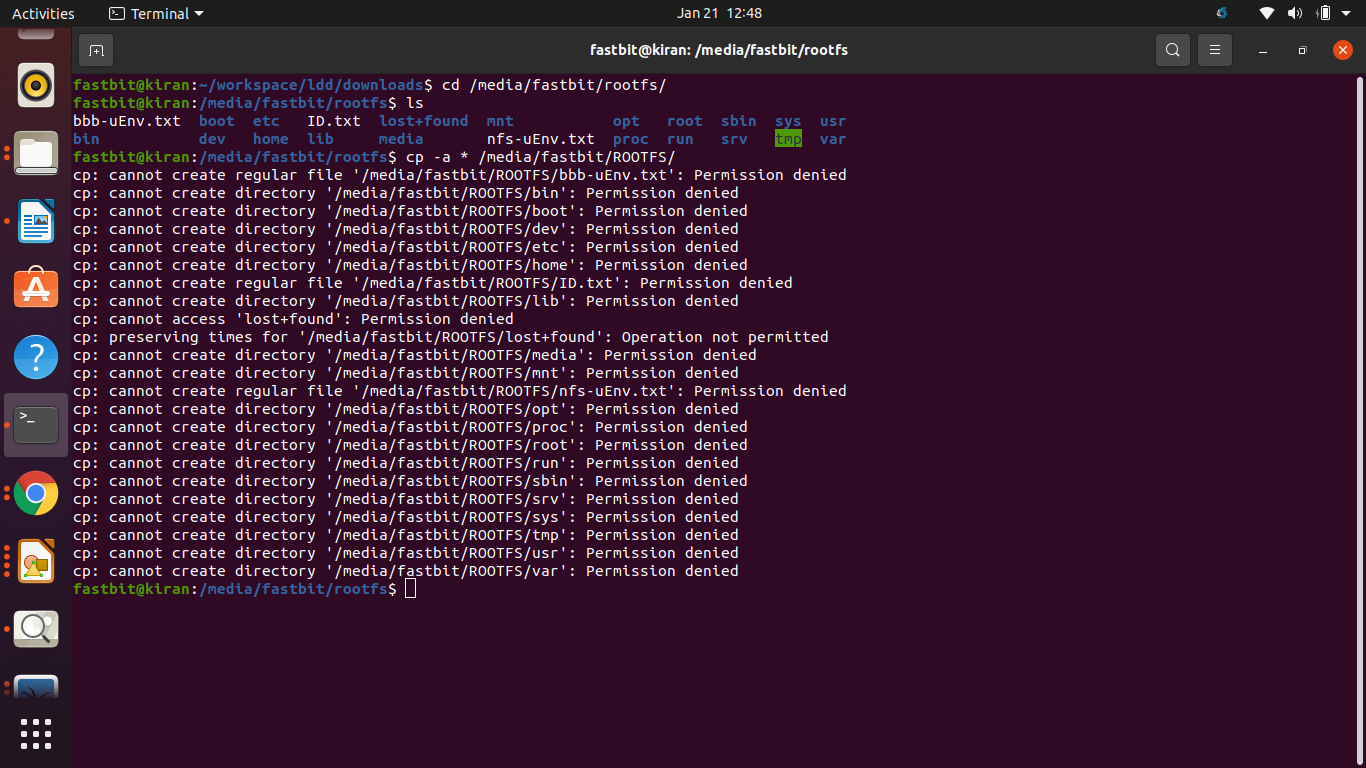
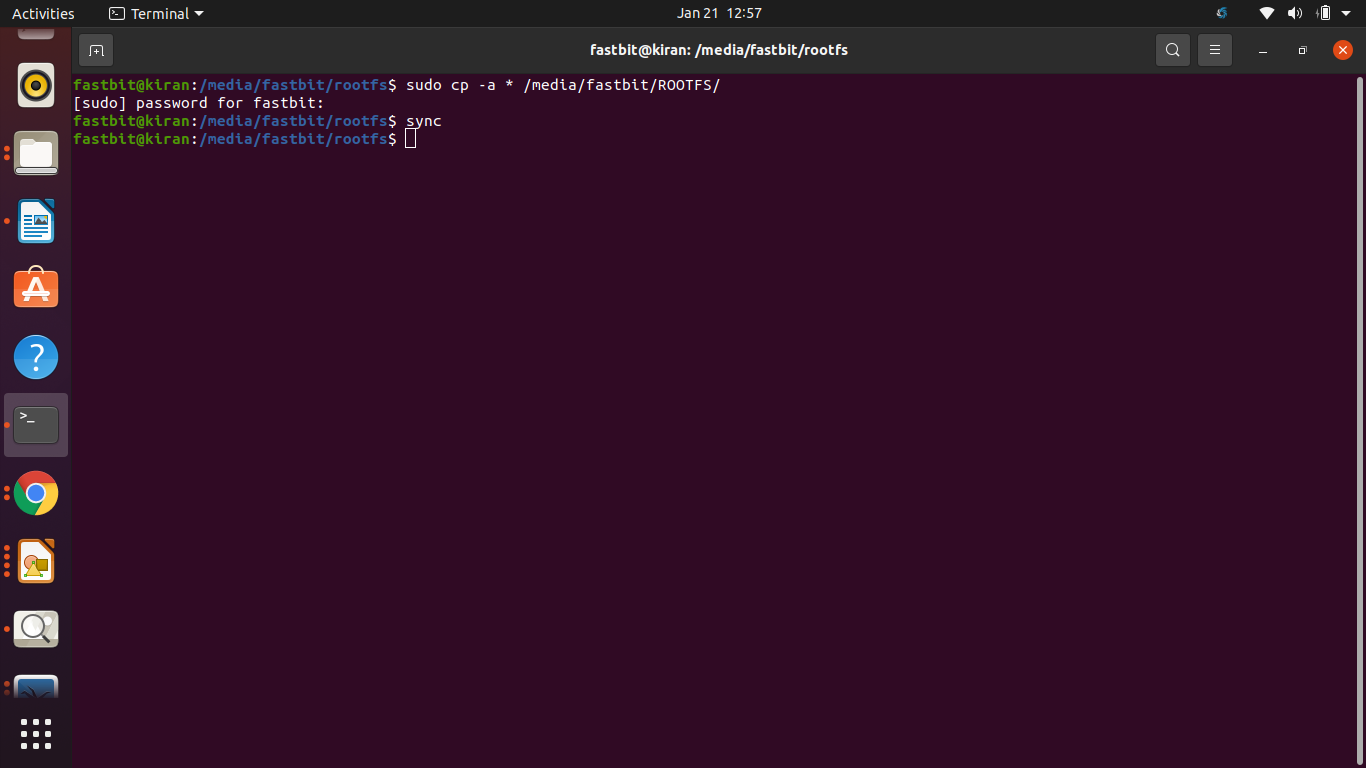
Here, it needs permission; just use sudo. The root file system is the Debian one, and it contains lots of files that need to be copied. It will take some time; please be patient till copying.
After that, a very important command we have to execute is sync (as shown in Figure 12).
If you don’t understand why we are using the sync command, then don’t worry, just run man with sync, man sync(Figure 13). It will show you the meaning of that command.
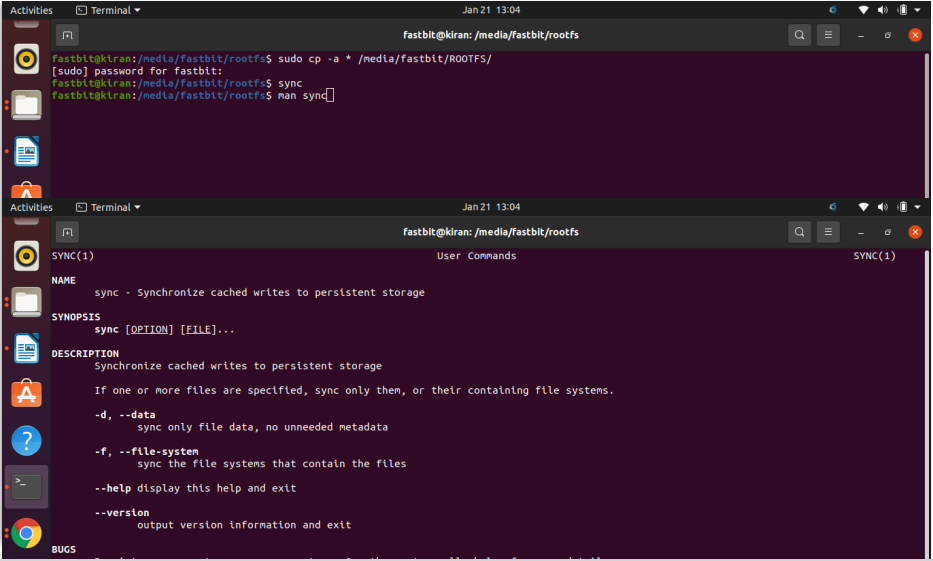
sync means synchronize cached writes to persistent storage. This is actually deflush in between cache data to the physical media. For example, if we want to understand why we used copy -a. Just run man with that, and you can see, what is the meaning of -a.
Let’s go to BOOT, and you can see that the files copied and the ROOTFS also contain the root file system as shown in Figure 14.

Unmount and remove your SD card, insert the SD card into the Beaglebone Black SD card slot.
After that, boot from the SD card interface. I will cover this in the next article, and before that, you complete it up to here.
FastBit Embedded Brain Academy Courses
click here: https://fastbitlab.com/course1