Preparing Micro SD card for SD boot
In this session, let’s prepare a Micro SD card for SD boot. First of all, we have to do Micro SD card preparation.
These are the steps you have to follow,
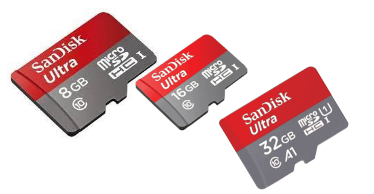
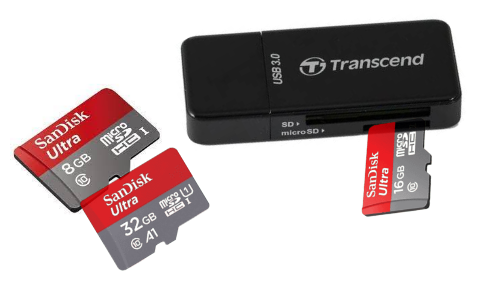
- Use 8/16/32 GB Micro SD card.
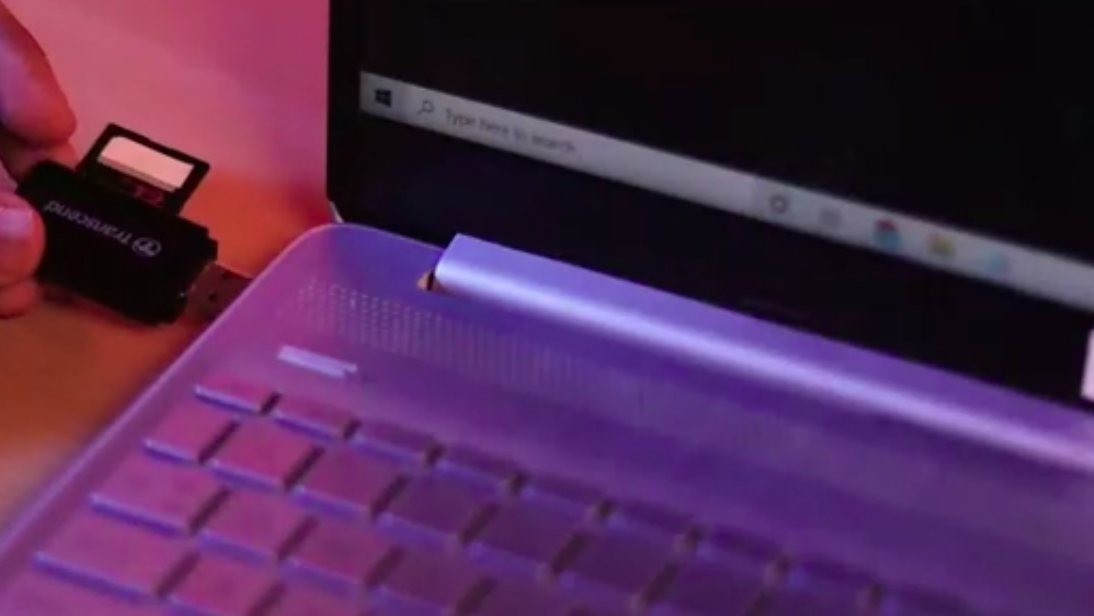
- Connect the Micro SD card to the PC using a card reader.
- Launch the GParted application.
- Make two partitions(fat16 and ext4).
- Copy boot images on fat16 partition(BOOT partition).
- Copy Debian root file system on ext4 partition.
- Configure the boot,lba flags on the boot partition.
- Unmount and remove the Micro SD card from the PC.
- Insert the Micro SD card into the BBB Micro SD card slot.
- Boot from SD card interface (mmc0 interface).
I will guide you step by step.
For this exercise, you should have a Micro SD card of 8 or 16 or 32GB (Figure 1), and you need a card reader (Figure 2).
First, you have to connect the Micro SD card to the PC using a card reader, as shown in Figure 3.
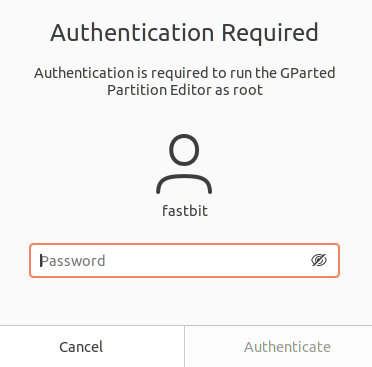
And after that, we launch the Gparted application, which we installed in the earlier part of the sessions. After that, it will ask for authentication (Figure 4) permission. Let’s enter the password.
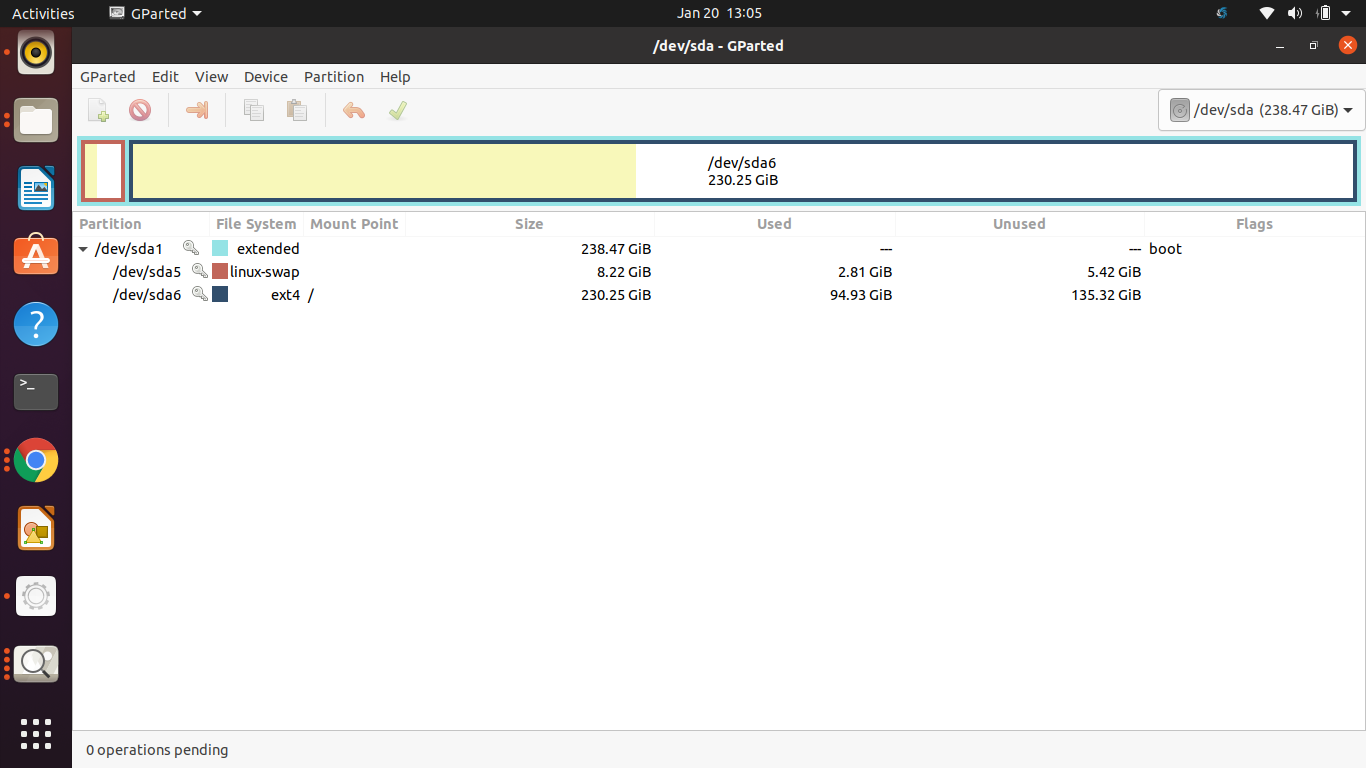
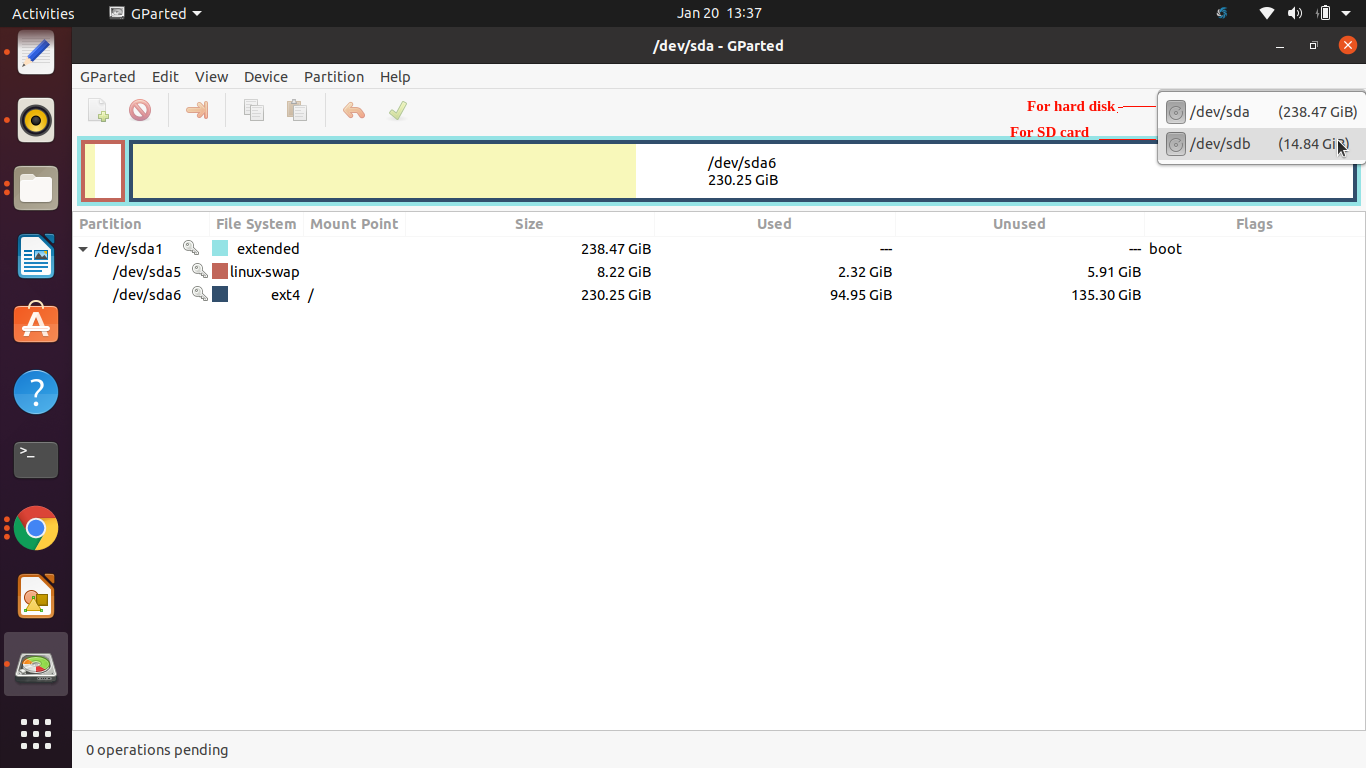
Now, the very important step is to select the device here. Otherwise, you may mess up with your hard disk. sda is the hard disk, and sdb is the SD card as shown in Figure 6 what I connected.
If you are not sure, then don’t worry; open the command prompt.
You can just run the command dmesg. Here you can see that the device file which is created for the SD card is sdb, as shown in Figure 7.
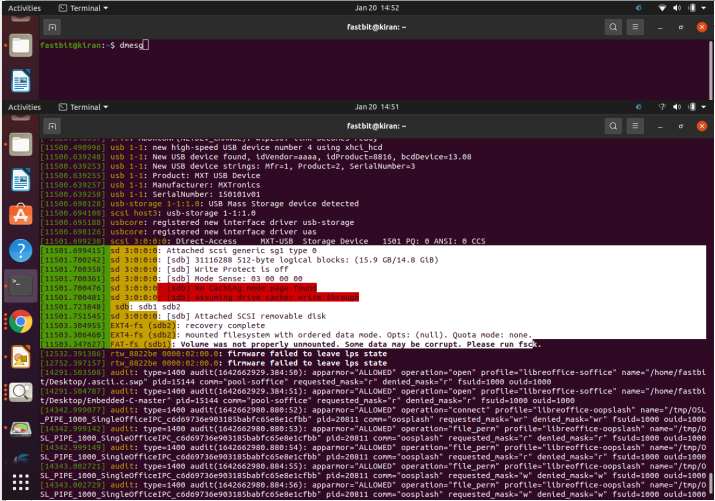
It could be sdc or something different in your case. But you have to run the dmesg and you have to see the recent activities, and you have to select the appropriate device file. In my case it is sdb. That’s why we should be very careful here.
I would select sdb, which is my 16 GB SD card; now, we are going to create two partitions here. First, right-click , and let’s delete everything if any partitions before.
Here 14GB is available for us. Right-click and create a new, select primary partition here(As shown in Figure 8).
And after that, here you give the size. Size I would give a 4095MB or something like that. It should be a fat16.Give the label for this partition as BOOT. And make sure that this is the primary partition; click add.
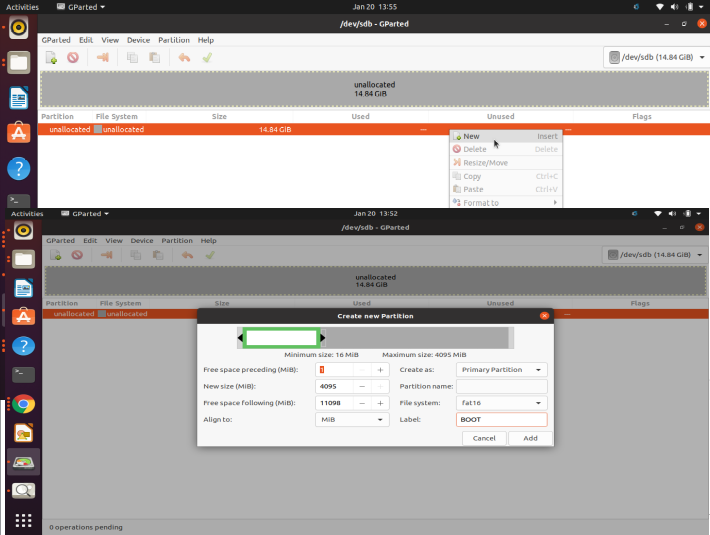
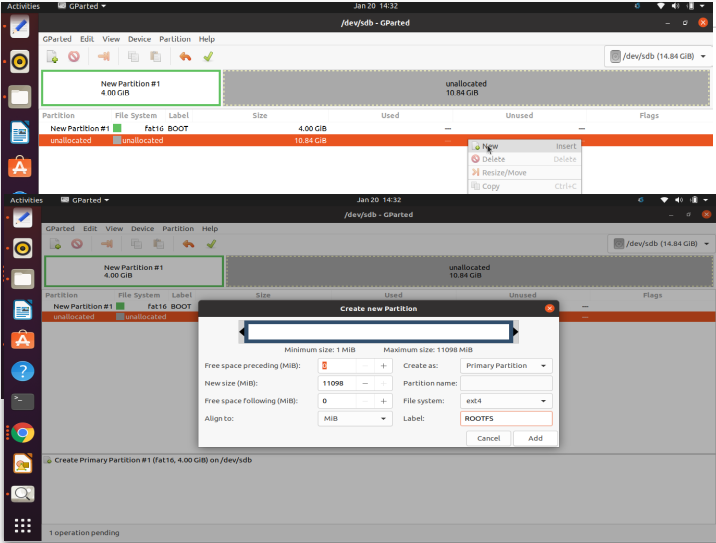
We created the first partition boot of 4095MB.
Let’s create another partition, right-click, new, and you need not change anything, the remaining will be used for the next partition. Select ext4, make it a primary partition, and label it ROOTFS. Then add (as shown in Figure 9).
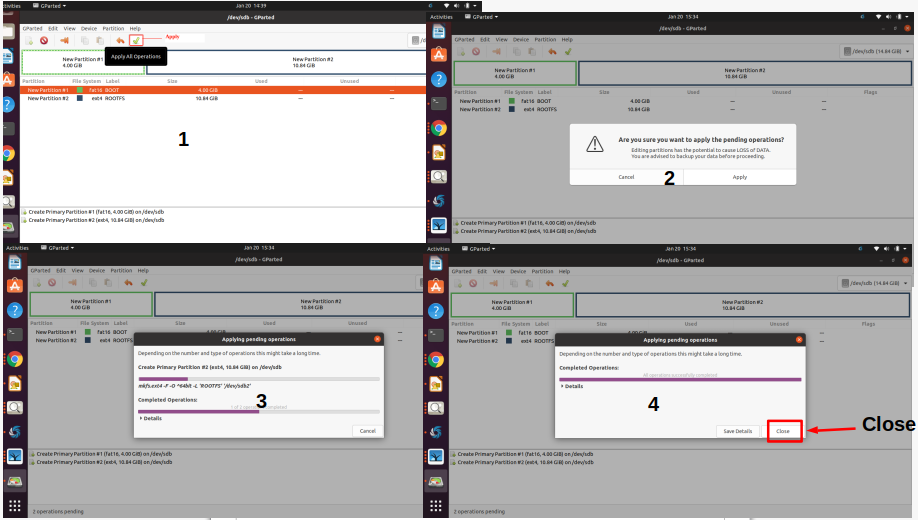
And after that, click apply. If you click apply here, all the data of the SD card will be deleted, and the SD card will be formatted into two partitions, fat16 and ext4.
If you are sure about that, then go and click the apply button here (As shown in Figure 10). Apply.
Let’s wait for some time, the operations have been completed, close.
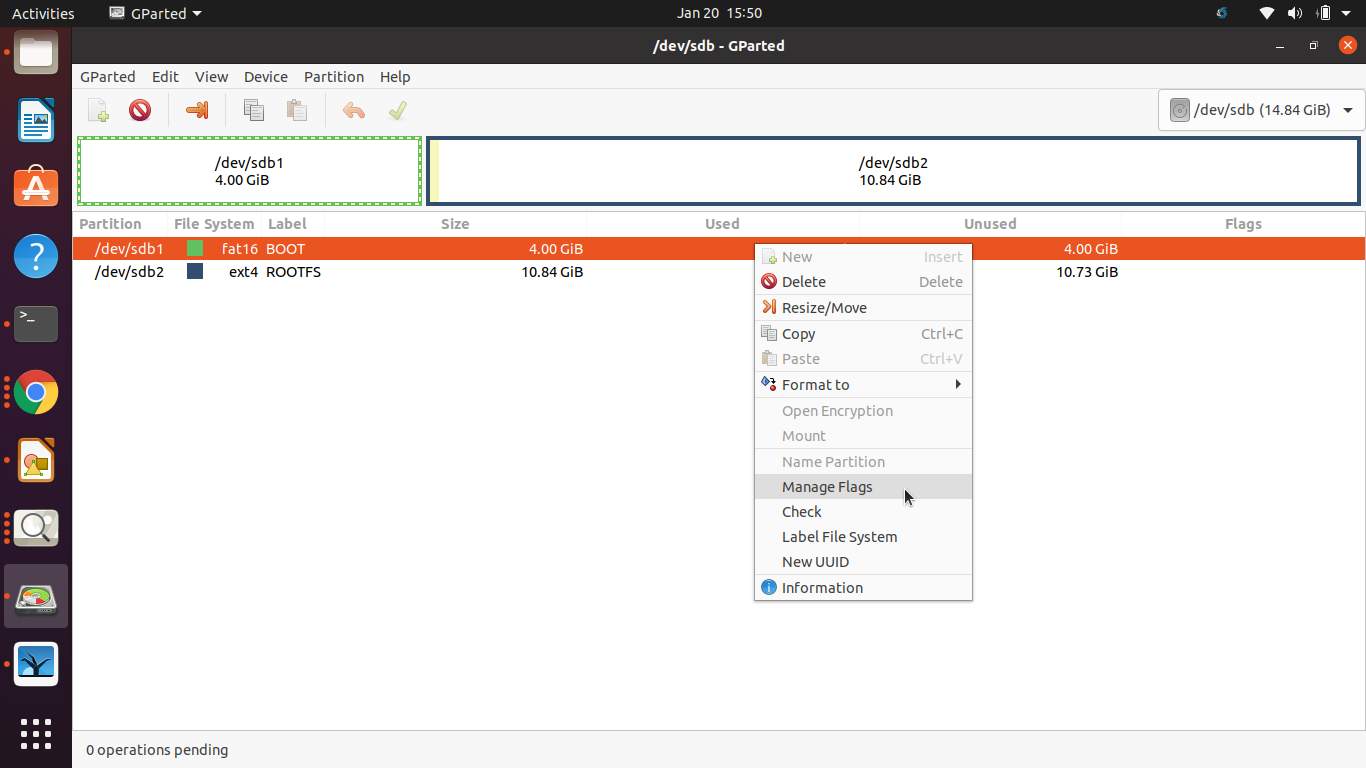
And after that, you have to manage some flags for this boot partition,
To make it bootable, you have to set some flags, select the BOOT partition and right click-manage flags, and select boot here and lba, as shown in Figure 11, and close. After that, close this application.
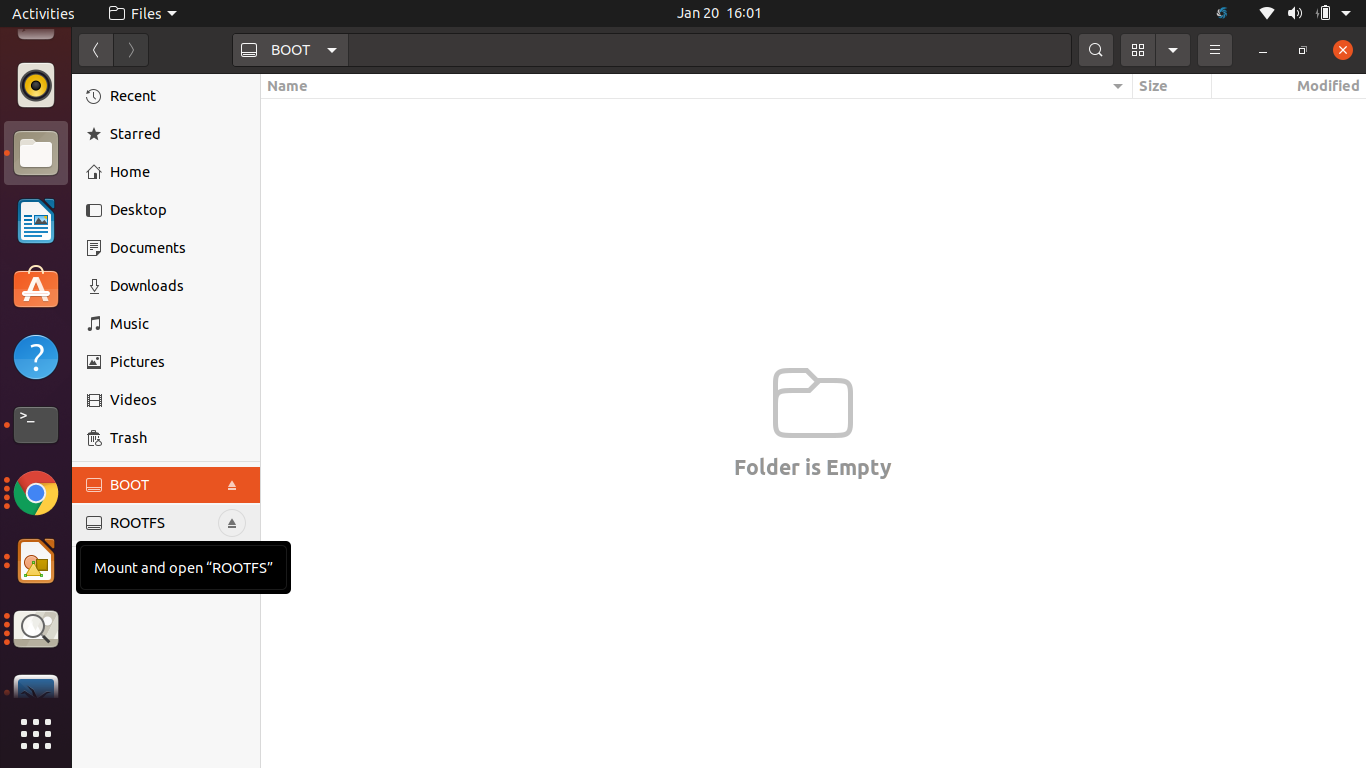
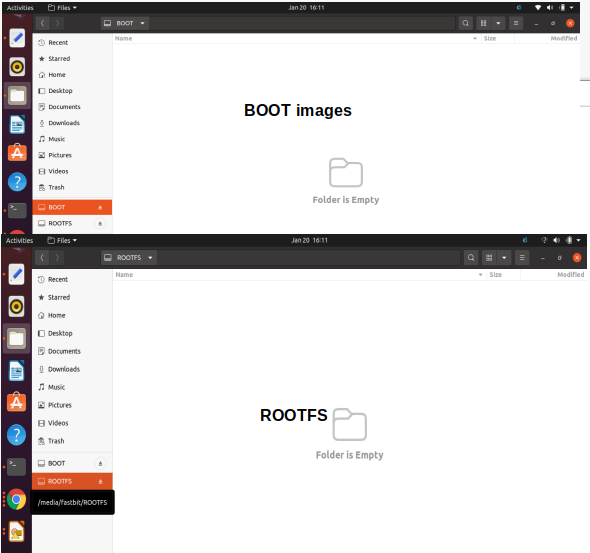
You can see that two partitions have been mounted, BOOT and ROOTFS.
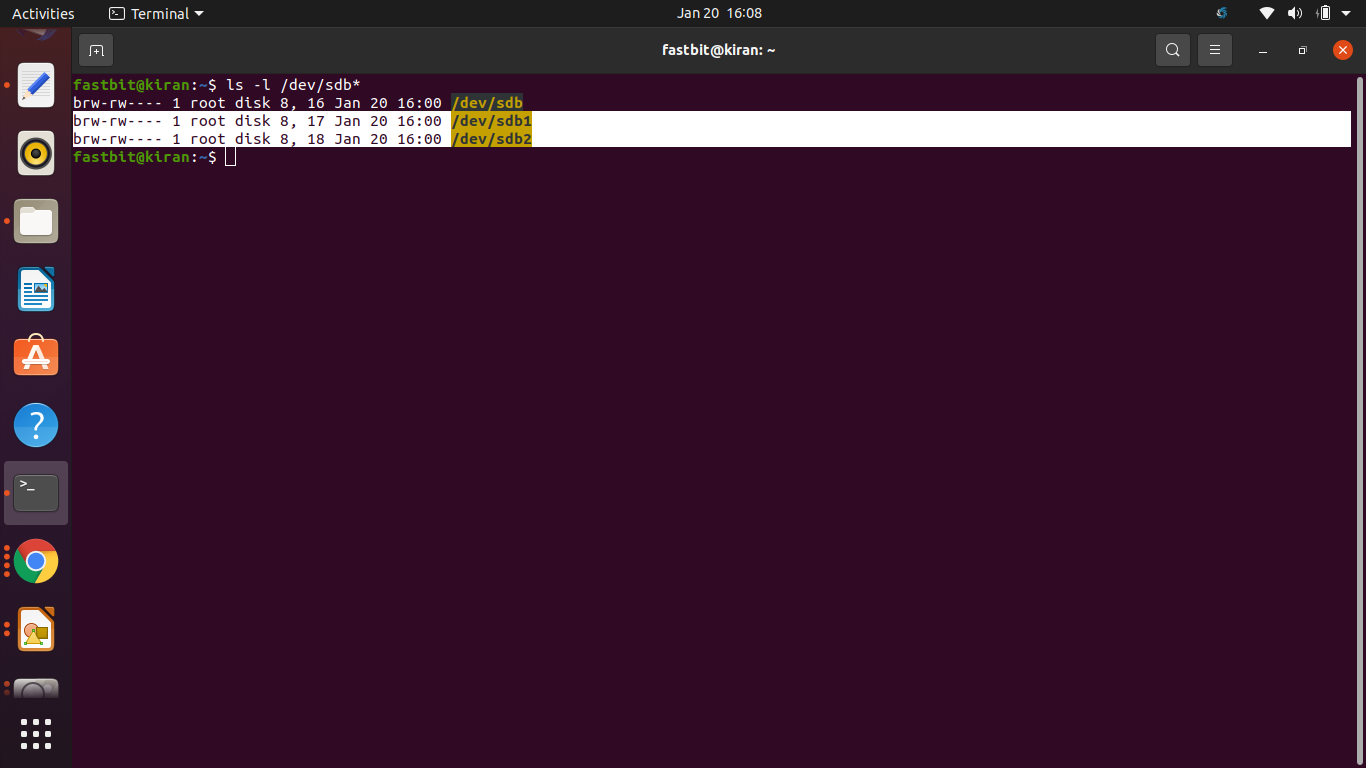
For some people, the partitions may not get mounted automatically.
In that case, you would see two device files here on your terminal. In the dev directory you will see sdb1 and sdb2, as shown in Figure 13. These are the two partitions that we just created.
If you don’t see these mounted directories, then no problem; just remove the SD card and reconnect. And we have to copy the BOOT and ROOTFS images into it (Figure 14).
That I will cover in the following sessions, make sure that you complete up to here, and I’ll see you in the upcoming articles.
Get the full course on Linux Device Driver Here.
FastBit Embedded Brain Academy Courses
click here: https://fastbitlab.com/course1