Using MCU peripherals and implementing initialization codes
Now let’s learn more about how FreeRTOS schedules the FreeRTOS related tasks, how exactly the task executes, and for how many durations each task executes. You will understand all these topics as you make progress.
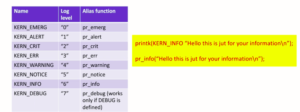
Our goal was to create two tasks and use semihosting to print some logs. But the semihosting is not that great idea. It is definitely helpful when you do debugging. But in order to get the logs using semihosting or printf’s, you have to keep the board into debug mode. Then only it will work. Otherwise, it won’t work.
In this article, let’s use the UART peripheral of the microcontroller to send logs to the computer over serial communication.
Now let’s see how we can configure the UART peripheral and how to use that in the FreeRTOS scenario.
For that, we are going to use the standard peripheral driver given by the STMicroelectronics. We will be using various driver files like UART driver, clock driver, and GPIO driver to configure the UART peripheral.
Let’s create one function called prvSetupHardware to configure the UART peripheral, where prv means private. This is a private function. You can even make it static, as shown below.
It is a private function in order to implement all hardware-specific configurations. Hardware means microcontroller or board. All board-related initialization or any peripheral related initialization we can do in this function.
So, let’s keep all the microcontroller peripheral specific initialization inside this prvSetupHardware function.
void vTask2_handler(void *params)
{
    while(1)
    {
         printf("Hello-world: From Task-2\n");
    }
}

static void prvSetupUart(void)
{

}
Function to setup the hardware
Now let’s give the prototype of the prvSetupHardware function, as shown in Figure 1.
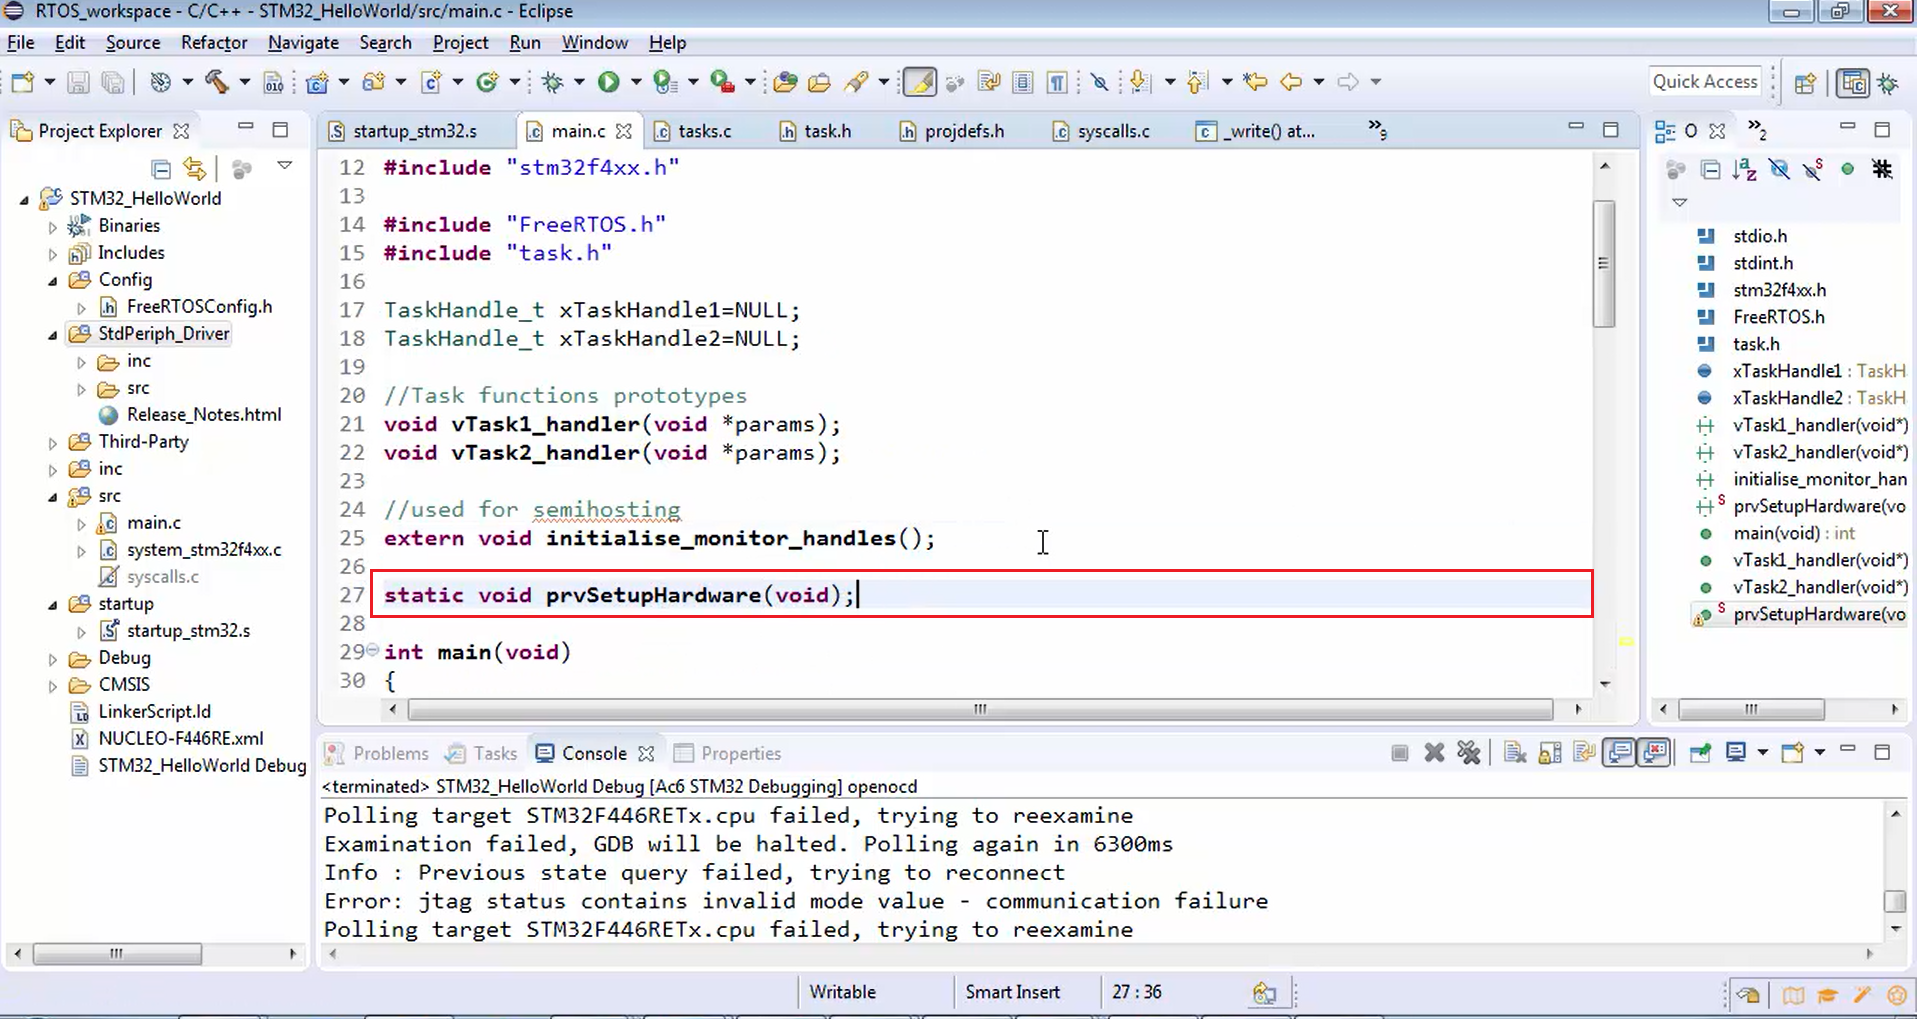
Let’s call the prvSetupHardware function from main, as shown in Figure 2.

Instead of removing semihosting related calls, manage them using preprocessor macros, as shown below. Now the semihosting related calls are used only if the ifdef is defined.
#include<stdio.h>
#include<stdint.h>
#include<string.h>
#include "stm32f4xx.h"

#include "FreeRTOS.h"
#include "task.h"

TaskHandle_t xTaskHandle1=NULL;
TaskHandle_t xTaskHandle2=NULL;

//Task functions prototypes
void vTask1_handler(void *params);
void vTask2_handler(void *params);

#ifdef USE_SEMIHOSTING
//used for semihosting
extern void initialise_monitor_handles();
#endif

static void prvSetupHardware(void);

int main(void)
{

#ifdef USE_SEMIHOSTING
     initialise_monitor_handles();
     printf("This is hello world example code\n");
#endif
Use of preprocessor macros to manage the semihosting related calls
Remove the semihosting related printf’s in the task handlers, as shown in Figure 3. You can replace it with UART-related printf’s later.
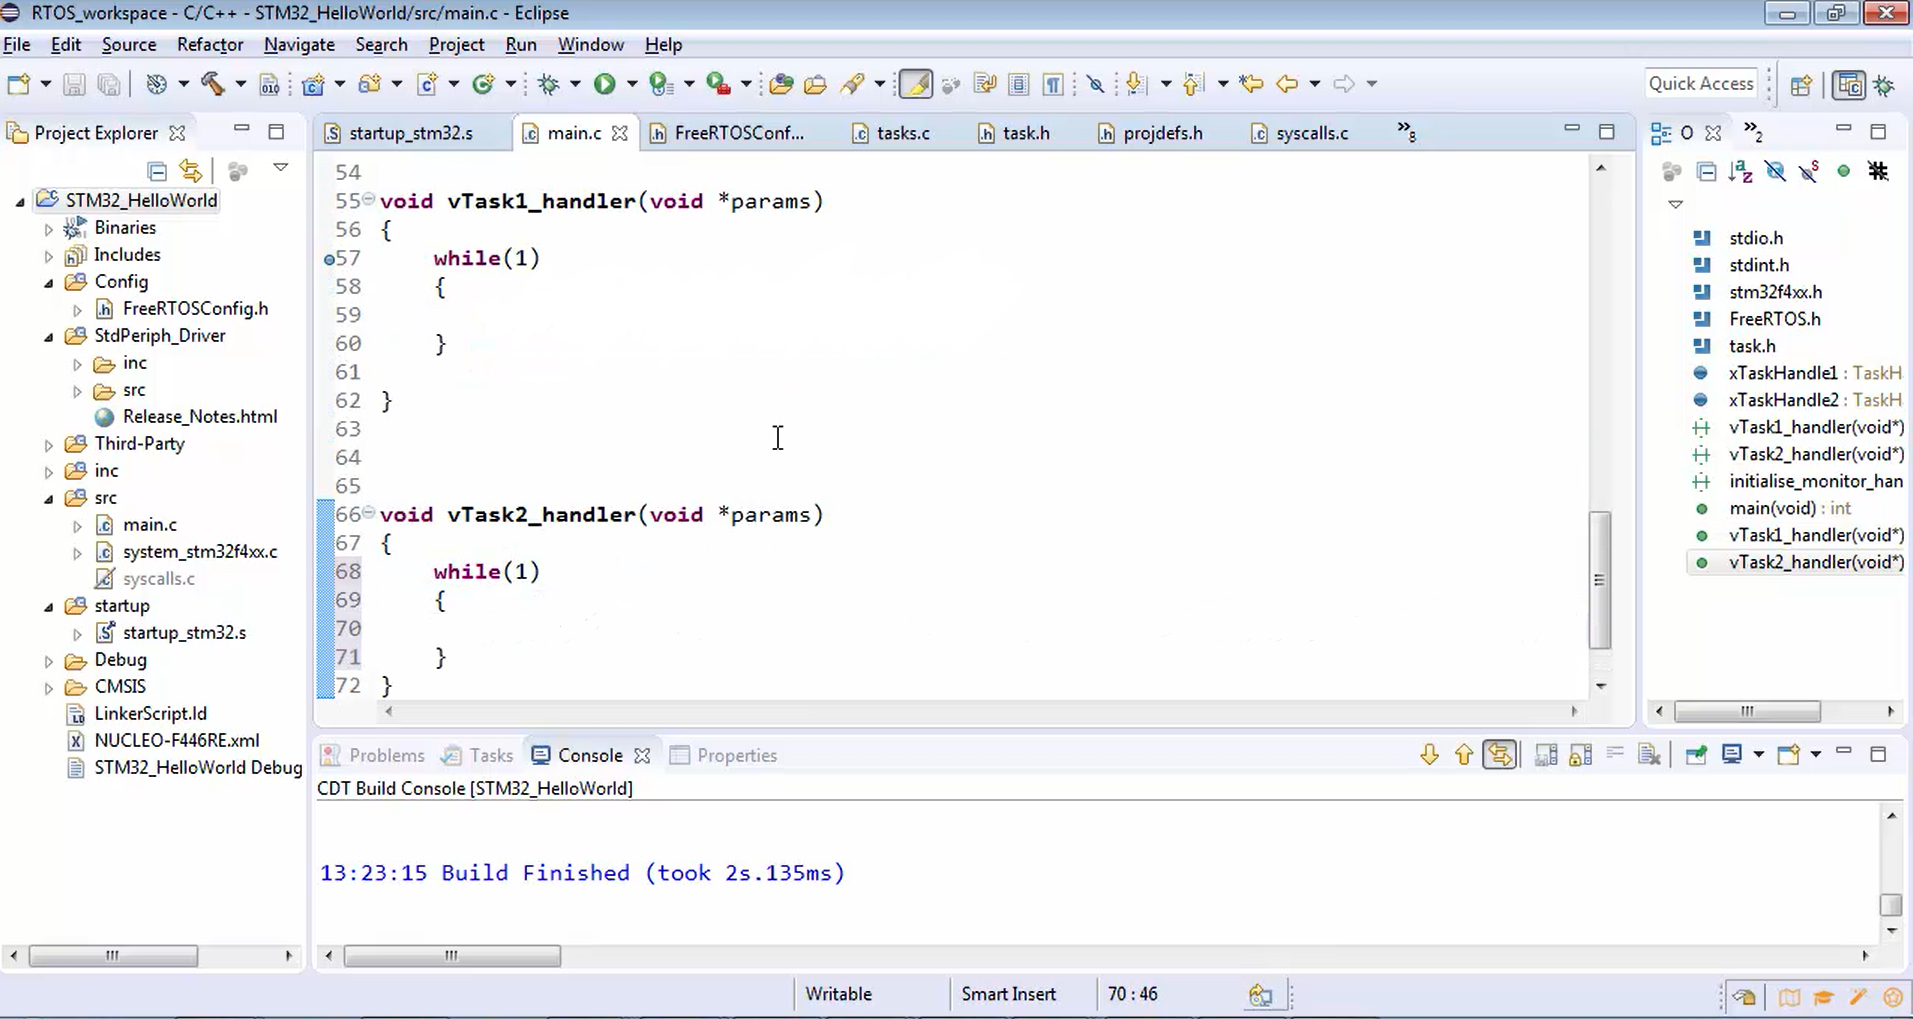
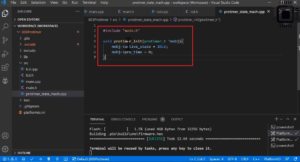
Build this code and see whether it builds successfully or not (Figure 4). It builds successfully without any errors.
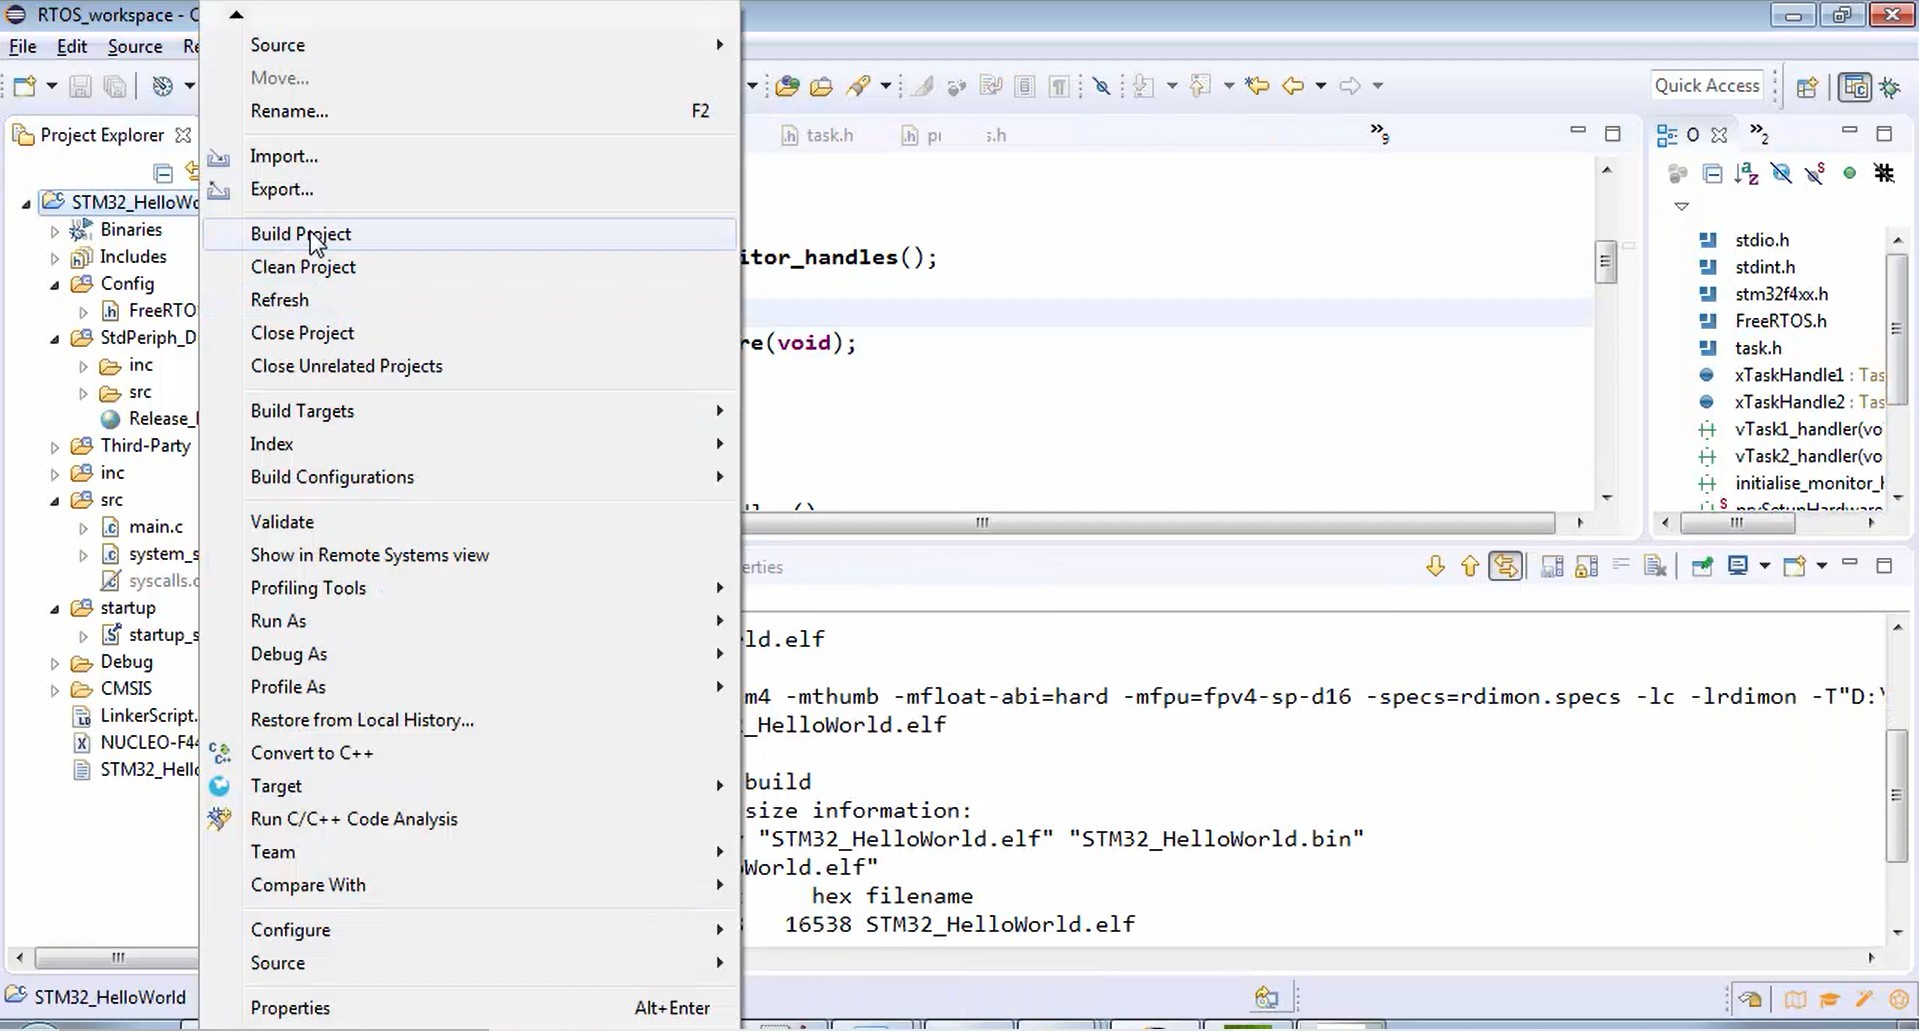
If you want to use semihosting, then you have to define the macro USE_SEMIHOSTING in the project settings. Let’s see how we can do that.
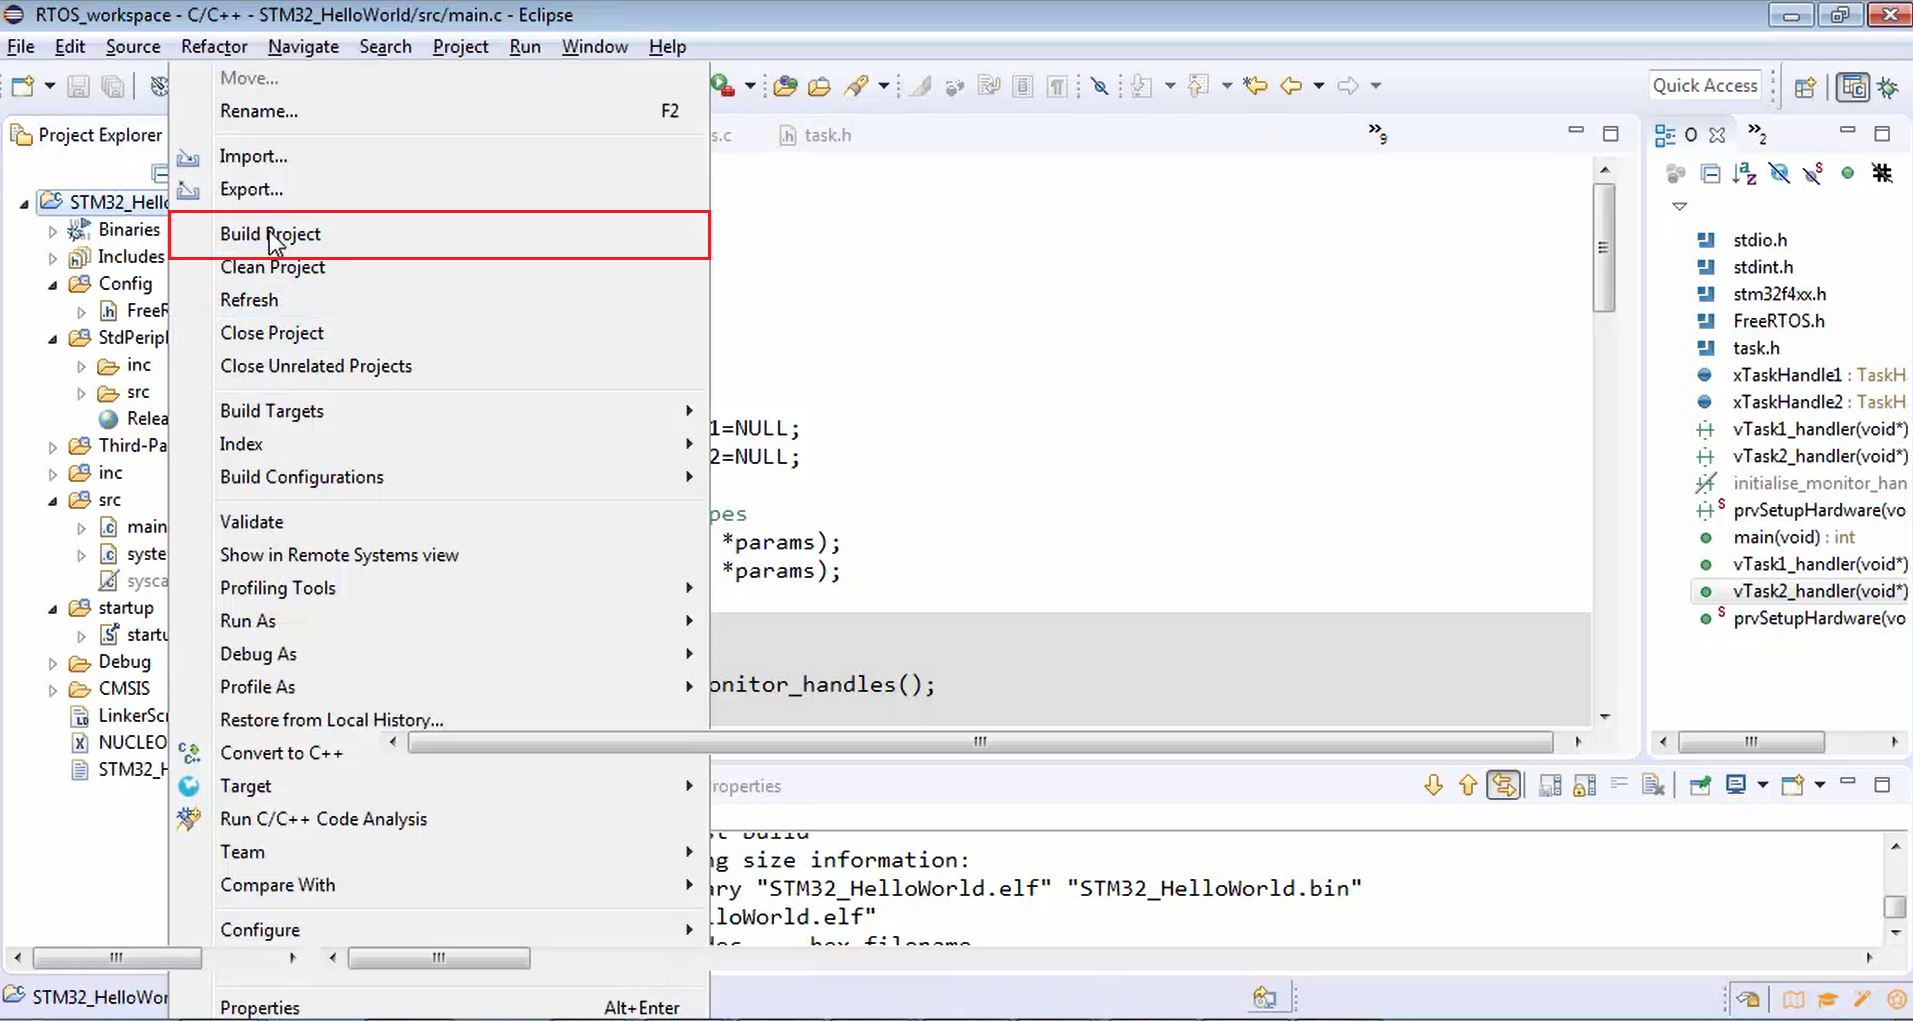
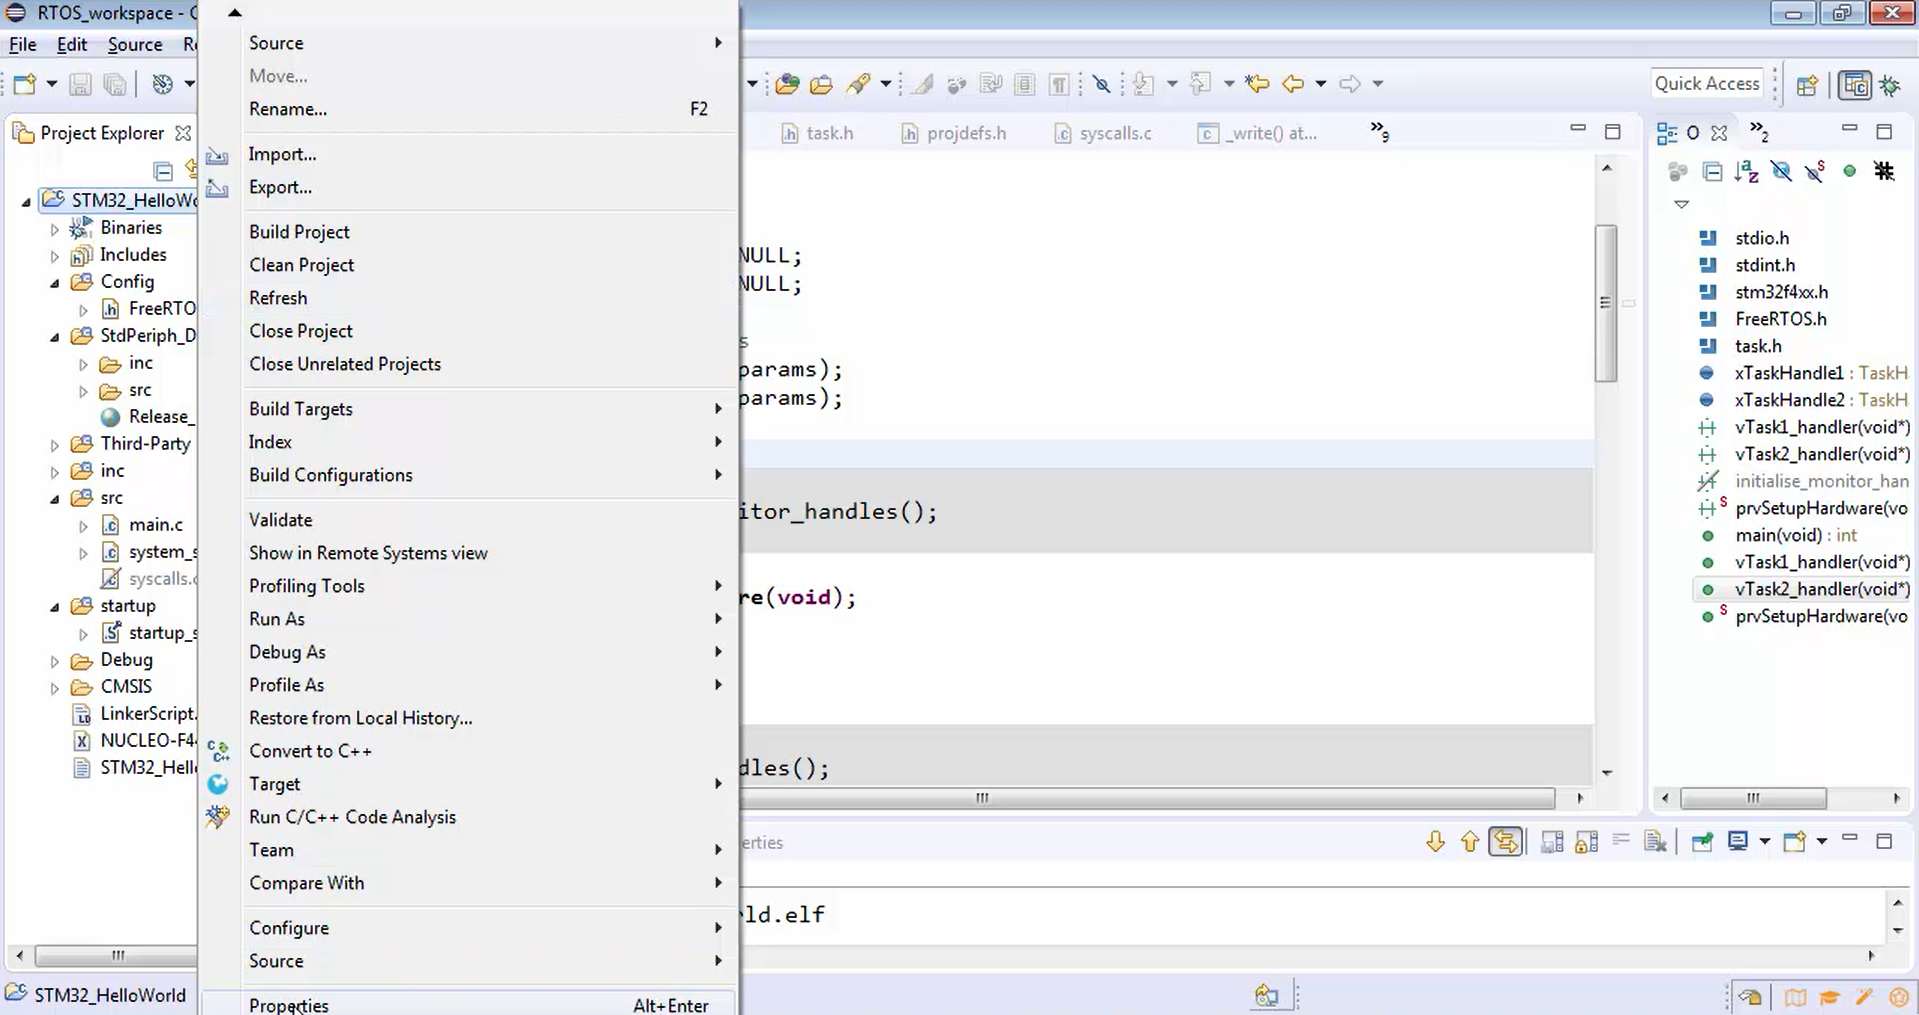
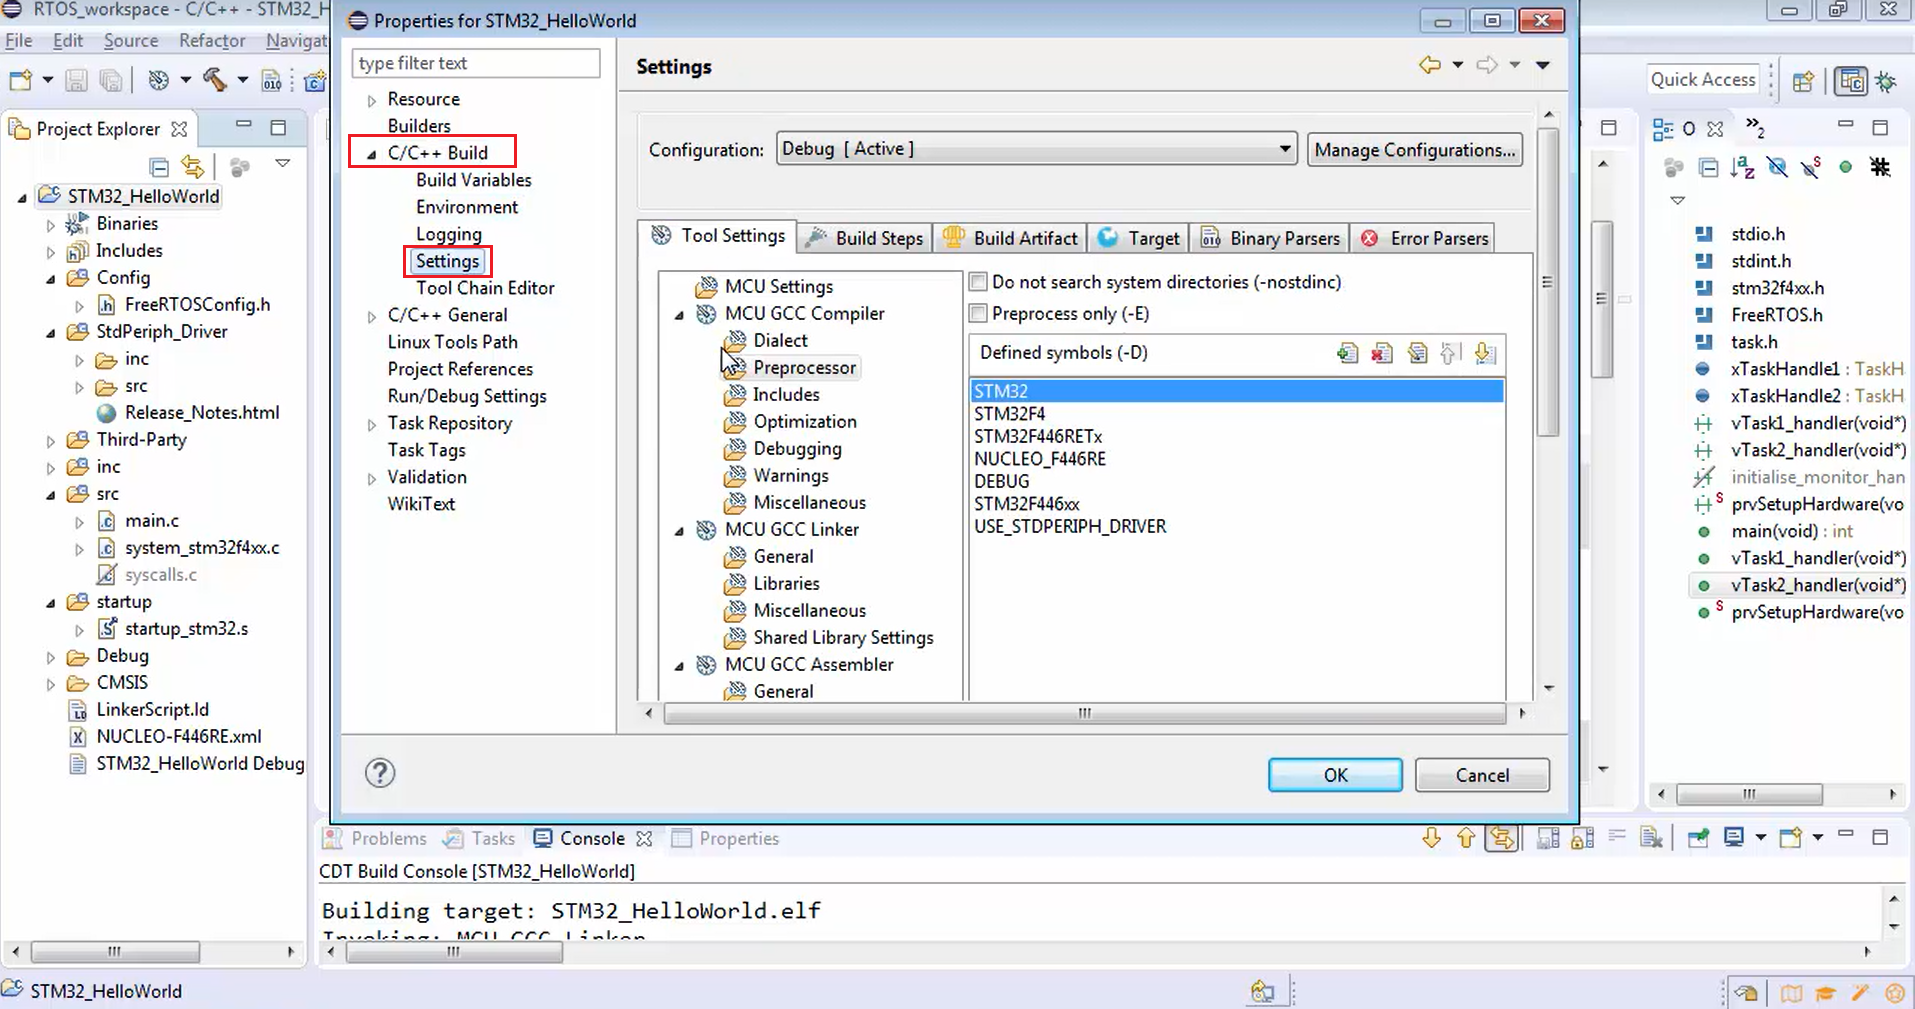
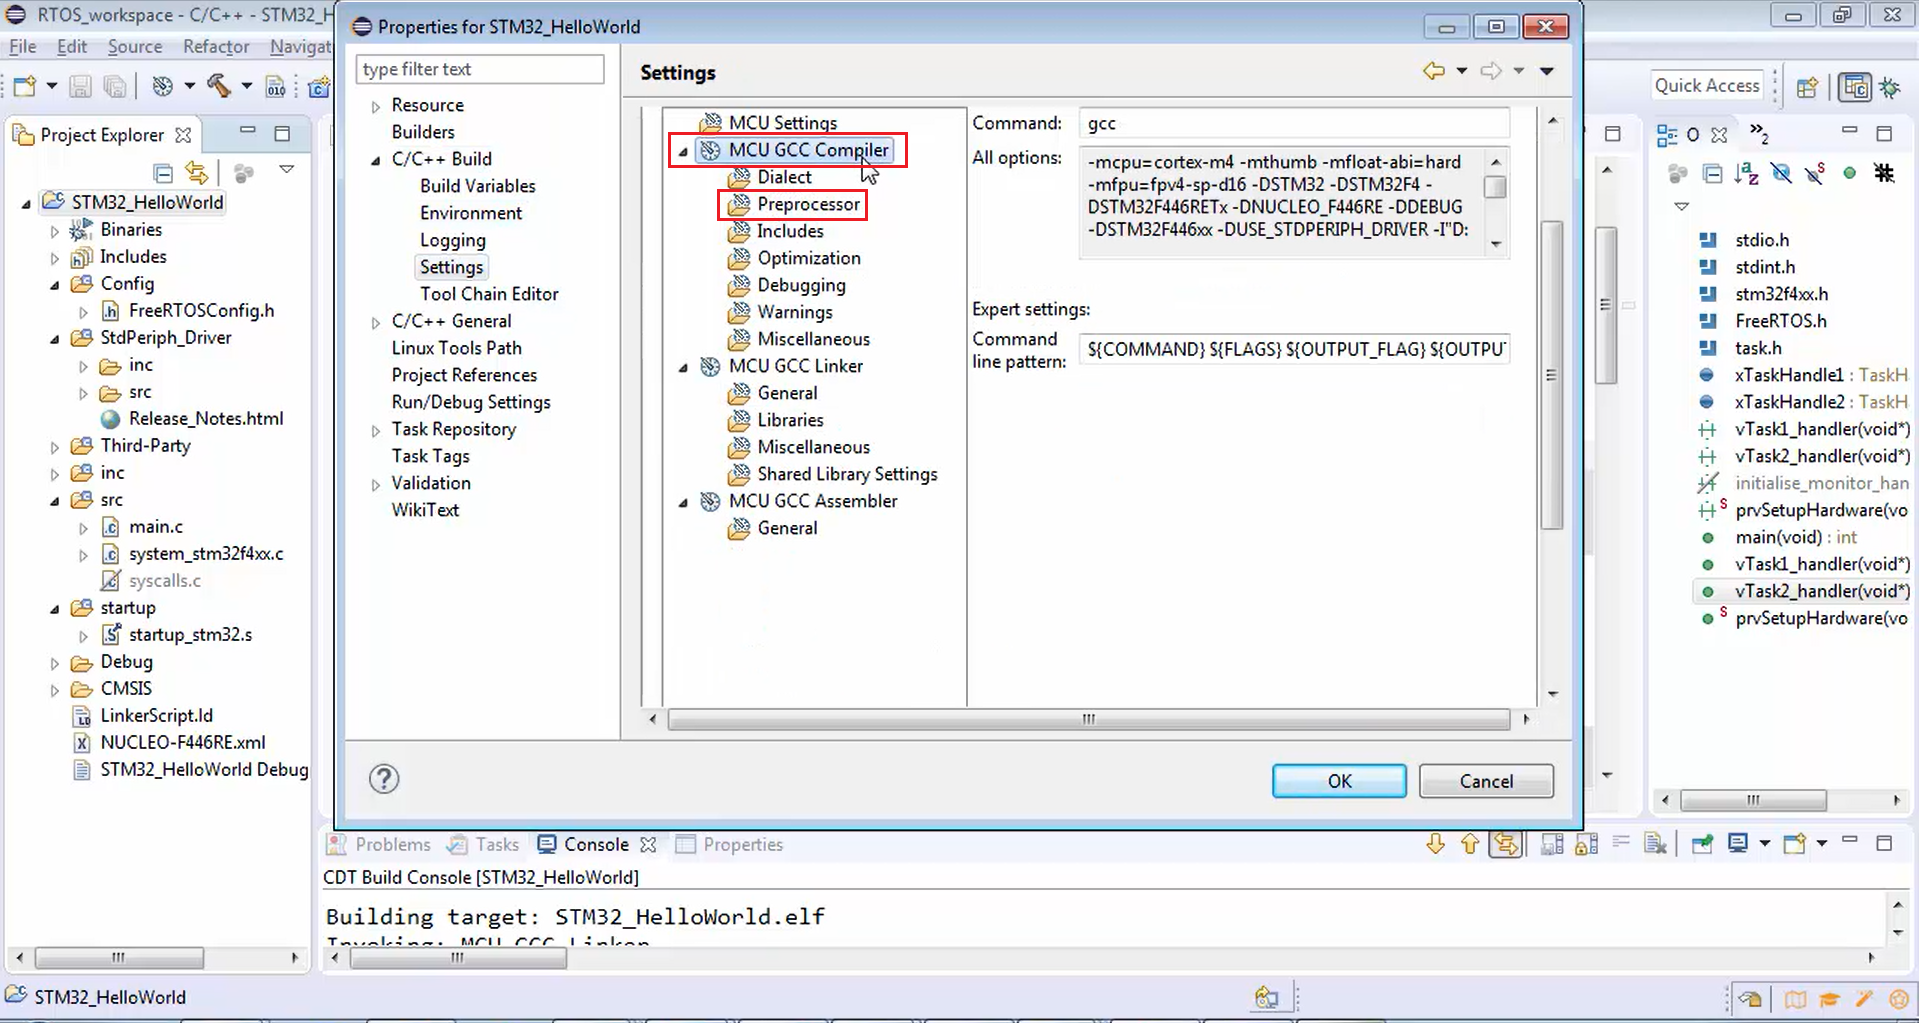
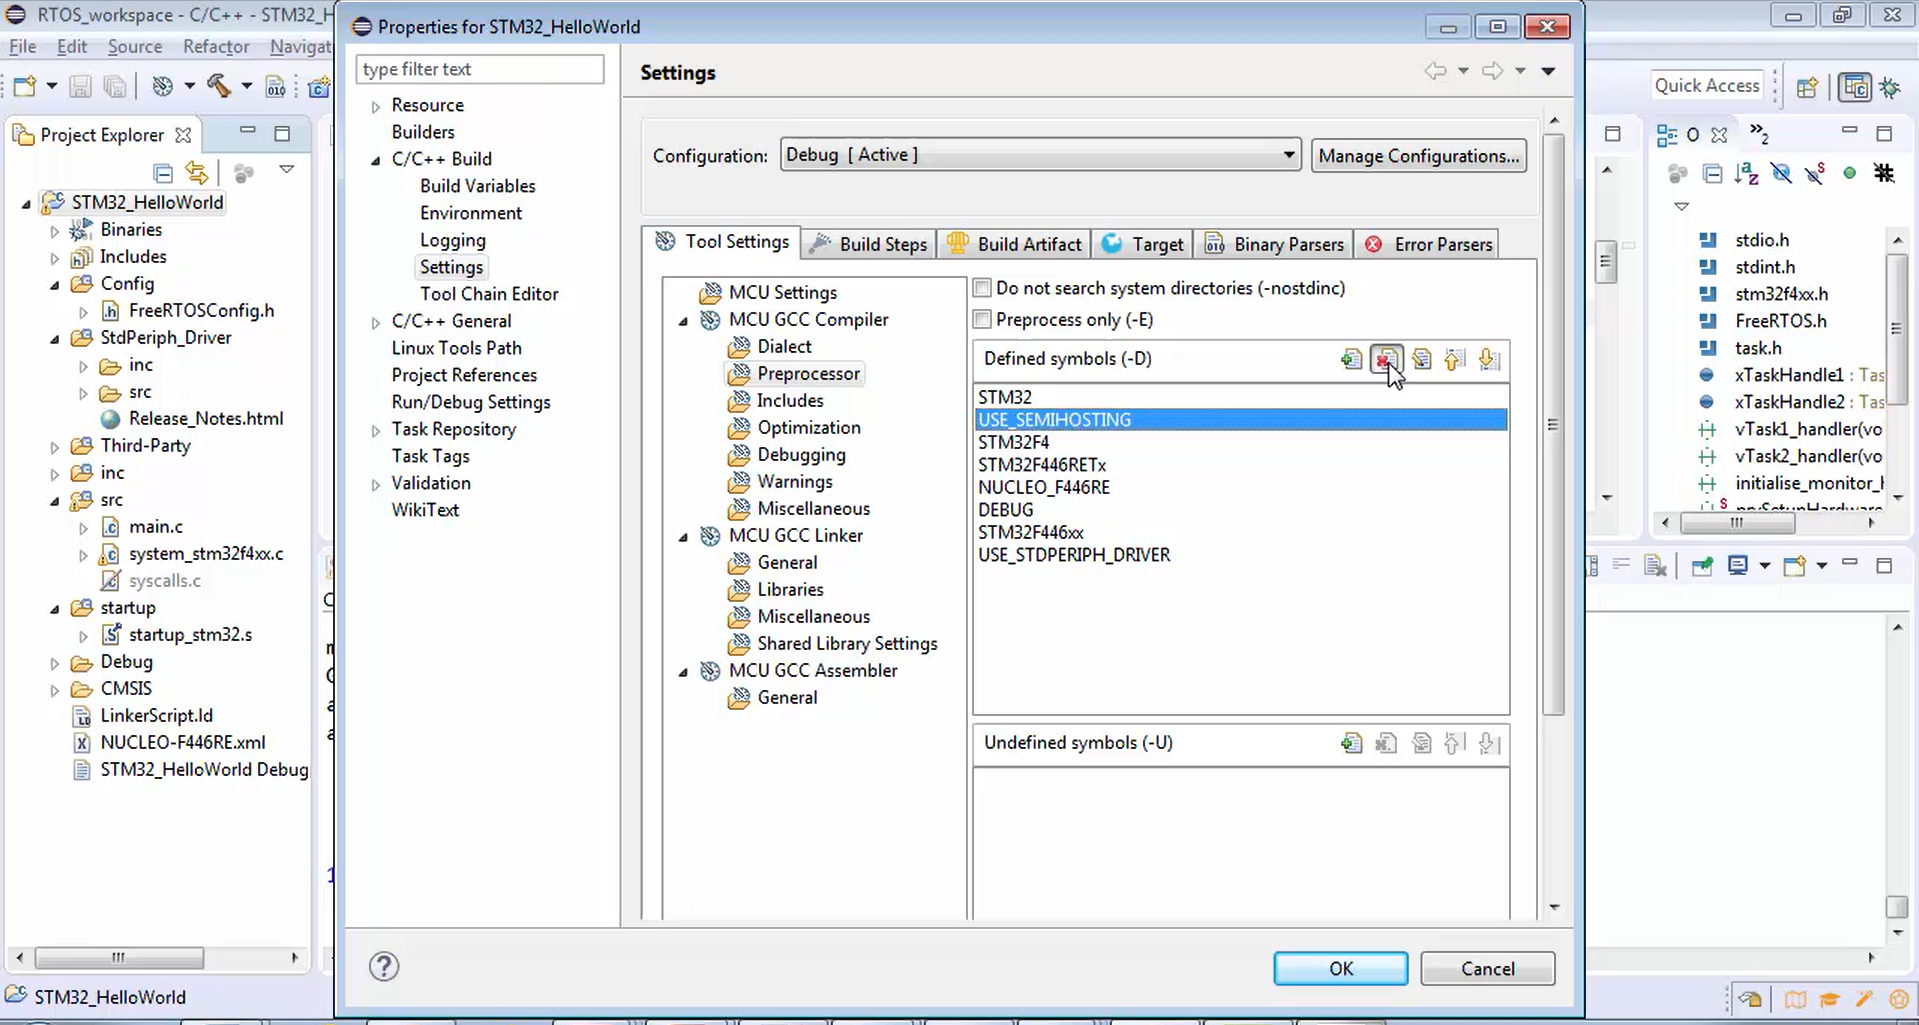
Just copy that macro and go to the project, select properties (Figure 5), after that go to C/ C++ build, go to settings (Figure 6), go to MCU GCC compiler, and then go to the preprocessor (Figure 7).
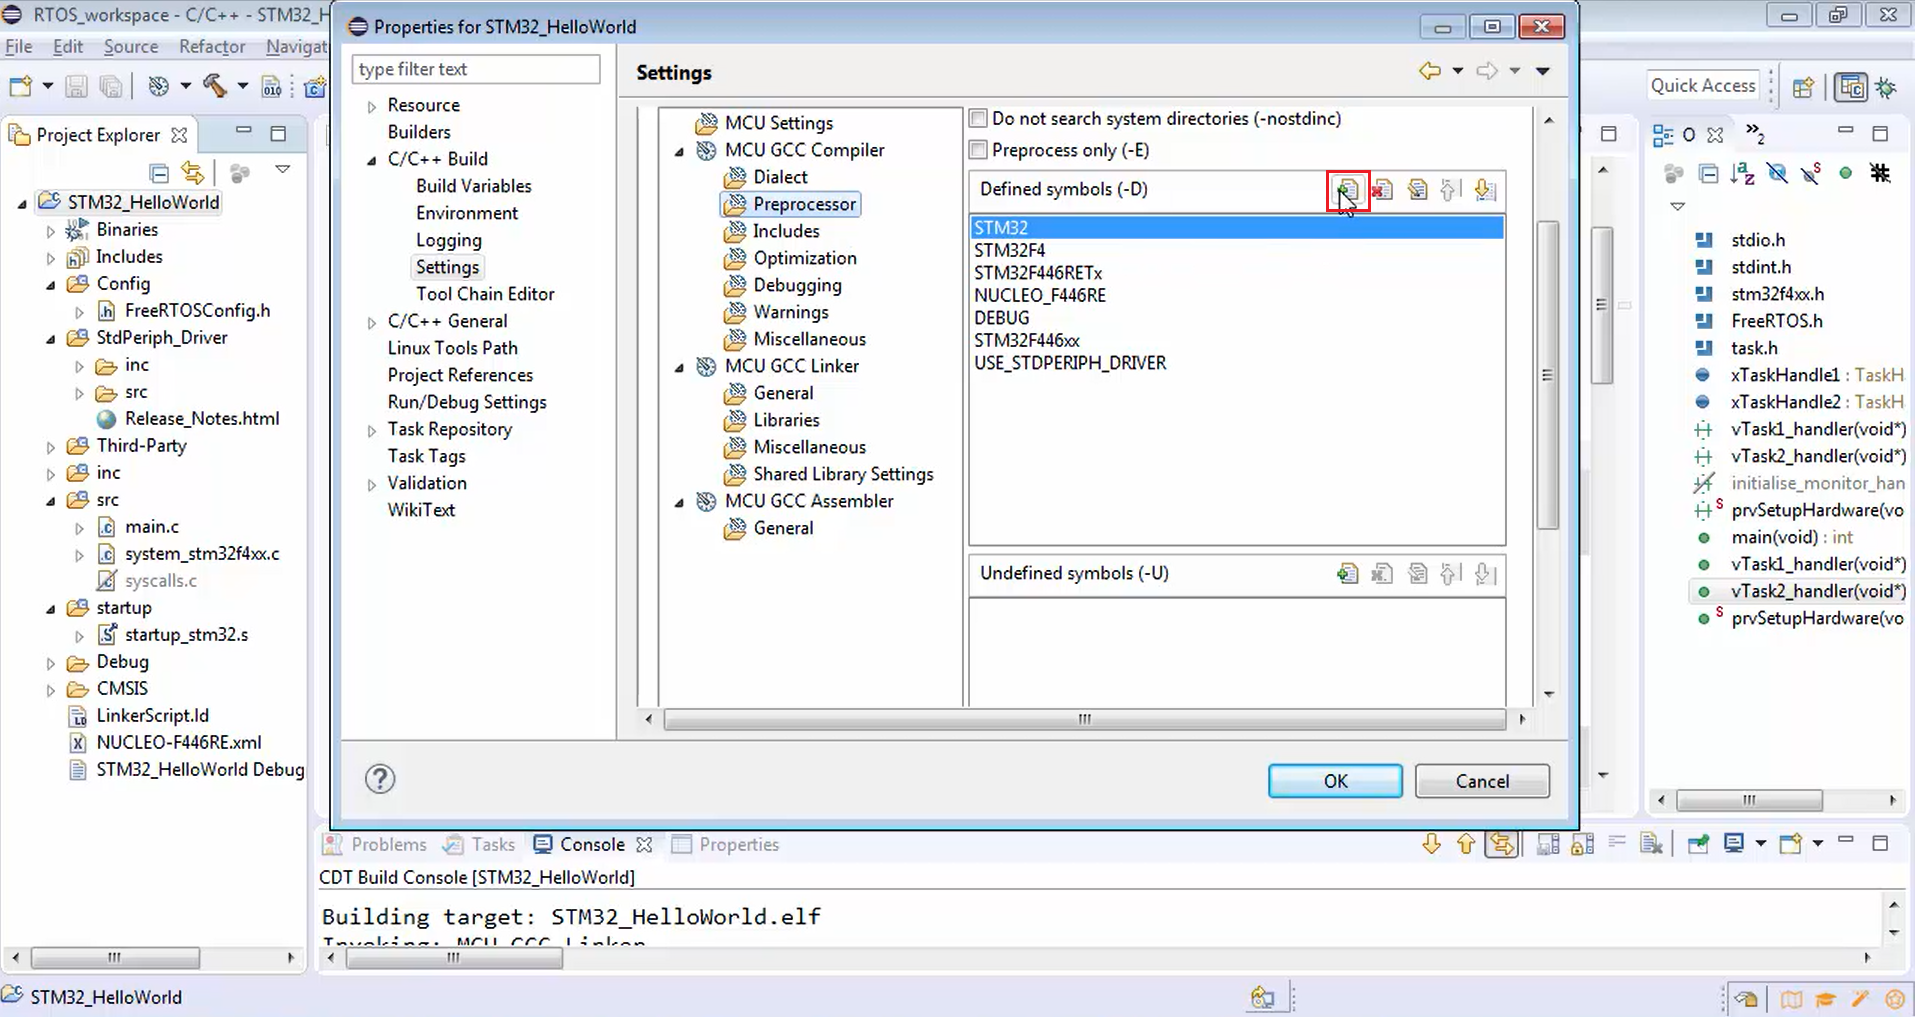
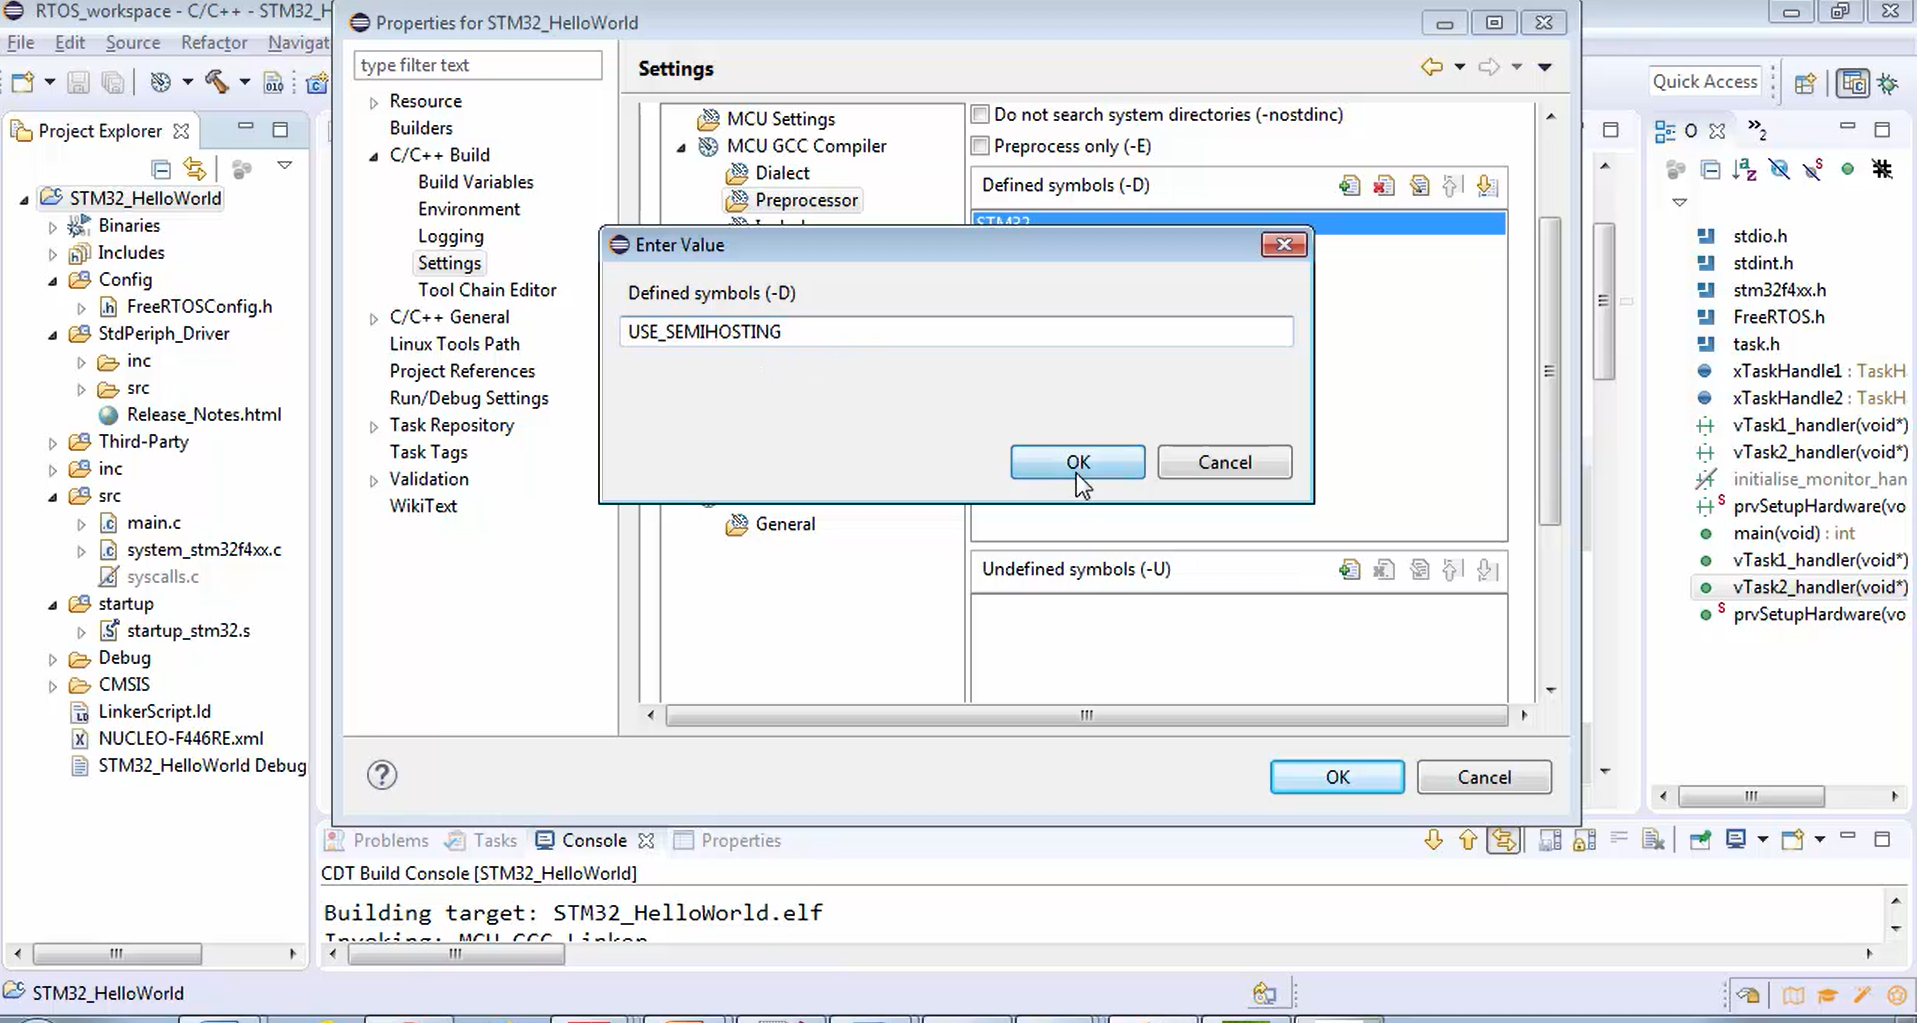
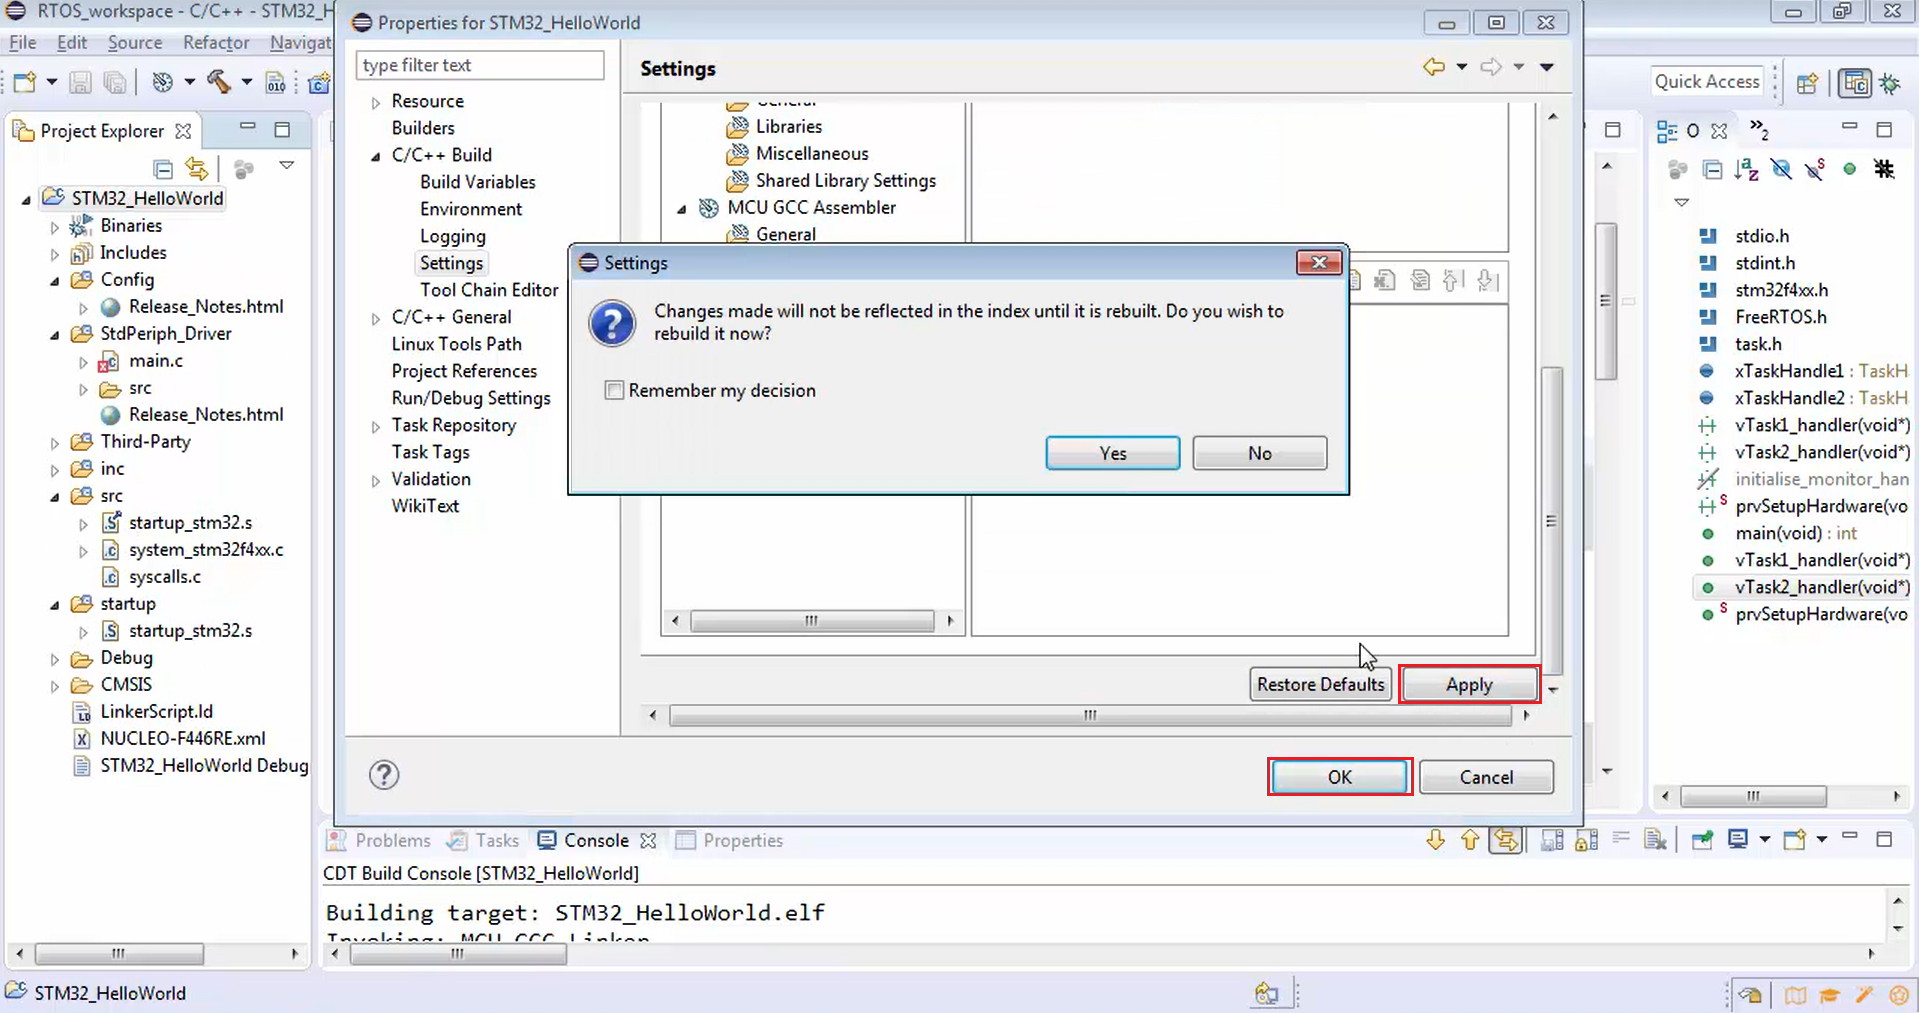
After that, click on the add option marked in Figure 8. You will see a popup; there, you paste the macro and click ok (Figure 9). Then apply those changes and click ok (Figure 10). If you don’t want to use the semihosting, then you just disable that.
Now let’s see whether it builds properly or not (Figure 11). The project builds successfully without any problems.
But for this example, we don’t need semihosting; therefore, let’s remove that, as shown in Figure 12. After that, apply changes and click ok.
FastBit Embedded Brain Academy Courses
https://fastbitlab.com/course1